|
text by Vicki Sign up here to join our weekly email newsletter!
Not going to lie, this project was hard!
What started with "oh, we can stick down three loose tiles" turned into a major undertaking. Once we started to survey the front steps and discovered it was way more than three tiles, we definitely were concerned we were undertaking something beyond our abilities. With a lot of help from an associate in the tile department of the Home Depot who gave us spot-on advice, and with his encouragement, we set out to undertake our very first tiling project... Here's how it went! Products:
Tools:
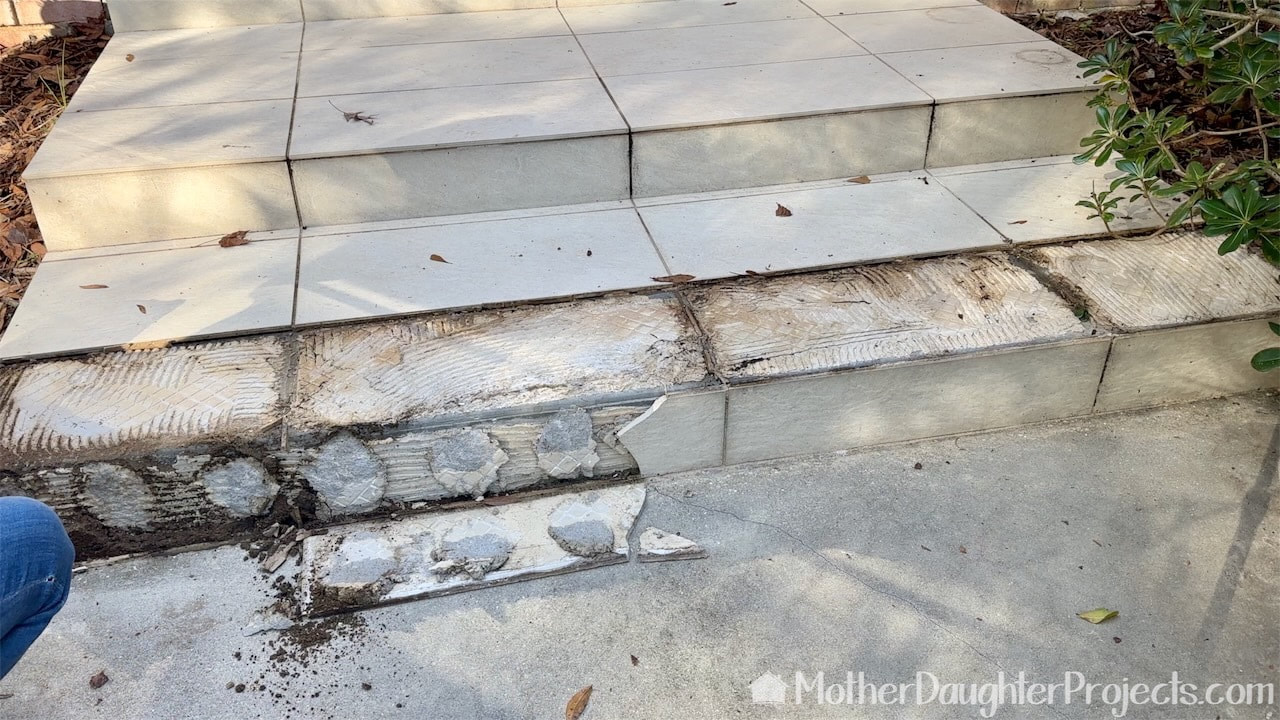
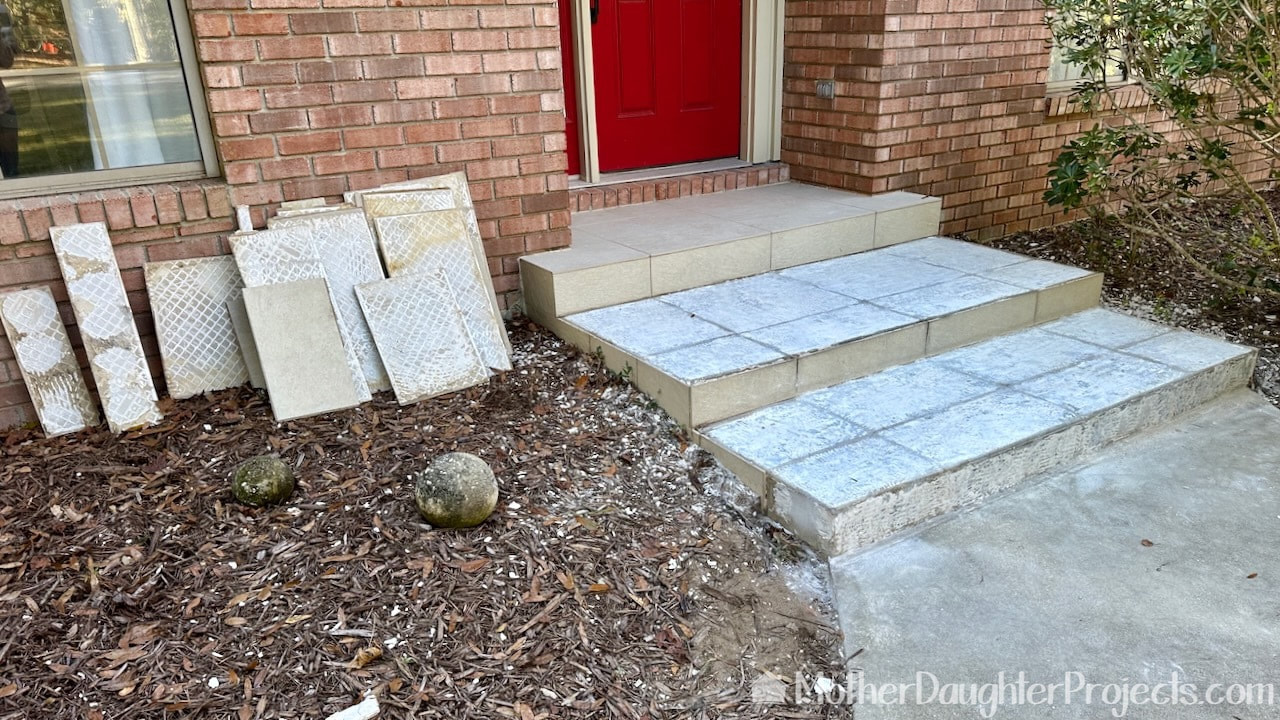
This is what we thought the extent of this retiling project was going to be. Stepping onto that first step, I heard a hollow sound which meant the tile was not attached. Upon further inspection it was apparent that there was a much more extensive problem.
We discovered not only were the tiles loose on the first step but extended to the next step as well!
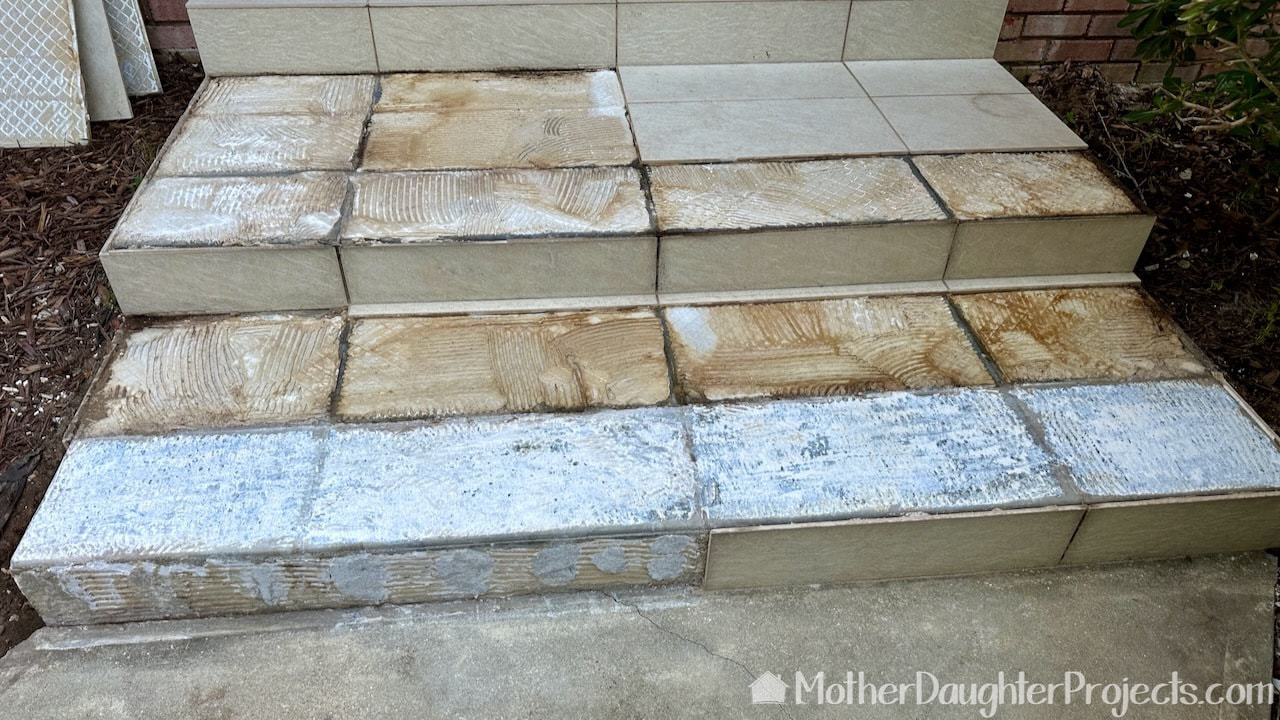
Here are all the tiles that came up with no effort. Those in the corner were stuck firmly but had to be removed as well.
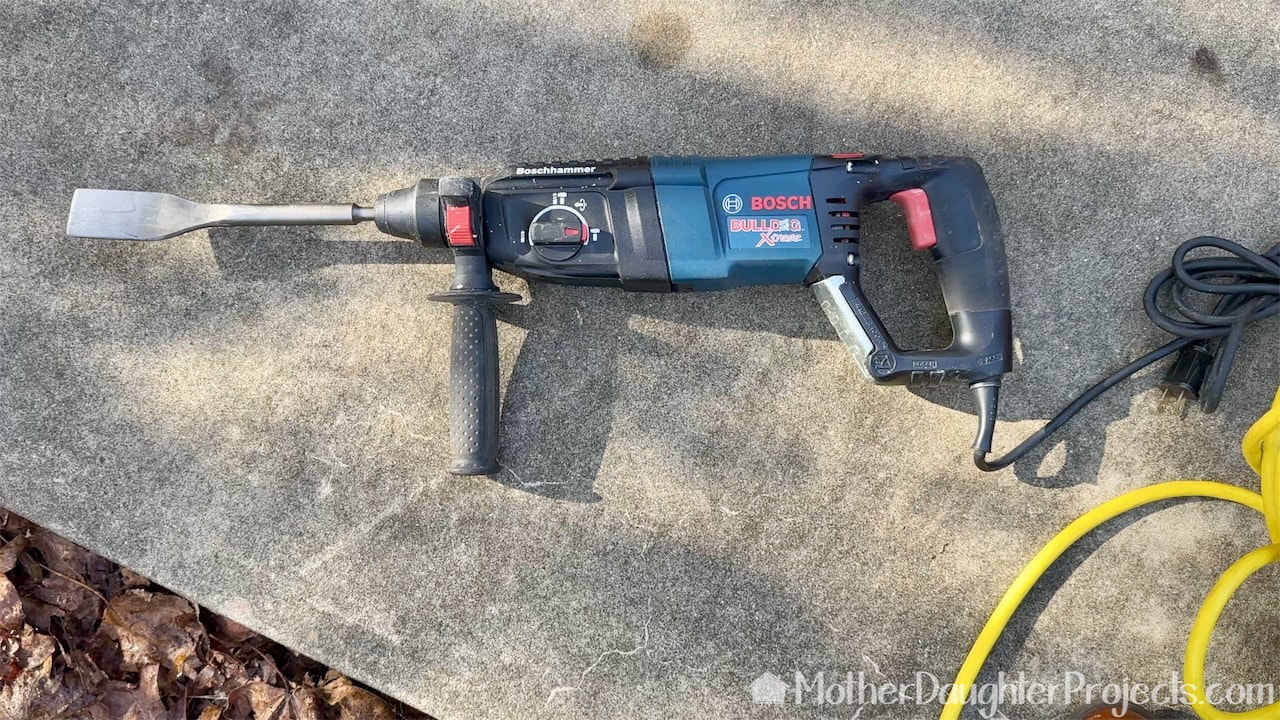
This is the hero of this project. This Bosch Rotary Hammer Drill with chisel blade. We own it but check your local Home Depot for rentals.
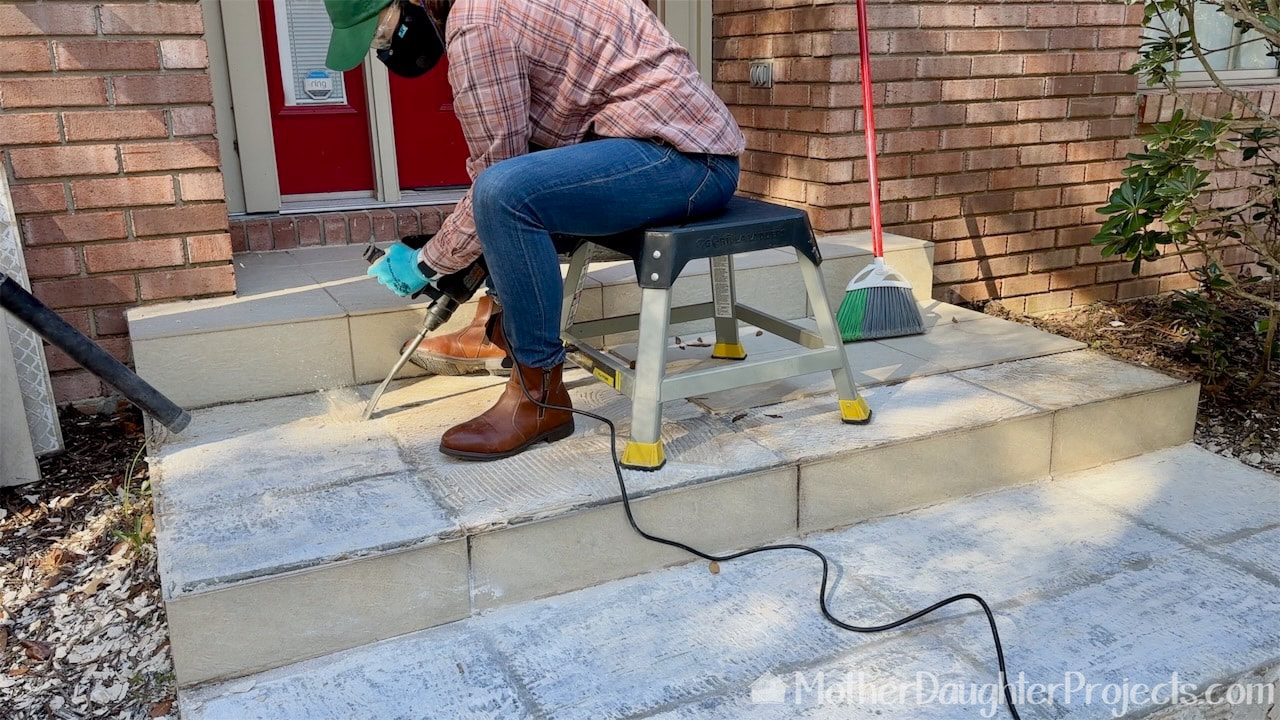
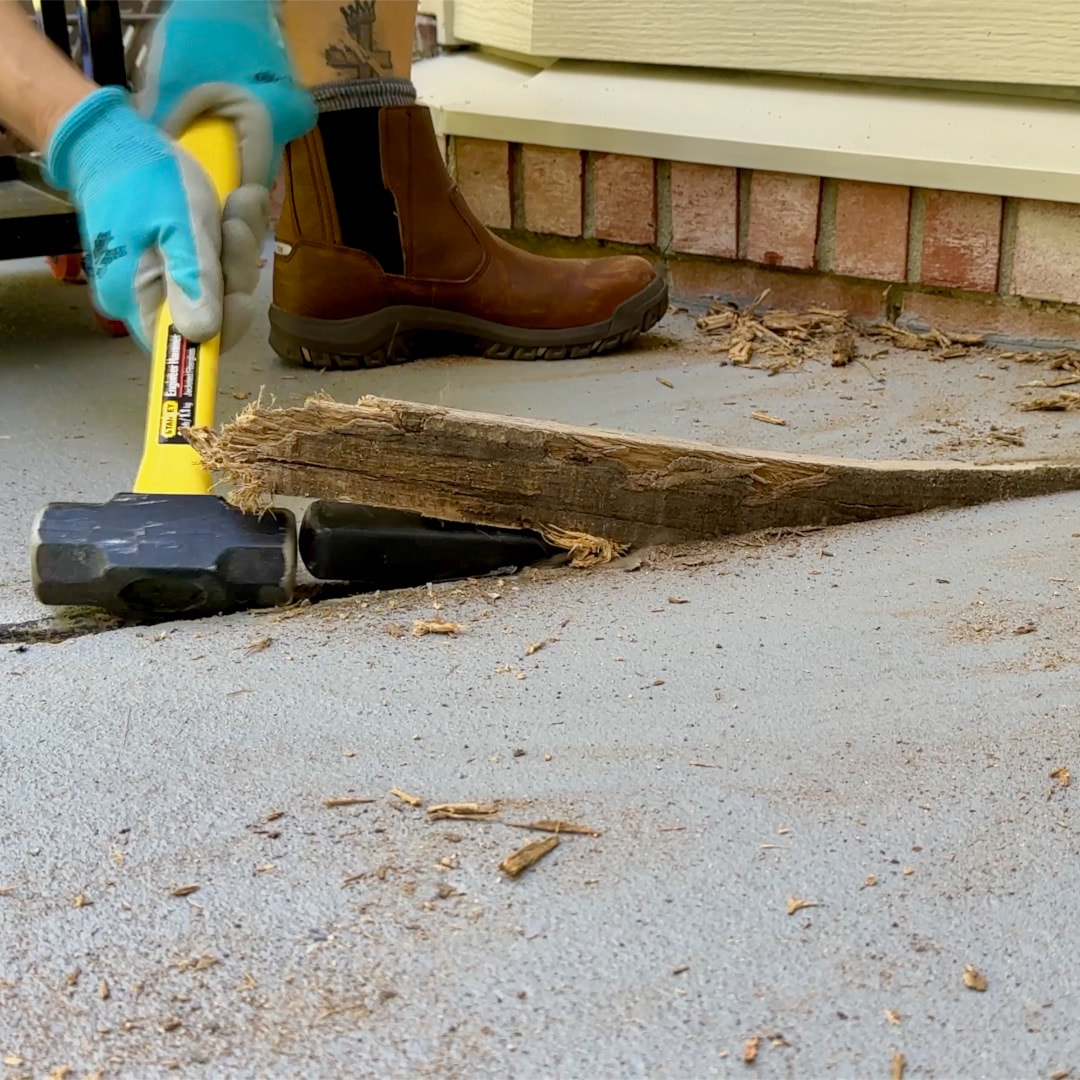
After much trial and error, Steph landed on the easiest way to hold the tool to remove the old mortar. I followed along with the wet dry vac to help clean up some of the dust. Wear all the protective gear to keep yourself safe.
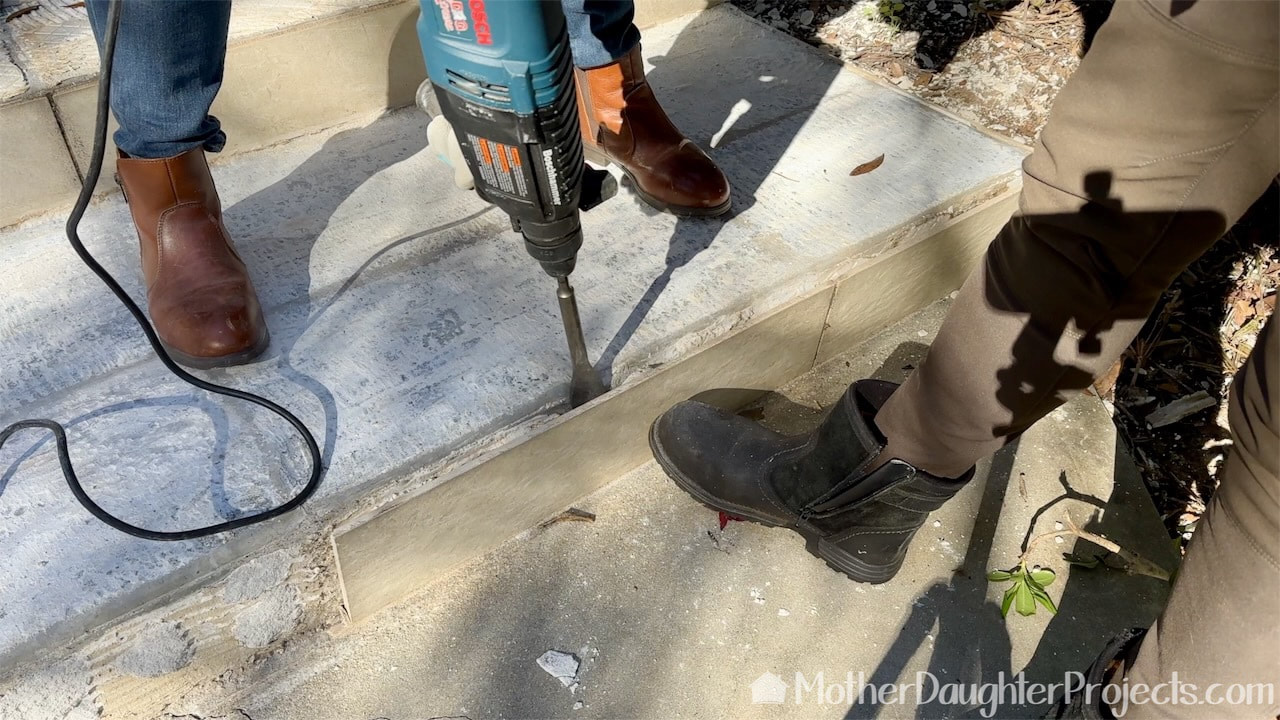
She also used the Bosch to gently remove the tiles that were still stuck but needed to be removed.
After much effort and time, Steph successfully got all the old mortar off the concrete steps.
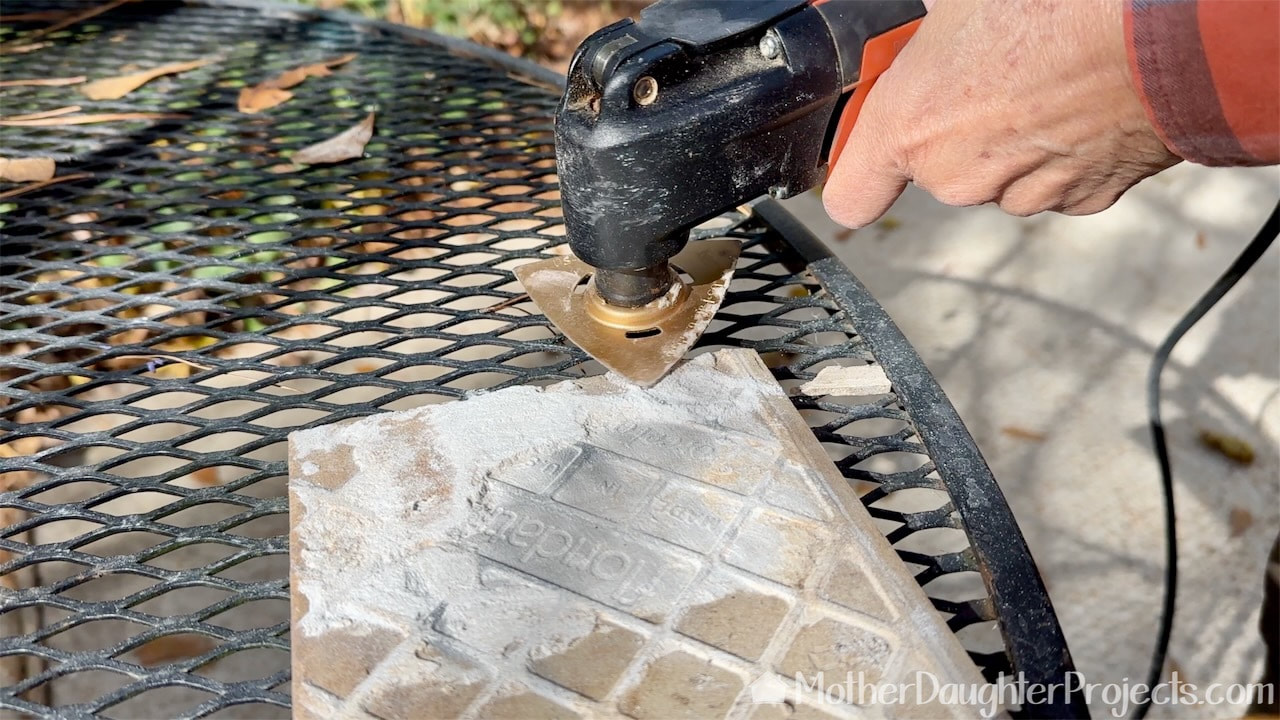
We were able to salvage many of the original tiles, but they needed to be cleaned of grout and mortar. This Fein Multi-master with carbide rasp did a great job cleaning up the backs.
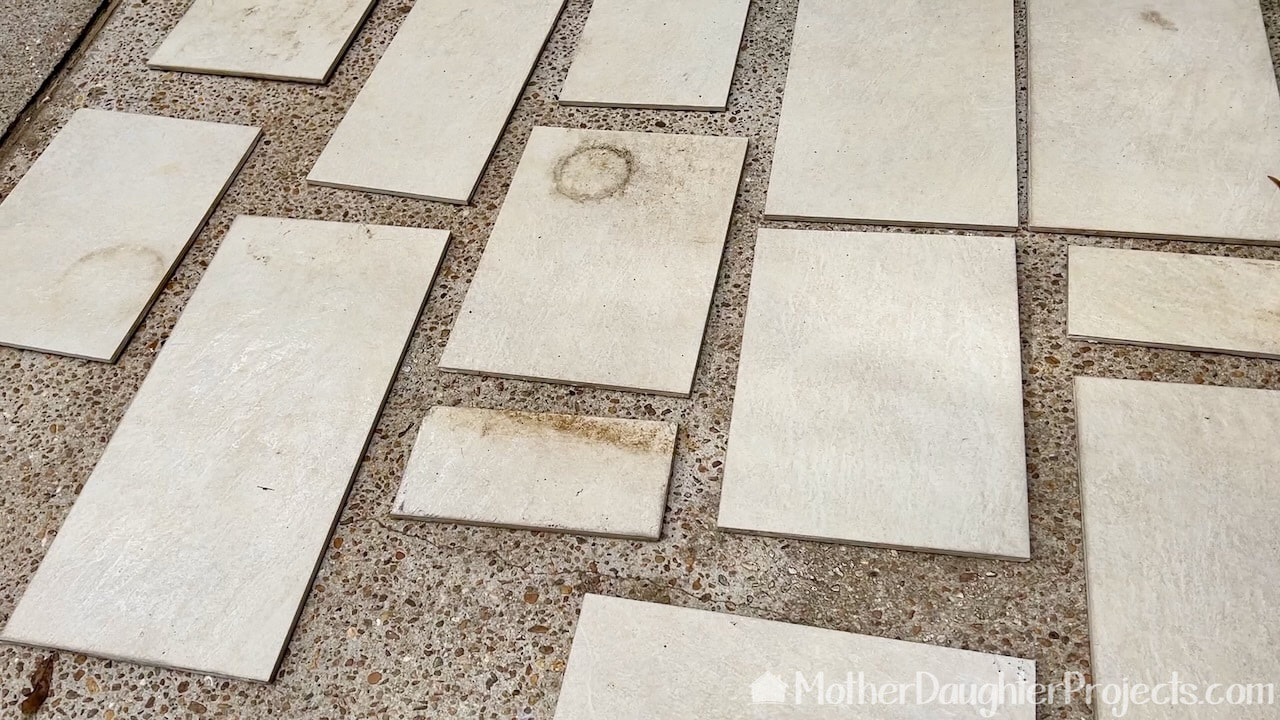
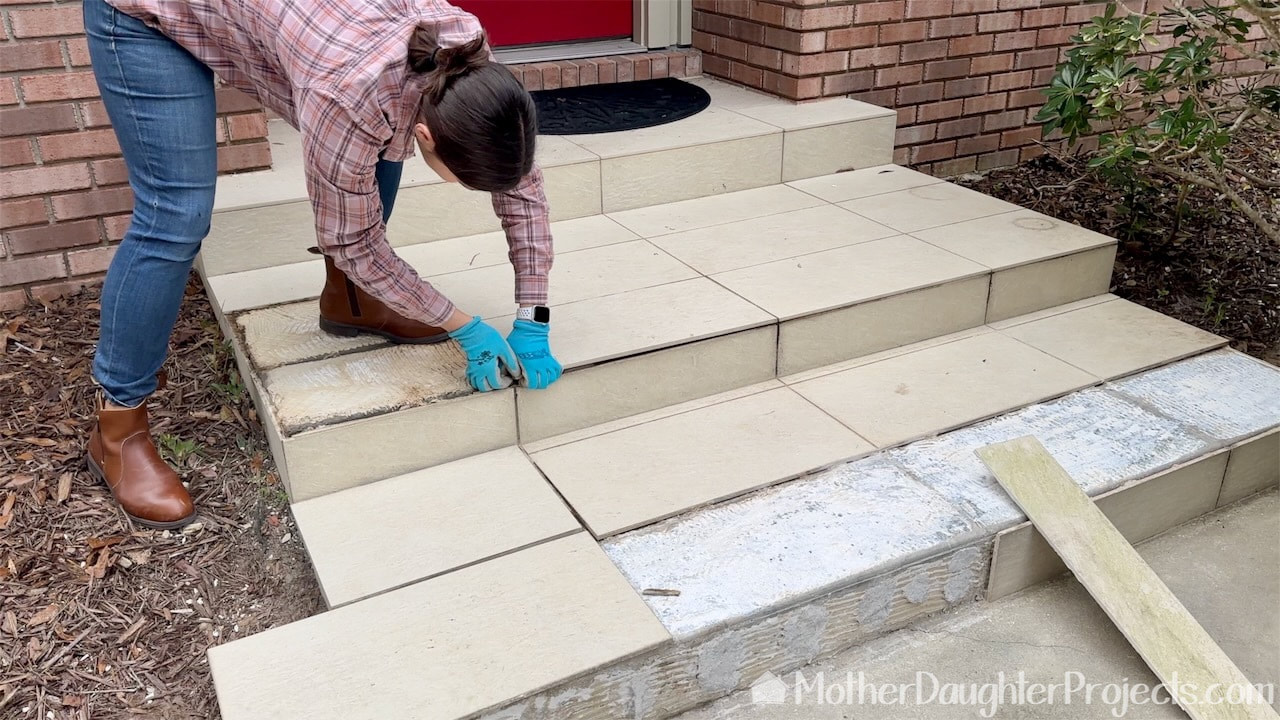
I laid out the original tiles along with tiles that have been in "storage" for the last 12 years.
The tiles cleaned up like they were brand new! I used Mold Armor Rapid Clean Remediation and a long-handled brush to clean them. The Mold Armor works so well!
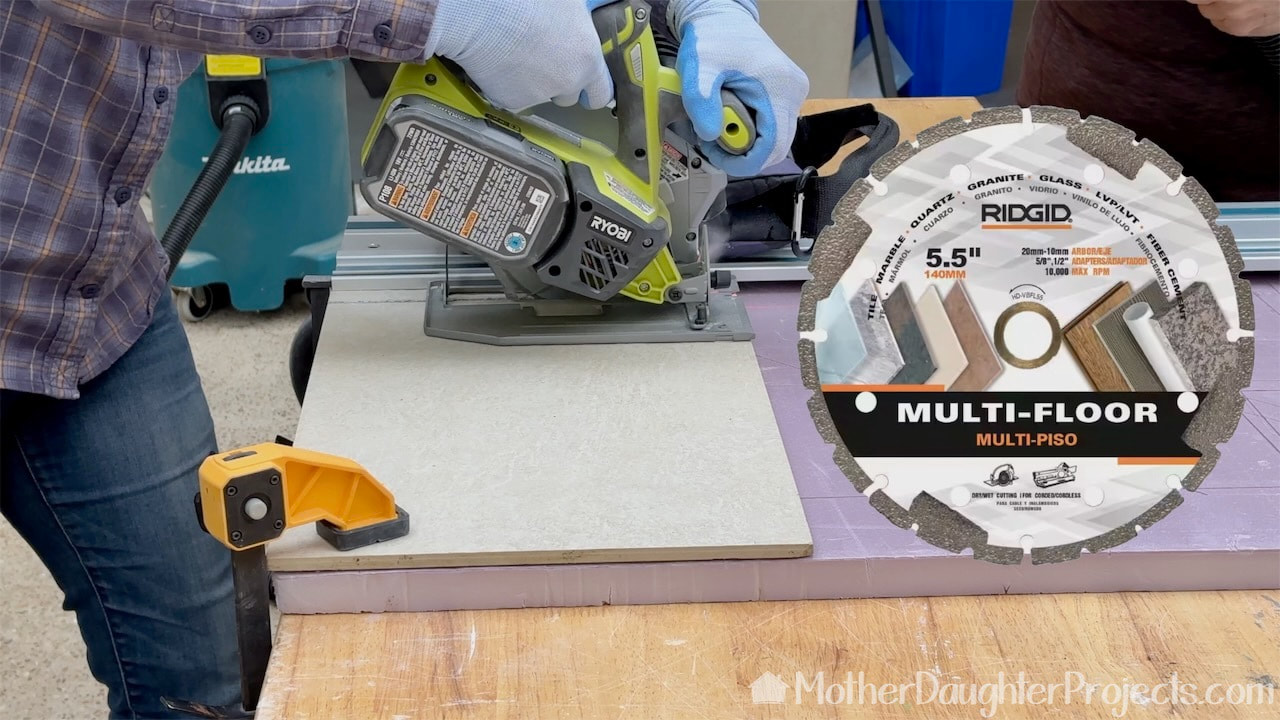
Cutting new tiles to size was the part I wasn't so sure about. I thought we needed a special tile saw, but Steph did some research and decided to use our Ryobi 5.5 inch circular saw and a special multi-floor blade.
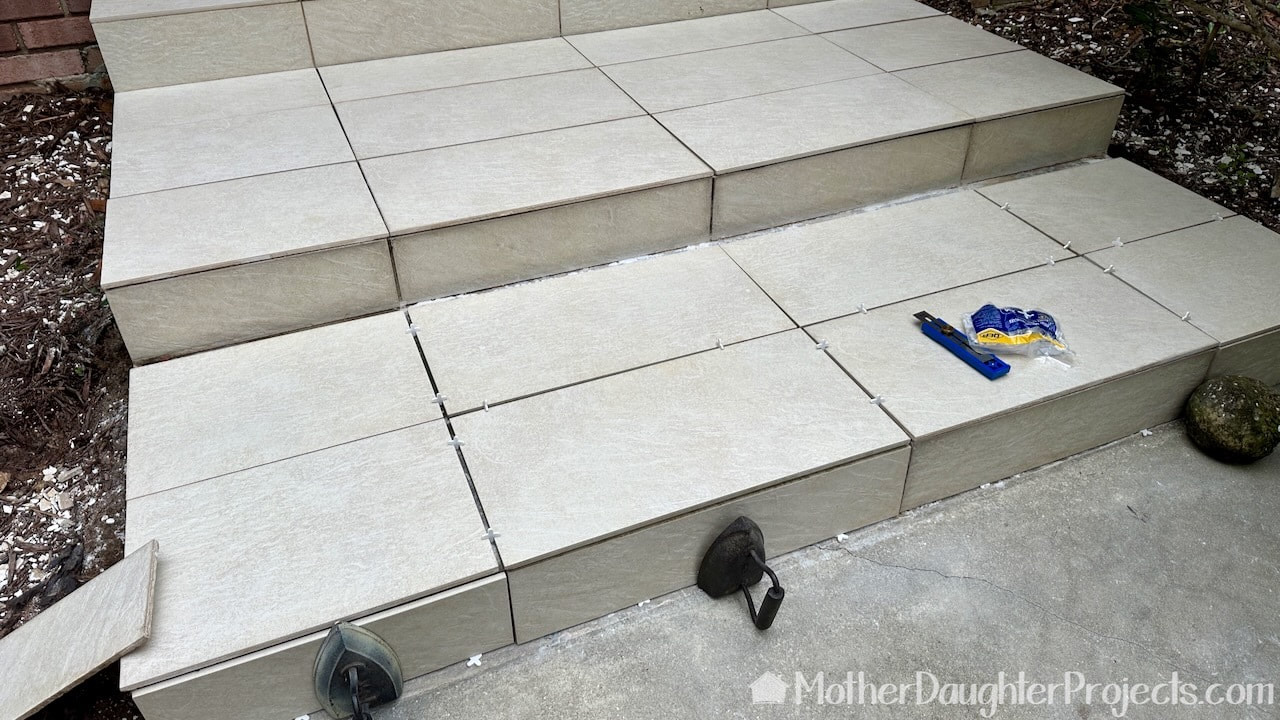
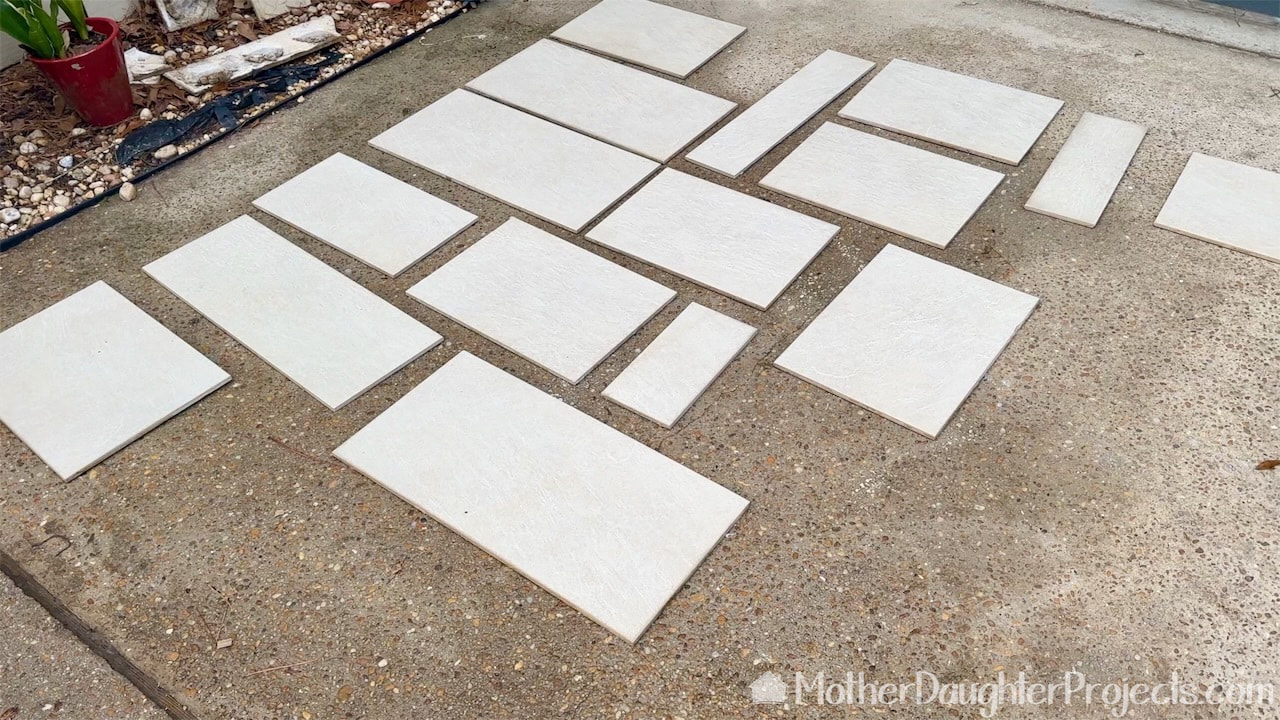
With most of the tiles cut, we laid everything out to check our progress. Everything looked good so it was time to stick everything down.
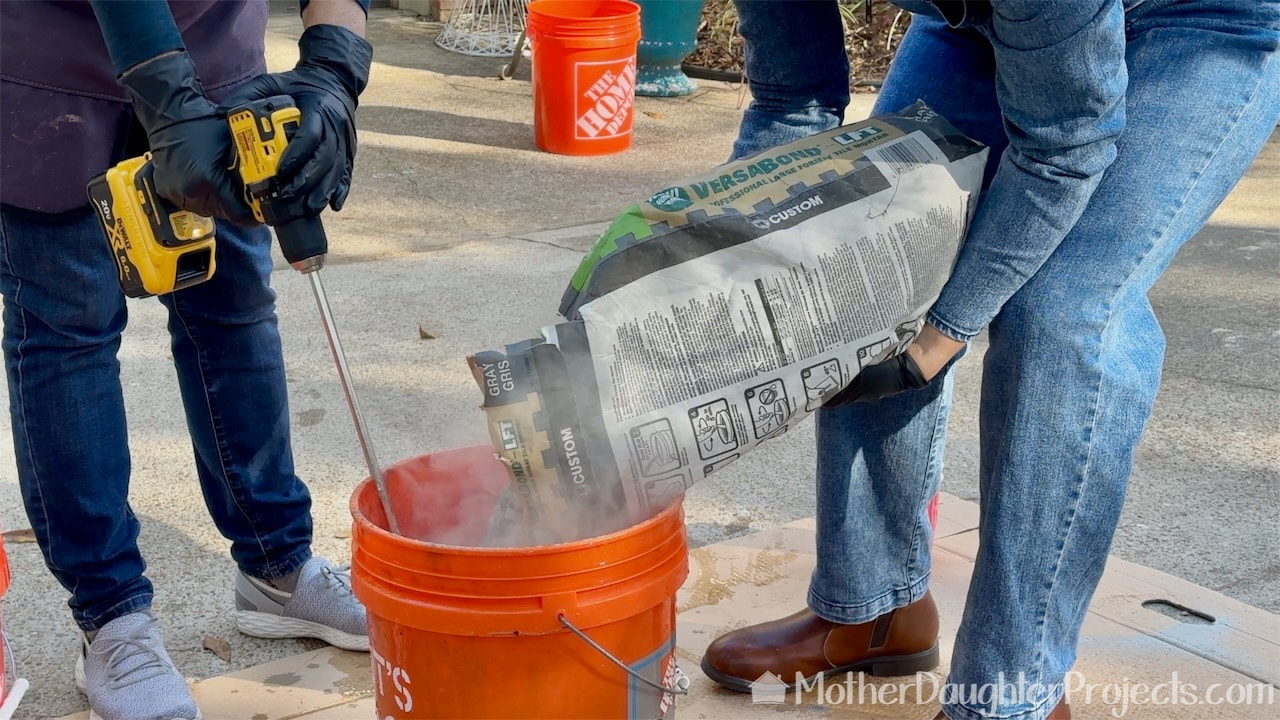
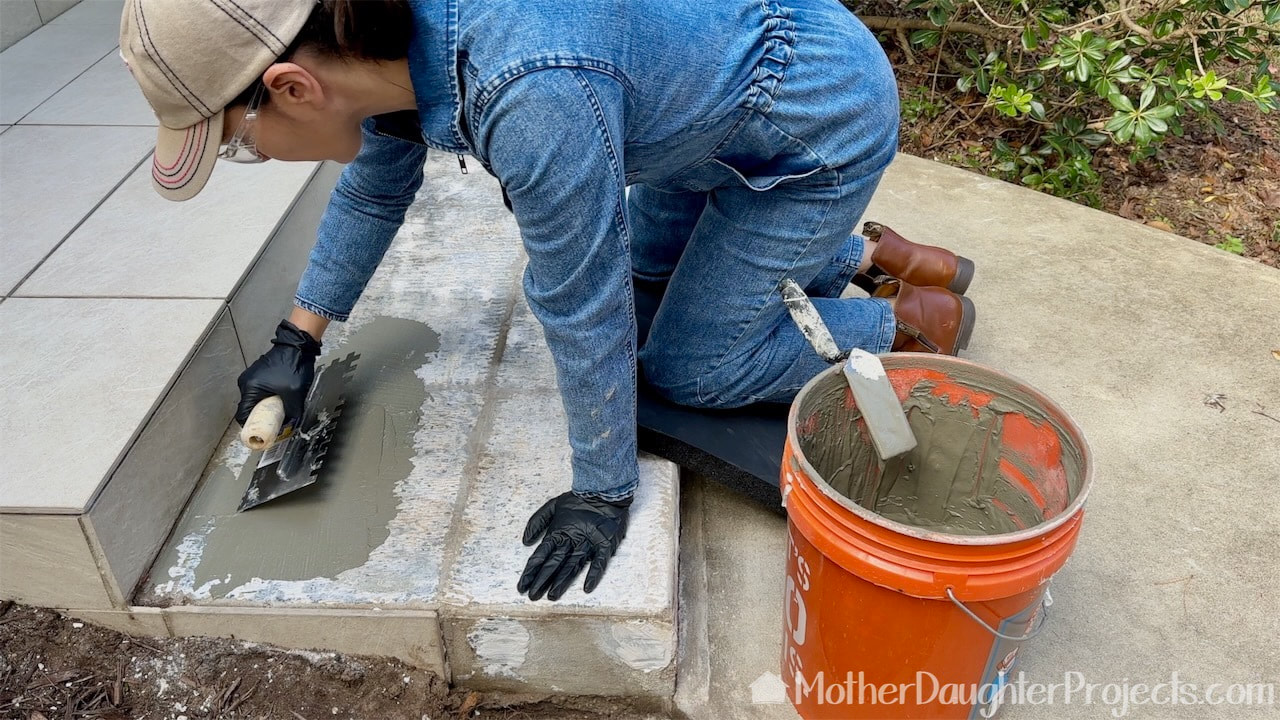
We followed the mortar bag instructions and mixed it up.
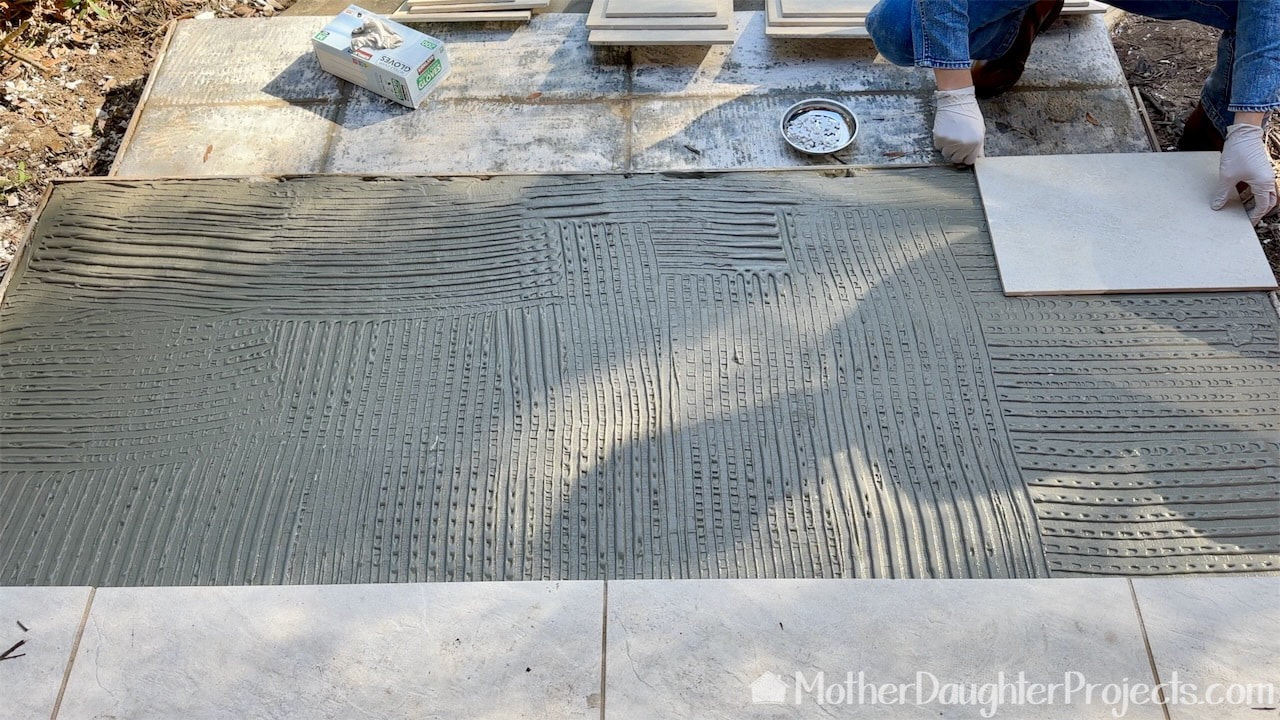
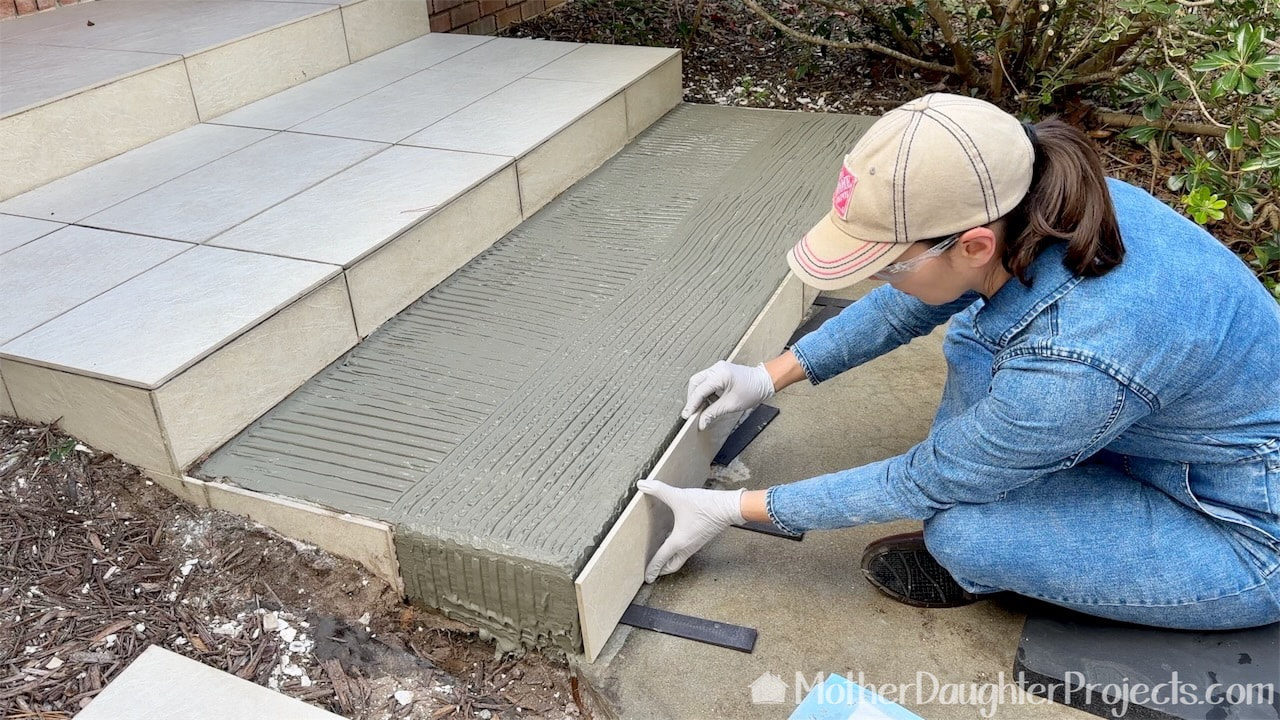
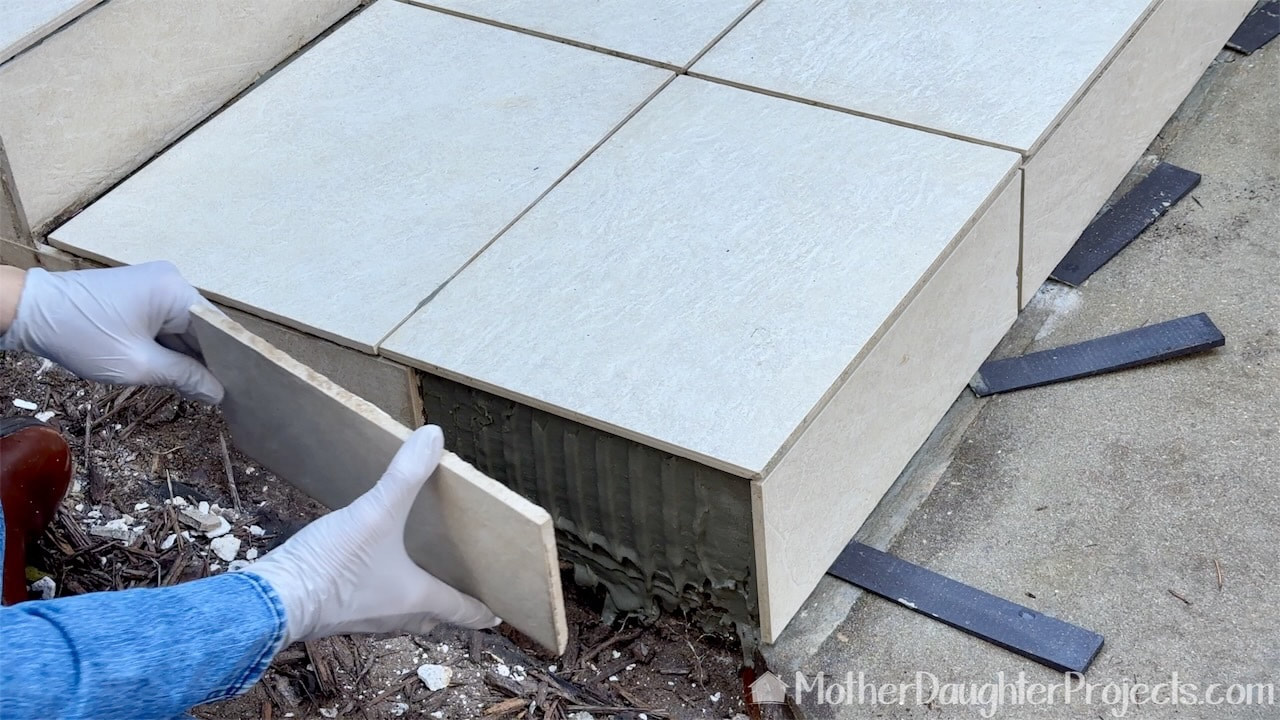
Steph made this part look easy. Using the notched trowel, she laid down a layer of mortar then notched it. It looked like icing a really large sheet cake!
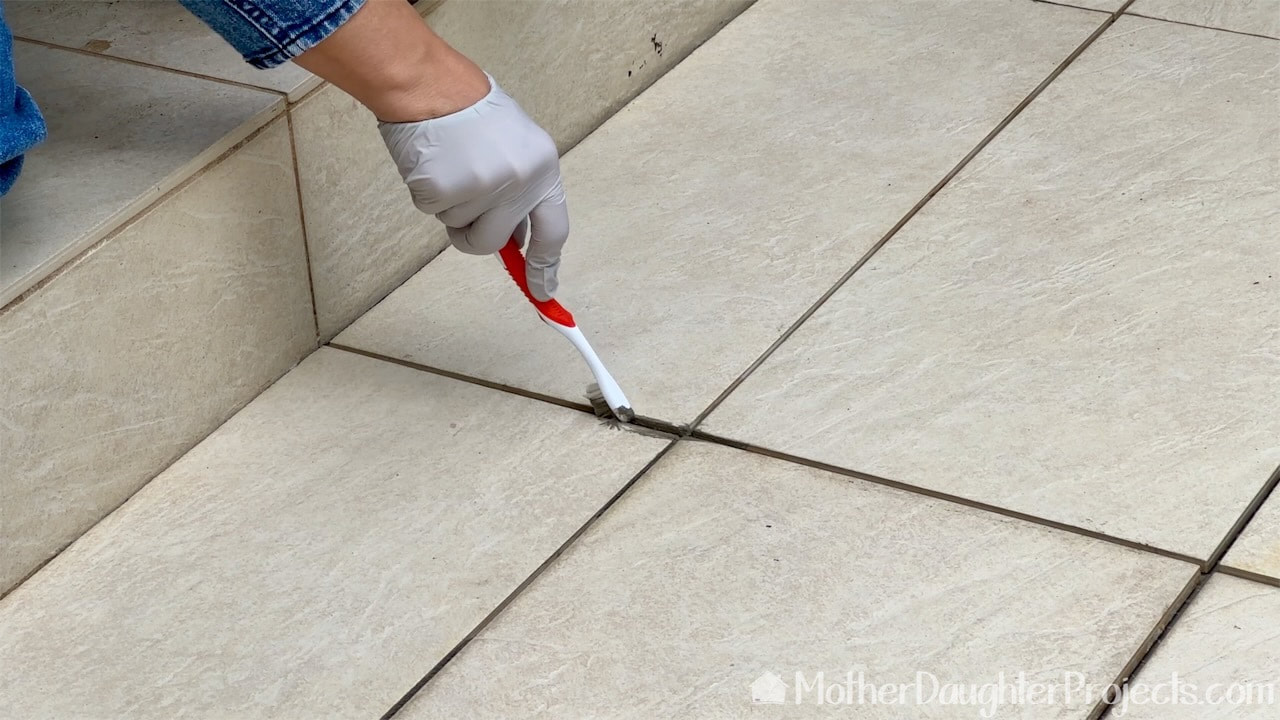
With the first step finished, we cleaned up the mortar between the tiles with an old toothbrush. It's easier to clean up before it dries.
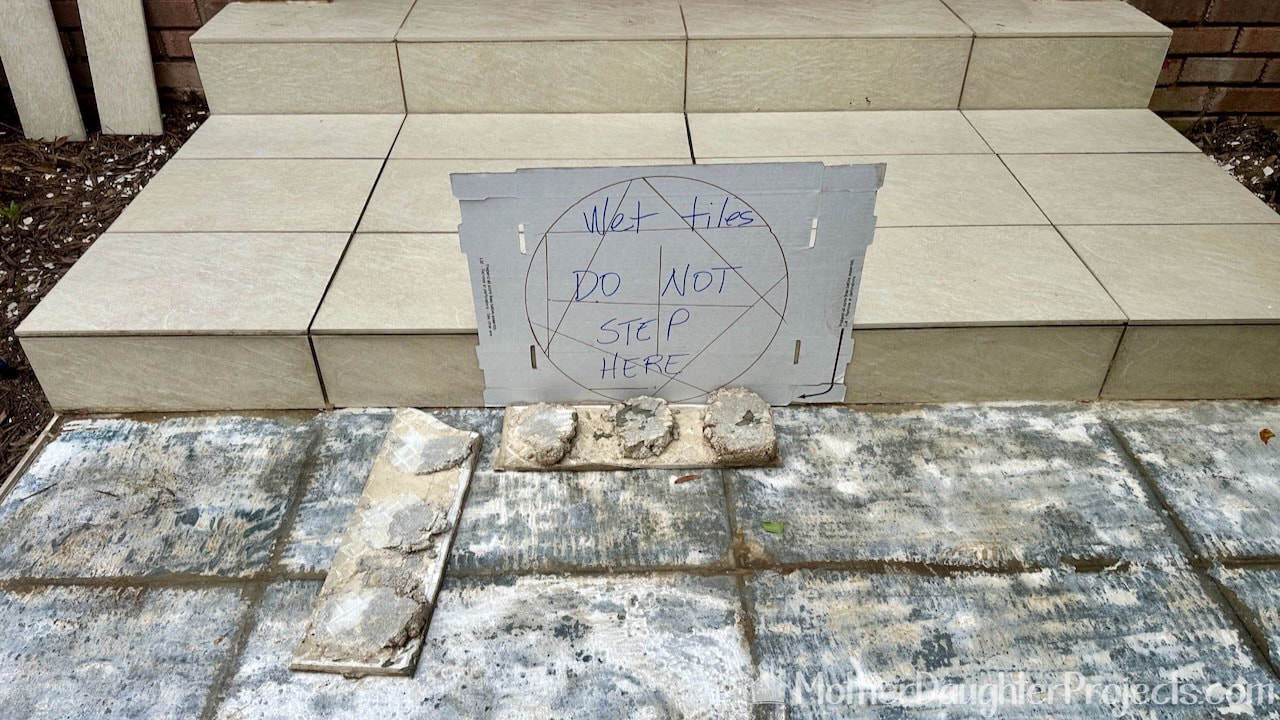
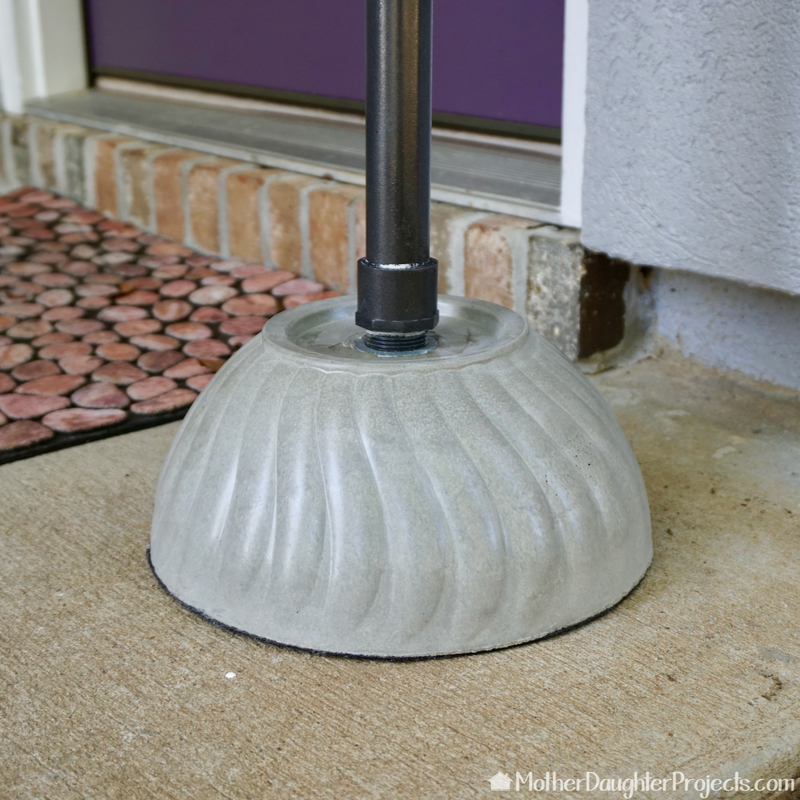
First step down and calling it quits for the day! I left a little sign to protect our work!
Next day, more of the same! That kneeling cushion from Husky really saved Steph's knees.
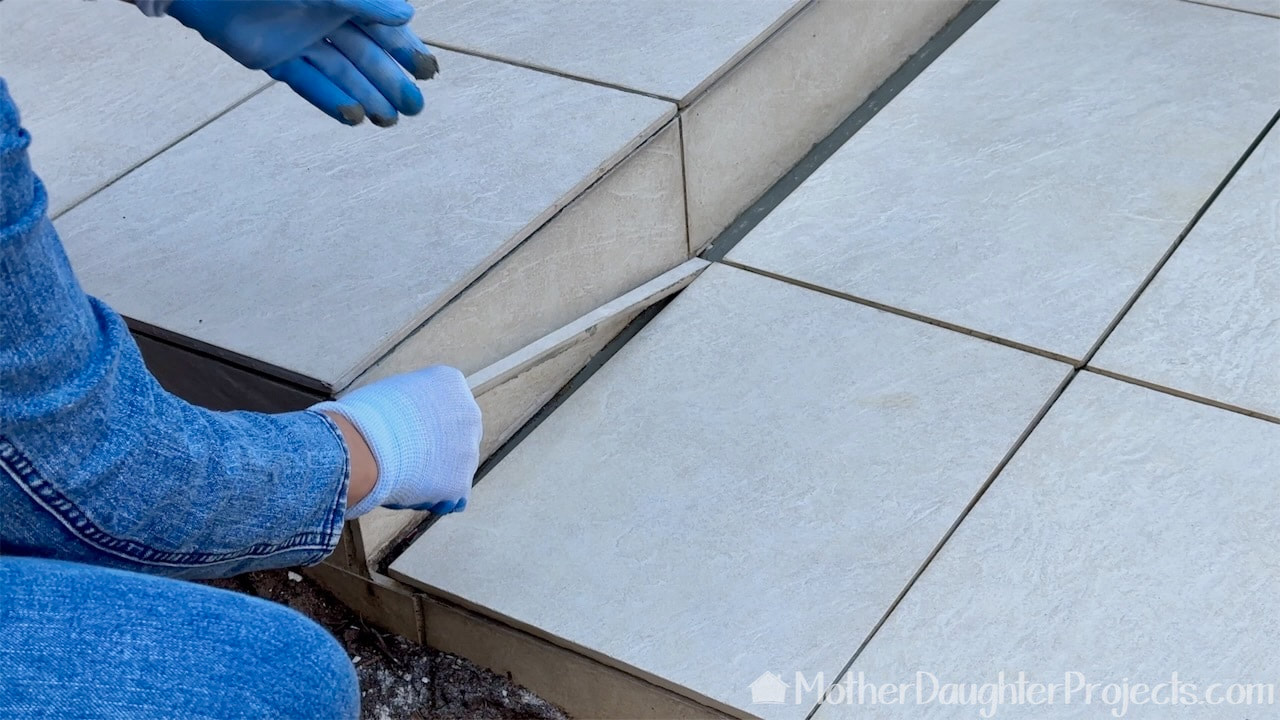
When these step were originally put in 12 years ago, the tiles on this front edge were not placed flat against the concrete. This was done because the left side of the step from front to back is about 1 1/2 inches shorter than the far right side. In order for everything to look square and in line, they placed the front vertical tiles with an increasing space from right to left. We decided to remove the gap and place the tiles directly onto the concrete step. By doing this it created a small gap in the back that we'd deal with later.
Because we removed the large gap at the front edge, we had to recut this side tile.
Because we removed the gap at the front, we were left with this gap which goes from small to large over the course of the four spaces. Steph expertly cut the same tiles and put them into place.
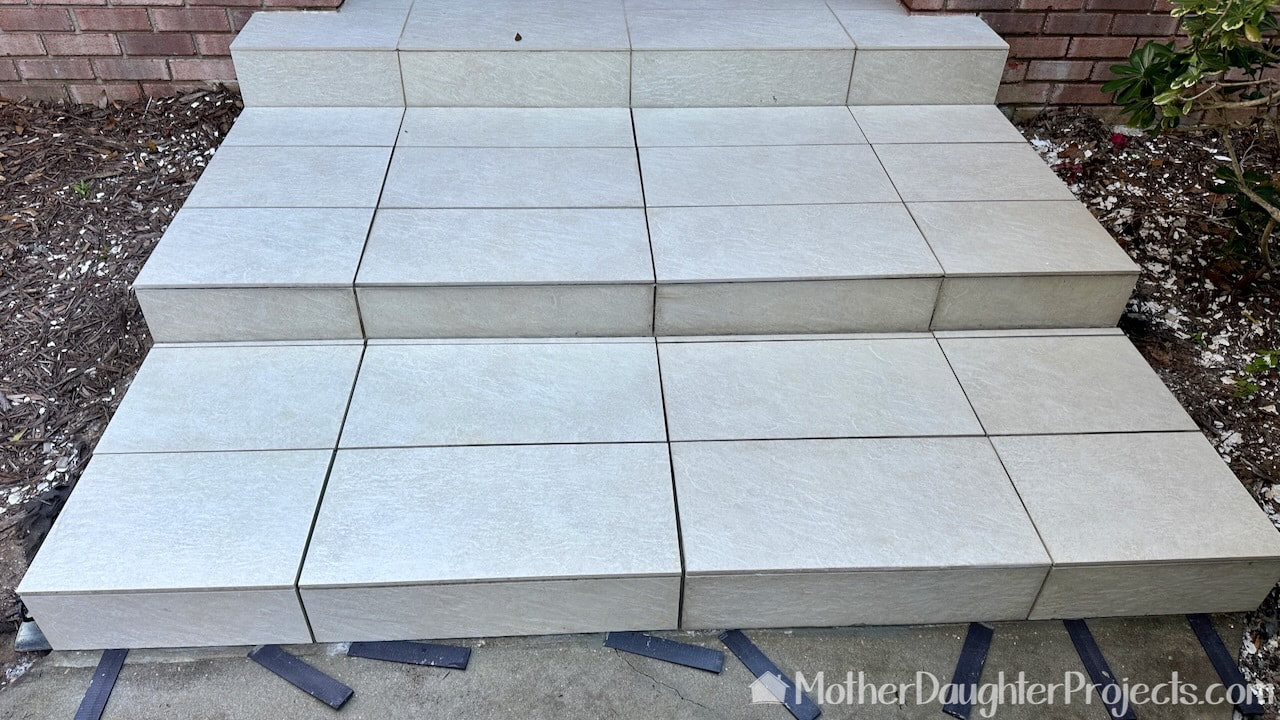
Ready for grout! Almost to the finish line!
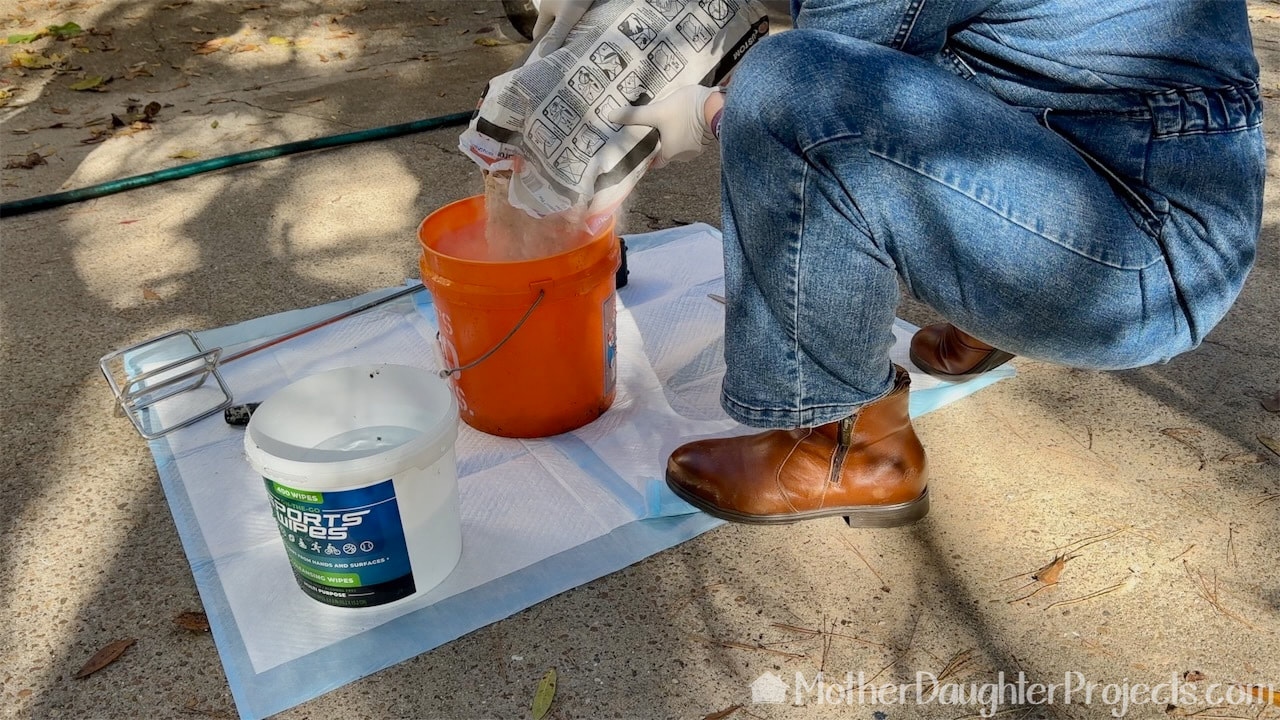
Mixing up the grout according to the bag instructions.
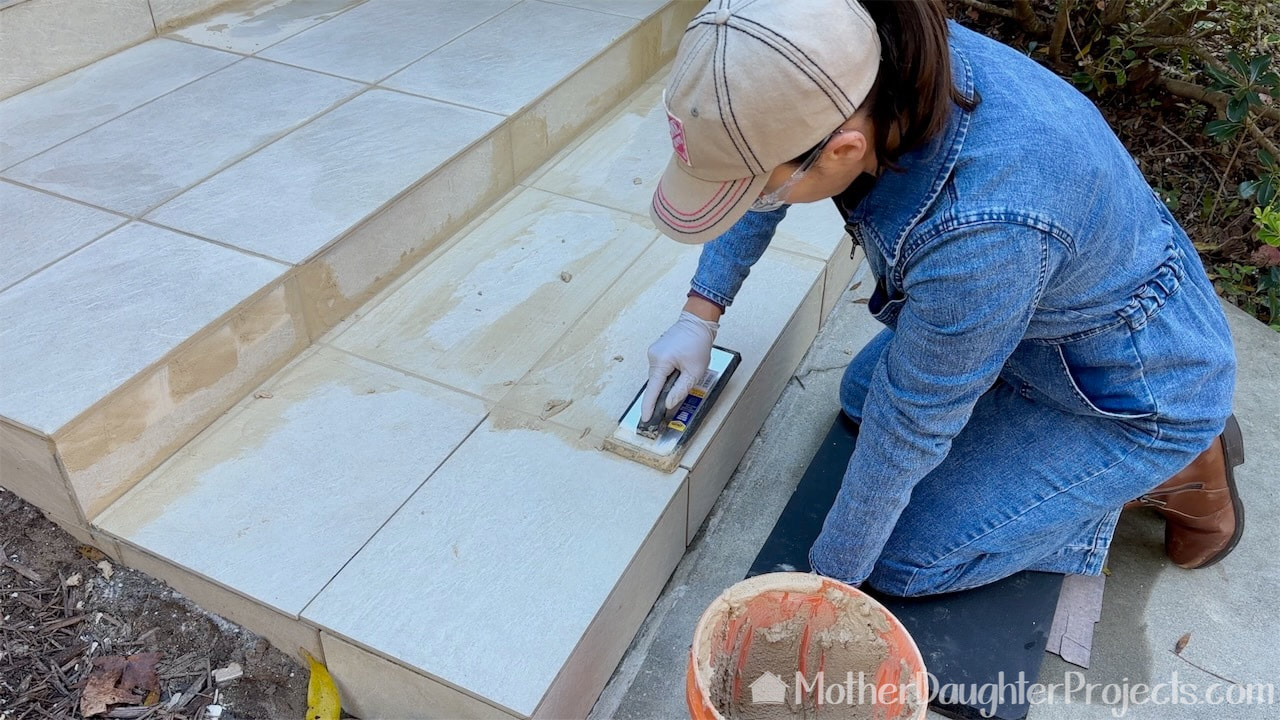
Steph used a molded rubber grout float to apply the grout.
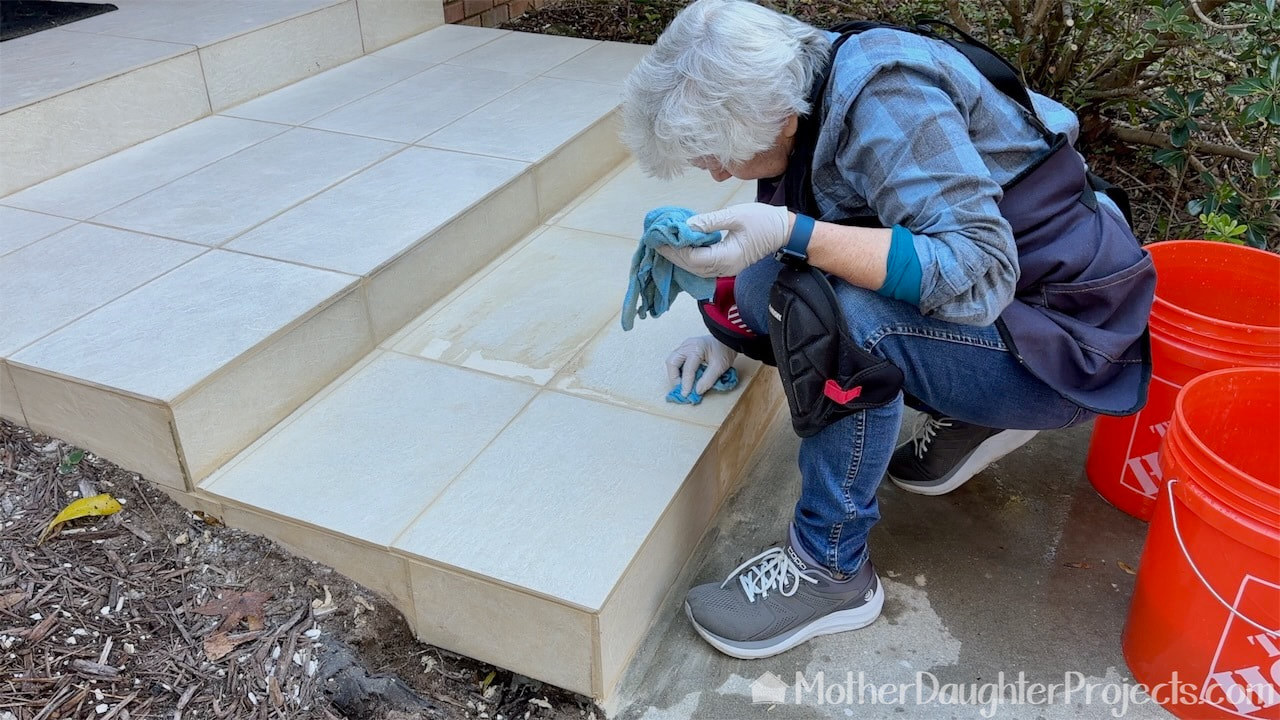
I followed along with sponges and microfiber cloths to clean up the grout on the tiles.
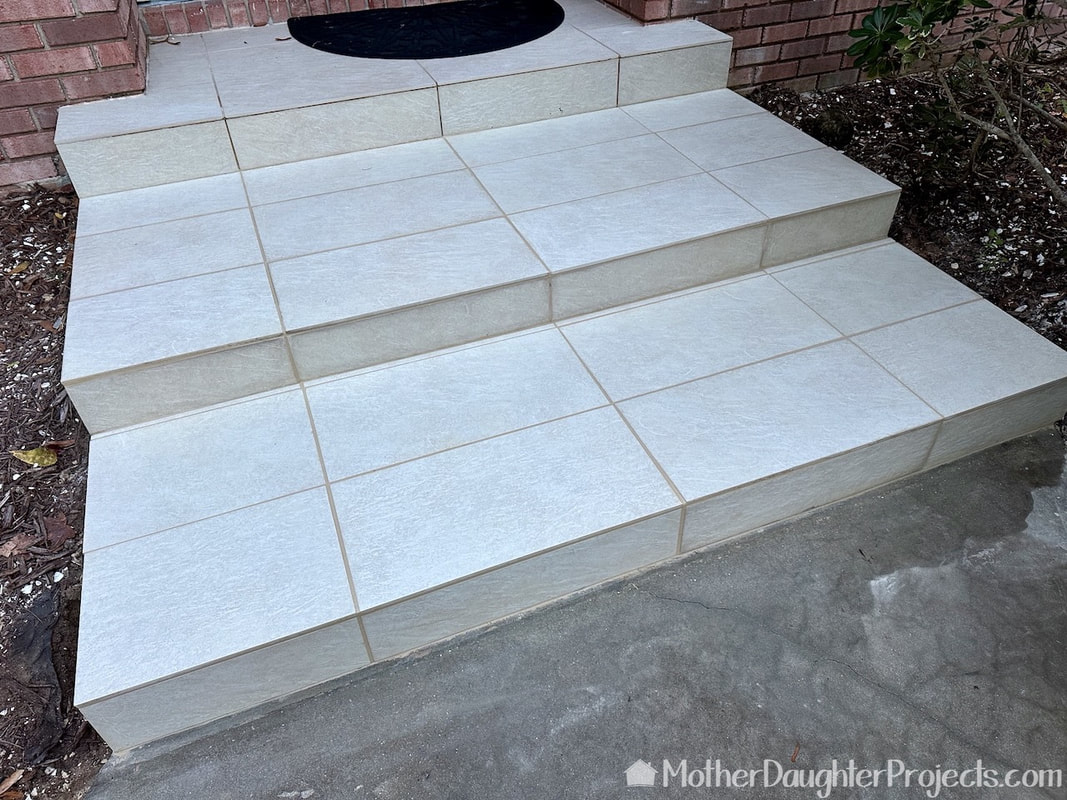
There's no grand reveal as it looks the same as when we started! And we are very happy about that!
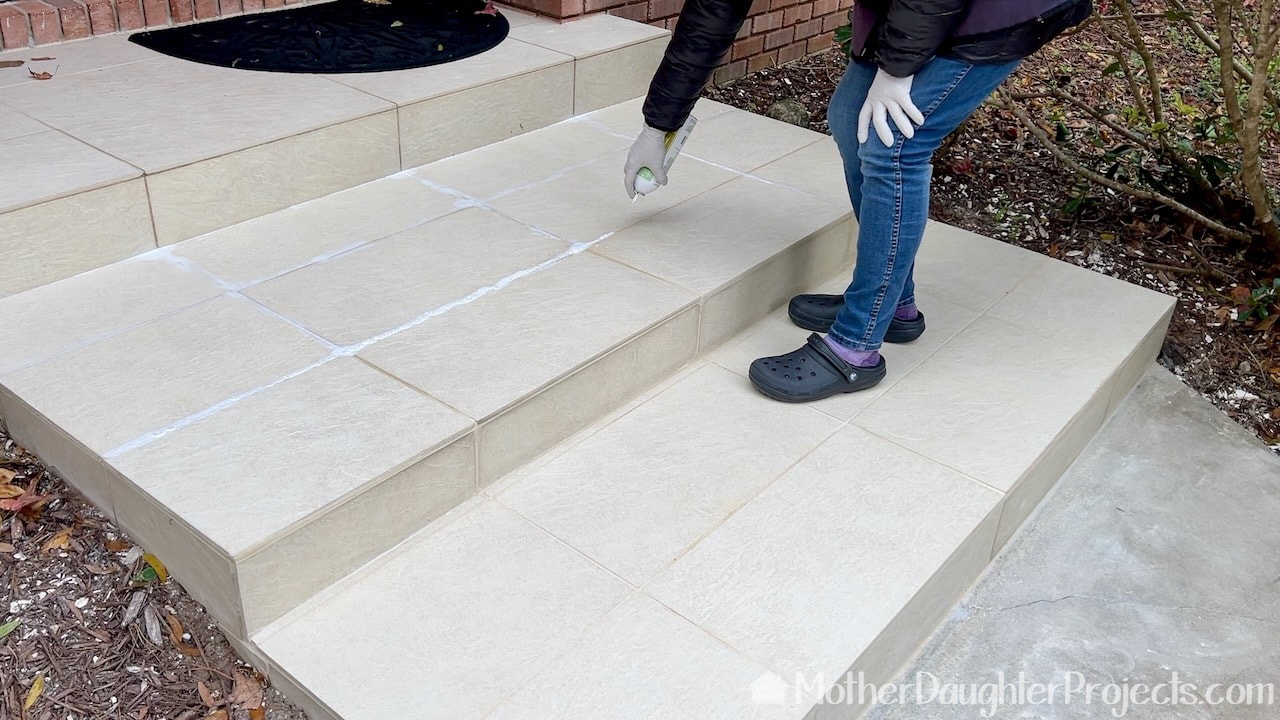
A few days later, I used a grout sealer as suggested by the associate in the tile department at the Home Depot.
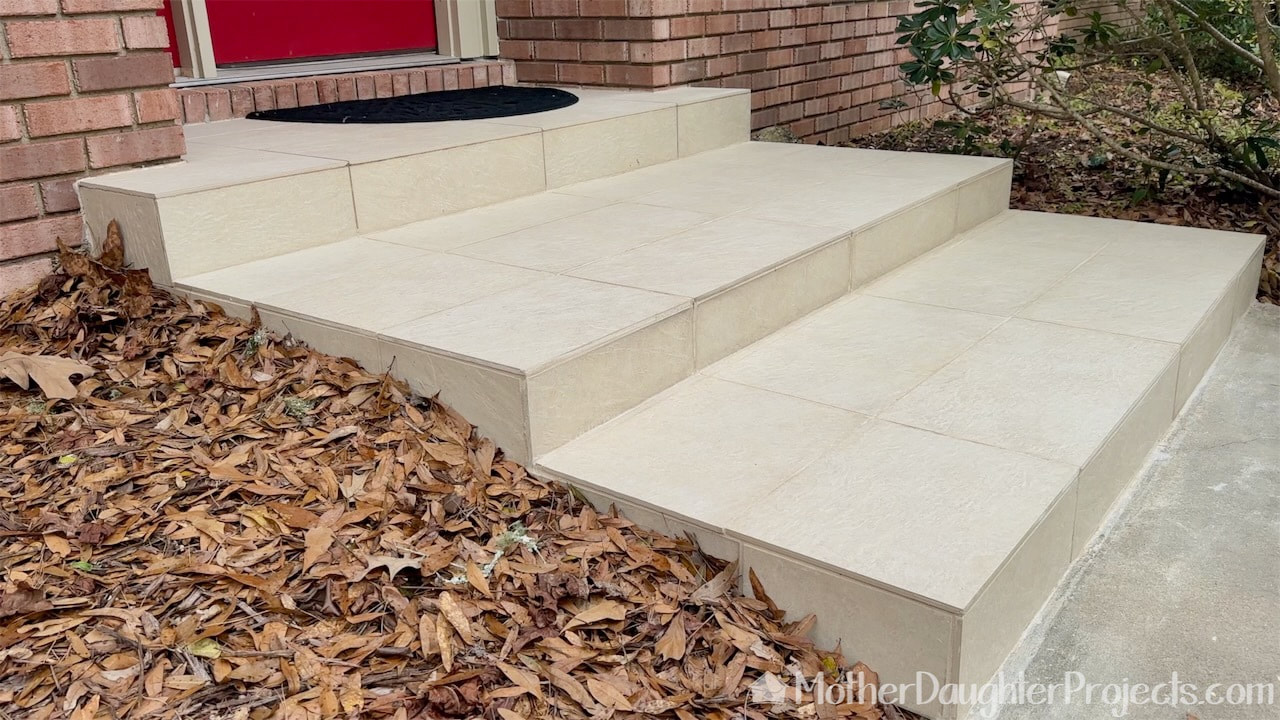
Before
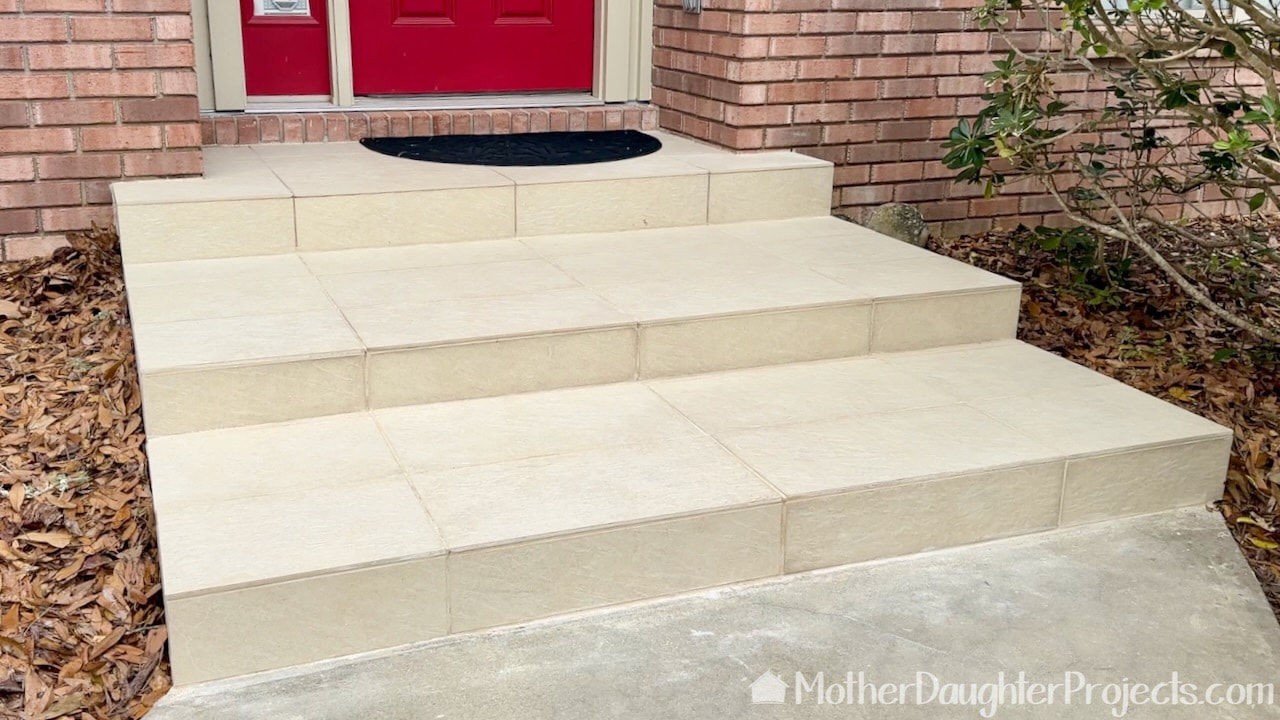
After
Home maintenance projects are not the most exciting as the After, if you've done it right, just looks like the Before!
We actually were very happy it looks the same. Tackling the front steps of my house as our first tiling project was a bit of a risk, but we decided to try. I look at these steps and really can't believe "we did that!" Please note: This is not a sponsored post. We are not professionals, and we don't claim to be. This is what we found worked for our project. Yours may need a little different approach. Safety first! Affiliate links are being used on this page. Purchasing via these links help support MDP. Related Projects
0 Comments
Leave a Reply. |

Mother Daughter Projects
|