|
text by Vicki Sign up here to join our weekly email newsletter!
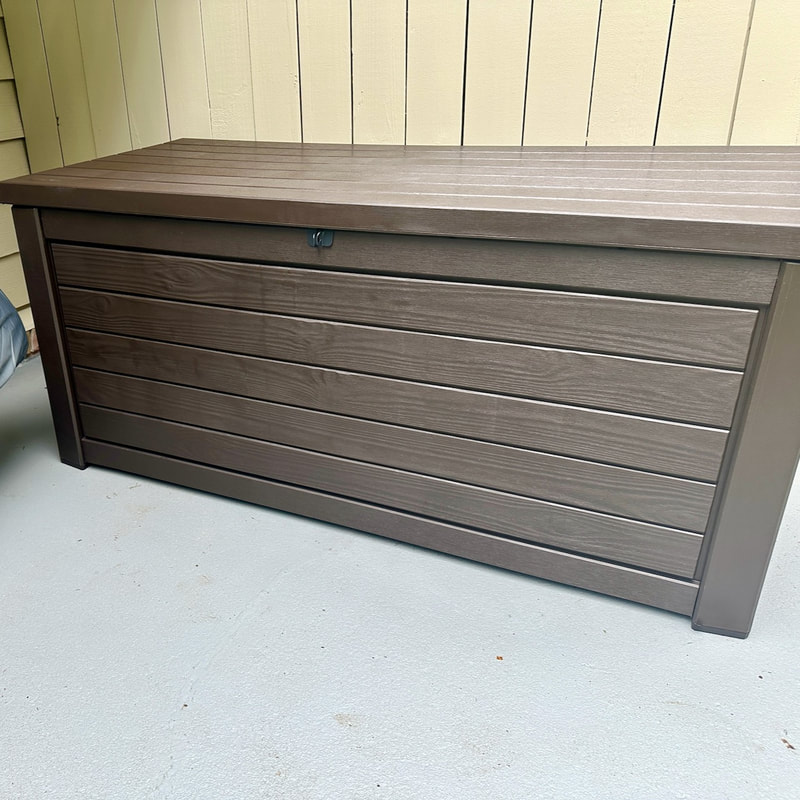
This fall, I've been doing a lot of projects on the concrete patio in my back yard. The makeover was sparked from the removal of all loose articles when there was the threat of a hurricane last August.
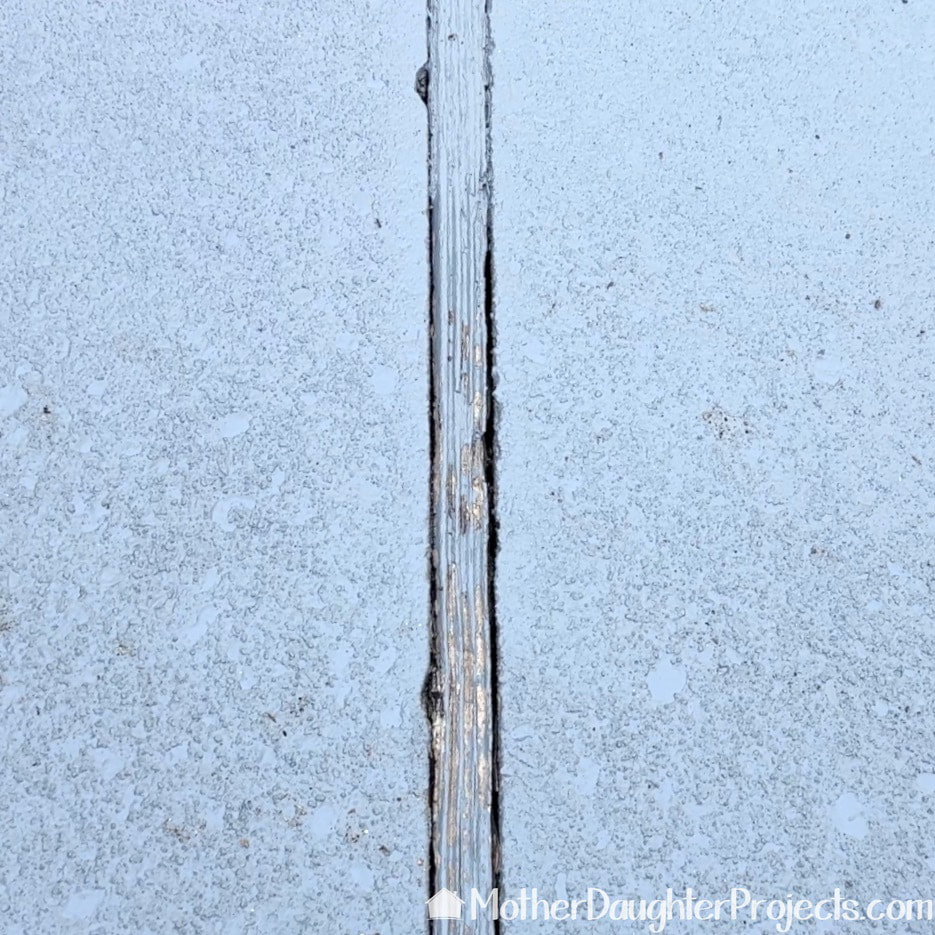
Before I put everything back, I realized the concrete was dirty so I decided to clean it, which led to painting it as the concrete was in poor condition, which also led me to realized the wood expansion joints were in bad shape. One end of which had entirely disappeared! So, we ordered a new vinyl expansion joint product and set out one morning to quickly take out the old ones and replace with the new vinyl. BUT....It was not quick.... Tools:
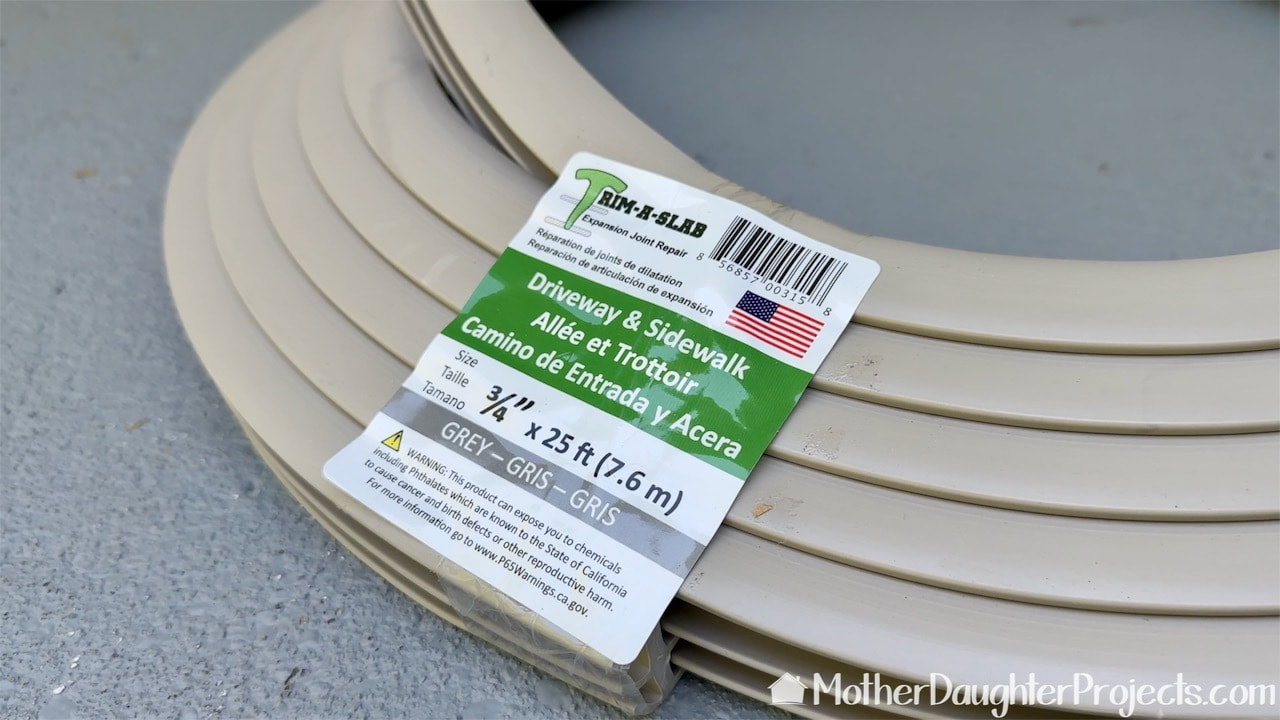
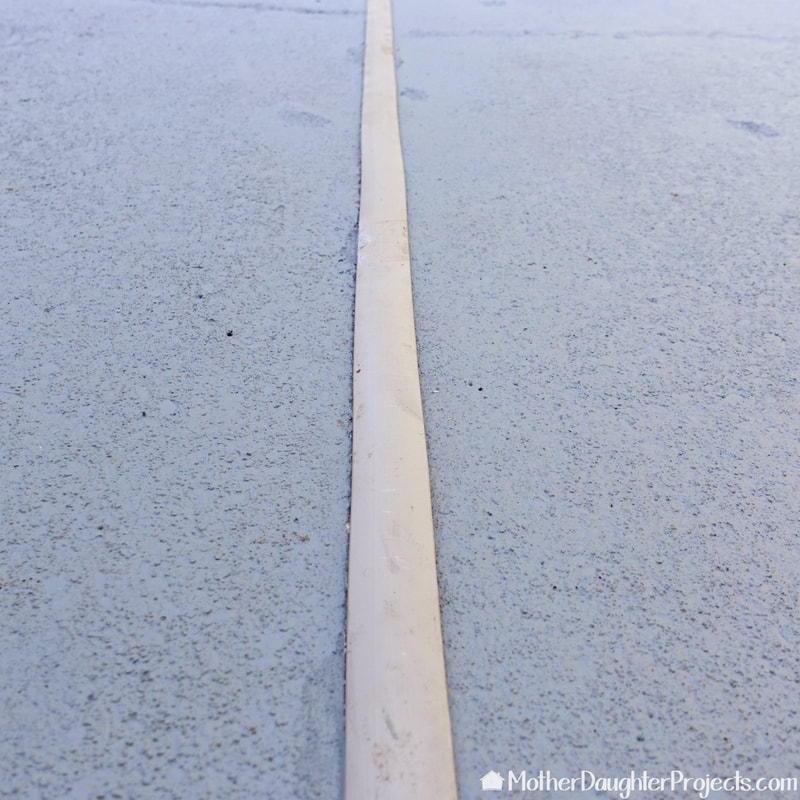
This is Trim-A-Slab which we ordered online at Home Depot. It was delivered right to the house. It comes in a variety of widths. We chose the 3/4 inch width.
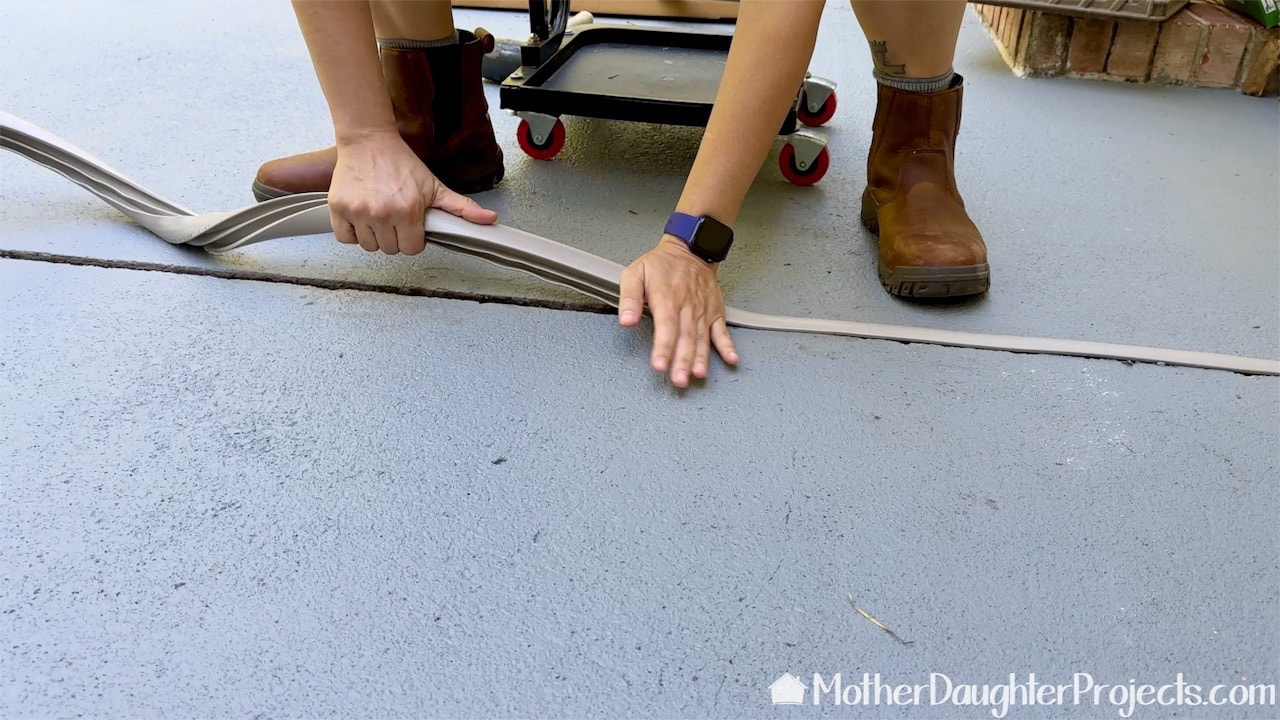
Once the old wood joint is out and the area clear of debris, it easily pushes into place with only a pair of heavy duty shears and a mallet to get the job done.
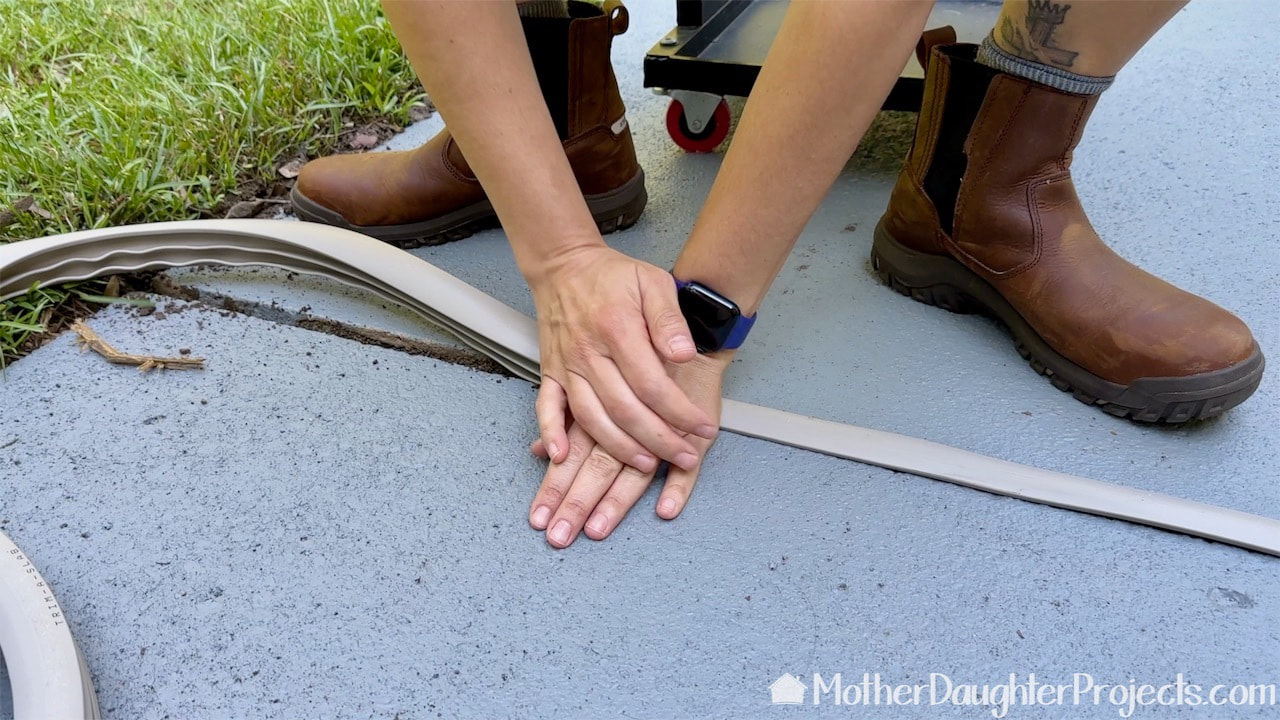
It fits snugly into the cleaned out expansion joint and can be hand pushed into place.
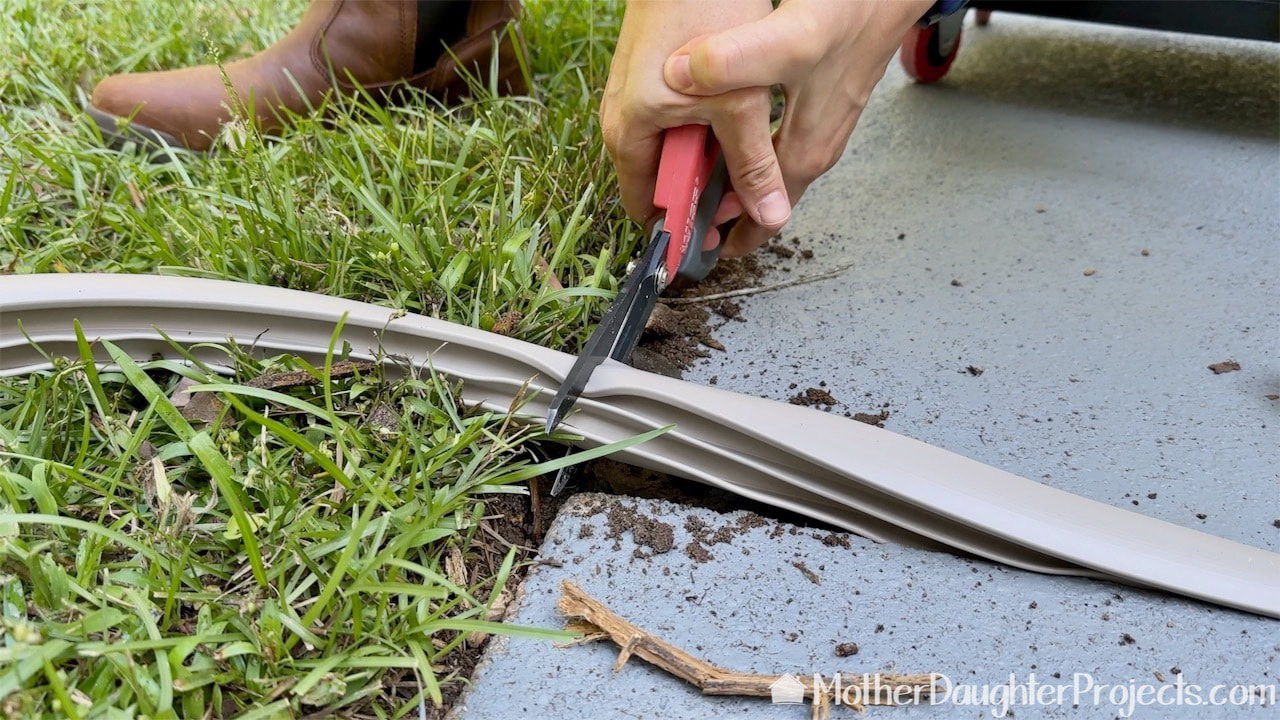
Heavy duty shears, these are by Wiss, easily cut the vinyl to length.
Now that we've shared how easy the trim-a-slab goes into place, follow along was we share how we finally got the old wood expansion joint out.
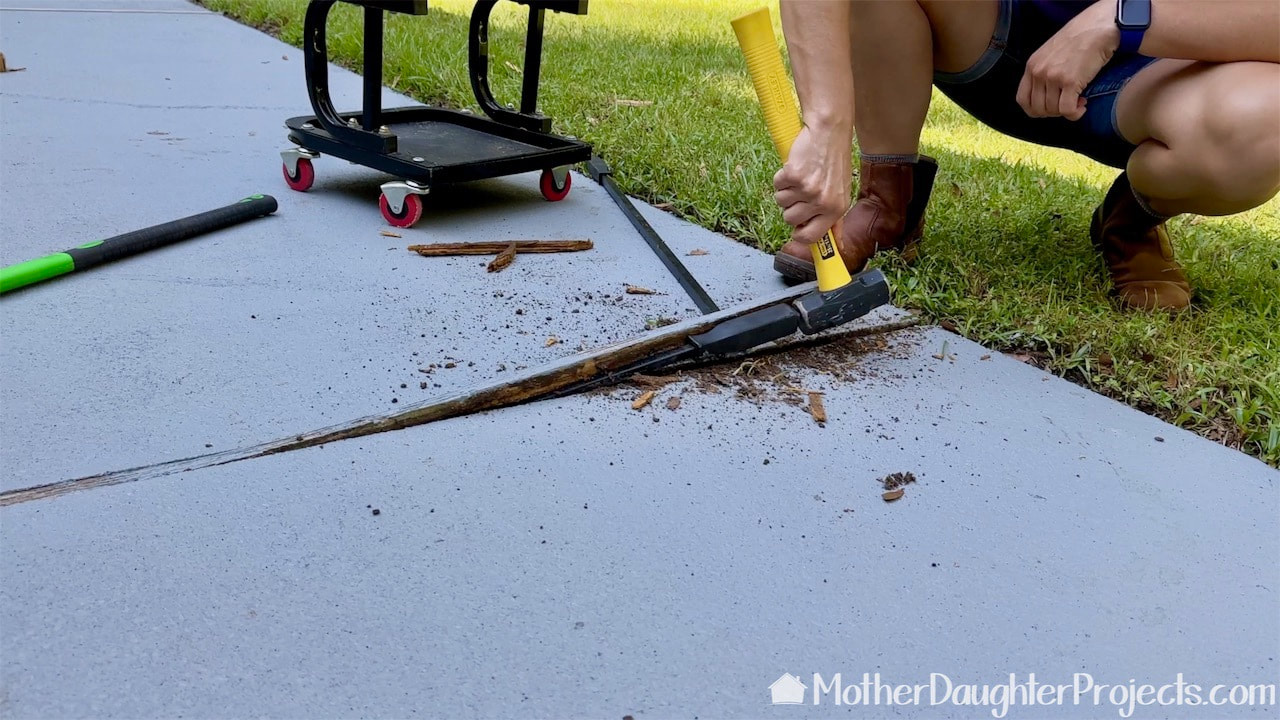
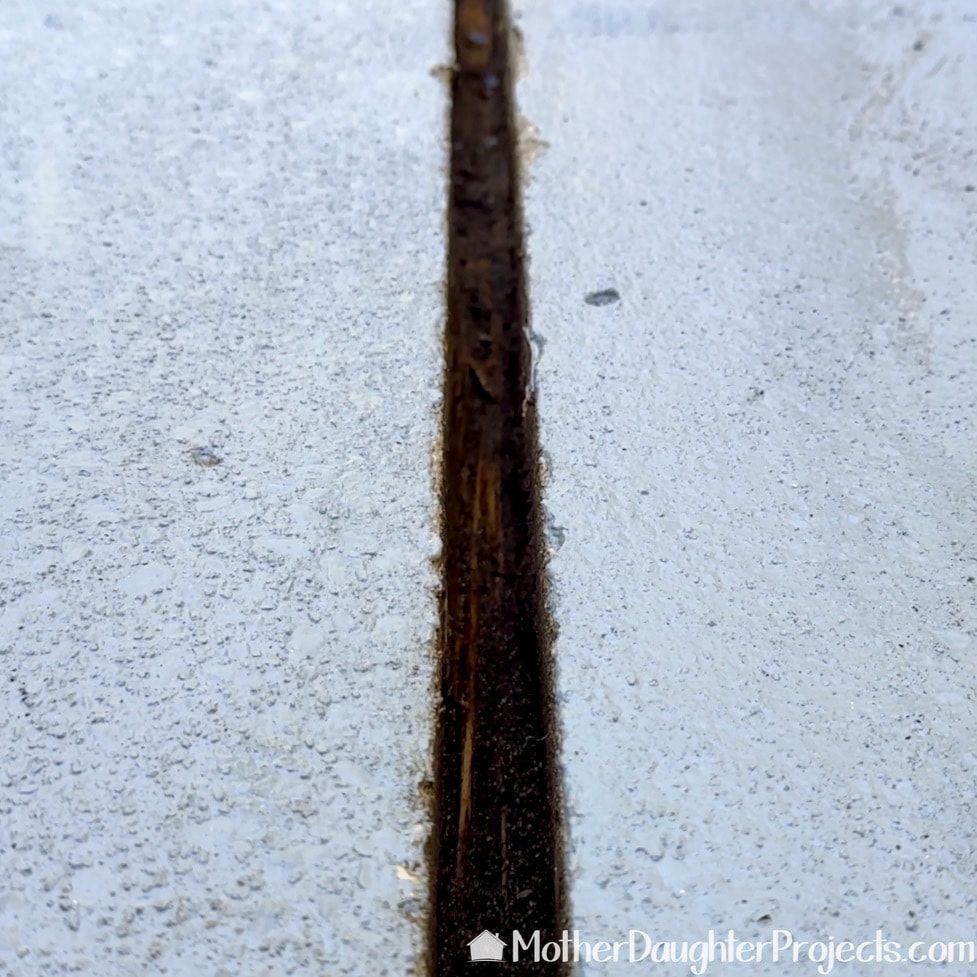
We tried a variety of methods to remove the old wood joint. This is what finally worked. We bought a pry bar set. Only one would fit into the width of the expansion joint so that's the one we used. We angled the pry bar under the wood and slowly moved it forward by using a baby sledge hammer.
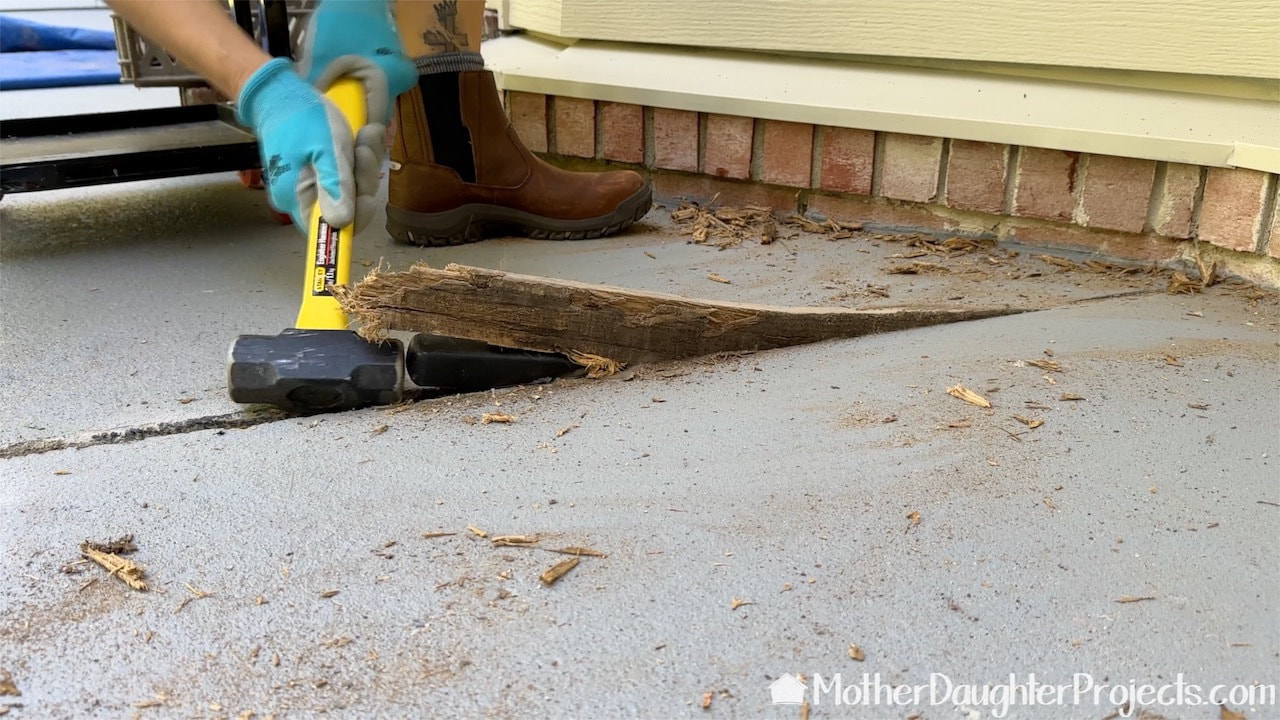
The wood came out slowly using the method. We worked carefully when we got towards the house so we didn't accidentally break the wood as it would have been difficult to get that piece out near the base of the house.
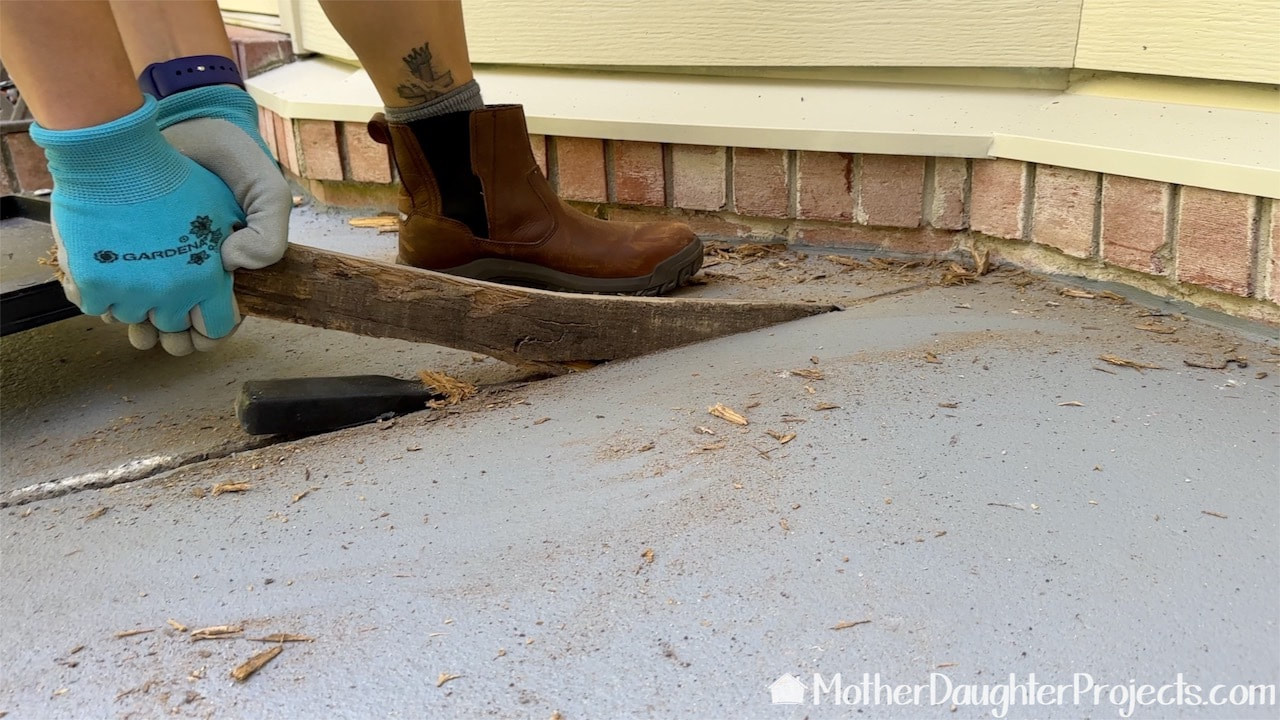
When it was almost free, Steph grabbed hold of it and slowly lifted it out in, thankfully, one piece!
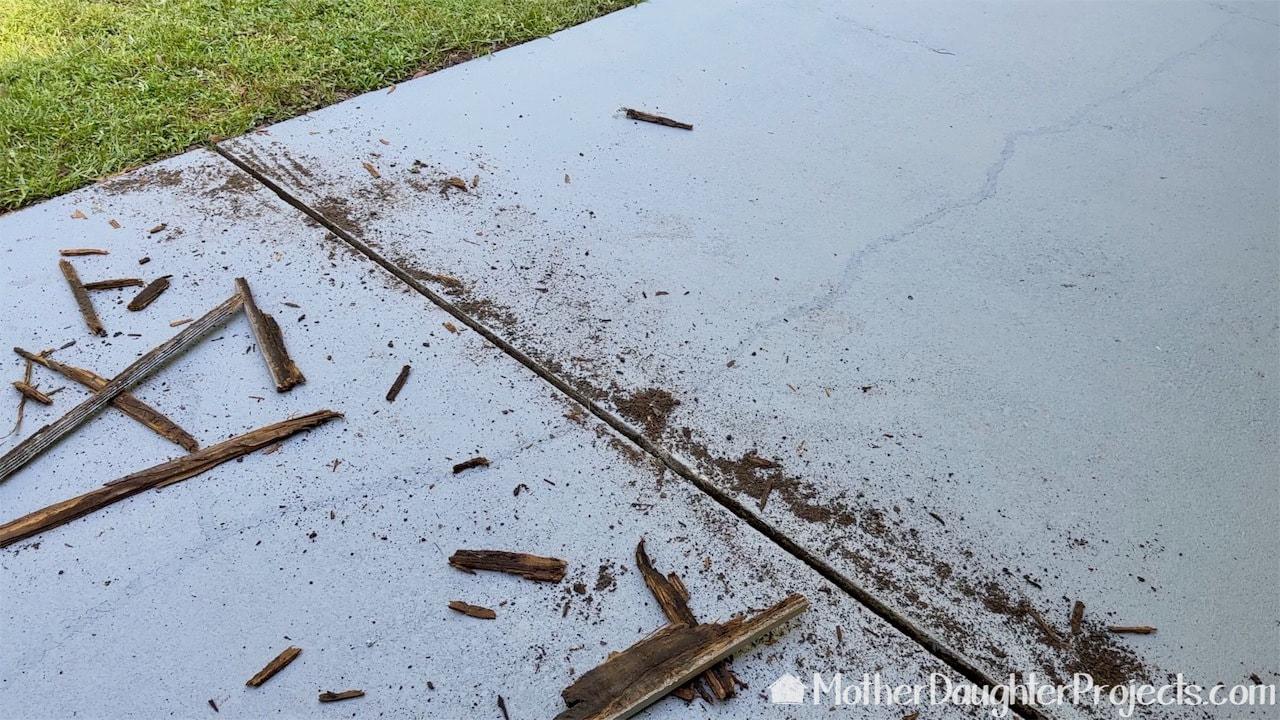
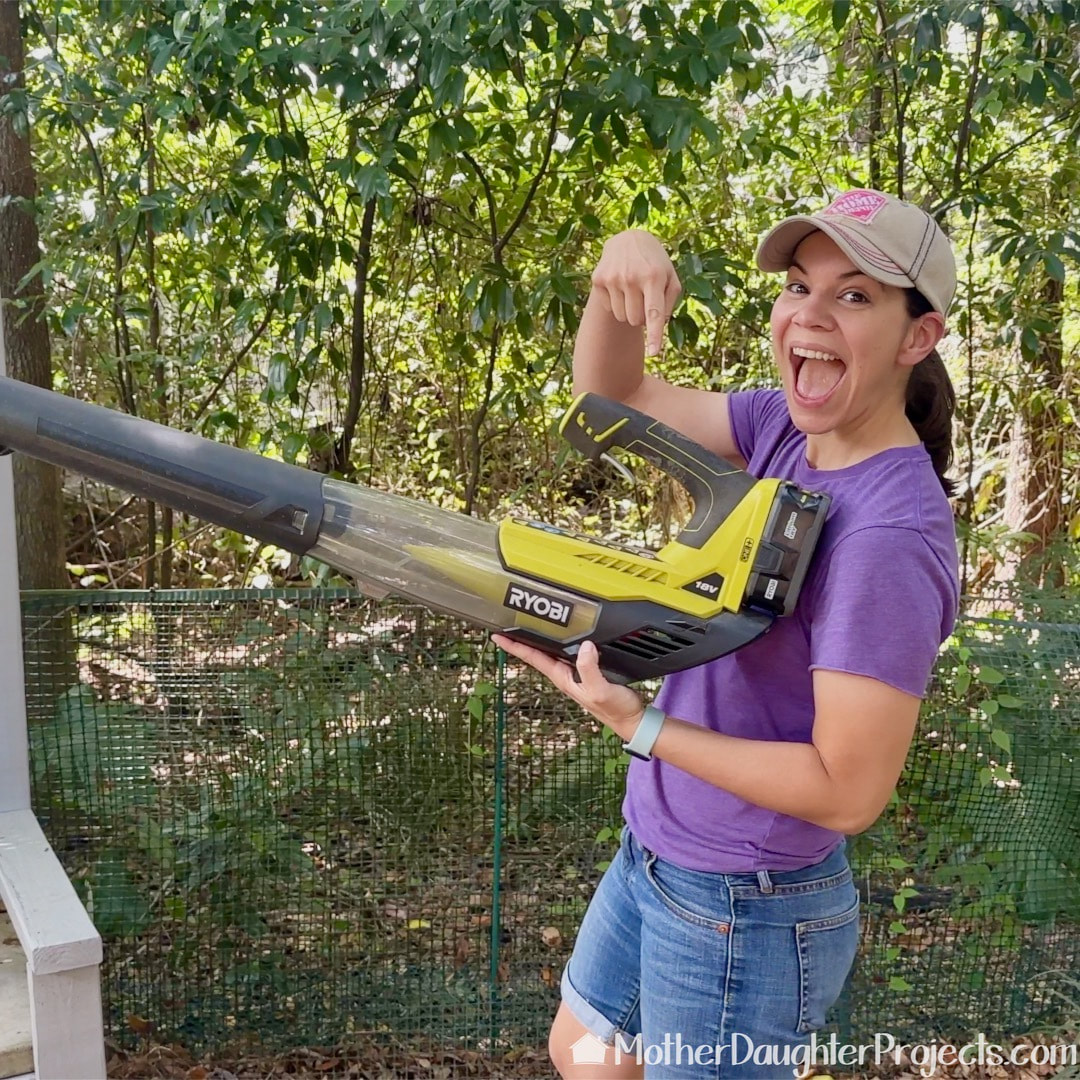
This is the mess left behind after removing this expansion joint. Our Makita leaf blower cleaned it all up nicely.
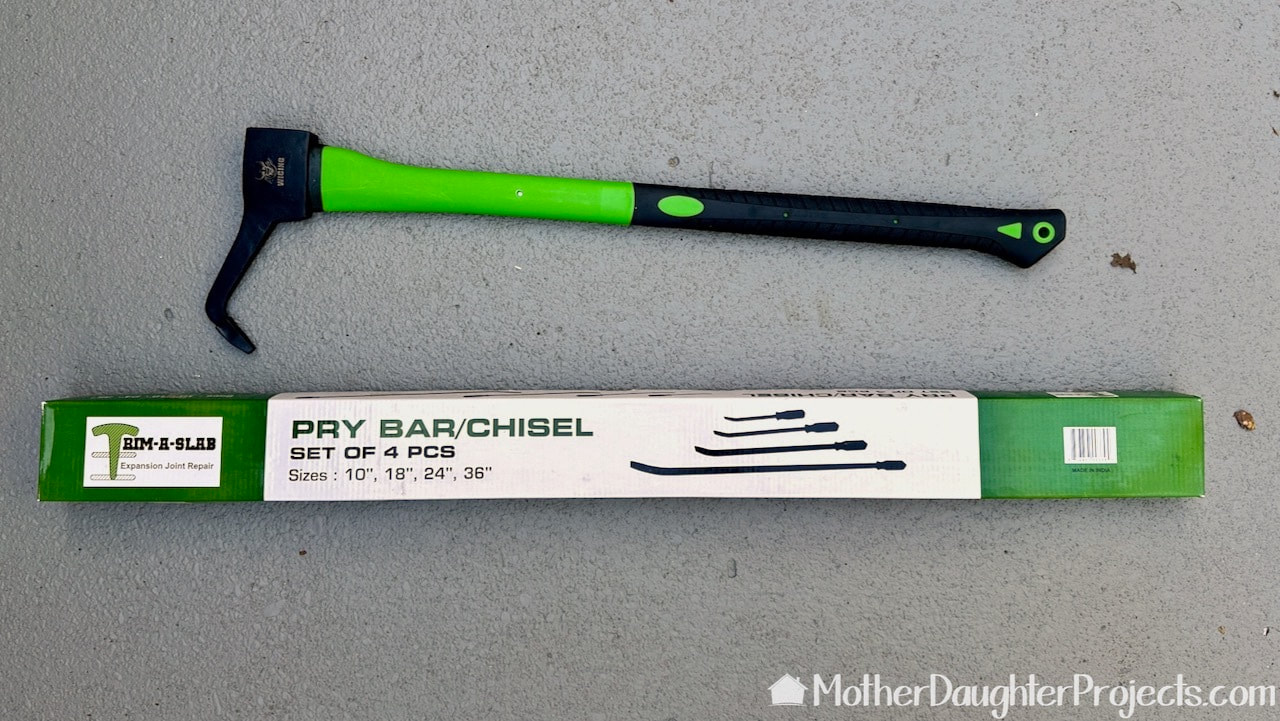
After all our first attempts to removed the expansion joint (which you can see in the video), we ordered these two tools. The top is a Hook-A-Roon, and the bottom is a set of pry bars that Trim-A-Slab sells.
We had high hopes for the Hook-a-Roon, but it failed in helping to remove the wood expansion joint.
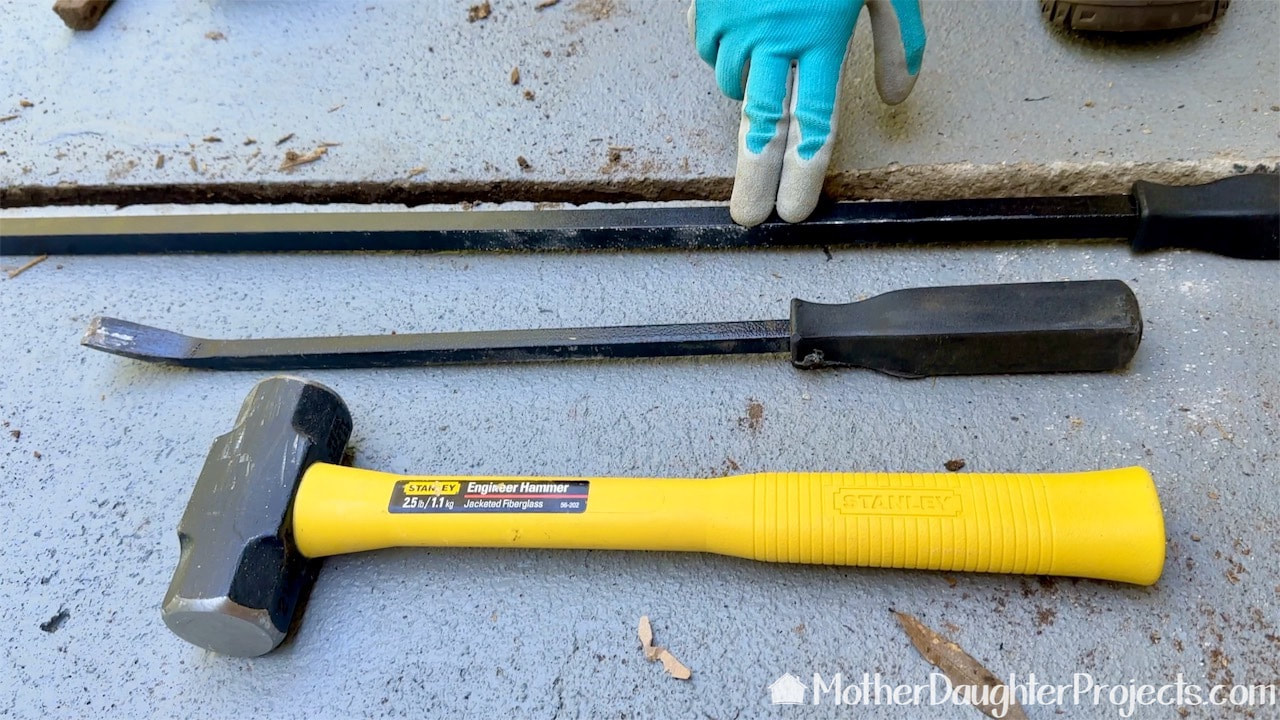
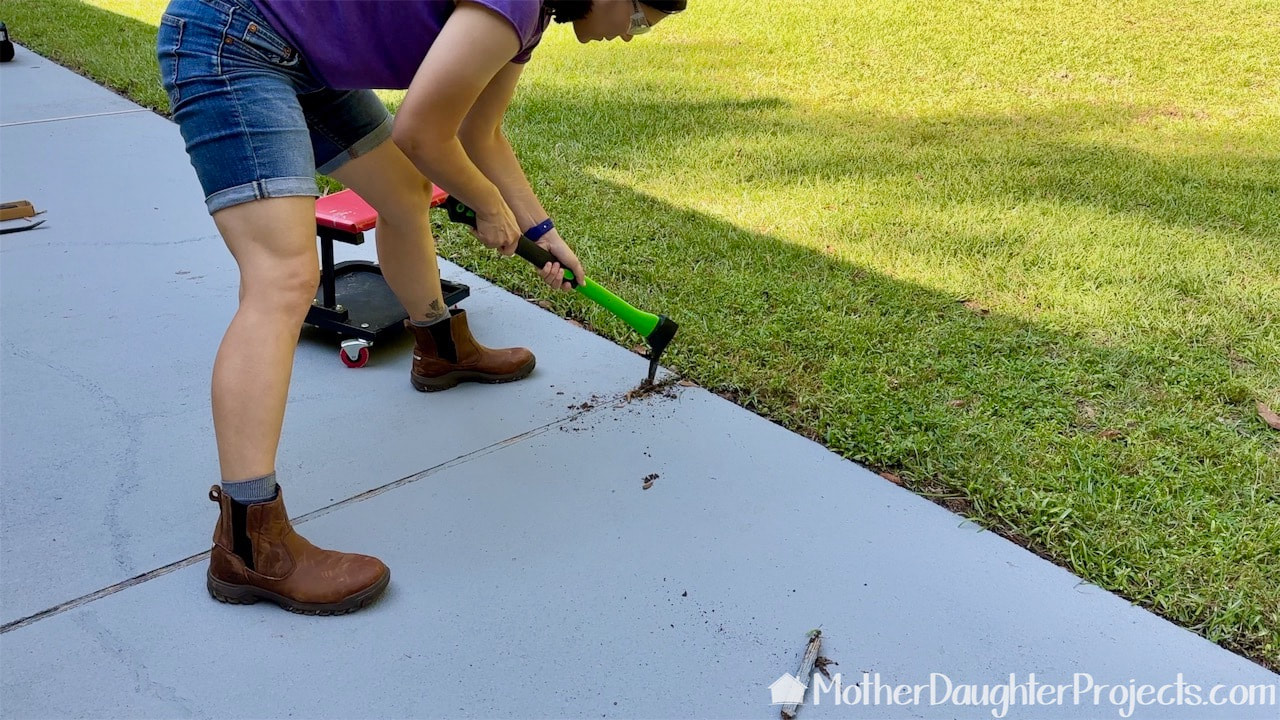
This is what worked: a long pry bar that we used underneath the expansion joint, the small pry bar that we put under the wood expansion joint, and the baby sledge hammer that we used to move the smaller bar bar under the wood to lift it out.
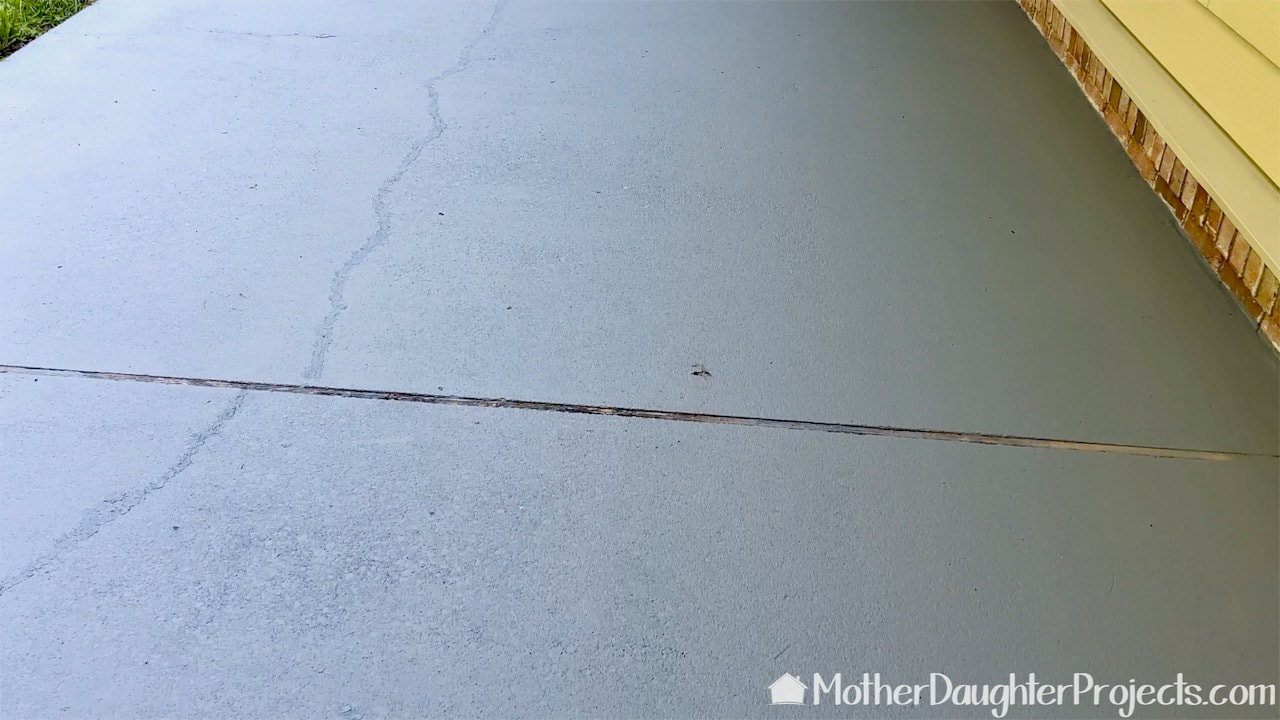
You can see in the newly cleaned out expansion joint that our efforts to remove the old joint resulted in some damage to the concrete. I easily patched and repainted it but I would recommend doing all patching and expansion joint repair BEFORE painting! Save yourself the aggravation and extra time to repair you work.
All in all, I've very happy with the transformation of this patio. The new joints and paint make the patio a place that I enjoying hanging out on. Please note: This is not a sponsored post. We are not professionals, and we don't claim to be. This is what we found worked for our project. Yours may need a little different approach. Safety first! Affiliate links are being used on this page. Purchasing via these links help support MDP. Related Projects
0 Comments
Leave a Reply. |

Mother Daughter Projects
|