Mother Daughter Projects

  • About
    • Contact
    • Privacy Policy
  • Maintenance
  • Improvement
  • Decor
  • Tech
  • Tools
    • Tool Tuesday
  • About
    • Contact
    • Privacy Policy
  • Maintenance
  • Improvement
  • Decor
  • Tech
  • Tools
    • Tool Tuesday

DIY for Homeowners

Ryobi Blower Trigger Switch FIX

9/6/2023

0 Comments

 
text by Steph     Sign up here to join our weekly email newsletter!
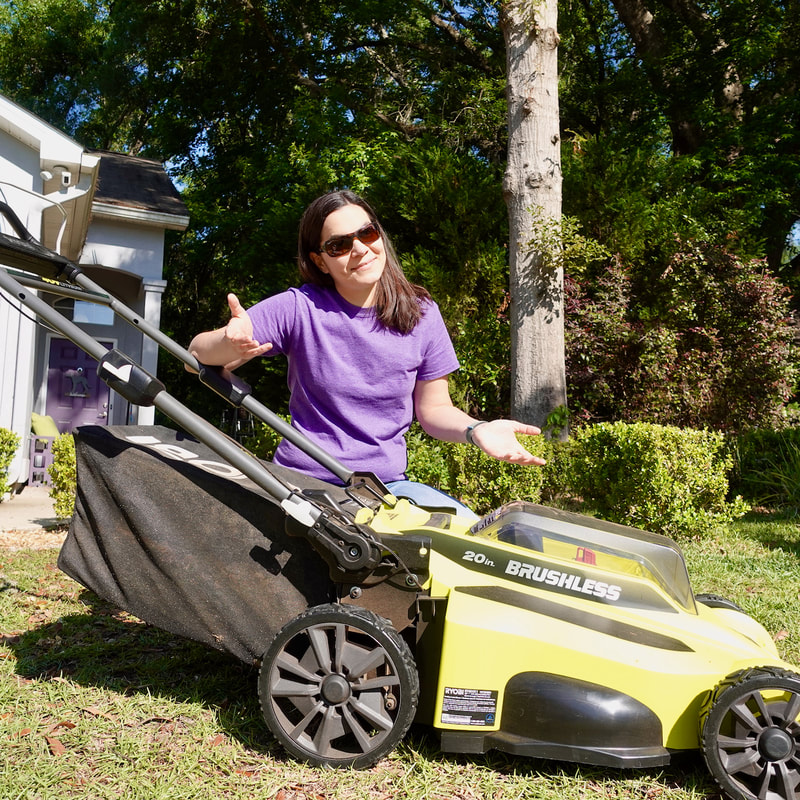
I have two leaf blowers at my house. One I keep in the garage, and one I keep in my outdoor storage box for quick access. My backyard is covered in trees so it's nice to grab my Ryobi leaf blower anytime to clear the debris (although I do keep the batteries in the house).

Over the last few weeks the blower trigger switch has been intermittently not working. So I searched to see if there was a fix, and here is how I fixed it!

Materials/Tools:


  • HOMELITE RYOBI 291632001 Genuine Wiring Harness Replaces Also Used ON RIDGID Troy-BILT Echo Powerstroke Workforce (Amazon)

  • Closed End Crimp Connectors (Amazon)

  • Klein Tools Self Adjusting Wire Stripper (Amazon)

  • IRWIN VISE-GRIP Wire Crimp (Amazon)

  • Husky Screwdriver Set (Home Depot)

  • Husky Magnetic Bowl (Home Depot)

  • RYOBI ONE+ 18V 100 MPH 280 CFM Cordless Battery Variable-Speed Jet Fan Leaf Blower (Home Depot)

Here are all the tools I'm using to repair the switch on the Ryobi leaf blower.
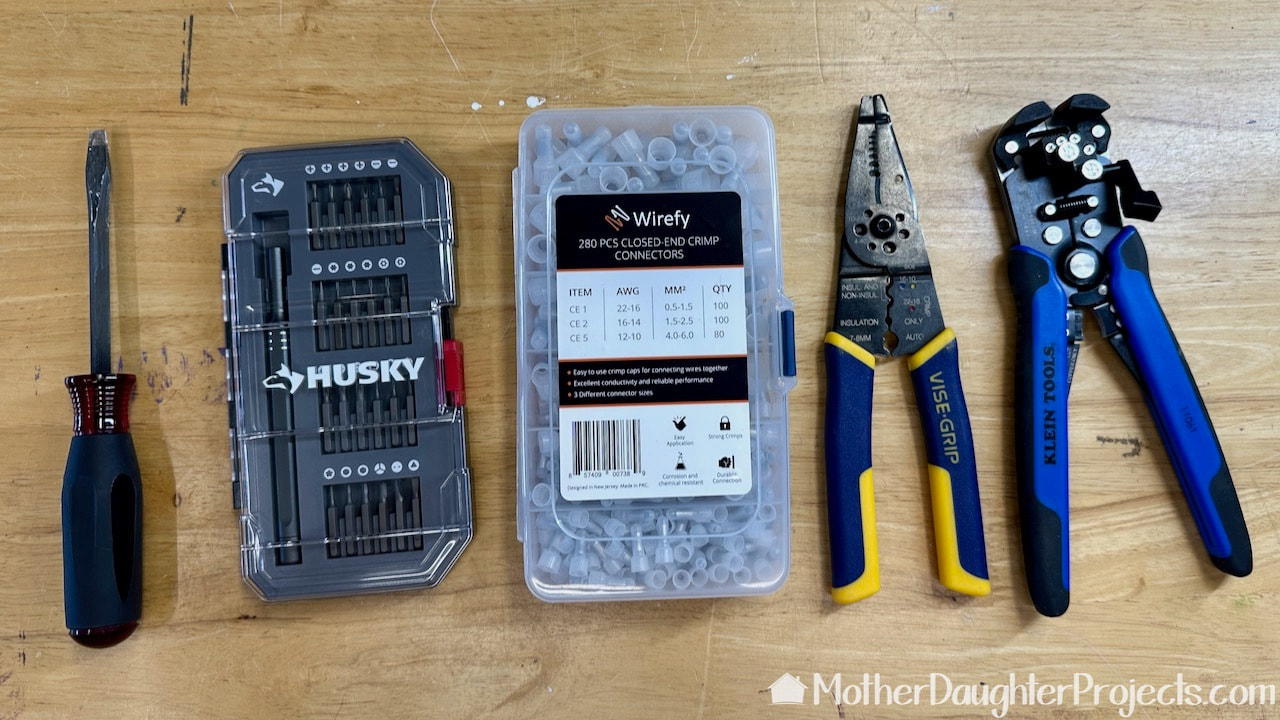
These are all the tools I used.
I'm using a Torx T15H to remove the screws in the ryobi leaf blower handle.
First, remove the 10 screws.
Once the screws are removed from the handle housing on the Ryobi, you can take it off to make the repair to the switch.
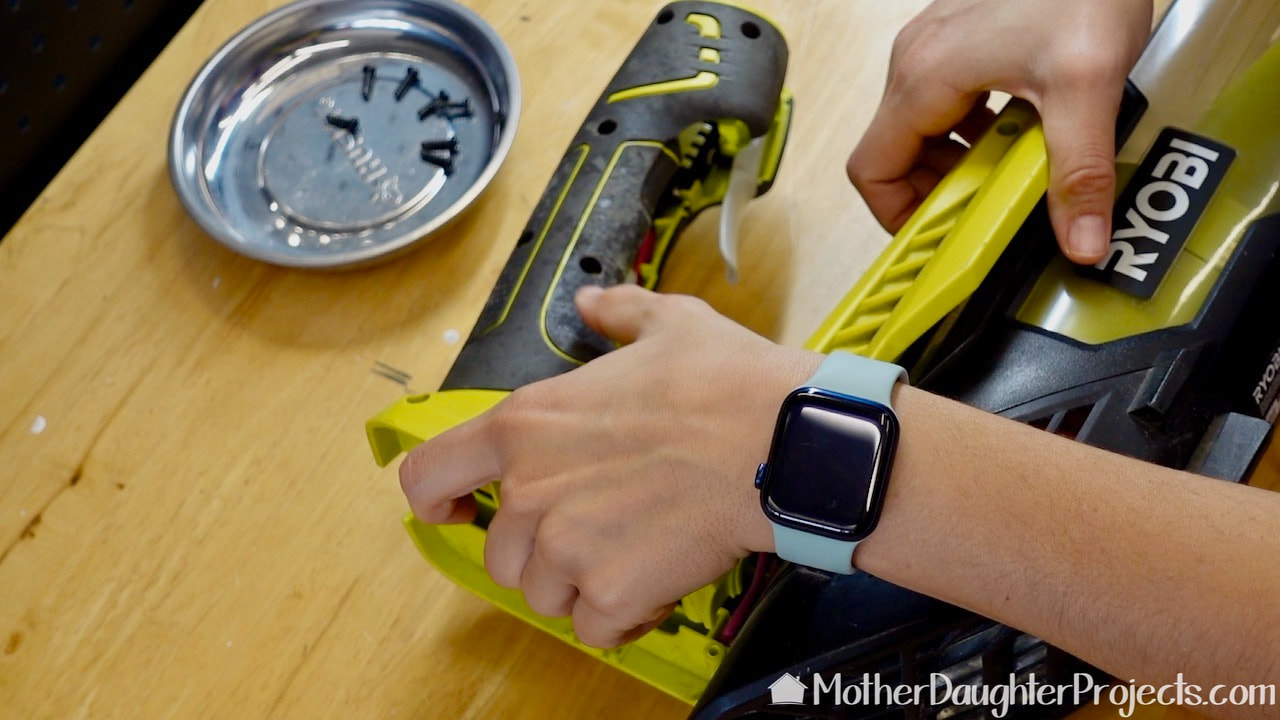
Next, take the top off the handle section.
Here's the inside look at the old wiring in the Ryobi leaf blower.
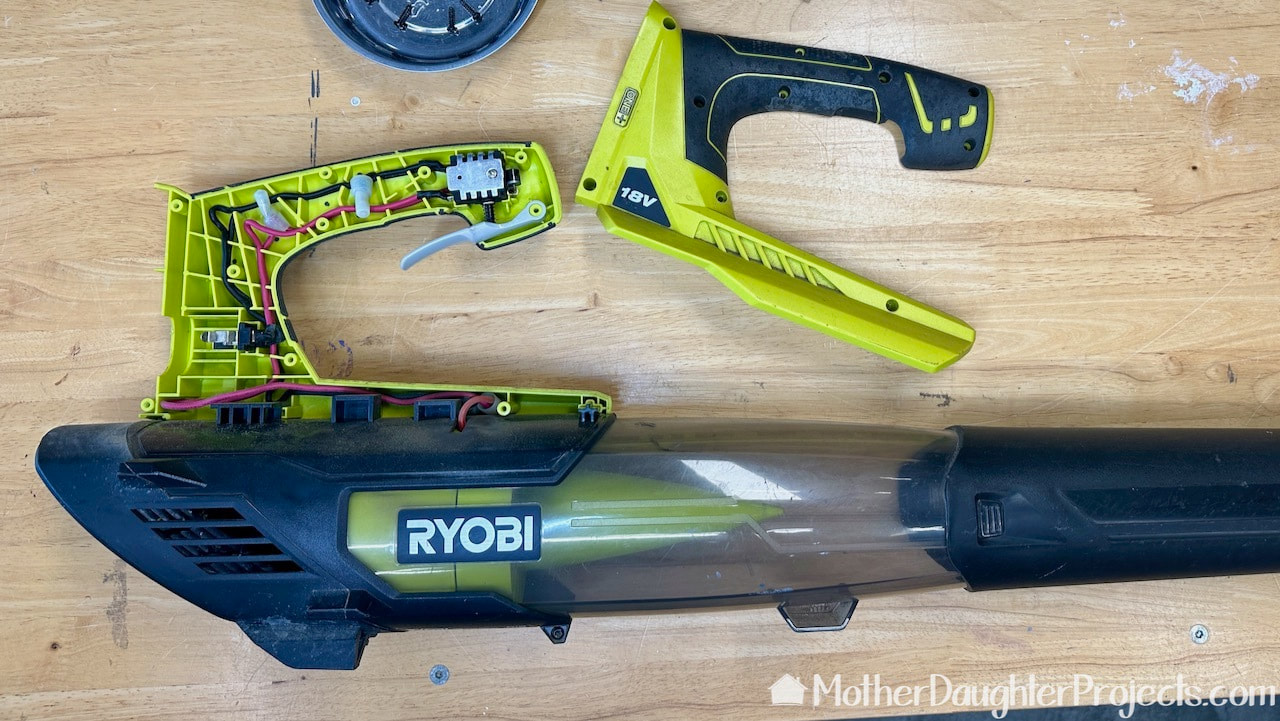
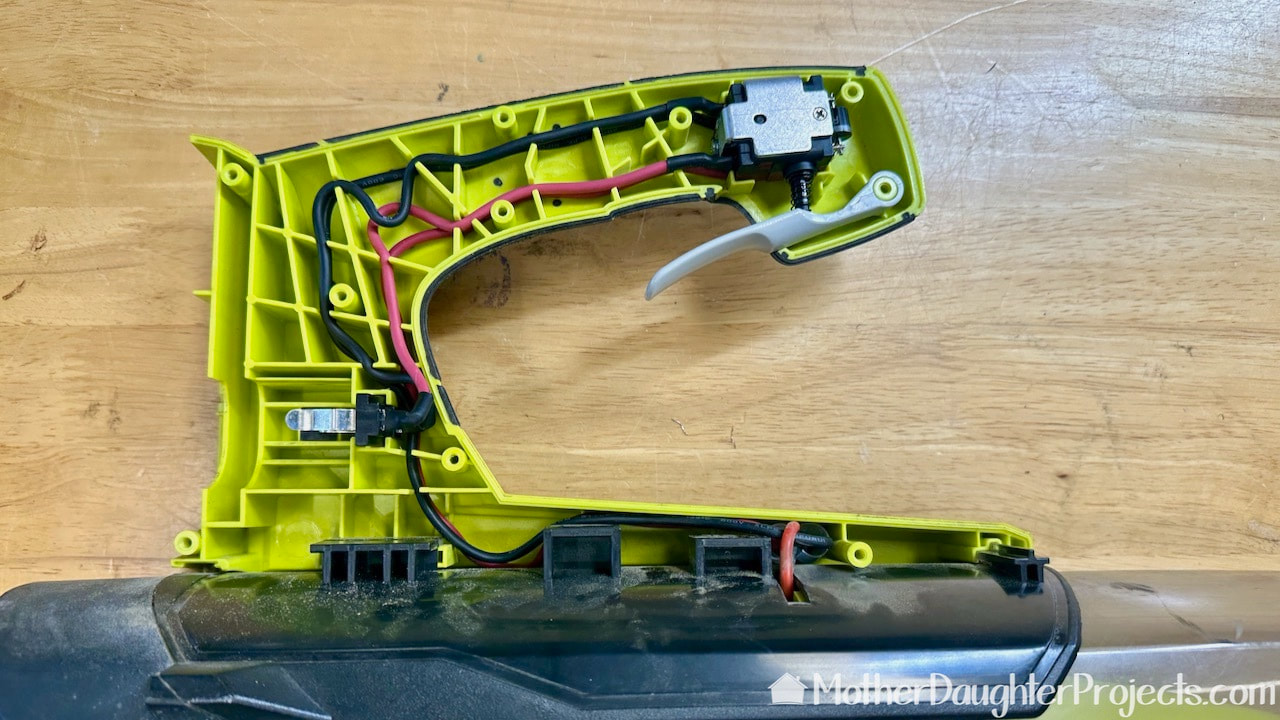
This is the old wiring. Make sure to take a picture of yours so you can get the new wiring placed right.
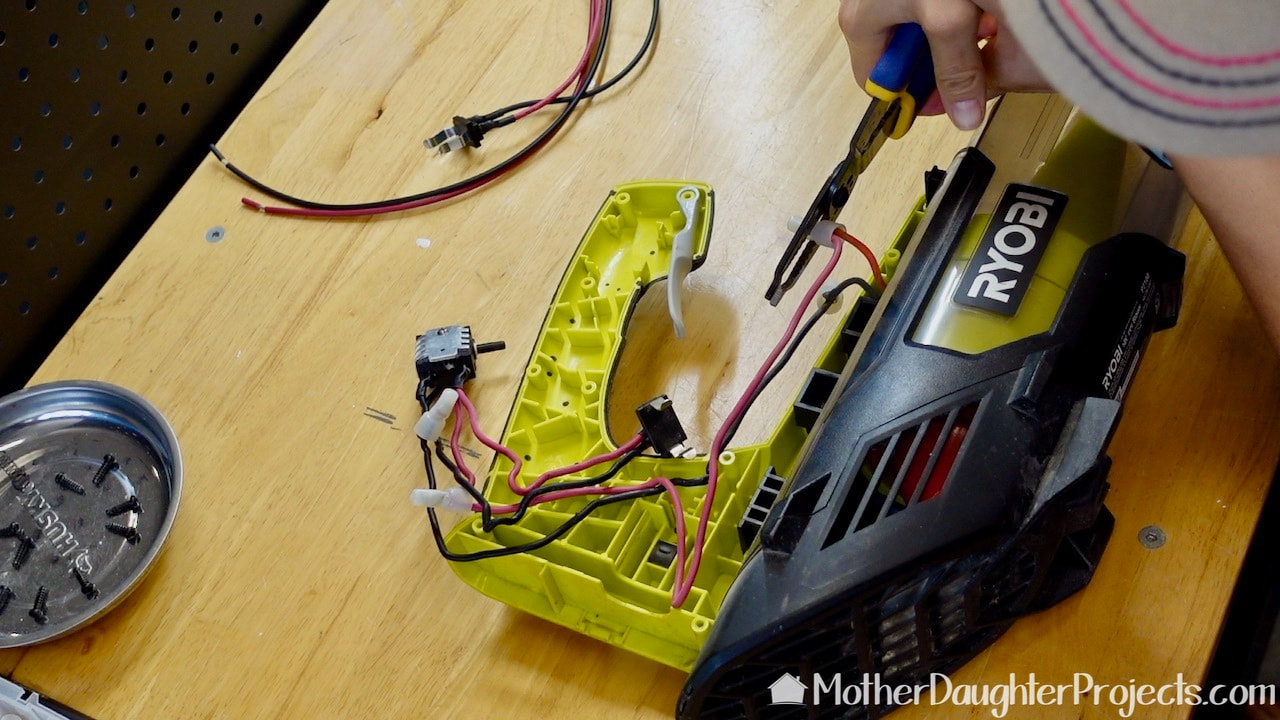
Use wire strippers to cut into the closed-end connector which separates the wiring harness from the blower body.
This is what it looks like with the old wiring removed from the Ryobi leaf blower.
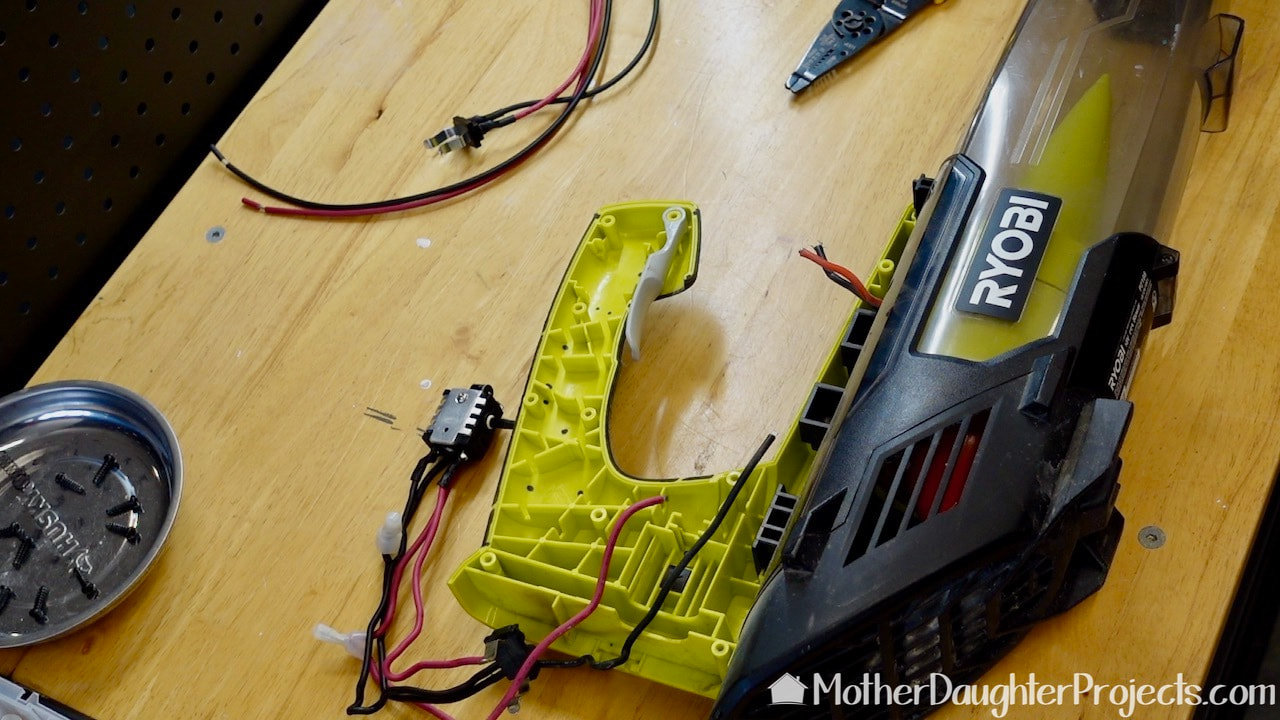
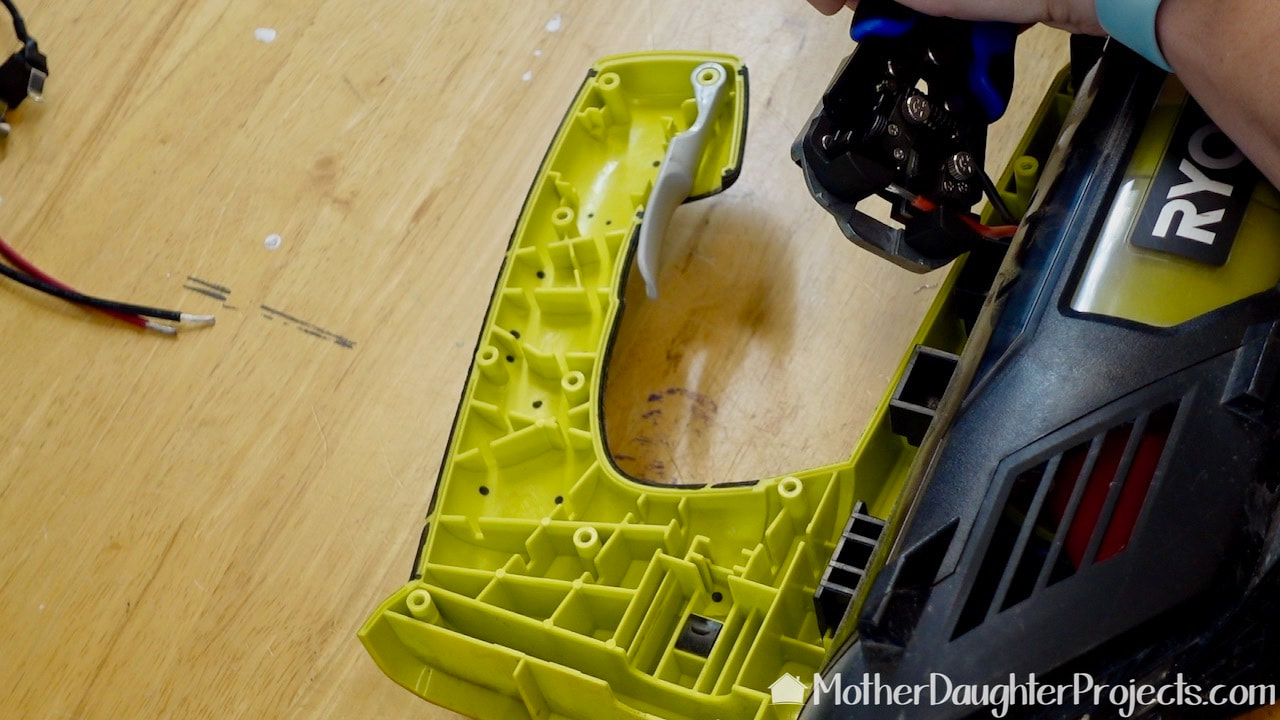
This is what it looks like with the old wiring removed.
To attach the new wiring to fix the Ryobi leaf blower switch you'll. need to strip the wires.
Strip the wires. This is a self-adjusting wire stripper that works in one movement to cleanly strip the wire.
Use a closed-end connector to secure the wires.
Connect the wires together and place a closed-end connector and crimp it in place.
The new wiring harness in the leaf blower is now in place.
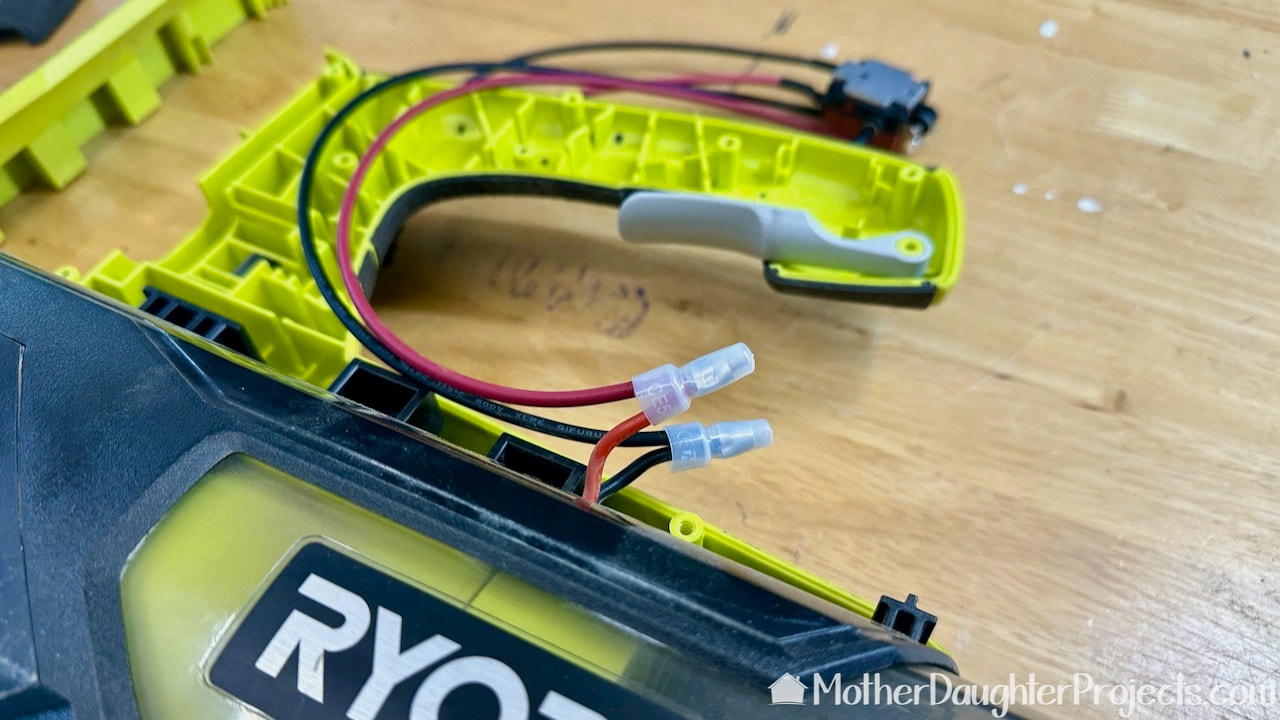
The new wiring harness is now connected to the blower.
before closing up the handle on the Ryobi, test that it works using a battery.
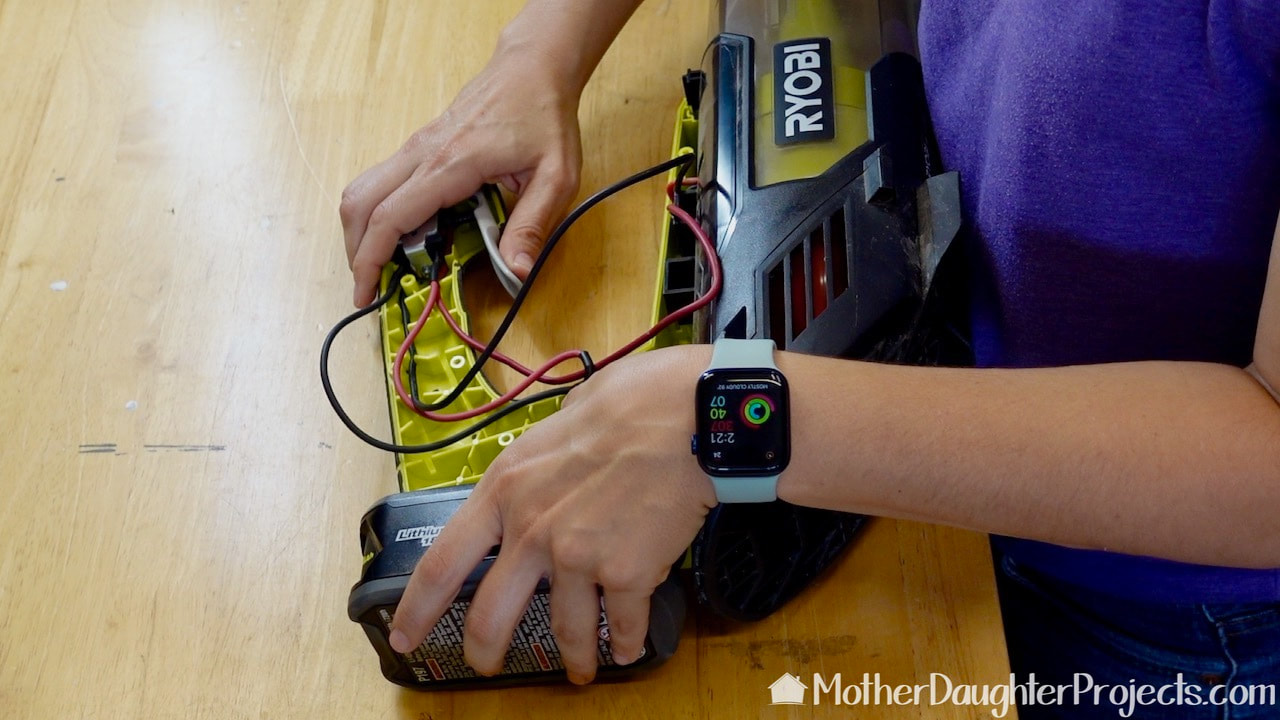
Test with a battery to make sure the battery section is in the right direction.
Push the wiring into the channels in the handle of the ryobi leaf blower. The fix is almost done!
New wiring in place.
The new wiring harness looks a bit different from the old one but it works.
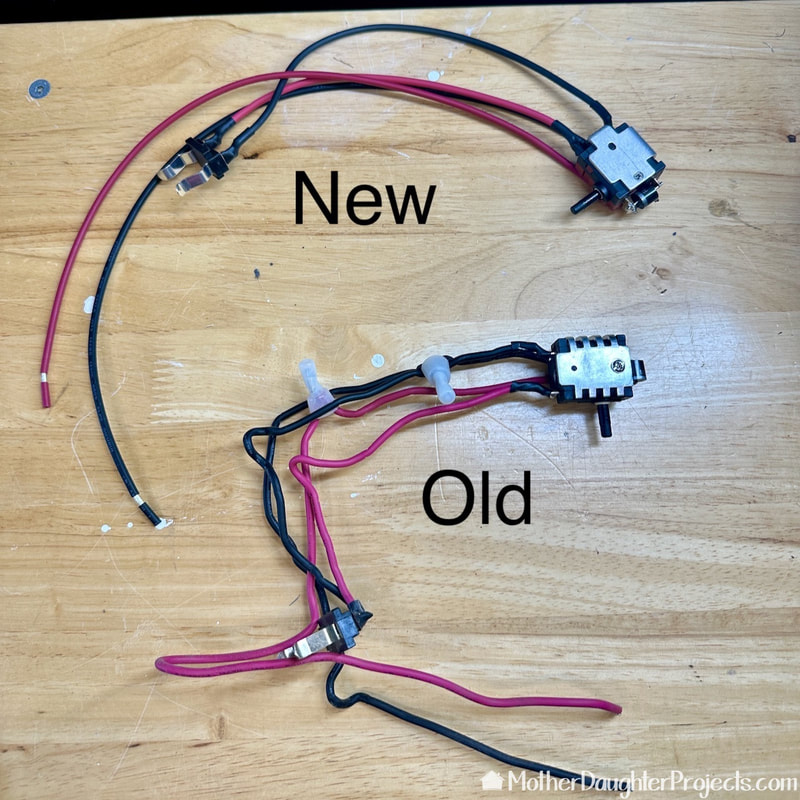
Old and new RYOBI 291632001 Wiring Harness.
The newly repaired or fixed Ryobi blower now works as it should
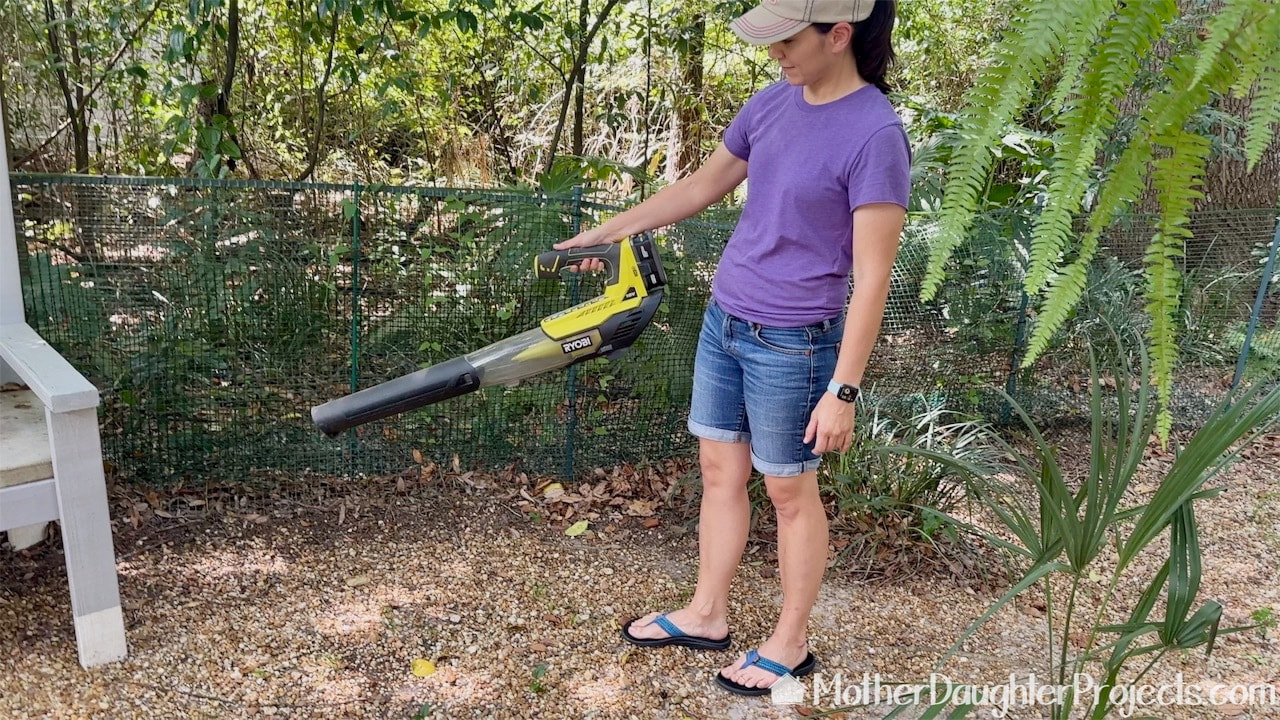
It works! This was a very straight forward fix, and for a $25 part, was well worth not having to trash this and buy a new leaf blower!
Please note: This is not a sponsored post.
​
We are not professionals, and we don't claim to be. This is what we found worked for our project. Yours may need a little different approach. Safety first!

Affiliate links are being used on this page. Purchasing via these links help support MDP.

Related Projects

Picture
Overgrown Yard Management
Picture
Bag Leaves FAST
Picture
Cordless Mower Review
0 Comments


Leave a Reply.

    MotherDaughterProjects.com

    Mother Daughter Projects
    ​
    Steph & Vicki

    MotherDaughterProjects.com
Mother Daughter Projects, LLC ∙ est. 2015 ∙ Tallahassee, FL by Vicki & Steph ∙ Privacy Policy