|
text by Vicki Sign up here to join our weekly email newsletter!
I have to be honest, I wasn't looking forward to this particular project. Yes, the planter needed to be removed, but it was going to be a lot of hot, hard work.
We managed with a little help and learned a few things along the way. Read on and add your tips for concrete removal in the comments below. Materials/Tools:
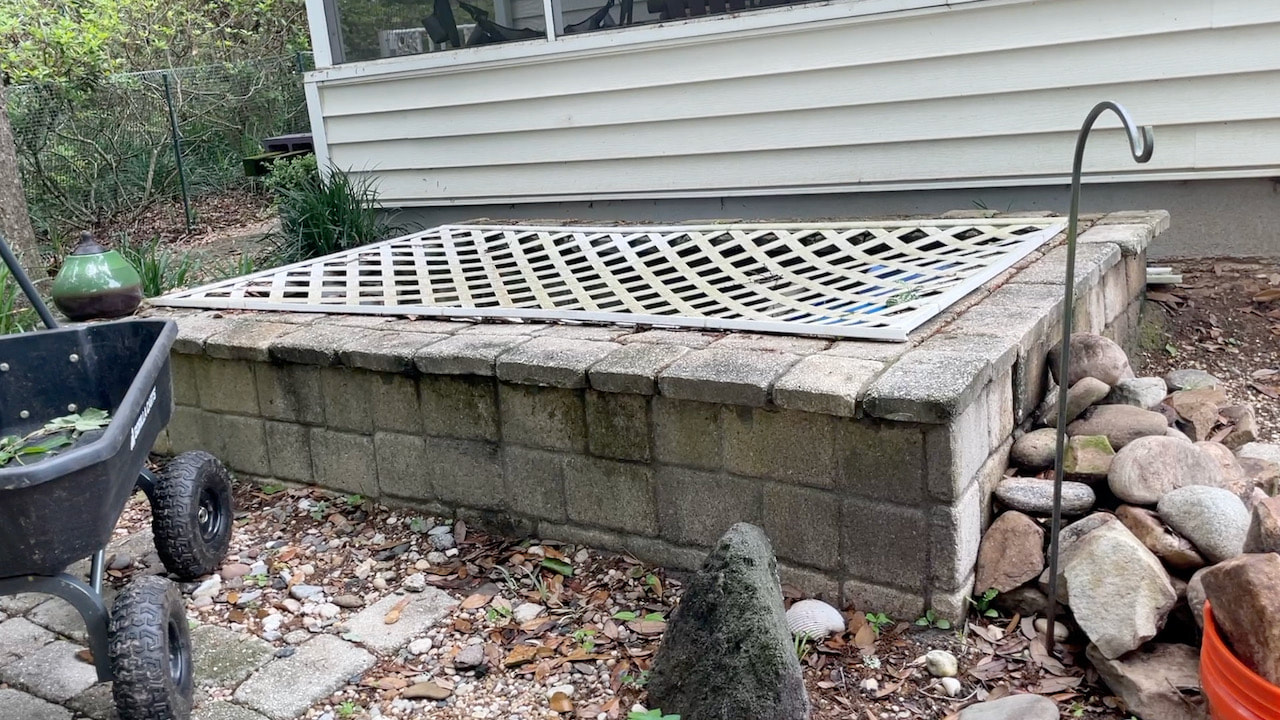
This was a pretty useless eyesore in Steph's backyard plus it took up a lot of space! Steph used it for storage, but in actuality, it really became a haven for bugs and other creepy crawlies!
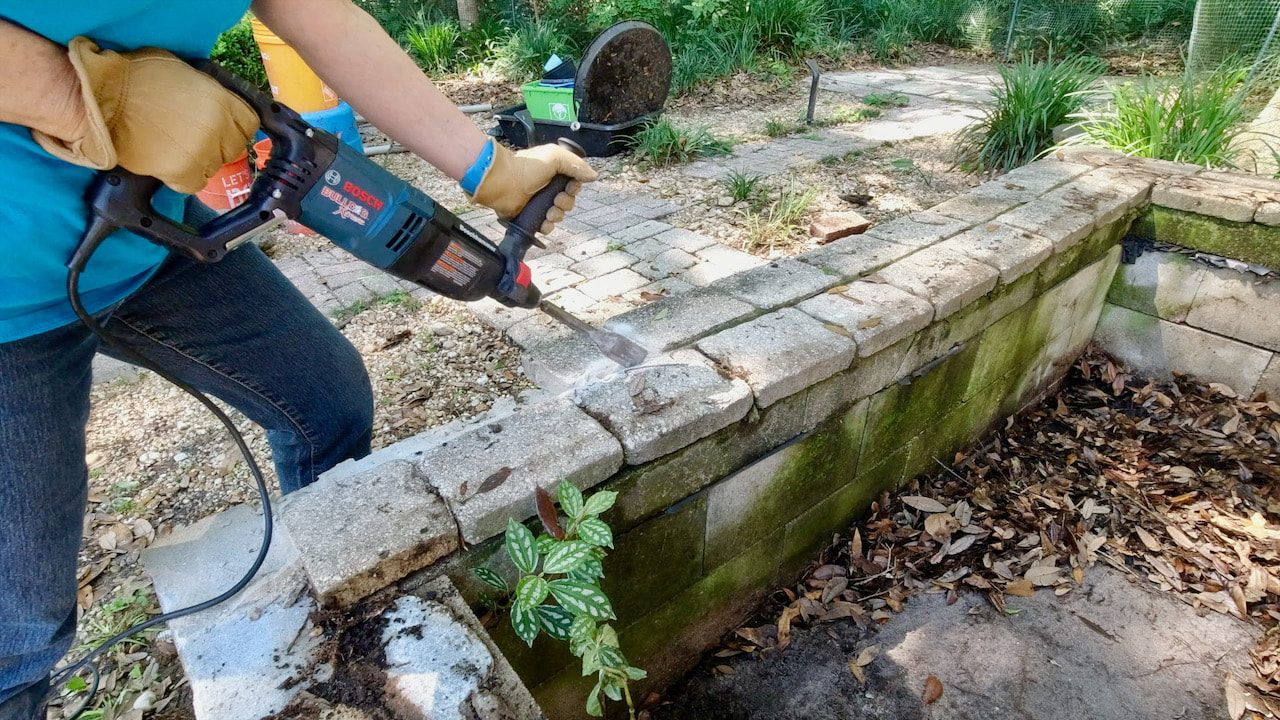
We were lulled into a thinking this was going to be an easy job when we had great success removing the pavers with the rotary hammer. They came off fairly easy giving us hope the rest would be just as easy, but....

...then, after the first two layers came off, we found this! Concrete block filled with concrete. What we didn't discover until even later was the rebar that extended at least two feet into the ground. This was not going to be so easy after all!
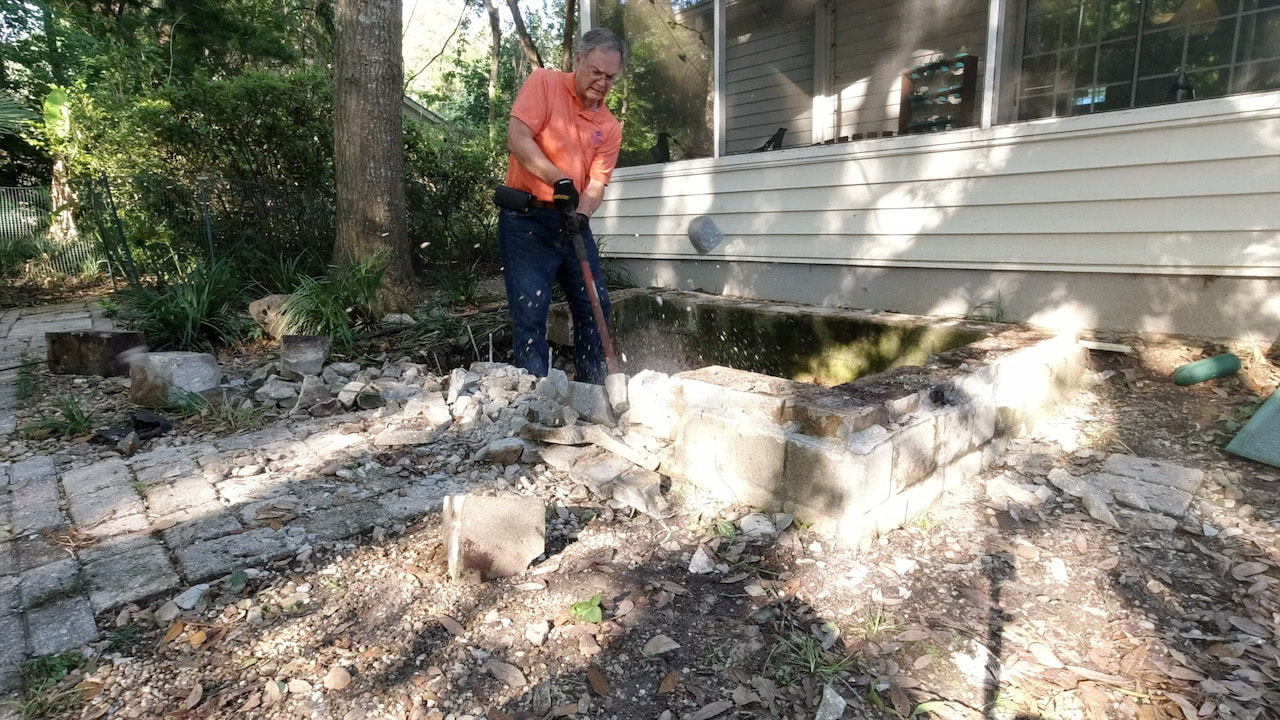
We brought in some muscle and he went to swinging a heavy splitting maul to break up the concrete.
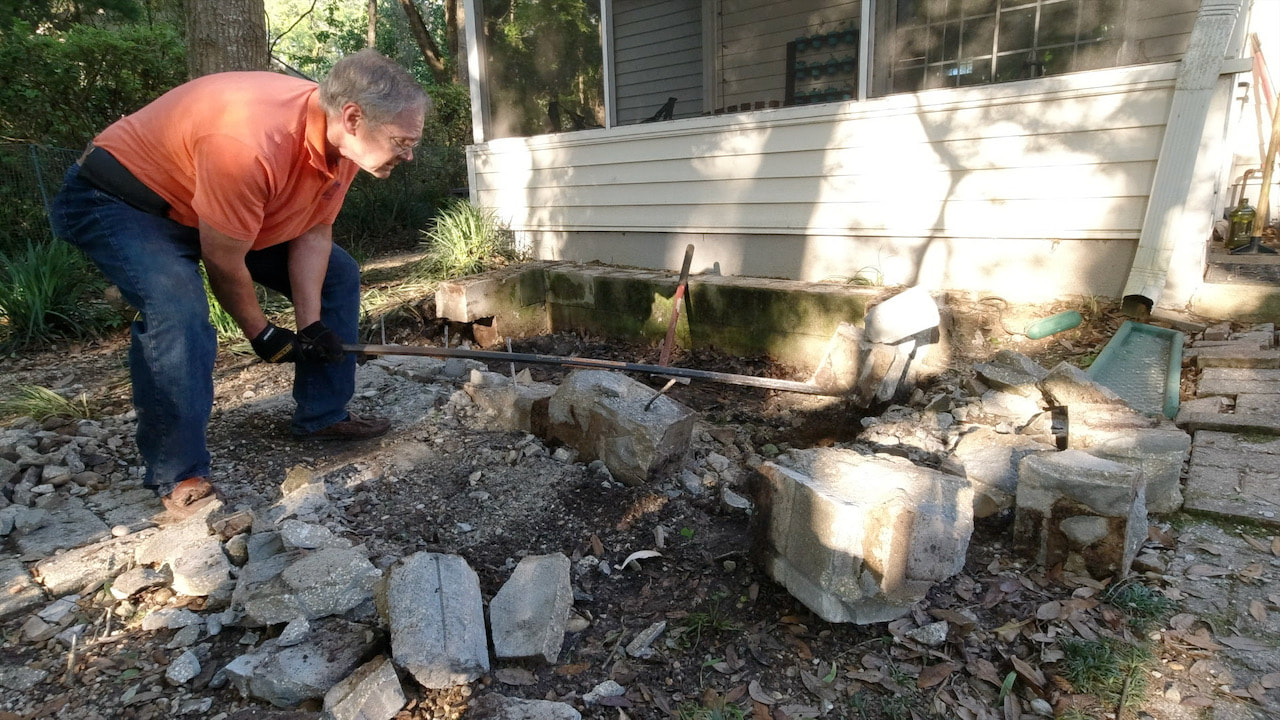
This Pencil Point Digging Bar was useful in helping to dig out all the buried rebar. It was slow work!
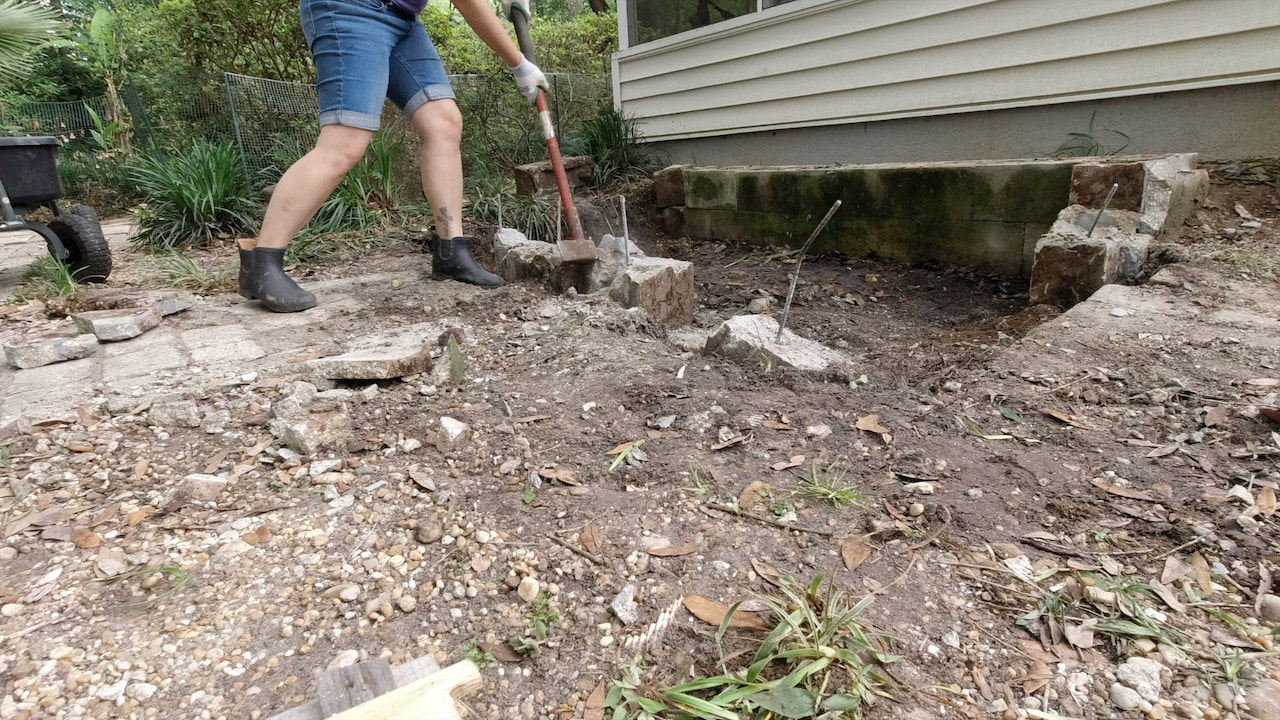
Steph tried using the splitting maul on the remainder of the concrete planter.
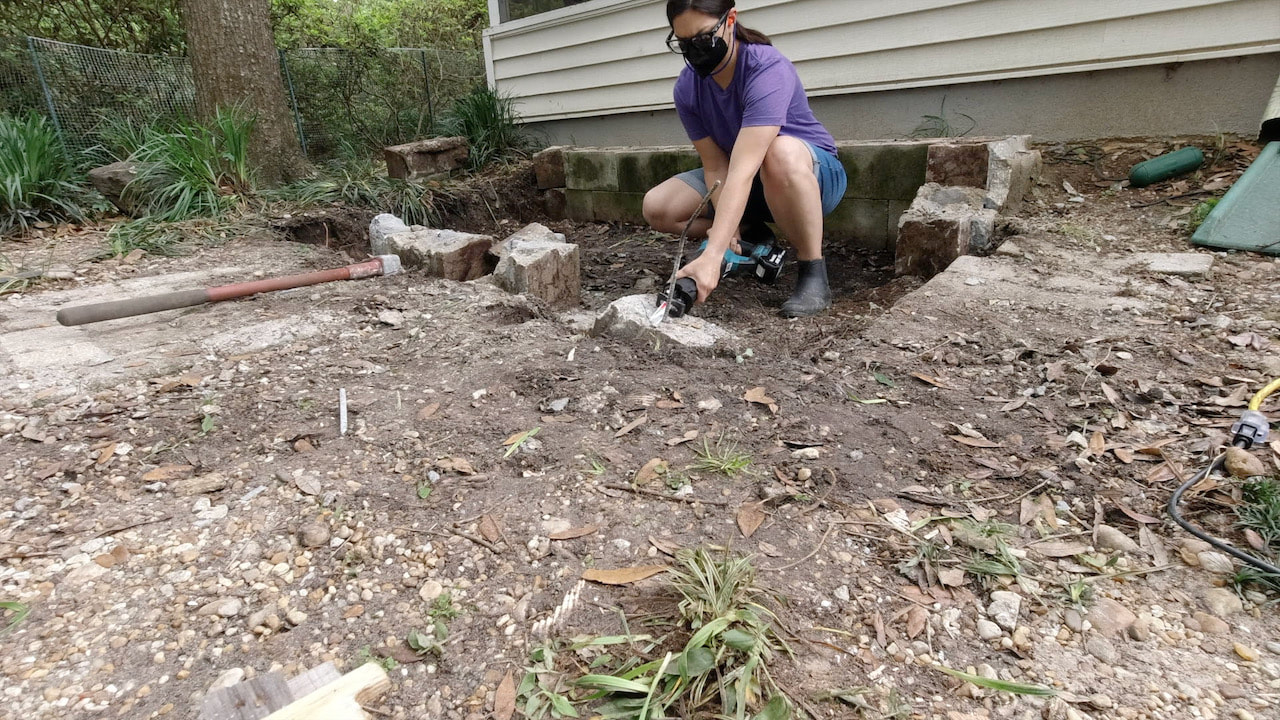
Steph wasn't exactly successful at getting the rest out so she used a reciprocating saw with metal blades to cut off the exposed rebar to make the area safer until we could get it out.
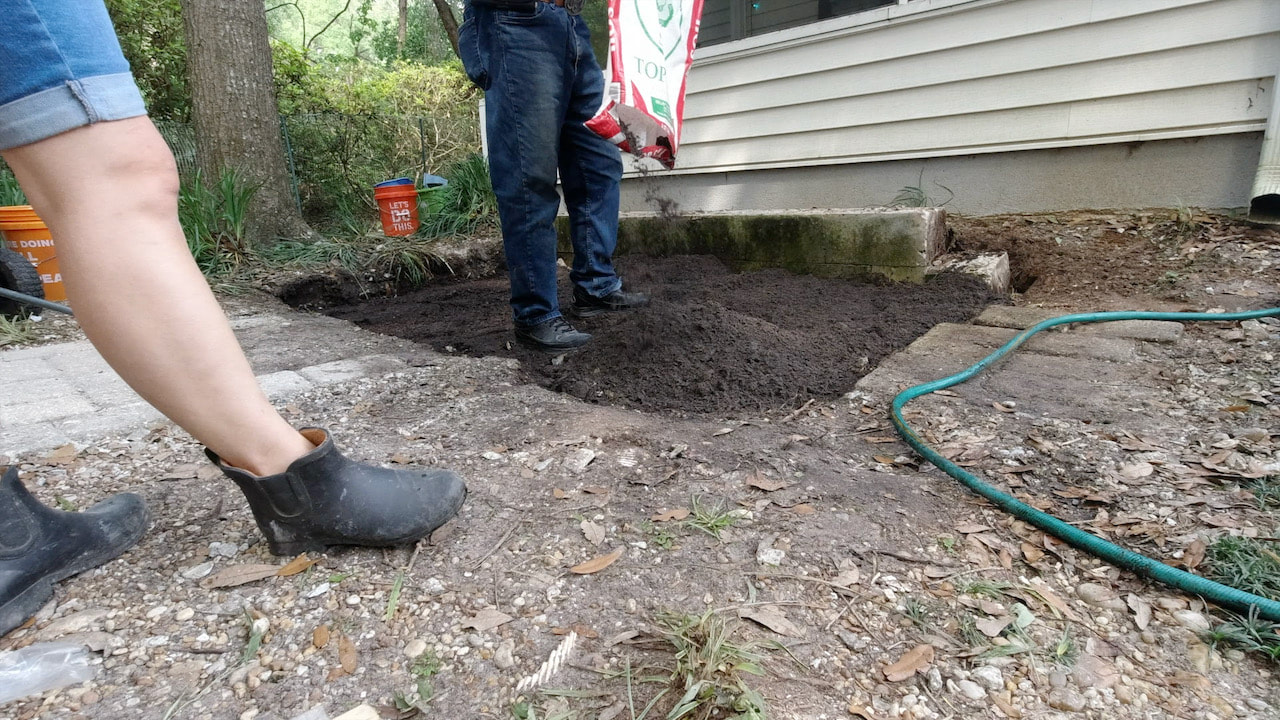
We left the back wall in place. The area left was low so we bought bags of top soil and started to fill it in.
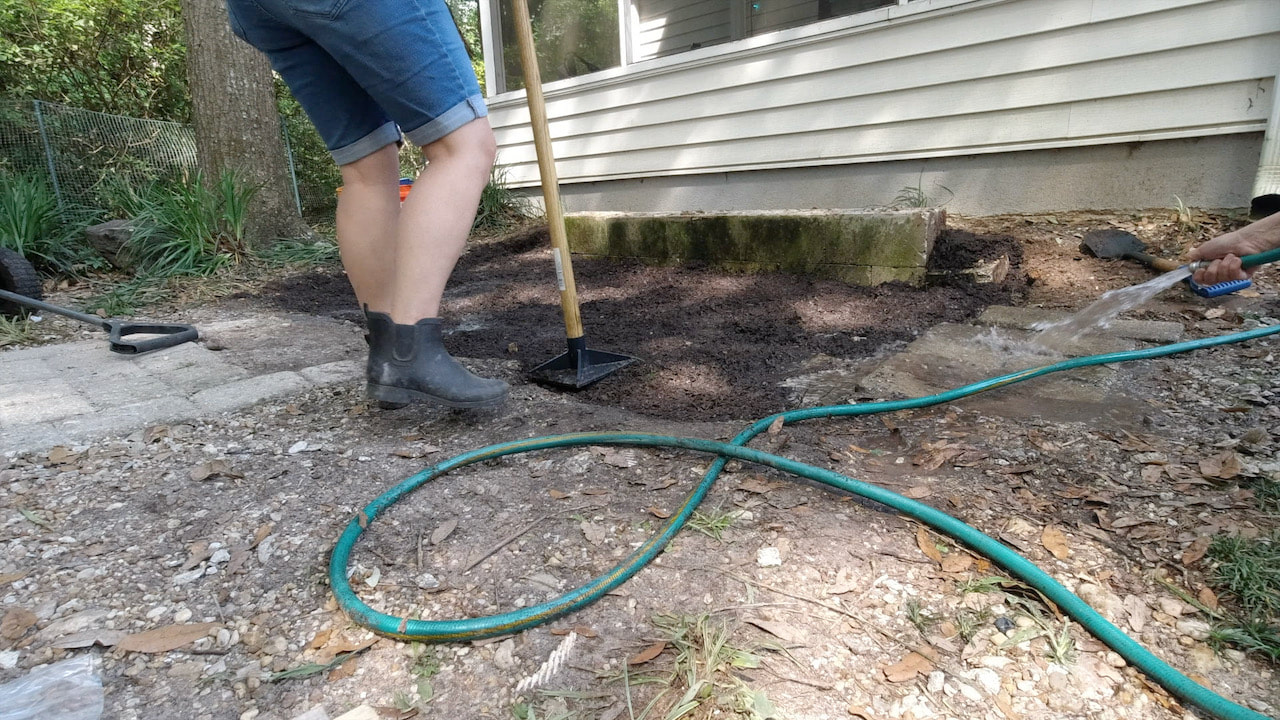
We watered in the top soil and tamped it down after each addition of soil.
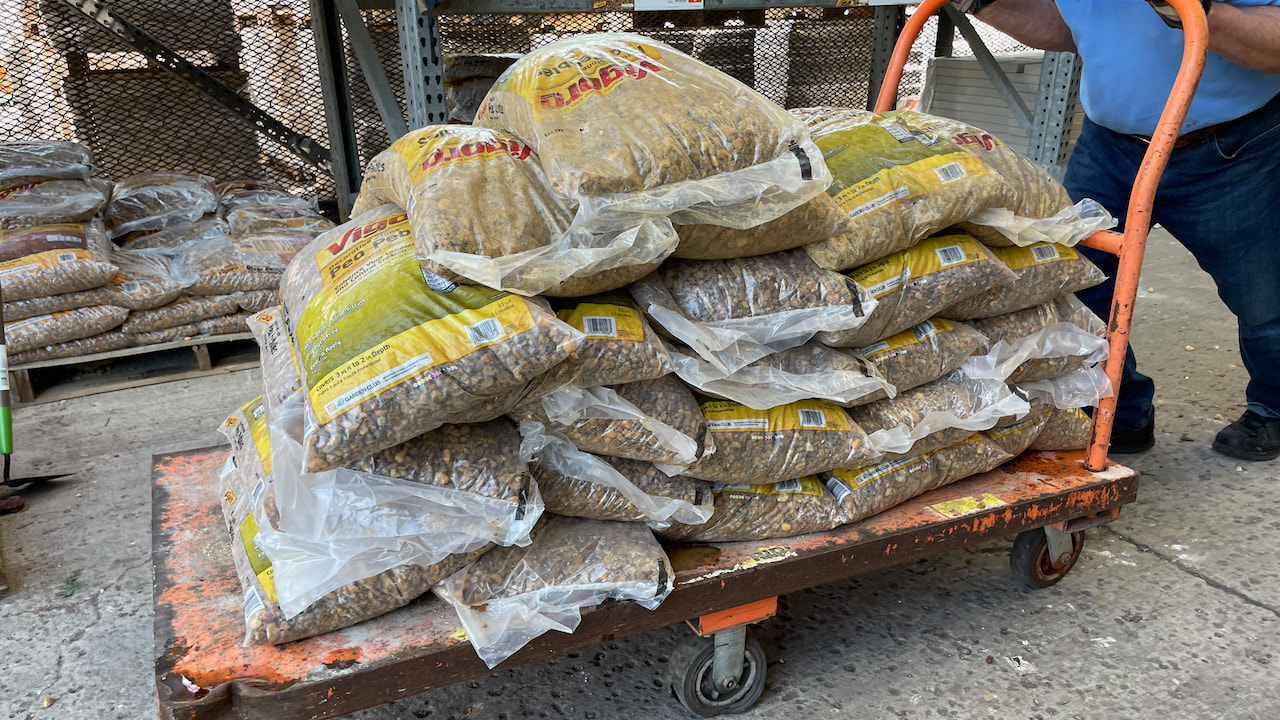
Steph's backyard is nothing but pea gravel so we bought more to add to the newly opened up space. Back to Home Depot to buy a whole lot of pea gravel!
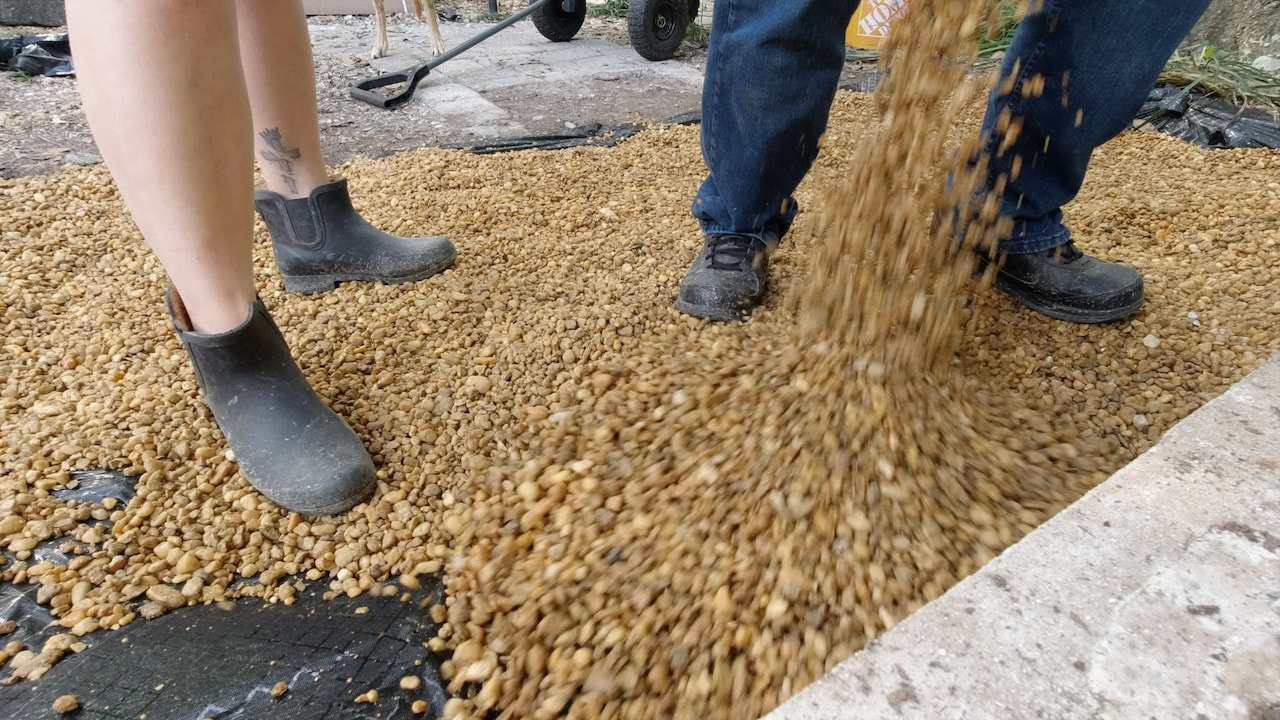
We added a layer of landscape cloth before putting in the pea gravel. We used a rake to even it out.
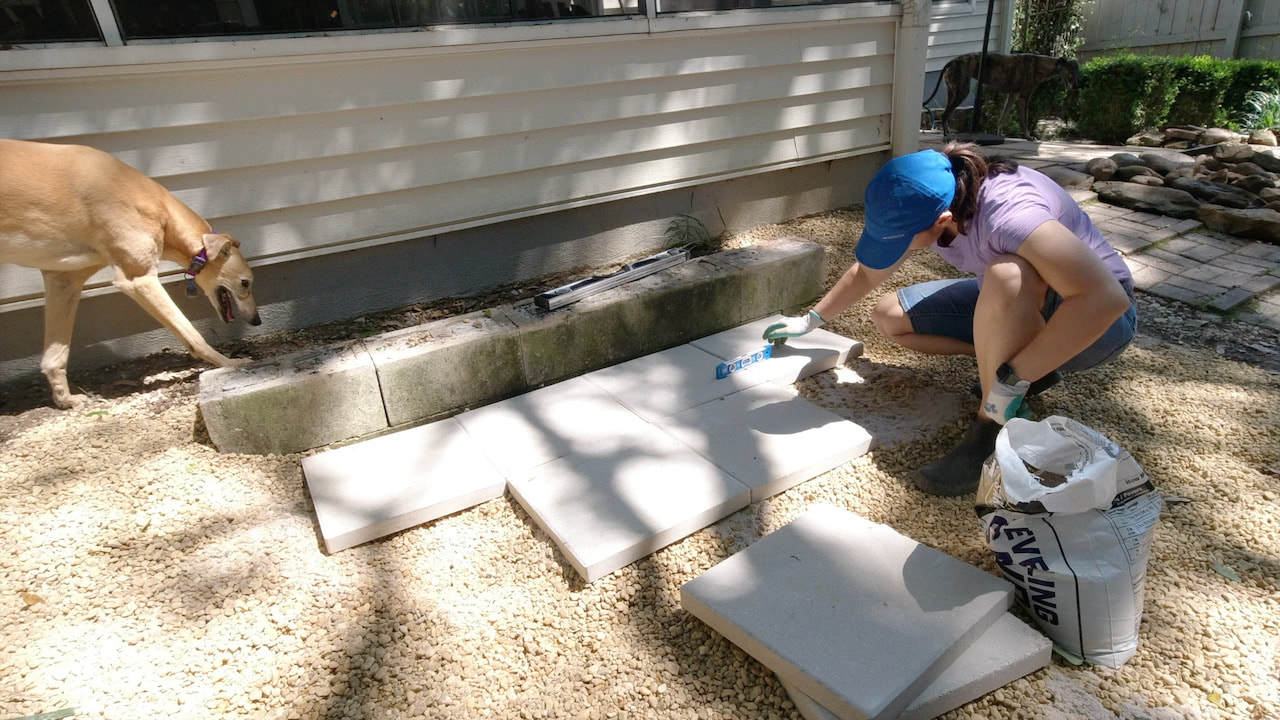
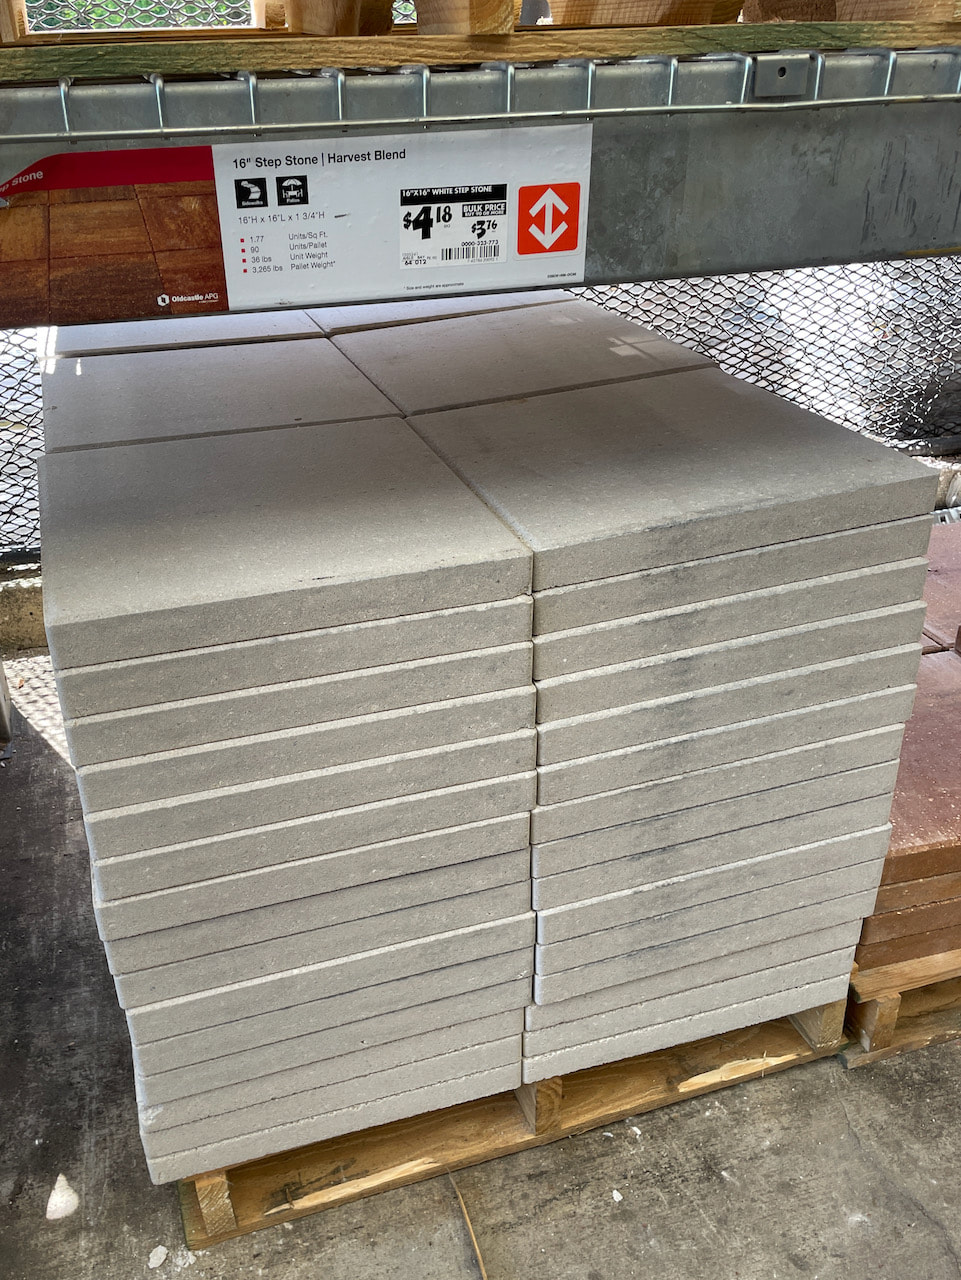
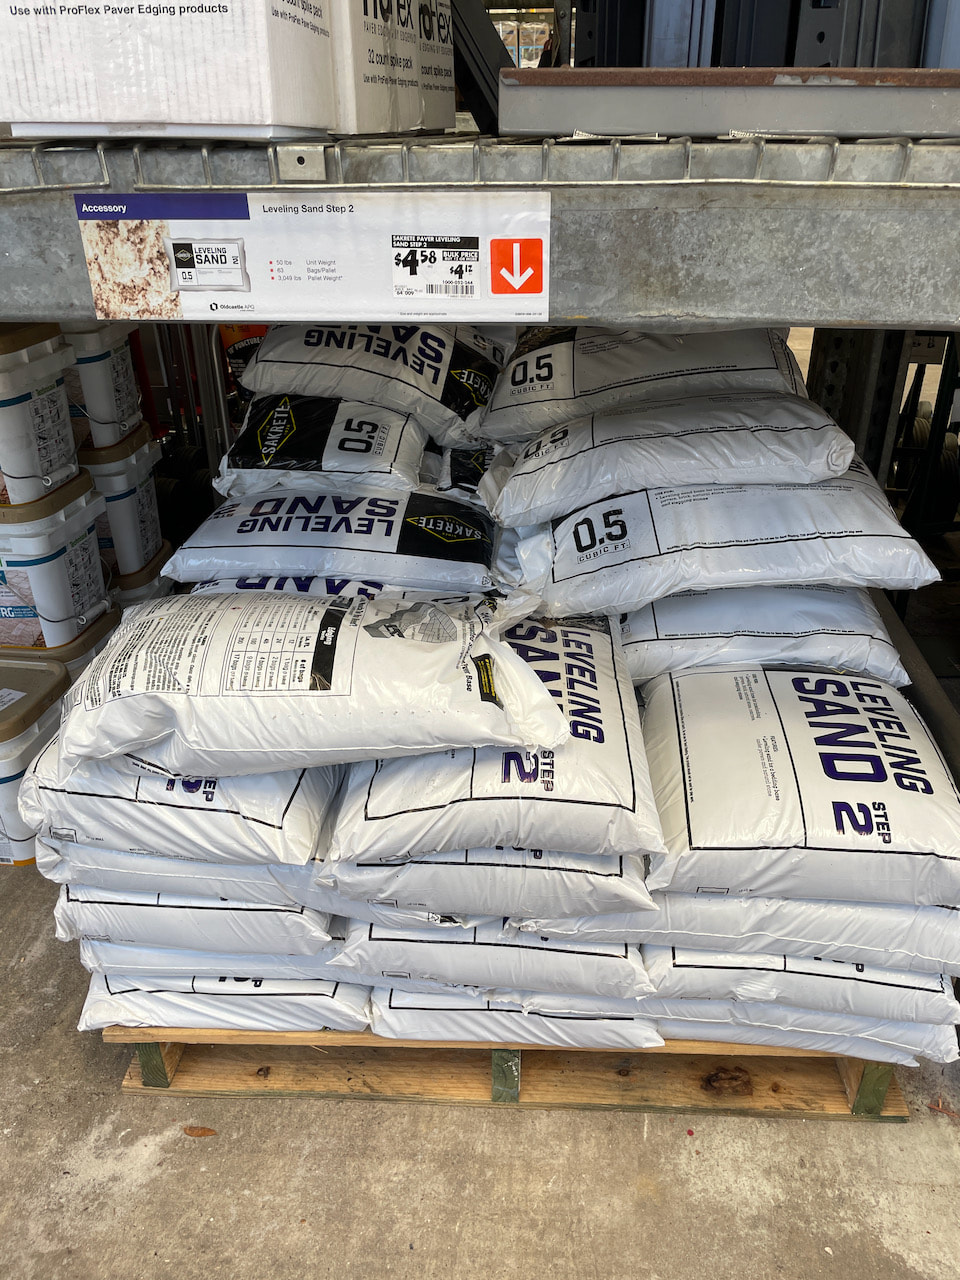
Here Steph is leveling out the large pavers with leveling sand. This is where we are going to add an outdoor storage box.
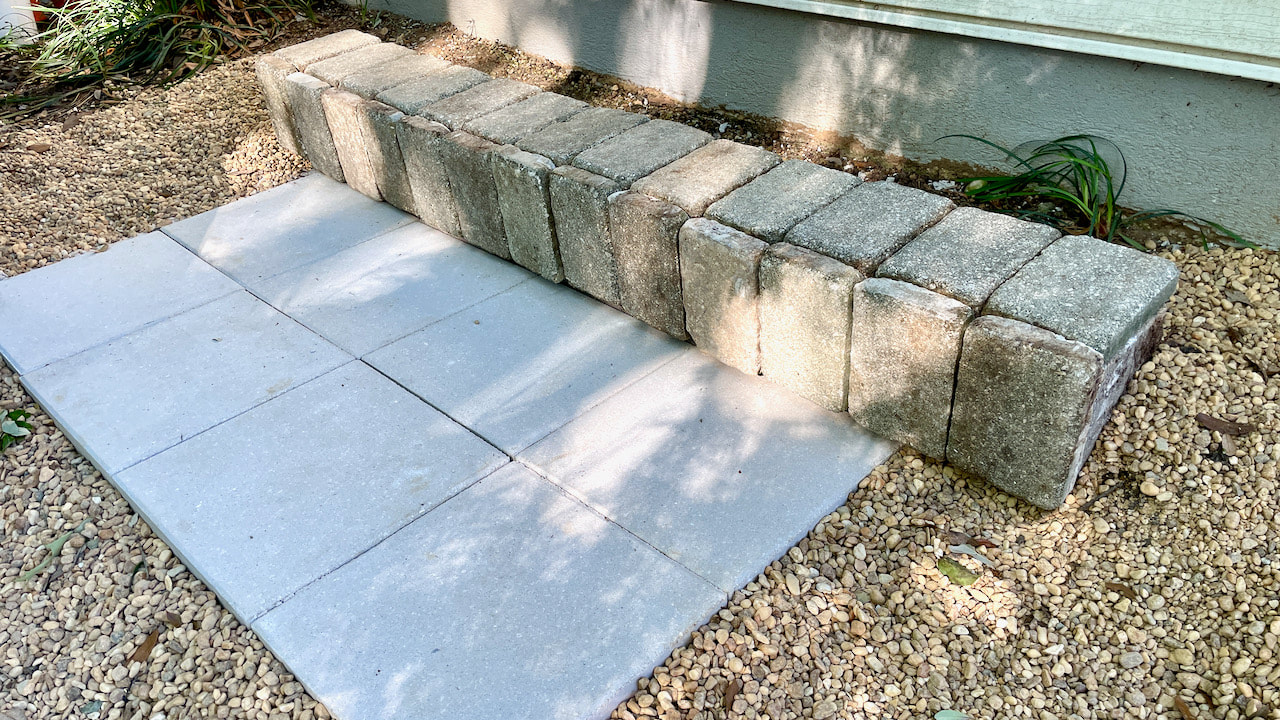
Steph reused the pavers we took off the planter to finish the wall. The pavers were hot glued into place with Surebonder construction adhesive.
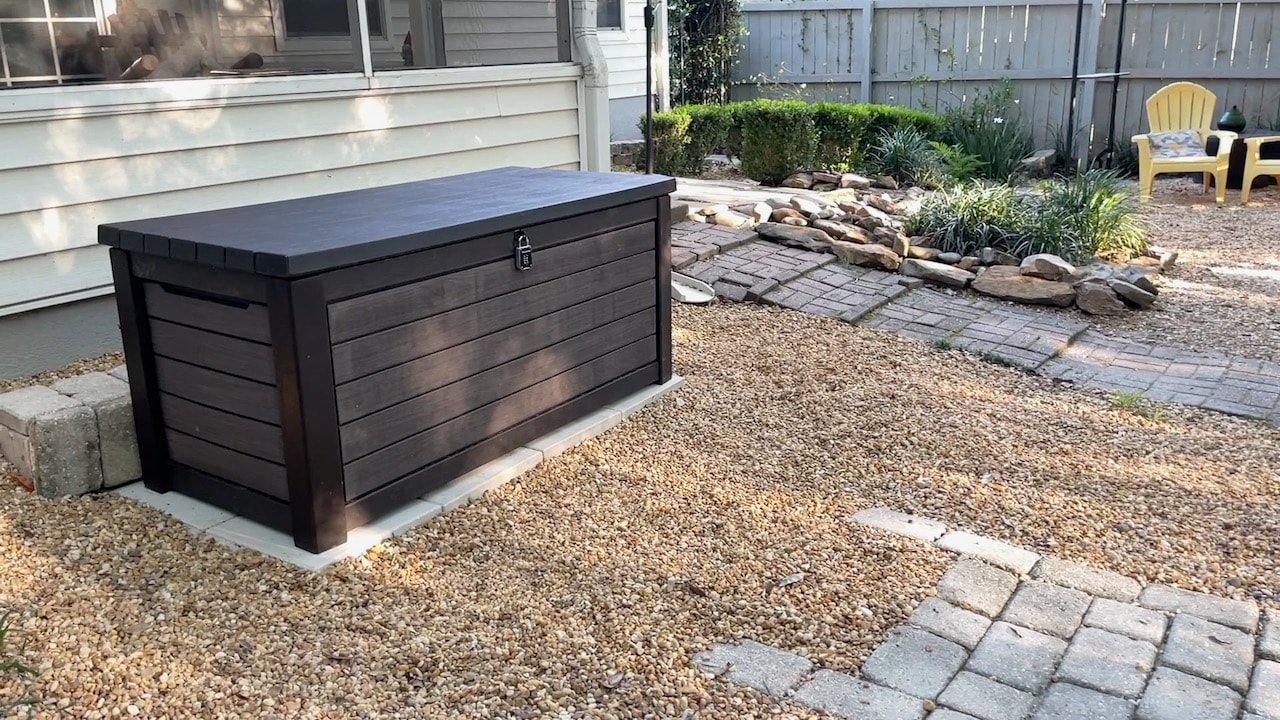
The outdoor storage box fits nicely on the new step stone pad. The box is from Sam's Club (A USA based membership warehouse) and is the best price we found on a storage box of this size. It's easy to put together and holds a lot.
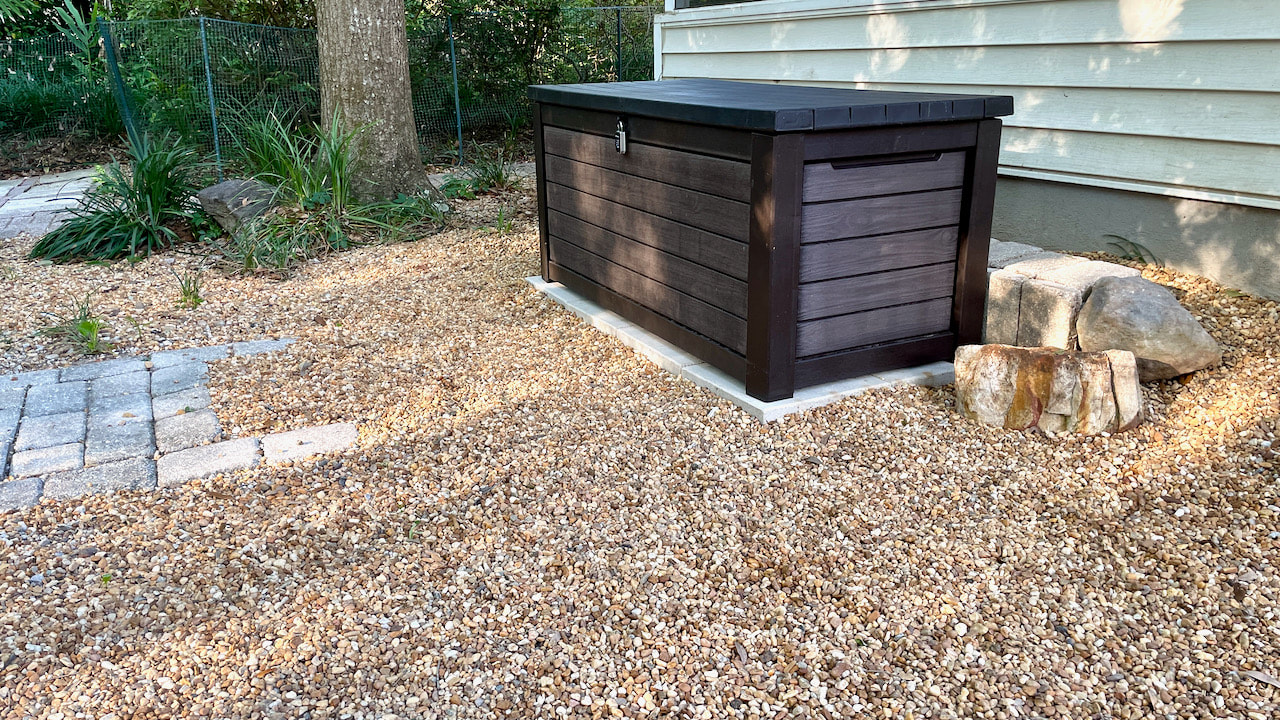
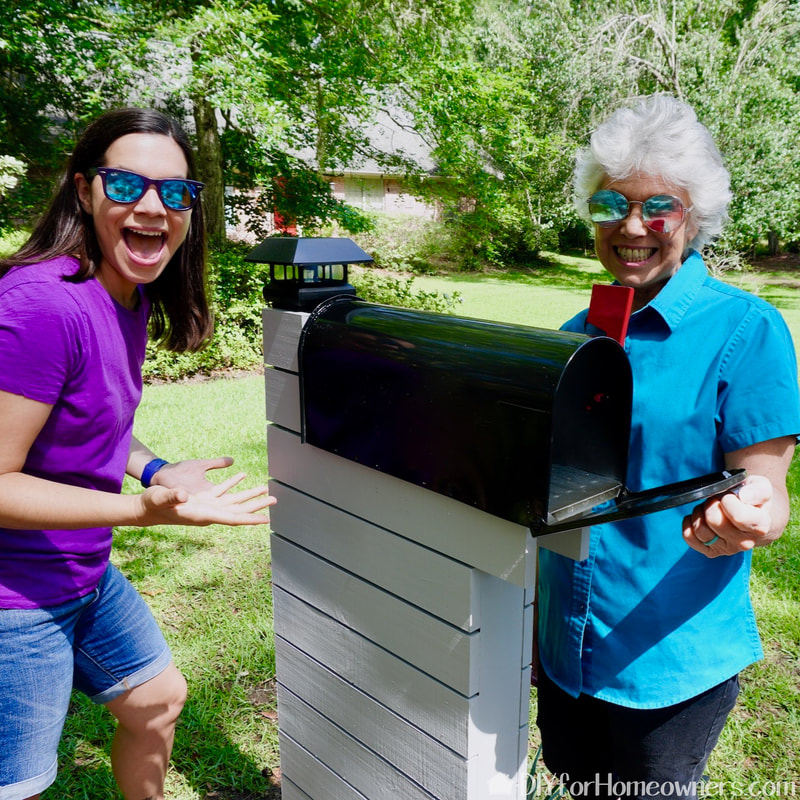
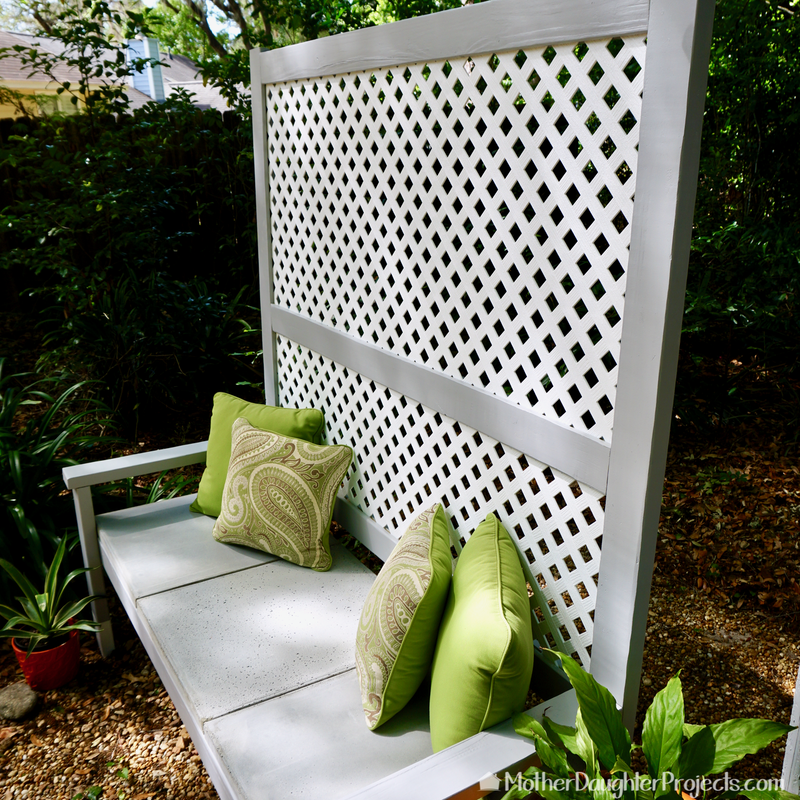
Removing the old planter has certainly opened up space in the backyard. It was a lot of work, but it was worth it to finally get rid of it.
There was a lot of debris created from the removal. If you do something like this, you need to have a disposal plan in place. Fortunately, our city takes large trash every two weeks. So over a period of a few trash cycles, Steph has slowly been putting out the concrete and the city has taken it away. What tips do you have for concrete removal? Please share in the comments. Please note: This is not a sponsored post. FYI: We are not professionals, and we don't claim to be. This is what we found worked for our project. Yours may need a little different approach. Safety first! FYI: Affiliate links are being used on this page. Purchasing via these links help support MDP! Related Projects
0 Comments
Leave a Reply. |

Mother Daughter Projects
|