|
text by Vicki Sign up here to join our weekly email newsletter!
When Steph bought her house there was a water feature in the backyard. It wasn't working at the time so she hired someone to fix it. He sort of fixed it, but it truly was never 100 percent. Plus, the electrical situation was a nightmare. The person who put in the pond didn't hire an electrician to put in proper wiring so the pond pump was powered by an extension cord that snaked across the backyard.
When I discovered THAT situation, I encouraged her not to run the pump for safety reasons. We enjoyed the pond but over time, the rocks fell into the water and with the water no longer moving, it was a haven for mosquito breeding. A neighbor helped with that situation by putting mosquito fish into the water. Those fish thrived in spite of the dirty mirky water! Two factors that finally pushed Steph into removing it was 1. her second greyhound, Tosh, really wanted to get in the water and 2. grandson, Andrew, practiced rock skimming and created a hole in the liner. Overnight the water dropped a foot. It was time! Materials/Tools:
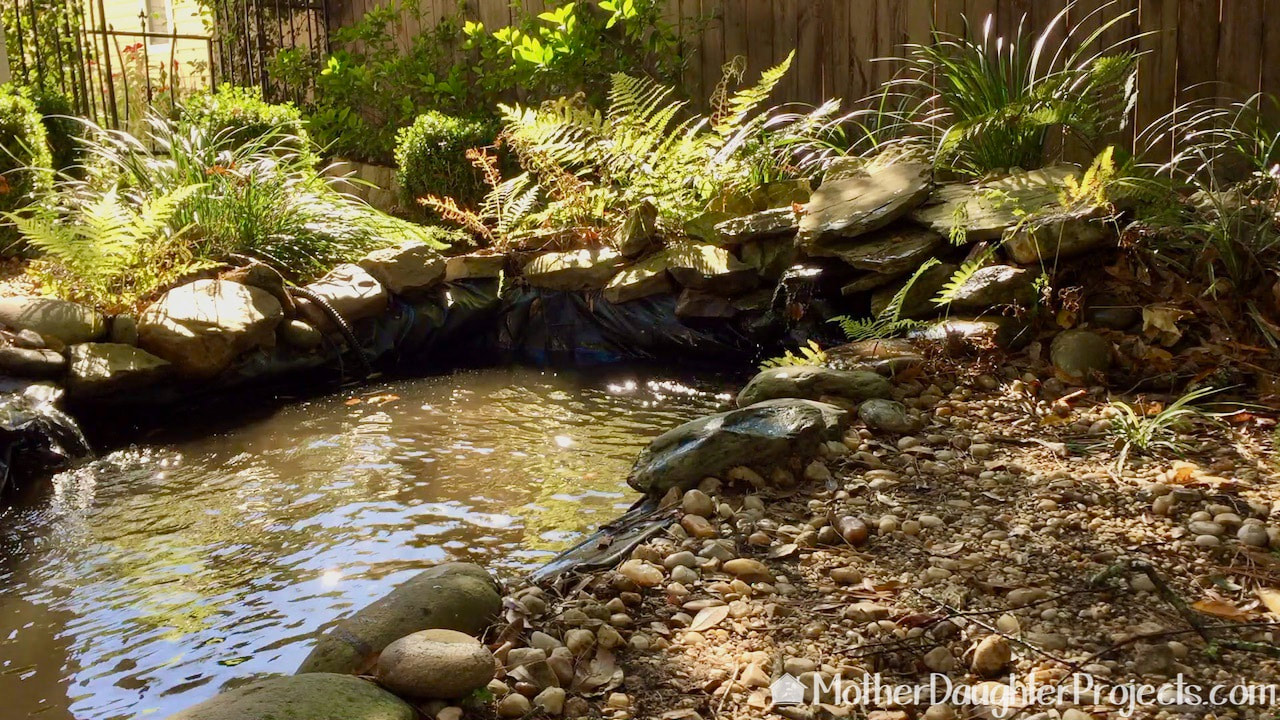
It really was quite lovely with clear water, rock ledges and lush plantings.
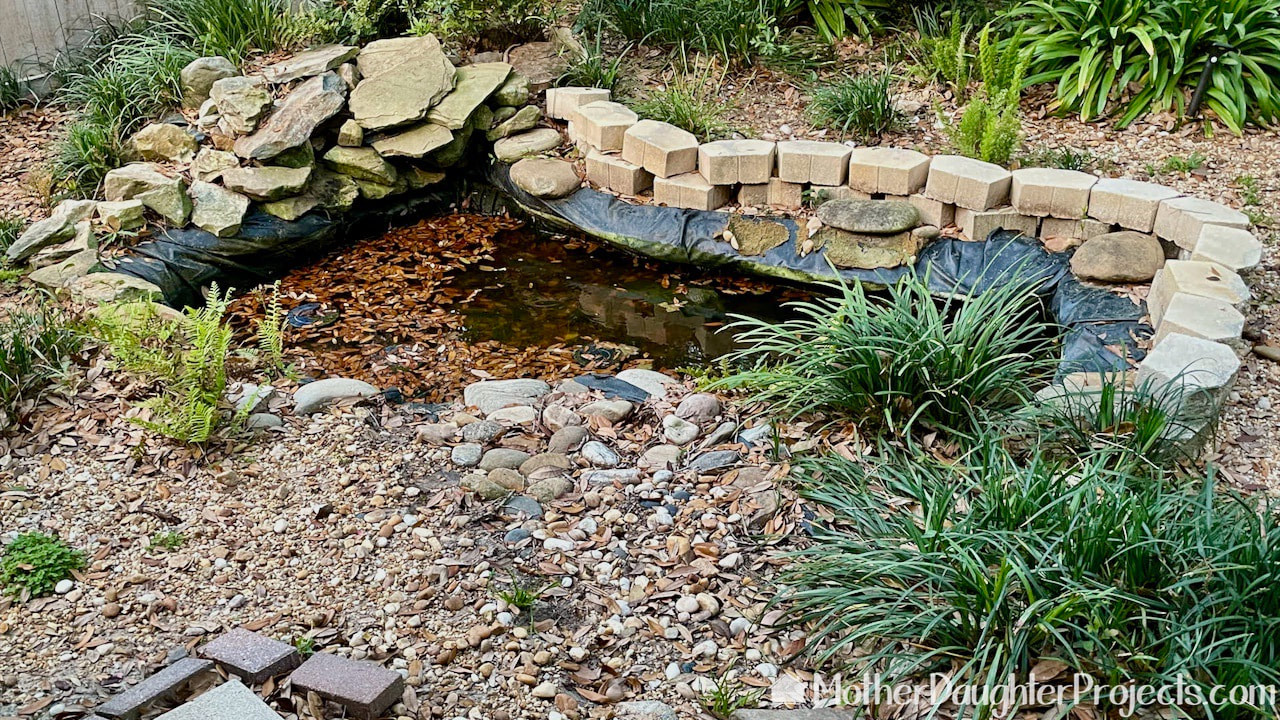
It evolved into this. Most of the large rocks had fallen in and Steph added a ring of garden blocks to keep Tosh away from the edge.
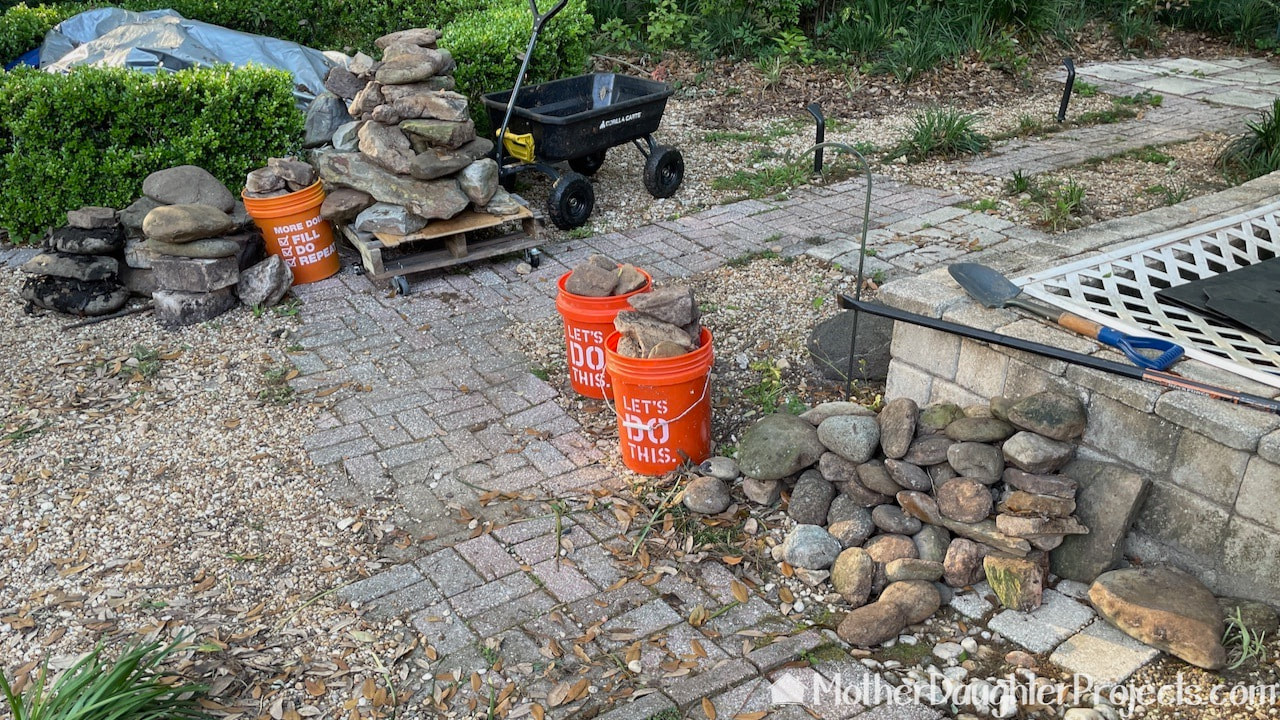
Everything about this process was labor intensive! Note, before we fully drained the pond, we took a few weeks to remove the fish and re-home them into a nearby lake. Once they were safely removed, we drained the water and started to remove all the rocks.
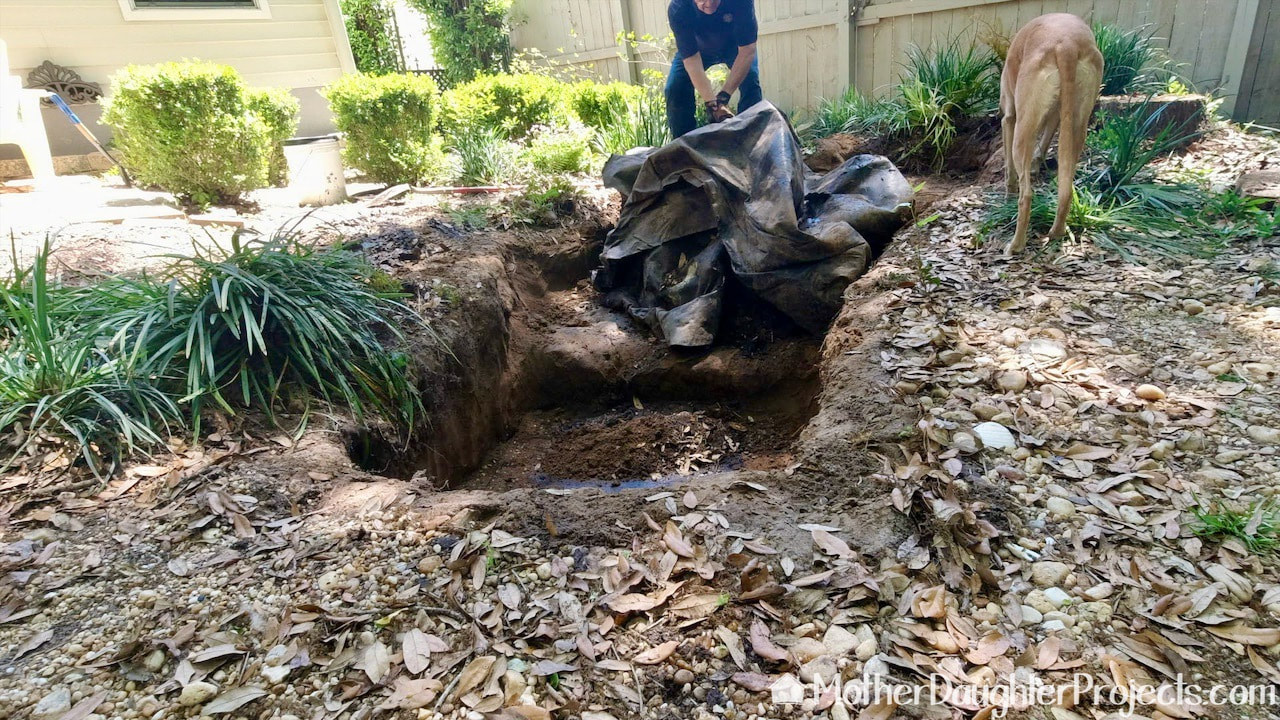
Removing the liner itself was probably the easiest step. We pulled it out and then rolled it up to put it out for yard trash pickup day. Do you see that stump to the right of the dog. We'll be taking that down to the ground as well.

Here it is all cleaned up. It was a pretty deep hole. Steph used the Home Depot calculator to get an idea of how many bags of dirt we'd need to fill the hole. Prior to buying dirt, we transferred the dirt that was built up at the top of the pond into the hole. That filled it up a bit, but we needed a lot more dirt. Off to the Home Depot!

So, we started to fill the hole, bag by bag!

We rented a stump grinder from The Home Depot Tool Rental department to take care of the stump. My husband took care of that part.
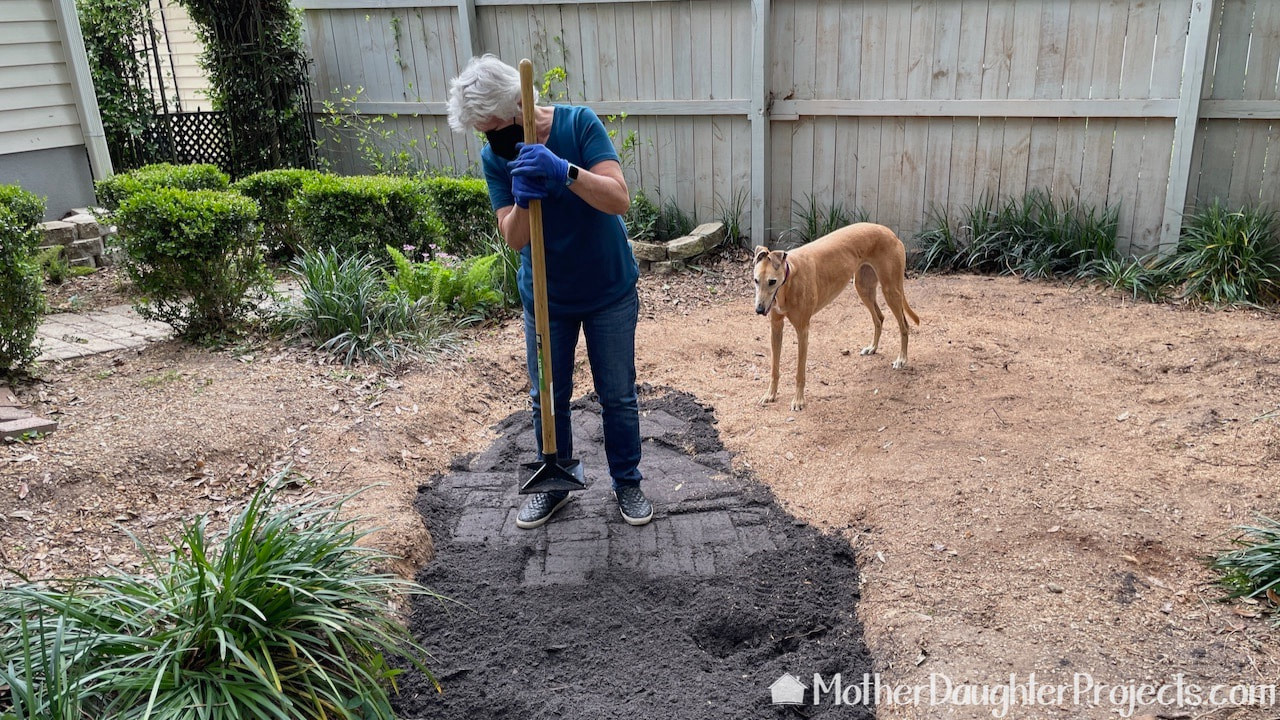
We used a tamper tool to even out the dirt and to compact it a bit.
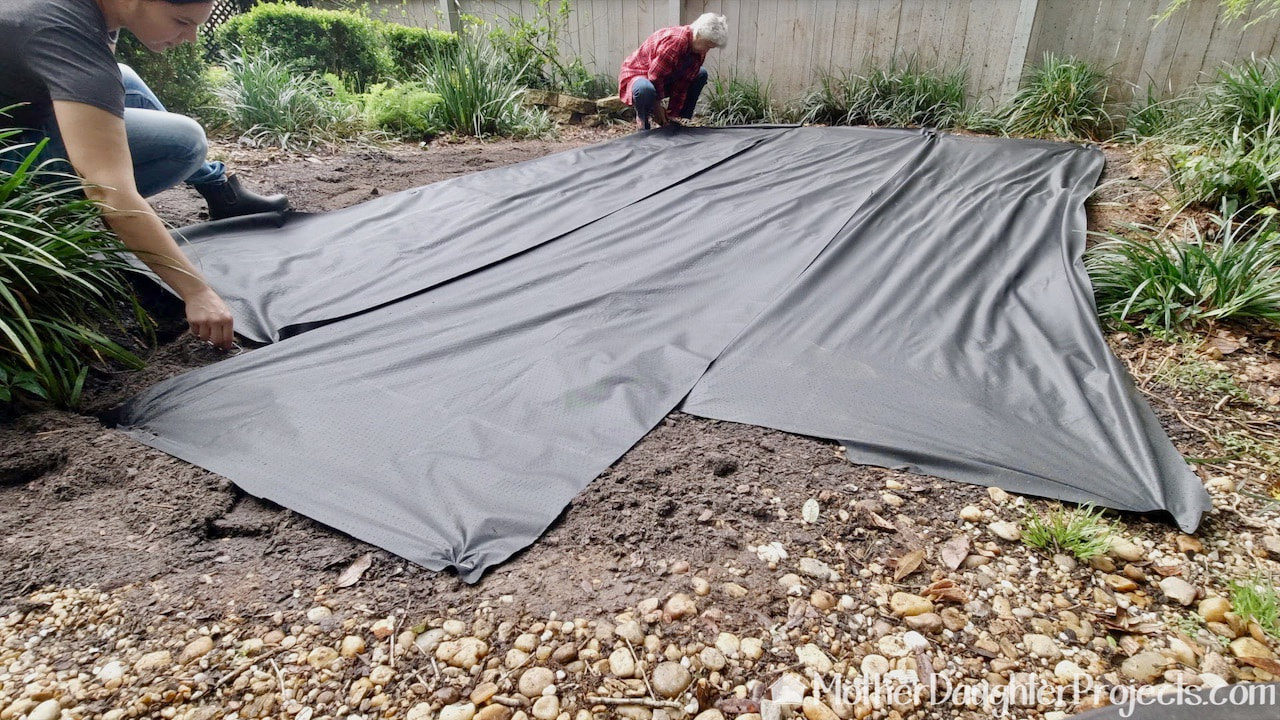
After filling in the hole, we covered it with landscape fabric which we secured with landscape staples. This will hopefully keep weeds from coming up through the gravel we will add in the next step.
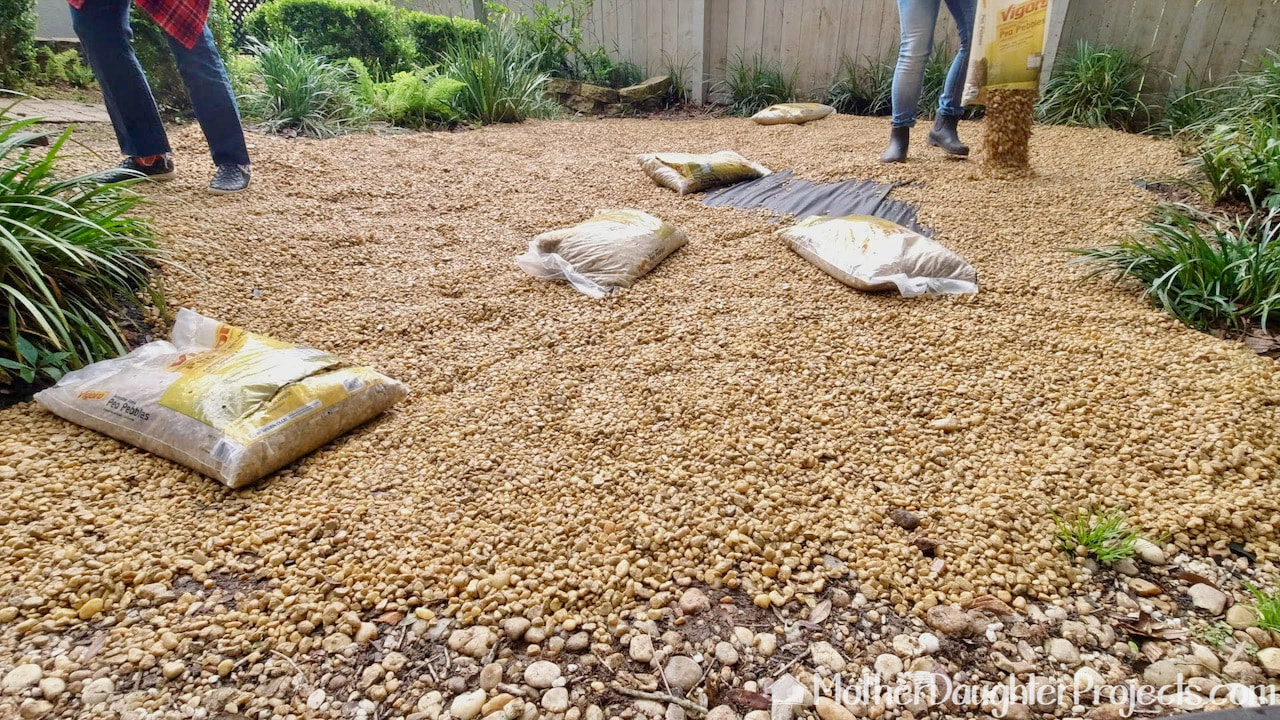
The rest of Steph's yard is covered in these rocks, so we continued the theme with lots and lots of bags of pea gravel.
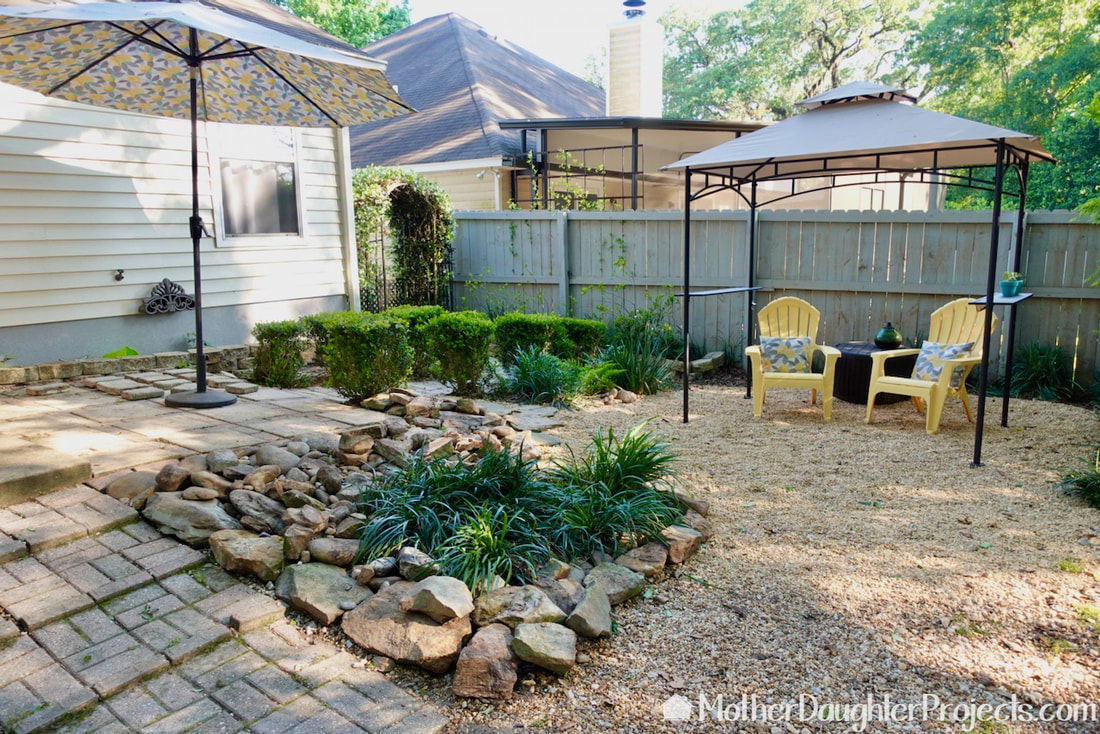
We added a small gazebo, pulled in a couple of chairs and storage box and arranged the former pond rocks to anchor the new backyard oasis space.
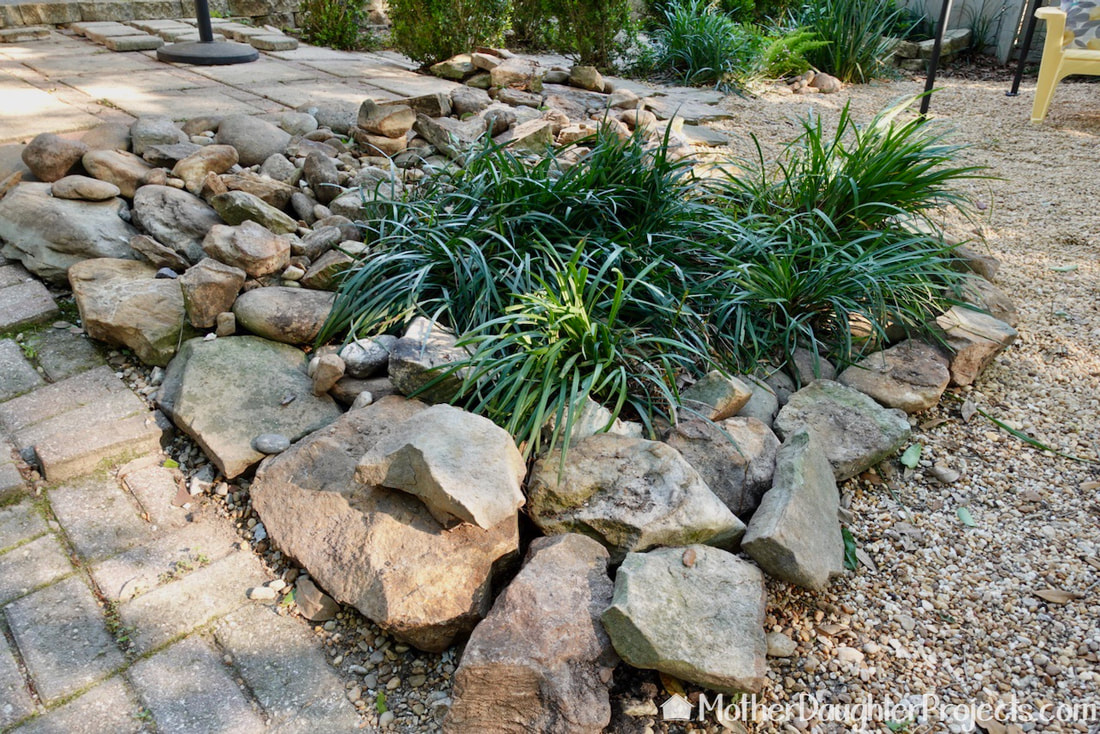
We added the large rocks here to prevent people from cutting through right here. The area slopes and was a slipping hazard. We added the flat stones to create a path on which to walk.
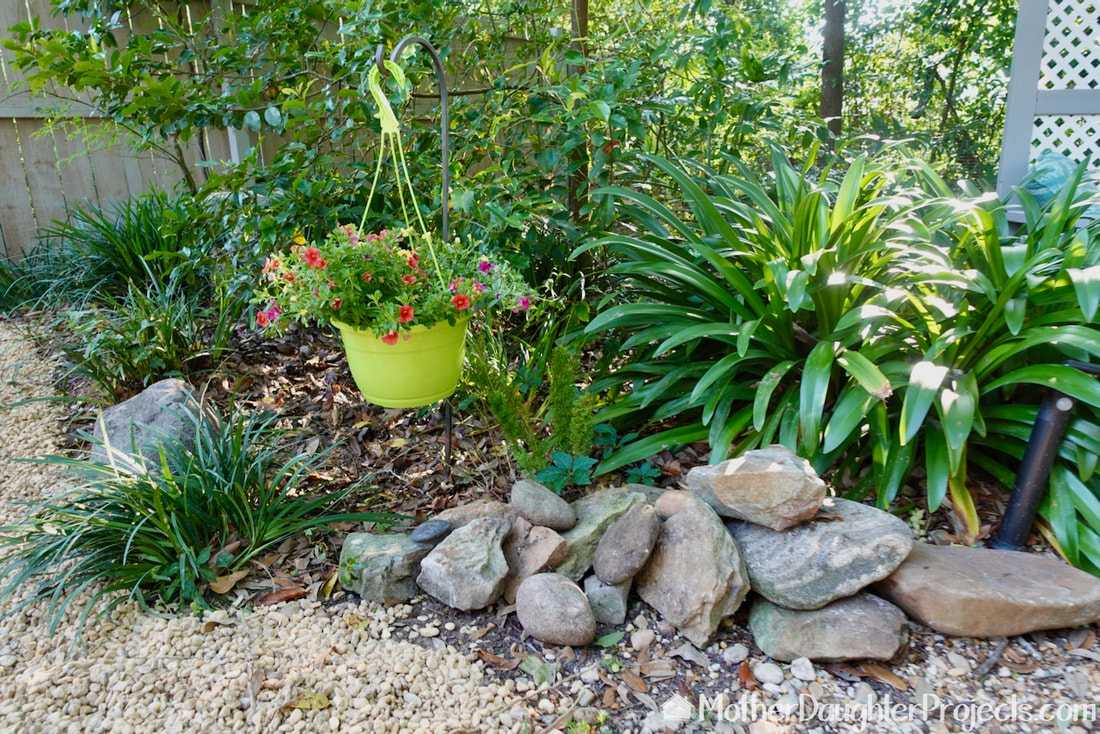
We added a few rocks here for balance and purchased a colorful plant to coordinate with the chairs.
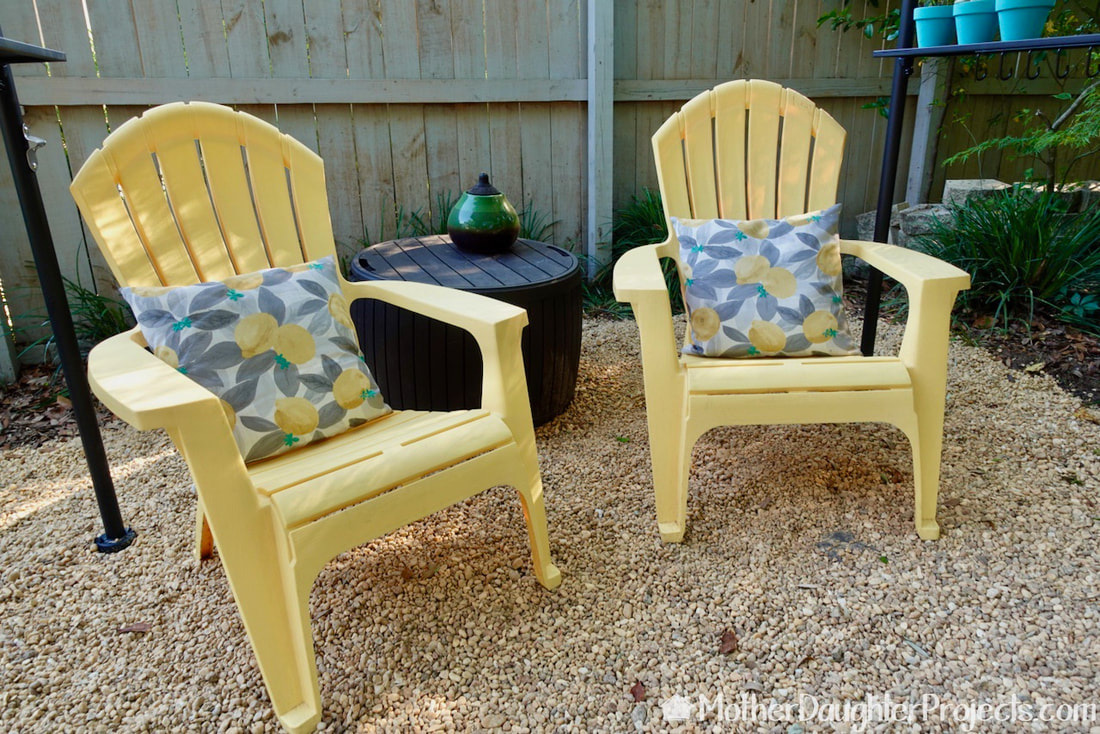
We got those lemon themed pillows last summer at the Home Depot. Unfortunately they don't carry them this season.
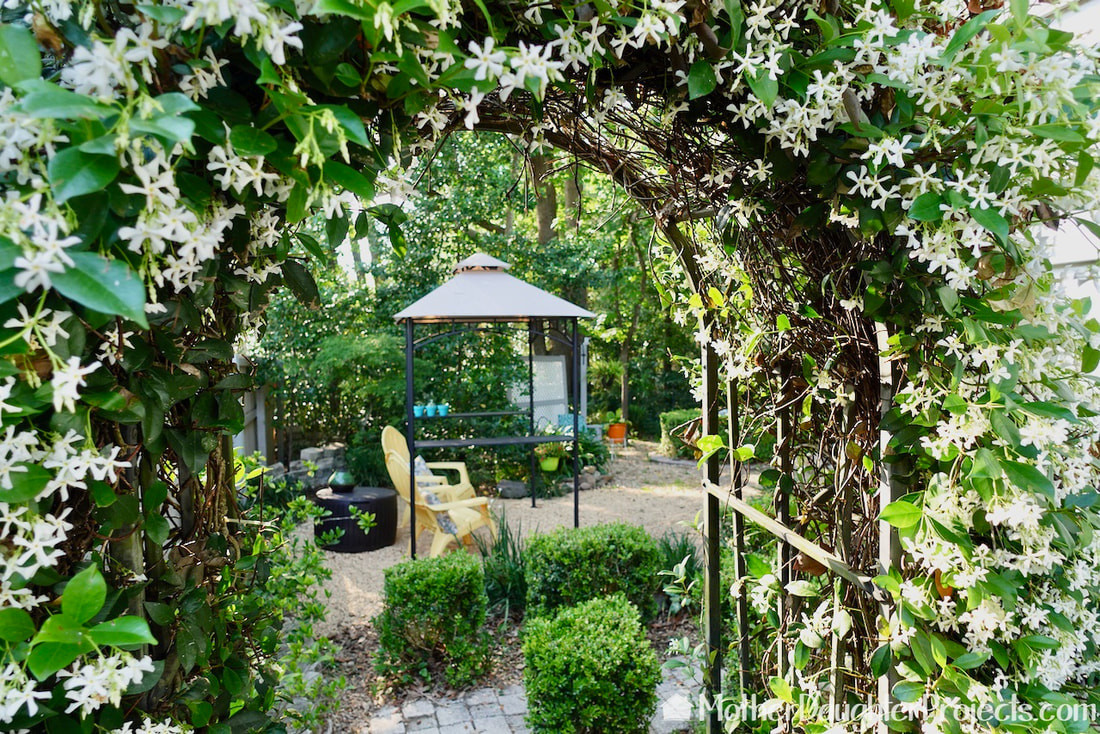
Viewed through the trellis, it looks like a peaceful secret garden!
It's hard to believe there was ever a water feature back here. The makeover created an entire new outdoor living space.
The idea for the gazebo was actually so the dogs would have a covered space to do their business in the rain, but we've found it to be a relaxing place to sit during these especially beautiful spring days. There's still one more labor intensive project in the backyard coming up very soon. What outdoor projects are you doing this spring? Please note: This is not a sponsored post. FYI: We are not professionals, and we don't claim to be. This is what we found worked for our project. Yours may need a little different approach. Safety first! FYI: Affiliate links are being used on this page. Purchasing via these links help support MDP! Related Projects
2 Comments
Karen
4/29/2021 01:18:38 pm
Ale 8 a ginger ale drink
Steph
4/30/2021 08:57:14 am
Yes!! That's right! Leave a Reply. |

Mother Daughter Projects
|