|
text by Vicki Sign up to get Mother Daughter Projects updates in your email!
Recently I noticed a build up of organic material up against the side of my A/C fence enclosure. I thought, "I need to clean that up so the fence doesn't start to rot" --too late! Once I revealed the bottoms of the pickets I saw that rot had already started. Replacement was necessary for those four boards and prevention, in the form of debris removal, was necessary for the rest.
What started as a replacement of four boards morphed into a much larger project. We replaced the boards, washed and painted the entire fence, removed the ivy climbing on and near the fence, dug away dirt under the fence, edged, mulched and added a few mums for color! 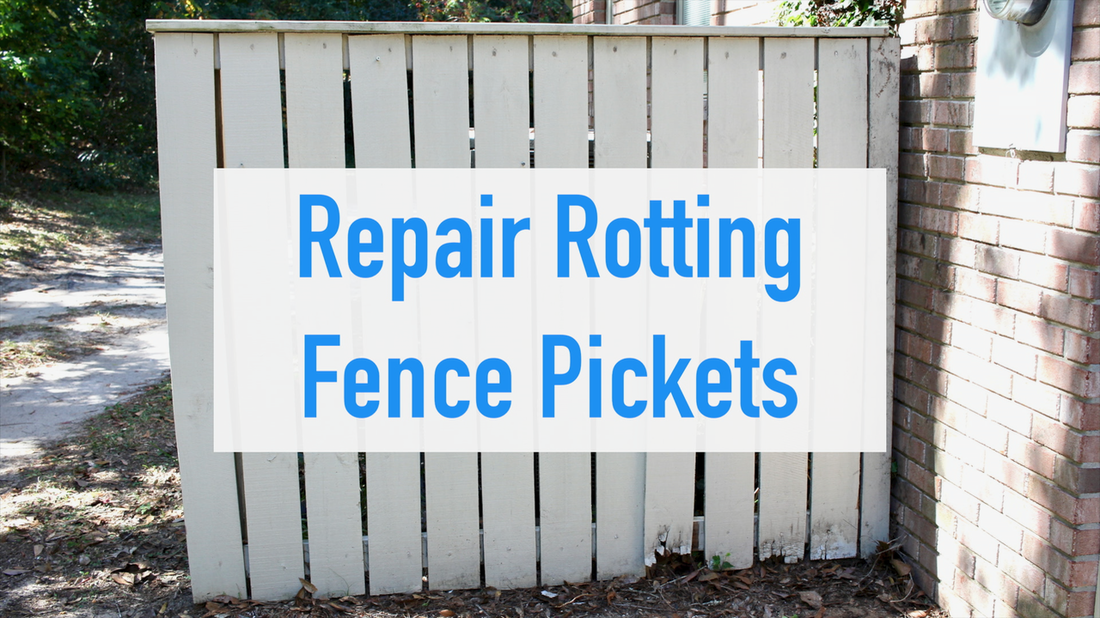
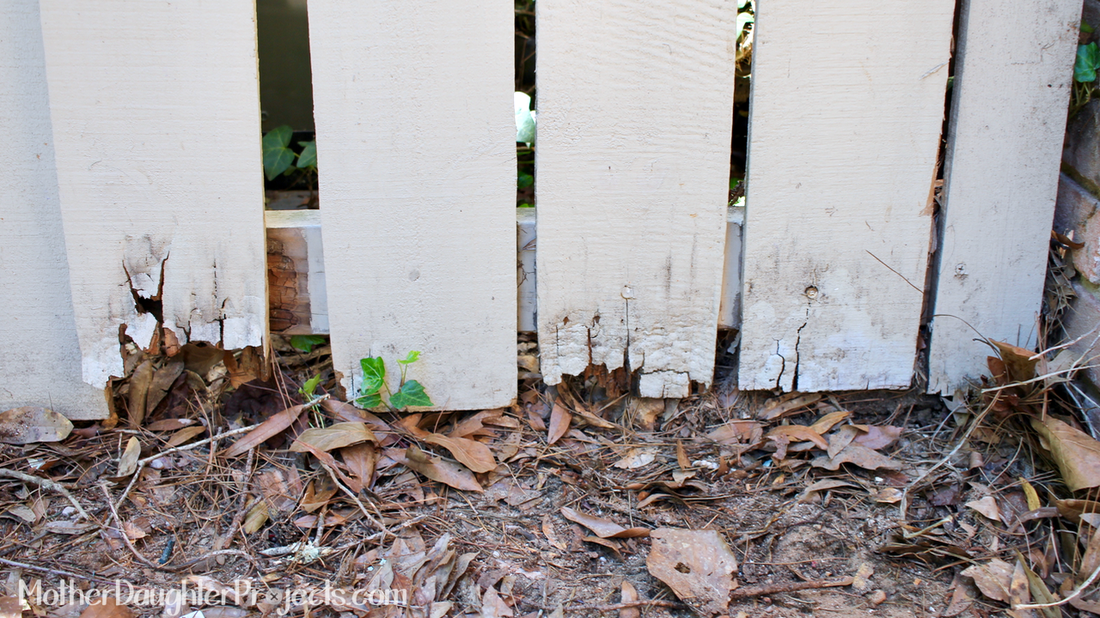
Before
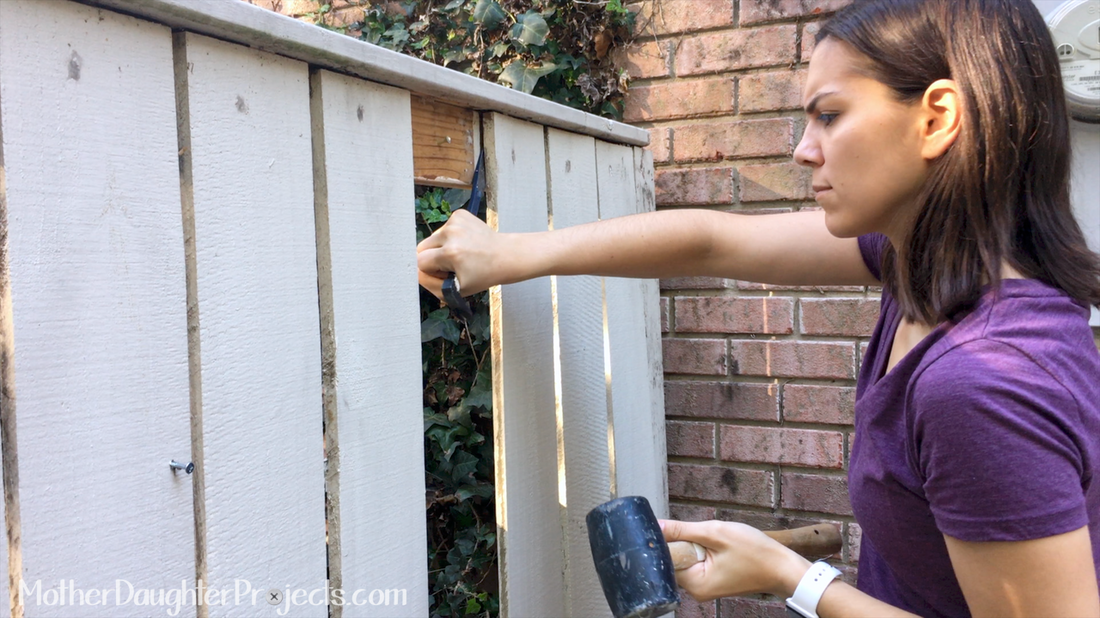
We removed the damaged pickets. This was easily done with a prybar and mallet.
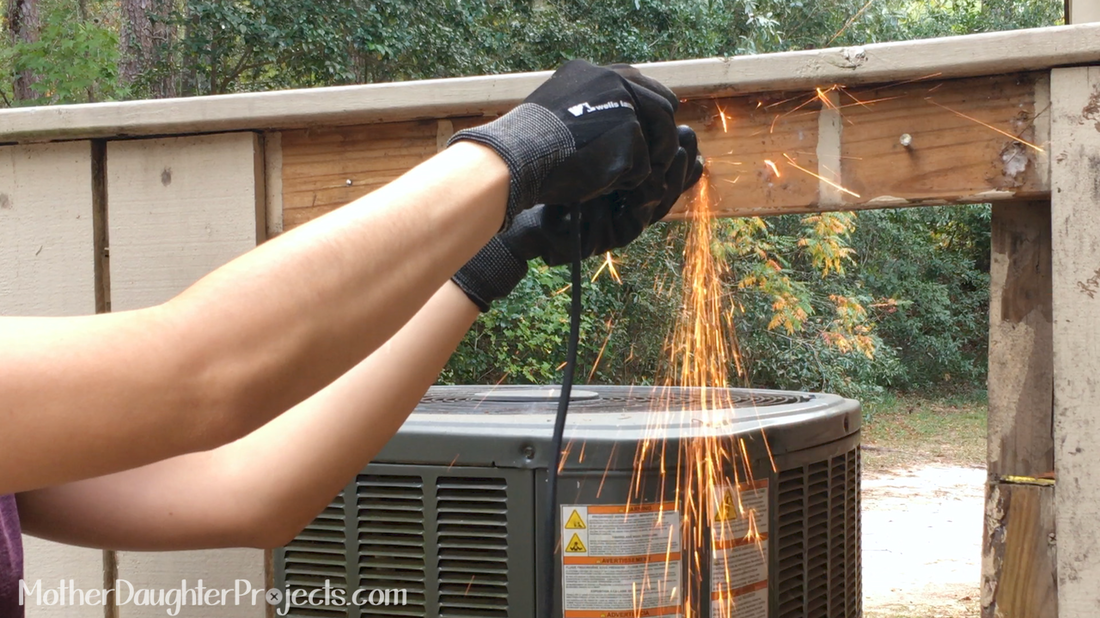
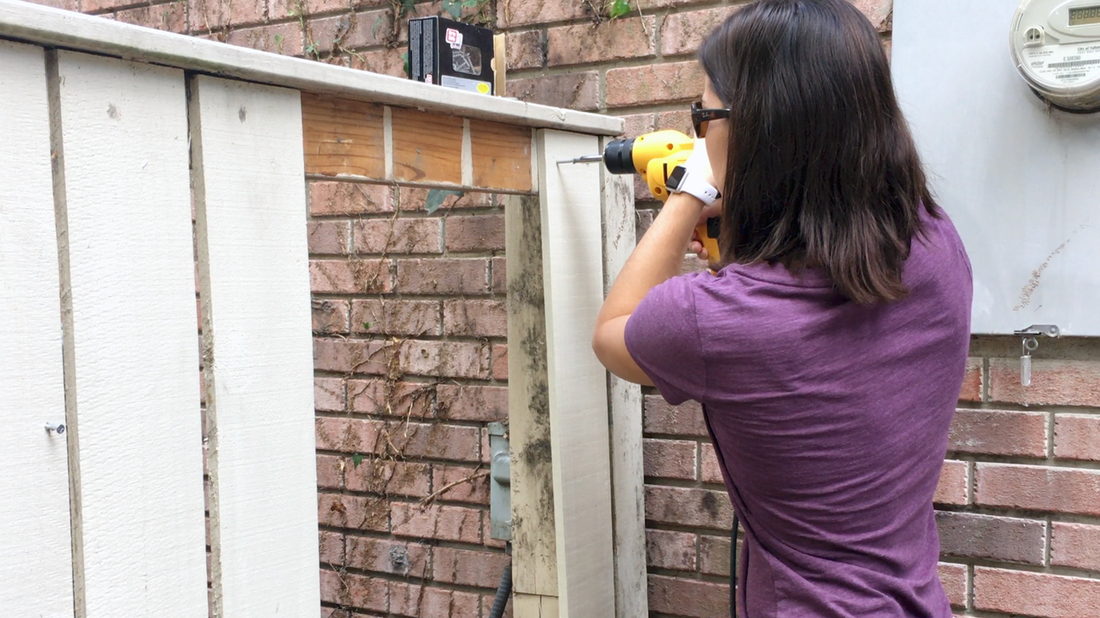
To remove the old screws, we cut them off with a dremel with metal cut off wheel.
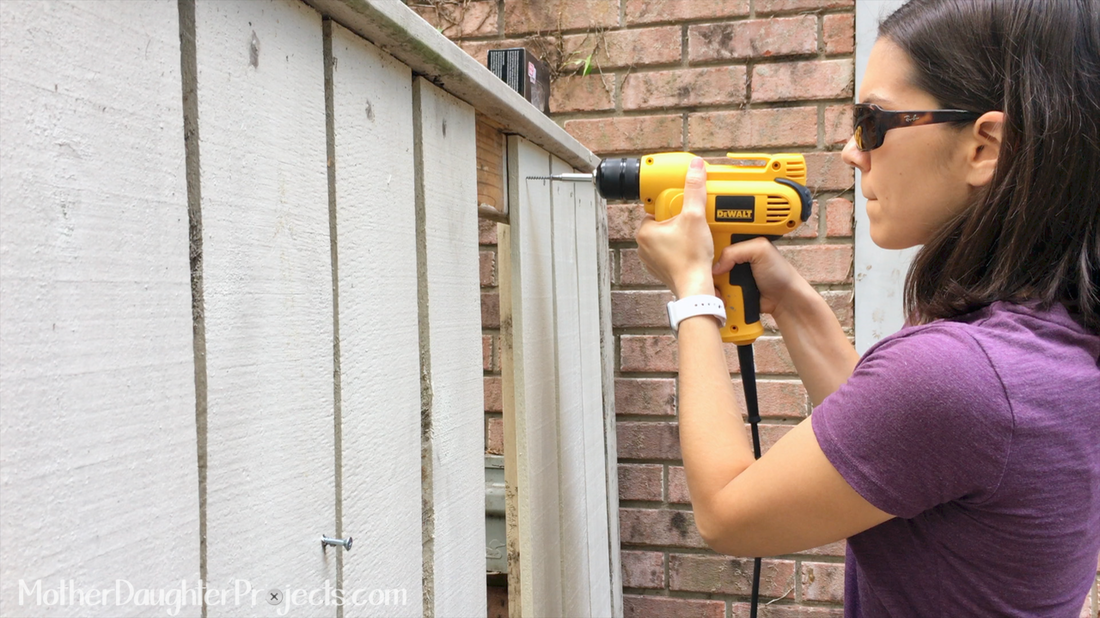
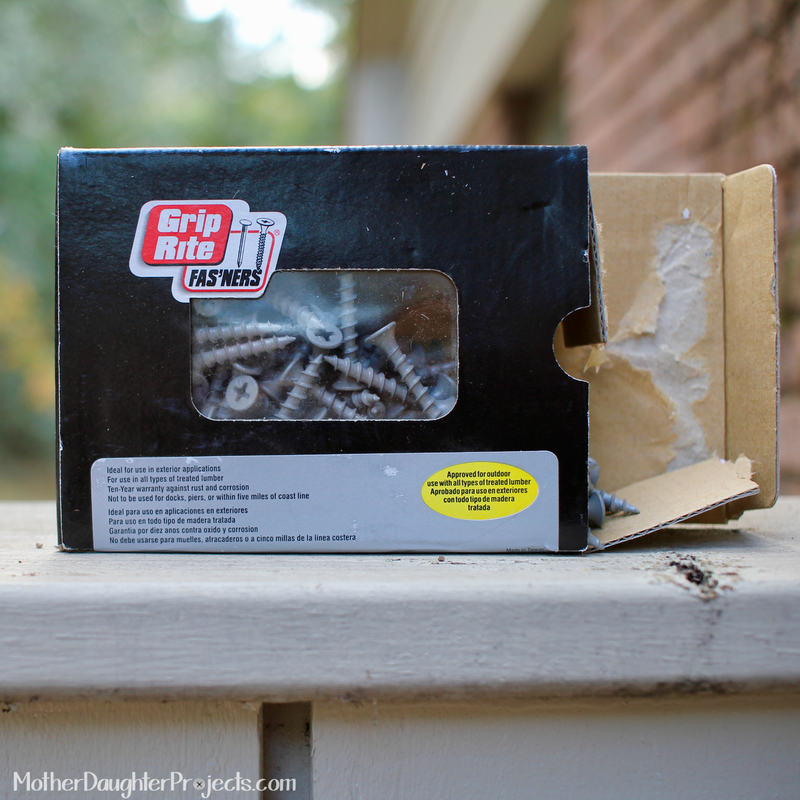
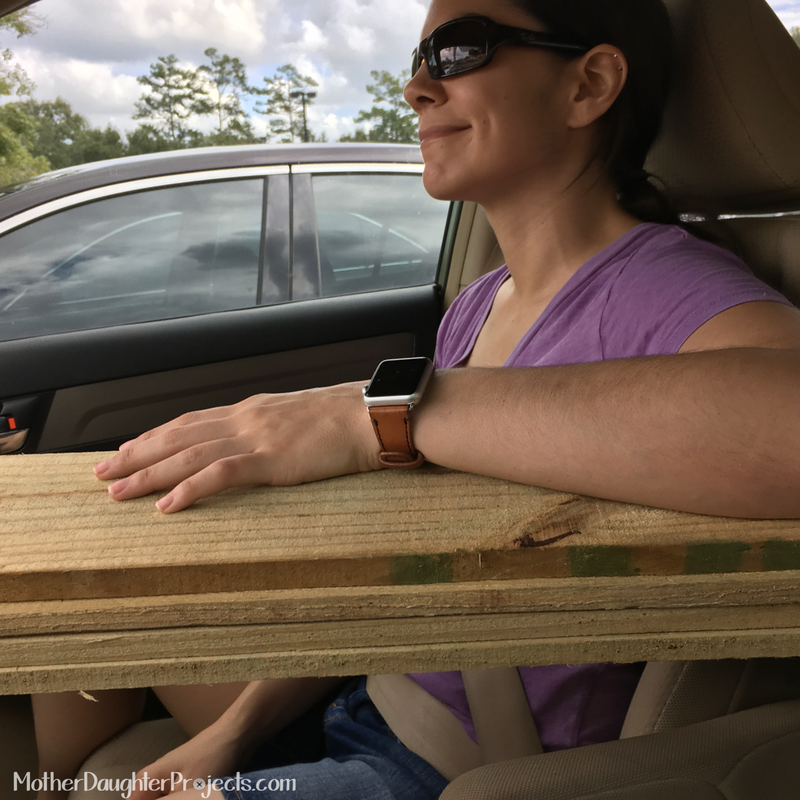
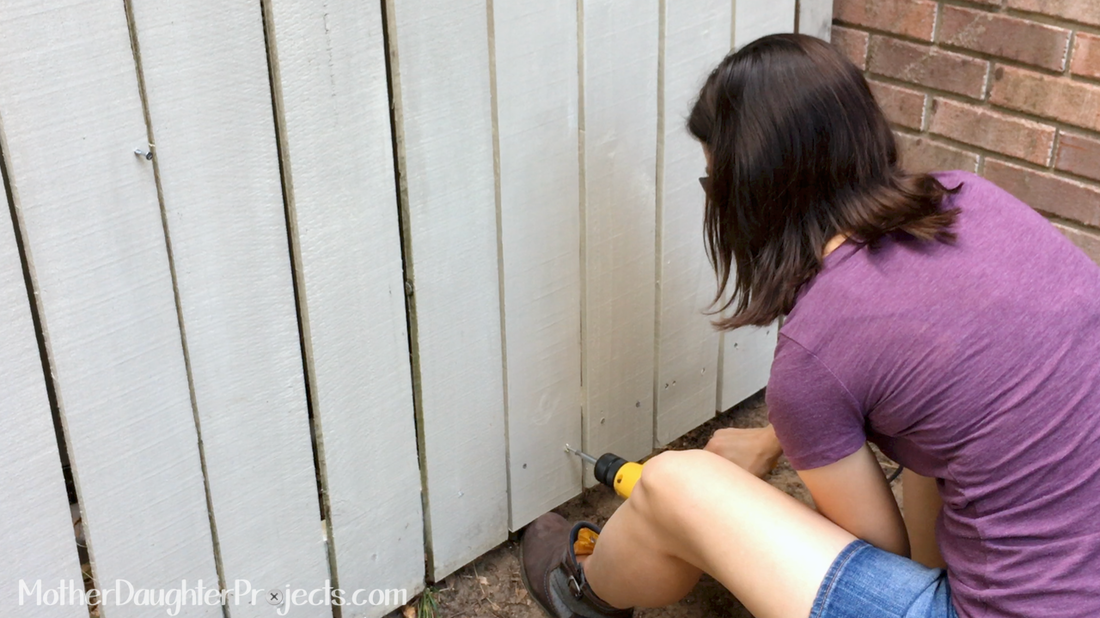
We bought four new 5.5" dog ear fence pickets. We cut the dog ear part off and painted the pickets to match the fence. We use outdoor screws to attach the pickets in place.
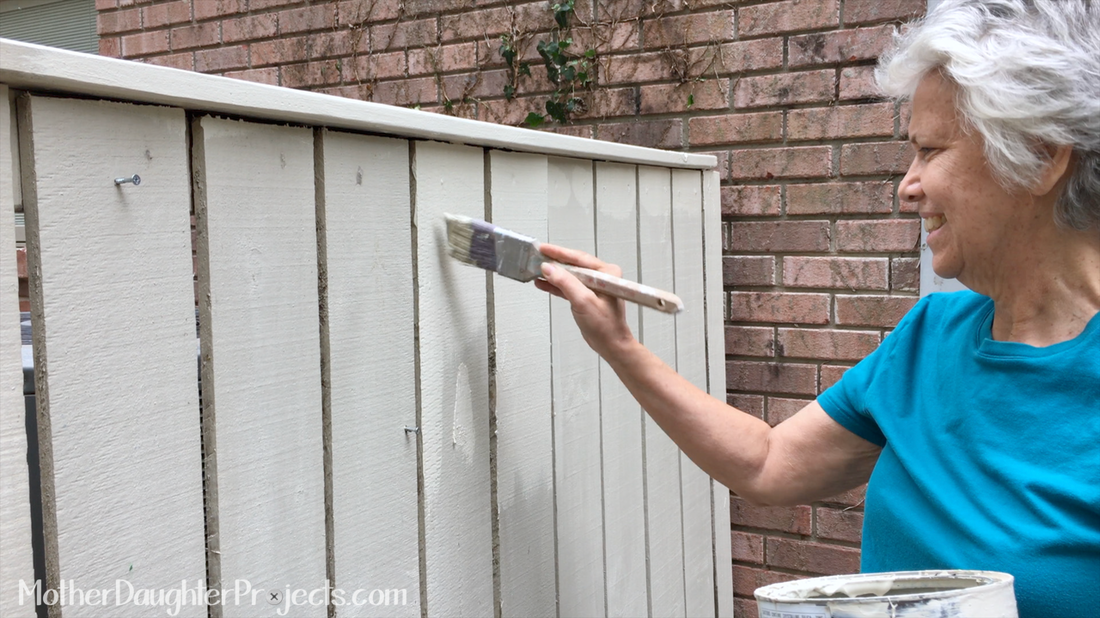
Once all four boards were in place, we put some putty over the screw holes and gave the whole fence a new coat of paint.
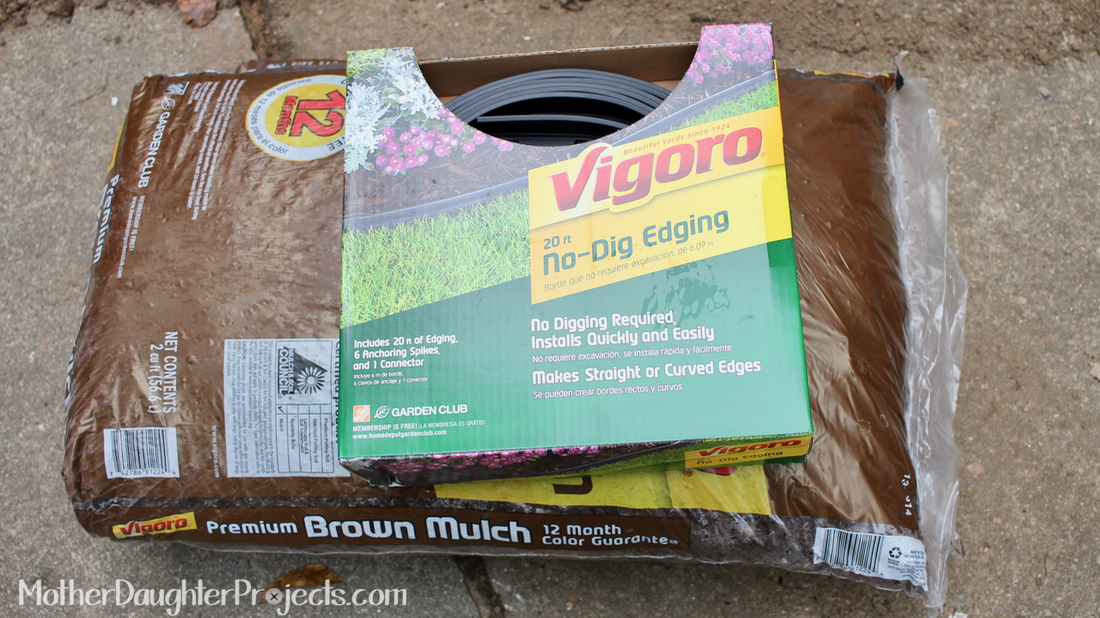
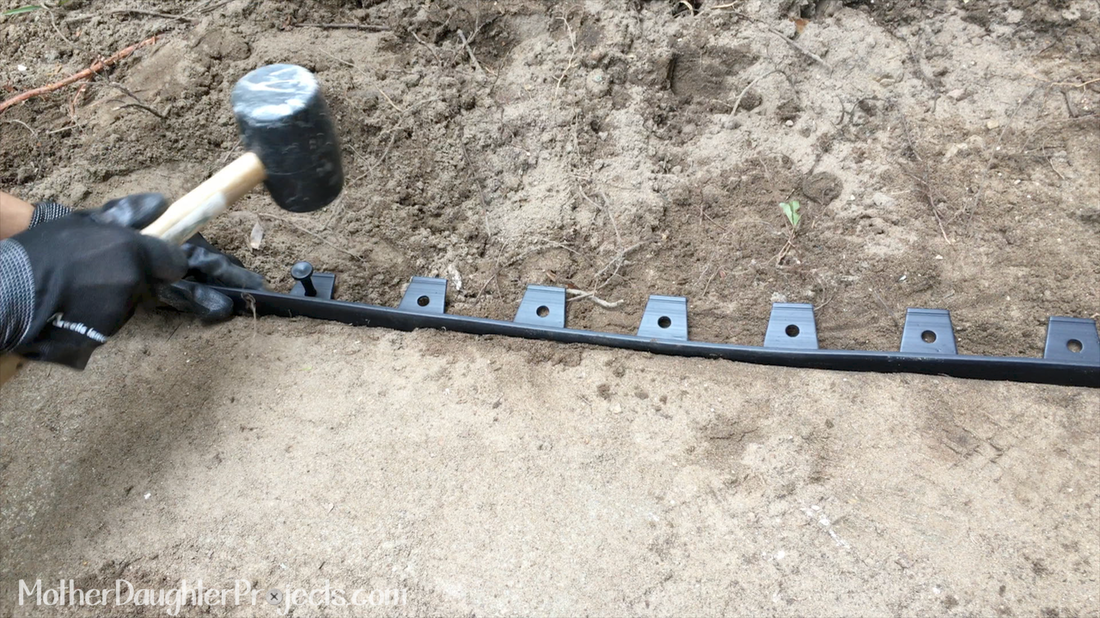
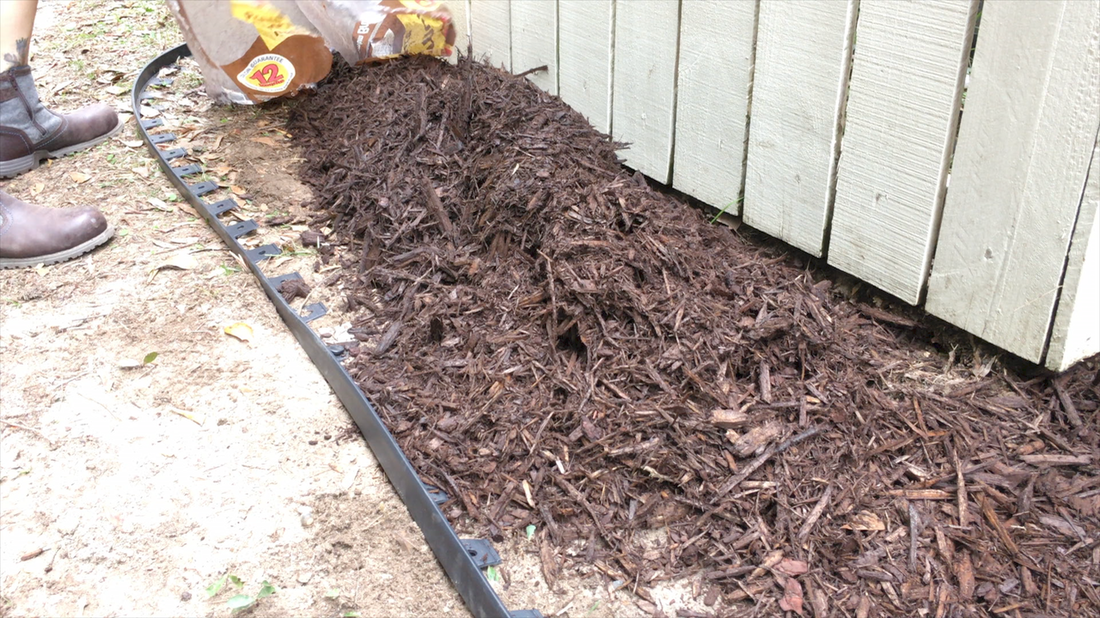
We bought some edging and mulch to put at the base of the fence.
This project is an example of what happens when you defer or don't keep up with maintenance. This rotting issue would not have happened if I had noticed the build up of debris earlier and removed it. It's always important to check your home's foundation for organic matter build up. We have a lot of moisture in Florida, so it's doubly important as things will rot when it comes in prolonged contact with damp, organic matter.
Please note: We are not sponsored by any of the companies/products that we used. These products were picked and bought by us.
FYI: We are not professionals, and we don’t claim to be. This is what we found worked for our project. Yours may need a little different approach. Safety first! FYI: Affiliate links are being used on this page. Purchasing via these links help support MDP! Related Projects
0 Comments
Leave a Reply. |

Mother Daughter Projects
|