Mother Daughter Projects

  • Blog
  • About
    • Contact
    • Privacy Policy
  • Tools
    • Tool Tuesday
  • Maintenance
  • Improvement
  • Decor
  • Tech
  • Blog
  • About
    • Contact
    • Privacy Policy
  • Tools
    • Tool Tuesday
  • Maintenance
  • Improvement
  • Decor
  • Tech

DIY for Homeowners

How to Upcycle a Floor Lamp into a Coat Rack

6/26/2019

3 Comments

 
text by Vicki     Sign up here to join our weekly email newsletter! ​

This post is sponsored by The Home Depot.
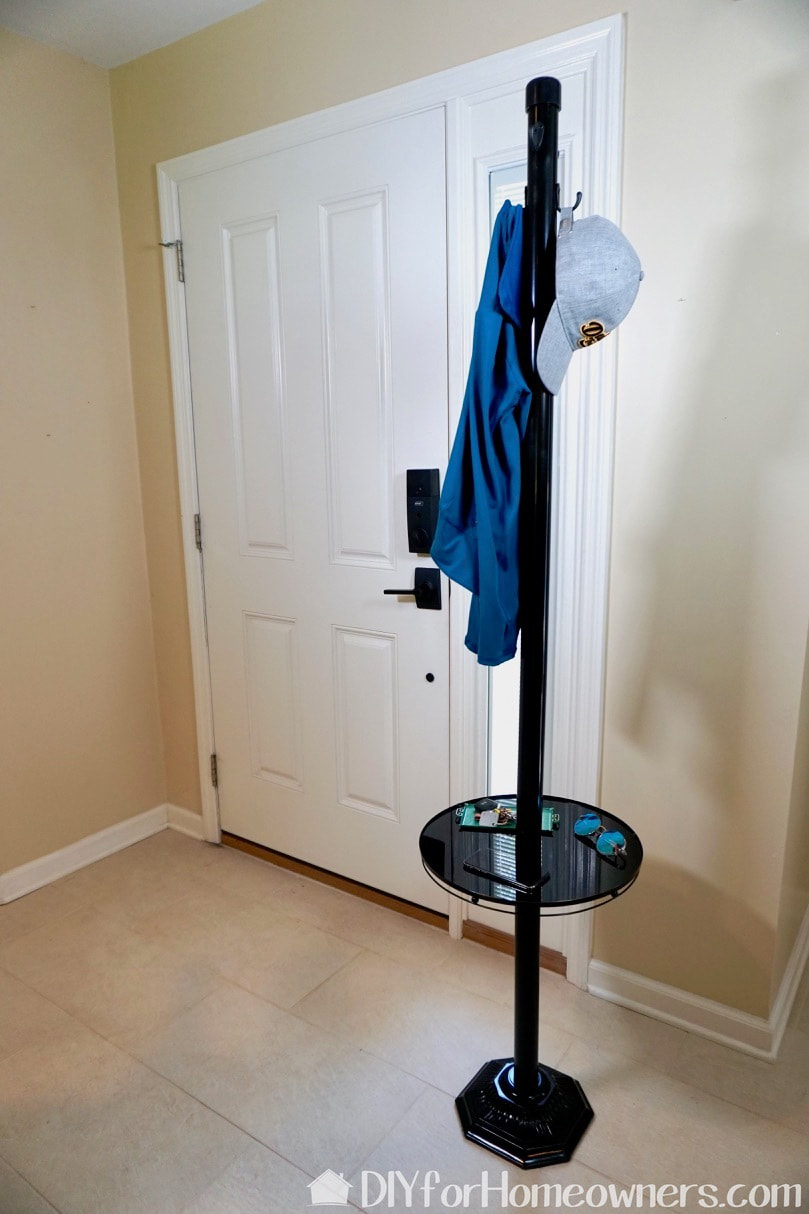
This was such a fun project! Upcycle projects are my favorite and this one turned out even better than we imagined.

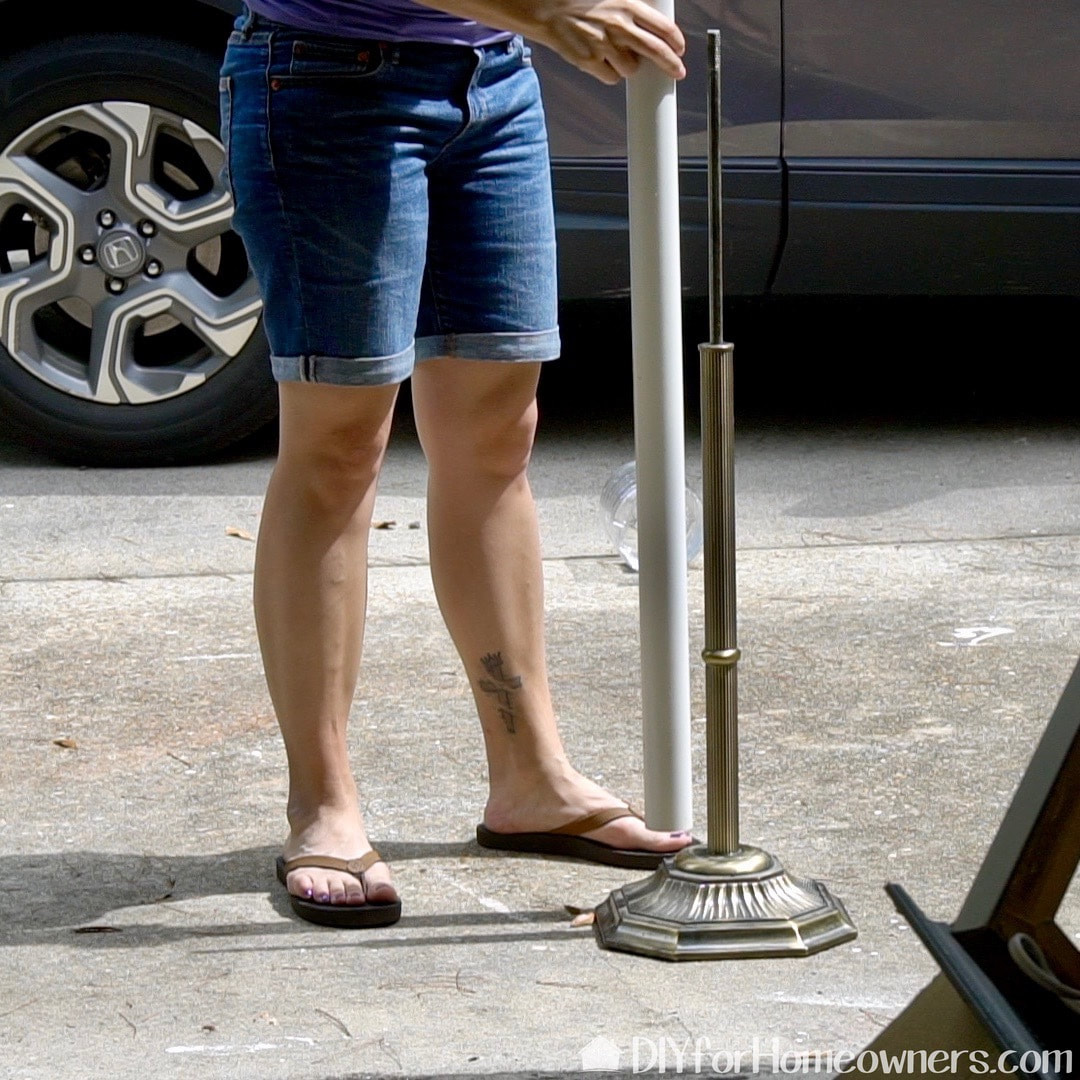
Steph's neighbor was cleaning house and offered us the lamp you see in the BEFORE pic. These end table/floor lamps used to be pretty popular, but since I see them at yard sales and thrift stores a lot these days, I think their popularity has waned!

Lucky us, they didn't want it anymore. I had a couple of ideas on how to reuse it, but we went with this coat rack upcycle for my house!

Materials/Tools:


  • 1-1/2in x 10ft PVC (Home Depot)

  • 1-1/2in PVC cap (Home Depot)

  • RYOBI 18-Volt ONE+ Cordless Rotary Tool (Home Depot)

  • Dremel Diamond Wheel Point Set for Wood, Jade, Ceramic, Glass, Hardened Steel, and Semi-Precious Stones (Home Depot)

  • Everbilt Matte Black Light Duty Single Robe Hook (5-Pack) (Home Depot)

  • Rapid Set 10 lb. Cement All Multi-Purpose Construction Material (Home Depot)

  • GREAT STUFF 16 oz. Gaps and Cracks Insulating Foam Sealant with Quick Stop Straw (Home Depot)

  • Rust-Oleum Painter's Touch 2X 12 oz. Flat Black General Purpose Spray Paint (Home Depot)

  • Gorilla 1-7/8 in. x 12 yds. Heavy-Duty Duct Tape (Home Depot)

  • 10-Watt Qi Enabled Wireless Charger Pad in Black (Home Depot)

How to cycle a floor lamp into a coat rack.
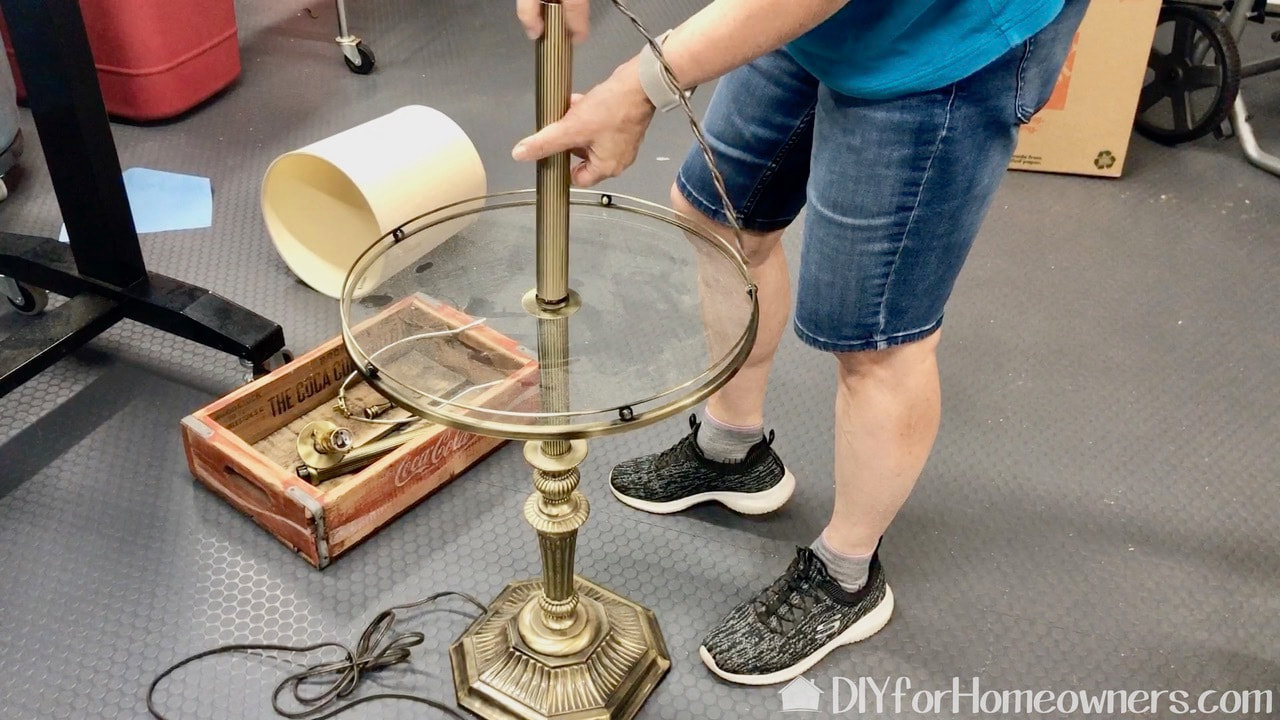
The first step was to completely disassemble the lamp. While taking it apart, we realized the parts could be reconfigured easily. With that in mind, we decided to ditch the ornate base pieces on the bottom and to replace it with one of the sleek, no frills top stem pieces. The top portion was actually made up of three of the pieces. Notice the tabletop. In the final project we turned it upside down!
How to use PVC pipe to make a coat rack.
To unify the parts and to create a sleek look, we are covering the stem pieces with PVC.
Here's a PVC painting hack. Put a pole into the ground, put the PVC pipe on it, prop it off the ground on scrap wood and spray paint.
Ryobi 18v rotary tool with on board storage for accessories.
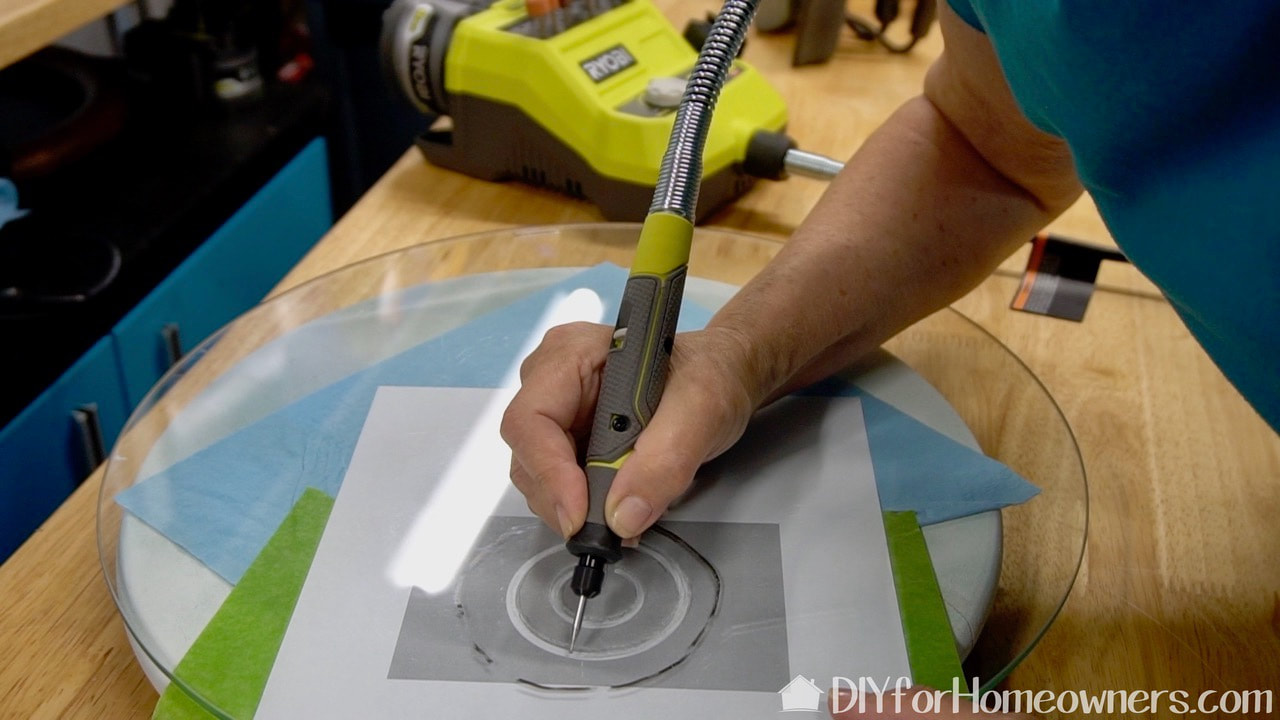
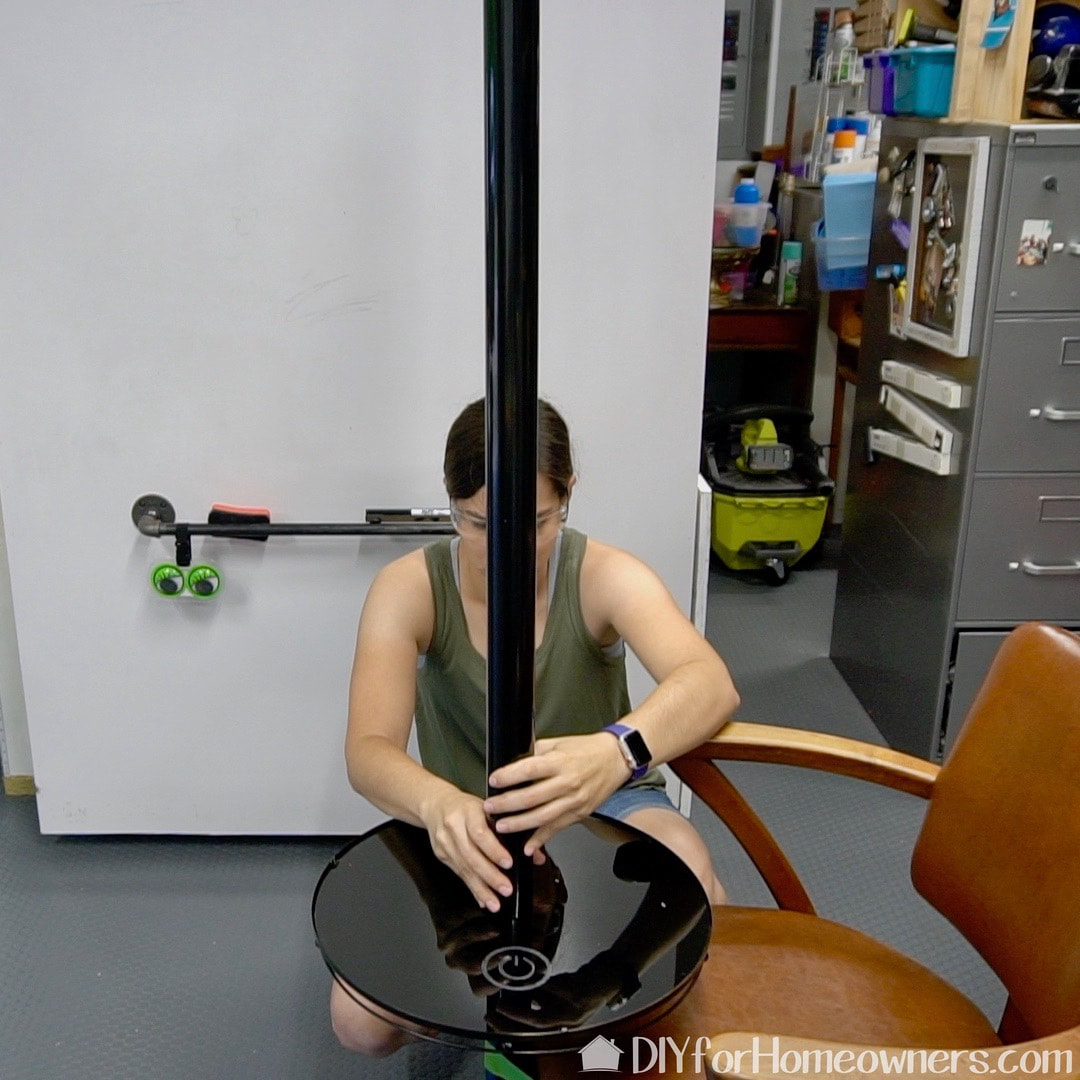
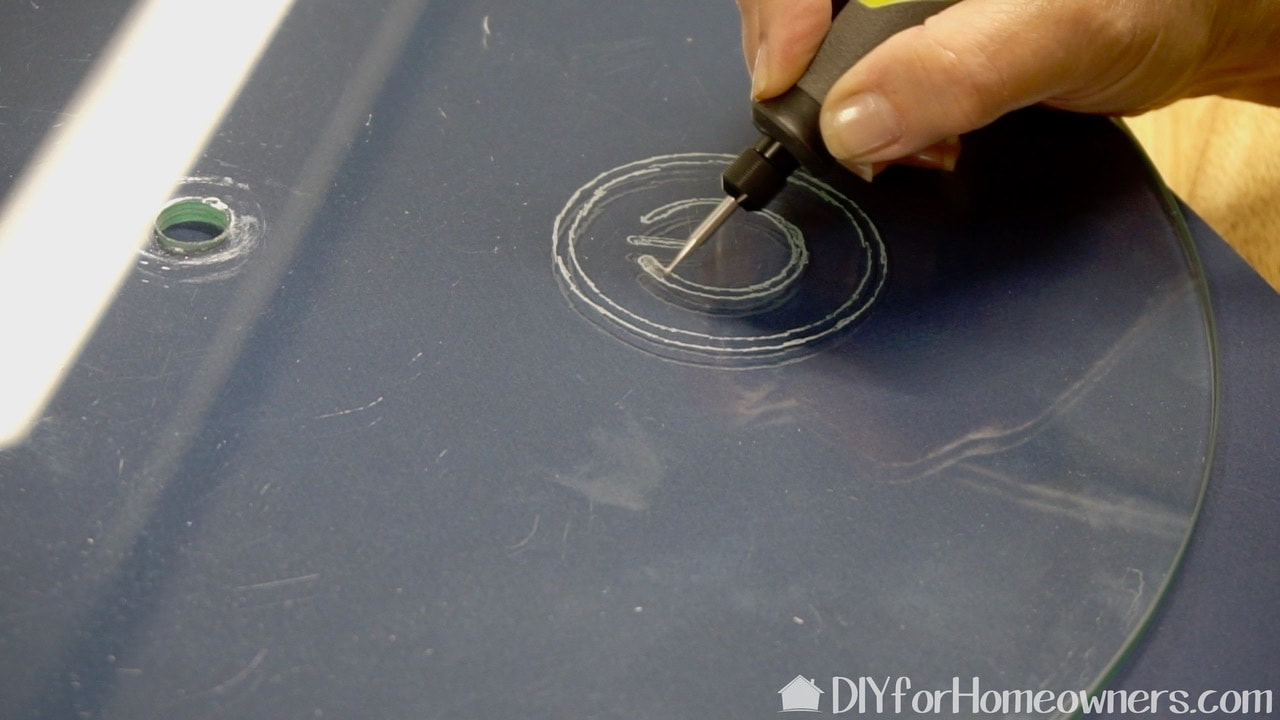
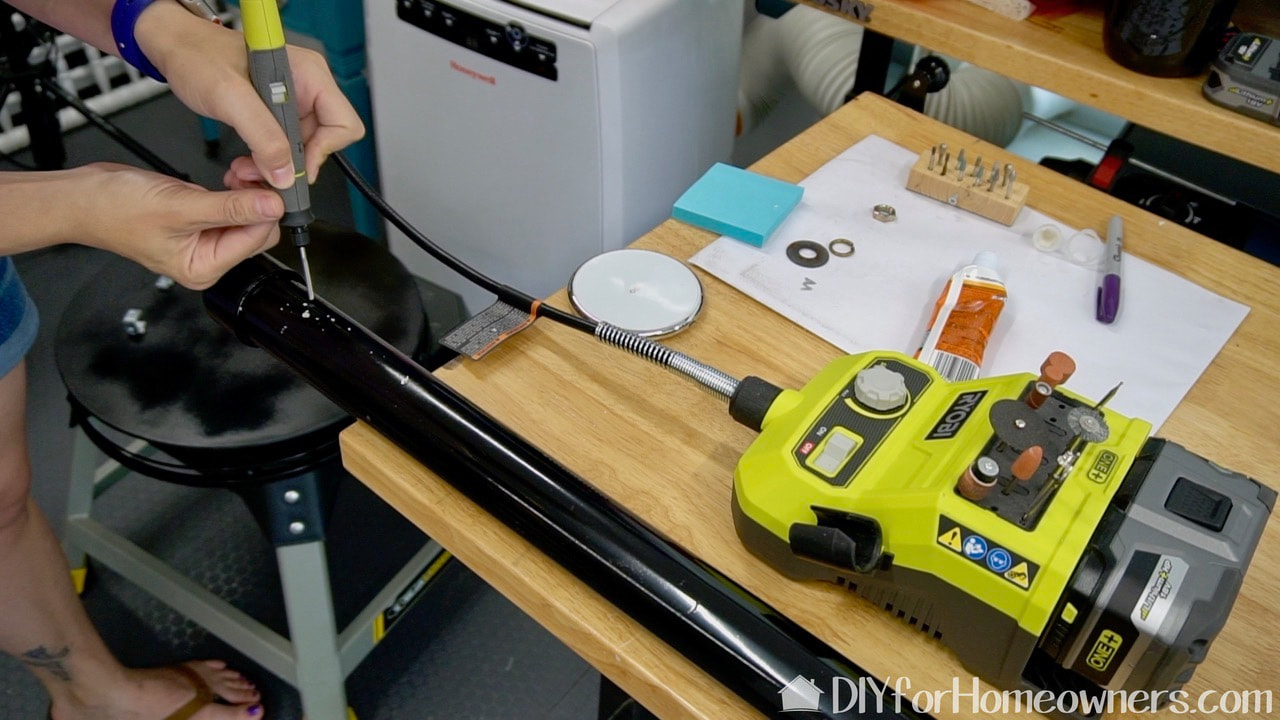
This is a brand new battery powered tool from Ryobi. It's a rotary tool with on board accessory storage. It is super convenient as you don't have to work near a power outlet. I'm using a diamond tip accessory (not included with tool) to etch a power button symbol on the tabletop glass.
Ryobi rotary tool fits small hands.
I like the slim profile of the tool. It is way less bulky than a standard rotary tool.
Adding RapidSet ConcreteAll to make a new weight for the base and hot gluing the PVC in place with a SureBonder hot glue gun.
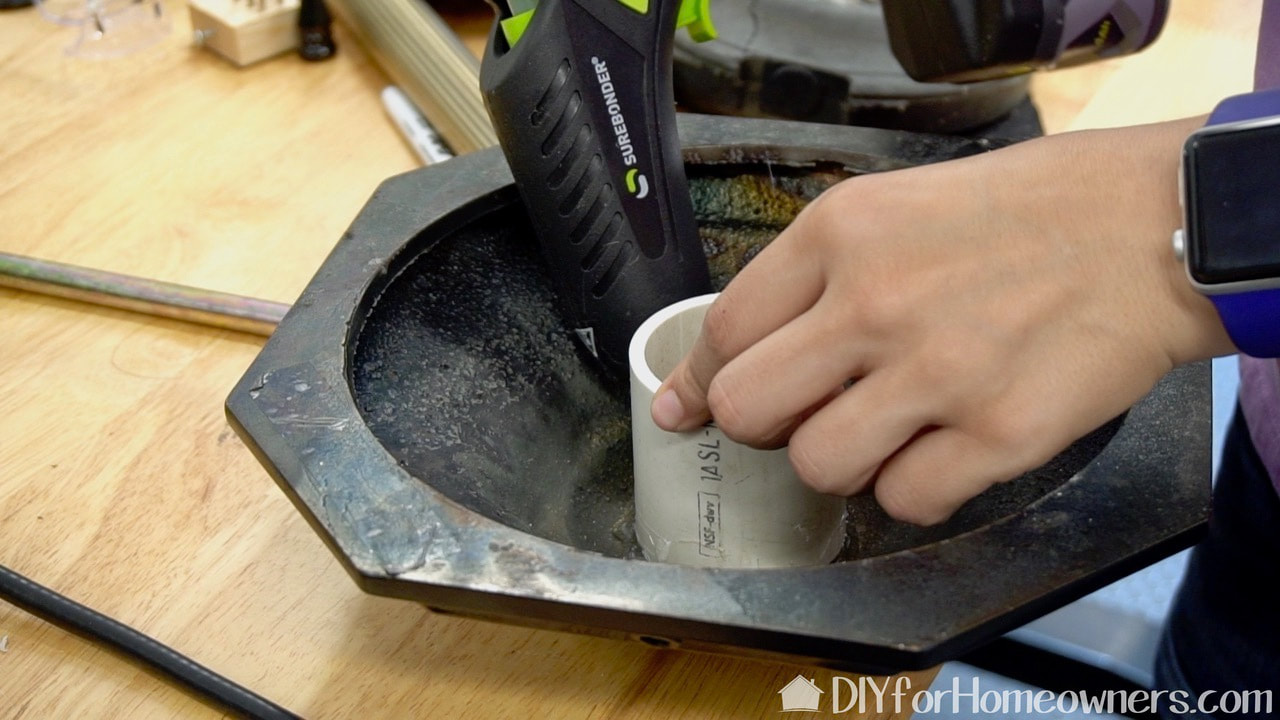
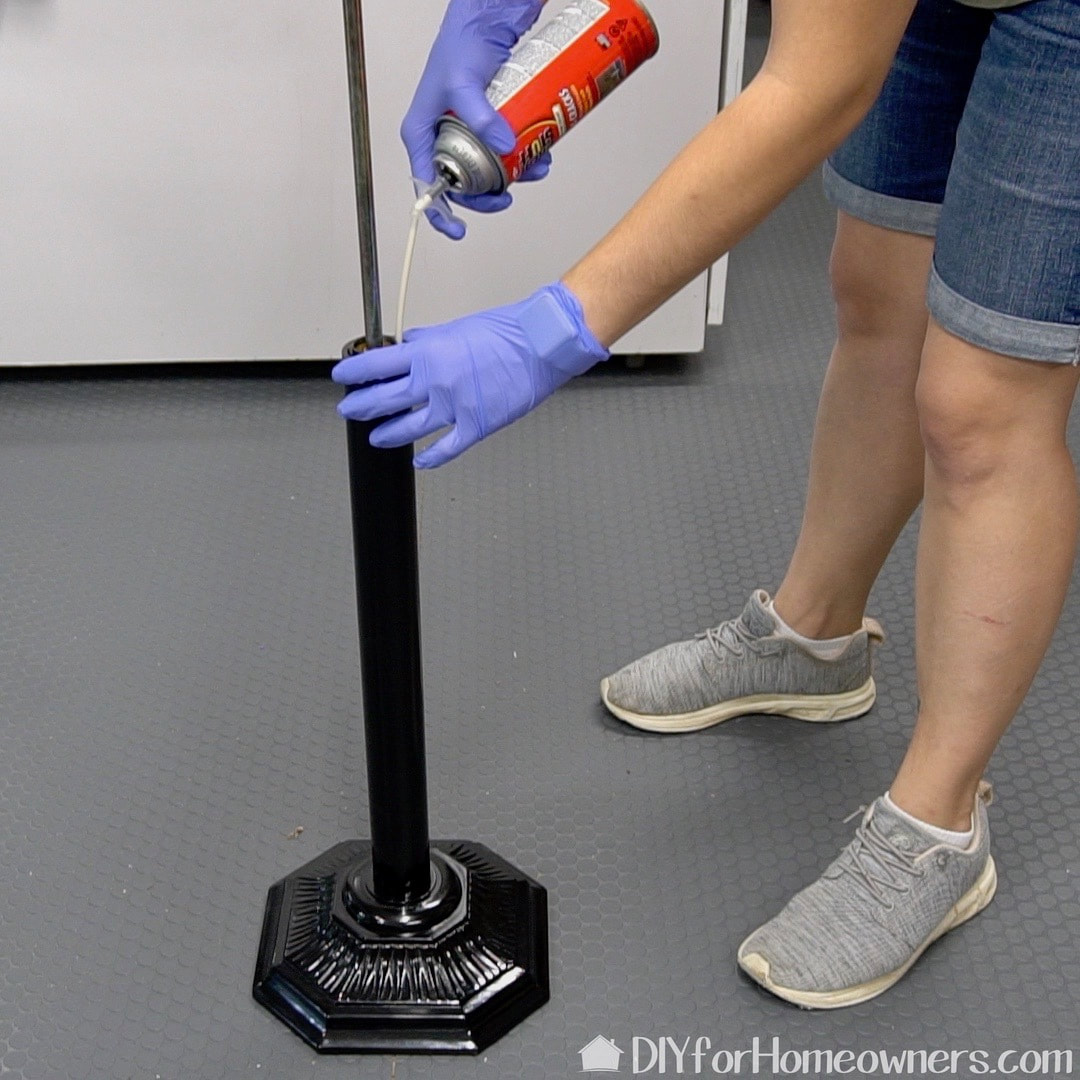
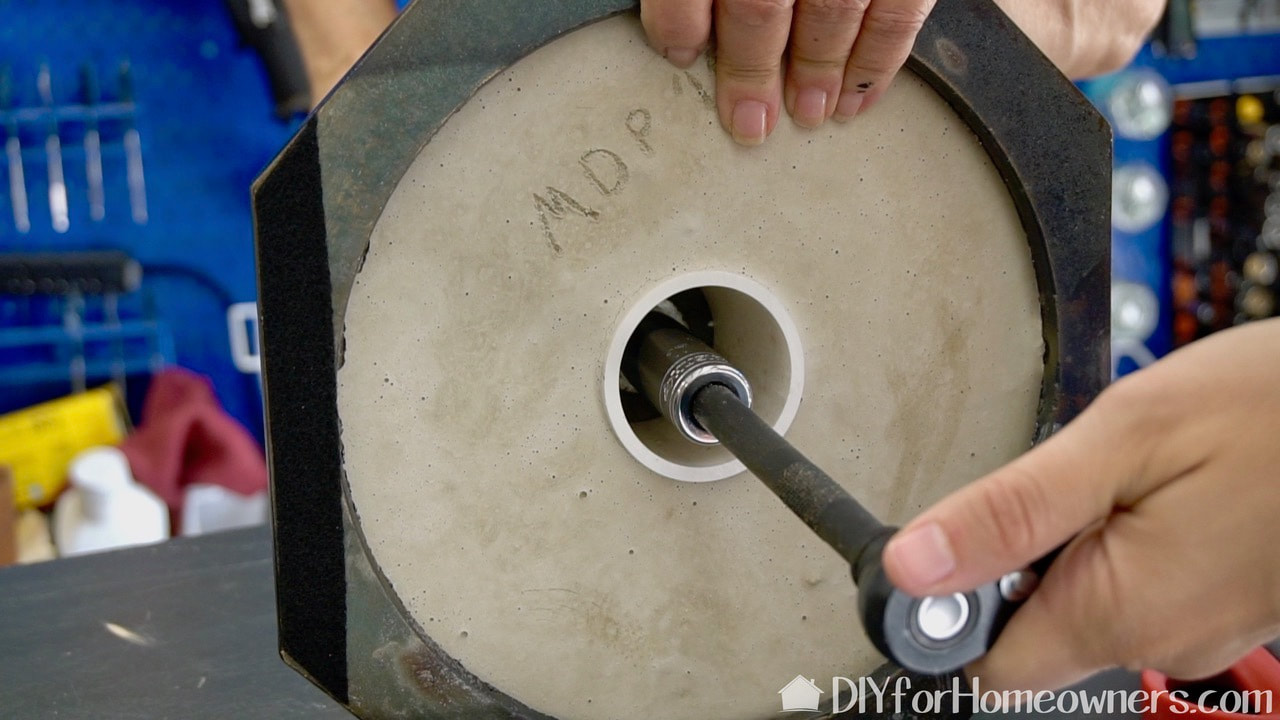
The original base of the lamp had a concrete weight in it. It had cracked so we decided to add fresh concrete. We cut a piece of PVC pipe to fit inside. We did this so we could still access the connecting parts in the base of the lamp.
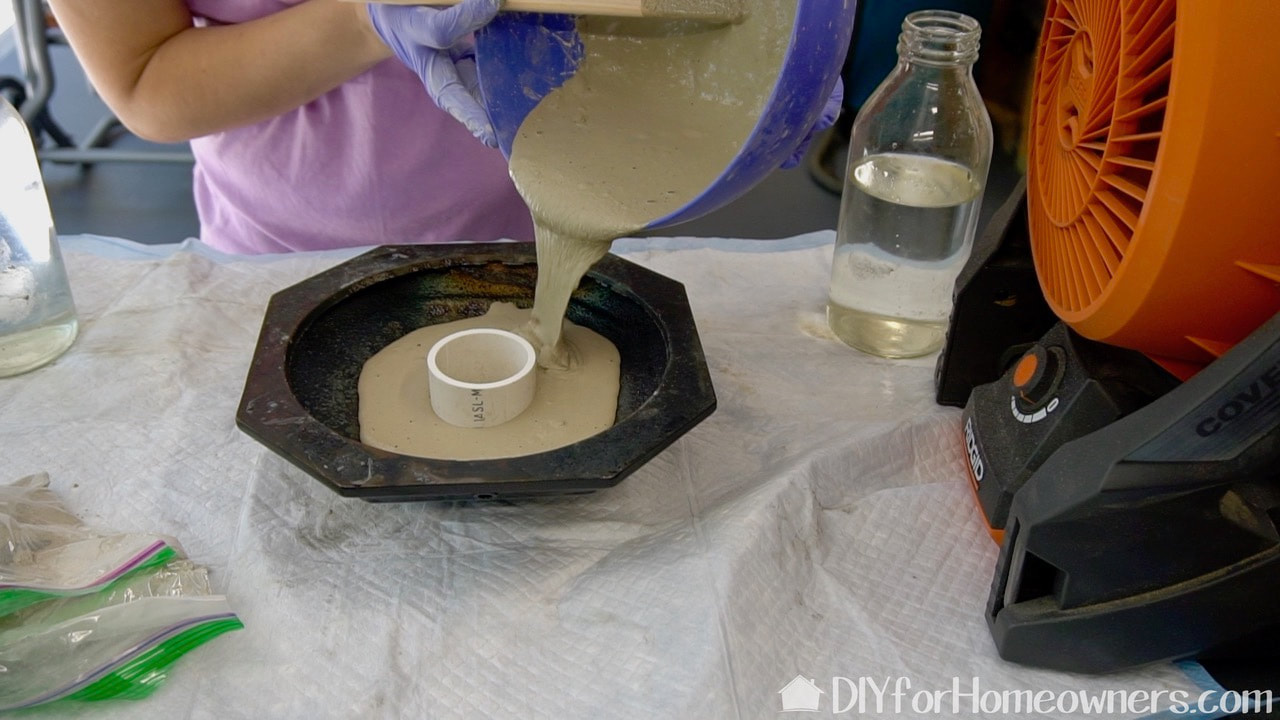
We poured in the RapidSet CementAll and let it set up and cure.
Spray painting with Rust-Oleum black paint.
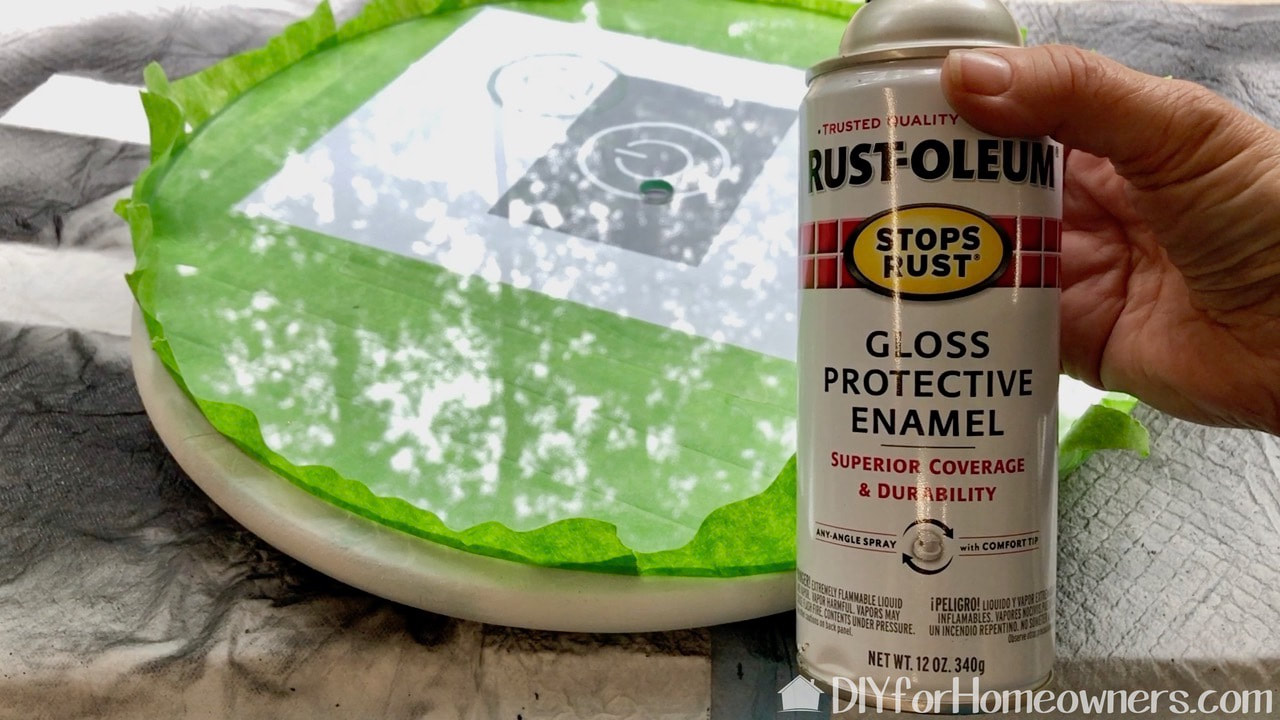
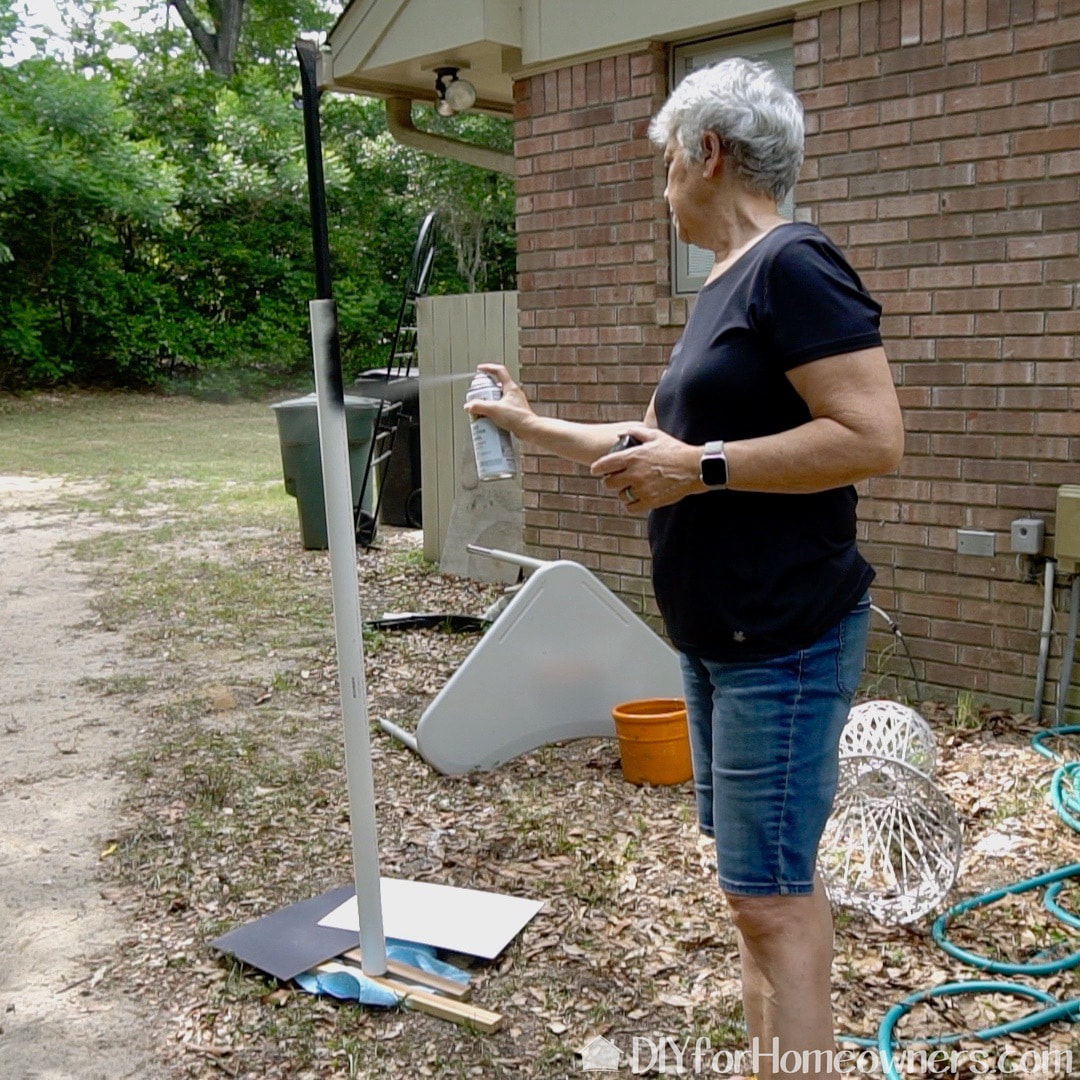
Once the etching was done, I used Frog Tape to seal off the front and sides of the glass tabletop so that I could spray paint the bottom. I used about three thin coats of paint.
We again used the battery powered Ryobi rotary tool, but with a drill bit in place
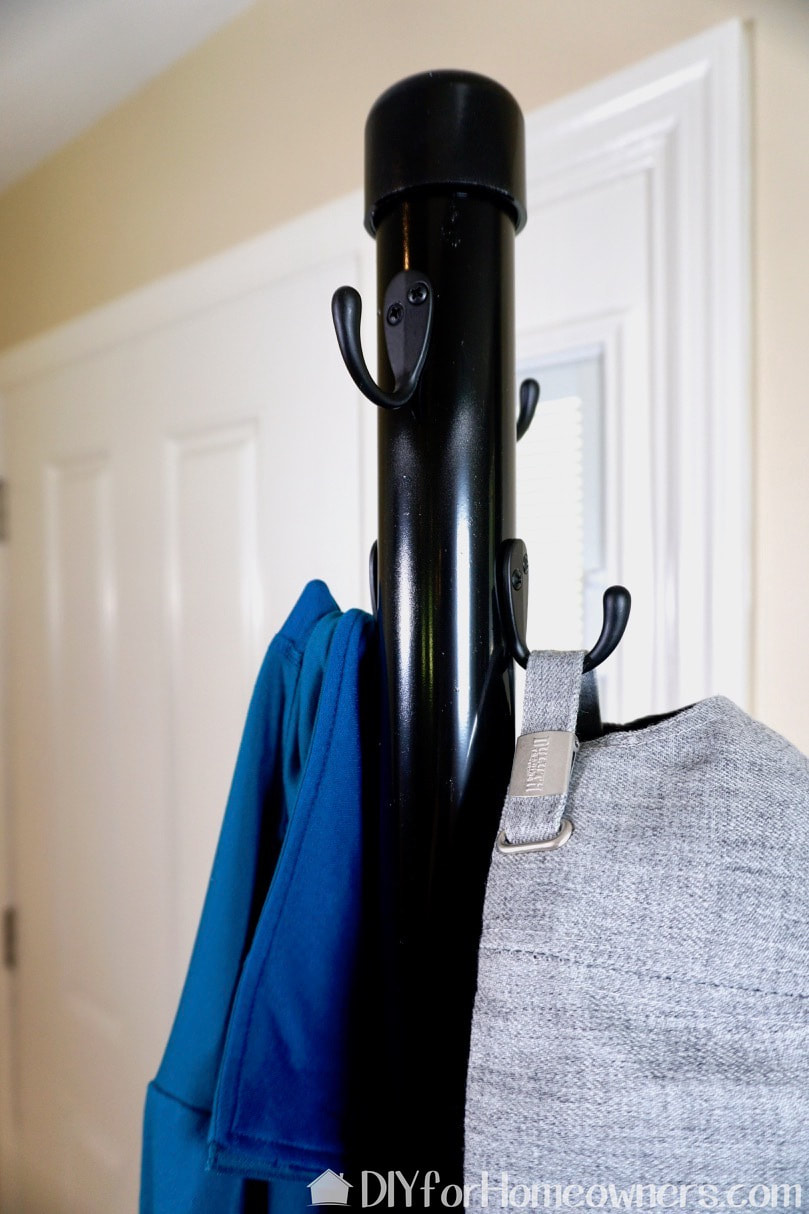
We again used the battery powered Ryobi rotary tool, but with a drill bit in place. Steph drilled pilot holes for the coat rack hooks.
Adding the hooks to the coat rack.
Steph simply hand screwed them into place.
Using a Husky tool to tighten the lamp parts.
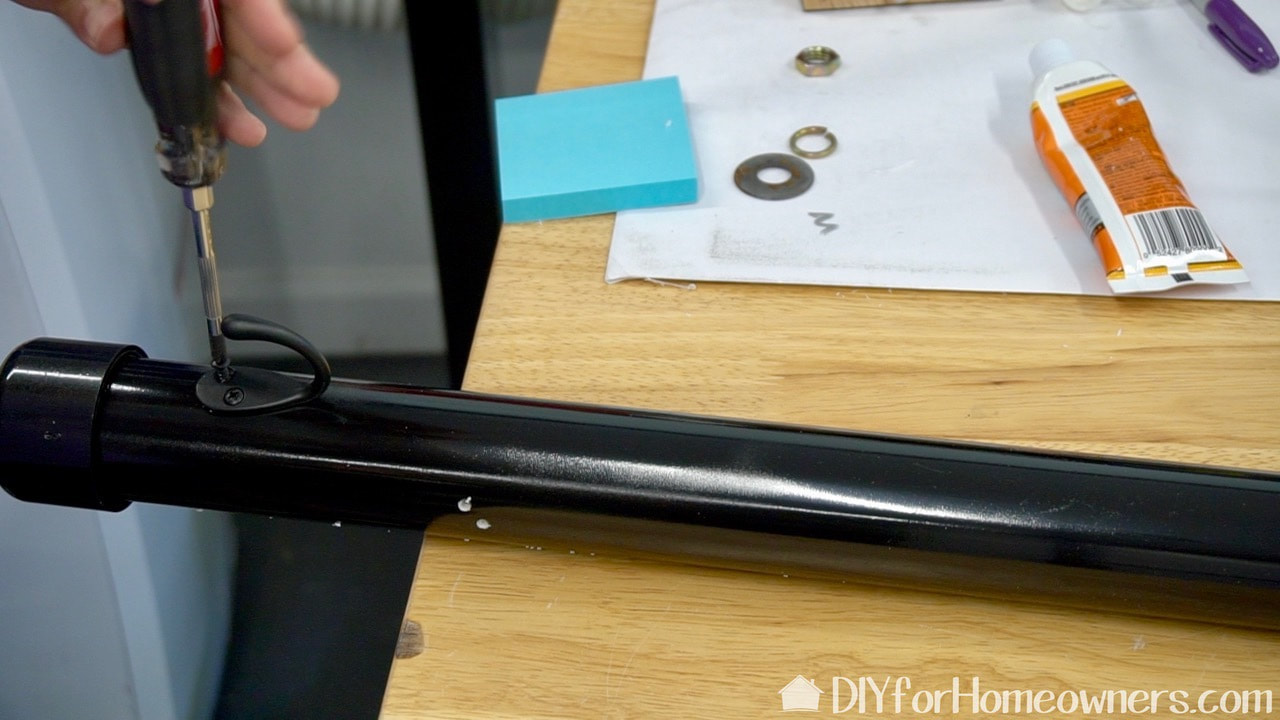
Here we are tightening up the lamp parts through the base.
Assembling the new DIY coat rack.
We are using spray in expanding foam to keep the PVC pipe in place and "glued" to the lamp stem. We did this for the top and bottom parts.
Holding the parts in place while the spray foam sets up.
It took a bit of effort to keep all the parts straight during the time it took the spray foam to set.
Showing the wireless phone charger working.
To add wireless charging to this, all we did was tape a wireless charger to the bottom of the glass, right under the power button.
The coat rack is the perfect place for my new Duluth Trading Company hat.
The new coat rack is a welcome addition to my foyer as there is no closet or landing zone. There is room for hats (thanks @DuluthTradingCompany), jackets, phone, and keys.
The finished DIY coat rack.
We staggered those coat hooks. The slim profile of the coat rack makes it perfect for small spaces.
Using a floor lamp we created a sleek, modern coat rack complete with wireless charging station with etched glass detail. PVC piping cover the existing decorative brass lamp stem. Everything is painted to blend the old and new parts.
Picture
Have you made a coat rack from an old floor lamp? If not a coat rack, what other things have you made with this kind of lamp? We'd love to hear your ideas.

We acknowledge that The Home Depot is partnering with us to participate in the ProSpective 2019 Campaign. As a part of the Program, we are receiving compensation in the form of products and services, for the purpose of promoting The Home Depot. All expressed opinions and experiences are our own words. Our post complies with the Word Of Mouth Marketing Association (WOMMA) Ethics Code and applicable Federal Trade Commission guidelines.

FYI: We are not professionals, and we don’t claim to be. This is what we found worked for our project. Yours may need a little different approach. Safety first!

FYI: Affiliate links are being used on this page. Purchasing via these links help support MDP!

Related Projects

Picture
Bed in a Box
Picture
DIY Wireless Charging Neon Nightstand
Picture
LED Concrete Fireplace
3 Comments
Pat Tyson
6/27/2019 01:14:37 pm

You two are amazing! I love your projects and might attempt this one.

Reply
Steph
6/27/2019 04:47:18 pm

Thanks Pat!

Reply
Jack
6/27/2019 03:02:52 pm

Good job girls.

Reply


Leave a Reply.

    MotherDaughterProjects.com

    Mother Daughter Projects
    ​
    Steph & Vicki

    We're homeowners sharing our DIY adventures as we learn to maintain, improve, decorate, and ​use tech in our homes.
    Share your projects with us here:  
    ​#trylearnshare
    MotherDaughterProjects.com
Mother Daughter Projects, LLC ∙ est. 2015 ∙ Tallahassee, FL by Vicki & Steph ∙ Privacy Policy