text by Vicki Sign up here to join our weekly email newsletter!
This post is sponsored by Quikrete.
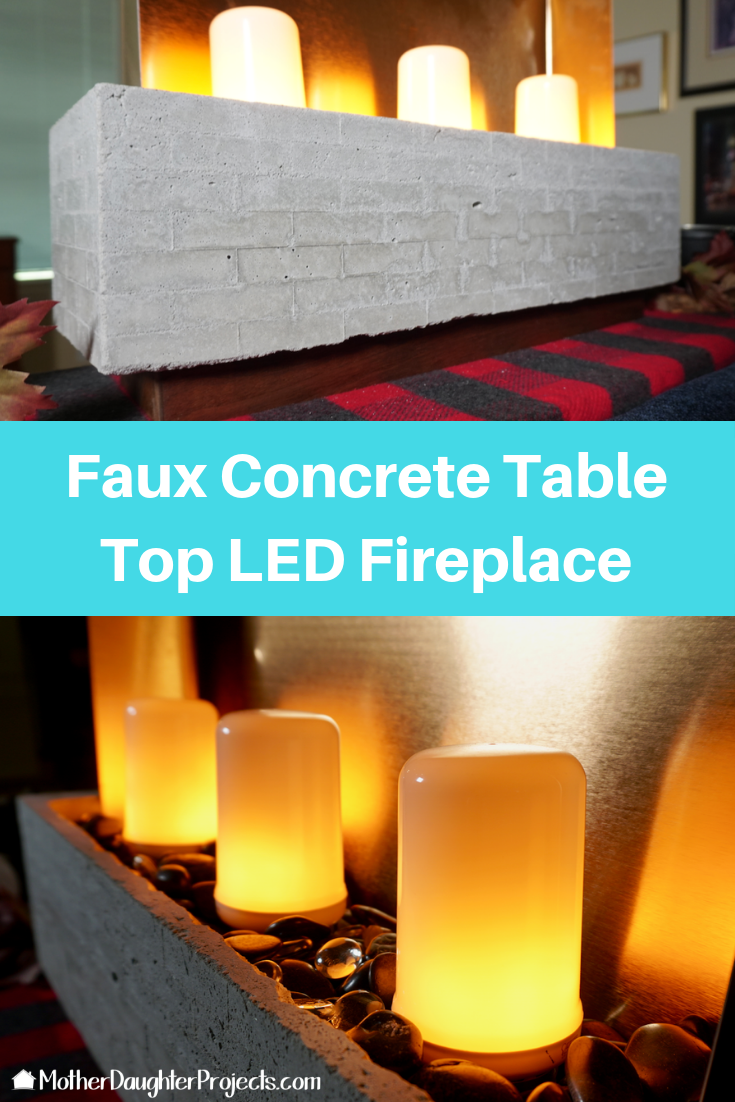
The humble supplies below came together into one of our favorite projects ever! When we spotted those flame light bulbs- we just knew we had to do something with them. At the time of purchase, we had no idea what to do with them, we just knew we had to use them!
With a little bit of engineering, styrofoam, melamine, toy bricks, and Quikrete mortar mix, we were able to cast the perfect faux fireplace! Take a look at how it came together. 
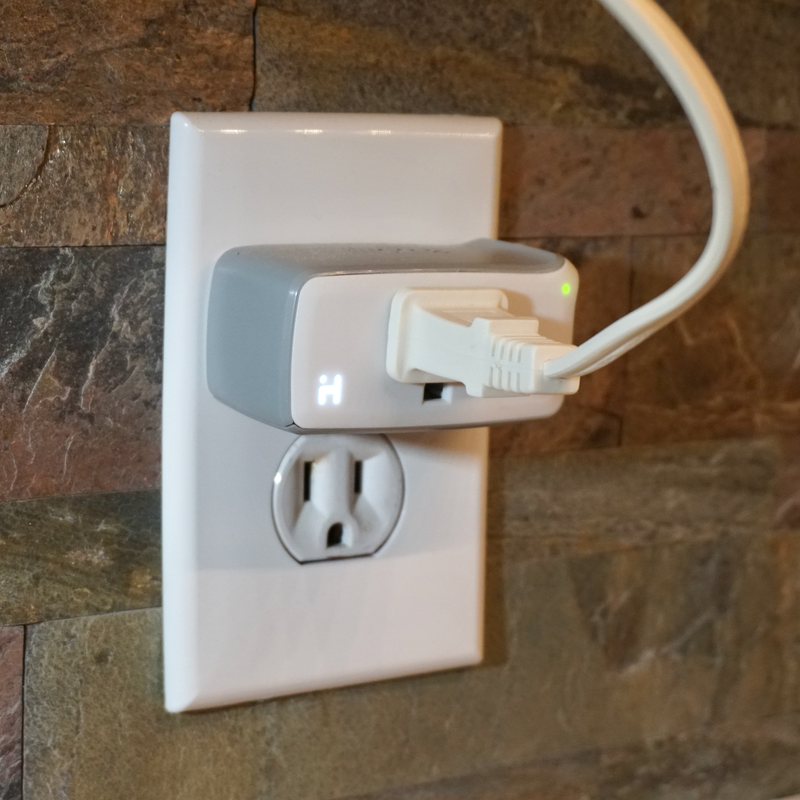
Those bulbs came first, but how to power them? We realized we could wire a plug onto a cheap vanity fixture to use as the power base for our bulbs. After testing the idea and it worked, we then moved onto designing and building the mold for the mortar mix.
Materials:
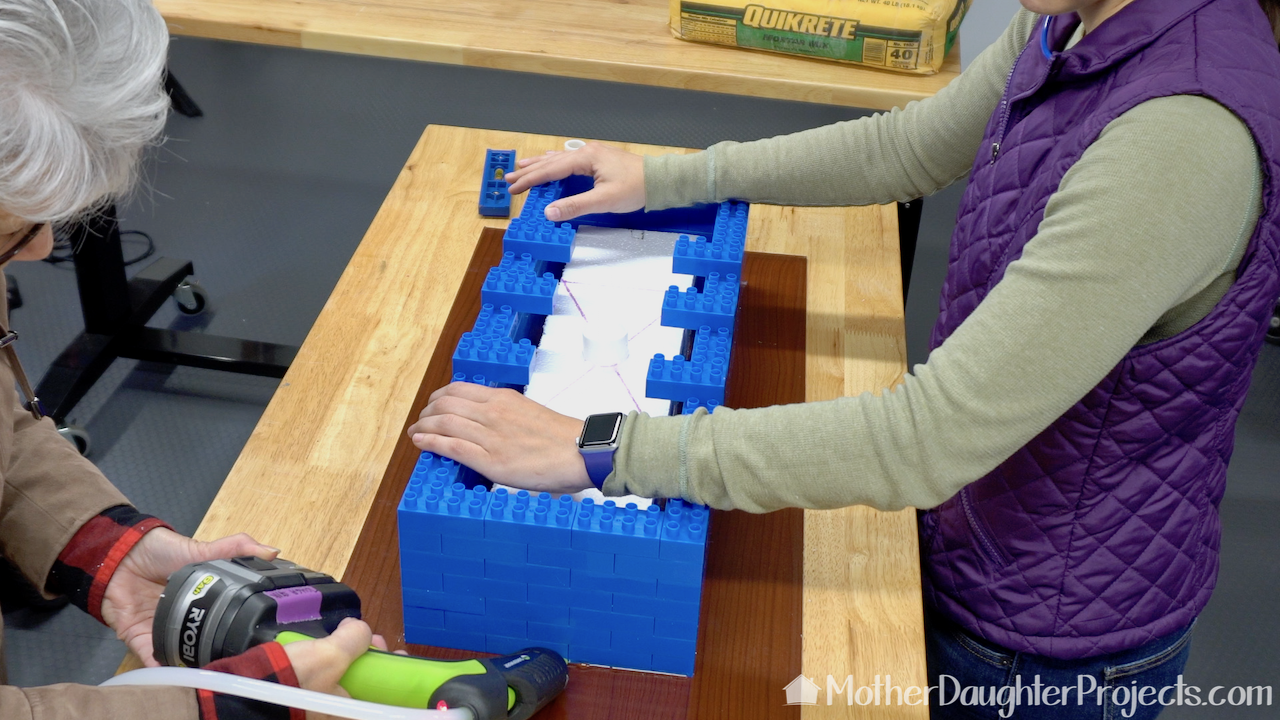
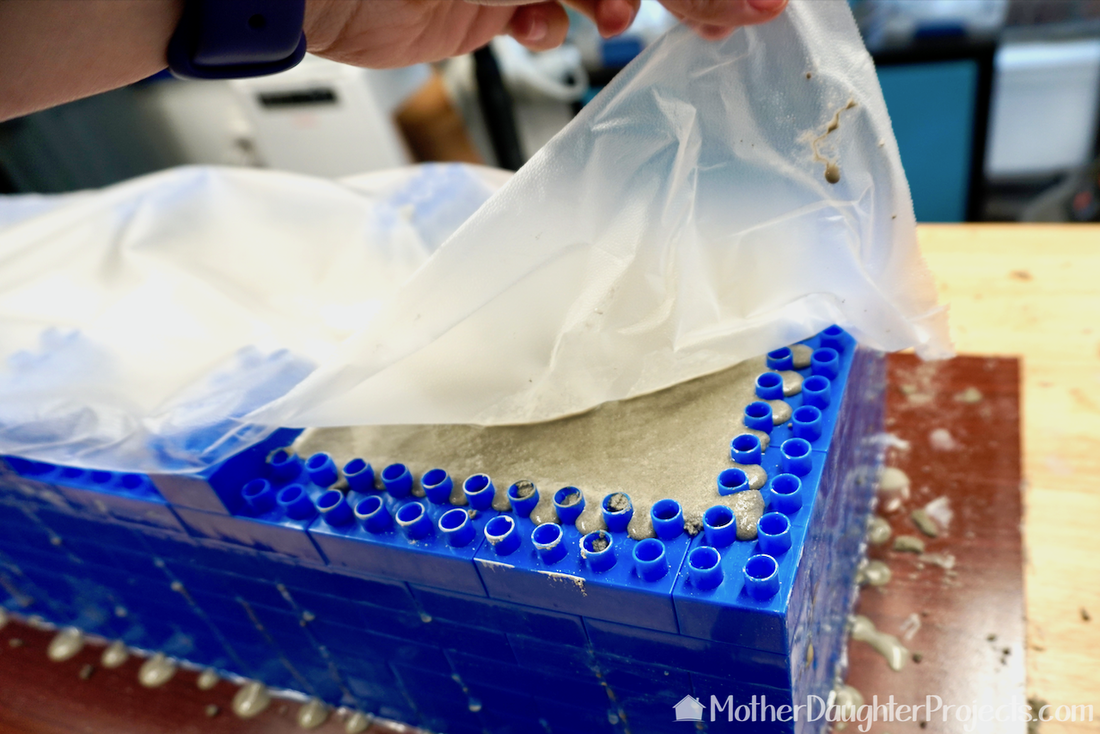
The mold was constructed with faux Duplo bricks, styrofoam, and a piece of plastic tubing all glued into place on a piece of melamine. We are using a Surebonder hot glue gun with a continuous roll of glue! It's so convenient not to have to keep changing out individual glue sticks. The dried hot glue does not stick to the finished mortar so it's perfect to use.
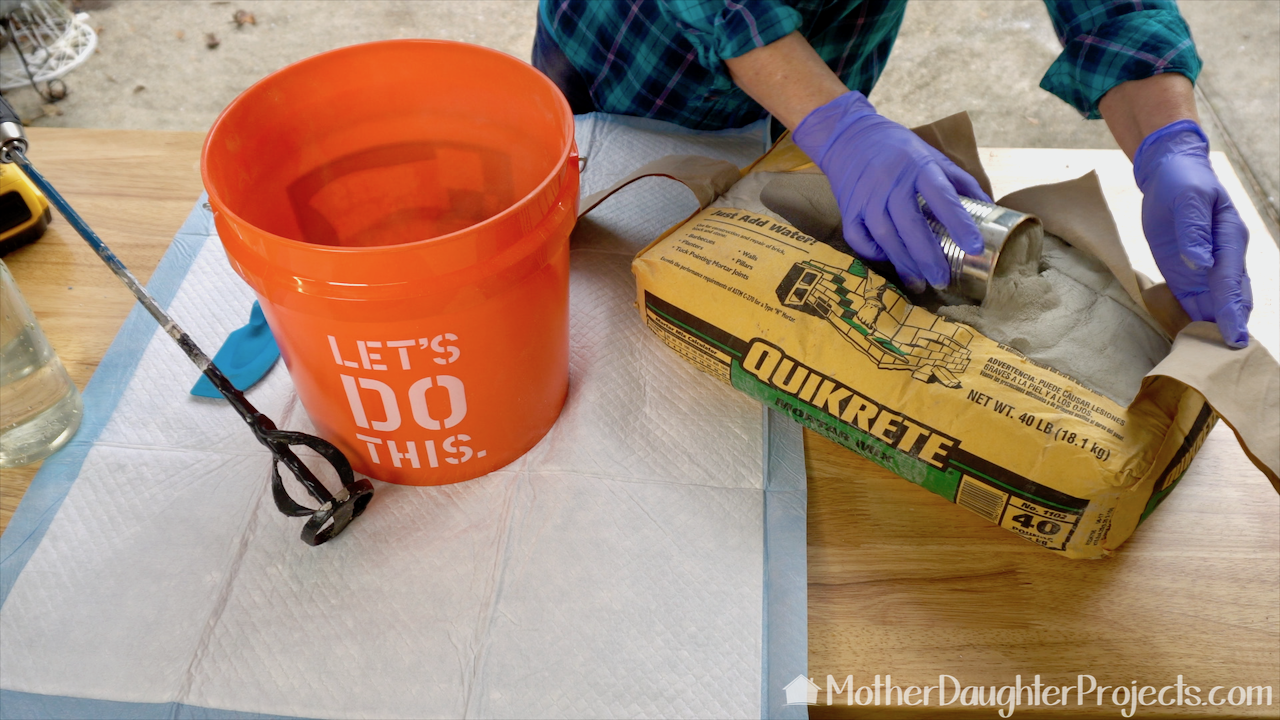
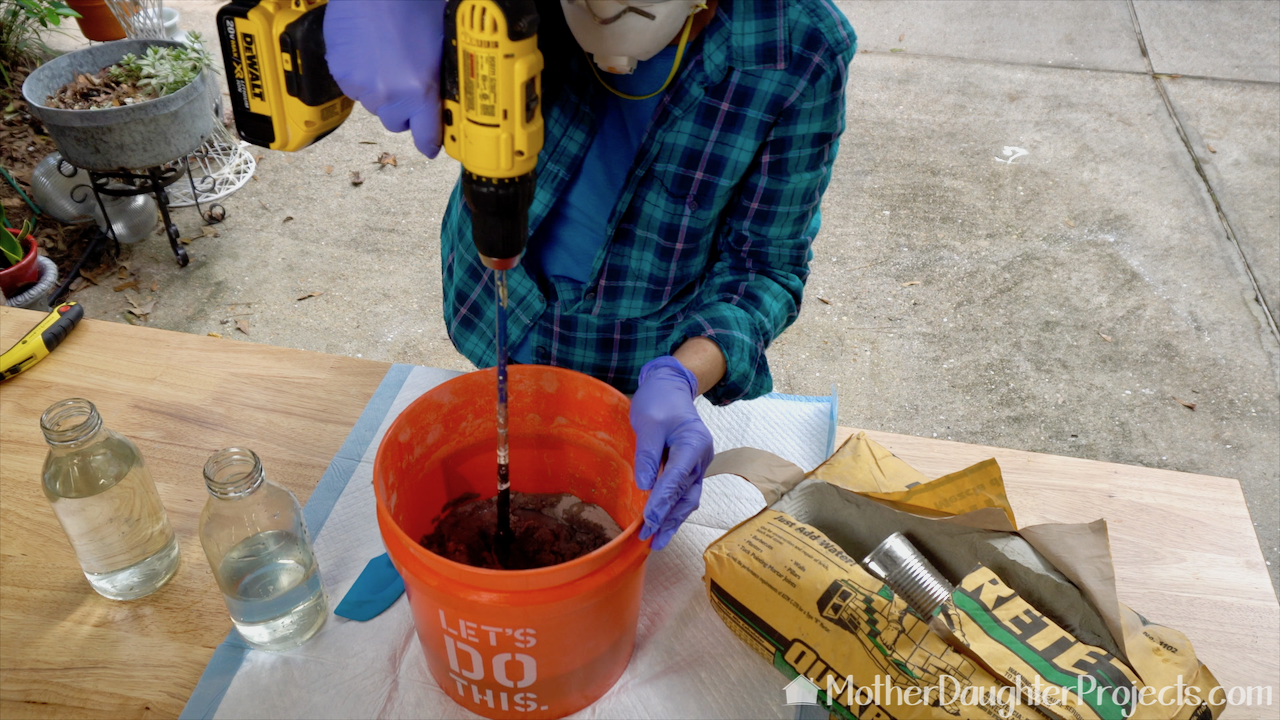
We are using Quikrete mortar mix in a 40 pound bag. We ended up using about half the bag mixed up in three batches. We added the mix to the bucket, added water and mixed until it was brownie-like consistency. Don't forget your safety gear: gloves, mask, and eye protection.
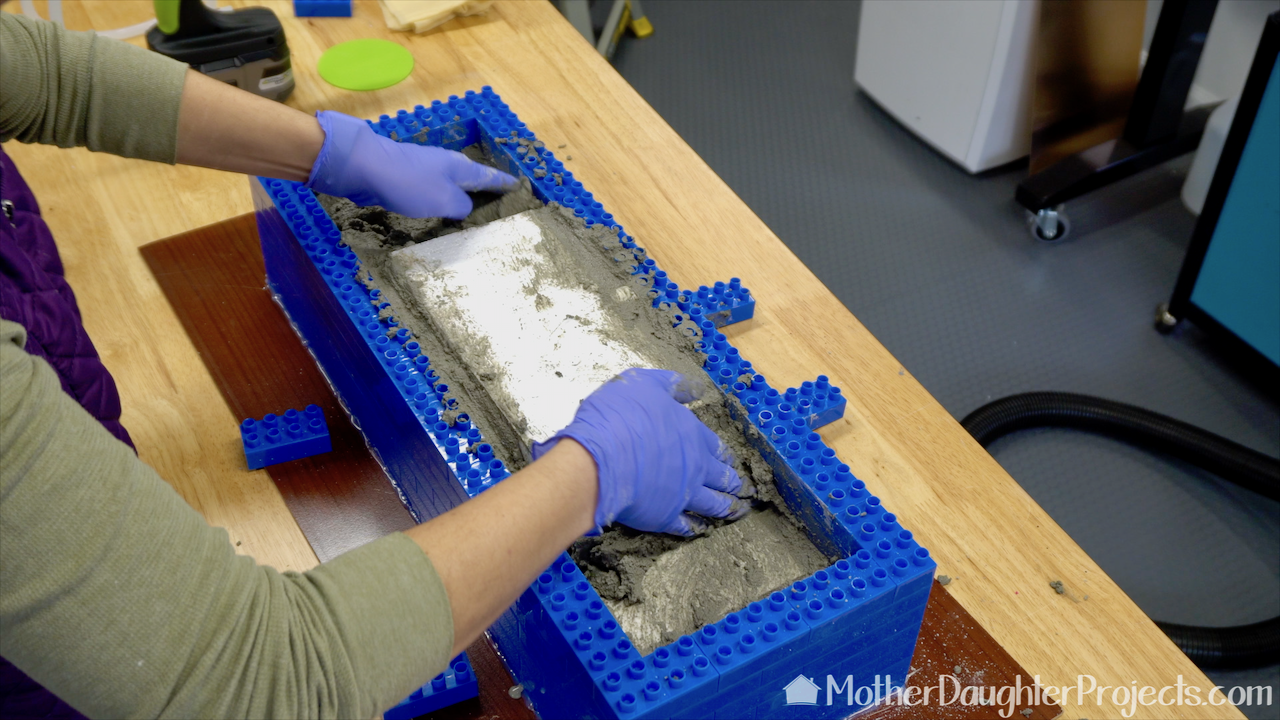
We actually molded this upside down so what you are looking at is the styrofoam that will create the void in the underside of the "fireplace." Note: If you made the wood base like we did, you don't need to create the bottom void. Just make sure the plastic pipe goes all the way to the bottom.
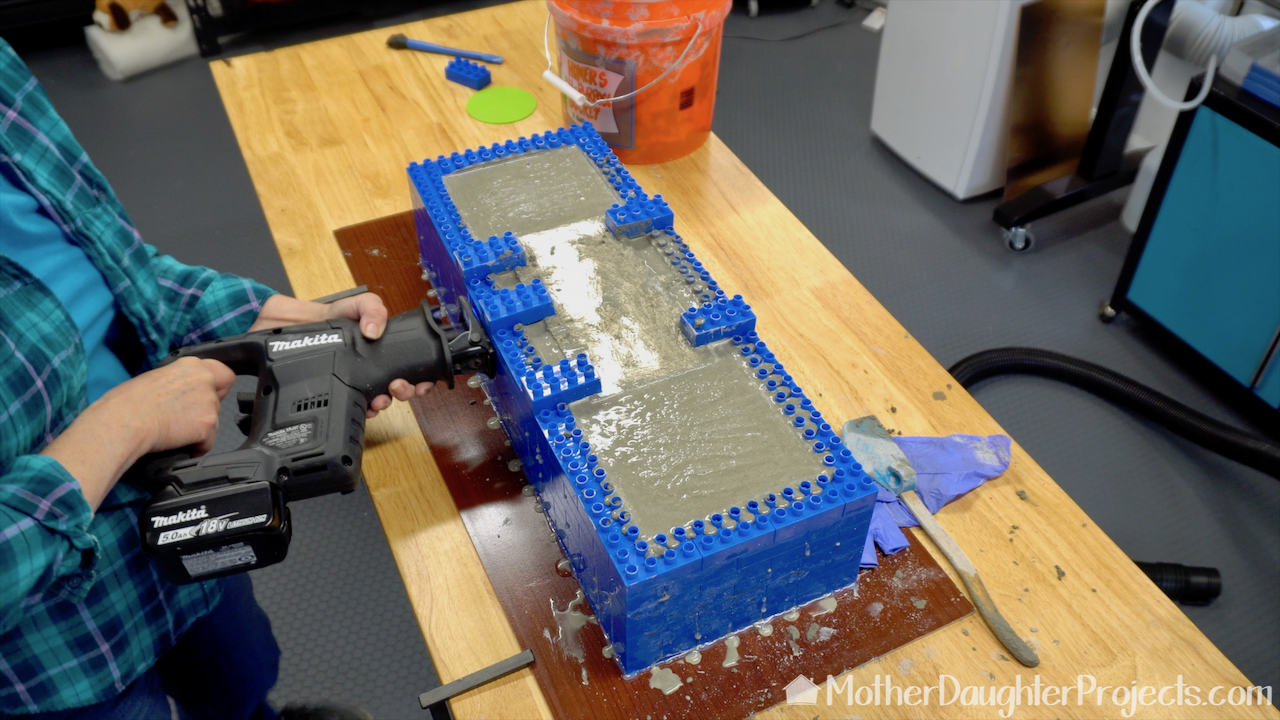
After filling the mold, we vibrated all around it to bring trapped air bubbles to the surface. We've tried many tools to do this, but we found a reciprocating saw without the blade is pretty perfect for this task.
We covered up the mold and let it cure for 48 hours before unmolding. We gave it extra time due to the cold and damp conditions in the garage.
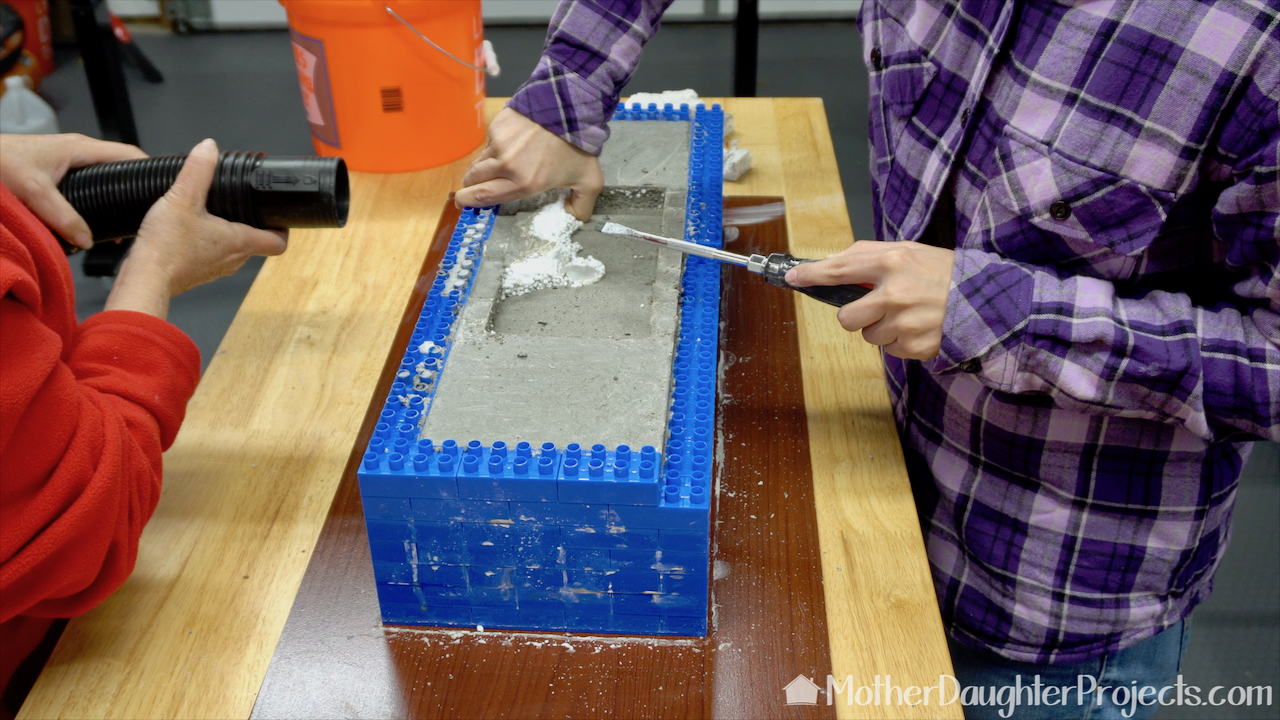
We started by removing the styrofoam insert. It was messy and tedious but the styrofoam created exactly what we wanted. A shop vac helps to contain all the mess.
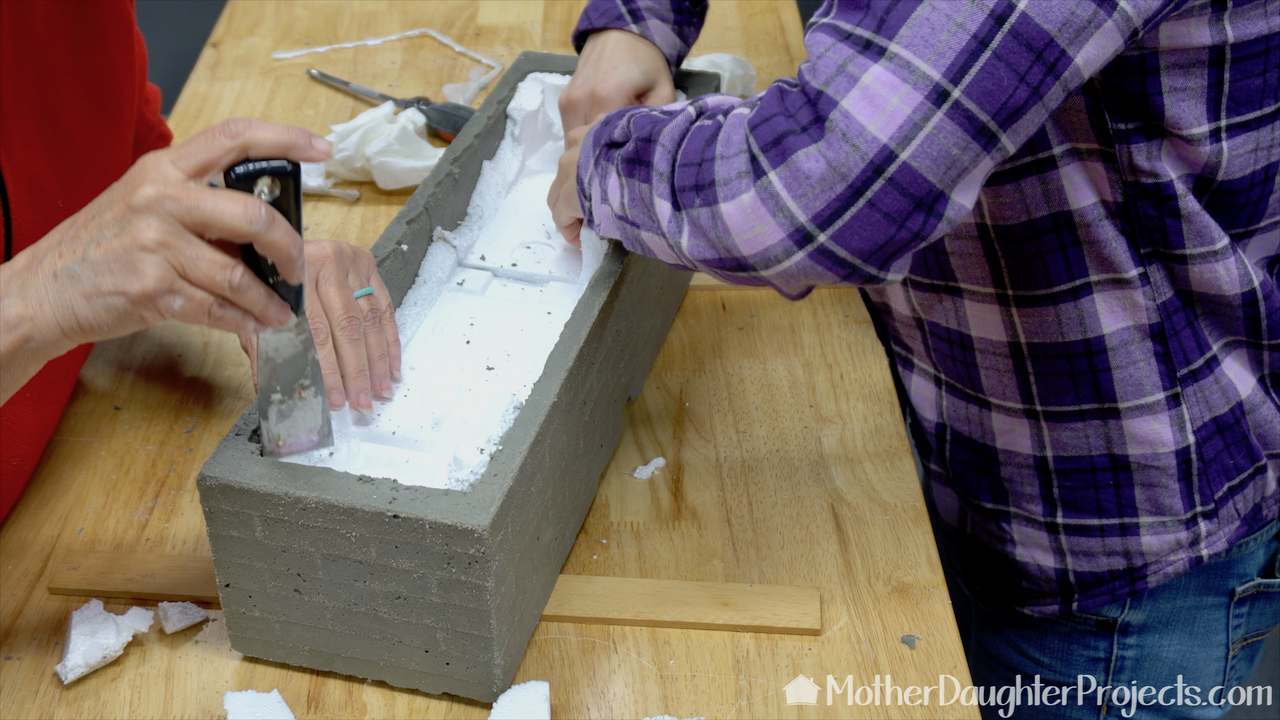
We got all the bricks removed, turned over the piece and started to remove the larger piece of styrofoam. You can tell by the dark gray color that the mortar mix still has a lot of moisture in it.
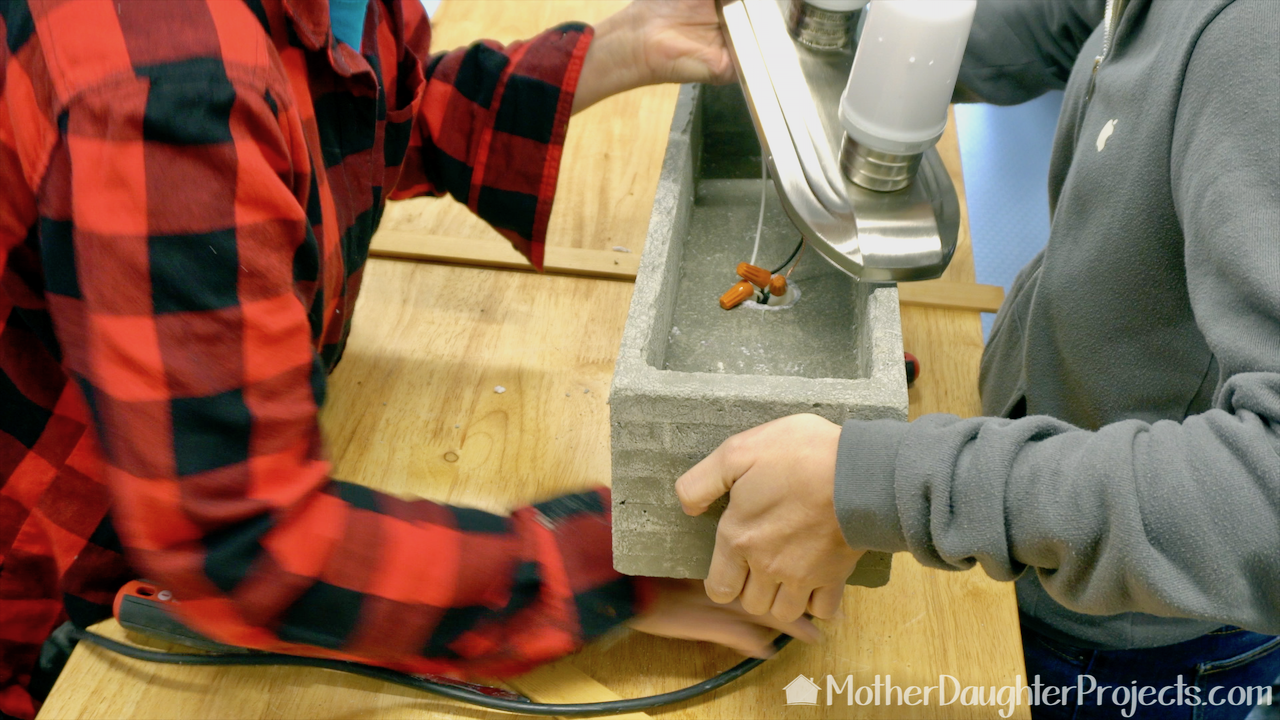
This is the test cord as the final one we used was white. The wire is put down through the hole so the light fixture can sit in the concrete flat.
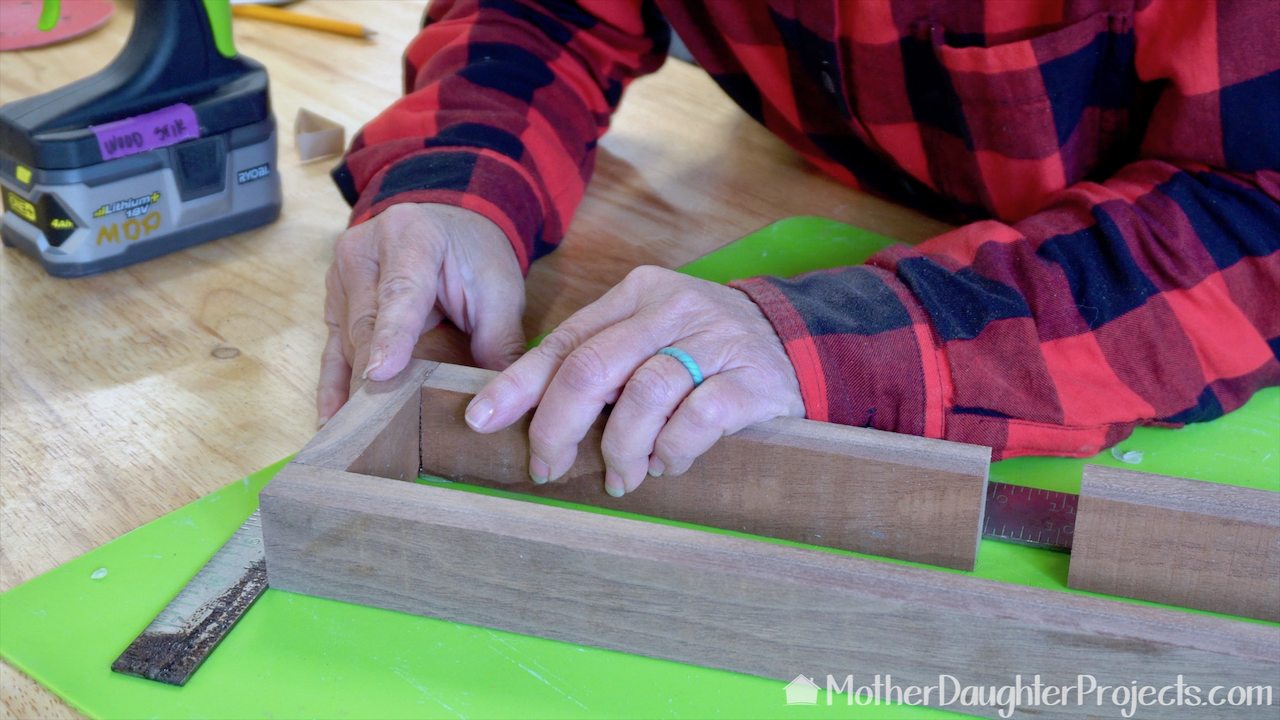
Once we were finished, we decided it needed a base. We made one with this really pretty piece of hardwood. We simply used Wood Stik hot glue to hold it all together. The wood is finished with Danish oil. The gap in the back is for the cord to pass through.
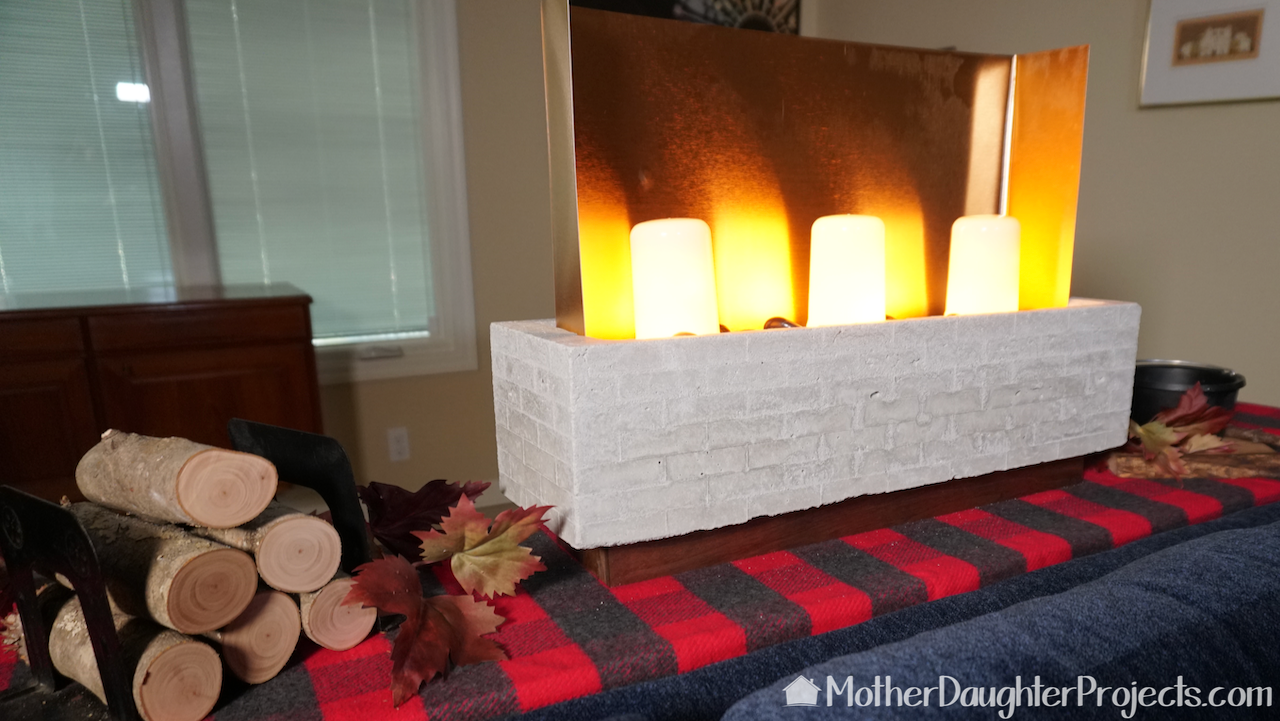
All finished. The concrete "floats" on it's new hardwood base. We used a piece of copper color aluminum so the fireplace would be even more reflective.
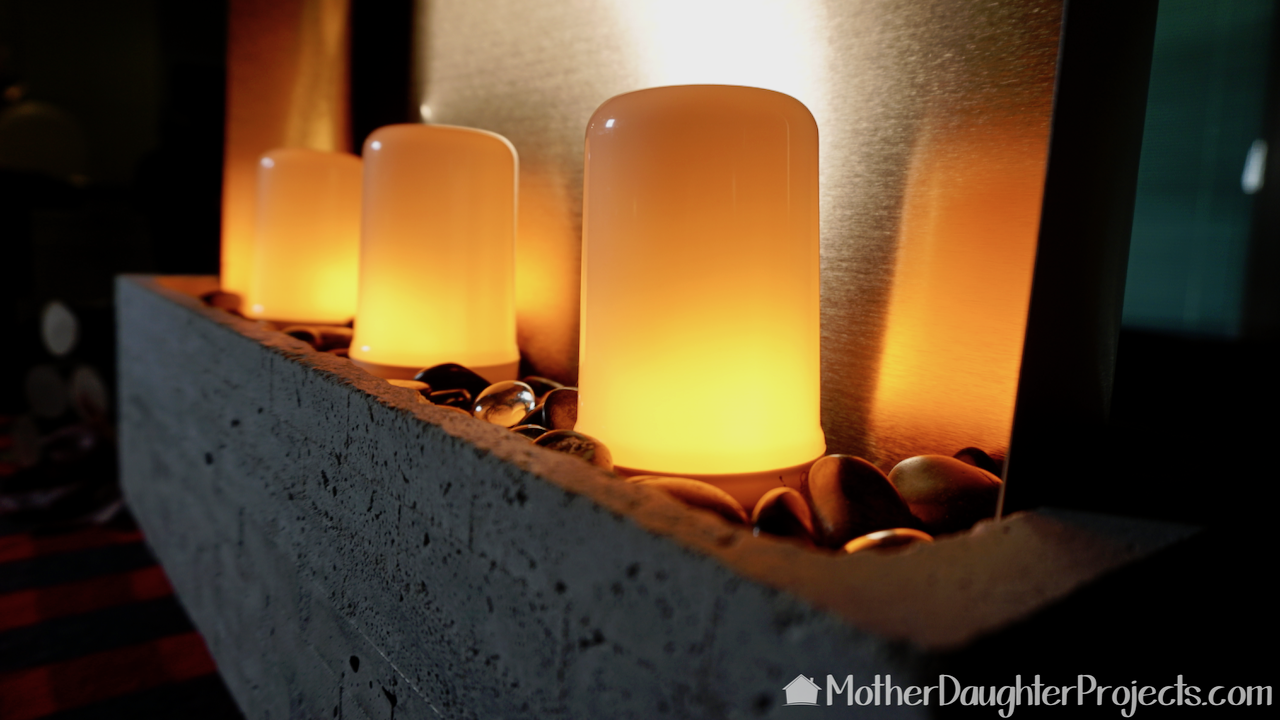
We finished it off with black rocks and some clear flat marbles.
We love everything about our tabletop faux fireplace! It all came together as imagined. The only thing I don't like about it, is it's going to live at Steph's house!
Please note: This post is sponsored by Quikrete. We received product and compensation for this project. All thoughts and opinions are our own. FYI: We are not professionals, and we don’t claim to be. This is what we found worked for our project. Yours may need a little different approach. Safety first! FYI: Affiliate links are being used on this page. Purchasing via these links help support MDP! Related Projects
0 Comments
Leave a Reply. |

Mother Daughter Projects
|