|
text by Vicki Sign up here to join our weekly email newsletter!
This post is sponsored by The Home Depot.
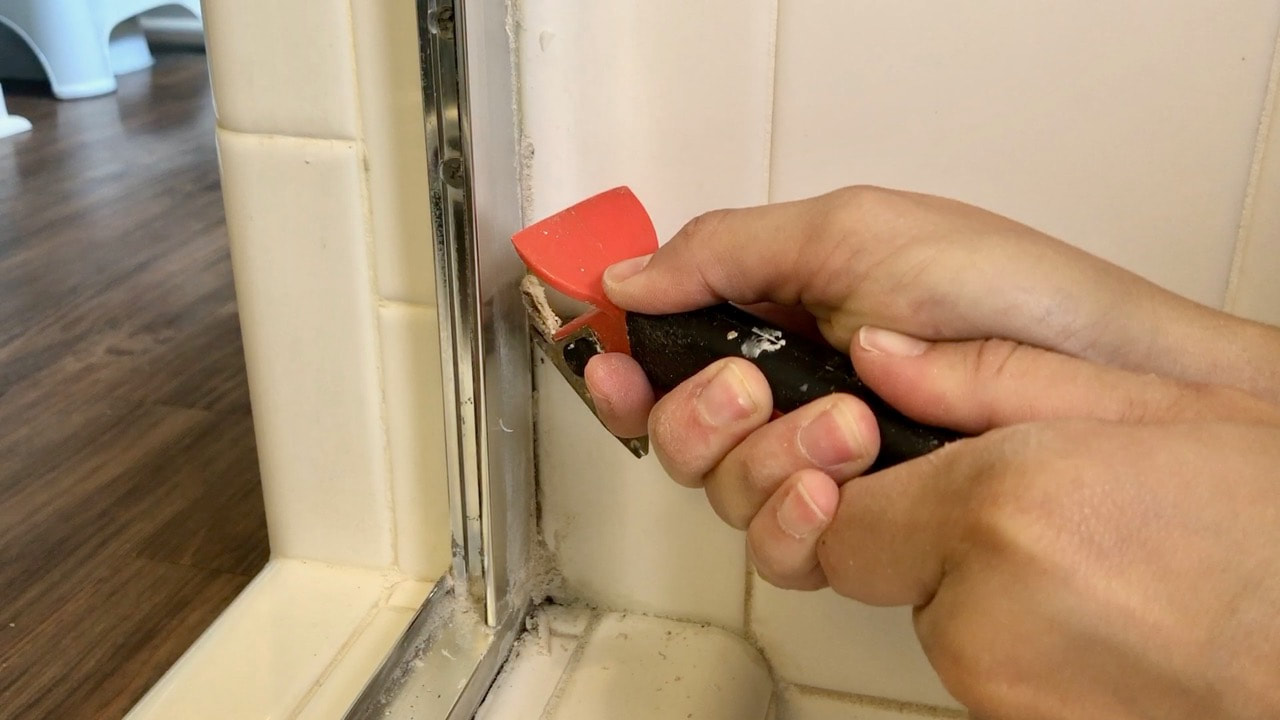
If you want to make a big impact in the look of your shower or bathtub, refreshing the caulk is the project for you! Caulk is the white stuff, or at least it starts out white, that is put between surfaces to keep out water. You'll most likely find it wherever two different materials touch each other like the tub and the tile.
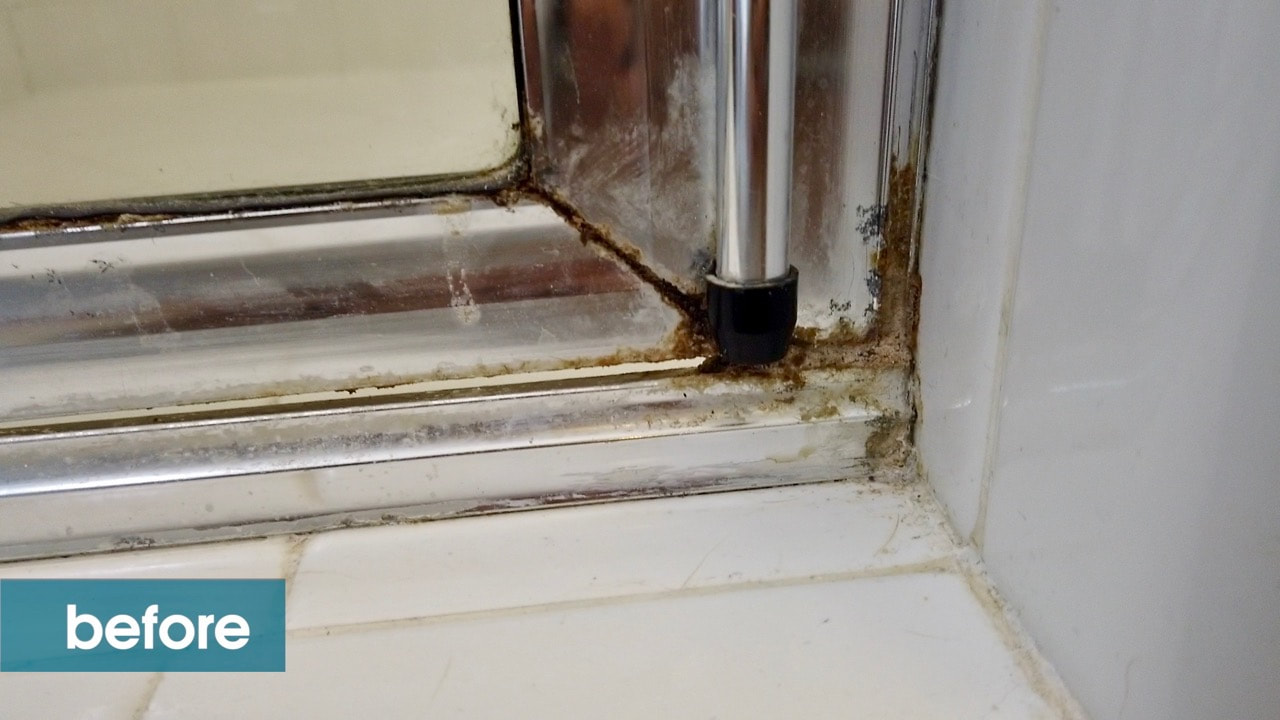
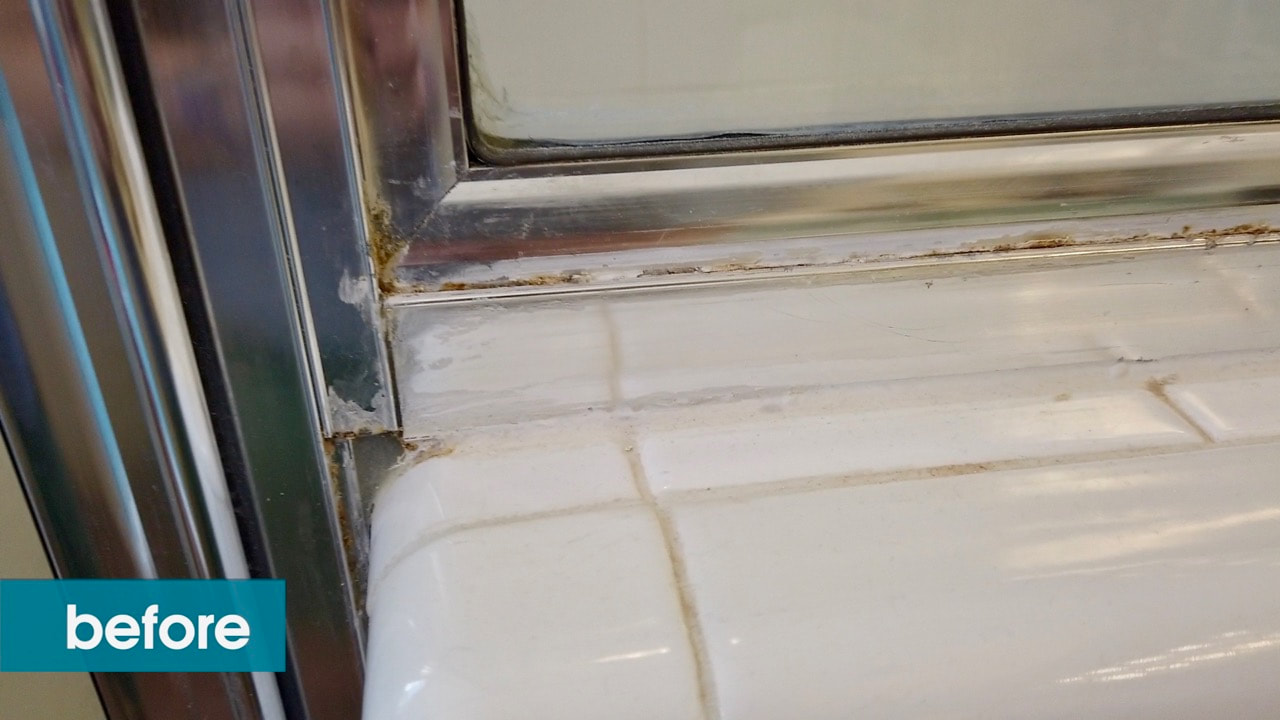
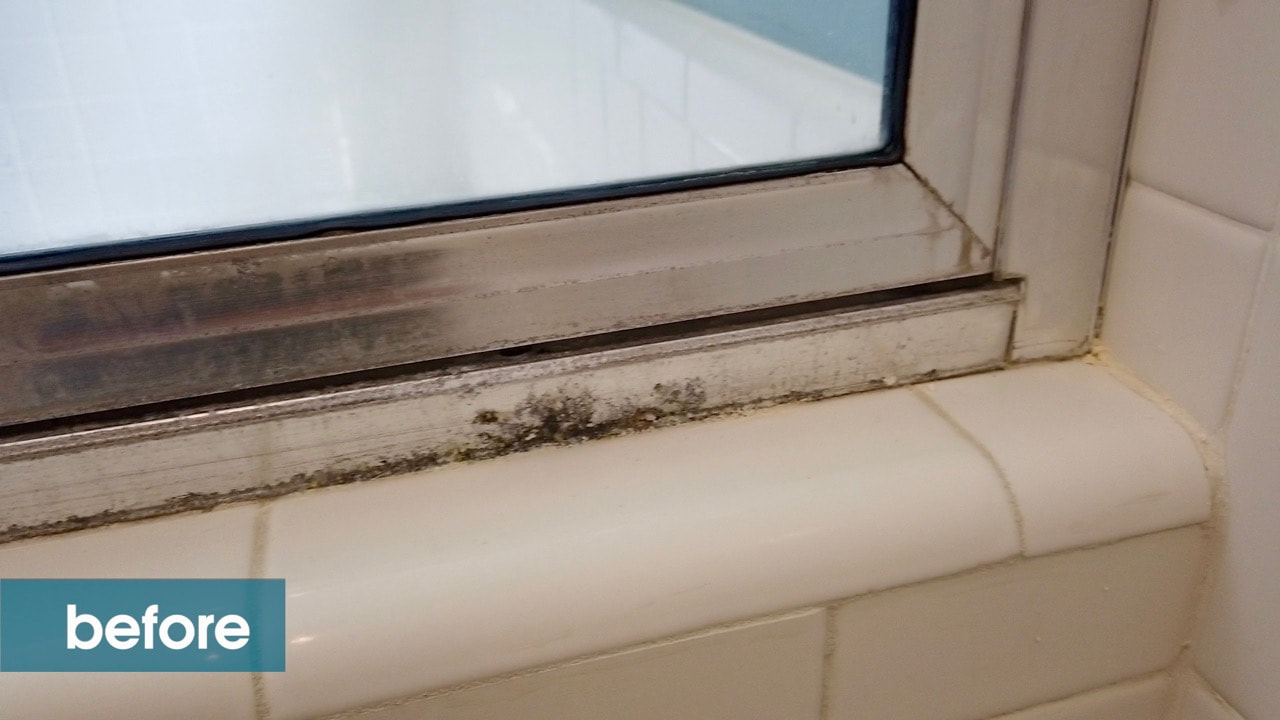
This caulk is very susceptible to mold and mildew, and eventually discolors to the point where it can no longer be cleaned and does degrade over time. If you experience any of these issues, it's time to re-caulk! The caulk in Steph's shower is probably 25 years old--it was time for a refresh! Take a look at how we tackled this DIY friendly project. Tools:
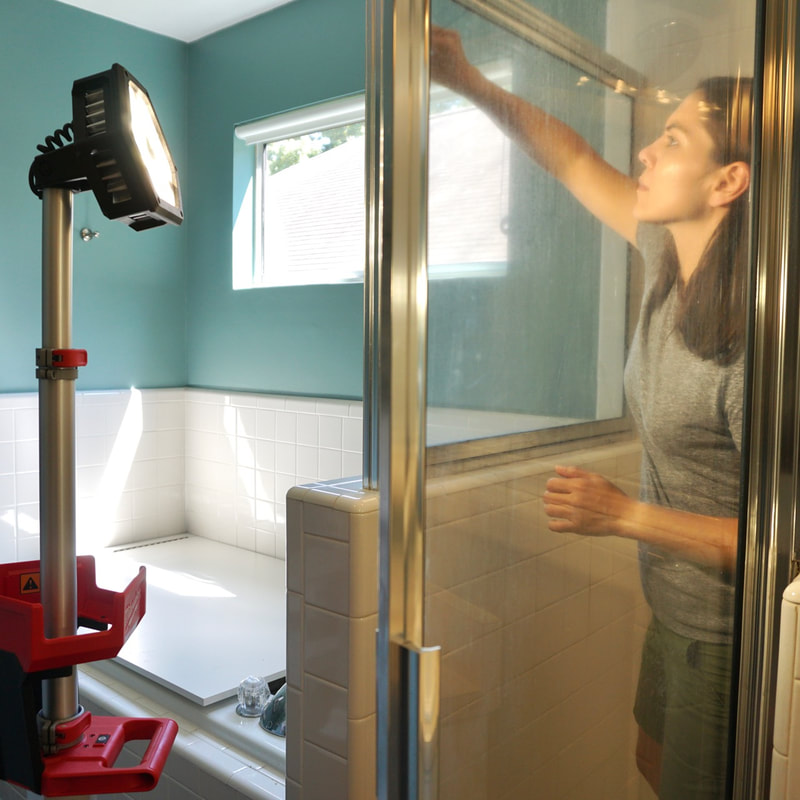
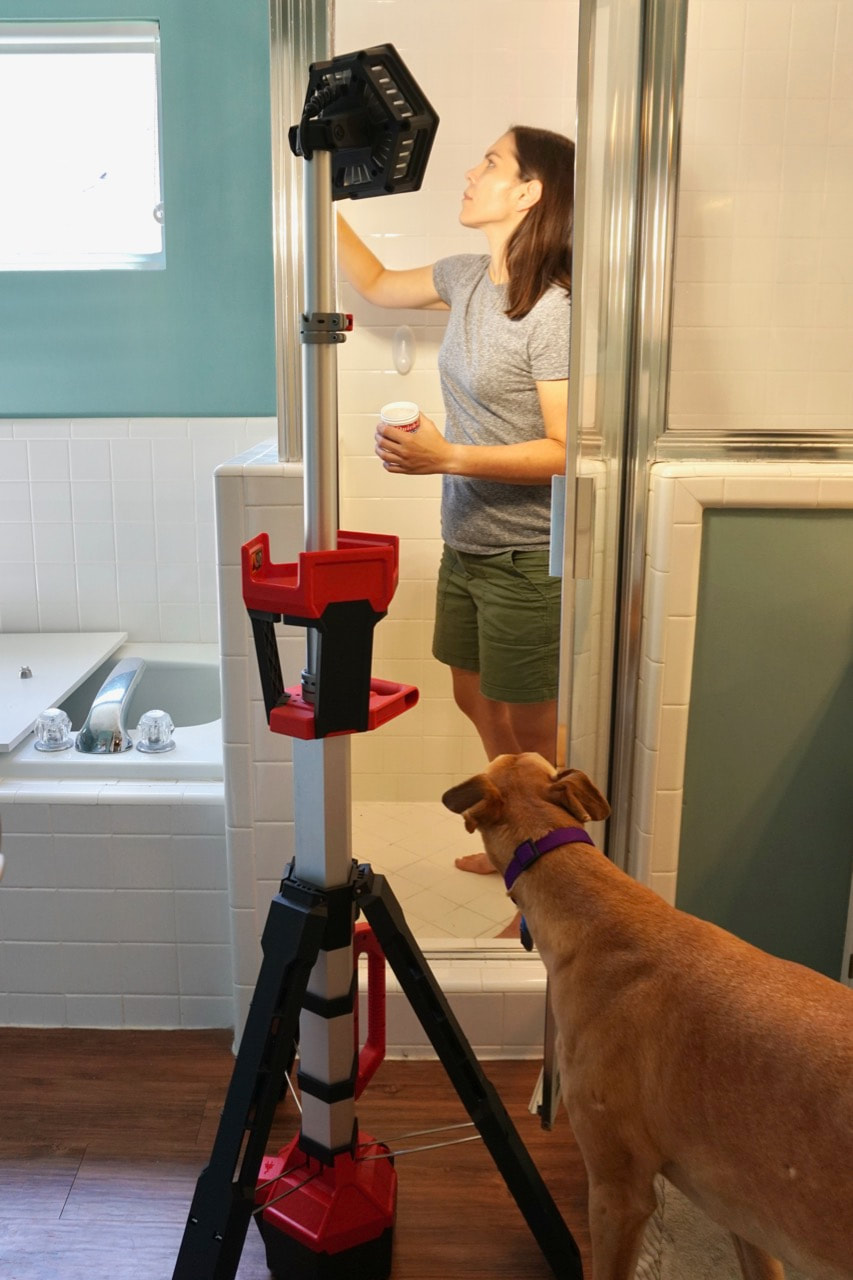
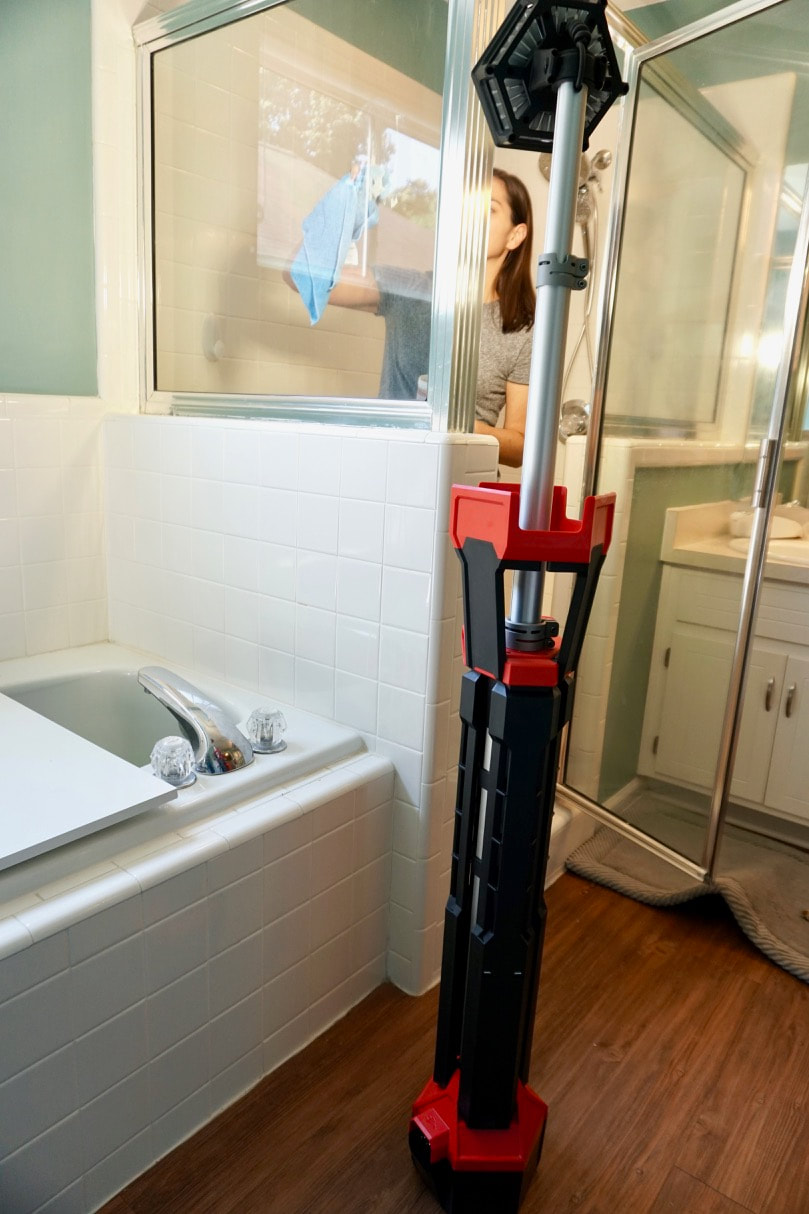
Steph's bathroom has a lot of light, but once we got started, we realized we needed a lot more to be able to see what we were doing. This Milwaukee Rocket Light proved to be a great tool for the job. Since it can be powered by battery, it was easy to move and locate exactly where we needed it. The light telescopes and rotates for just the right height and angle.
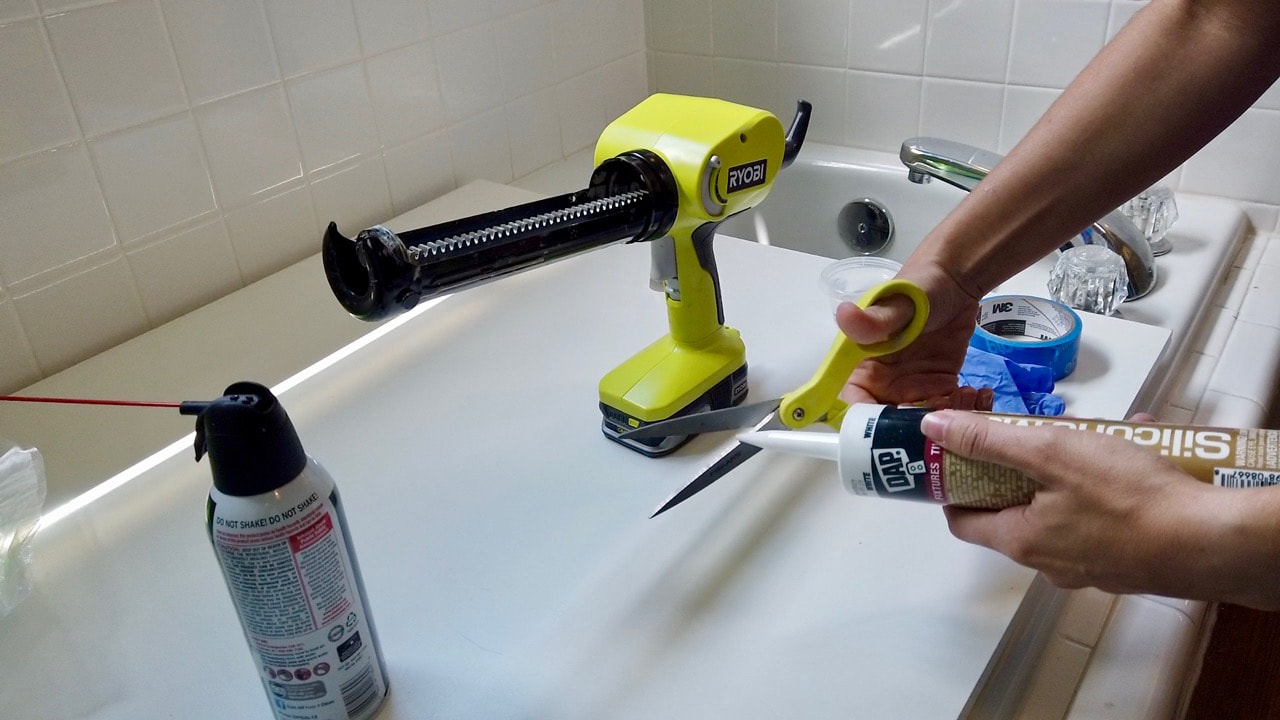
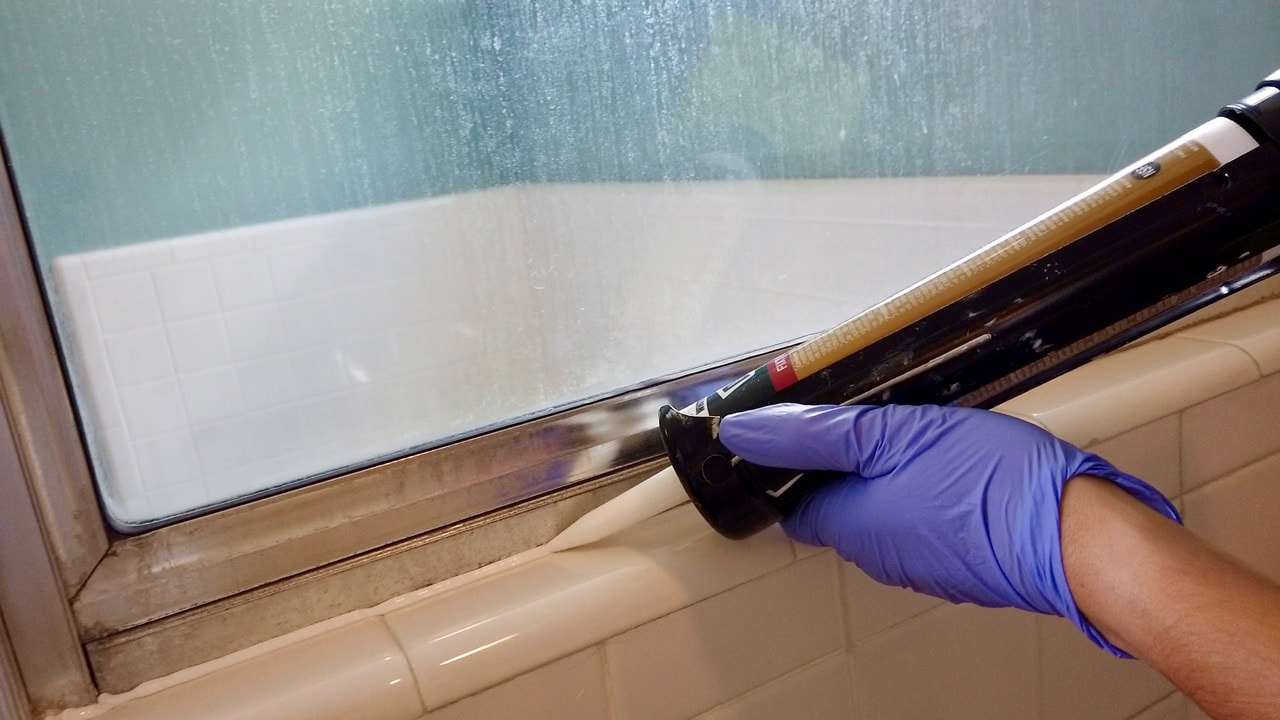
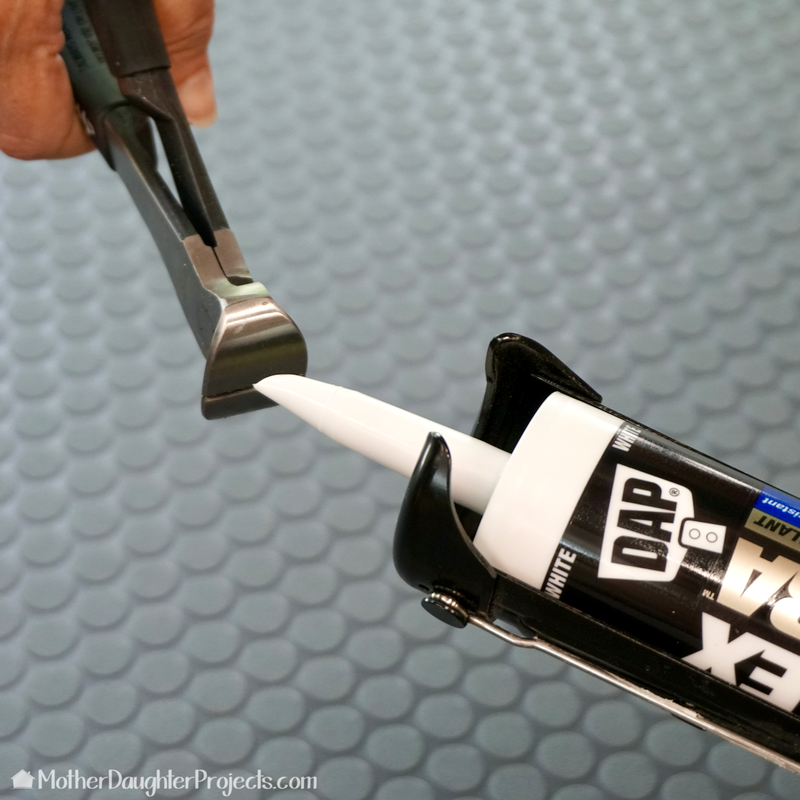
Once everything was clean AND dry, we moved onto prepping the new caulk and caulk gun. If you've never caulked before, you need to cut the tip before use. The wider the opening, the thicker the bead of caulk that will come out. We snipped close to the tip. Also, there is a seal on the tube that needs to be pierced. Most caulk guns should have a built in piercing rod somewhere on the gun. On the Ryobi battery powered caulk gun, it's near the front on the side.
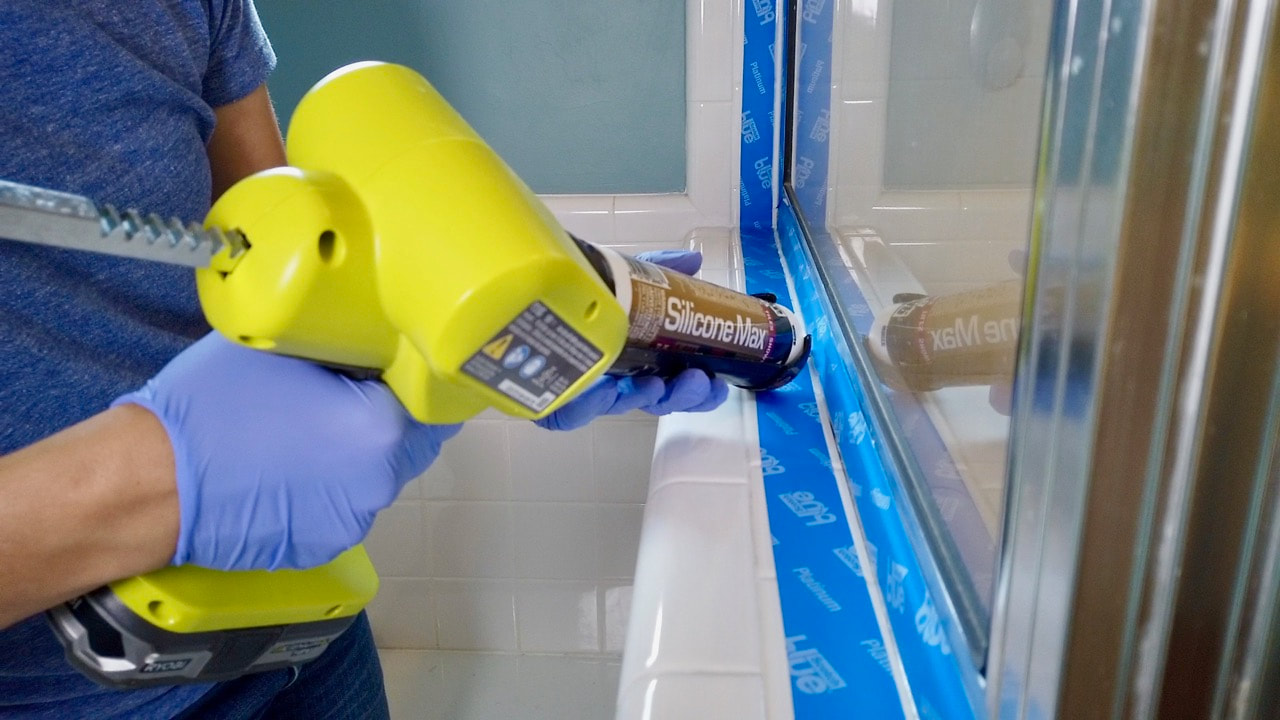
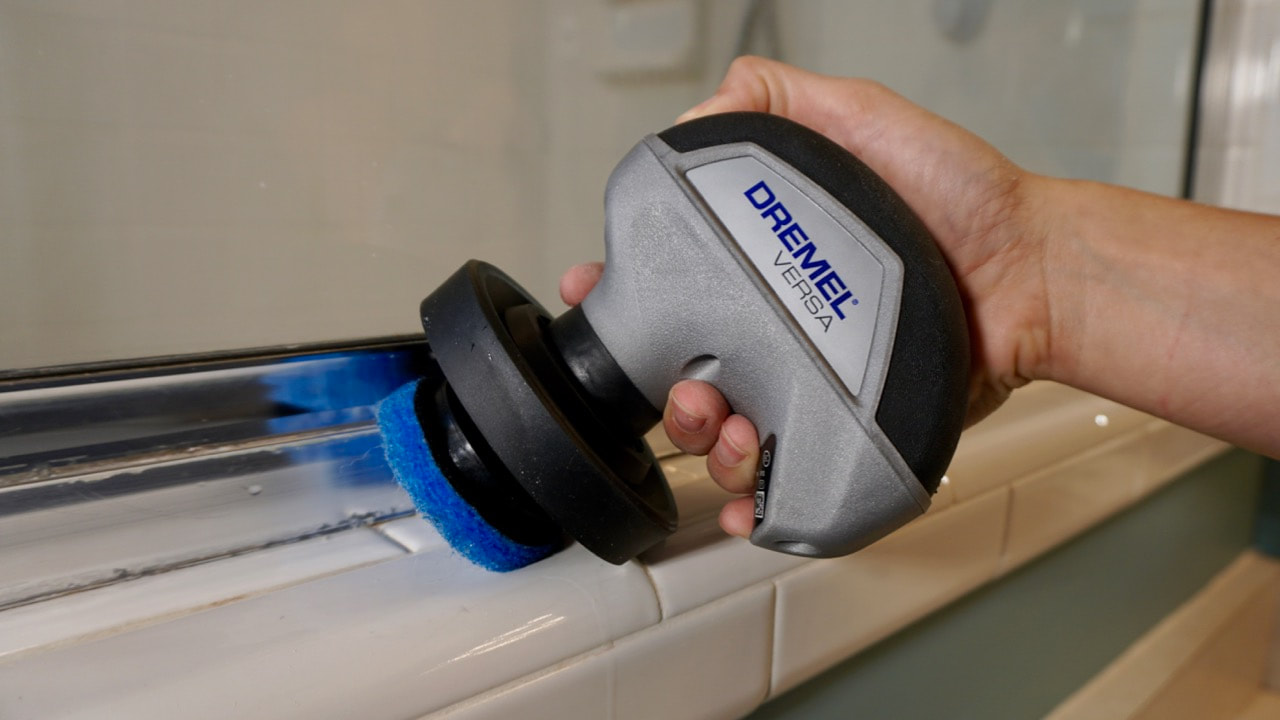
We are using the Ryobi 18 Volt battery powered caulk gun. We've used this on many caulking project and always have great results. Much like the Versa, it takes the elbow grease out of the task! We wanted the caulk lines on the outside of the shower to be more precise (since that's what is basically on show) so we put down painter's tape to assist in doing this.
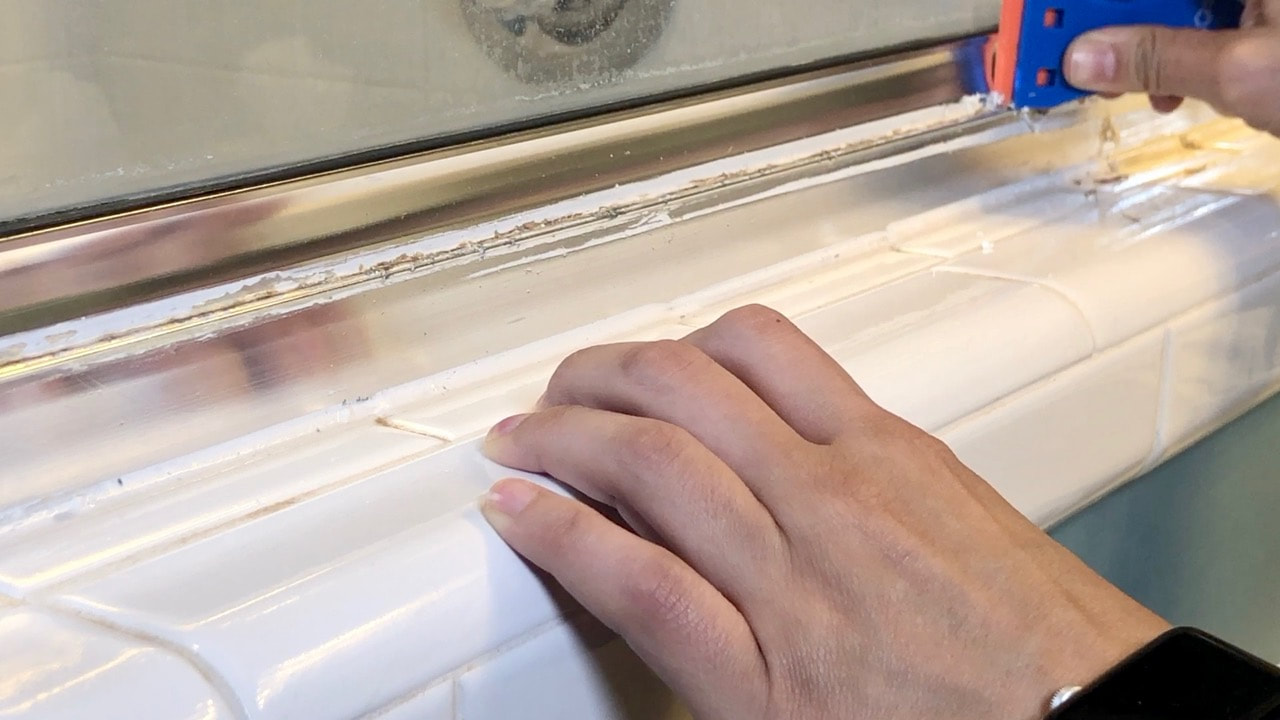
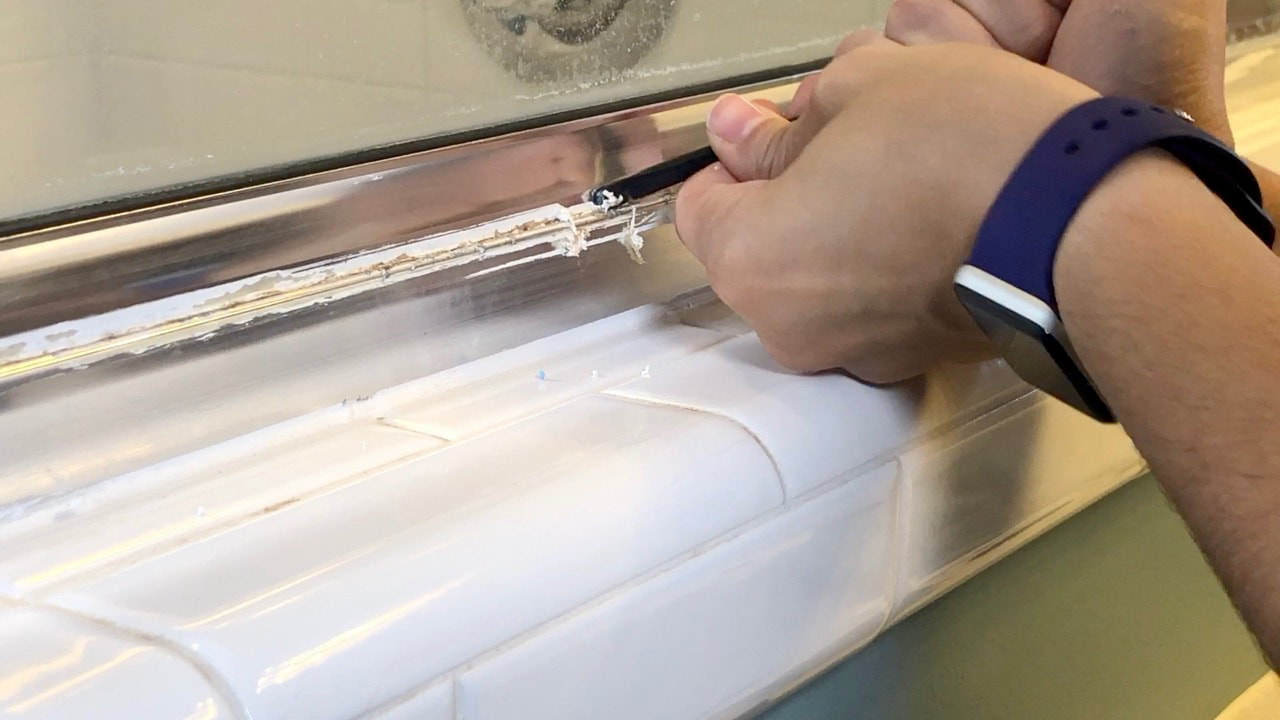
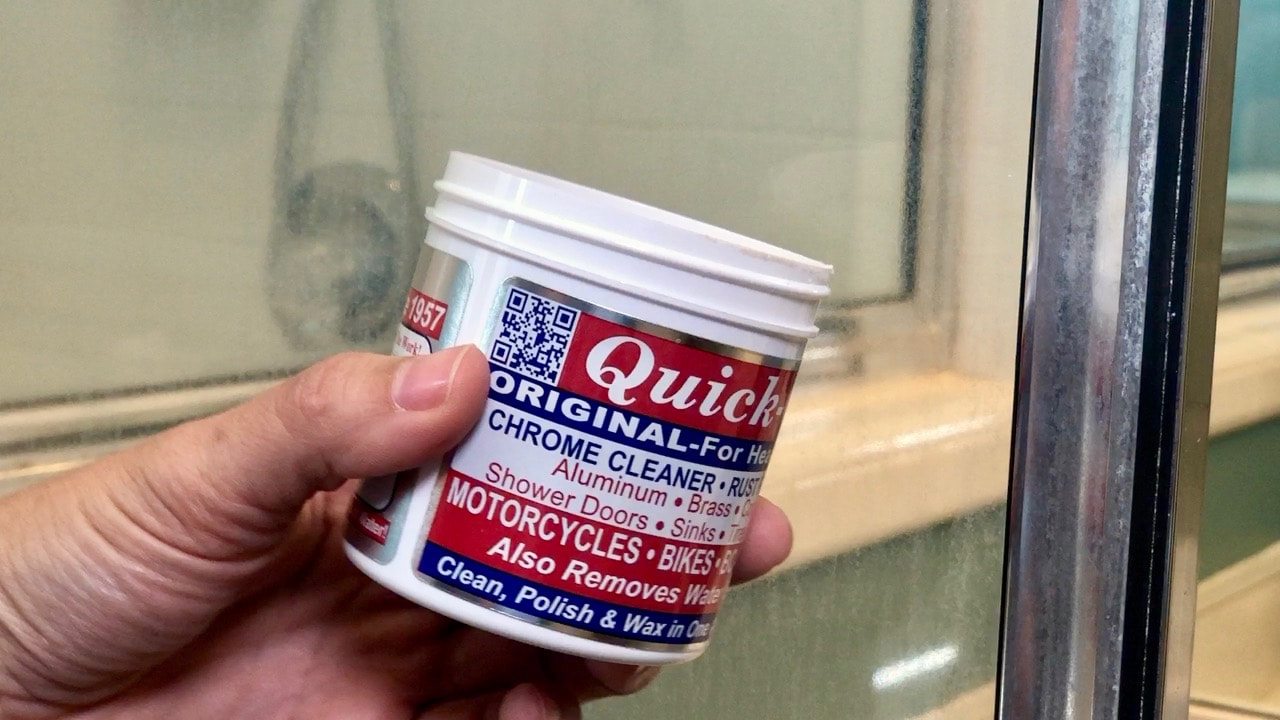
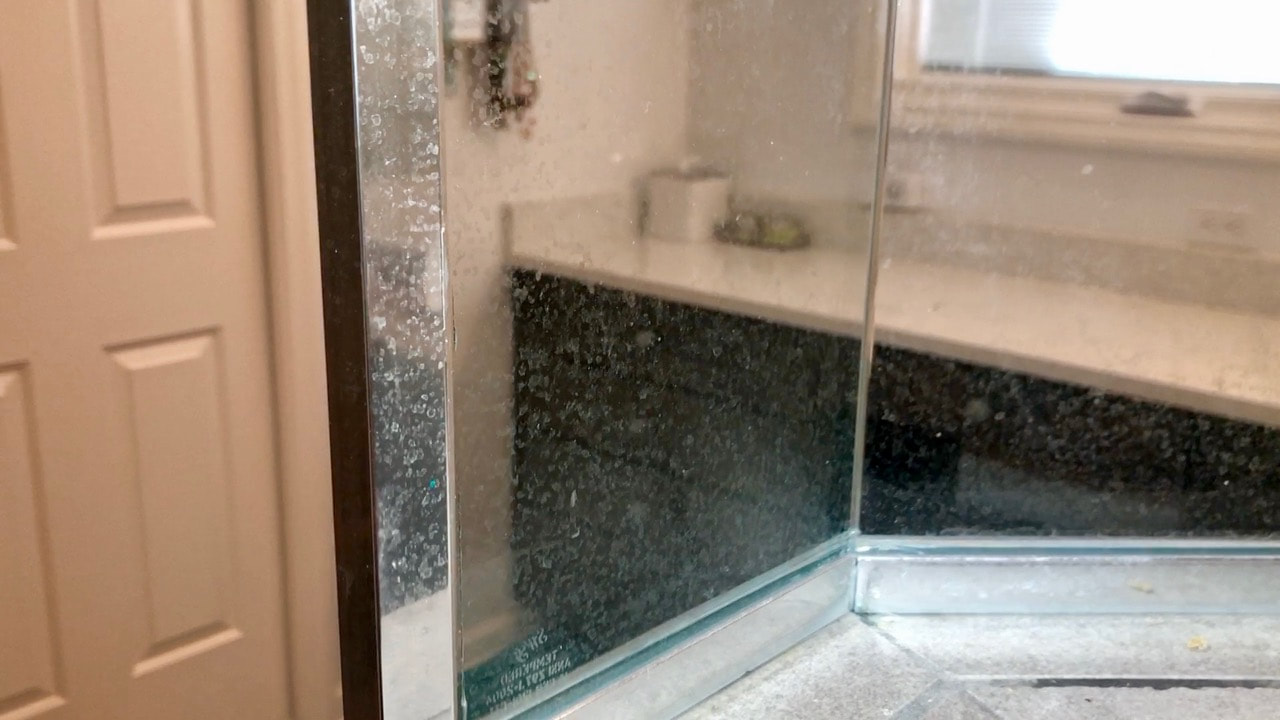
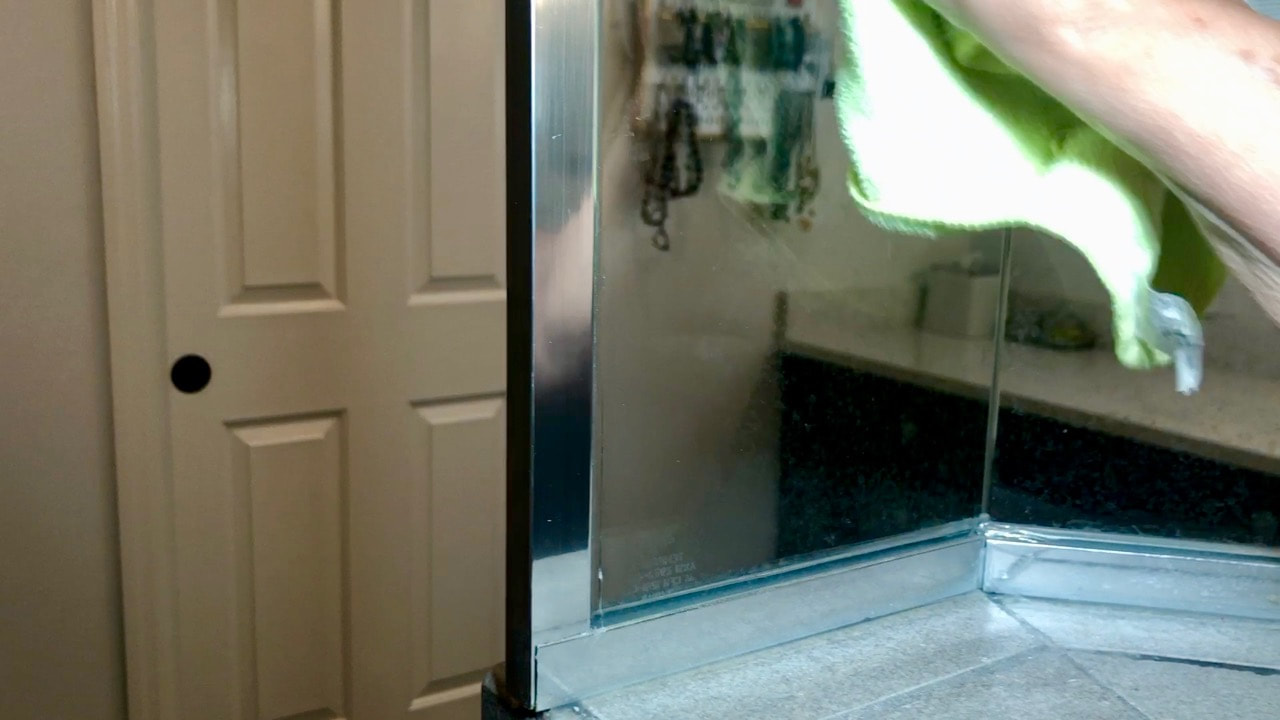
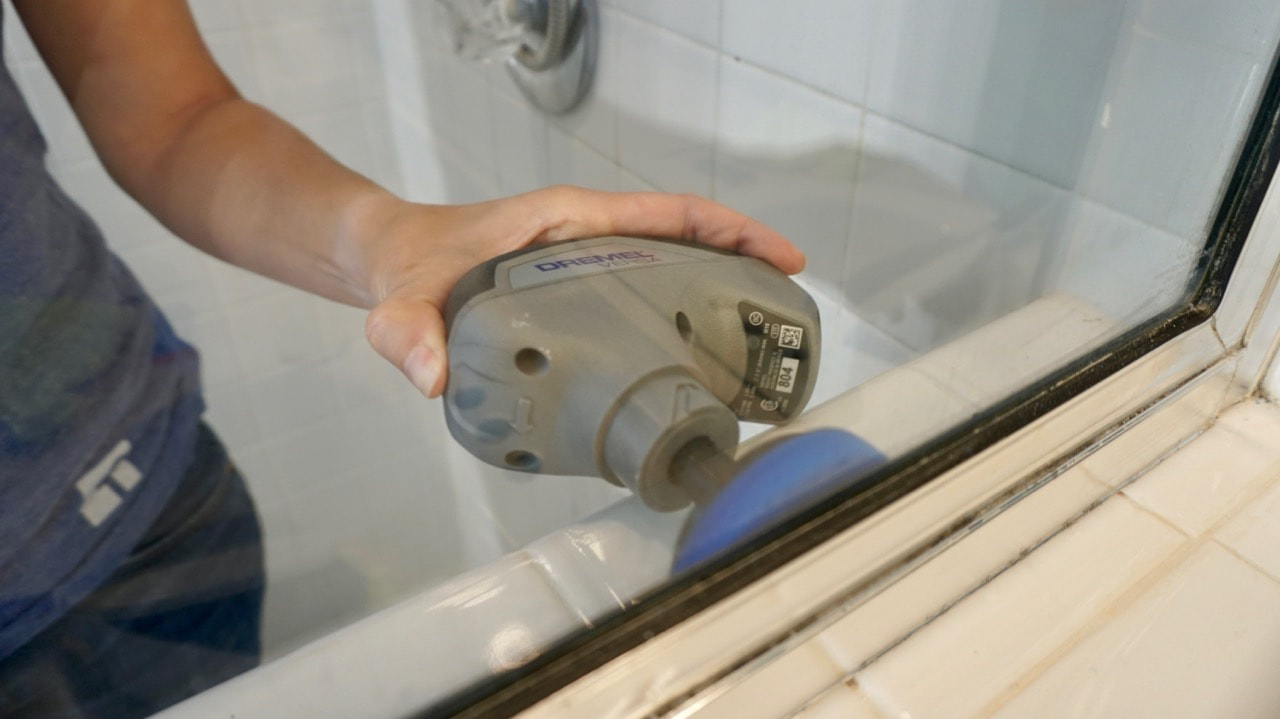
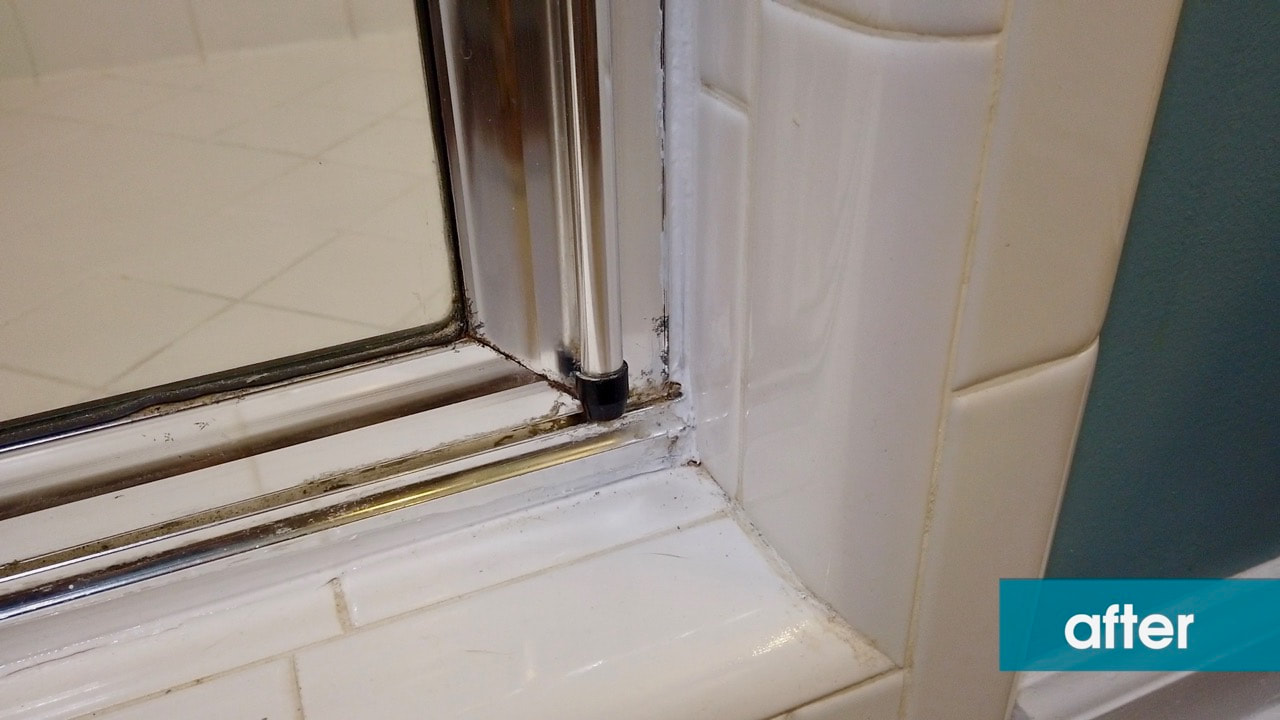
Do you see all that damage to the aluminum surround? That is corrosion and pitting in the metal. During the course of research, (How to deal with mineral deposits on an aluminum shower door) we found that chemicals such as CLR, Lime Away, and even vinegar can damage the aluminum. Those products generally can be used on undamaged chrome (always check the manufacturer's cleaning instructions for your fixtures), but they can cause permanent damage to the aluminum.
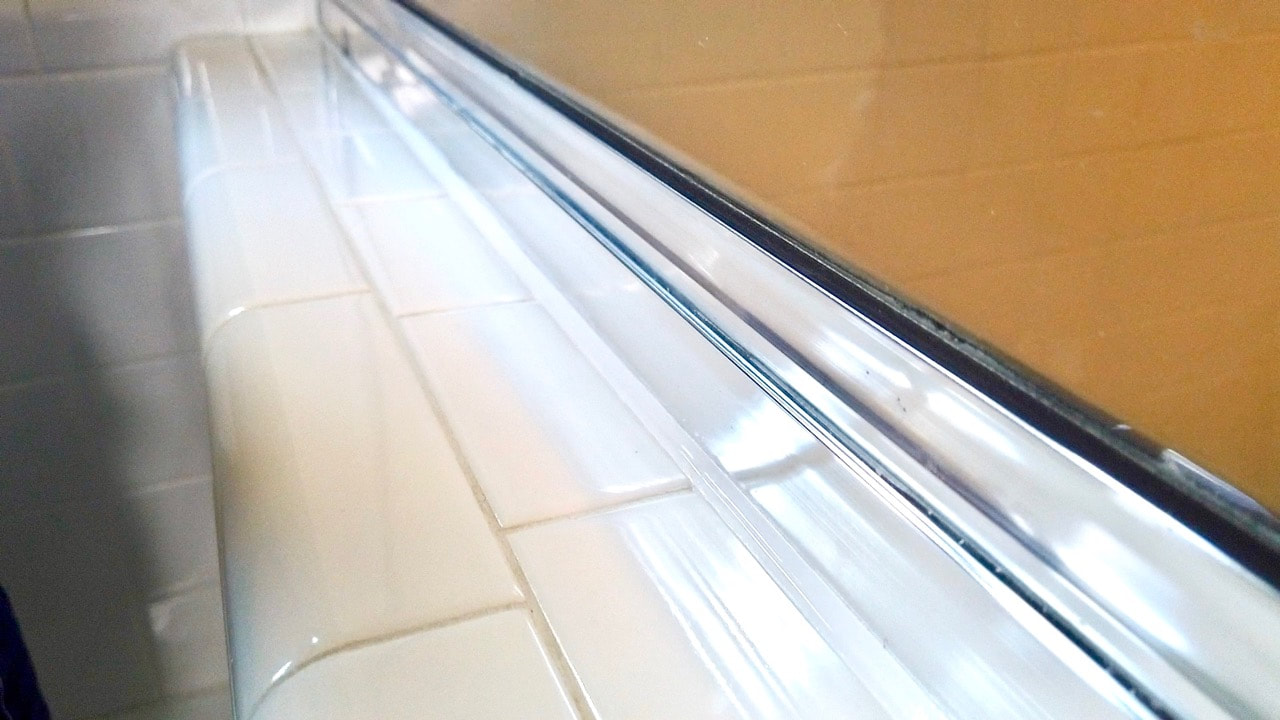
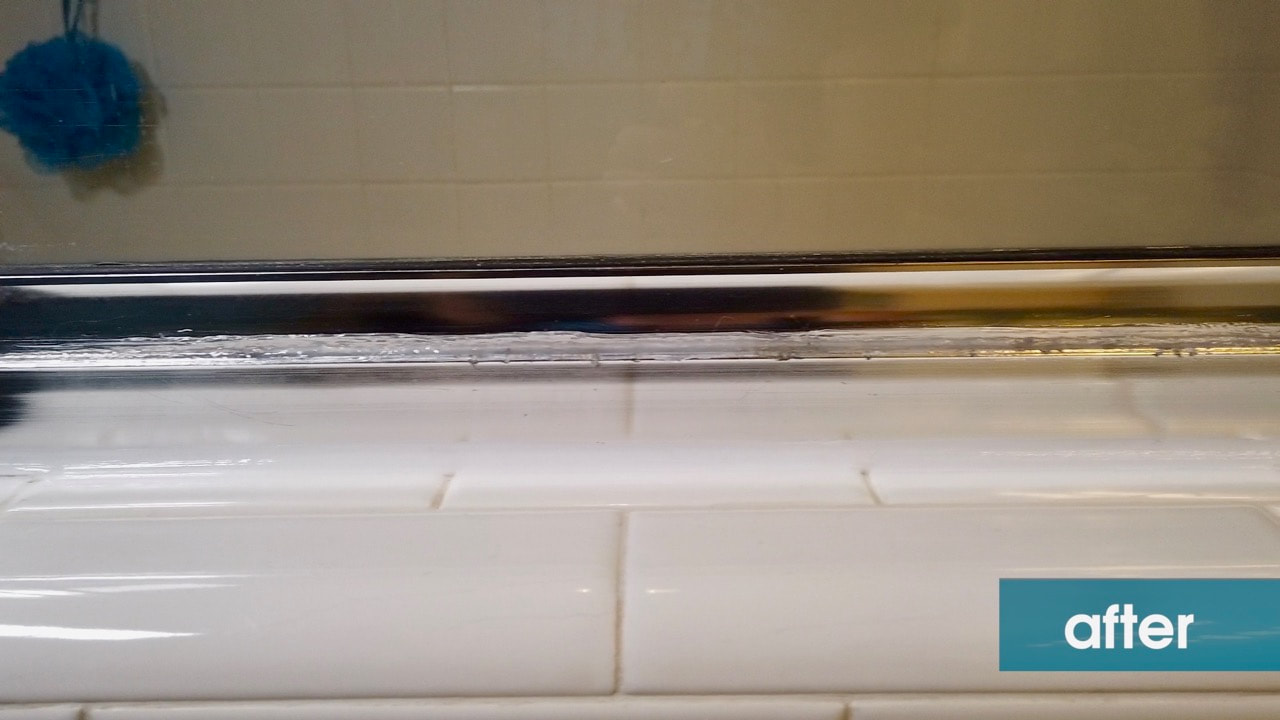
The shower looks 100% better, and since Steph used a caulk with a 20 year life expectancy, she should not have to re-caulk this shower again! Have you ever re-calked a shower to bathtub? How did it go? Let us know in the comments below! We acknowledge that The Home Depot is partnering with us to participate in the ProSpective 2019 Campaign. As a part of the Program, we are receiving compensation in the form of products and services, for the purpose of promoting The Home Depot. All expressed opinions and experiences are our own words. Our post complies with the Word Of Mouth Marketing Association (WOMMA) Ethics Code and applicable Federal Trade Commission guidelines. FYI: We are not professionals, and we don’t claim to be. This is what we found worked for our project. Yours may need a little different approach. Safety first! FYI: Affiliate links are being used on this page. Purchasing via these links help support MDP! Related Projects
4 Comments
Lauren Marshall
8/29/2019 12:02:02 pm
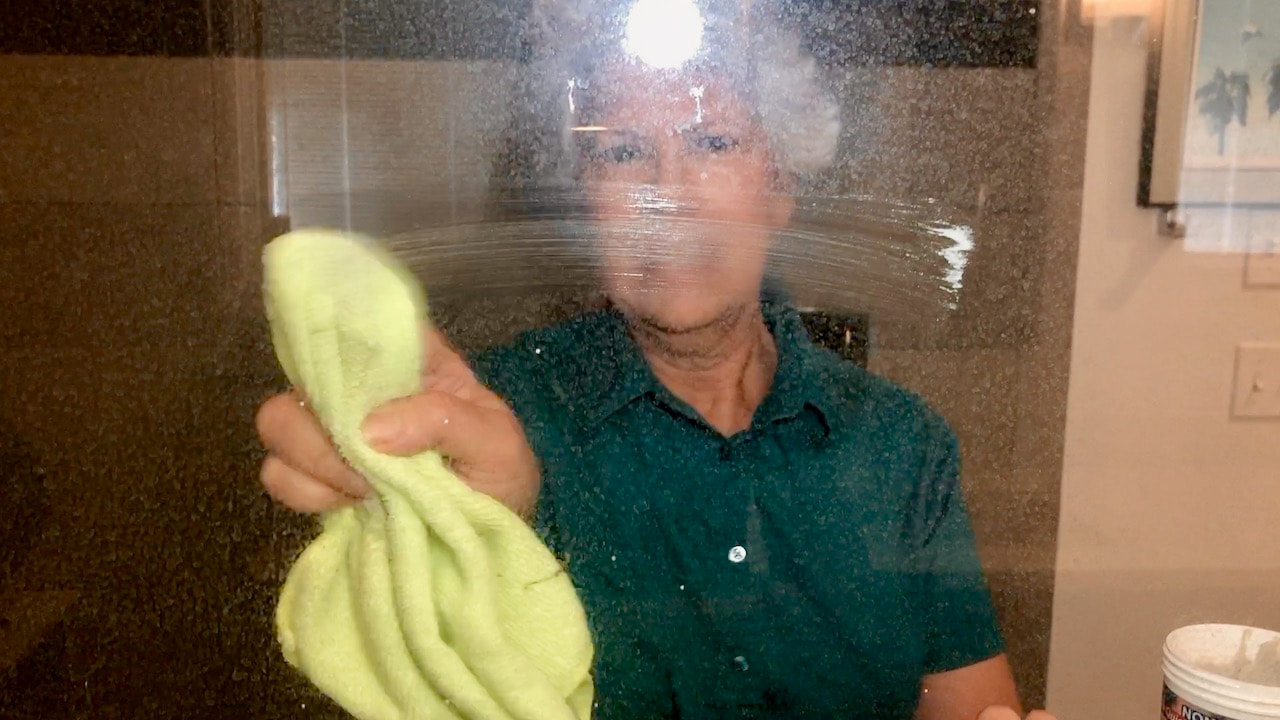
Just placed an order for the Quick-Glo. I have terrible hard water spots on my glass block shower walls. Can't wait to try it! Thanks for the tip.
Reply
Steph
8/30/2019 08:17:35 am
Awesome! You're welcome!
Reply
Sally Evans
12/1/2019 12:54:44 pm
I am impressed with your calking! I caulk free-hand, having been taught by my son-in -law. Push the caulk rather than pull. It makes all the difference in the world. Vicki I love your smile!
Reply
Steph
12/1/2019 07:11:00 pm
Thanks Sally!
Reply
Leave a Reply. |

