|
text by Vicki Sign up to get Mother Daughter Projects updates in your email!
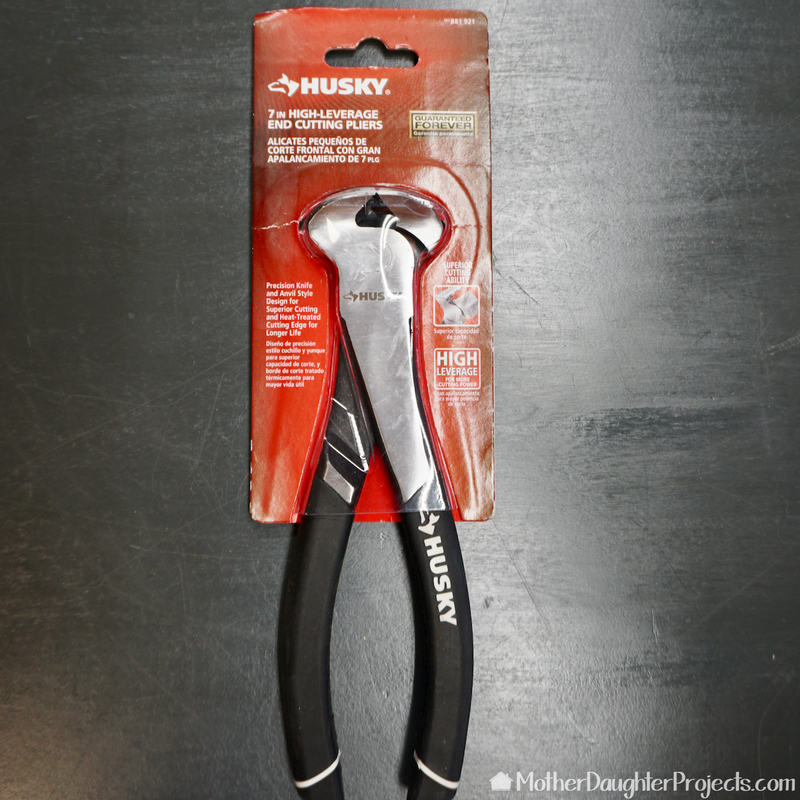
This post is sponsored by The Home Depot. THD provided the end nippers used in this post. 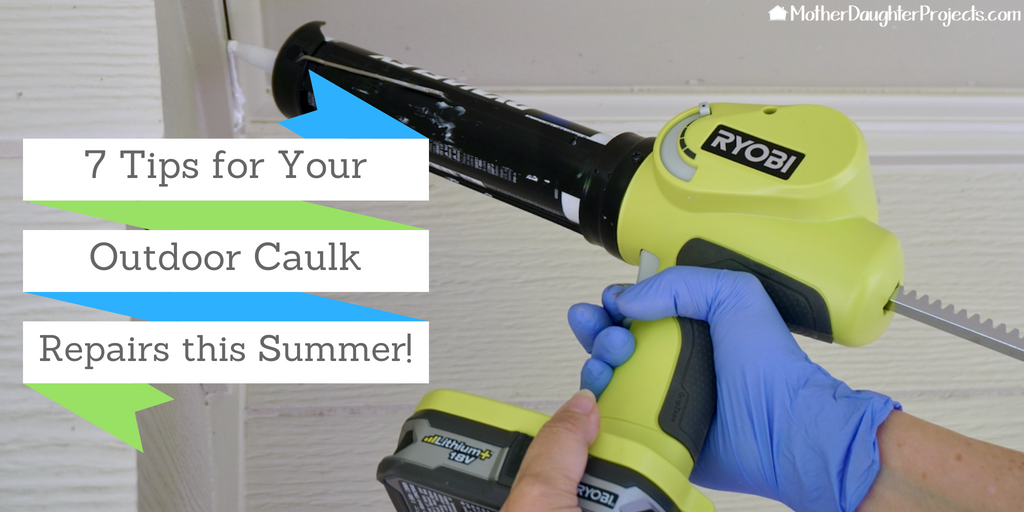
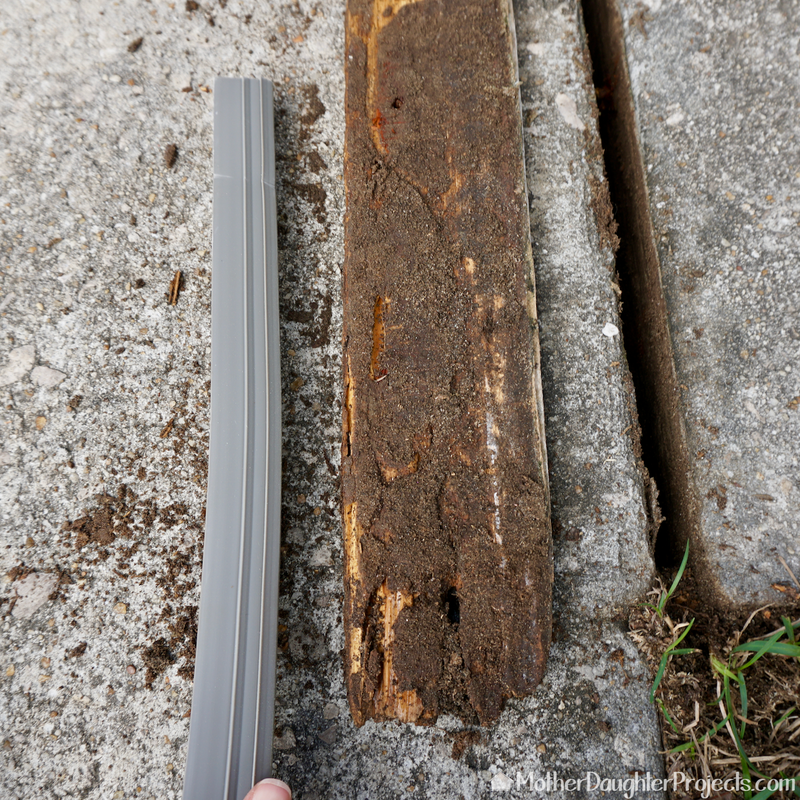
One of the most neglected, but one of the most important home maintenance tasks a homeowner can DIY, is caulking. The use of properly applied caulk keeps the outside elements out and the inside ones, like a/c, inside. Caulking is a very easy and inexpensive DIY that can prevent damage to your home.
A little bit of caulking can be the difference between a very inexpensive repair and a much more costly one. Without caulking, water, bugs, and weather can get into your home and cause damage, unwanted insects, and loss of heating or cooling.
DAP reached out to us recently and asked if we would like to partner with them in a giveaway sweepstakes. They sent along a Weber Kettle Grill and a variety of products to try out.
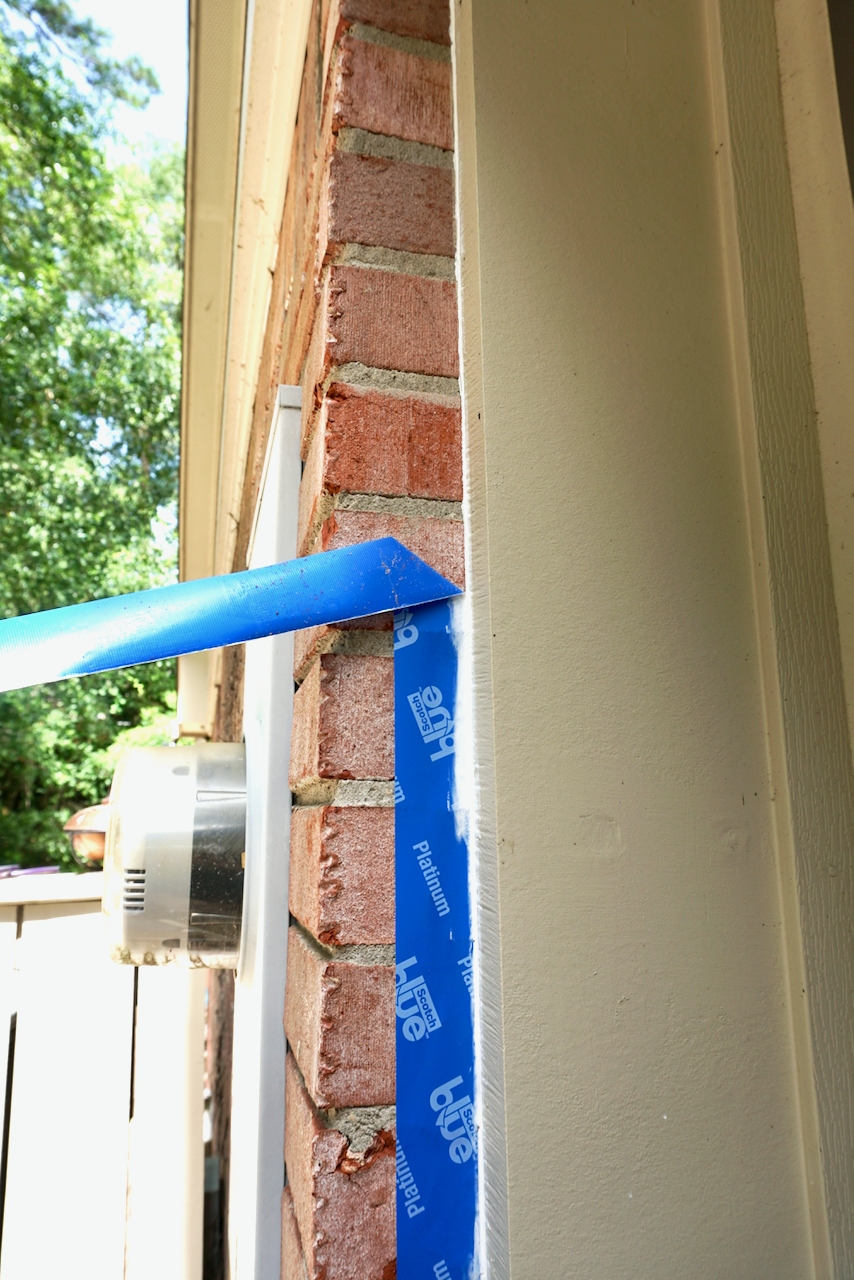
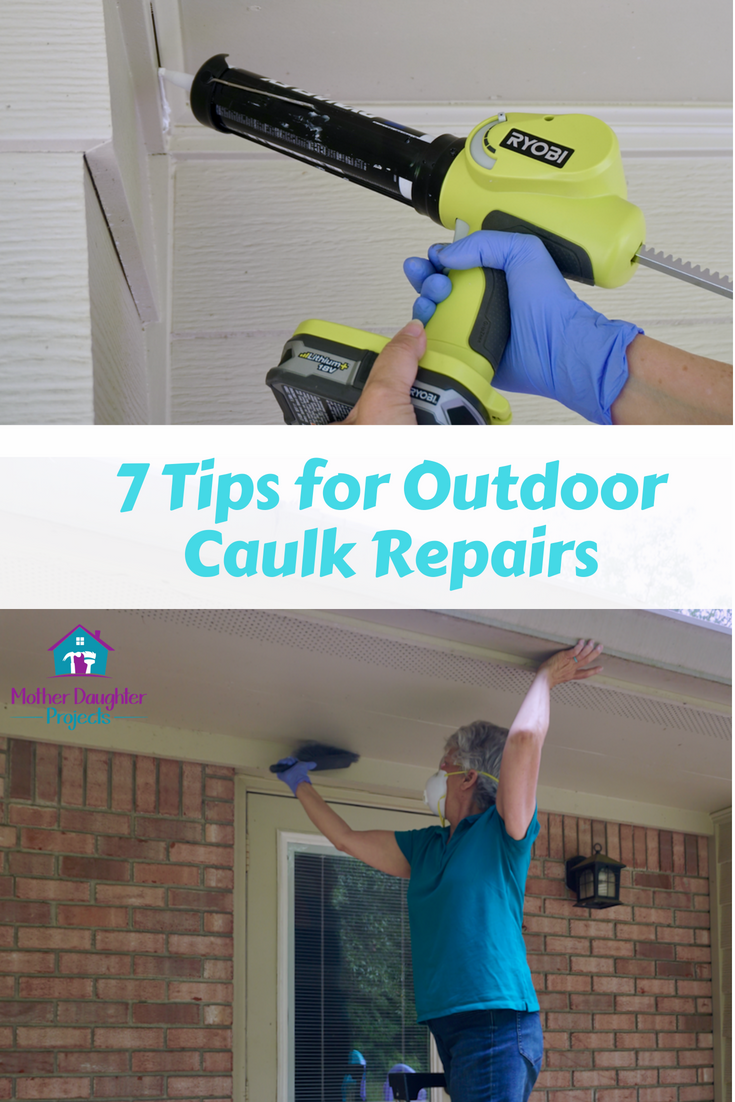
We were anxious to try out the various products so we each took a walk around the outside of our homes to see if there were any potential projects. I really didn't think there would be any at my house since basically everything on the outside of my house was worked on during my house remodel six years ago. I was actually very surprised to see several places that needed caulk, had improperly applied caulk or had worn away, or, yikes, was never caulked six years ago! Steph found a few places on her screened in porch that needed to be re-caulked. We chose a nice day without rain in the forecast and got started. After working on our projects, we came up with 7 tips we learned along the way! Products:
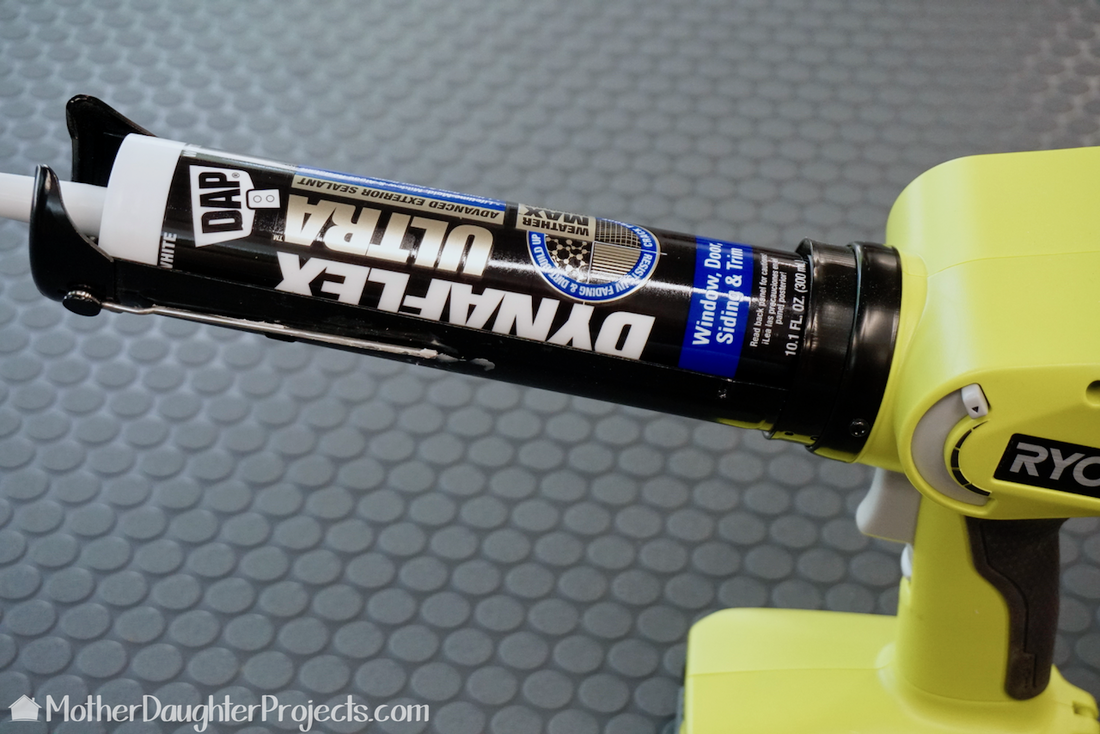
2. Invest in quality exterior caulk. Not all products are the same. Read the labels to be sure what you are choosing fits your needs. For example, if you're doing outside work be sure to choose an exterior caulk. Also, if you are going to paint afterwards, be sure it is a paintable caulk. This DAP DynaFlex Ultra checked off all the boxes for our application.
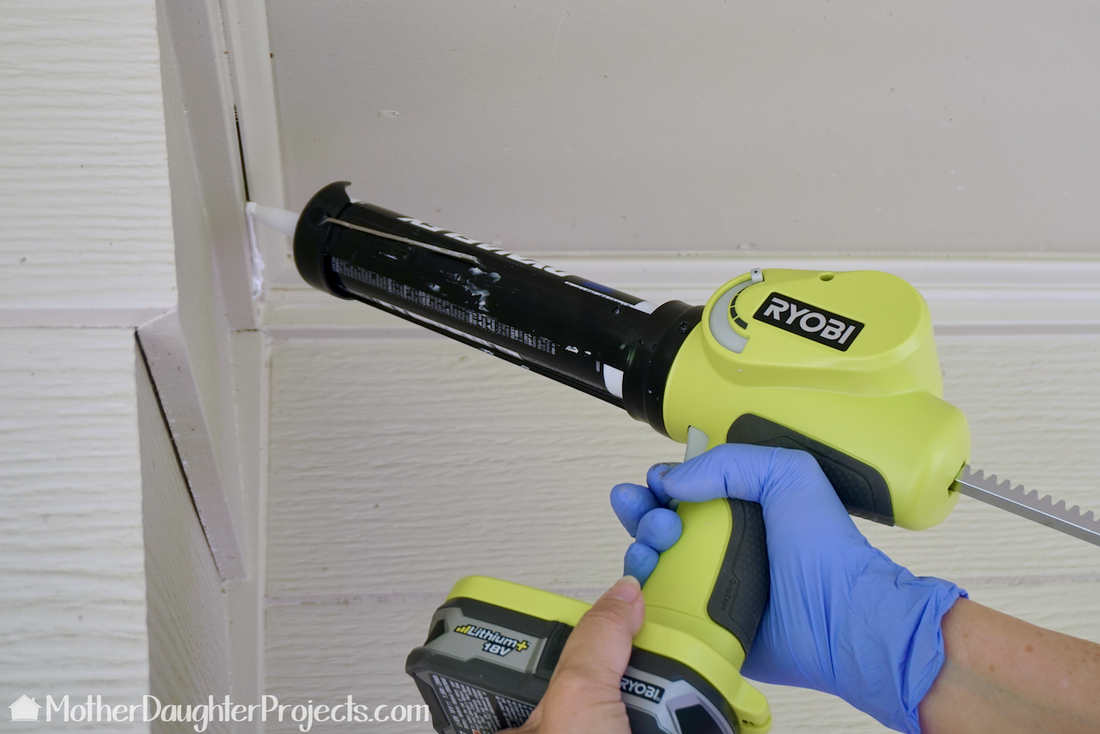
3. Consider a battery powered caulk gun. We have used this on many occasions now and it makes the job of caulking so much faster and efficient. It's worth the investment if you're going to be doing a lot of caulking. Check out our review for more information on the Ryobi Battery Powered Caulk Gun.
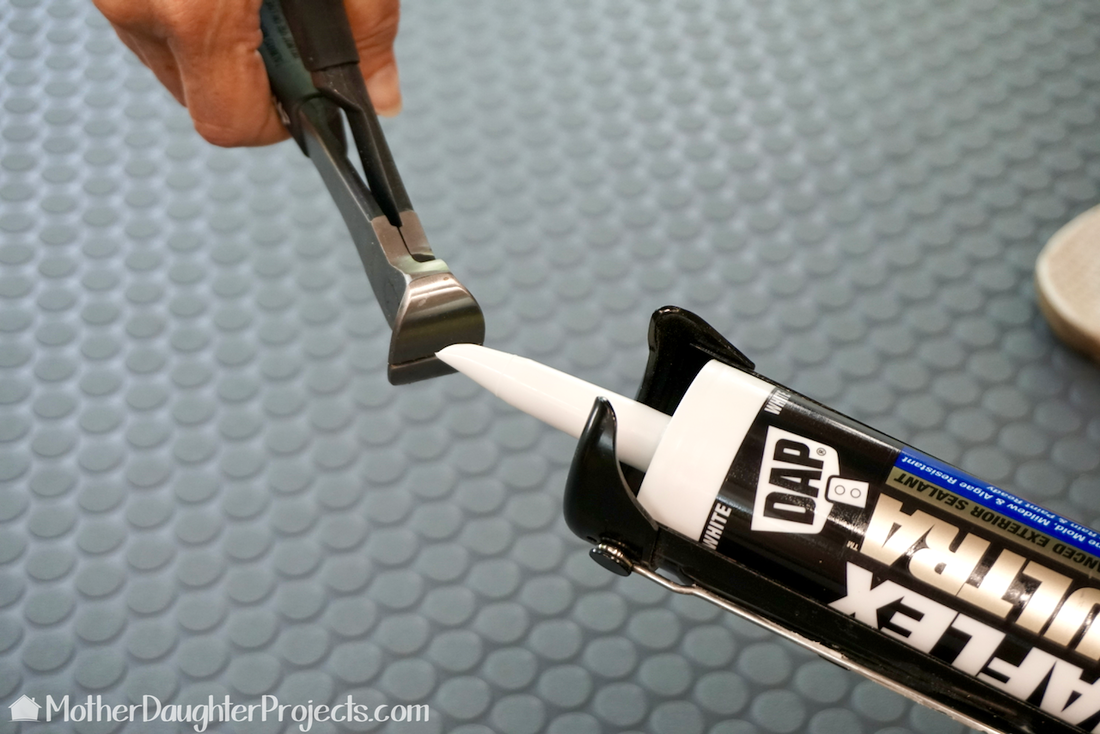
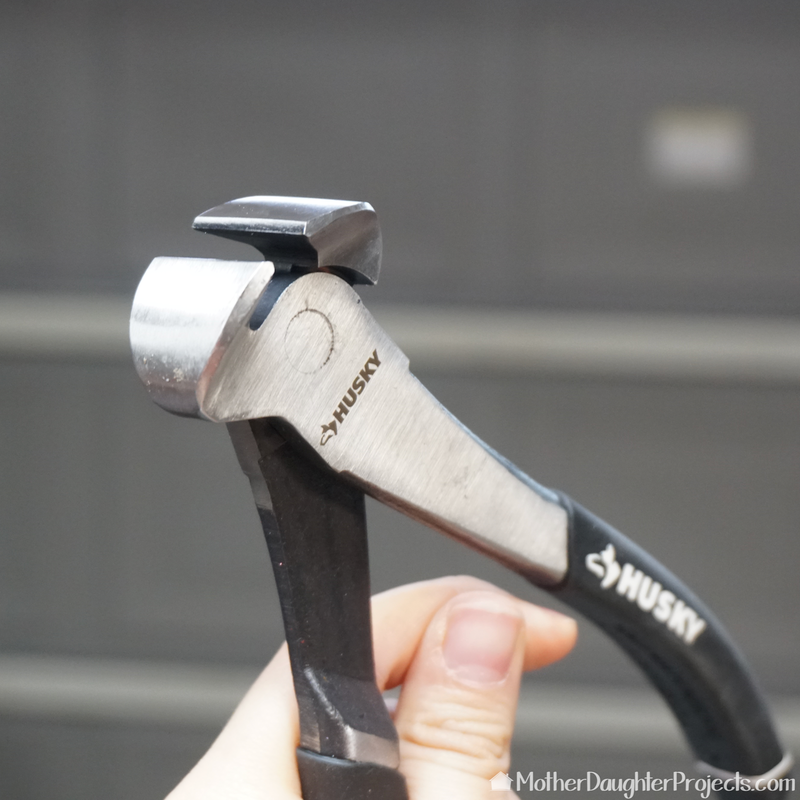
4. Cut the caulk tube with end nippers. You may not ever had heard of end nippers, but they are the perfect tool for cutting off the tip of a caulk tube.

5. Use a bench brush to prep before caulking. Caulk is not going to stick to a dirty, dusty surface. I used a bench brush to quickly remove loose dirt and spider webs. The brush is soft enough that it did not damage the surface.
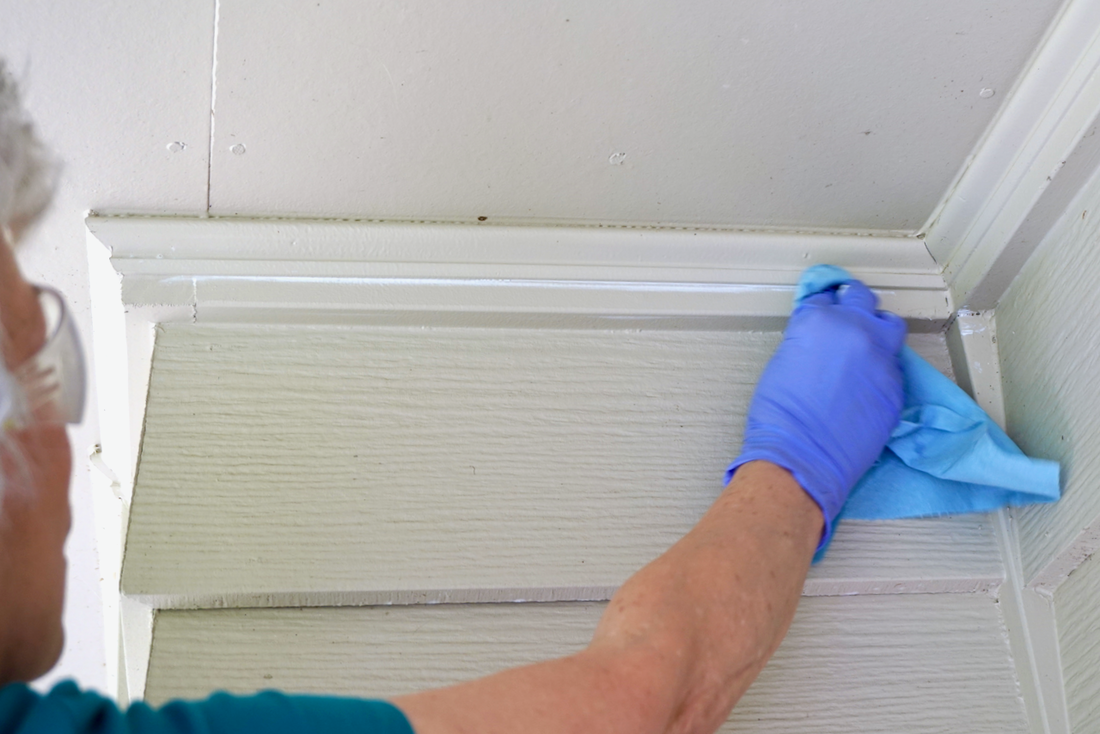
7. Wet your finger or rag for a smooth finish. We like to smooth the caulk with our finger and then clean up with a damp shop towel.
Since I was already up the ladder, I took the time to clean not only where I was going to caulk, but brushed down under the eves and siding. It only took a little bit of extra time, but it looks so much better now.
Have you taken a walkabout your home recently? What did you find? I'm happy I found these issues now rather than later and was able to take care of them before they got worse. ....now about that hole I just found in my roof...! We acknowledge that The Home Depot is partnering with us to participate in the ProSpective 2018 Campaign. As a part of the Program, we are receiving compensation in the form of products and services, for the purpose of promoting The Home Depot. All expressed opinions and experiences are our own words. Our post complies with the Word Of Mouth Marketing Association (WOMMA) Ethics Code and applicable Federal Trade Commission guidelines. FYI: We are not professionals, and we don’t claim to be. This is what we found worked for our project. Yours may need a little different approach. Safety first! FYI: Affiliate links are being used on this page. Purchasing via these links help support MDP! Related Projects
2 Comments
Sandra
6/21/2018 11:10:00 am
Thank you. This is timely for me because I am ready to do outdoor repairs -- preparing to paint outdoor trim. This might be the "last hurrah" for me to do this at 77 yrs old but I'm so grateful that I am able and have the desire to spruce things up in areas that I still can. Such good feeling to get things spruced up, neat and clean and fresh. Thanks for your help!
Vicki & Steph
6/21/2018 11:55:07 am
You go girl! We love to hear this- thanks for sharing Sandra! Leave a Reply. |

Mother Daughter Projects
|