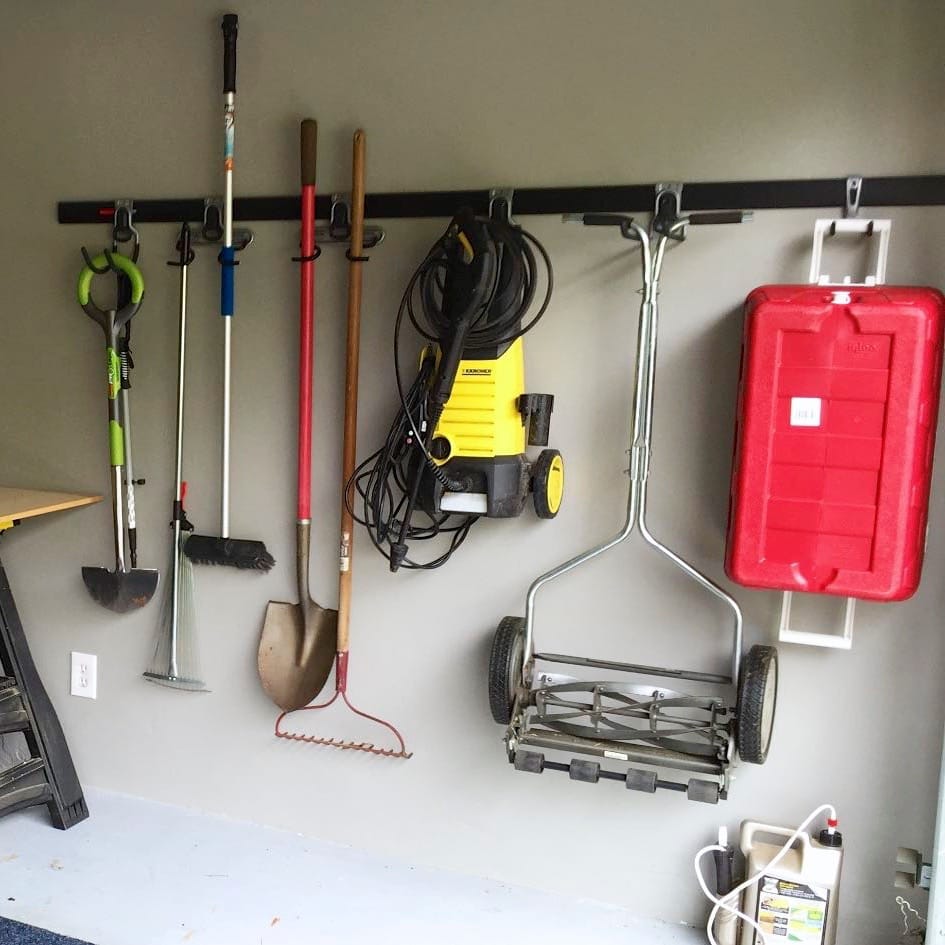
We continue to do more and more wood products, which means we have an excess of wood that needs to be stored. We've been using an A-frame rack from Rockler which worked well, but we have outgrown it. We found this metal wood rack at Rockler and decided to give it a try.
Watch the video to see how this wood rack was installed. 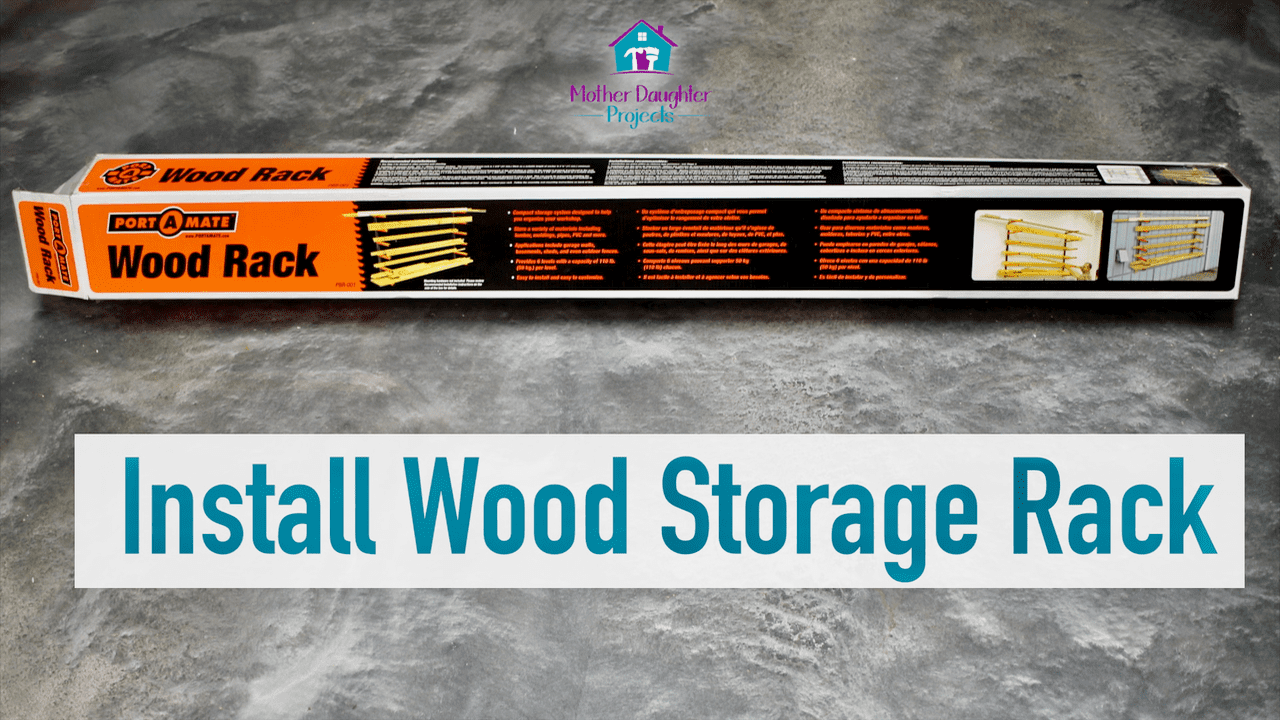
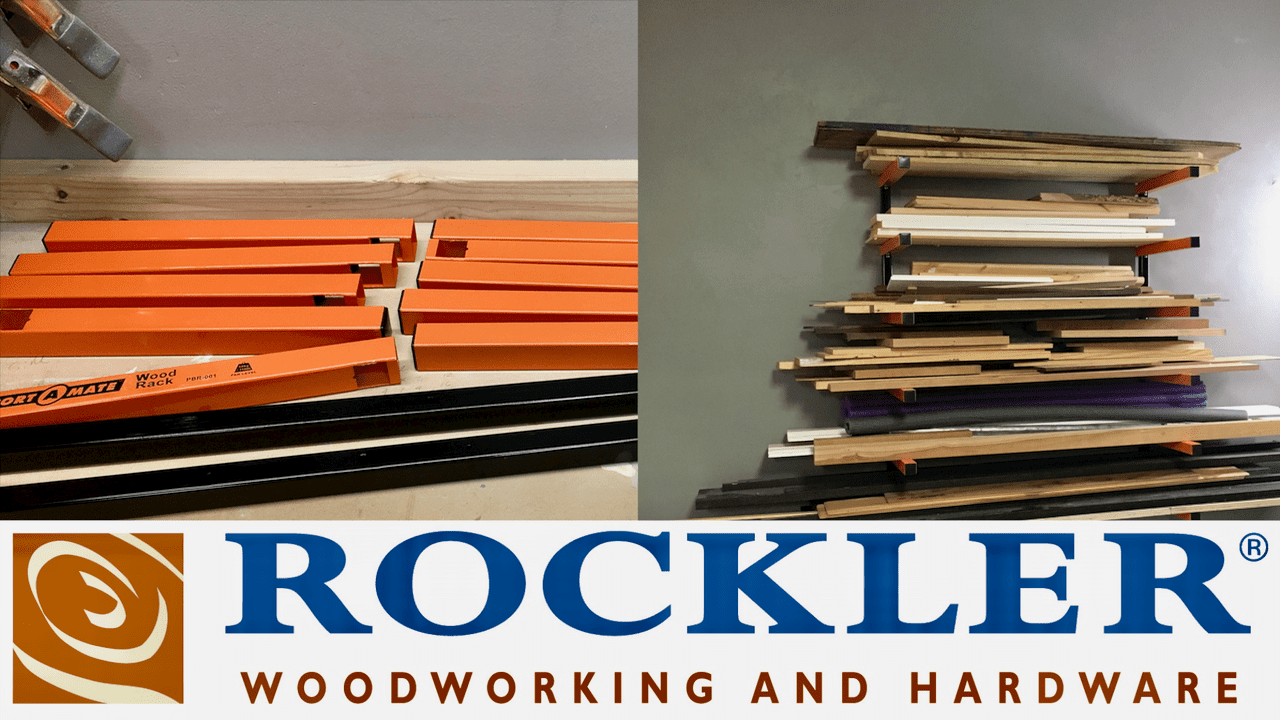
Materials:
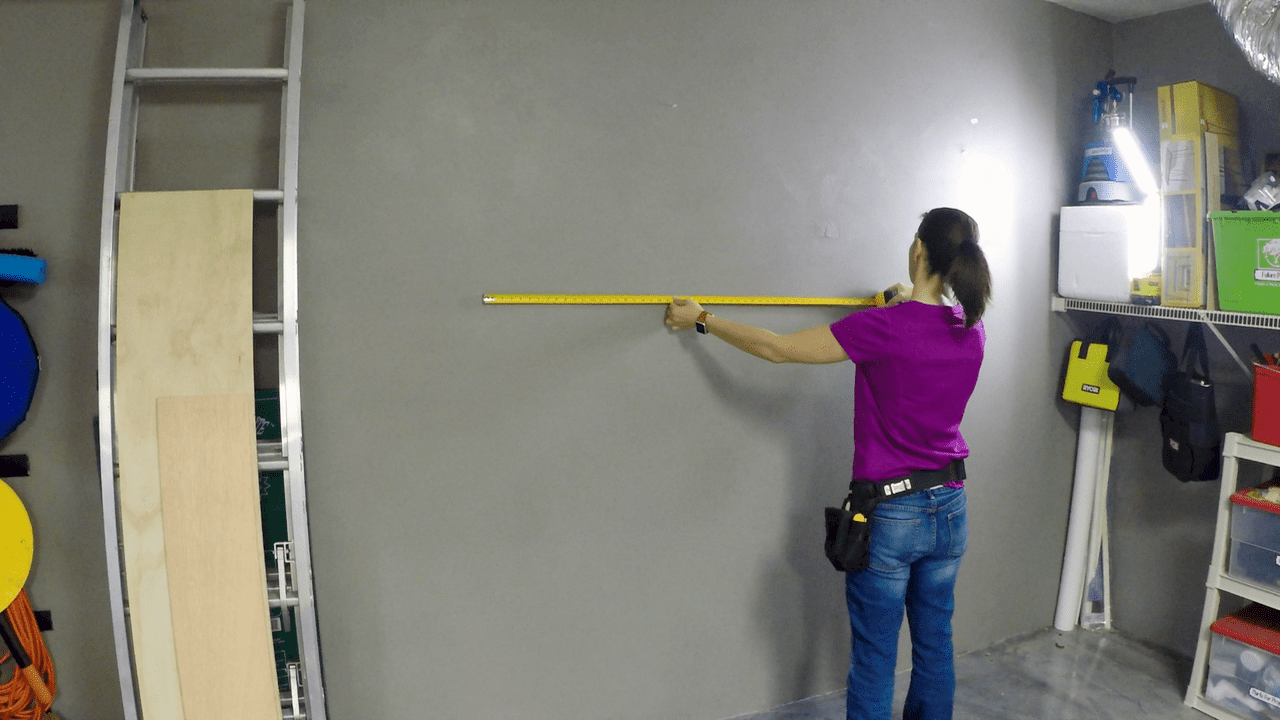
I started by finding two studs, three feet apart. This product must be installed on studs. Refer to manufacturers' instructions for full details.
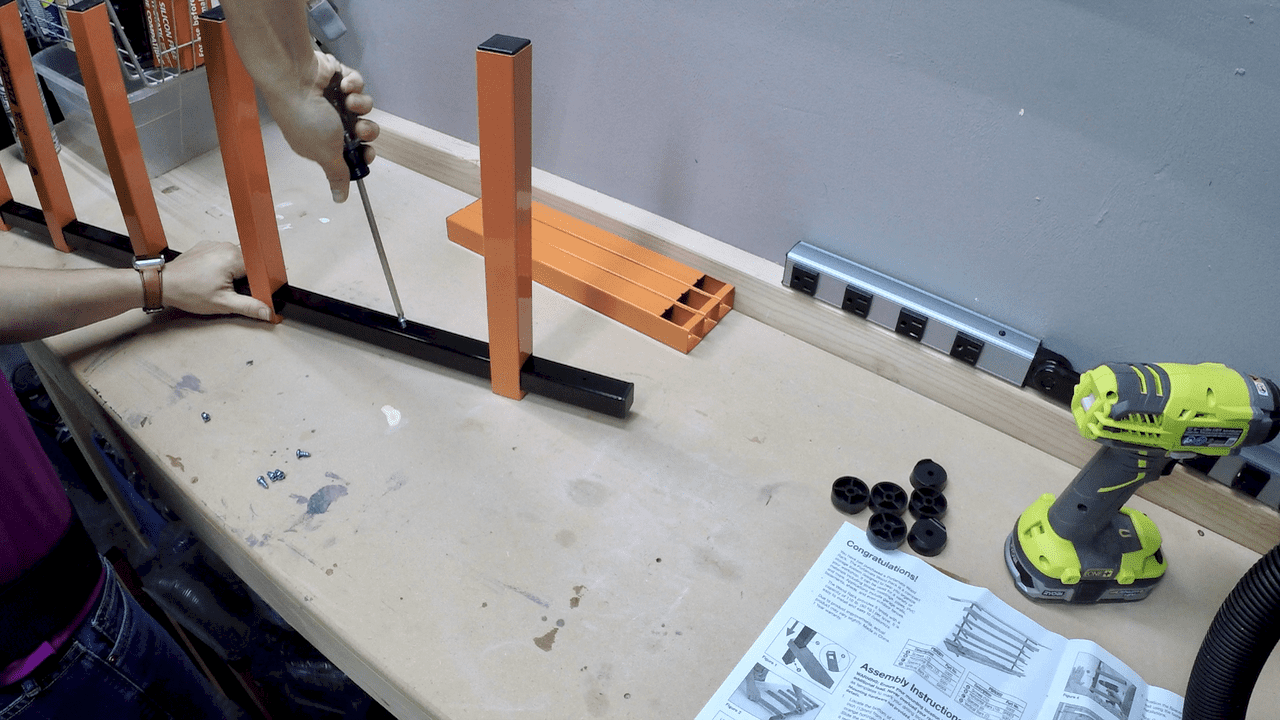
The black vertical bar has small screw holes where you attach the supplied screws and then install one orange bar at a time. The tiny screw hole closest to the bottom is the bottom of the rack. This was a little strange because there was also a plastic piece behind it but I was able to screw through it.
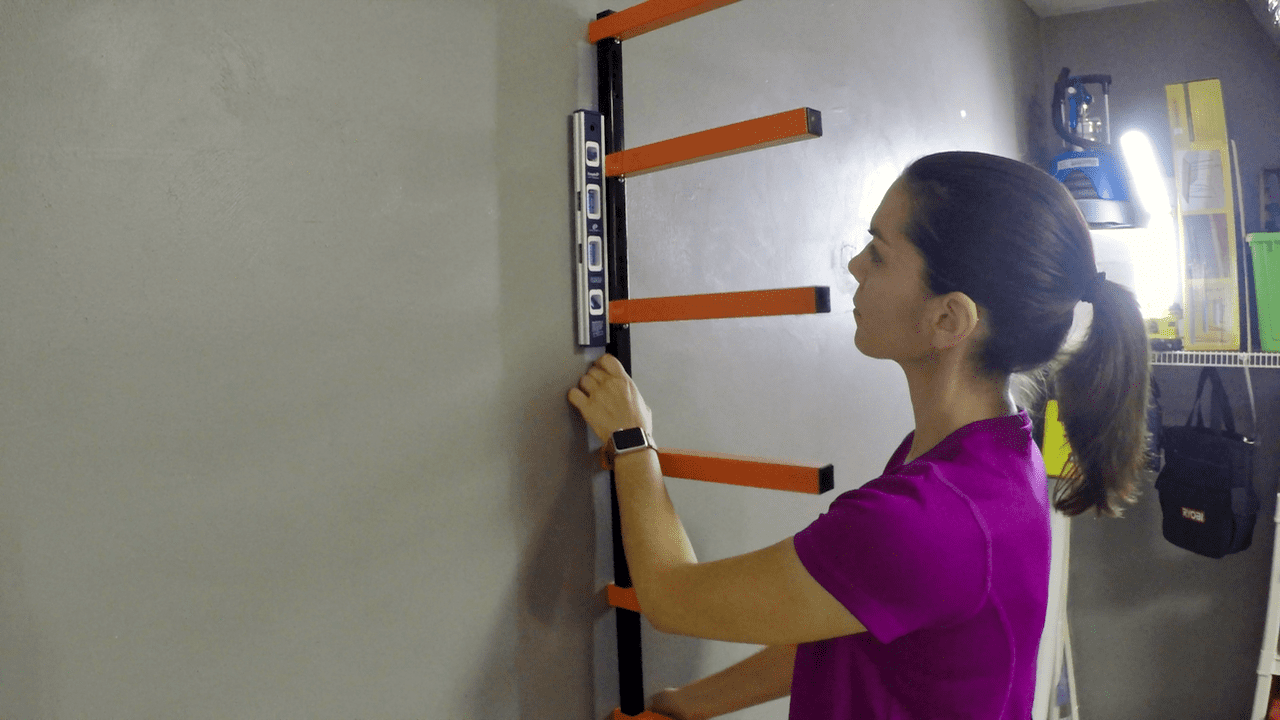
This would have been easier with mom, but she was out of town. I held the first rack up and made sure the spacer was in place behind the bar and then screwed in the middle screw. Once this was in place, I made sure everything was level and then screwed in the top and bottom screws. Please note: make sure the spacer is behind the bar before you start leveling.
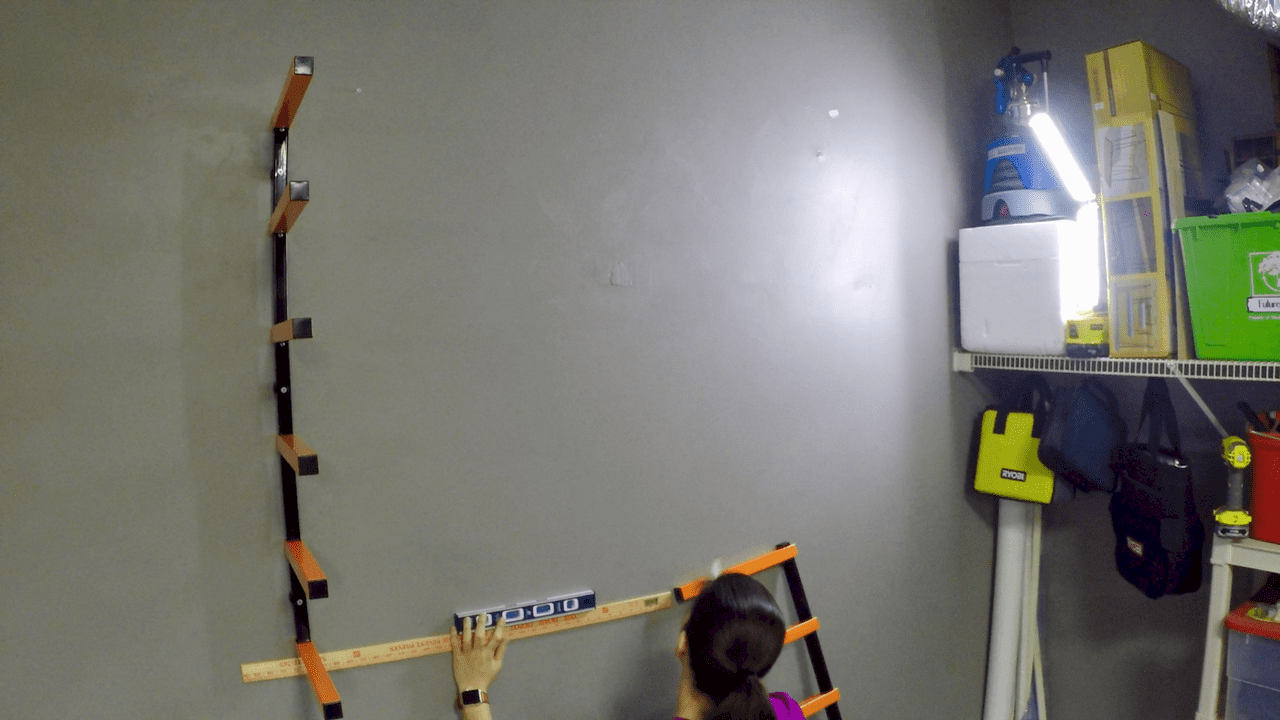
Once one rack was hung, I used a ruler and level to mark the placement of the second rack.
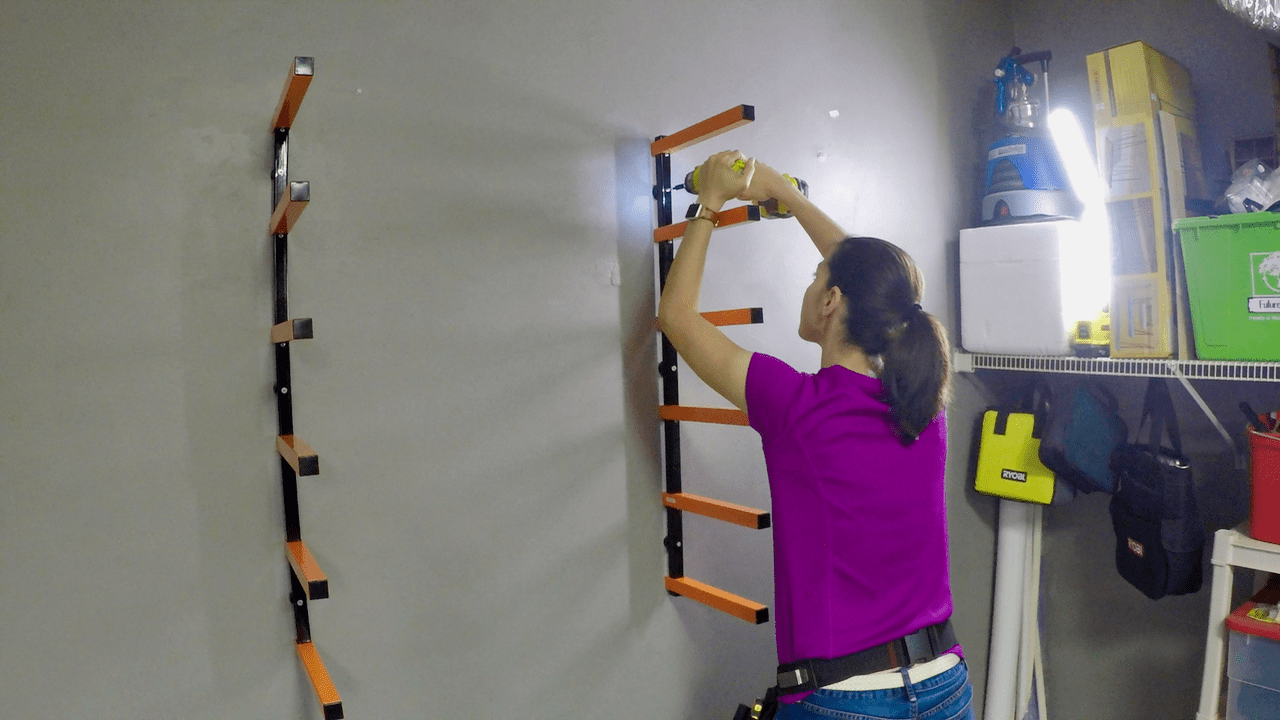
I repeated the process with the second rack.
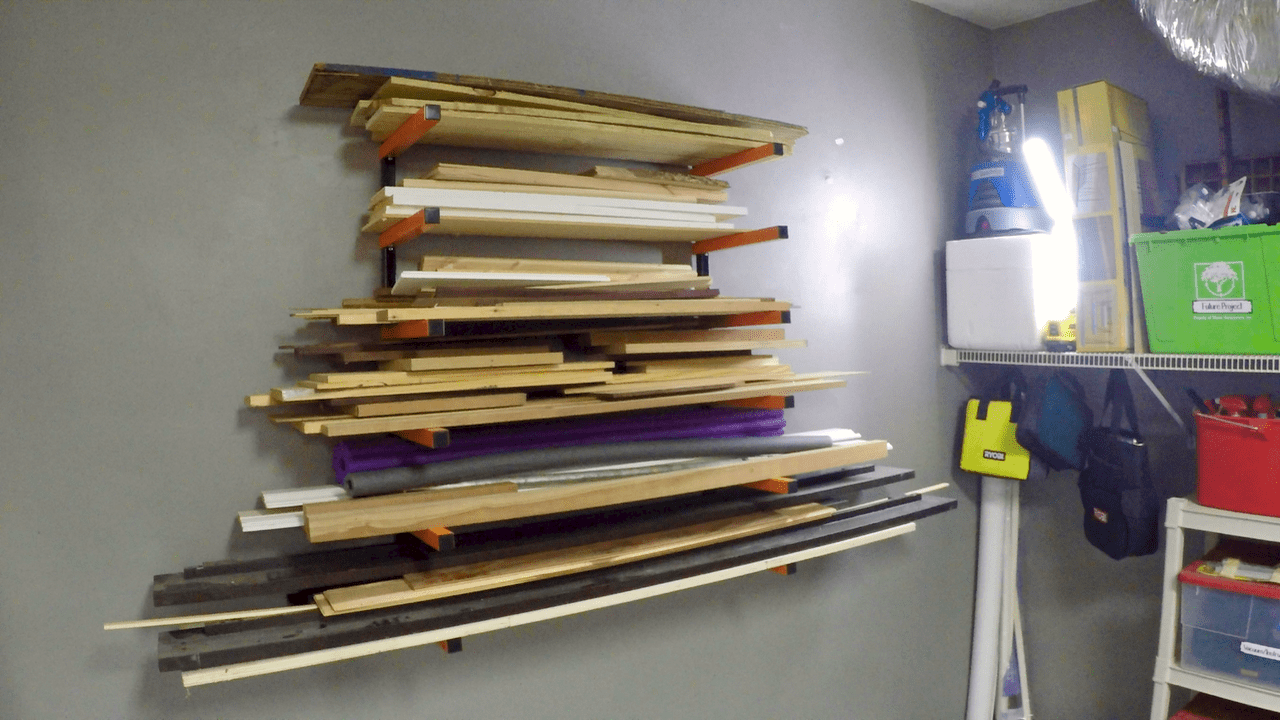
Once the rack was in place, I filled it up with scrap wood. This is already working out great and I'm able to use the A-frame for tool storage.
Please note: We are not sponsored by any of the companies/products that we used. These products were picked and bought by us. FYI: We are not professionals, and we don’t claim to be. This is what we found worked for our project. Yours may need a little different approach. Safety first! FYI: Affiliate links are being used on this page. Purchasing via these links help support MDP! Related Projects
0 Comments
Leave a Reply. |

Mother Daughter Projects
|