Mother Daughter Projects

  • Blog
  • About
    • Contact
    • Privacy Policy
  • Tools
    • Tool Tuesday
  • Maintenance
  • Improvement
  • Decor
  • Tech
  • Blog
  • About
    • Contact
    • Privacy Policy
  • Tools
    • Tool Tuesday
  • Maintenance
  • Improvement
  • Decor
  • Tech

DIY for Homeowners

Portable Guest "Recharge" Station

1/25/2017

0 Comments

 
​​text by Vicki     ​Sign up to get Mother Daughter Projects updates in your email!
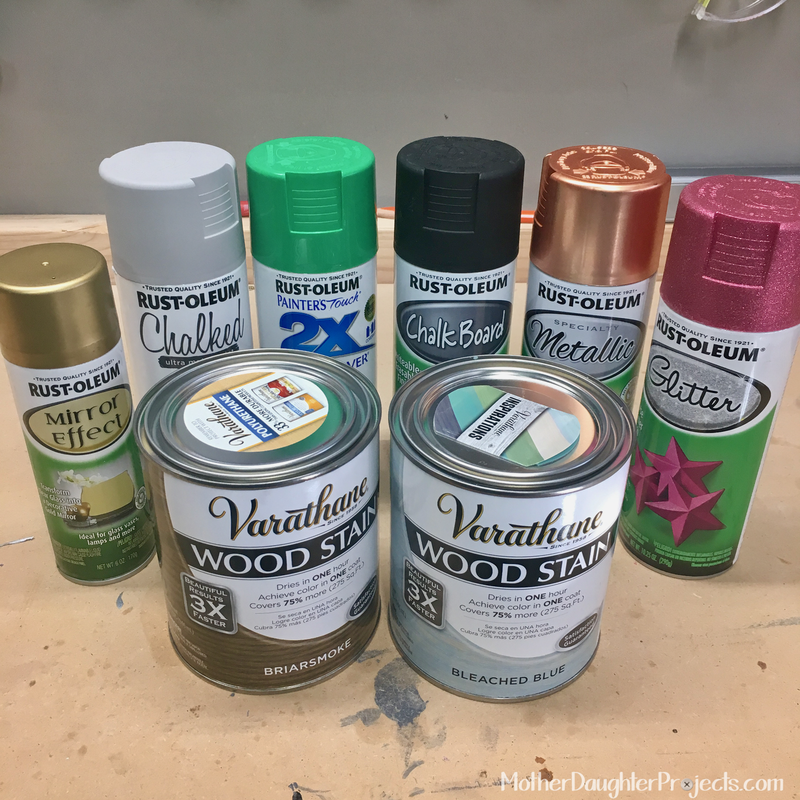
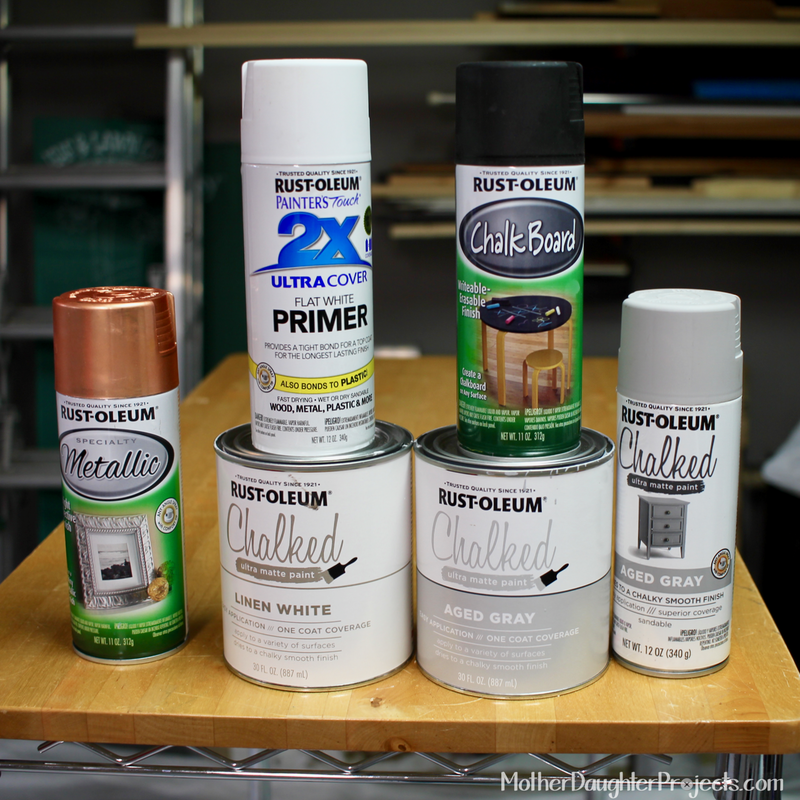
Learn how to use thrifted or trashed items to make a station to recharge for your guests. It also stores easily when not in use!
A few weeks ago, I noticed a director's chair in my neighbor’s trash pile. An idea popped into my head--I thought I could use it as a stand with a box on top of it to create a portable guest "recharge" station.

​A few days later, we got information about an upcycle challenge with Rust-Oleum. We though the guest station would be the perfect project! Rust-Oleum sent us a box of products to choose from which determined the final look of the project. 
Learn how to use thrifted or trashed items to make a station to recharge for your guests. It also stores easily when not in use!
Why a portable guest "recharge" station? 

The top five things your guests need:
  1. A place to charge their devices
  2. Wifi password (and alarm code)
  3. Towels and toiletries
  4. A place to hang their stuff
  5. A beverage

(and no, that's not really our wifi password, we just love the TV show The Big Bang Theory where it's from!)
Learn how to use thrifted or trashed items to make a station to recharge for your guests. It also stores easily when not in use!
Materials:
  • Director's chair—mine is bar height
  • Wood boxes—we used two wood wine crates
  • Wood blinds—from Craigslist
  • Hardware—the hinges are upcycled from the director’s chair, the handles from an old desk, metal embellishment and coat hooks from the depths of my garage!
Learn how to use thrifted or trashed items to make a station to recharge for your guests. It also stores easily when not in use!
wood blinds
Supplies:
  • From Rust-Oleum Challenge Box:
  • Chalked spray paint in Aged Grey
  • Chalkboard paint
  • Metallic Spray in copper
  • Varathane Stain in Bearsmoke

​Other Supplies:​
  • Chalked Ultra Matte Paint in Linen While
  • Chalked Ultra Matte Paint in Aged Gray
  • 2x Primer white
  • Krud Kutter
  • Paint brush
  • Sandpaper/sander
  • DAP RapidFuse
  • Clamps
  • JB Weld ClearWeld
  • Self-stick velcro
  • DAP Plastic Wood

How-to Steps

Learn how to use thrifted or trashed items to make a station to recharge for your guests. It also stores easily when not in use!
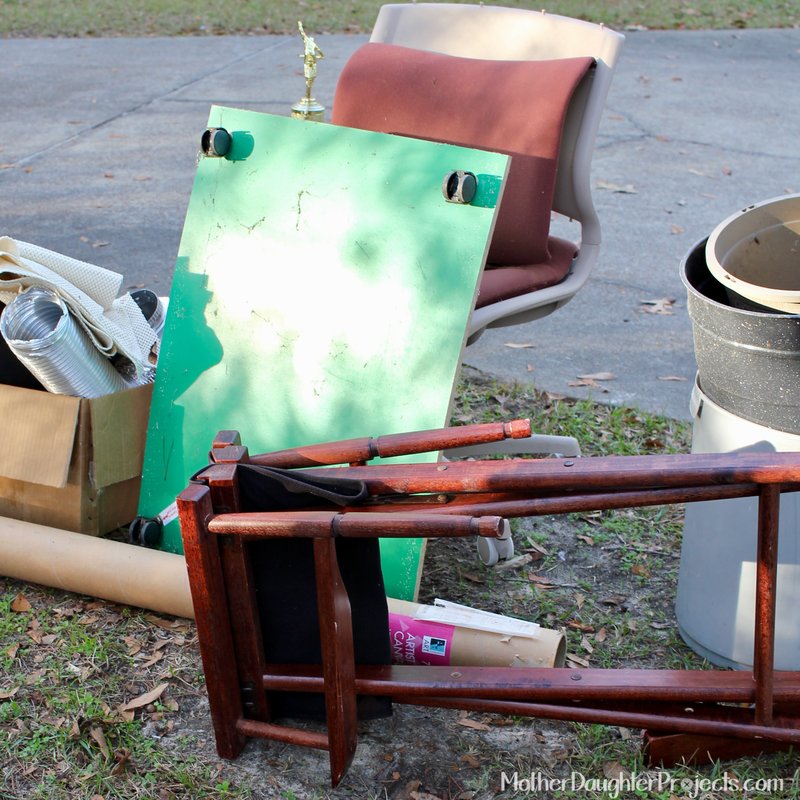
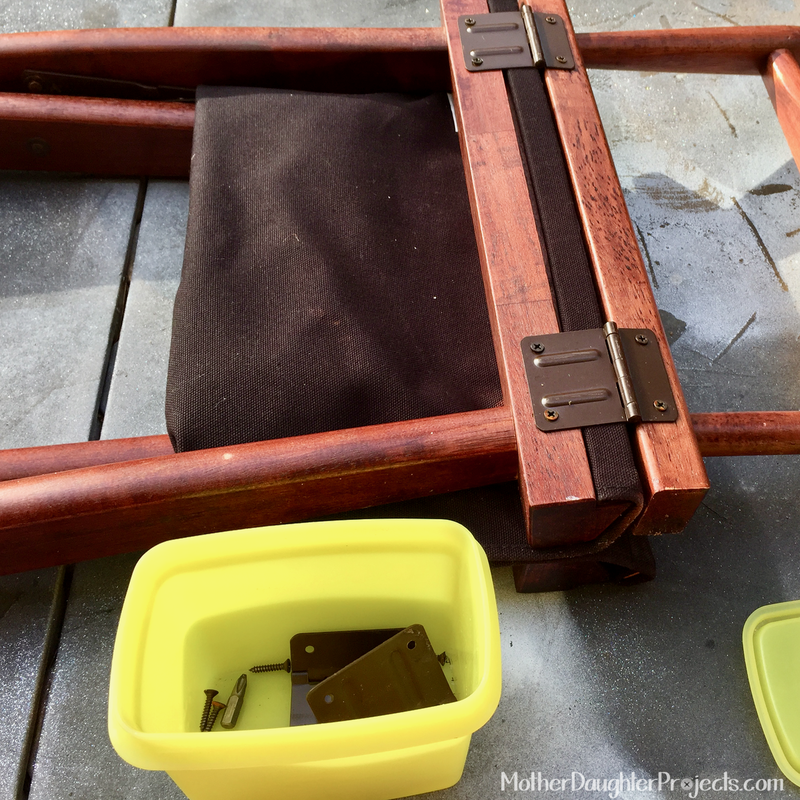
The arms and foot rest were disassembled from the chair and everything was cleaned well with Krud Kutter.
​Tip: when removing hardware, place the items in a plastic container or bag so that you don’t lose anything. 
Learn how to use thrifted or trashed items to make a station to recharge for your guests. It also stores easily when not in use!
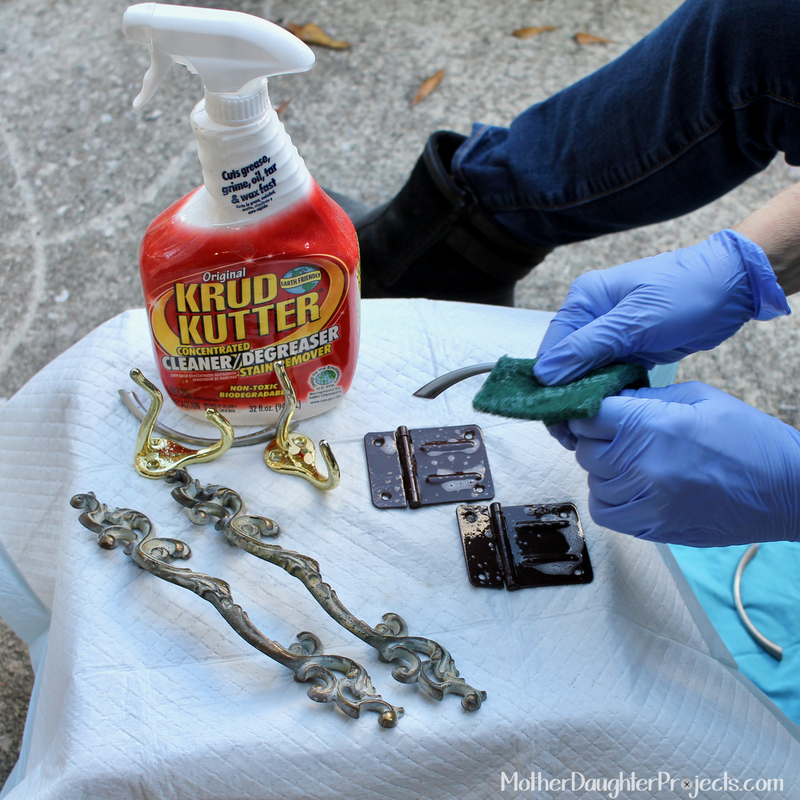
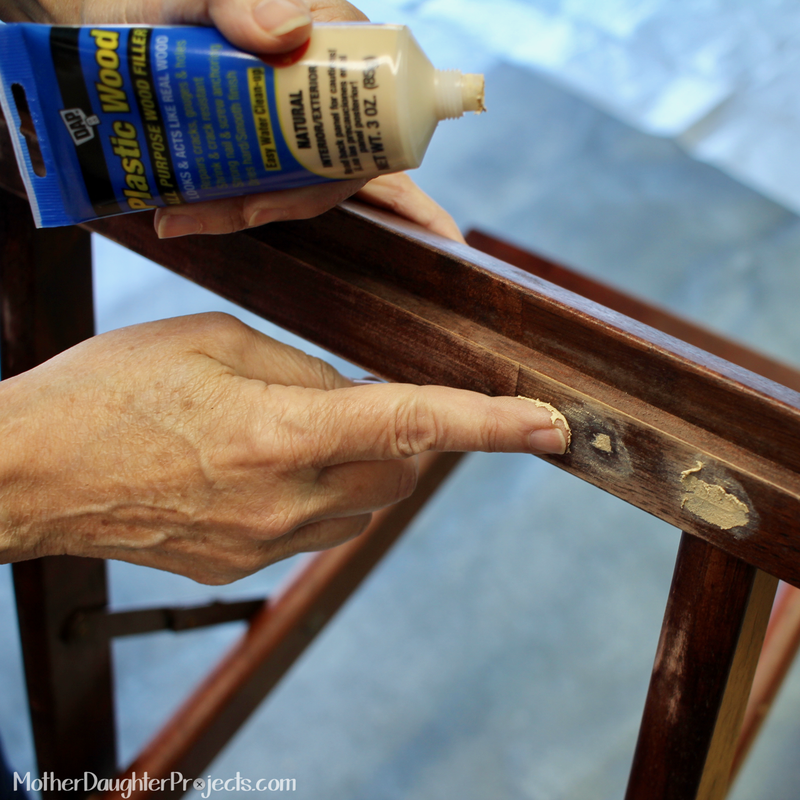
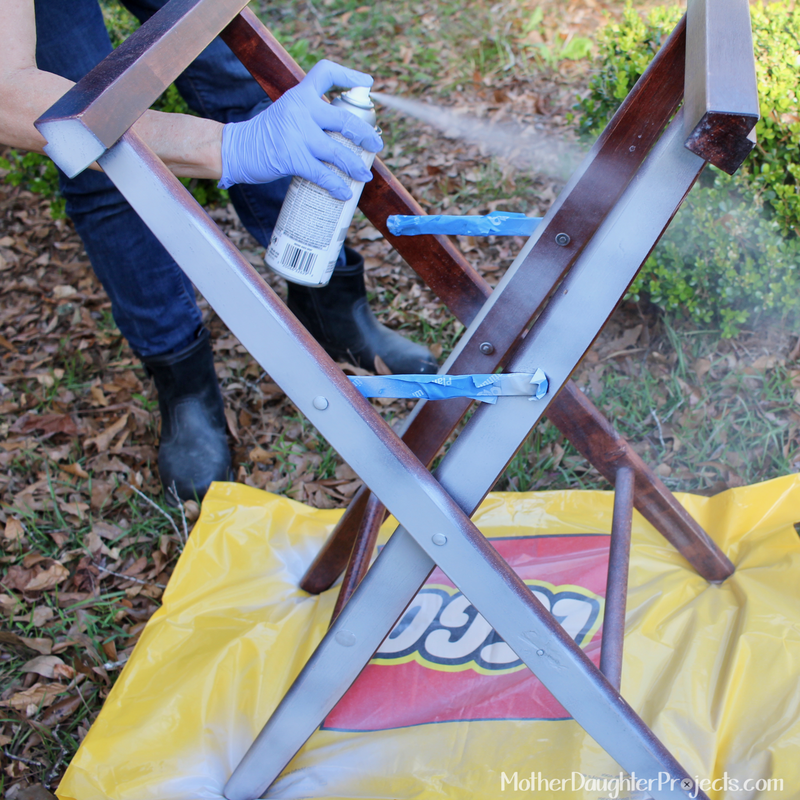
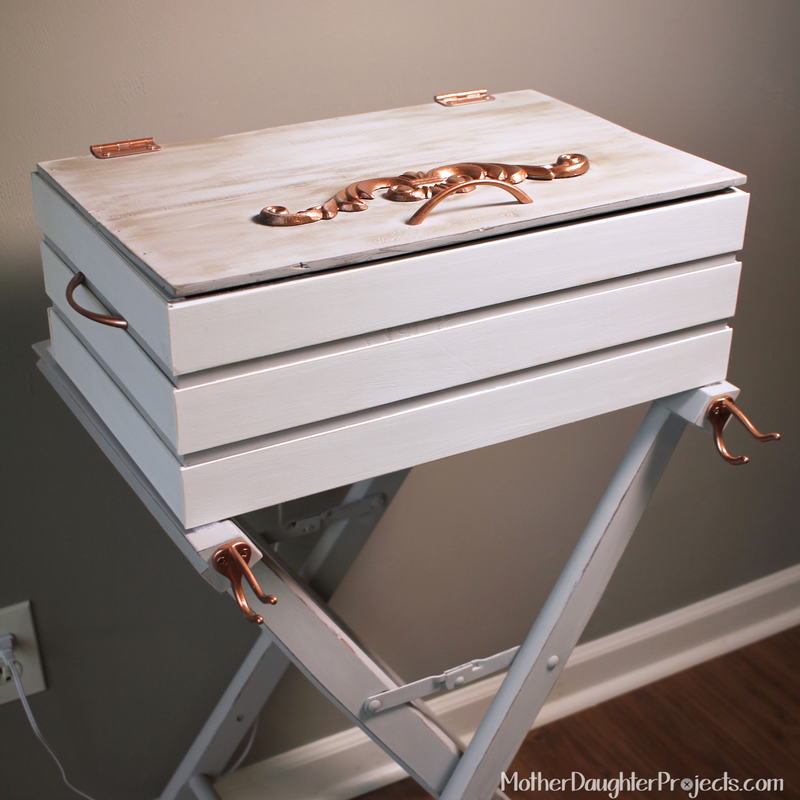
Two of the hinges and box handles were also cleaned with Krud Kutter in preparation for painting. The screw holes were filled with Dap Plastic Wood, and sanded once dried. The base was painted with the Chalked spray paint, finished with the Chalked Ultra Matte, and then sanded to distress. ​
Learn how to use thrifted or trashed items to make a station to recharge for your guests. It also stores easily when not in use!
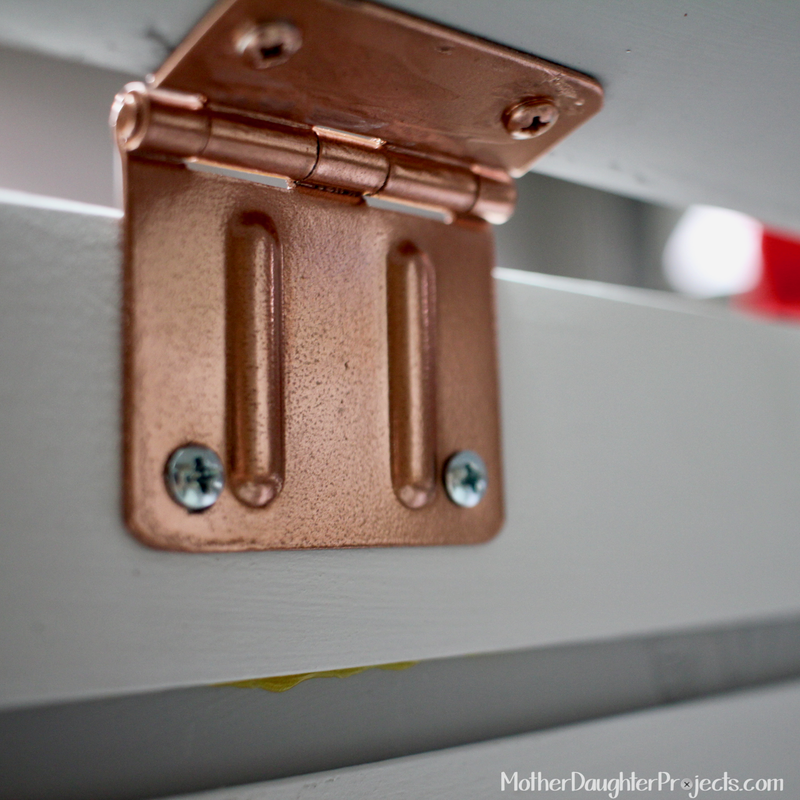
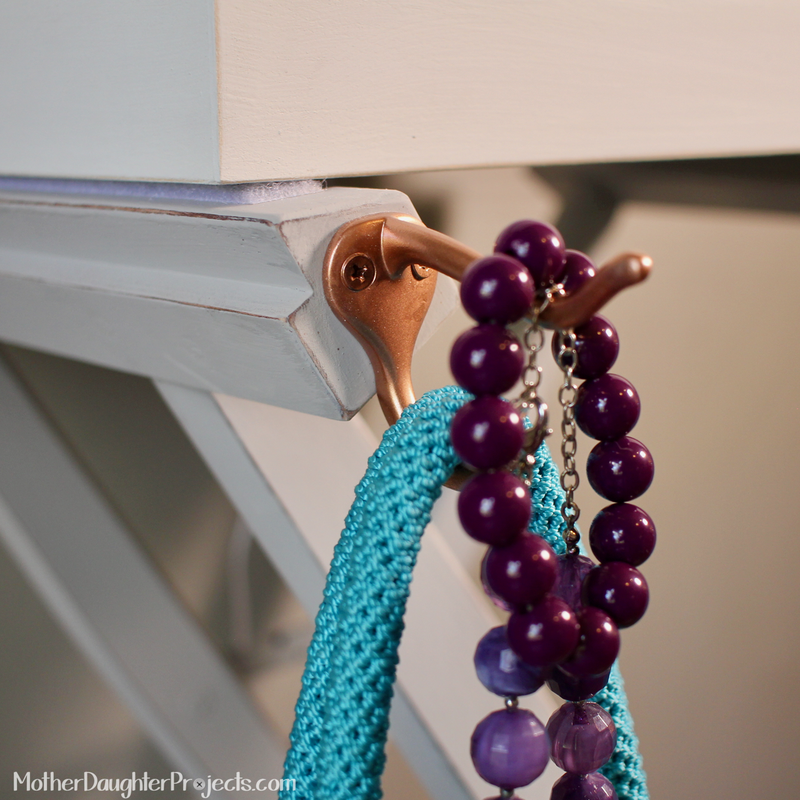
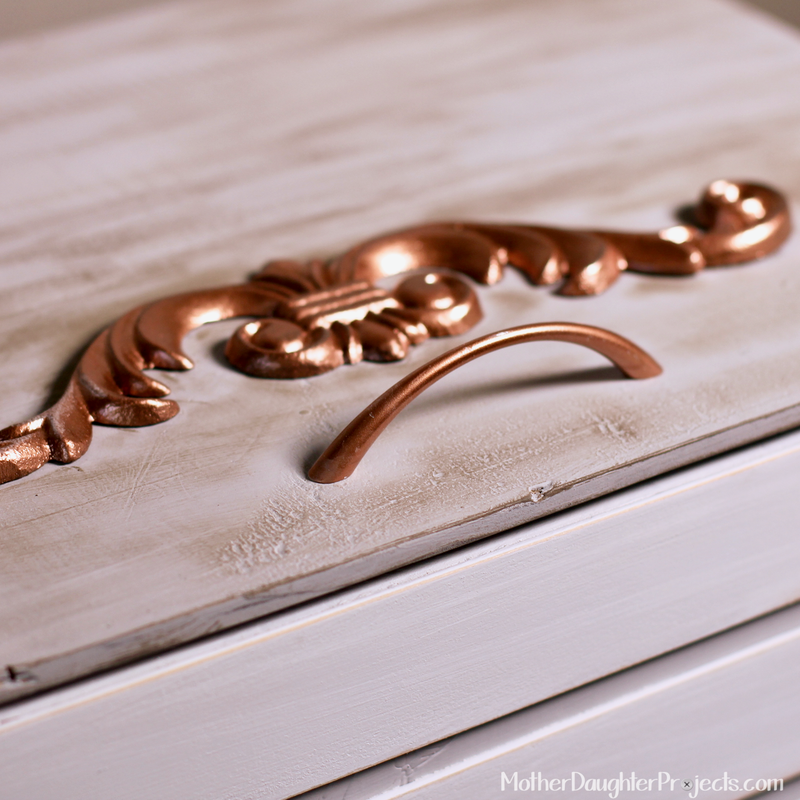
The hinges and box handles were primed then painted with the Metallic Spray Paint.
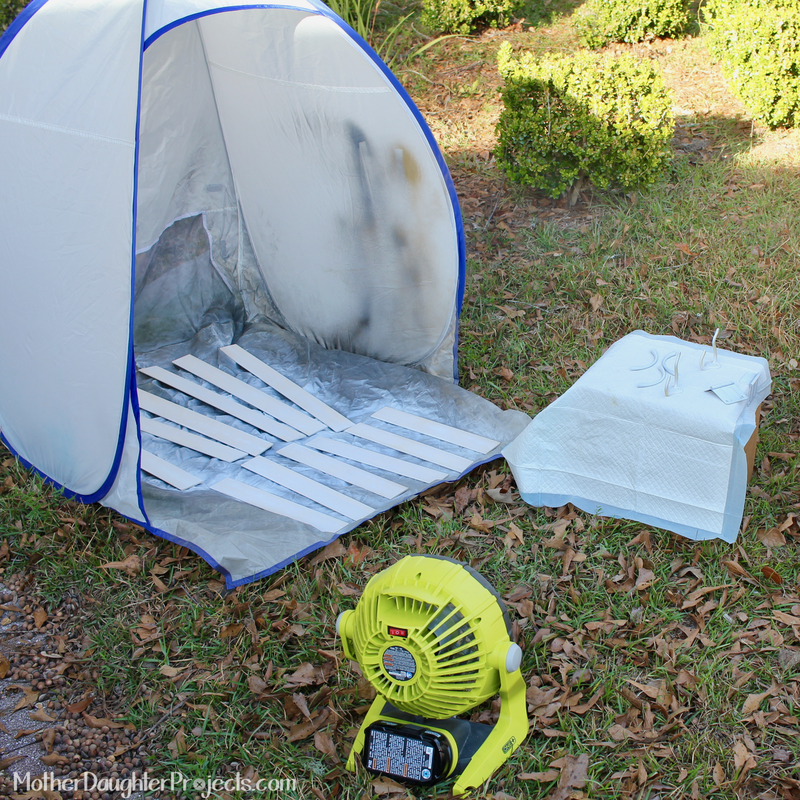
​Tip: we used our battery operated fan helped blow away fumes and speed up drying time. 

​
After attaching the hinges to the box, the screws were touched up with the metallic spray paint. To do this, I sprayed the paint into a cup so that it puddled and then used a small paint brush to touch up.
Learn how to use thrifted or trashed items to make a station to recharge for your guests. It also stores easily when not in use!
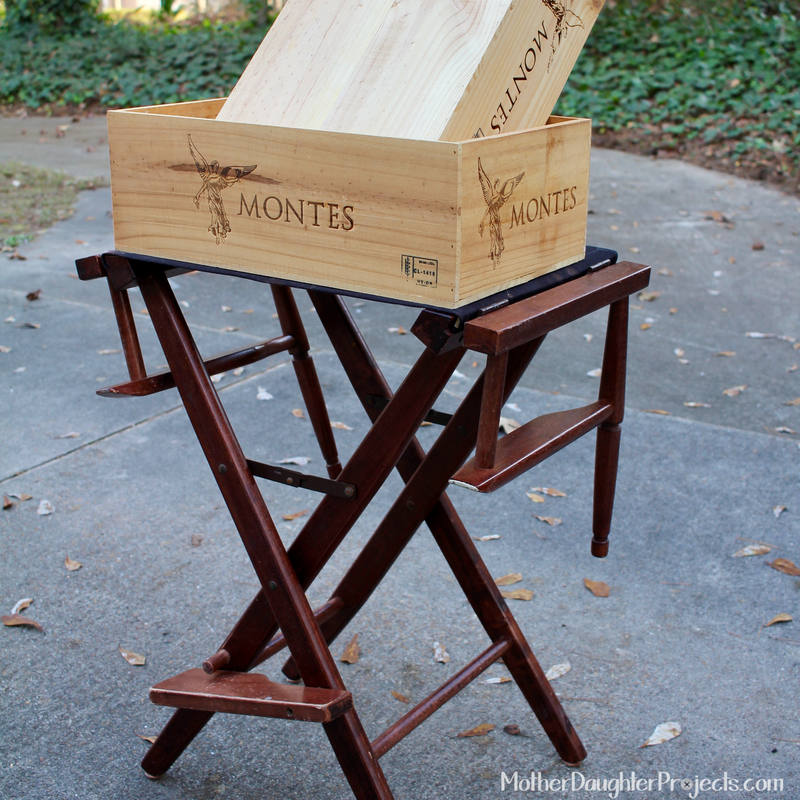
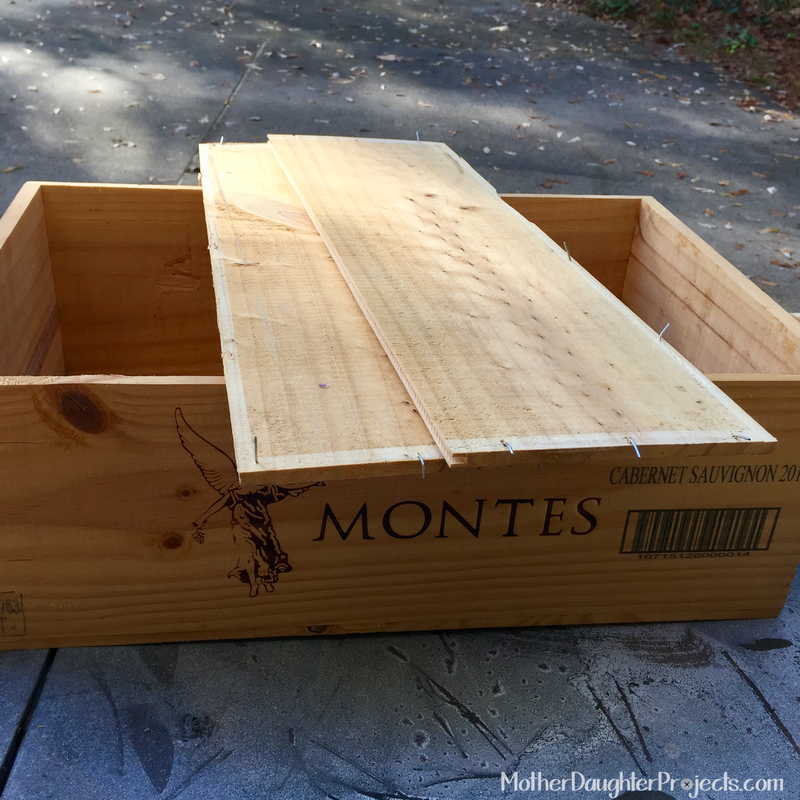
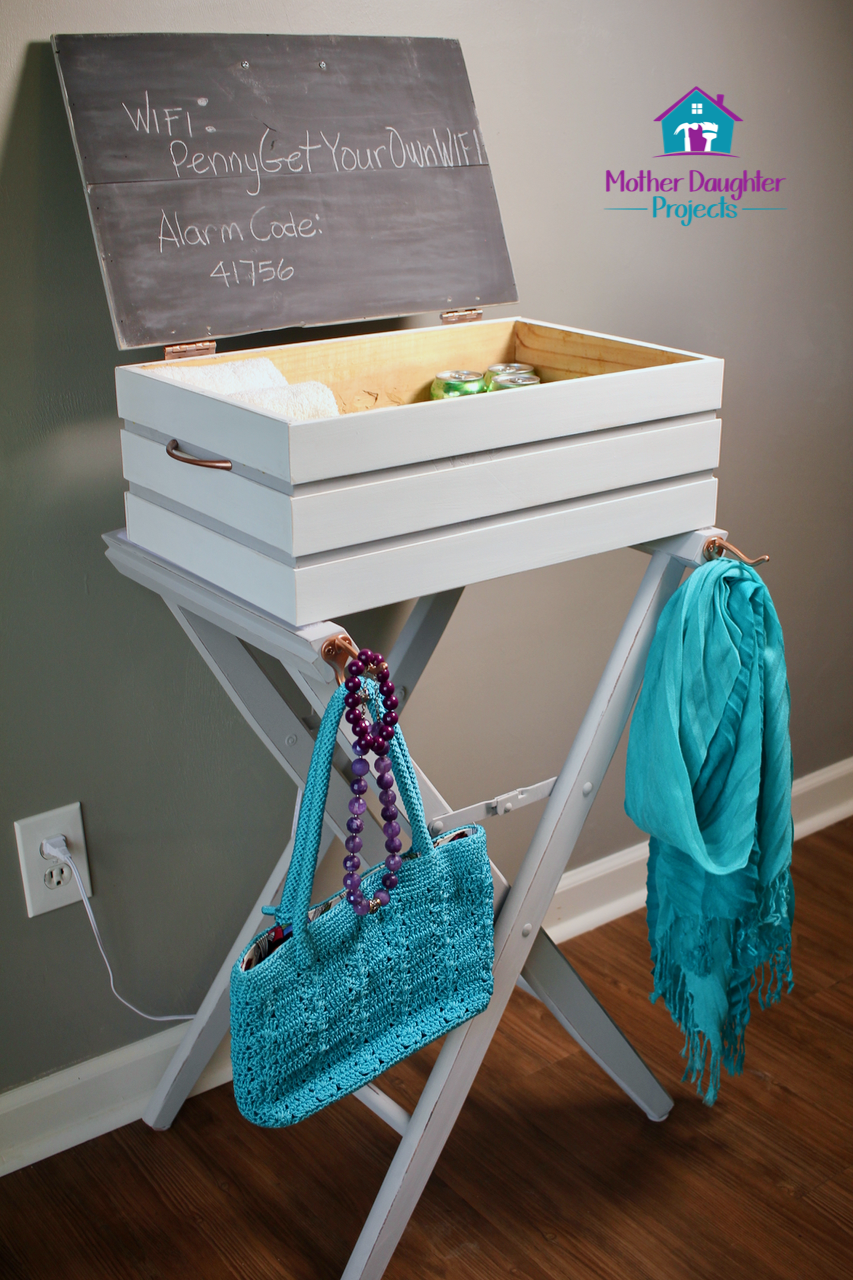
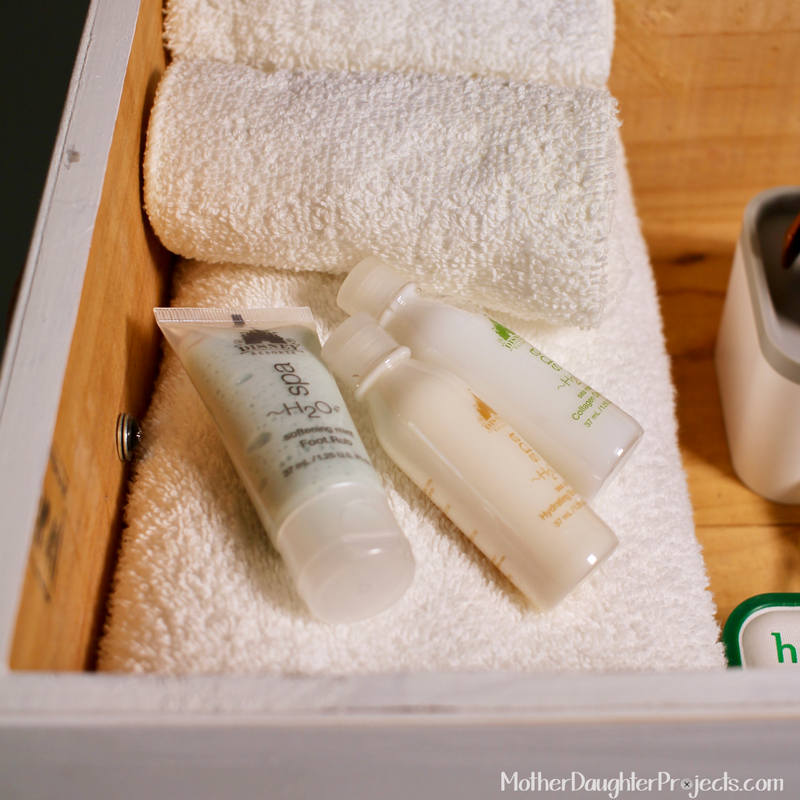
One of the wine boxes was disassembled so that the bottom could be used as a top for the box. The box and lid were sanded in preparation for painting. Both were primed with the 2X primer. 

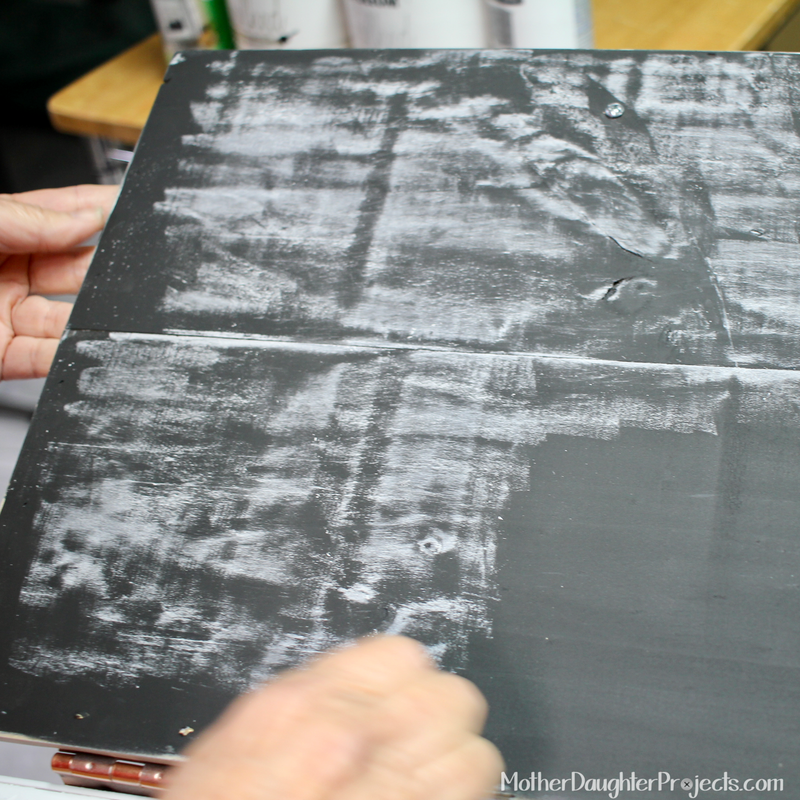
The back side of the lid was painted with chalkboard paint and the top was painted with the Chalked Ultra Matte Paint in Aged Gray and distressed with Varathane Stain in Bearsmoke.
​Tip: season chalkboard paint by rubbing chalk all over the surface and then wiping away. You are now ready to write on it. 
Learn how to use thrifted or trashed items to make a station to recharge for your guests. It also stores easily when not in use!
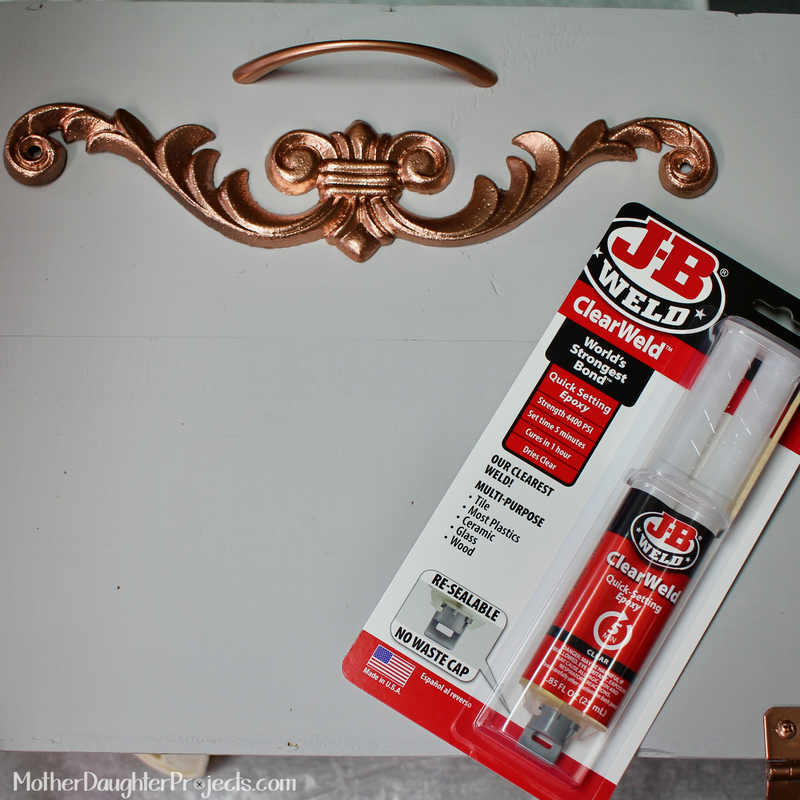
​The metal embellishment was attached with JB Weld. Handles were attached to the center front and each side with screws. ​
Learn how to use thrifted or trashed items to make a station to recharge for your guests. It also stores easily when not in use!
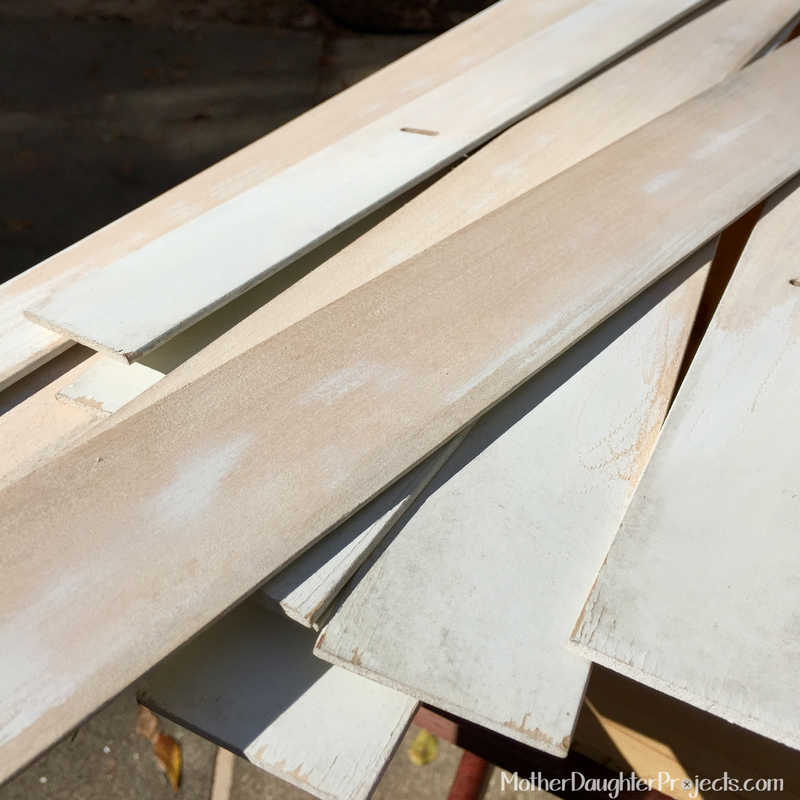
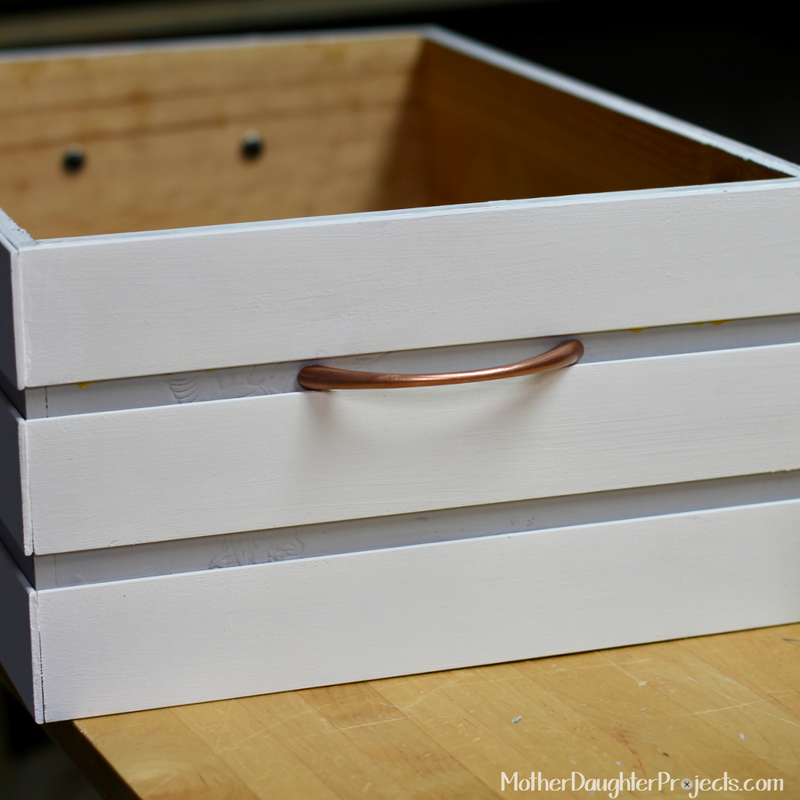
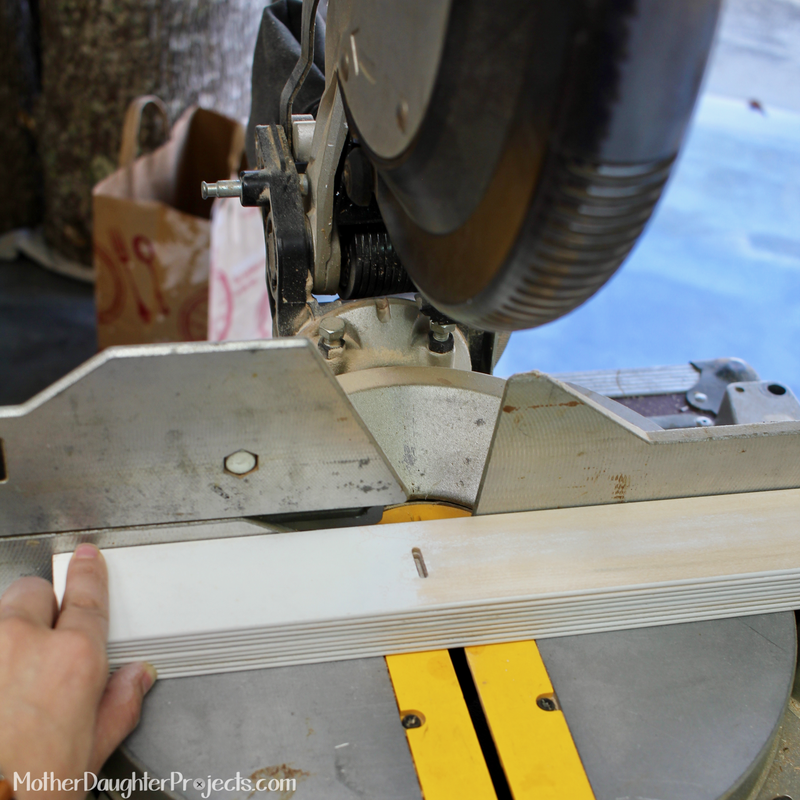
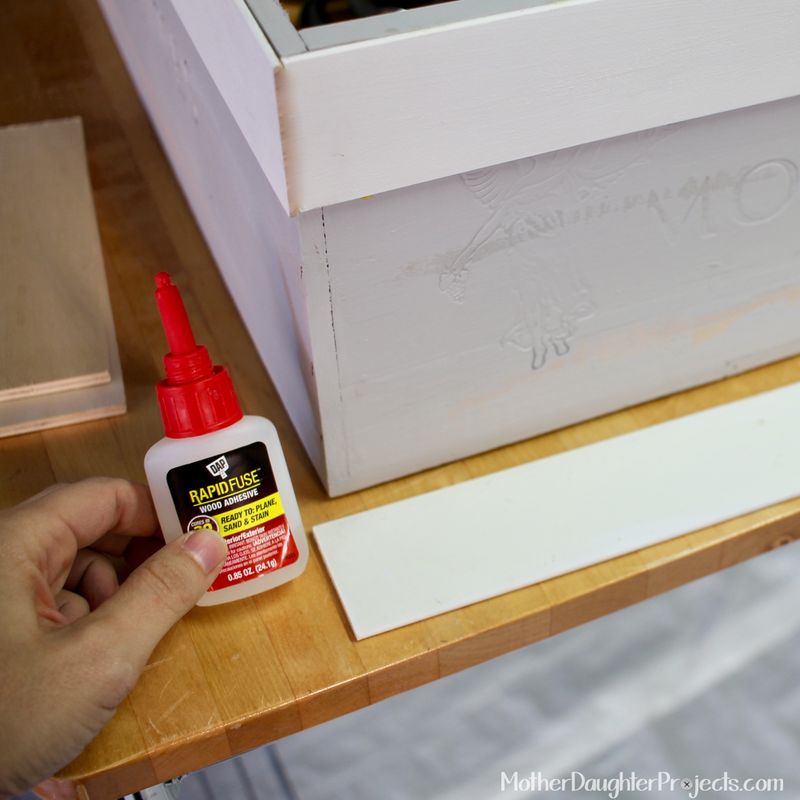
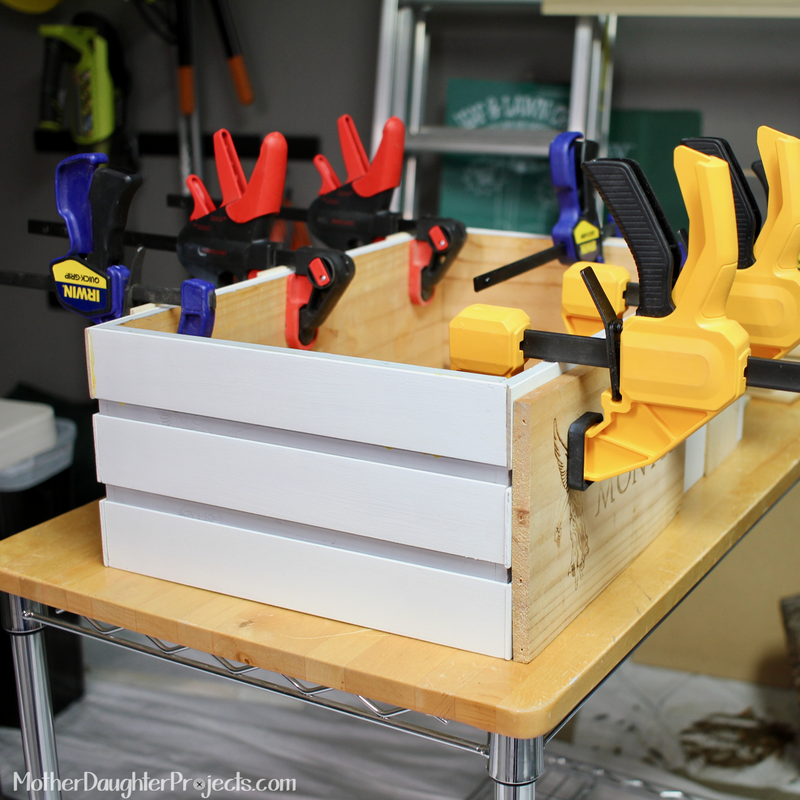
The wood slats were cleaned with Krud Kutter and one side was sanded to the bare wood. The slats were cut to size, primed, then painted with the Chalked Ultra Matte Paint in Linen White. The slats were attached with Dap RapidFuse and clamped into place and allowed to dry. The slats were sanded to distress.
Learn how to use thrifted or trashed items to make a station to recharge for your guests. It also stores easily when not in use!
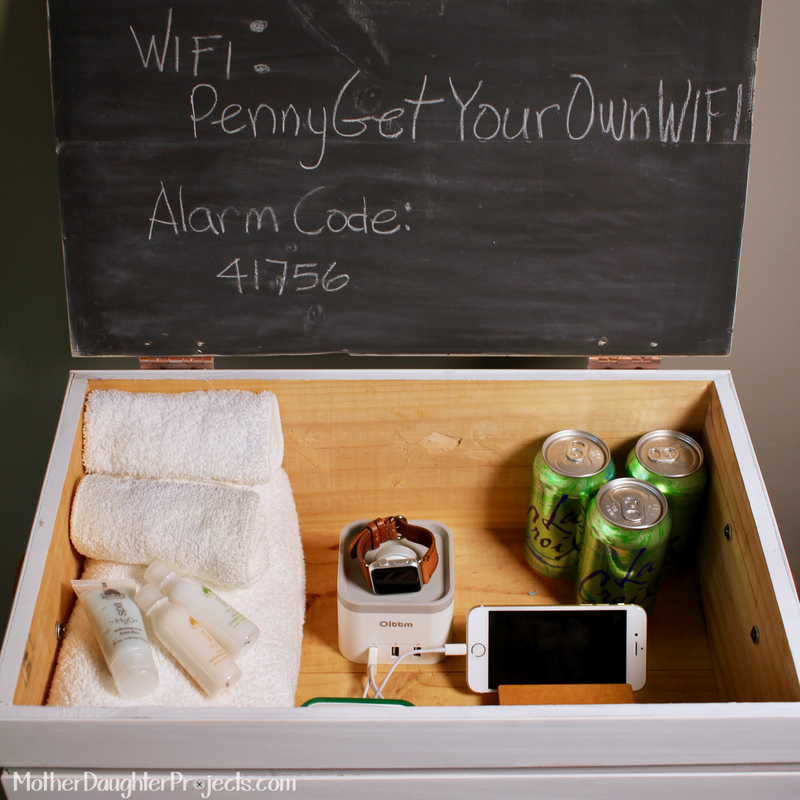
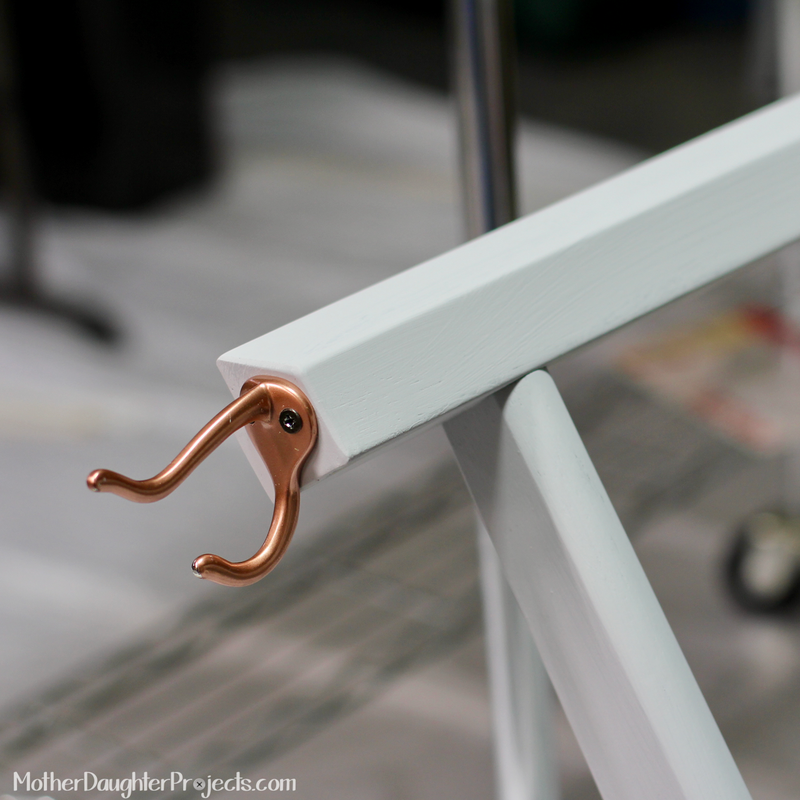
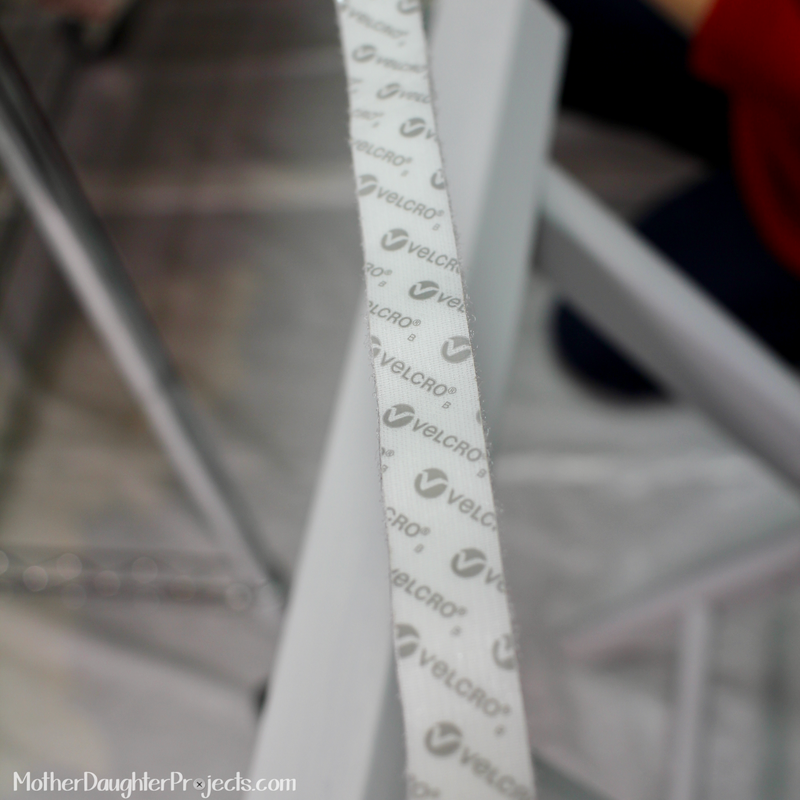
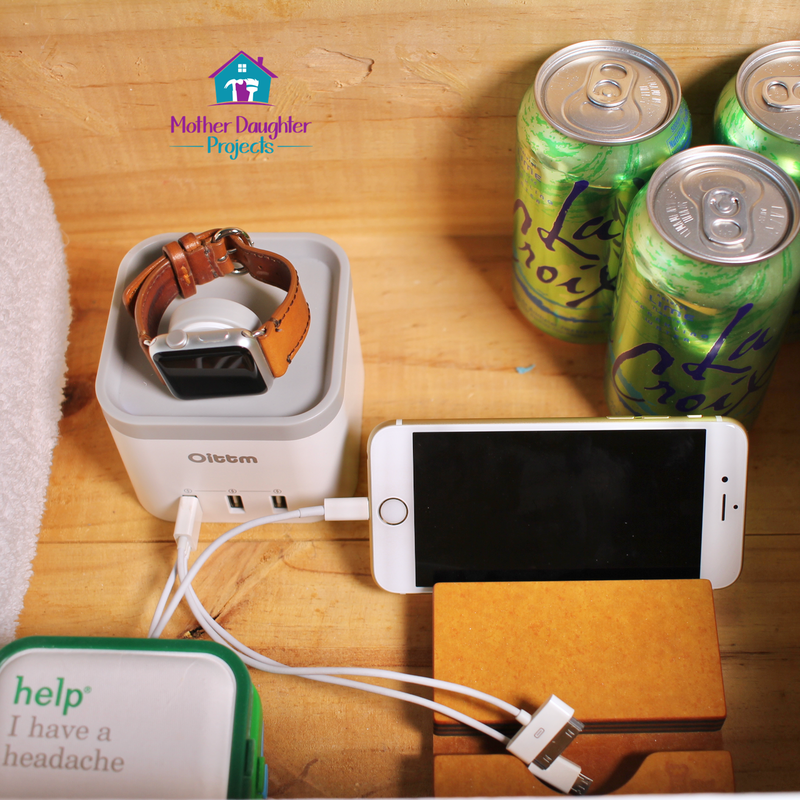
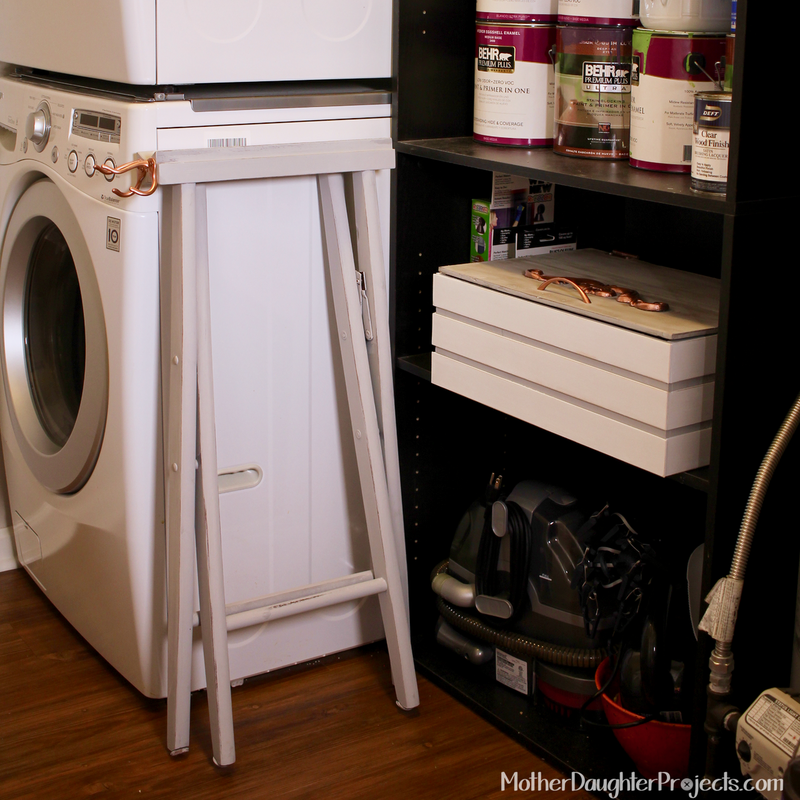
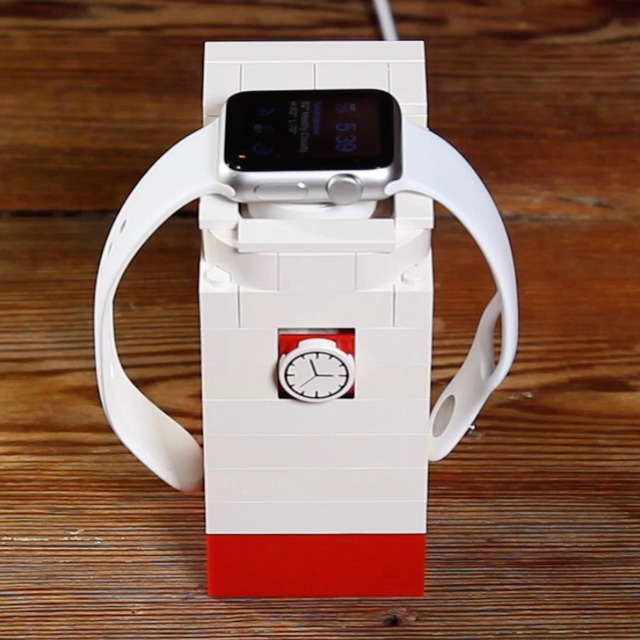
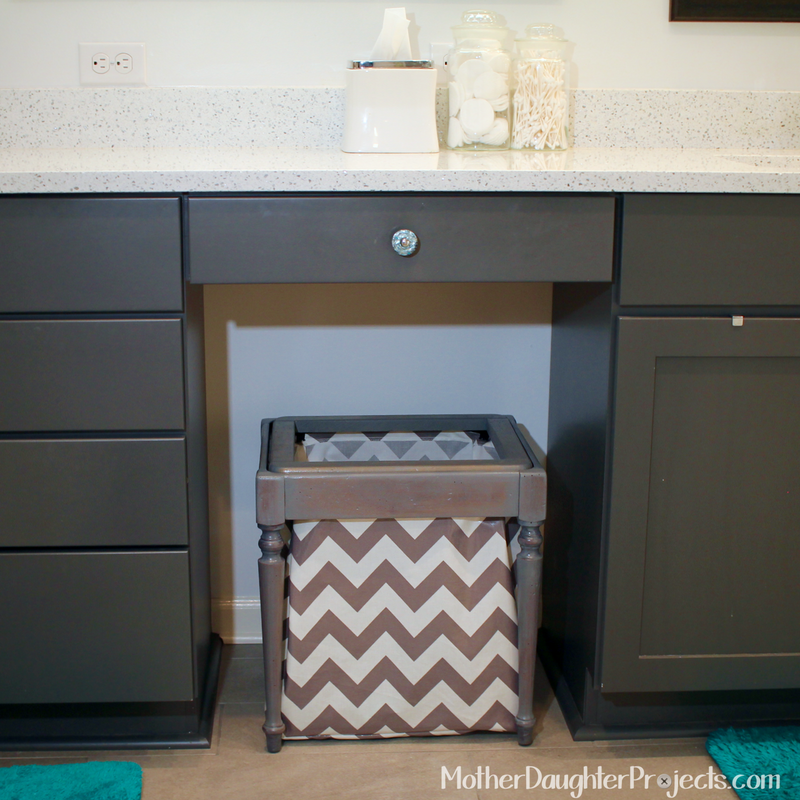
Coat hooks were attached to the front top of the stand. Velcro is attached to the top of the stand and the bottom of the box to keep it in place when in use. A hole was drilled into the bottom to feed the charging cable through.
Learn how to use thrifted or trashed items to make a station to recharge for your guests. It also stores easily when not in use!
Because director’s chairs or other folding stands, like laundry basket frames or old food serving stands, are pretty readily available, this is a project that can be reproduced by others. We used wine boxes, but any wood box could be used as well as a crate or a box you make yourself. Maybe even use an old hardshell suitcase! It’s a project that lends itself to use what you have.

The best part is all your guest stuff can be kept in the box, and then stored away. When guests are expected, bring the parts out of storage, set it up and you’re all ready to make your guests feel comfortable and special. 

Also, the guest station can double as a a guest welcome station at the front door to hold purses, phones, and keys on those evening when I entertain. It’s versatile!
Learn how to use thrifted or trashed items to make a station to recharge for your guests. It also stores easily when not in use!
Fold up and store when not in use
Some things we learned:
  • The metal paint seemed to need more drying/curing time that the other paints. I got in to big a hurry to utilized the painted parts and ended up with fingerprint marks! Allow adequate time to dry.
  • We used both spray and Chalked paint in a can. There is a place to use the spray, but I enjoyed using the brush-on more than the spray. 
  • Although the chalked paint does not have to be distressed, we did because we really liked the look. The paint was easy to distress with sandpaper. Tip: start with a high grit (we used 320) and start off slowly so you don’t end up taking too much off. Work slow and steady. 

Please note: We are not sponsored by Rust-Oleum. We were given some of the Rust-Oleum products to try out. All thoughts and options are our own and based on our experience.

FYI: We are not professionals, and we don’t claim to be. This is what we found worked for our project. Yours may need a little different approach. Safety first!

FYI: Affiliate links are being used on this page. Purchasing via these links help support MDP!

Related Projects

Picture
Faux Vintage Mirror Tray
Picture
Apple Watch Lego Stand
Picture
Trash Sewing Bench to Clothes Hamper
0 Comments


Leave a Reply.

    MotherDaughterProjects.com

    Mother Daughter Projects
    ​
    Steph & Vicki

    We're homeowners sharing our DIY adventures as we learn to maintain, improve, decorate, and ​use tech in our homes.
    Share your projects with us here:  
    ​#trylearnshare
    MotherDaughterProjects.com
Mother Daughter Projects, LLC ∙ est. 2015 ∙ Tallahassee, FL by Vicki & Steph ∙ Privacy Policy