Most of our projects are planned out, weeks or months in advance, and we complete them as scheduled. And then there are projects that we do right away because life happens! This is one of those projects!
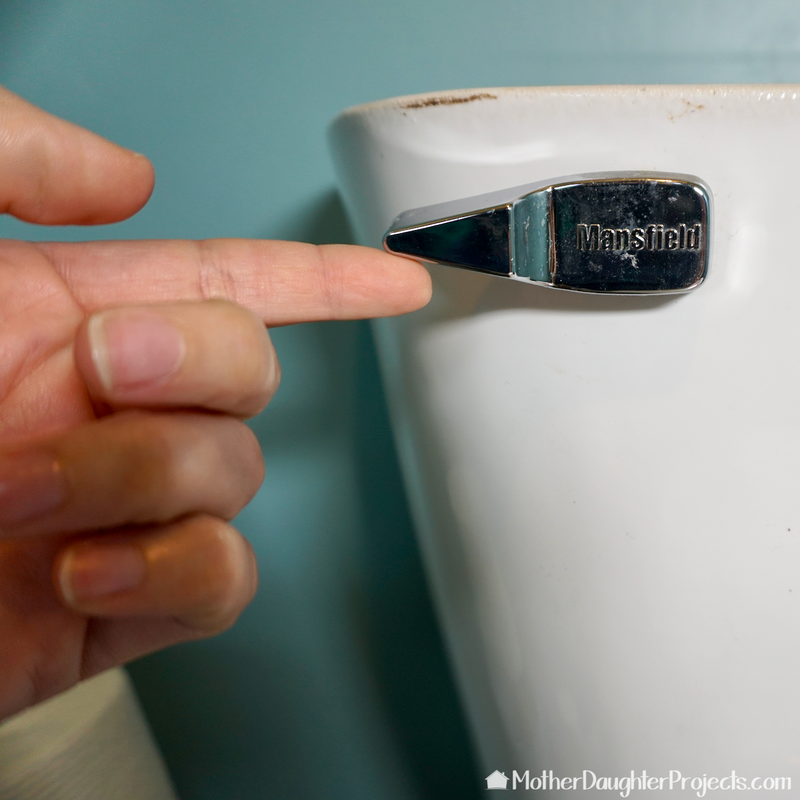
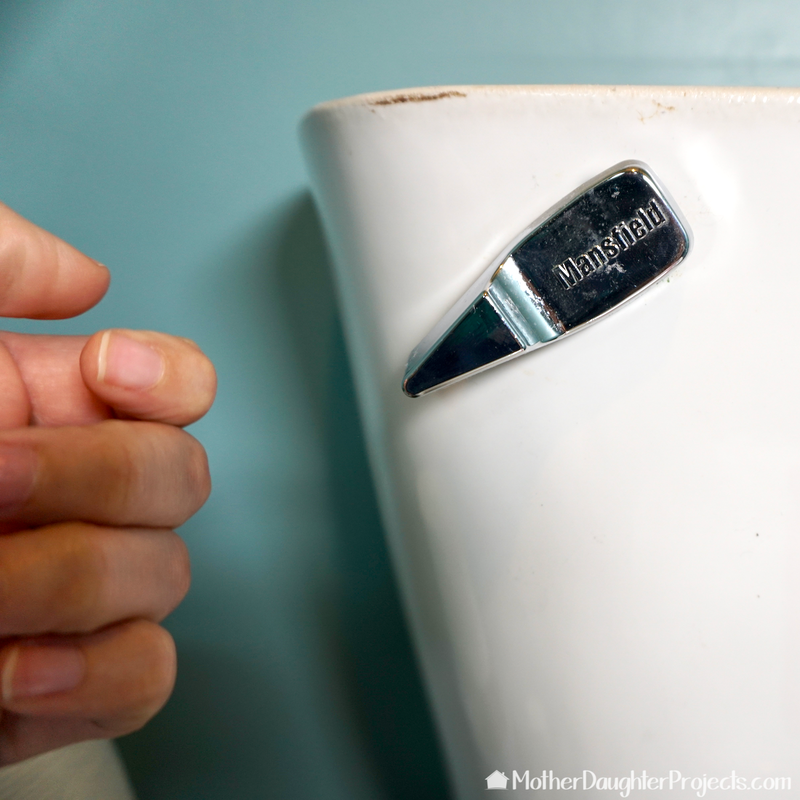
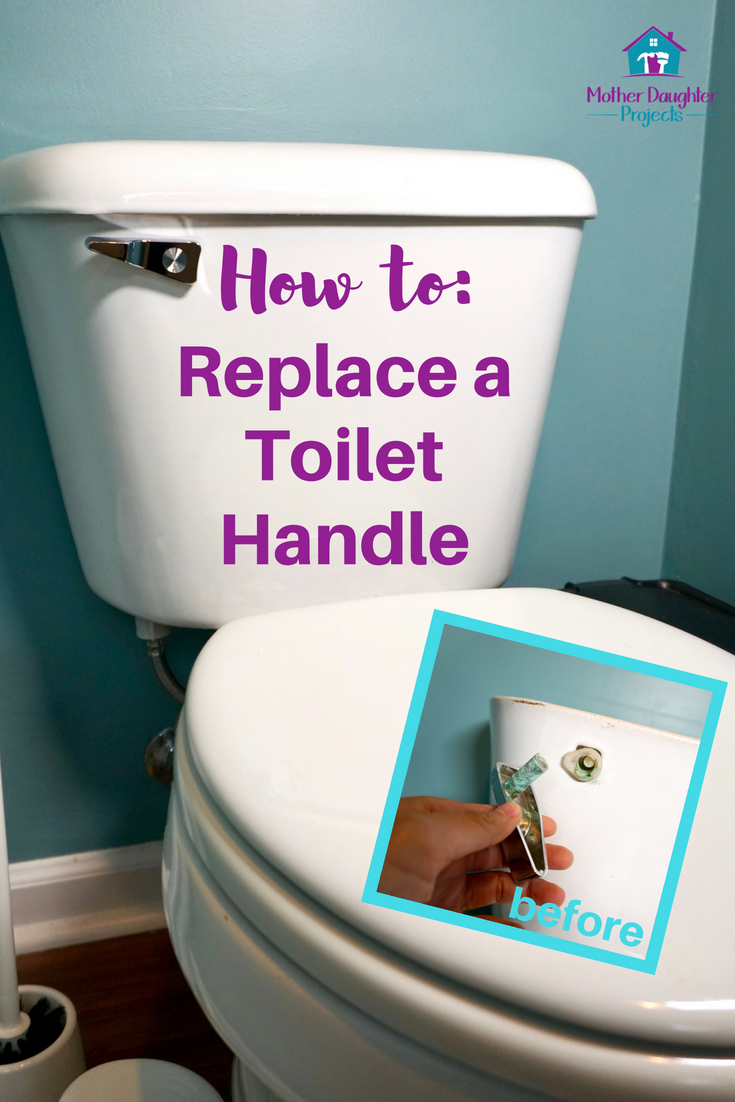
A few weeks ago, the flushing handle on my toilet broke! As you may know, you can still flush the toilet by taking the lid off and physically pulling the lever up. Well, I did that a few times and then I realized I needed to take a trip to Home Depot to see if I could find a replacement. To my surprise, this is a fast and easy toilet repair, and under $6!
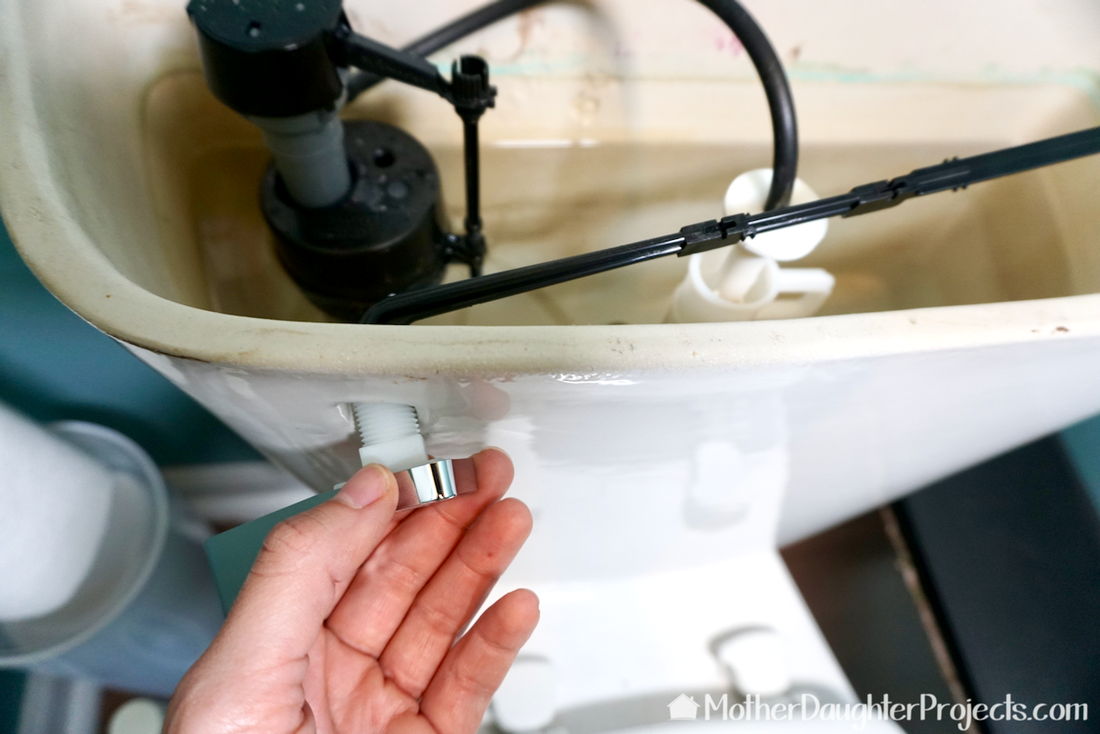
At the store, the first thing I noticed is the variety of tank levers! I took a picture of my handle and inside the toilet before I left my house to help assist with finding a new one. I decided on one that looked as close to my old version as possible, and took it home to install.
One of the nice thing about Home Depot is they have a great return policy. If you are not sure which one to get, buy a few and return what doesn't work!
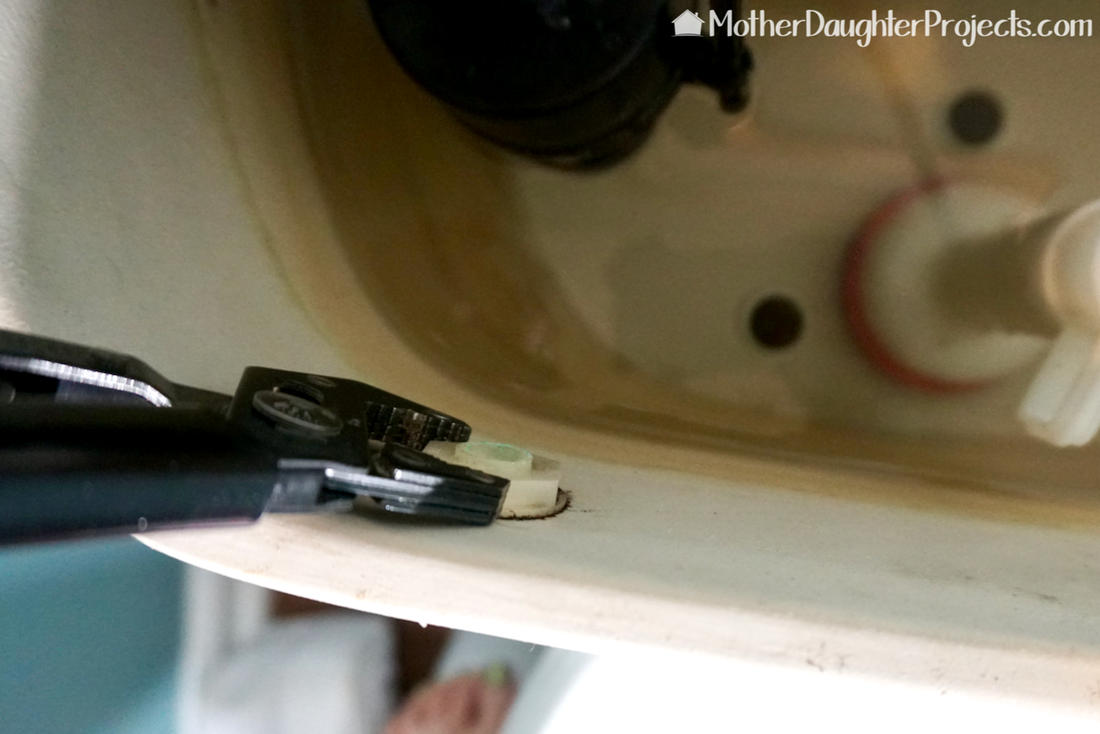
I removed the old plastic arm, and used an adjustable wrench to loosen the plastic nut.
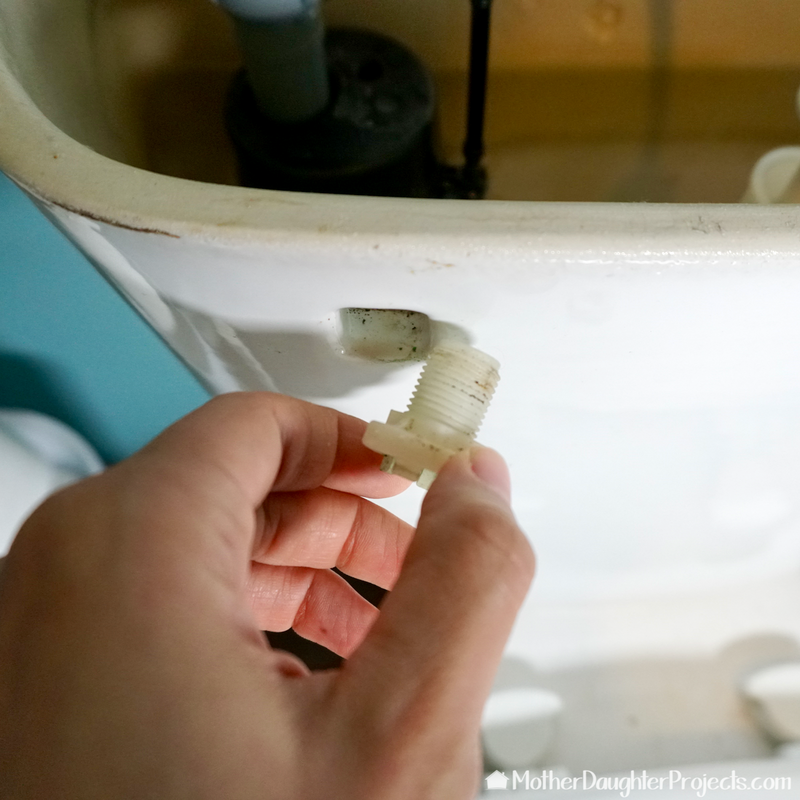
This is the old plastic spud that broke off from the handle.
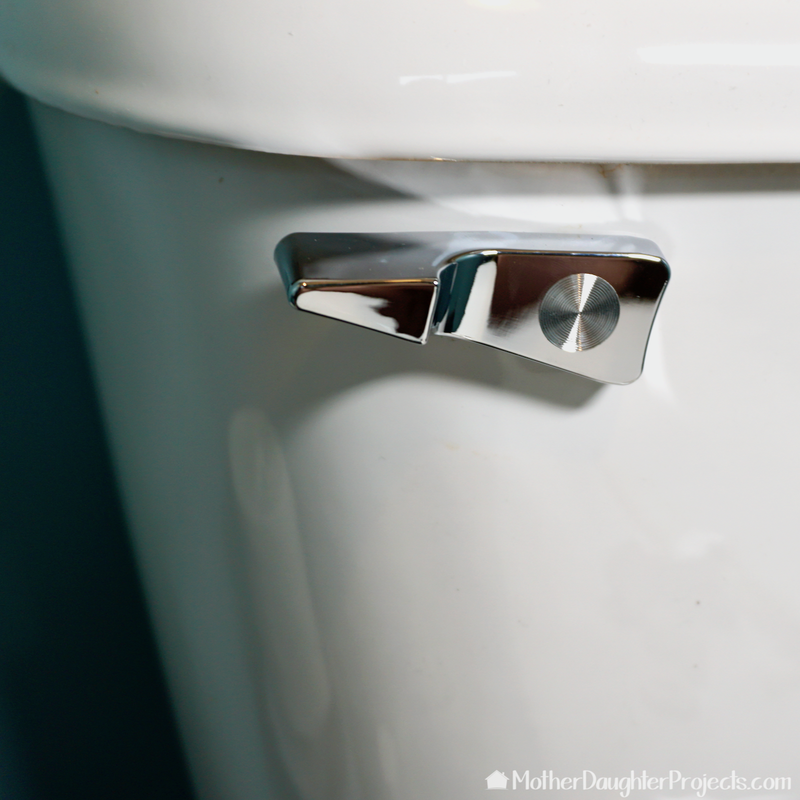
I worked the new lever into the hole.
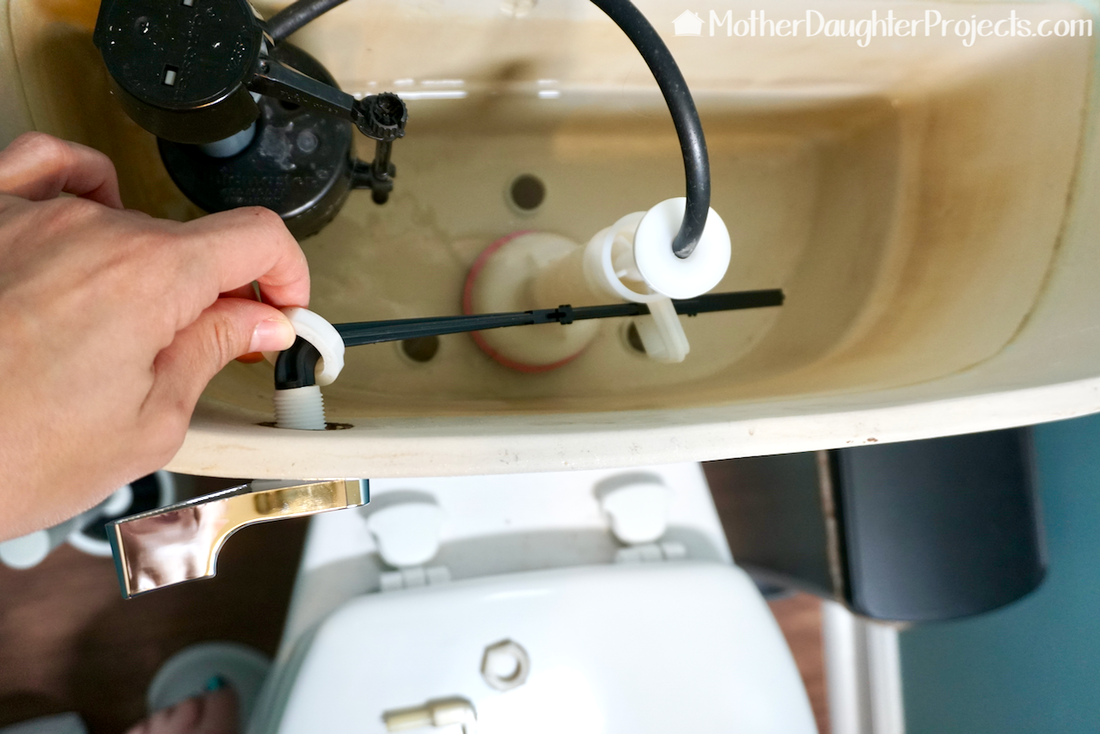
I worked the black plastic arm into the flush valve and tightened the nut.
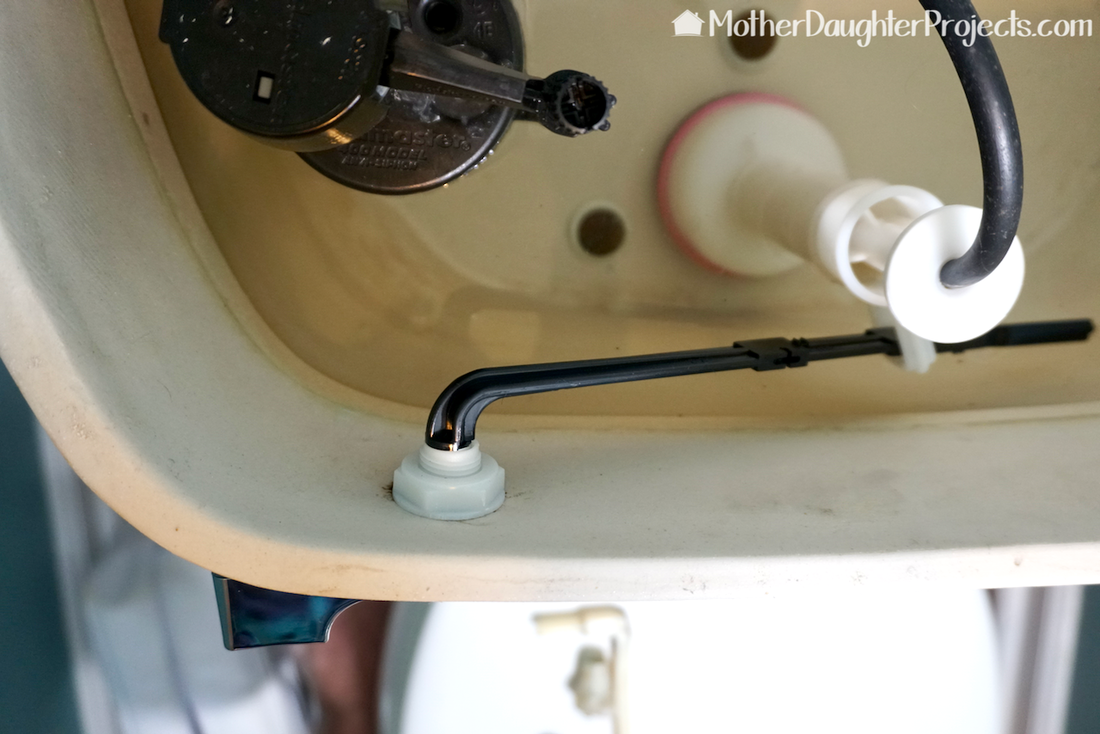
Done!
Please note: This is not a sponsored post.
FYI: We are not professionals, and we don’t claim to be. This is what we found worked for our project. Yours may need a little different approach. Safety first! FYI: Affiliate links are being used on this page. Purchasing via these links help support MDP! Related Projects
0 Comments
Leave a Reply. |

Mother Daughter Projects
|