|
text by Vicki Sign up here to join our weekly email newsletter!
Water leaks! They are the worst and have caused the most damage and work at both of our houses. I've had subtle leaks that weren't detected for a long time to the obvious, like the time I came home and water was pouring out of my garage!
The latest leak was one of the subtle ones. I just happened upon it because I was cleaning around the wood storage area and noticed a dark spot that should not have been there! After clearing out the area, I realized the water was coming under the outside wall into the garage and potentially into my closet on the other side of the garage wall. The culprit was the air conditioning condensation drain pipe that was positioned too close to the wall. As it's been very hot, the a/c has been running constantly meaning there has been a lot of water draining. Unfortunately, the water was running down the outside wall into the garage! We needed to fix the problem ASAP! Materials/Tools:
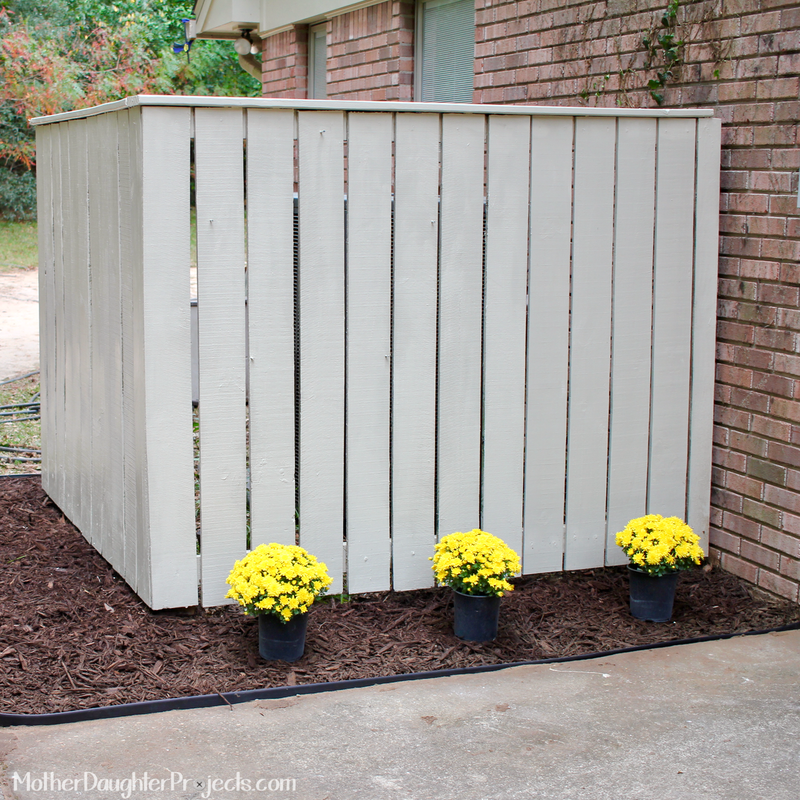
The water was draining behind this fence, but traveling to the wall right outside the garage door. The water stain was between the inside wall and the wood storage on the right.
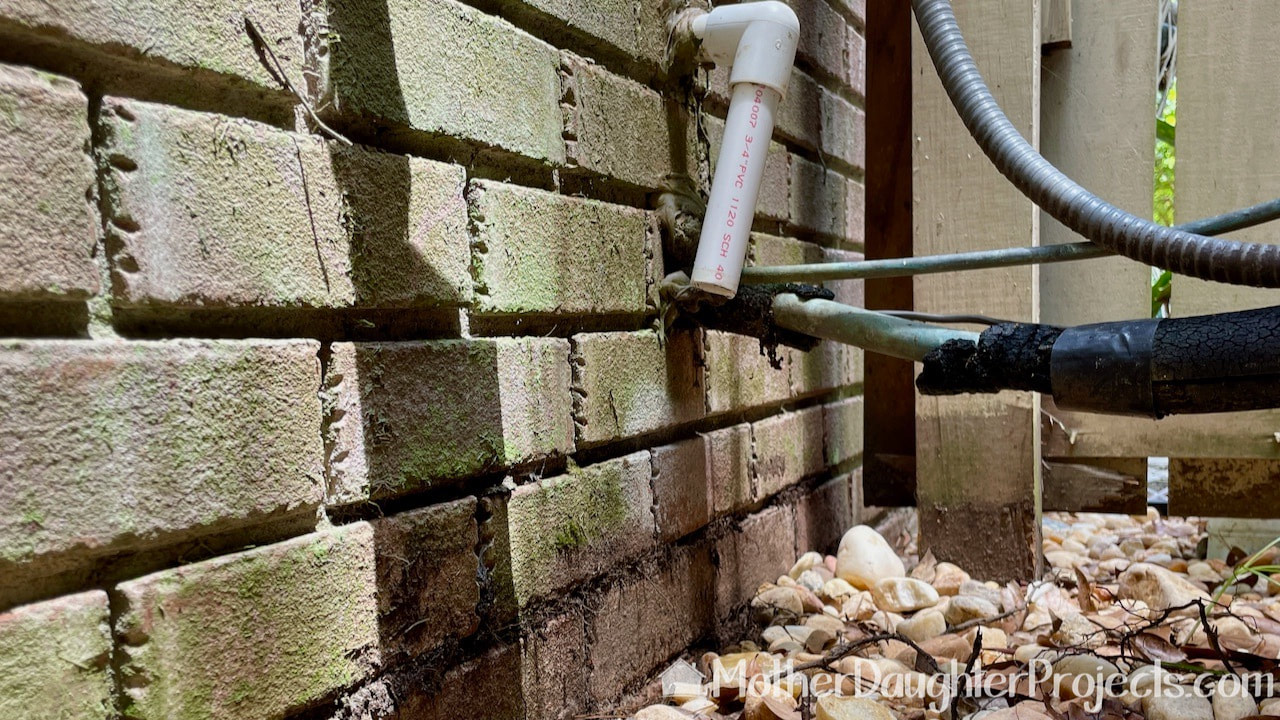
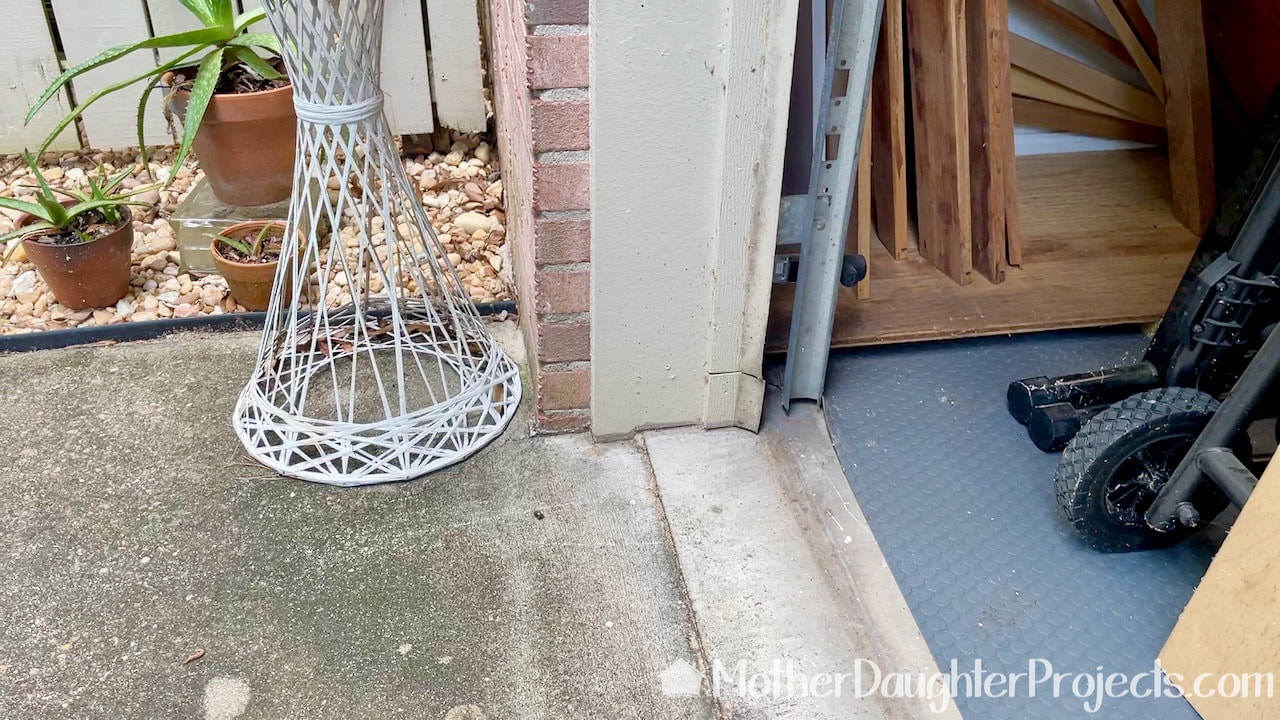
You can see the drain pipe was directed towards the wall instead of an appropriate distance away.
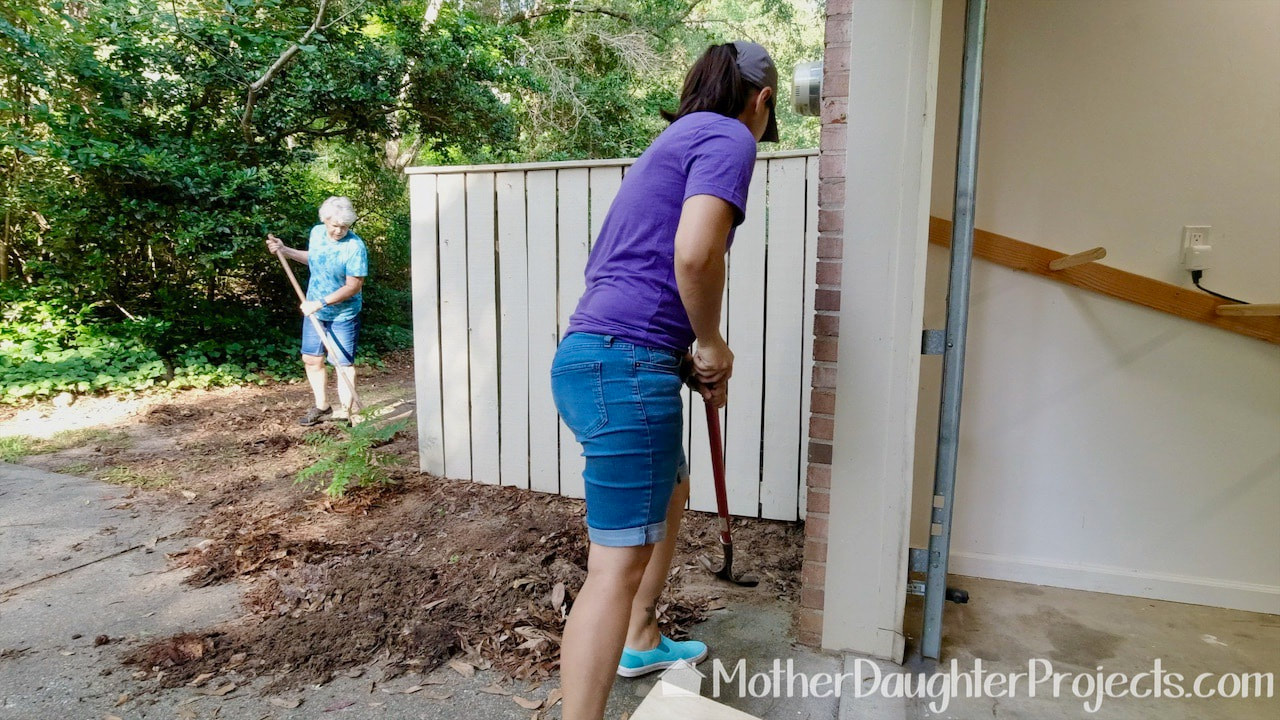
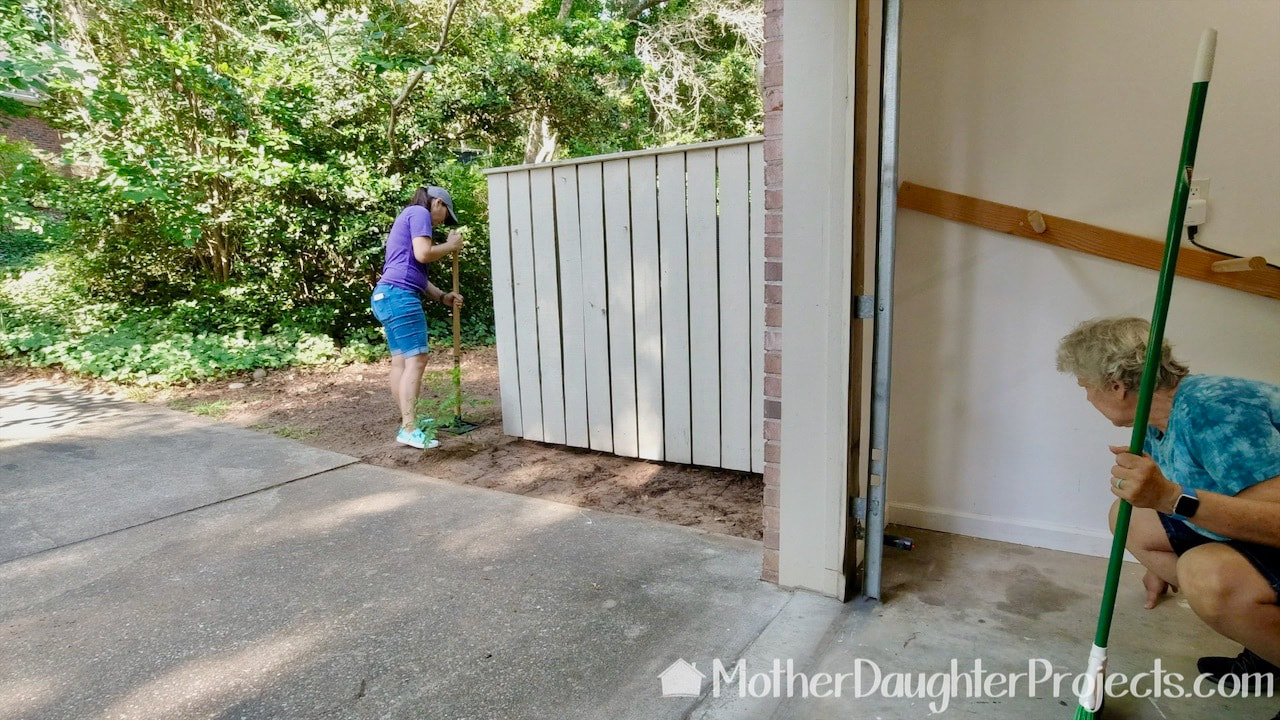
To remedy the situation, we first cleared out the wood storage so we could dry out the floor. Next, we cleared out the dirt and mulch around the fence. This was done mainly to preserve the fence as the mulch and organic material has been building up causing rot at the bottom of the fence.
We cleared out on the back side of the fence as well to create an incline for the water to drain away from the wall.
Here you can see the water spot in the garage that is still drying out. Thankfully, the water did not travel into the closet on the other side.
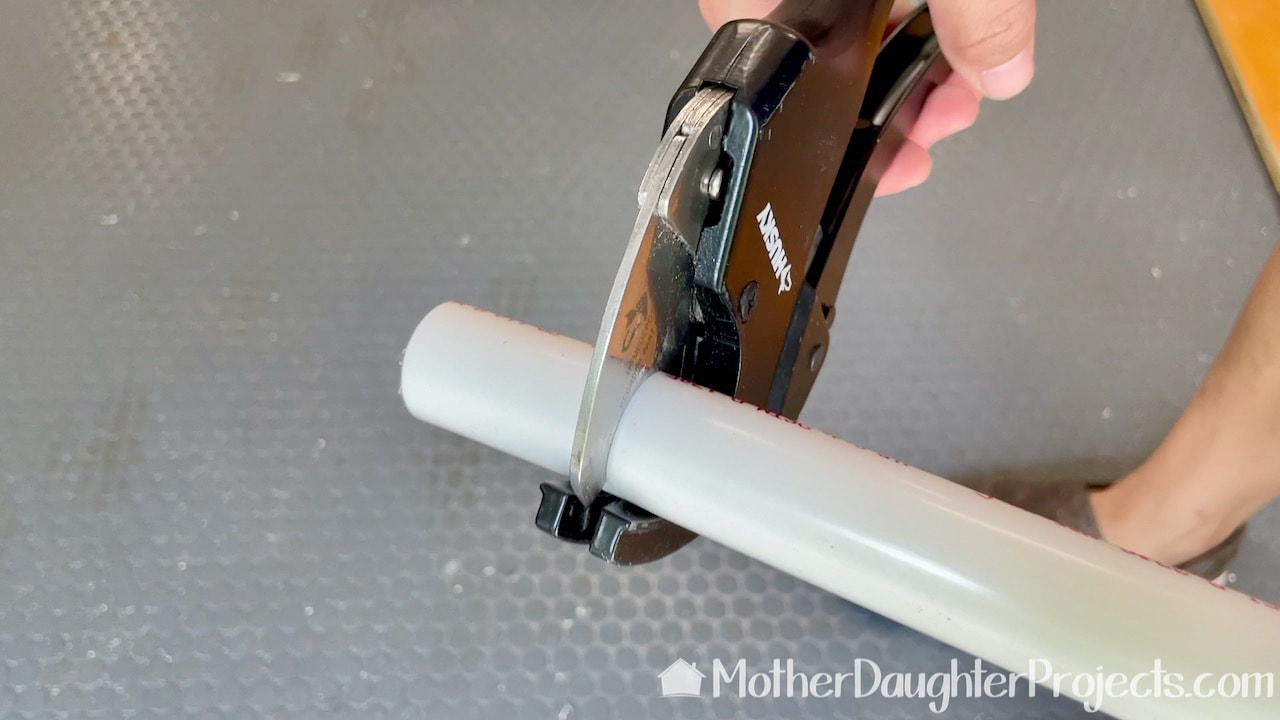
To fix the drainage issue, we decided to extend the drain pipe. Here we are cutting the PVC pipe to length with a Husky PVC cutter.
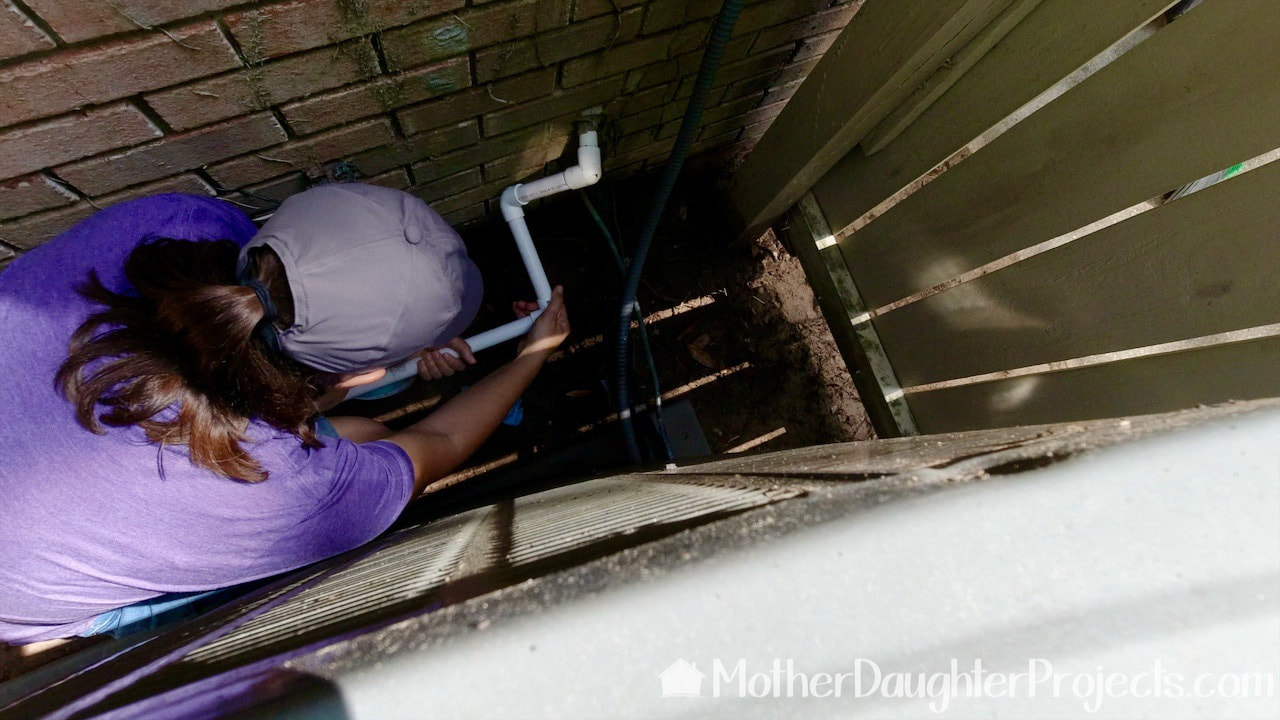
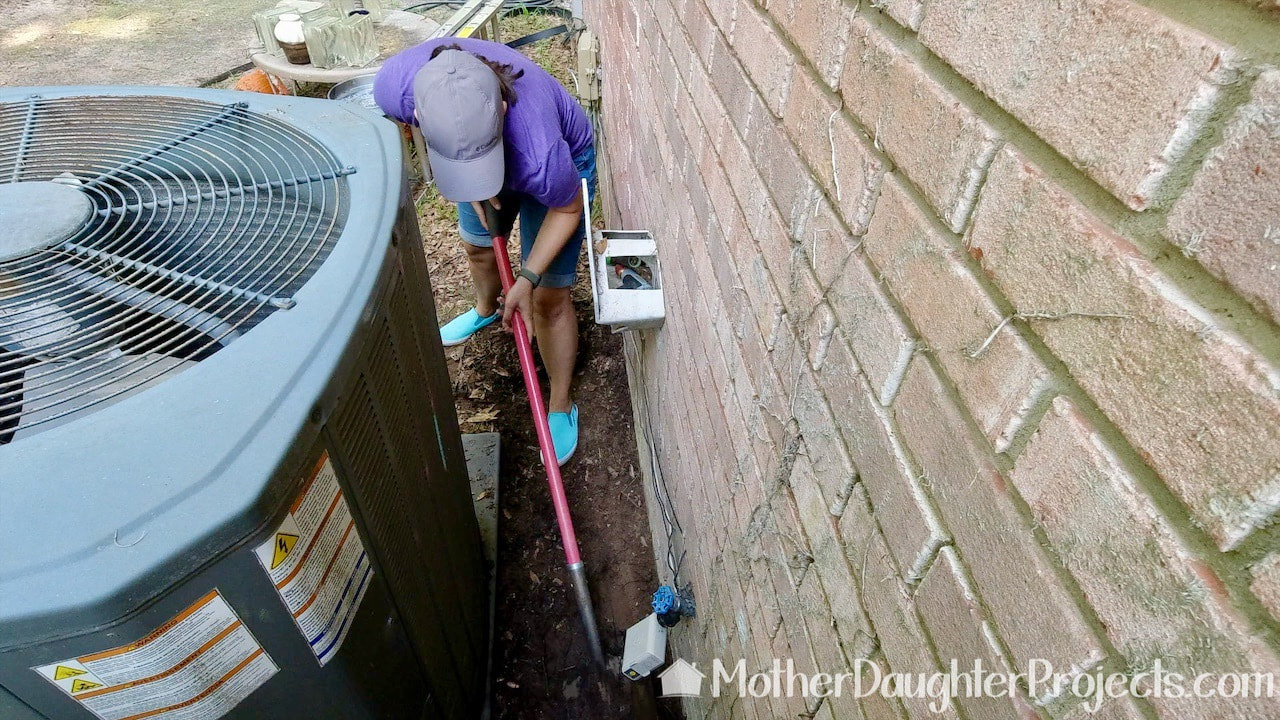
It took a little bit of creative engineering in this small space to direct the water away from the wall.
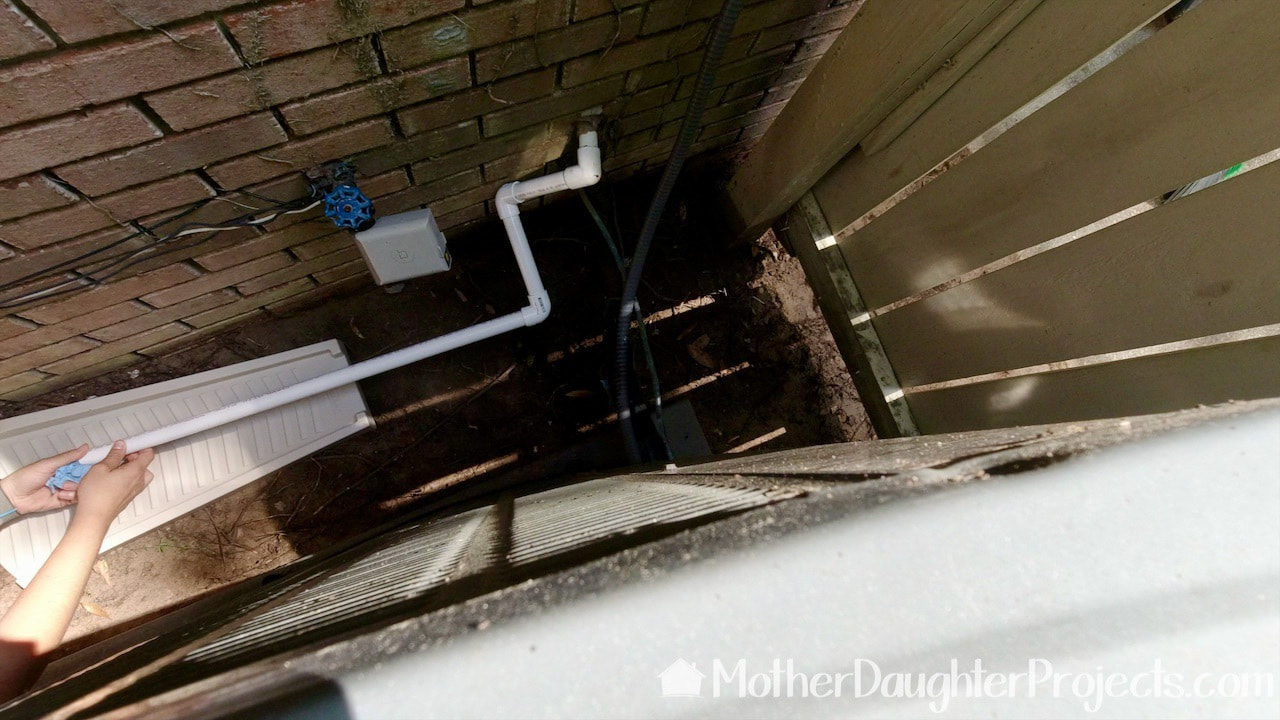
We added a splash block to further direct the water away. This is usually used at the base of a downspout to direct water away from a home's foundation. Note: if you're wondering about that white box on the faucet, it is a smart hose timer by b-hyve. From an app, we can turn the water off and on remotely. This is especially convenient for this area as it's hard to get to this particular faucet.
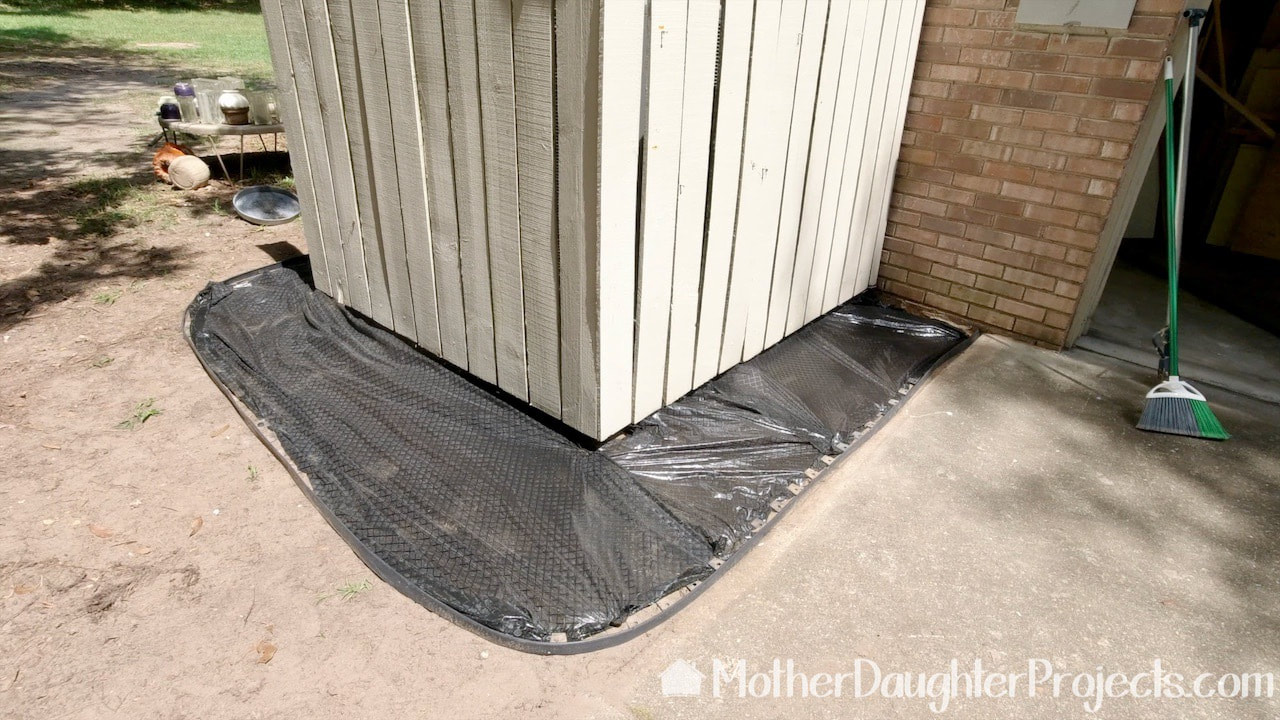
Before laying down rocks, we added a weed barrier which we secured with landscape staples.
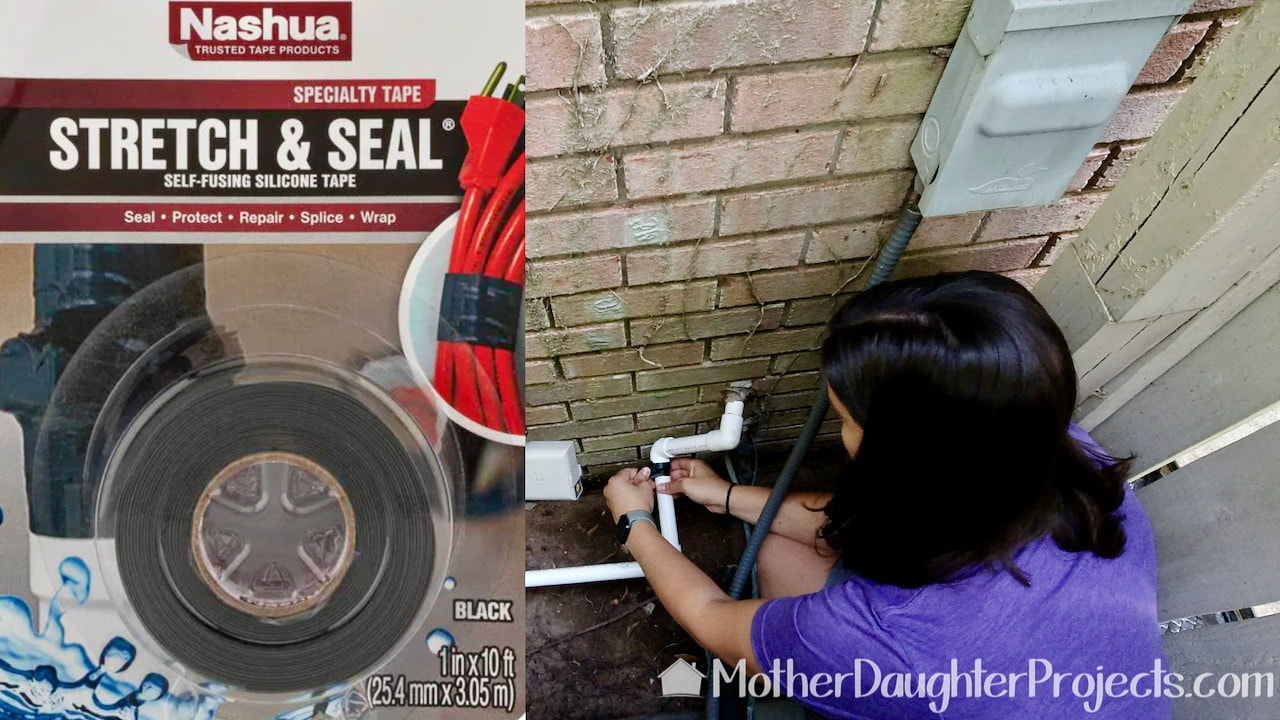
The connection points on the newly extended drain pipe were sealed with this self-sealing, removable tape.
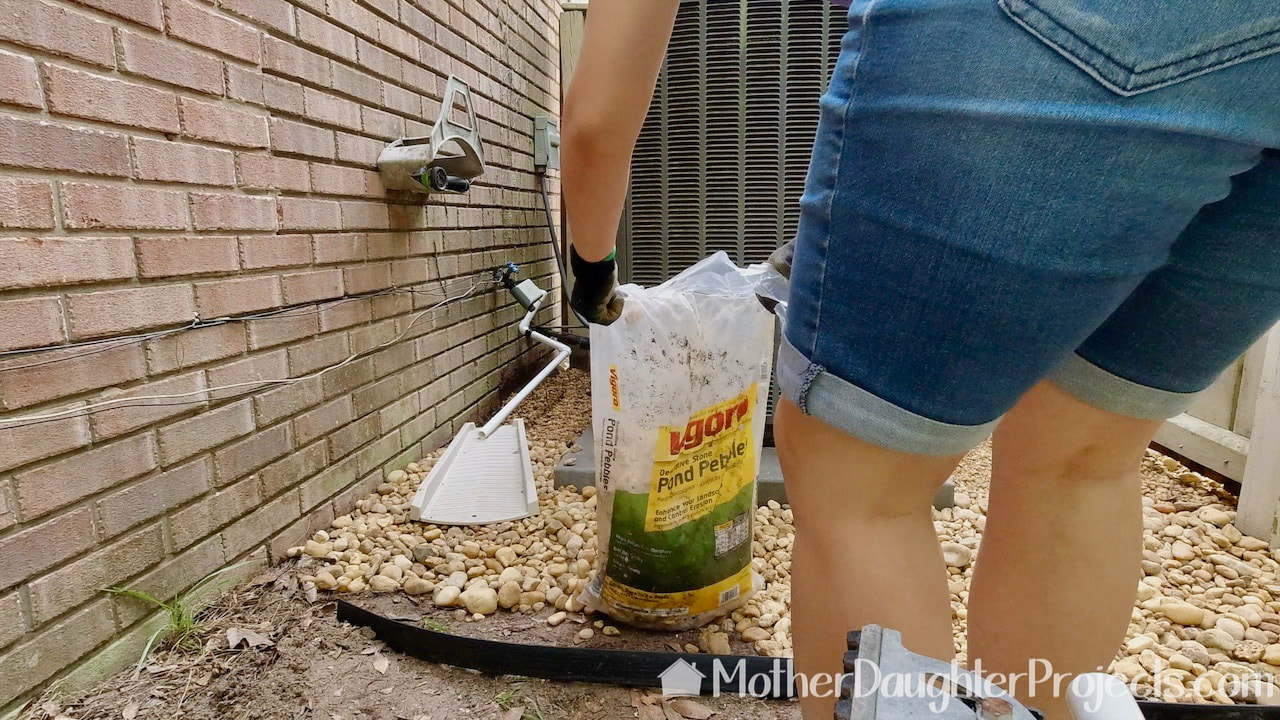
Adding the bags of rocks to the area.
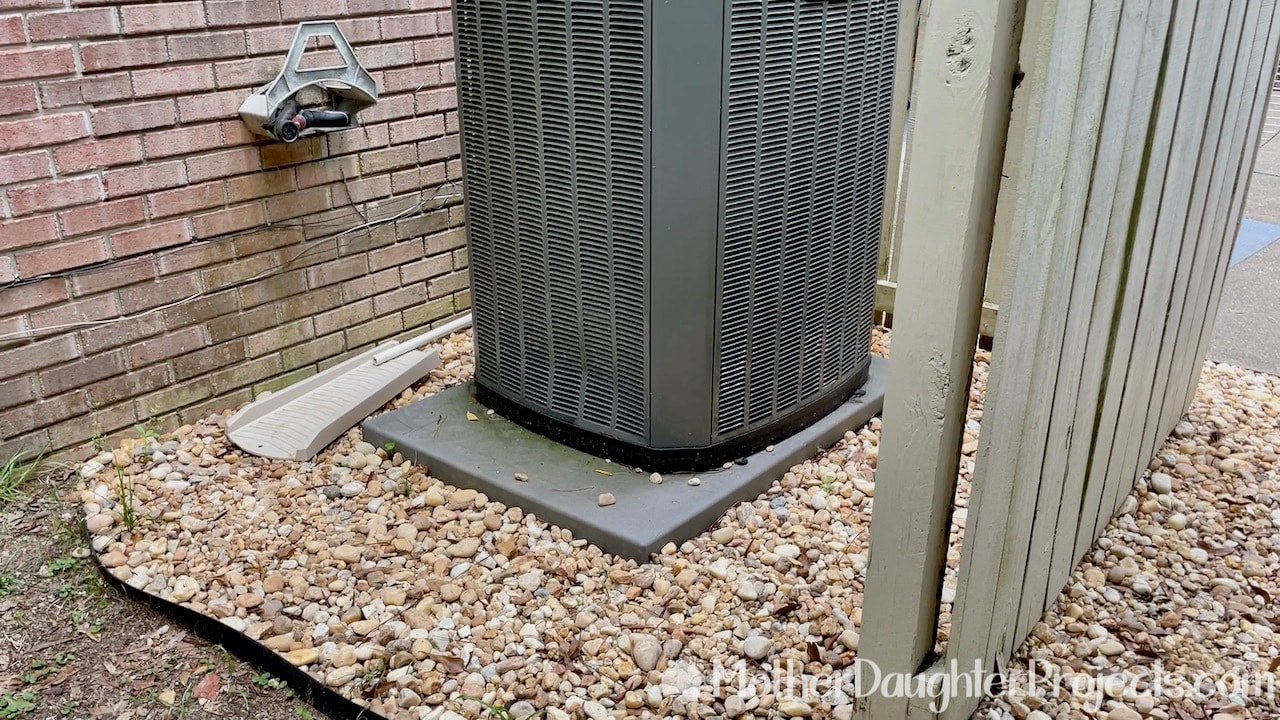
We elevated the splash block just a bit to further encourage the water to drain away from the wall.
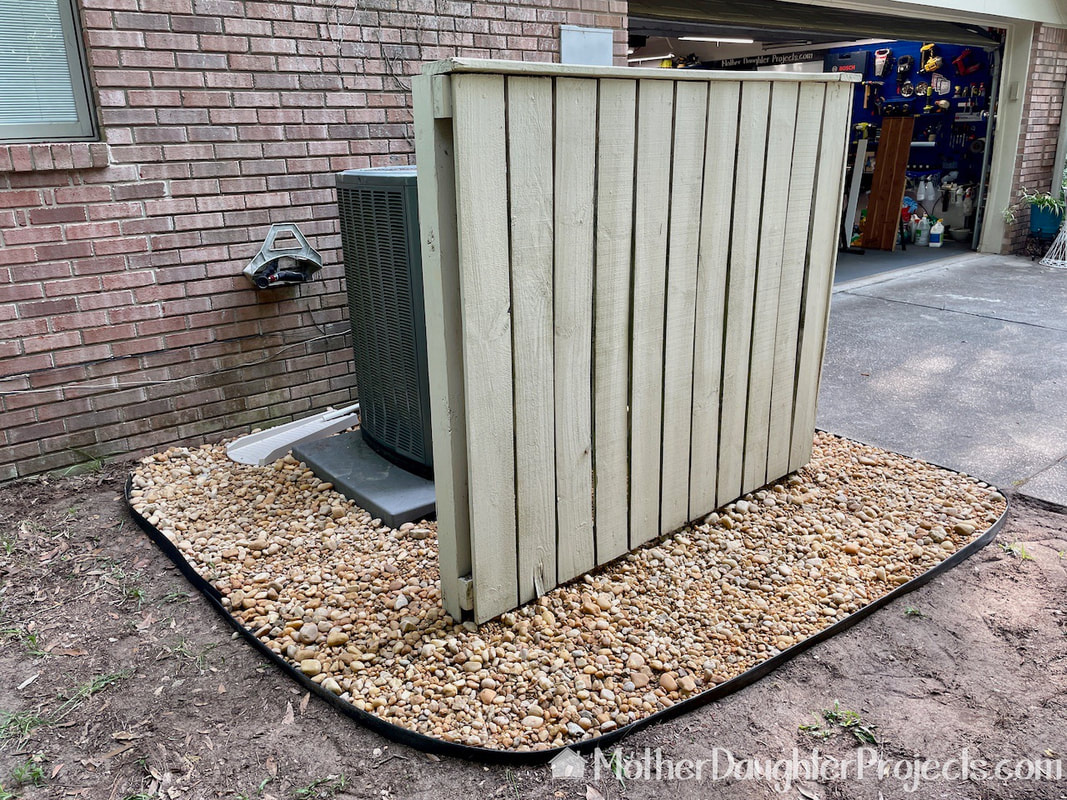
This is one of those maintenance issues that is really not apparent to most homeowners. I'm glad we caught this when we did as it would have caused a lot of damage if the water intrusion had continued unchecked.
I think what I learned from this is, as a homeowner, you have to educated yourself. For the past two summers, I've had extensive, expensive A/C work done, but at no time, did any of the technicians see that poorly positioned drain pipe and do anything about it. Bottom line, check your A/C drainage lines, clean them if necessary. Educated yourself and either do the maintenance yourself or call in a professional to prevent extensive costly repairs. Please note: This is not a sponsored post. FYI: We are not professionals, and we don't claim to be. This is what we found worked for our project. Yours may need a little different approach. Safety first! FYI: Affiliate links are being used on this page. Purchasing via these links help support MDP! Related Projects
0 Comments
Leave a Reply. |

Mother Daughter Projects
|