|
text by Vicki Sign up here to join our weekly email newsletter!
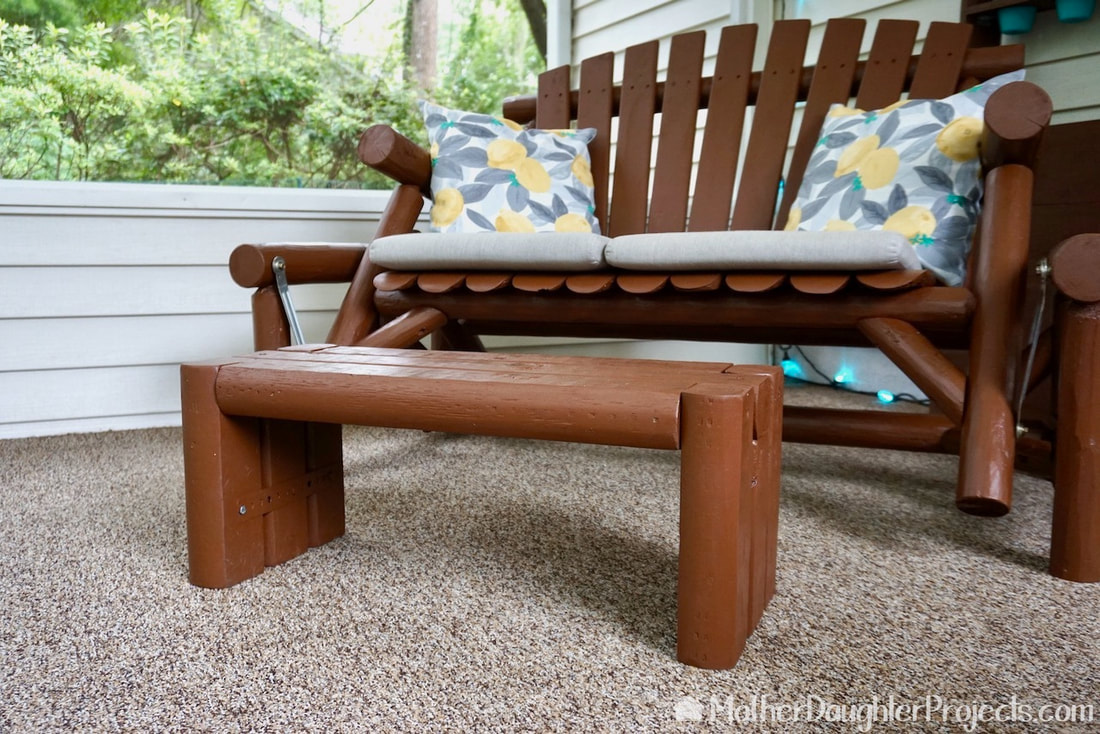
In this time of COVID-19, we have been making good use of the porch at Steph's house. We eat most of our meals out there. Prior to making this C-table, we brought out an indoor table to use in the space. The weather was not kind to that piece of furniture so it was time to make something more suitable.
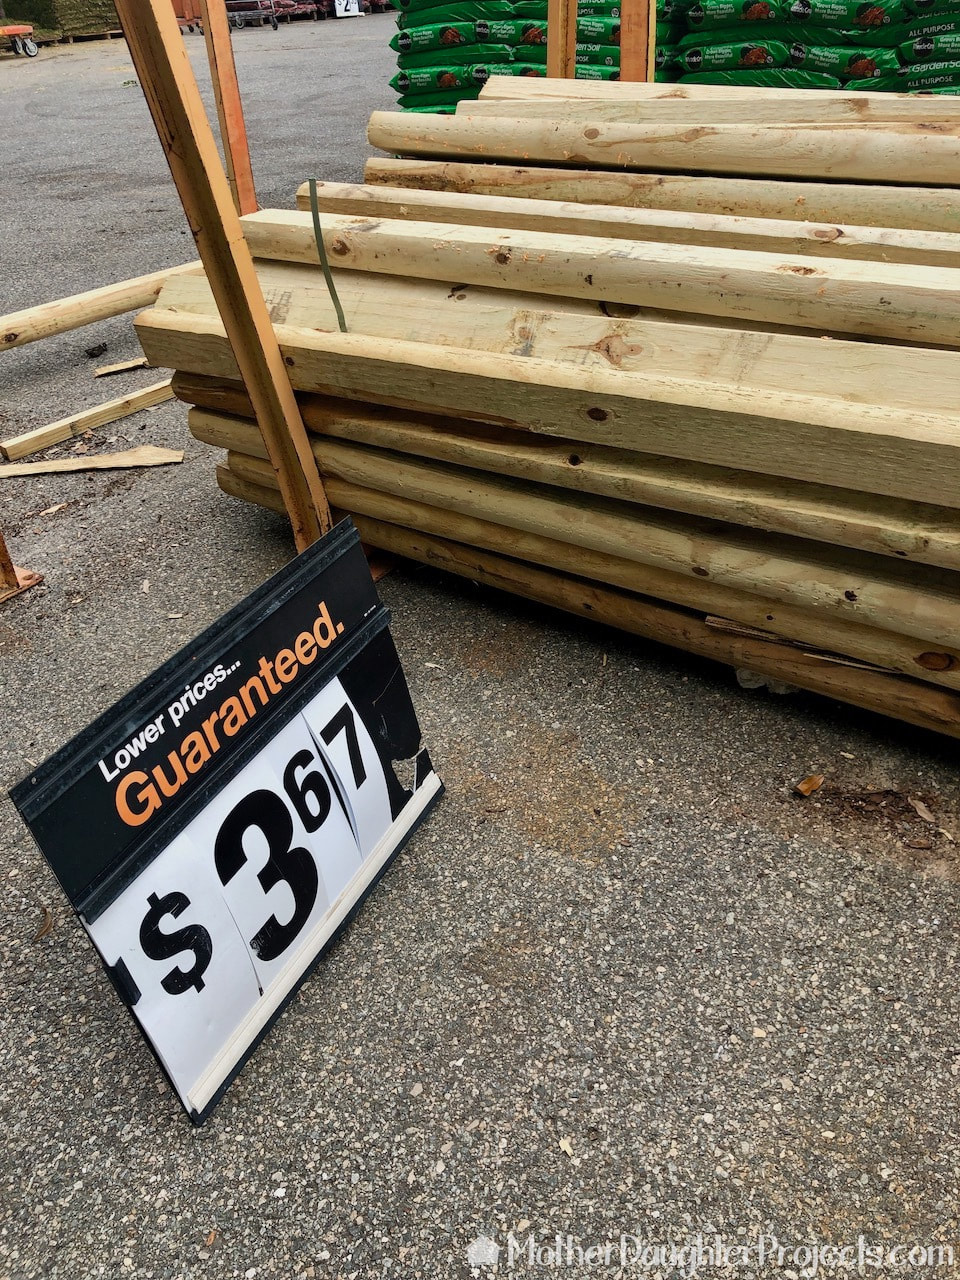
Nothing is more suitable to the outdoors than pressure treated wood! That's what we used to make our table. It is VERY IMPORTANT to note that working with pressure treated wood can release harmful chemicals. We used all the PPE to keep ourselves safe while we worked. Materials/ Tools:

The measurements of this table are based on the one we made for Steph's sofa. But just to be sure, we cut one set of pieces to check that it would be the height we wanted. We bought our landscape timbers a few days prior to using them to give them time to dry out. You can see, we elevated the timbers with wood stakes to aid in circulating air around them as they dried.
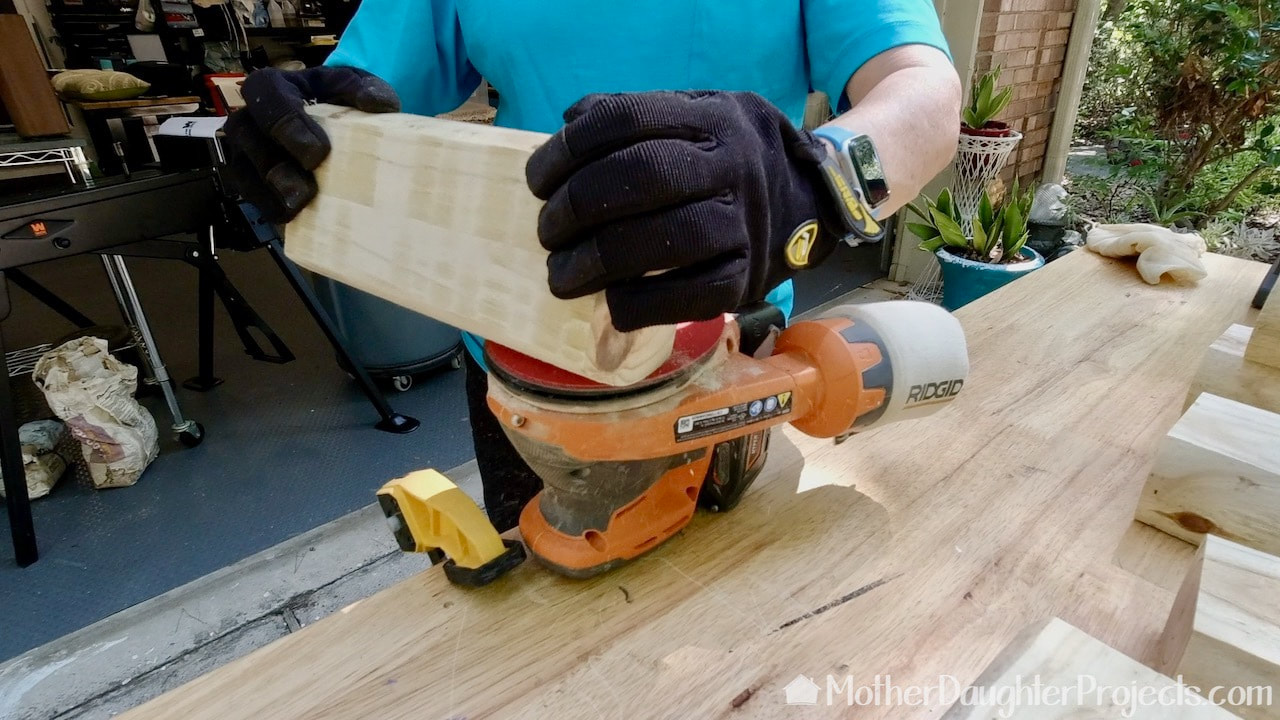
After cutting all the pieces it was time to sand. I'm doing this outside, wearing all the PPE including a mask and eye protection. That's a Ridgid battery powered sander that I clamped upside down on the workbench. I use it a lot in this configuration as I find it easier and less fatiguing to move the piece to be sanded rather than move the sander itself.
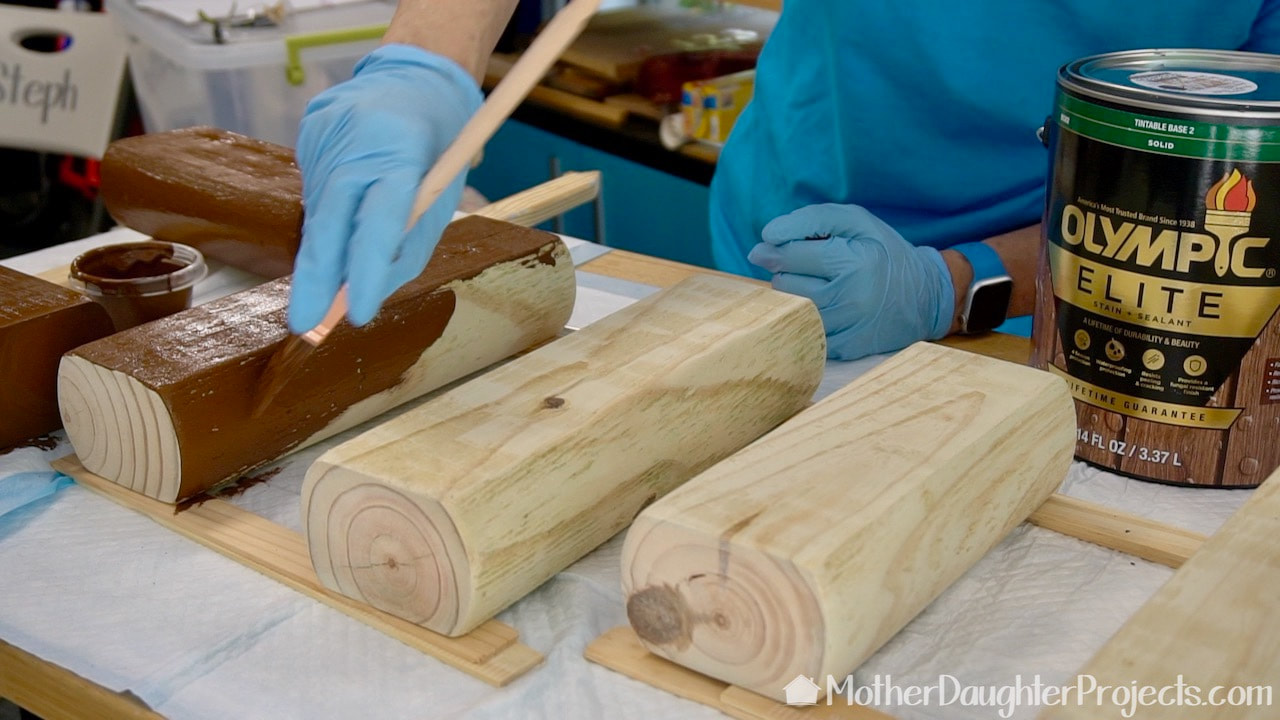
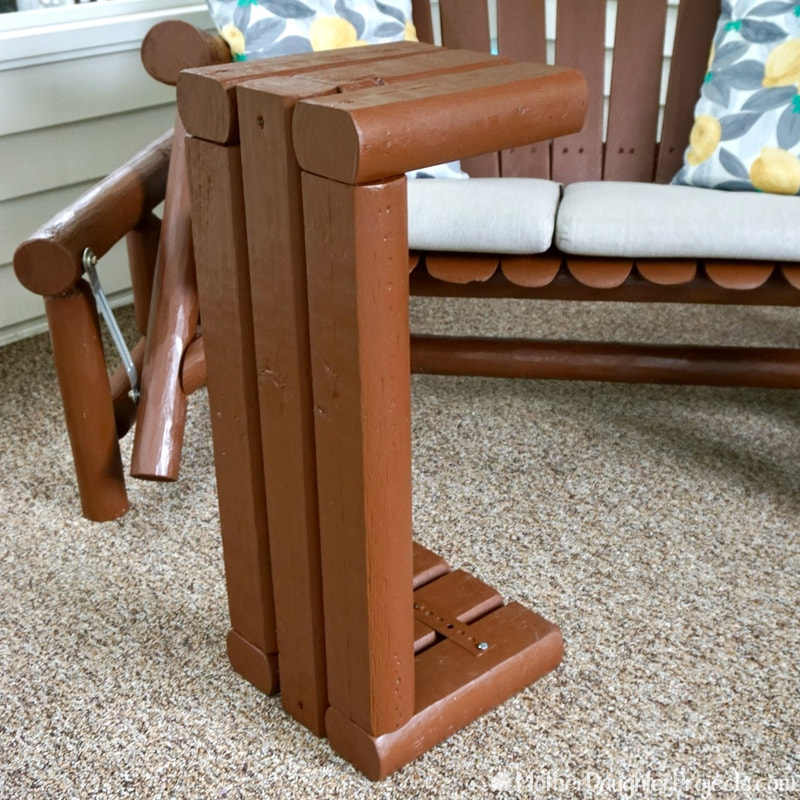
We are using Olympic Elite Solid stain to finish the table. You can see our sponsored post on the Home Depot Blog where we used this stain on the furniture on Steph's porch. There's a video that shows step by step what we did. This only needed one coat--less work!
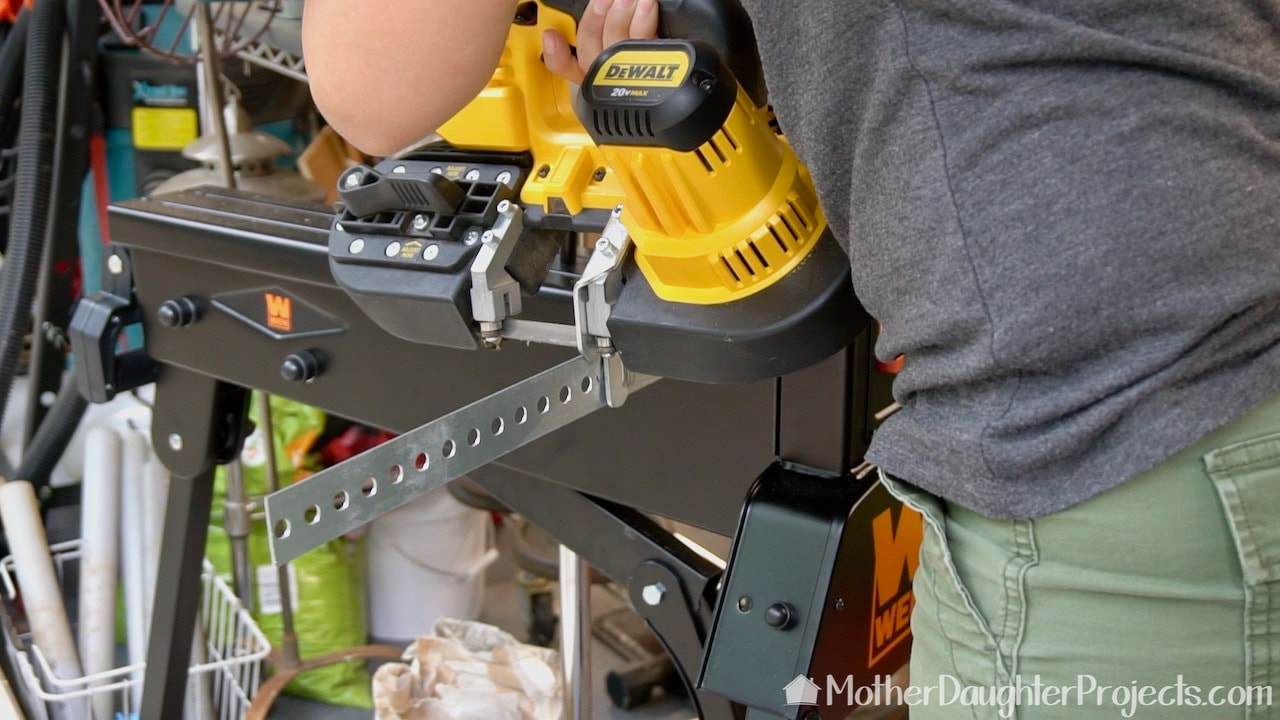
We added structural strength and a bit of rustic industrial charm with cut pieces of slotted flat bar. Here Steph is cutting it with a DeWalt battery powered bandsaw. It cuts like butter!
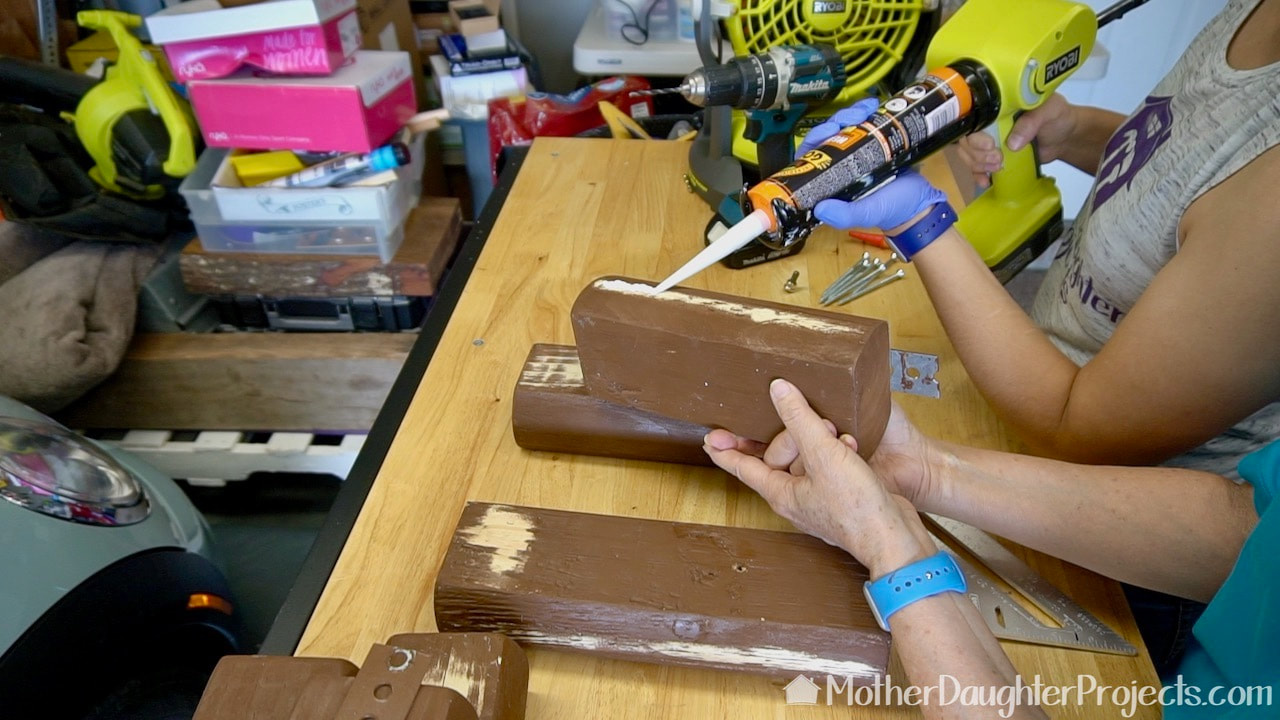
We initially constructed this with wood glue--not a good choice. When I brought it to Steph's house, it fell apart. We regrouped and used construction adhesive this time around and it was and IS perfect. The table has been in use, at this writing, about two weeks and it is holding strong.
Those metal bar pieces were attached with hex head screws that we painted with the solid stain. It will eventually chip off the metal but it will then just look even more rustic!
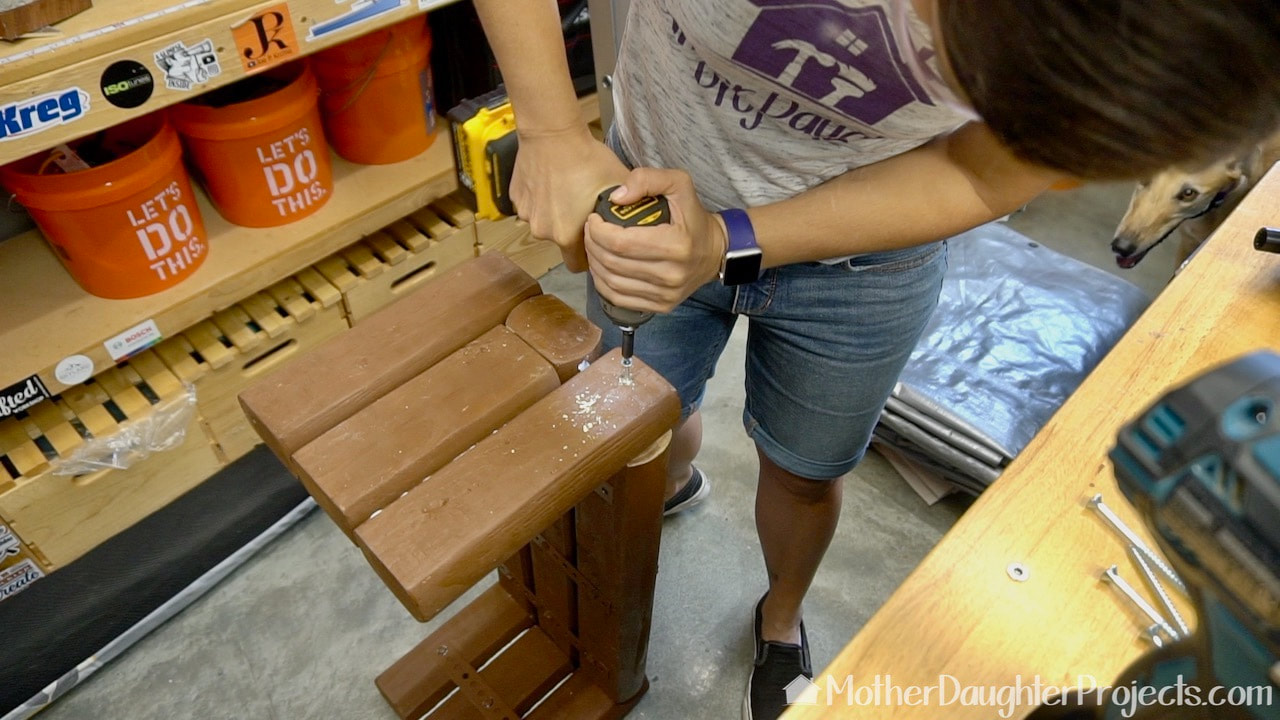
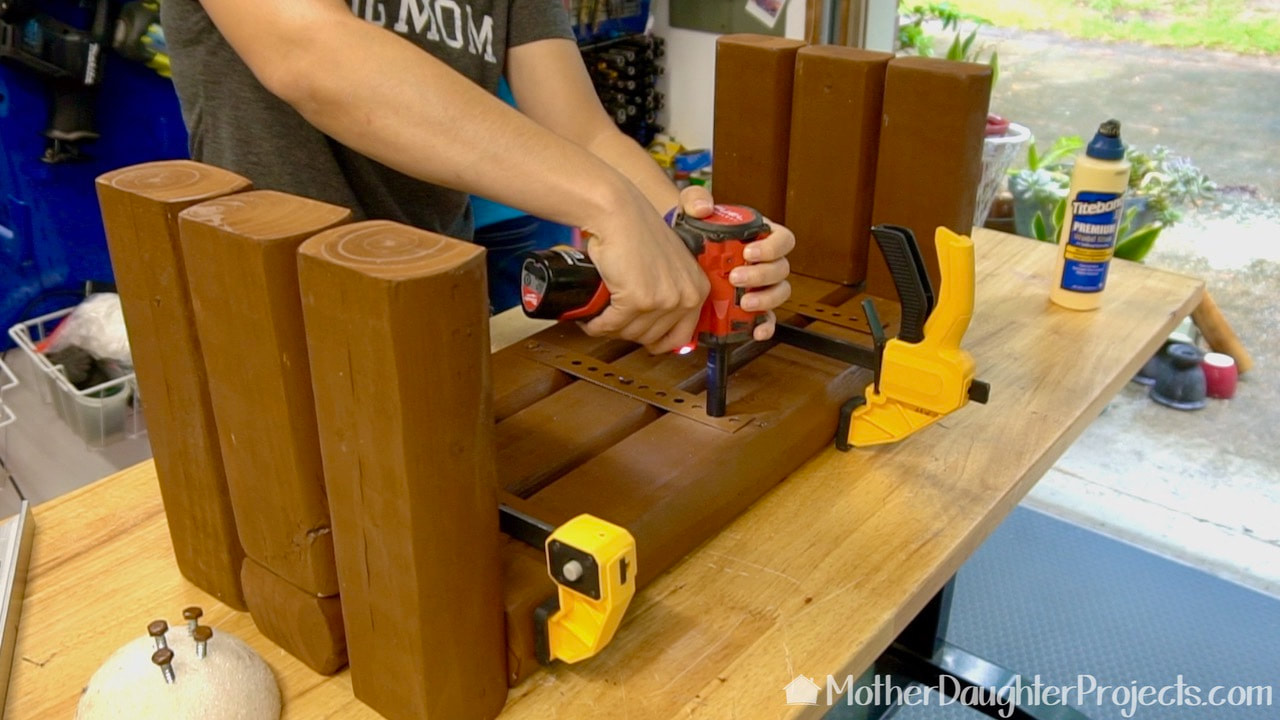
We decided to add even more structural strength with extra long screws on the top and bottom. An impact driver is perfect for this.
Check out the full reveal of the furniture makeover at the Home Depot blog!
Please note: This is not a sponsored post. FYI: We are not professionals, and we don't claim to be. This is what we found worked for our project. Yours may need a little different approach. Safety first! FYI: Affiliate links are being used on this page. Purchasing via these links help support MDP! Related Projects
2 Comments
Kim
7/16/2020 12:02:14 pm
What a fantastic idea to clamp down the sander. I know what I'm trying next time!!
Steph
7/19/2020 04:51:51 pm
Thanks Kim! Leave a Reply. |

Mother Daughter Projects
|