|
text by Vicki Sign up here to join our weekly email newsletter!
I think for a lot of people, especially home decor experts, ceiling fans are one of those love/hate things! They are super functional, but not all that attractive. This enclosed blade fan solves that "not attractive" problem while still providing plenty of function.
Between our two homes, we now have three of these fans with more to be installed in the future! Read along as Steph shares how she installed this fan. Materials/Tools:
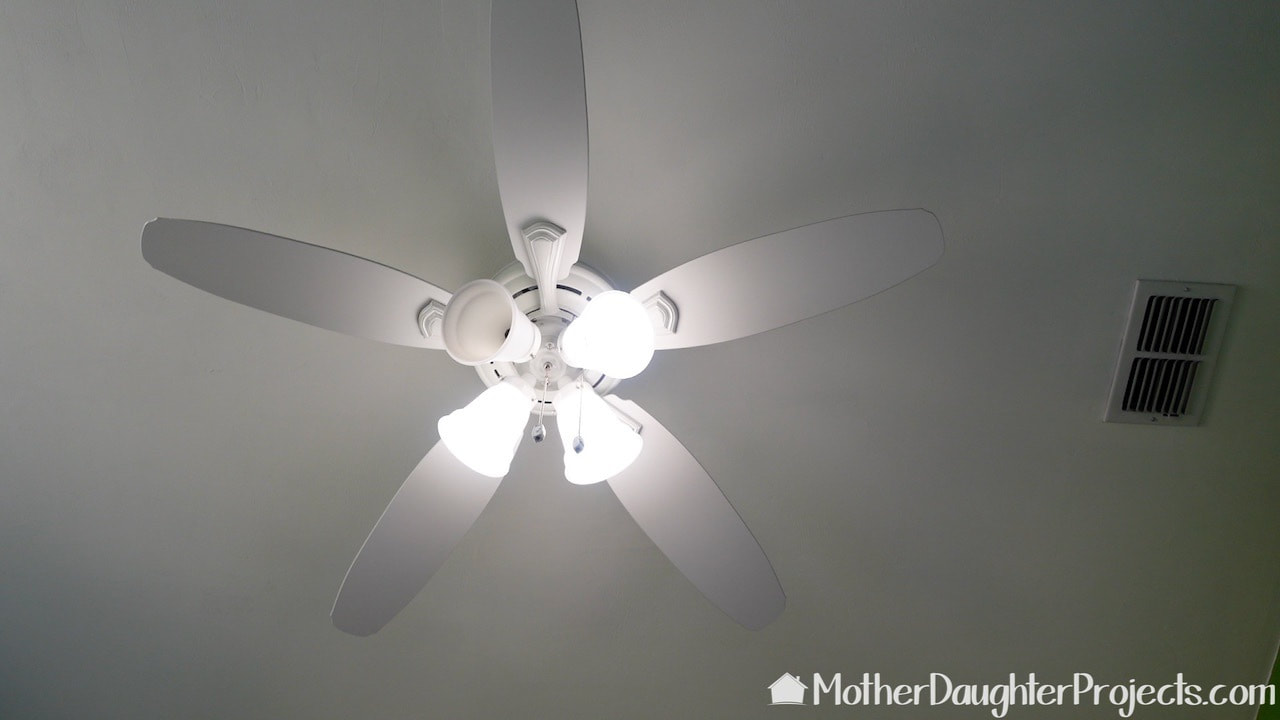
There was a standard five-blade ceiling fan in this room. The lights never produced much light and they had started to fail. It was time to retire this fan!
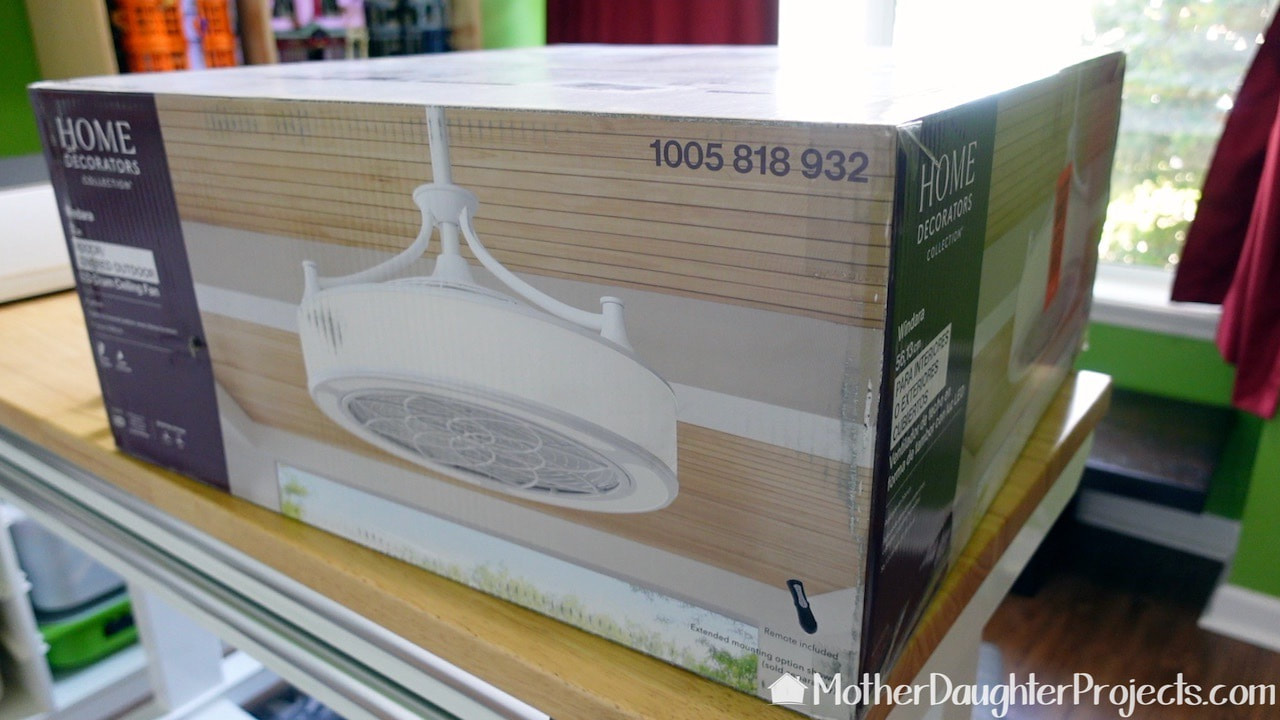
The first two fans we installed were branded by Stile. This is the same exact fan down to the instruction manual, but is now part of the Home Depot's Home Decorators branded line of home goods. Those curved decorative arms seen on the packaging are optional to install. We will not be using those.
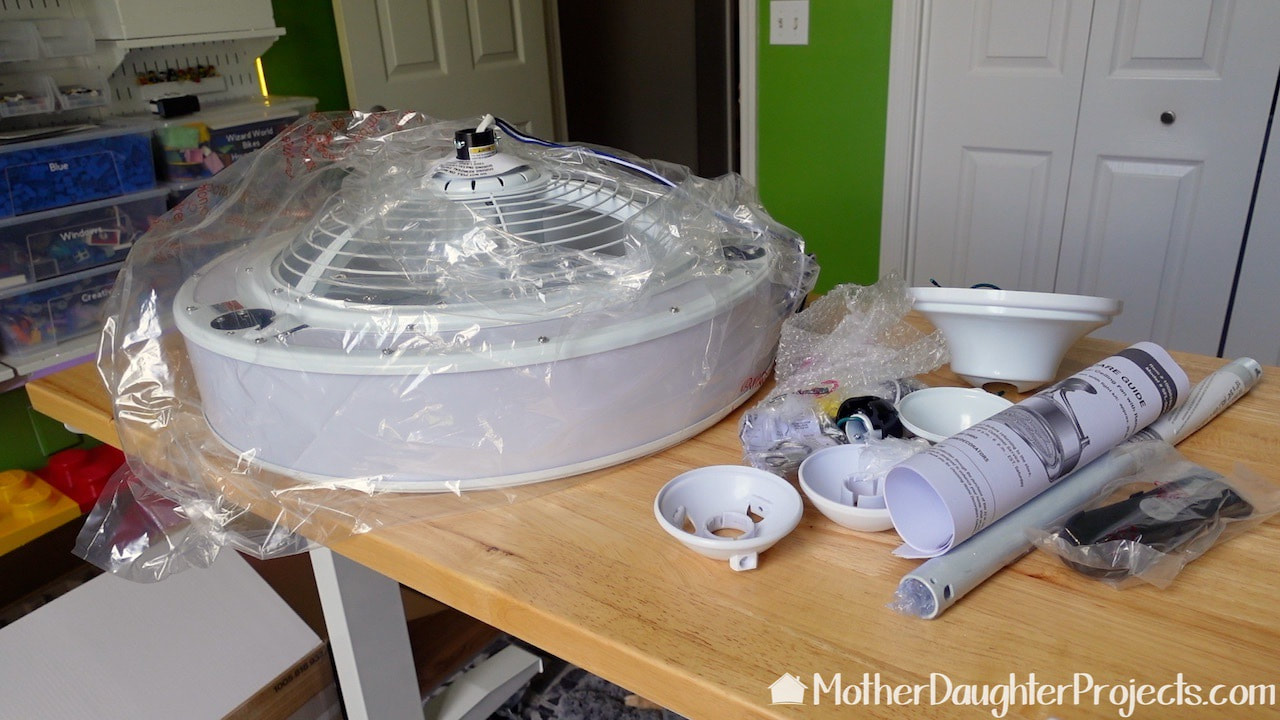
Steph unboxed everything and laid it out. We purchased an 18" down-rod to use in place of the short one that is included. We wanted to lower the fan since the ceiling is so tall in this room.
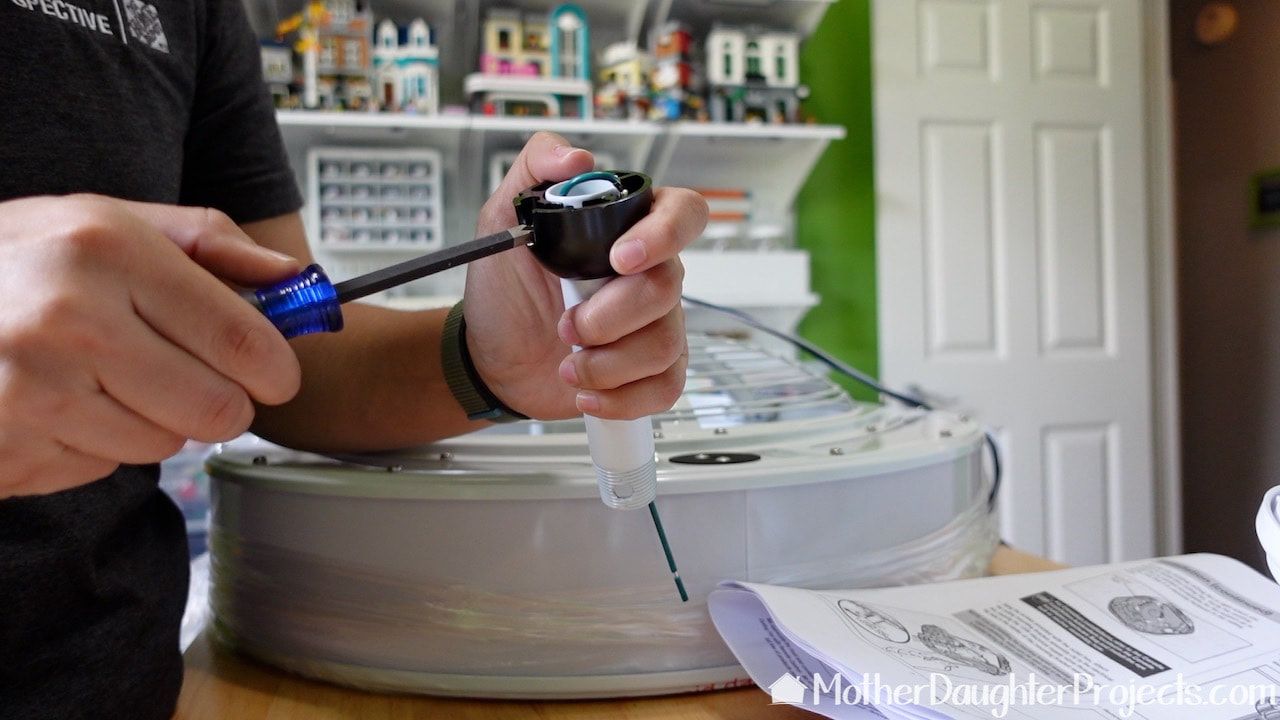
The first step was to replace the standard down-rod with the newly purchased 18 inch one. It's easy to do.

With the new rod in place, Steph replaced the top piece and tightened it into place.
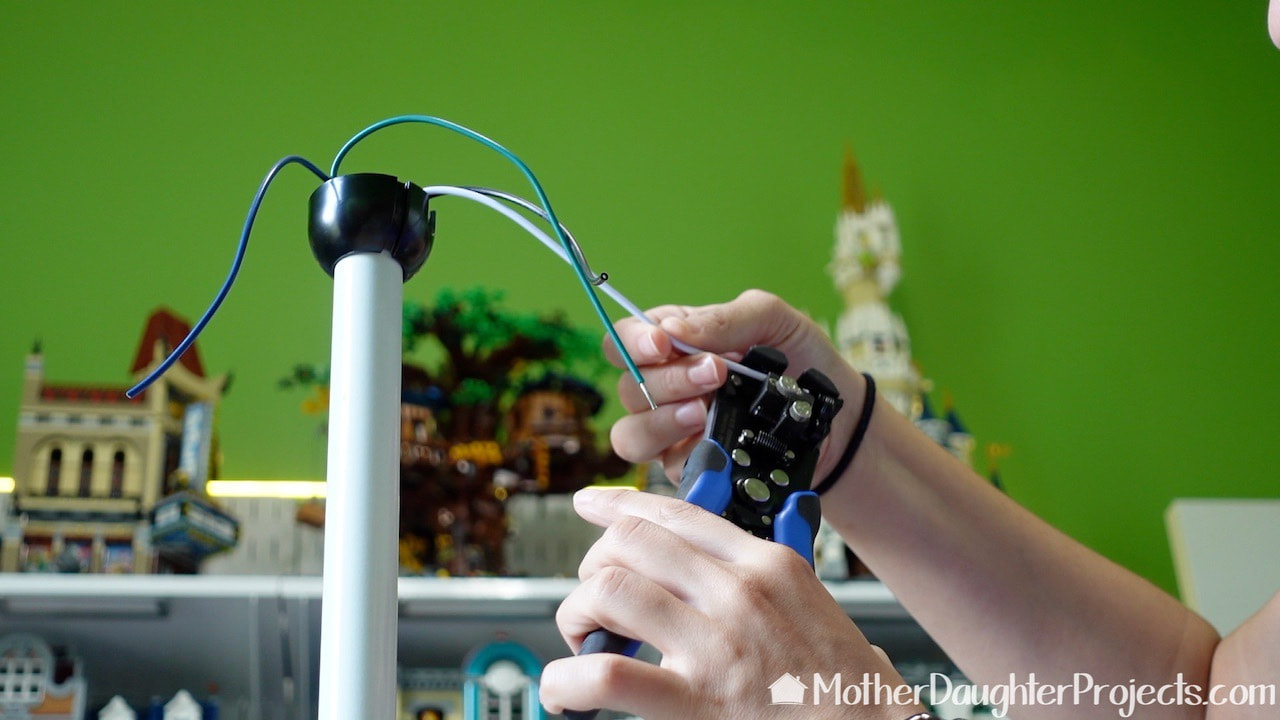
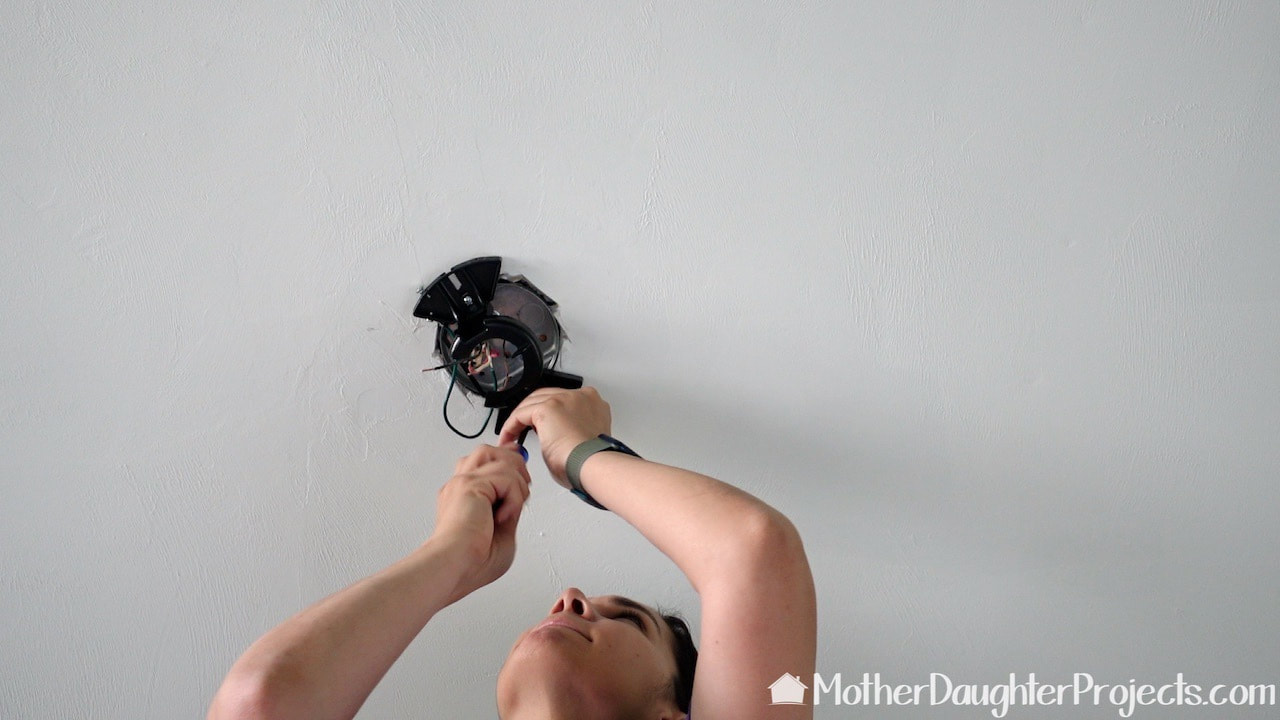
Next Steph prepped the wires by stripping off the insulation from the ends using these Klein Tools self-adjusting Wire Strippers. This is a must have tool for any DIYer!
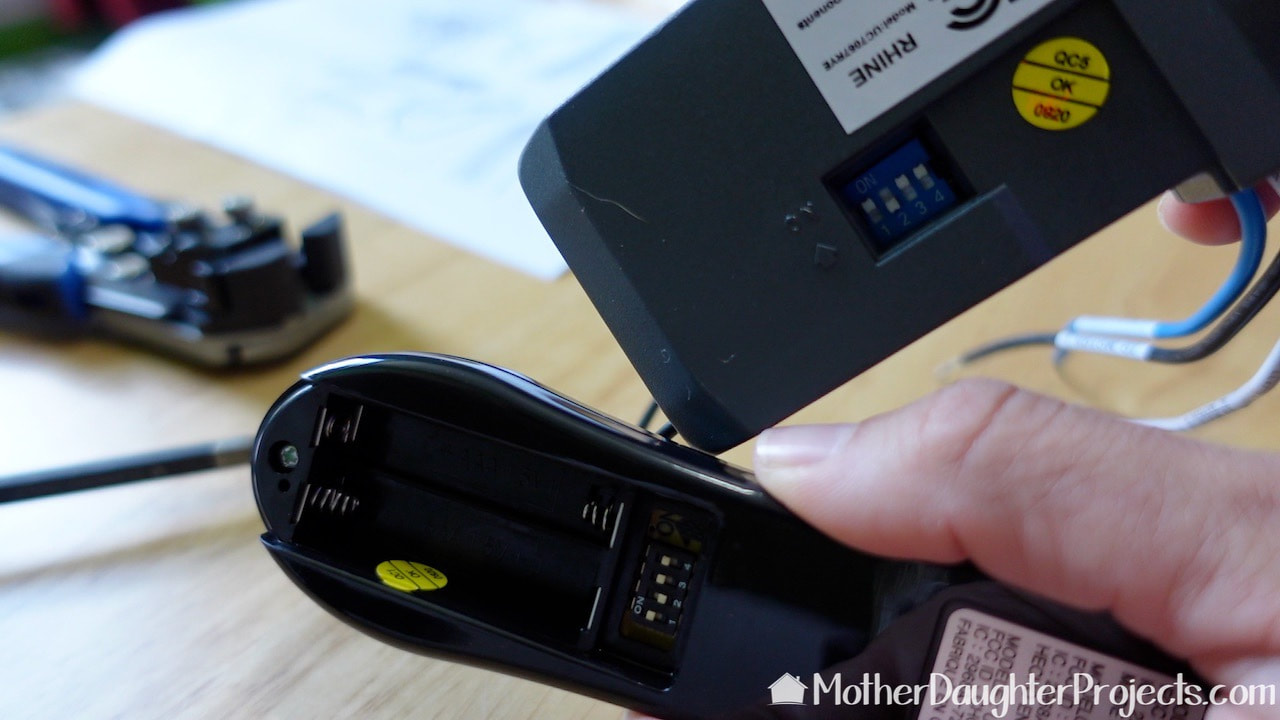
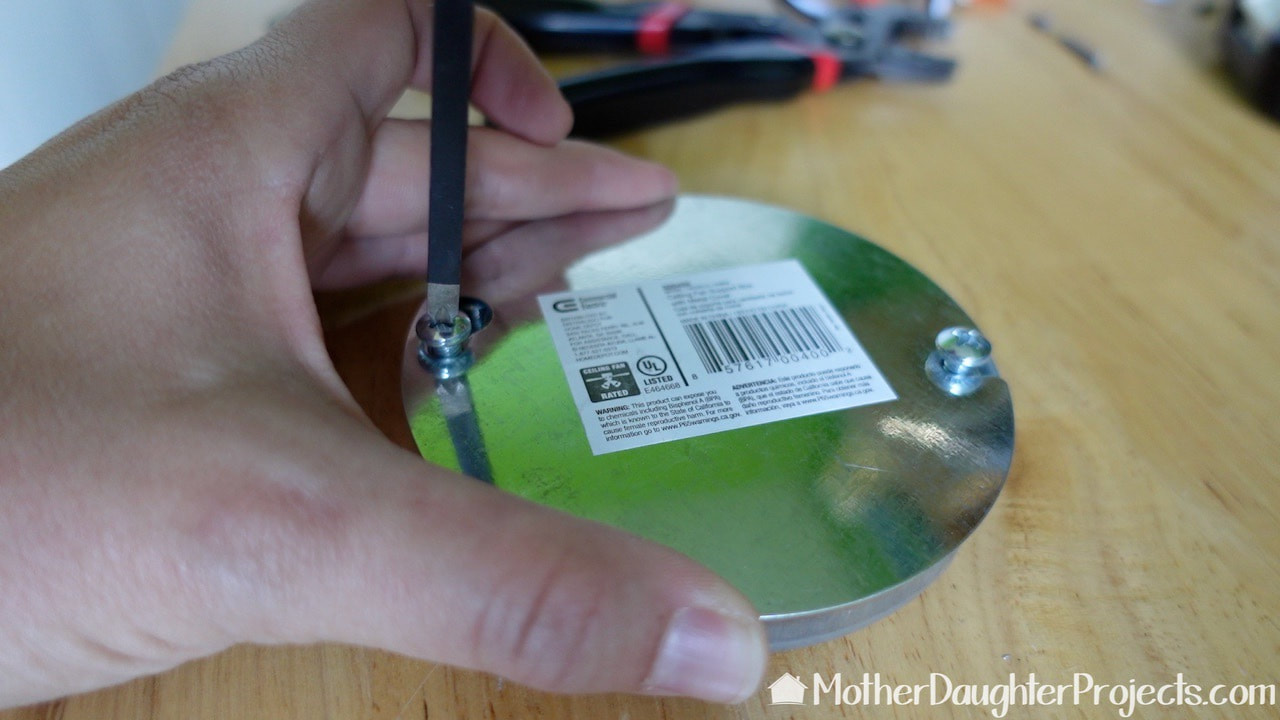
Before actually installing the fan, Steph set the dip switches in both the remote and receiver so that they would work together. Since she has another fan just like this, she made sure the dip switches had a different set up combination than the other fan remote/receiver.
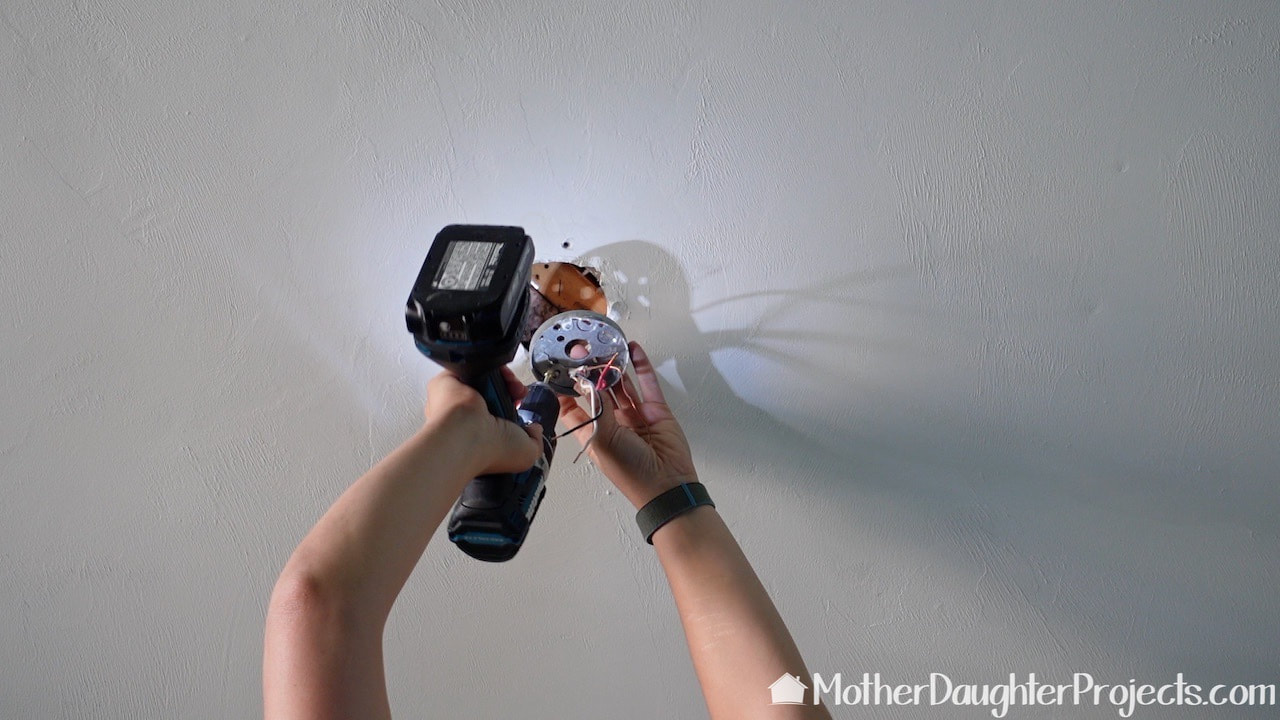
Before attempting any electrical work: TURN OFF THE POWER at the circuit box. With the power off, Steph removed the old fan and then discovered that the ceiling fan mount was too small for the new ceiling fan bracket.
We headed back to Home Depot to get a four inch ceiling fan box. Inside is the mounting hardware you'll need. Steph held it up in place and marked where she needed to cut the drywall so that it would fit.
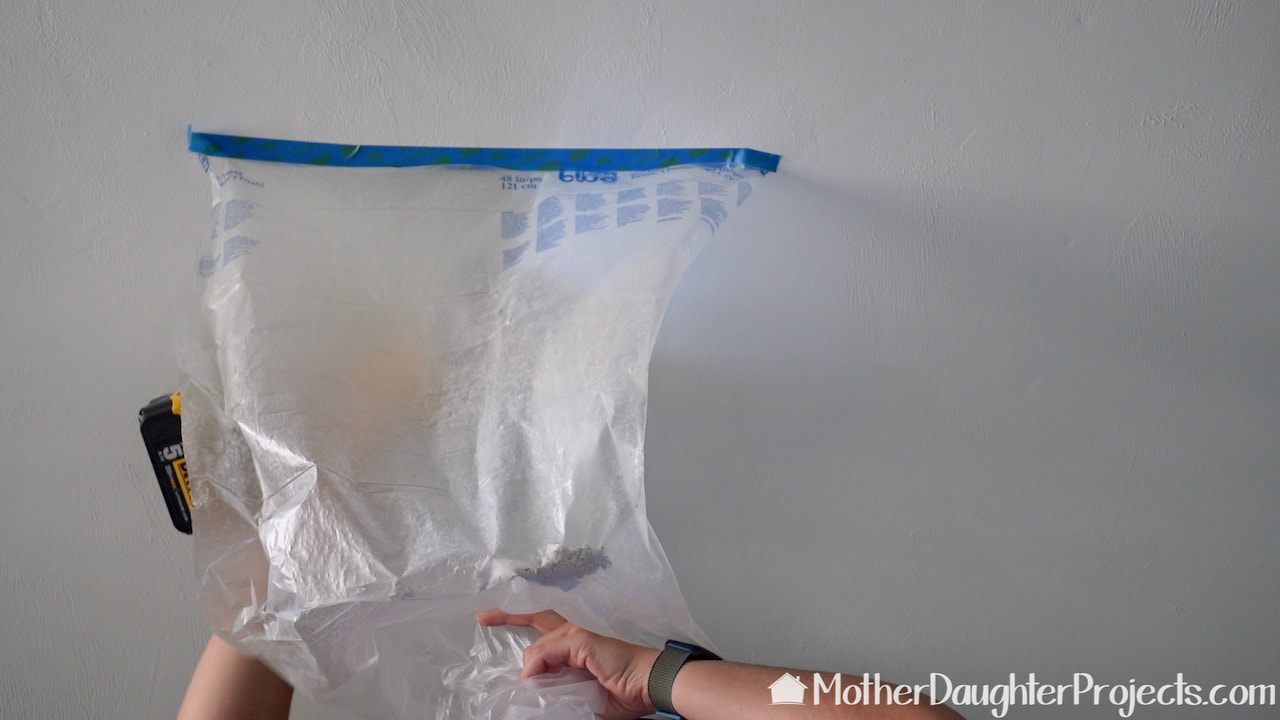
Steph hung up a bit of plastic to catch the drywall bits. She used a DeWalt multitool to cut out the drywall.
Once the drywall was cut to size, the pan fit perfectly and Steph screwed it into place.
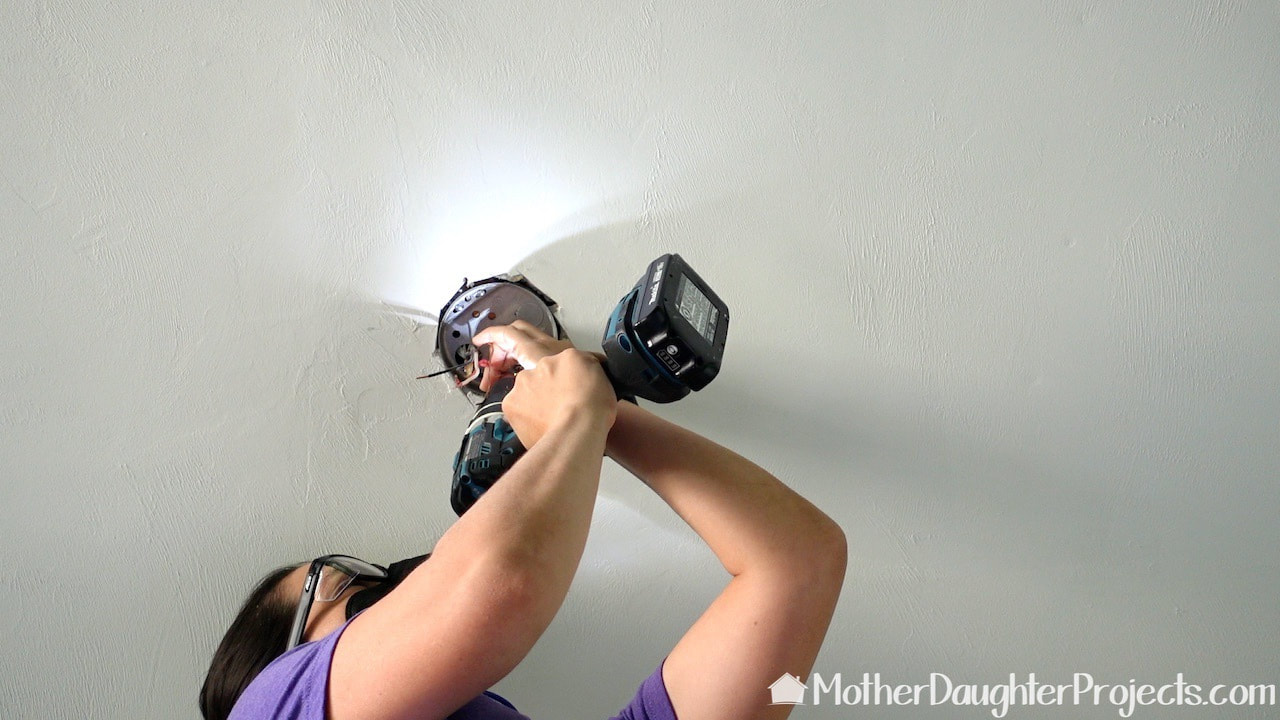
Now, it is time to actually install the fan! The fan bracket fits easily onto the new ceiling box and is screwed into place.
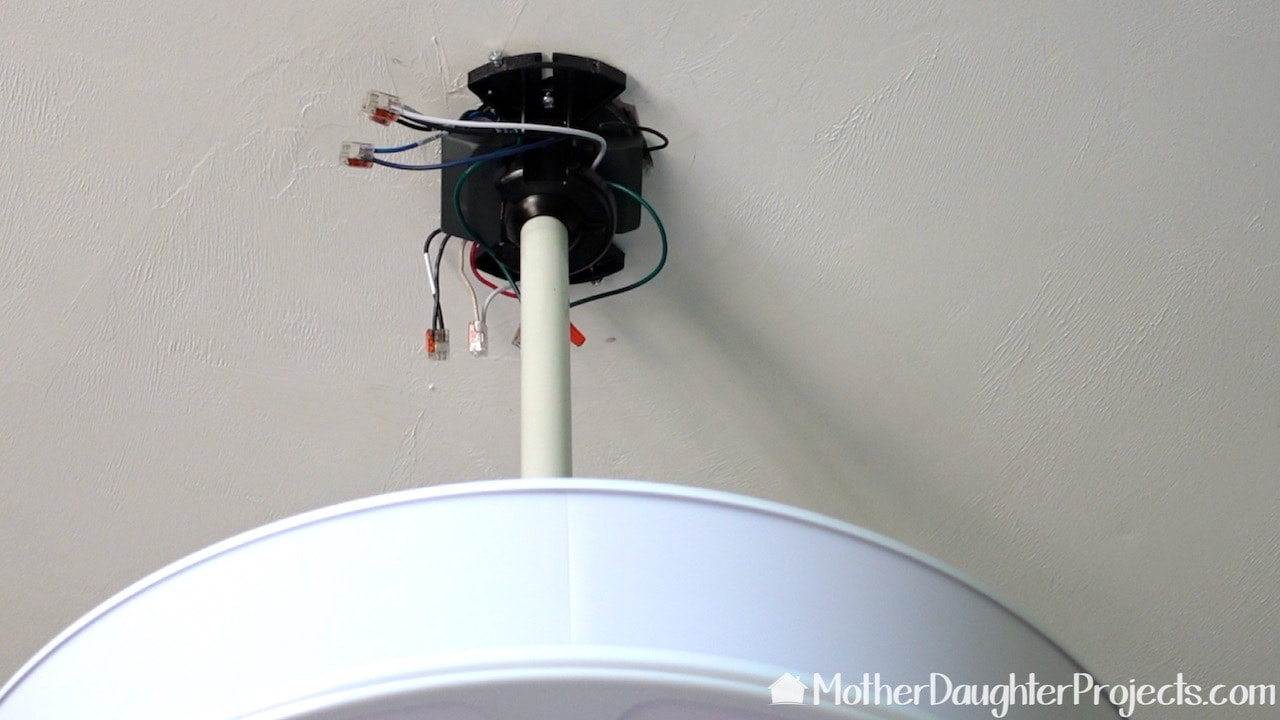
The fan wiring is connected with these Wago connectors we recently discovered. They are super simple to use. Once everything was wired and the receiver was tucked into place, the canopy was secured into place.
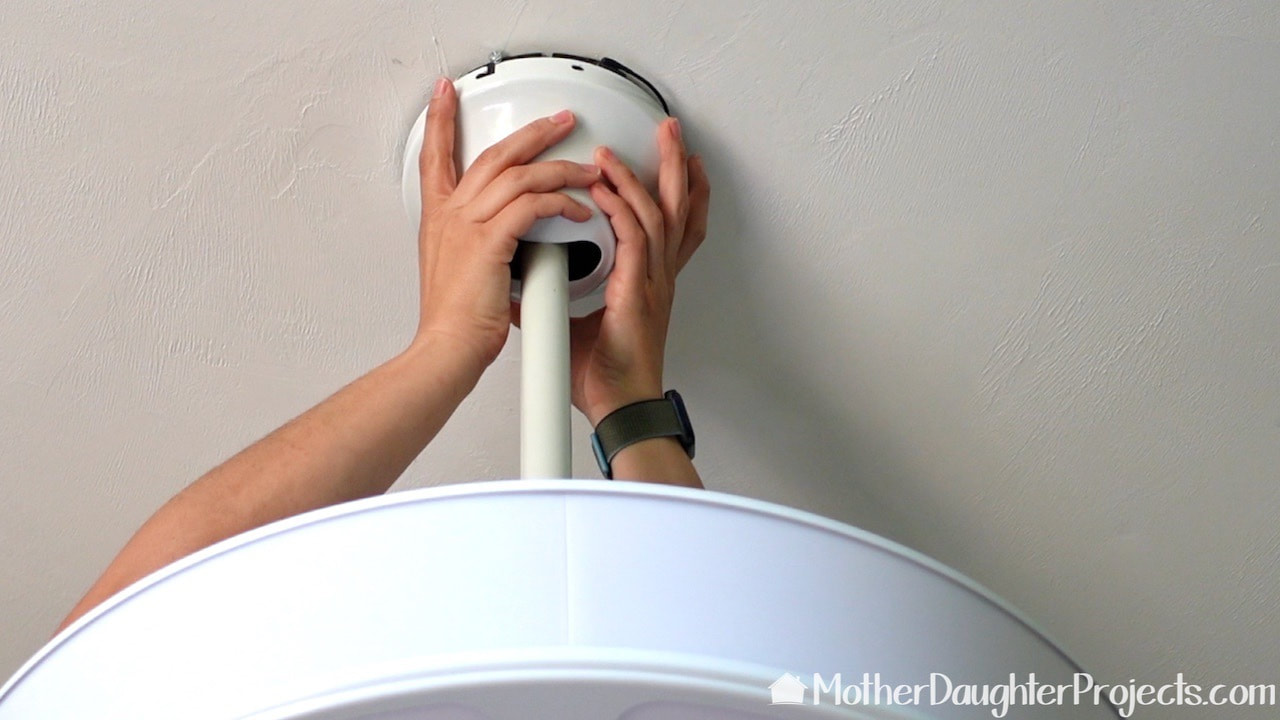
The canopy is easily twisted securely into place. Time to power on and test!
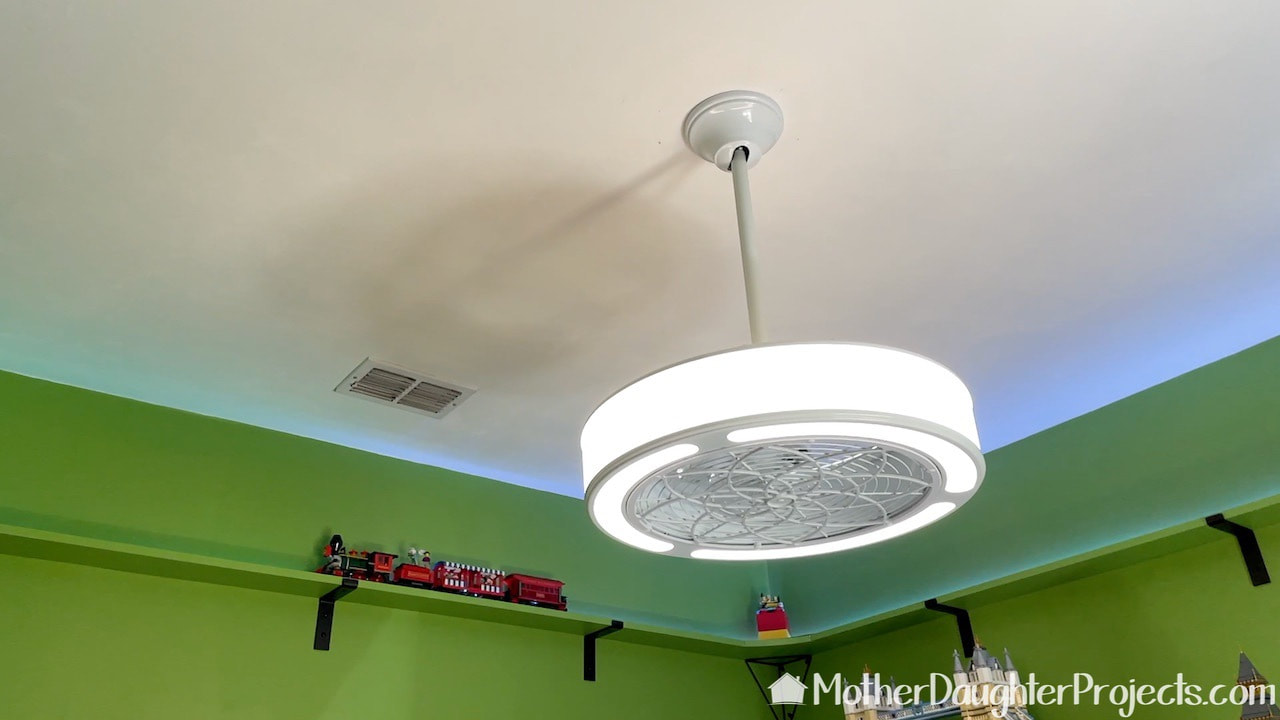
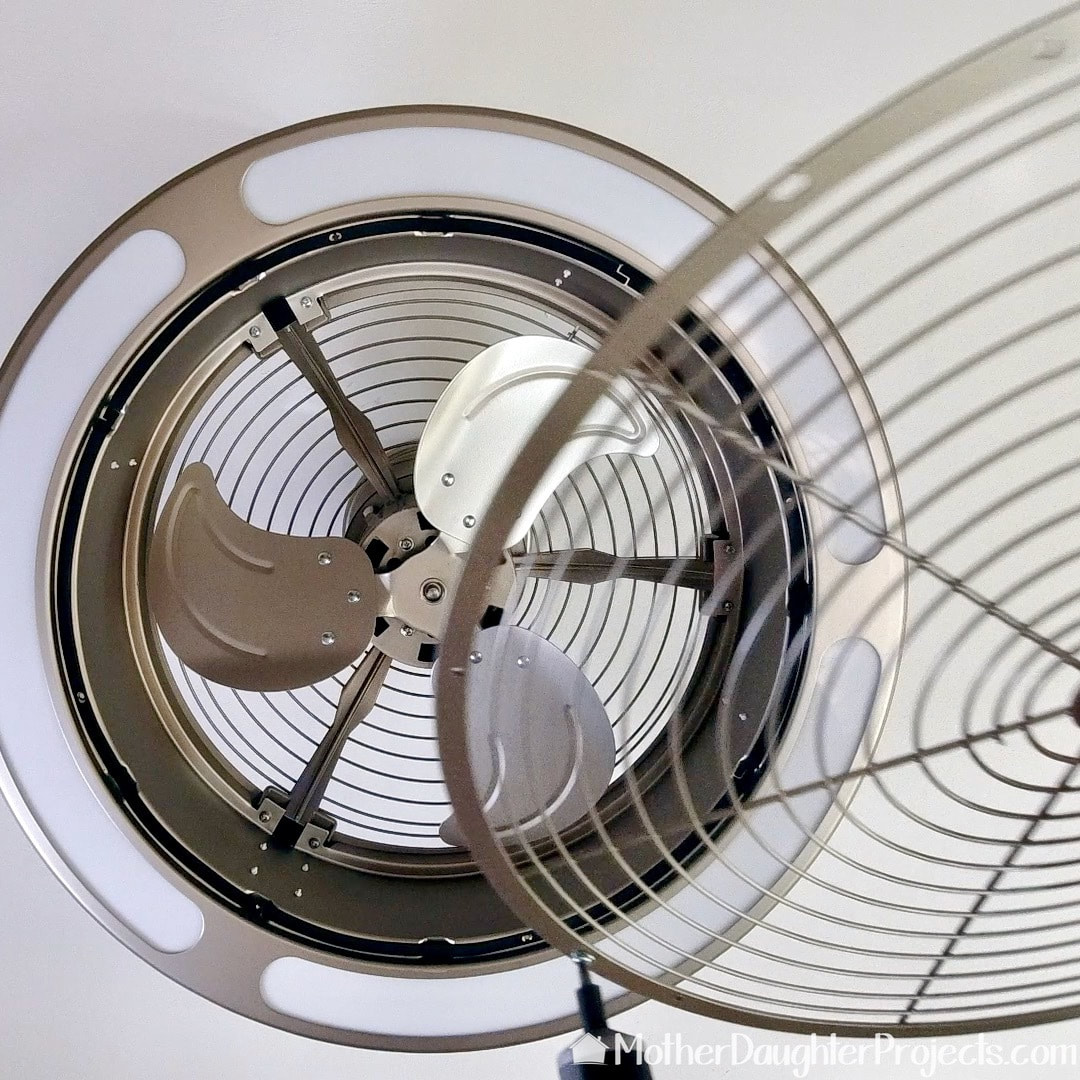
This fixture is a perfect addition to the space and was much easier to work on when we installed the elevated LEGO train track!
You know when you finish a project and can't wait to see it work? Well, unfortunately, when we powered on the fan it did not work (the first time)!
Steph did all the trouble shooting, but had no success in locating the issue. Ultimately she called Home Depot and after a brief conversation it was apparent there was an issue with the remote/receiver parts. The solution was to uninstall the old fan, box it and leave it for pick up. The old one was picked up later that day. The new fan arrived first thing the next day, install was quicker than the first time, AND, it worked! Although, it would have been nice if the first fan had worked, we couldn't have been more pleased with the customer service we received from the Home Depot. Please note: This is not a sponsored post. FYI: We are not professionals, and we don't claim to be. This is what we found worked for our project. Yours may need a little different approach. Safety first! FYI: Affiliate links are being used on this page. Purchasing via these links help support MDP! Related Projects
0 Comments
Leave a Reply. |

Mother Daughter Projects
|