|
text by Vicki Sign up here to join our weekly email newsletter!
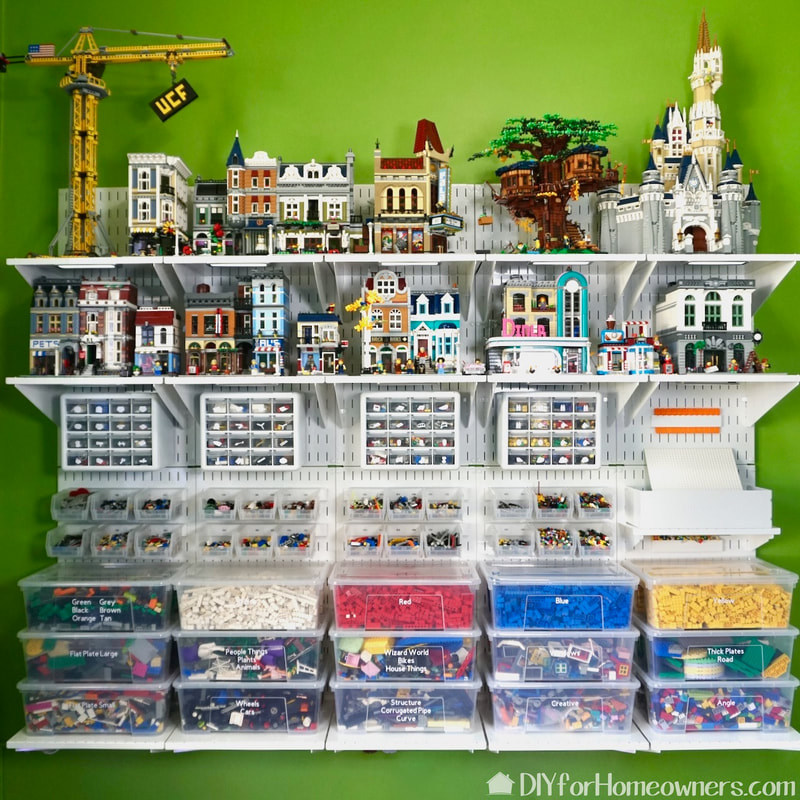
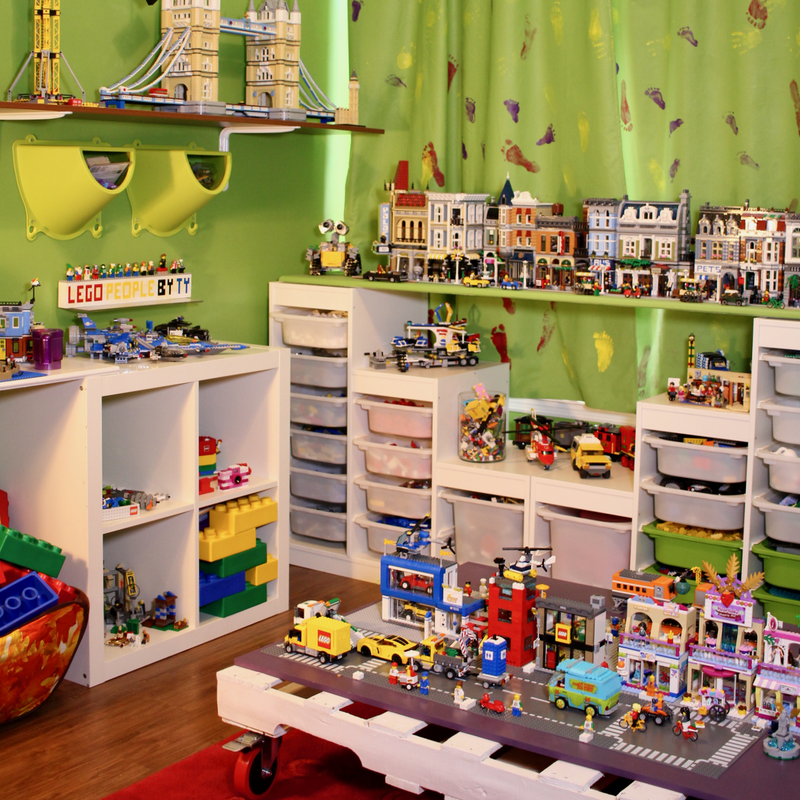
Steph is making her LEGO childhood dreams come true one project at a time! First it was to establish a LEGO room in her house, followed by the ultimate Wall Control storage wall, and now--an elevated train track!
Did anyone see that one coming? I surely didn't know she had always coveted rooms with elevated train tracks since watching the movie Casper back in the 90s. Since it is way too hot to work on anything outside, this was the perfect summer project. Follow along as we show you the build from beginning to caboose! Materials/Tools:
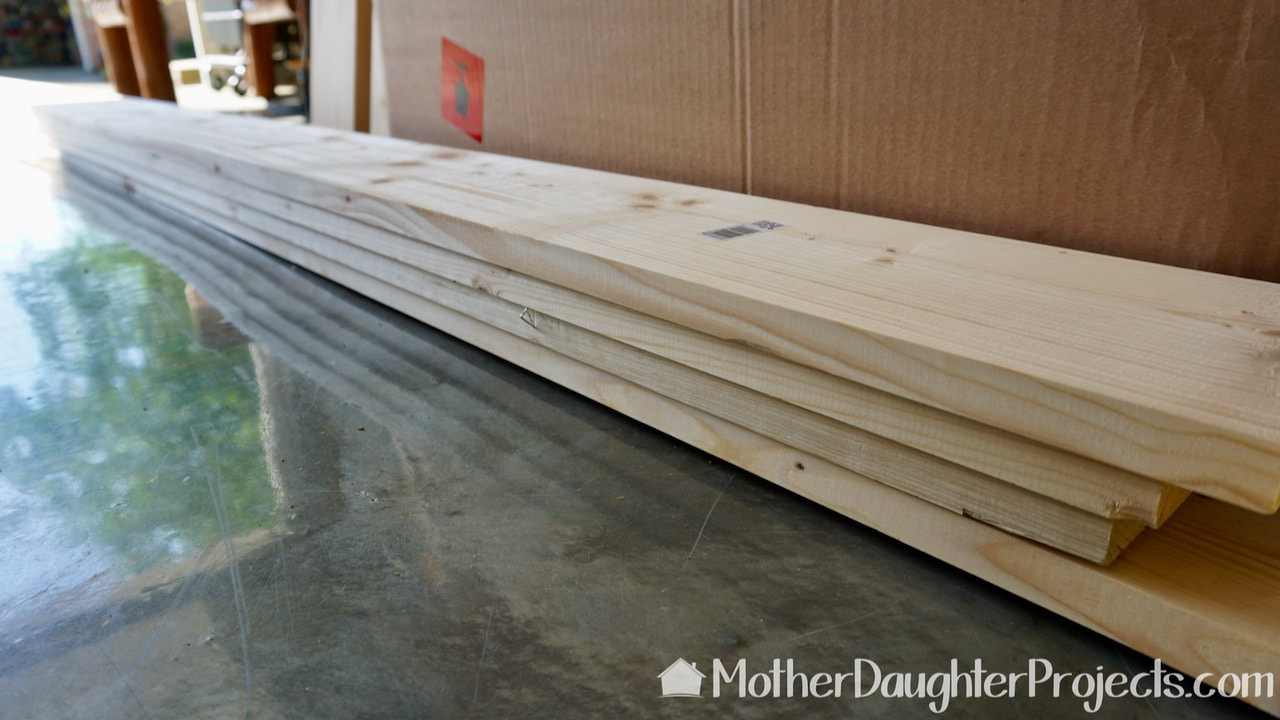
We are using standard 1x6 inch boards and a single 1x12 inch board.
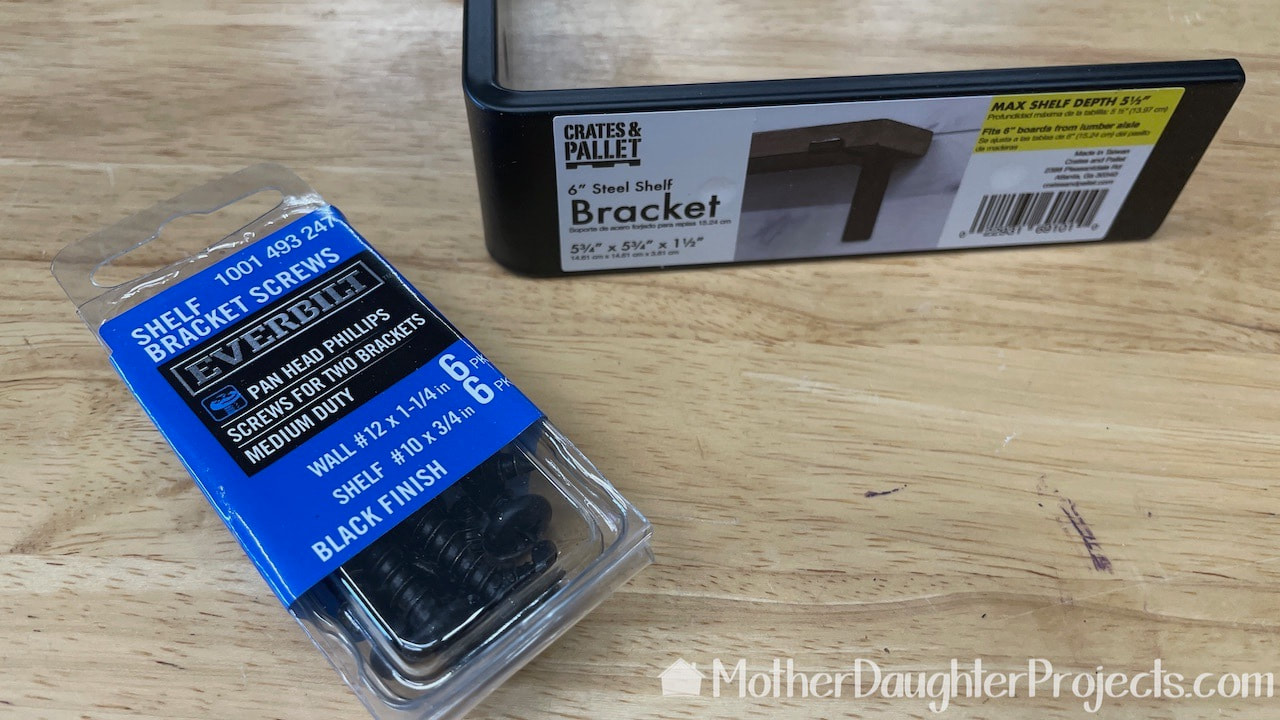
We ordered these brackets and picked up the black finish screws in the store.
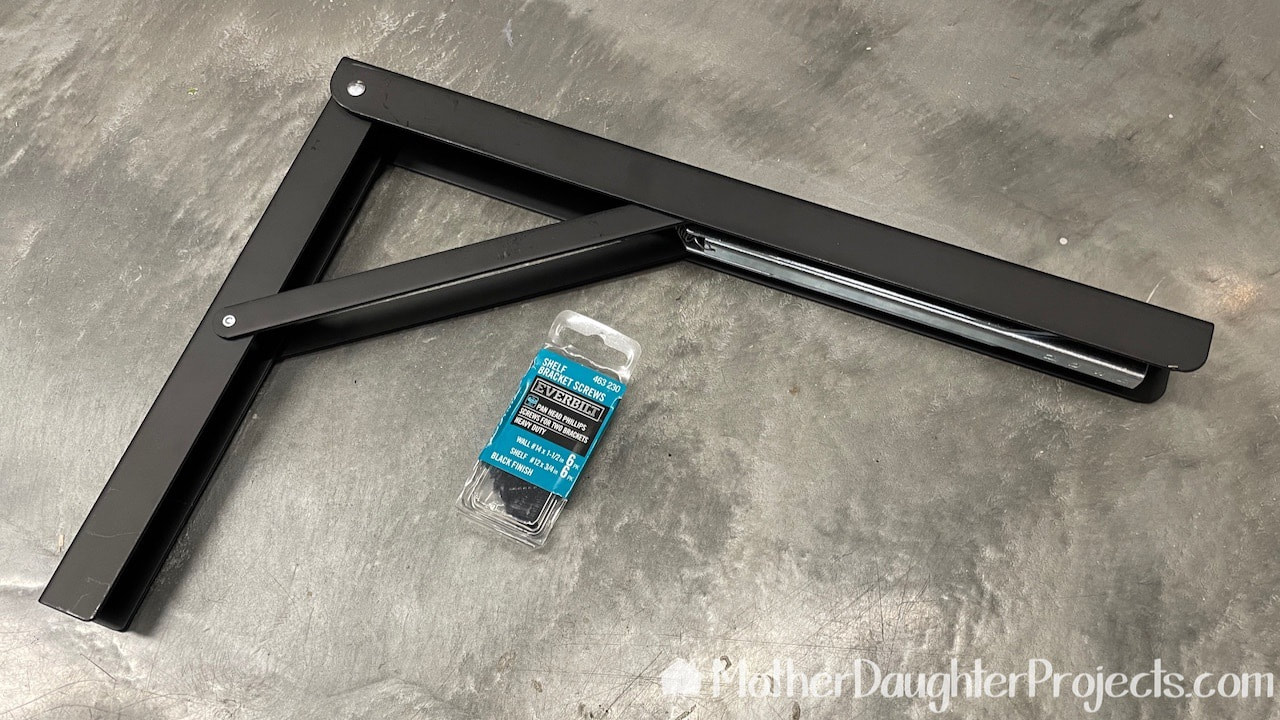
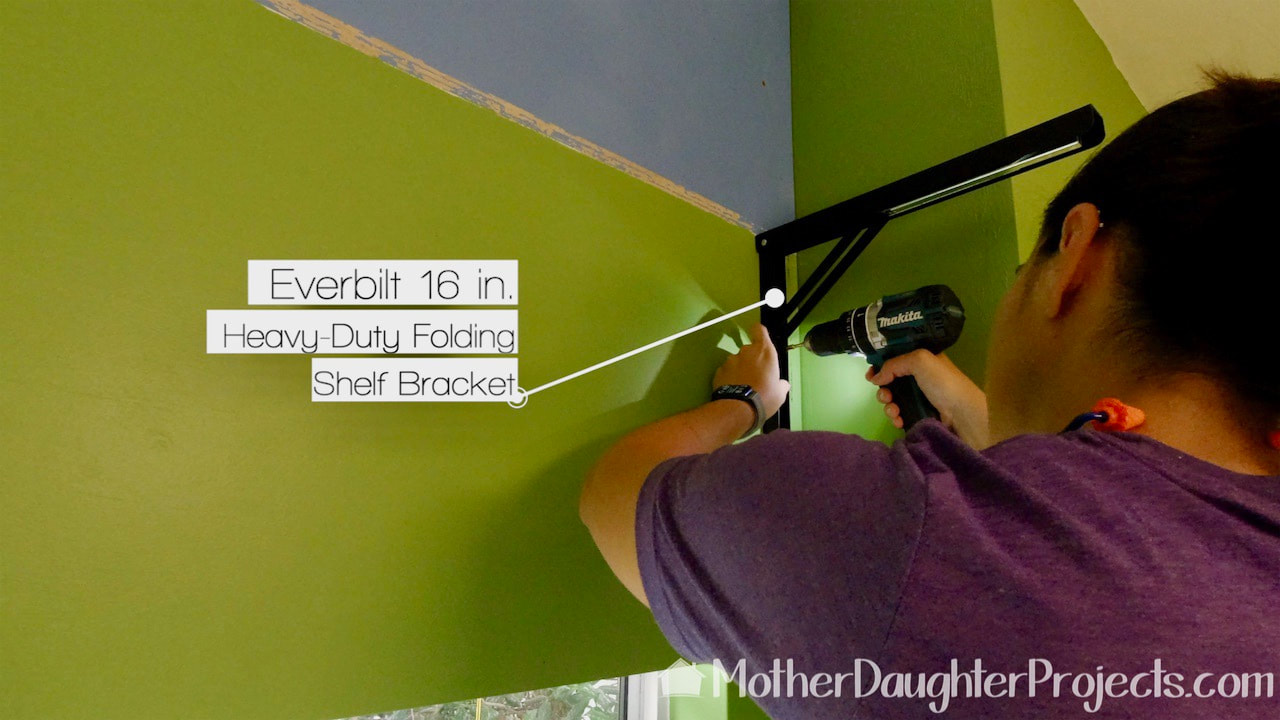
It took a while to get these Everbilt 16 in. Matte Black Heavy-Duty Folding Shelf Brackets but they ended up being the perfect choice for the build. They were worth the wait!
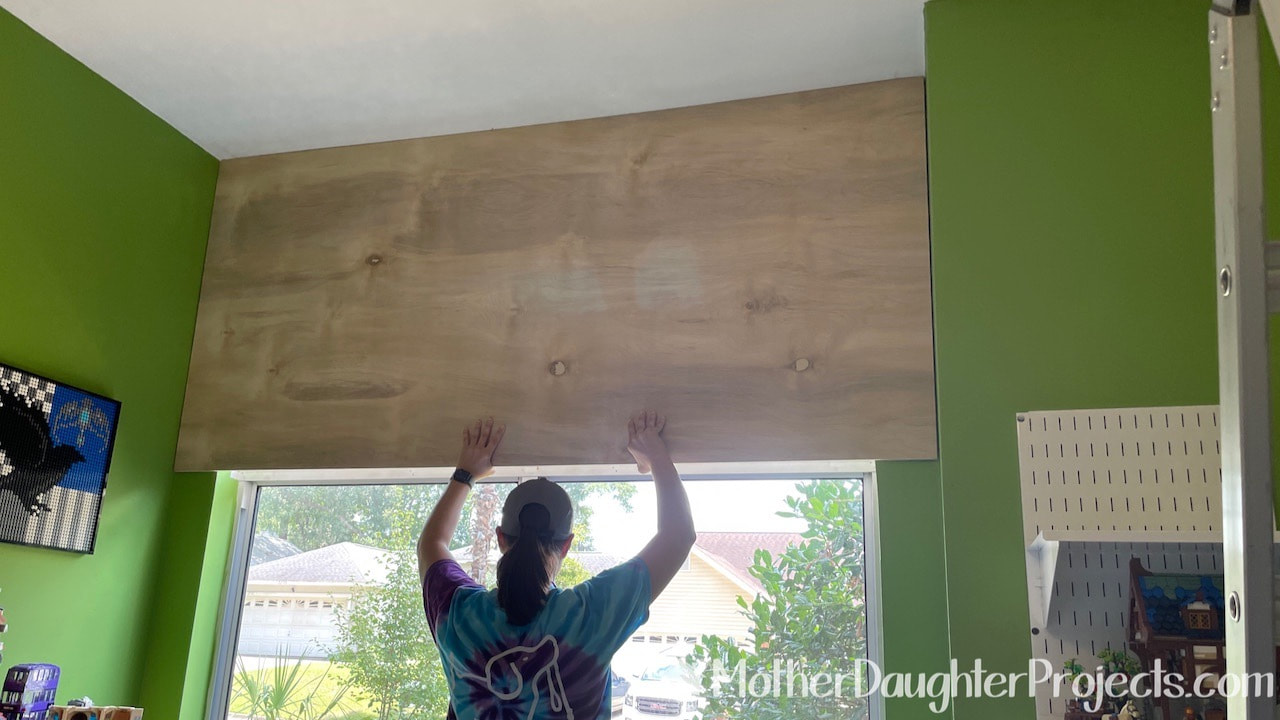
This window area was a little tricky to work around. We decided to cover the top half of the window with 1/2 inch plywood for two reasons. One, the sun coming through the top of this window makes this room miserably hot and two, we needed a way to support the train shelf at this point.
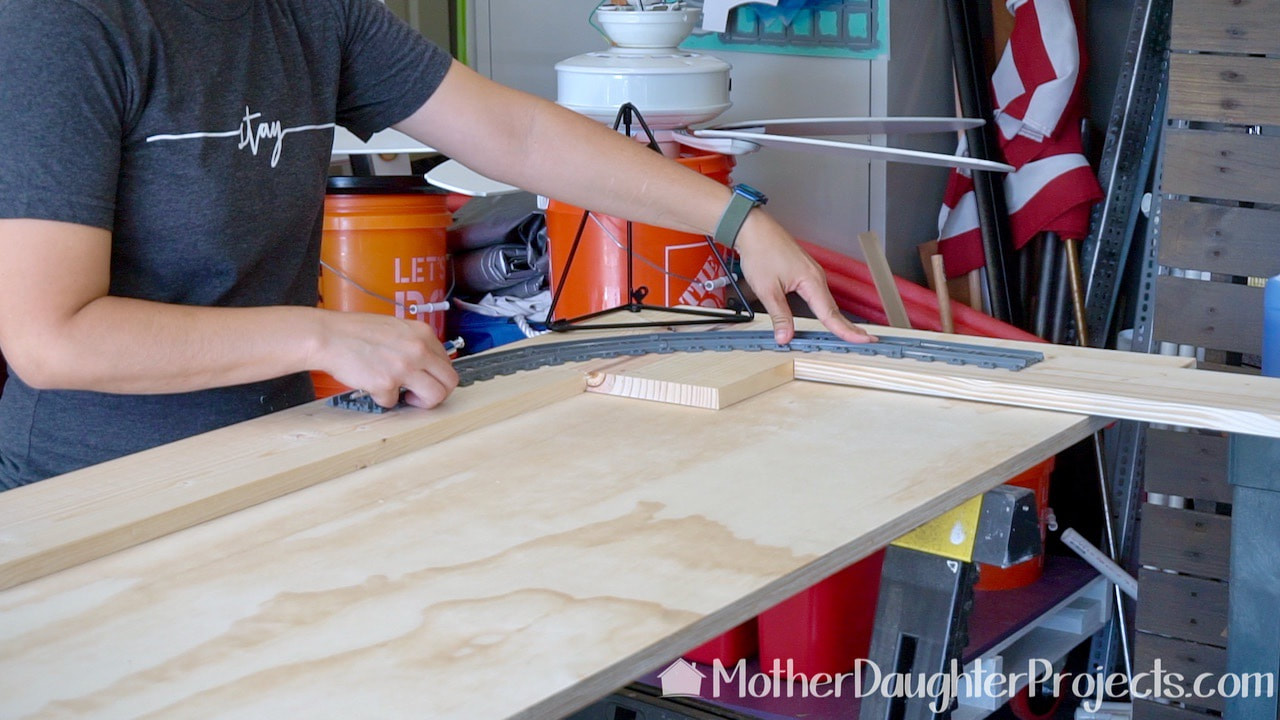
Here Steph is marking the curve on the corner supports. The track itself was the perfect jig!

For jigsaw cutting success, always start with a fresh blade and use the variable speed feature. Here Steph is cutting the curve on the corner. All of these cuts were sanded well before painting.
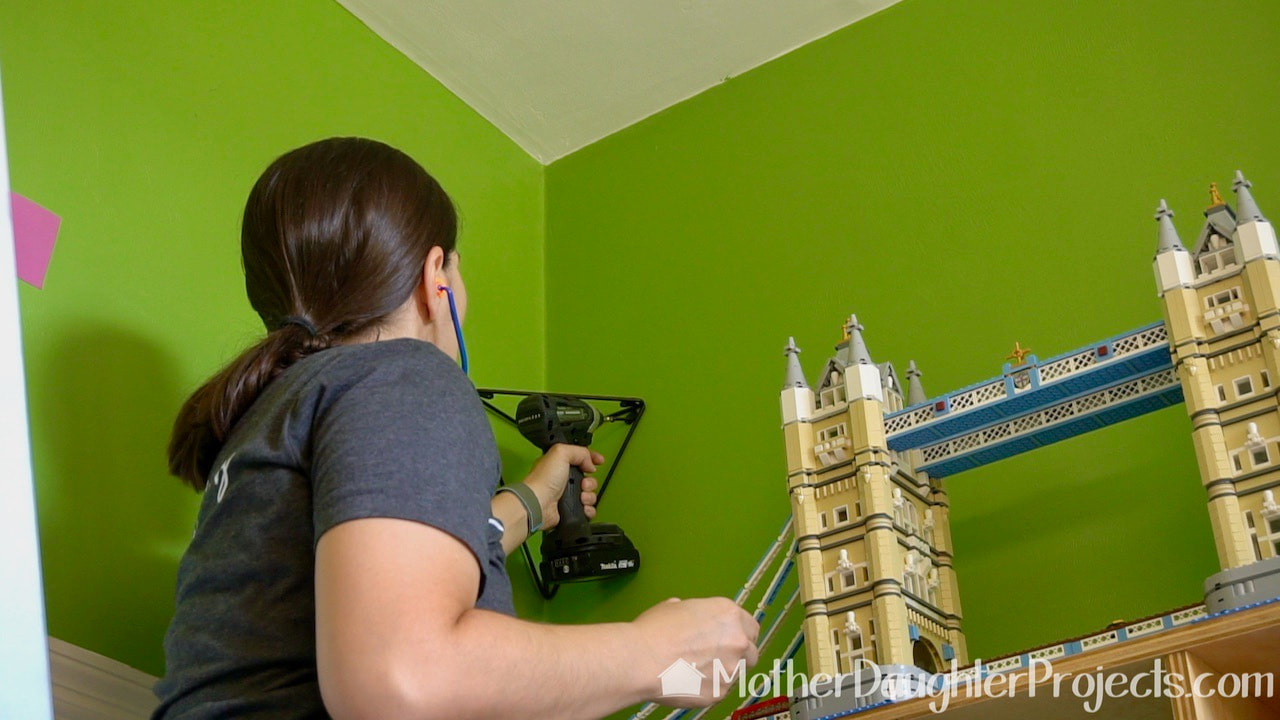
These corner brackets are going to support the train shelf in three of the four corners. Steph placed them 17 inches from the ceiling. Why 17 inches? Well, any lower and Cinderella's Castle LEGO set would not fit underneath!
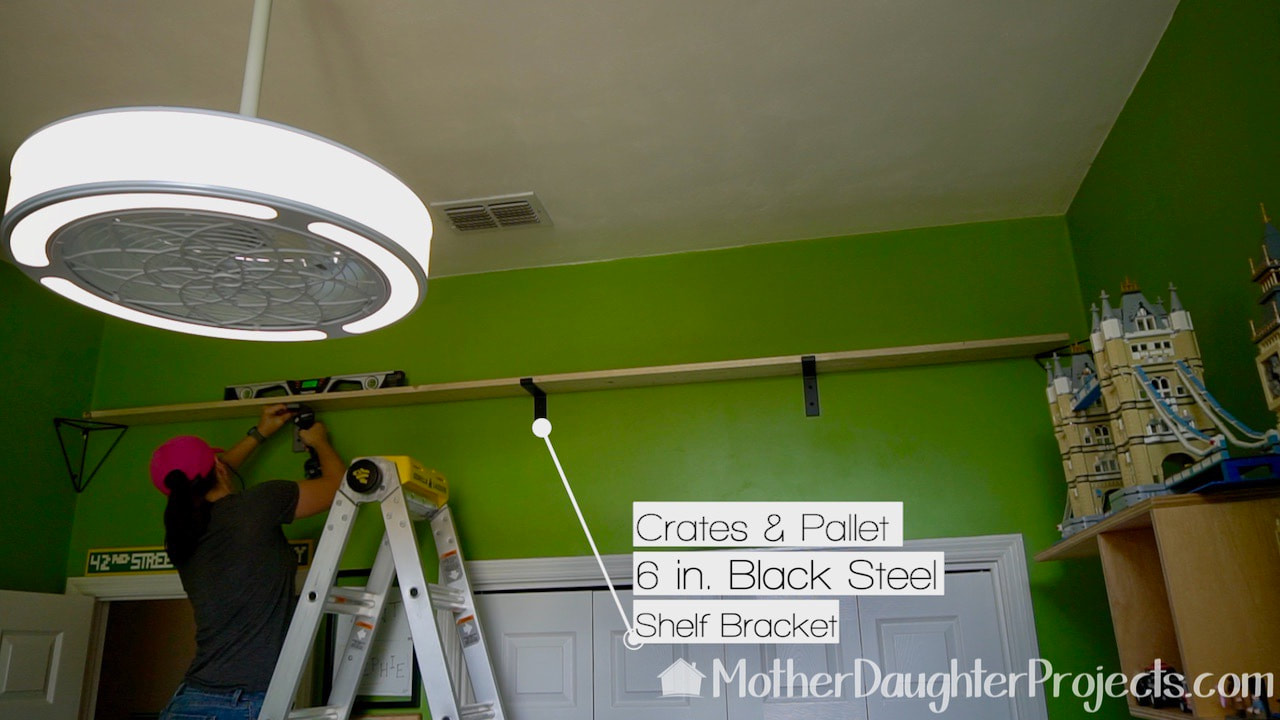
Once the corner brackets were in place, it was time to add the shelf supports. Luckily, we were able to place these into studs.
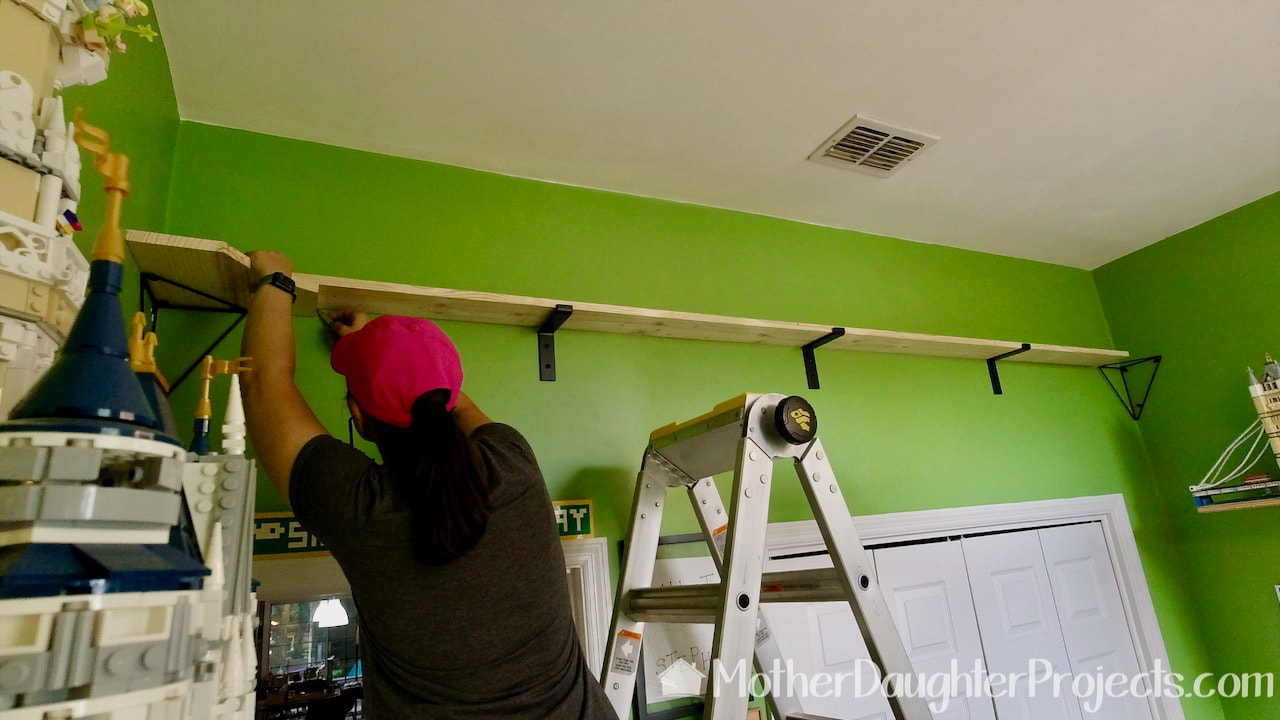
To determine the final length of the 1x6 inch boards, we put them into place along with the corner pieces and marked where they needed to be cut. And yes, it was just as challenging as it looks to work with these long boards in a room filled with fragile LEGO sets!

Steph is making pocket holes which will be used to secure the long boards to the corner supports. That's a basic Kreg pockethole jig she is using.
After the window plywood was cut, painted and screwed into place, these brackets were screwed into place.
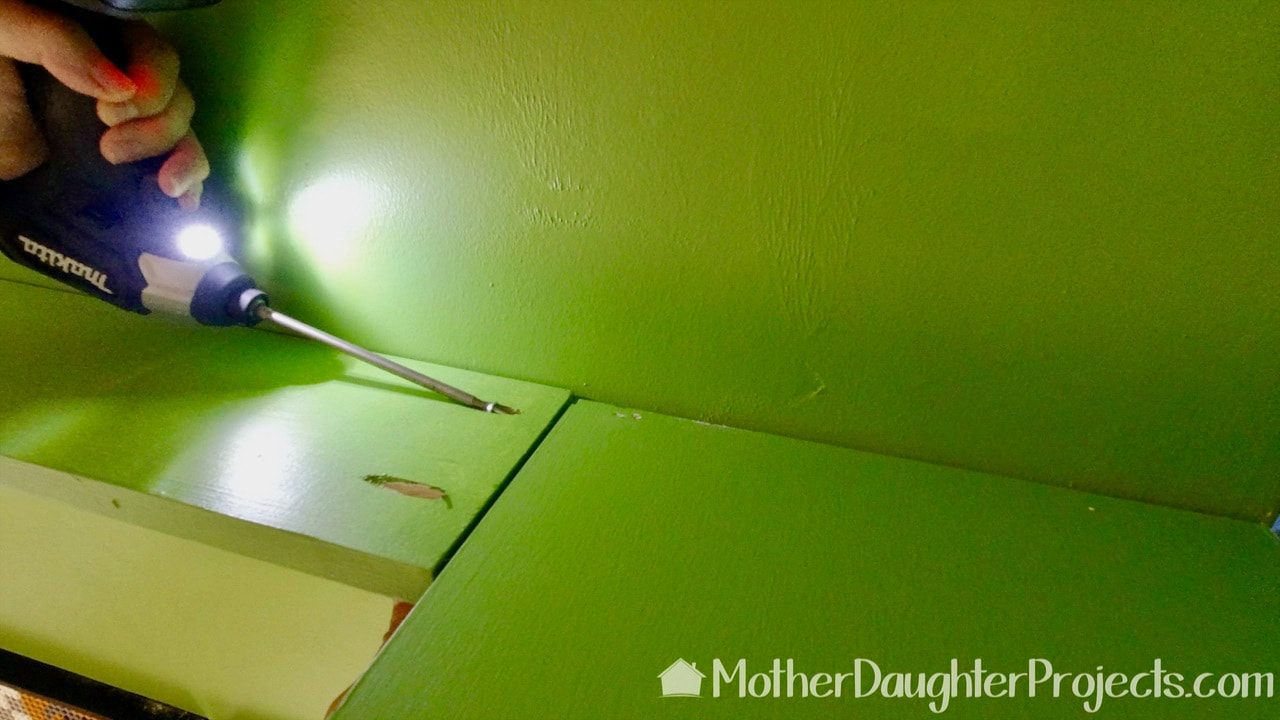
The long boards are attached to the corner support with screws. This is on top of the board as they will not be seen from the ground. Along the way, all the boards were primed and then painted in the same color of the LEGO room.
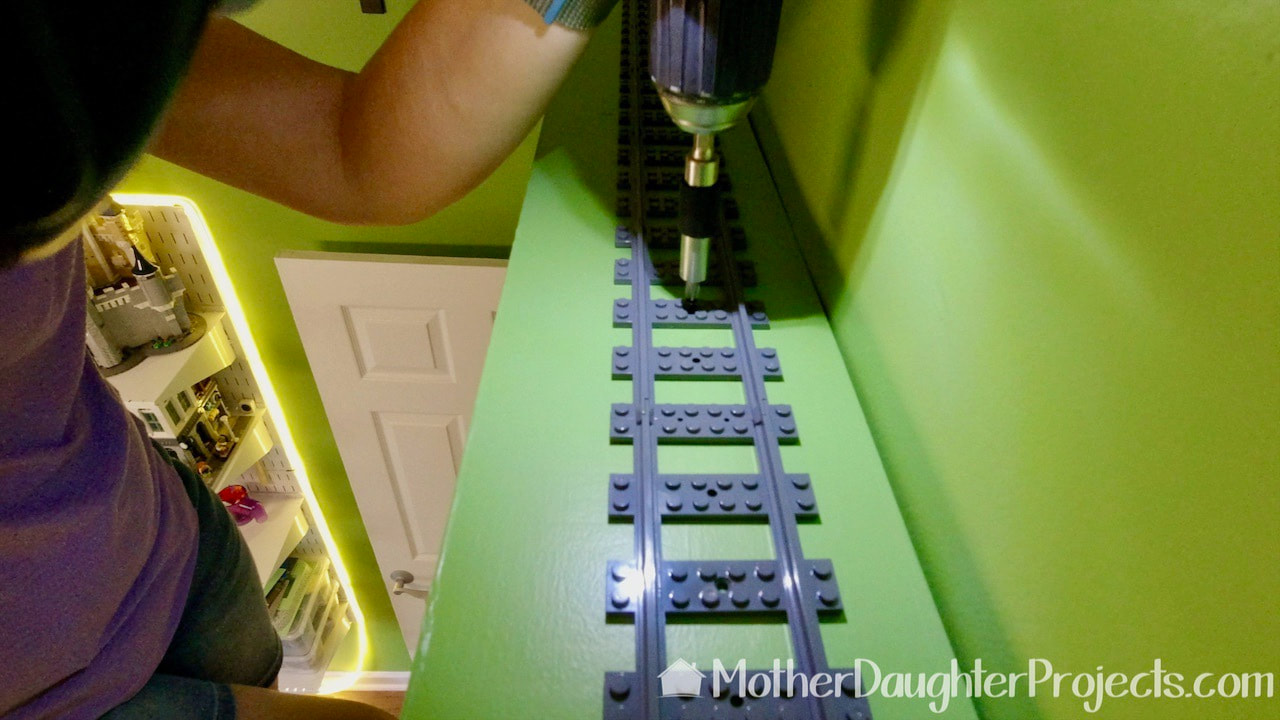
After a couple of test runs with the train to adjust the track, Steph used tiny screws to secure the track to the elevated shelf.
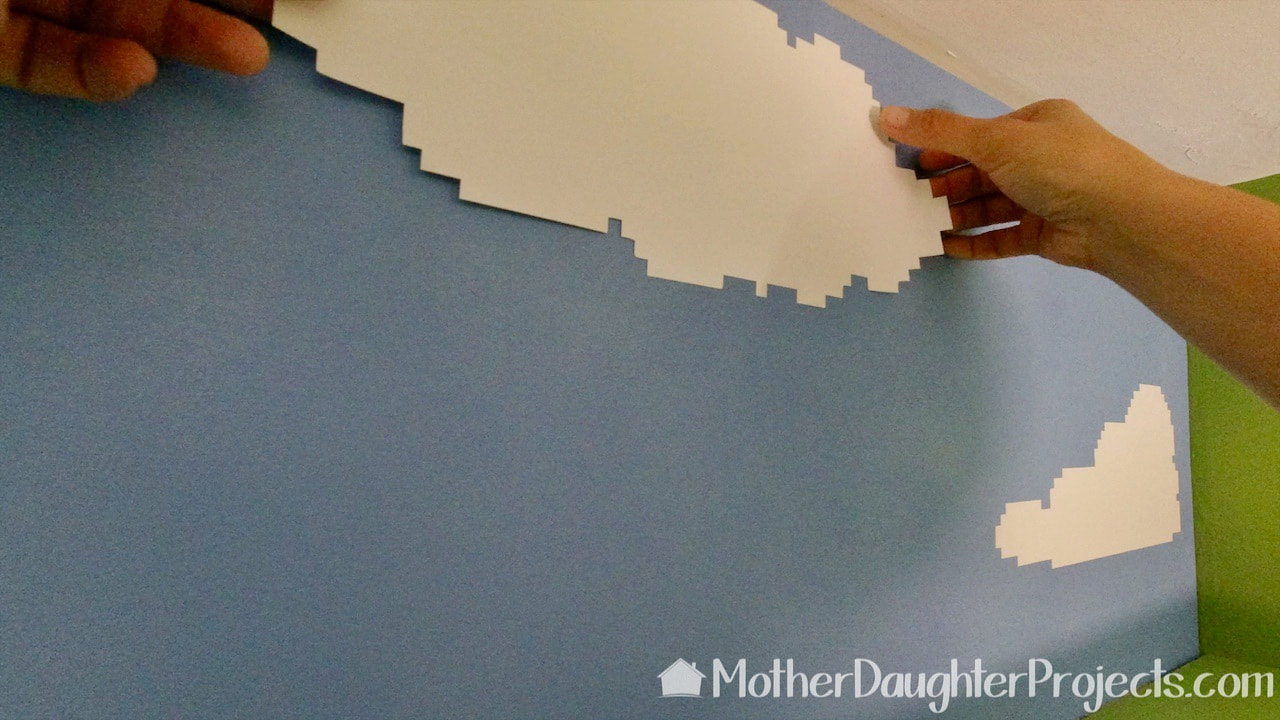
The space above the wide shelf was spray painted sky blue and LEGO inspired clouds were cut from vinyl on our Cricut Maker and put into place.
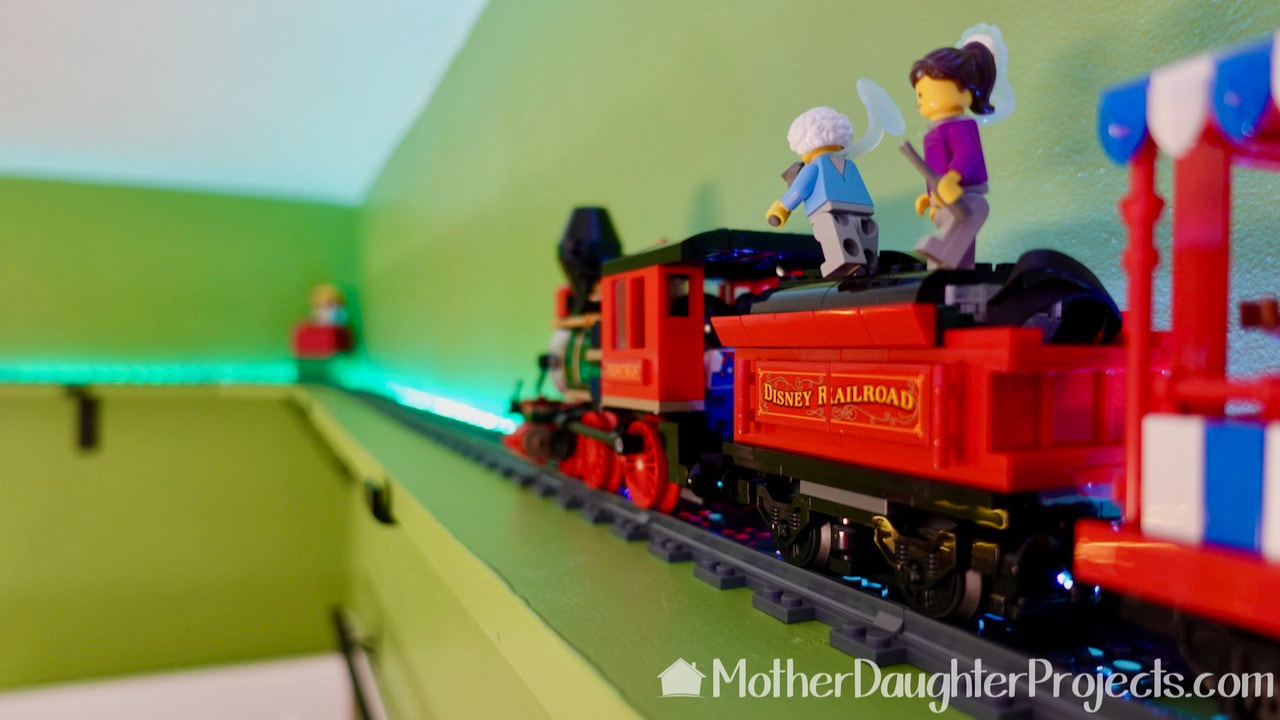
Let's go for a ride! All aboard!
This is the LEGO Disney Train and Station set. The second car holds the battery pack that uses bluetooth to connect to the LEGO PoweredUp app on Steph's phone to control the train, and it plays the fun train sounds you hear in the video.
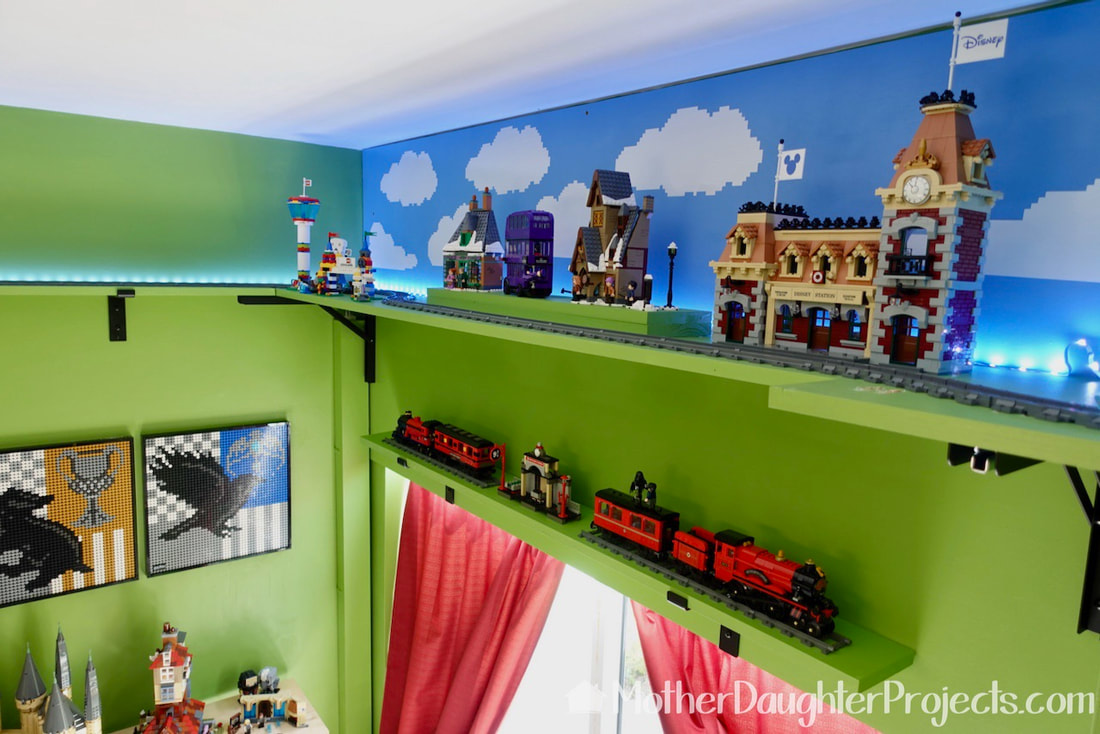
The train travels past three Florida theme parks: Disney's Magic Kingdom, Universal Studios Orlando, and Legoland Florida. We did build a riser for those Harry Potter Sets you see in the middle. And we made one more shelf to hold Steph's vintage Hogwarts express train from 2000, and her new Hogwarts express from 2020!
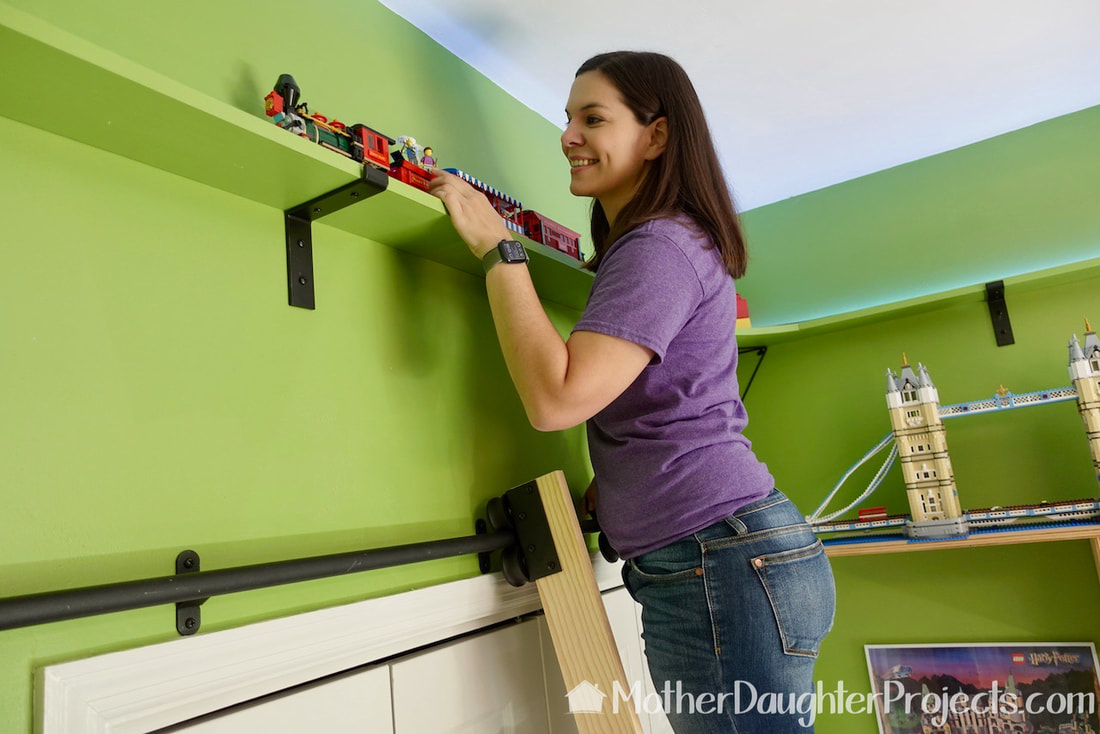
Your eyes don't deceive you, that is a rolling library ladder Steph is standing on. That build is coming soon.
I don't have any childhood dreams that have come true that are quite as cool as Steph's, but I guess if I had to choose something that I always wanted it would have been a dedicated sewing/craft space. Once my kids moved out, that dream became a reality!
What was your childhood dream? Did you make it a reality? Please share in the comments below. Please note: This is not a sponsored post. FYI: We are not professionals, and we don't claim to be. This is what we found worked for our project. Yours may need a little different approach. Safety first! FYI: Affiliate links are being used on this page. Purchasing via these links help support MDP! Related Projects
2 Comments
Tammy
12/4/2022 01:11:07 pm
Nice projects
Steph
12/4/2022 04:25:21 pm
Thank you! Leave a Reply. |

Mother Daughter Projects
|