|
In this episode of Workshop Wednesday, we shared an unboxing of Surebonder hot glue gun products (we'll be doing a sponsored post with them very soon), we introduced, Mac, Steph's new greyhound, and presented a really fast DIY project that is just in time for holiday decorating.
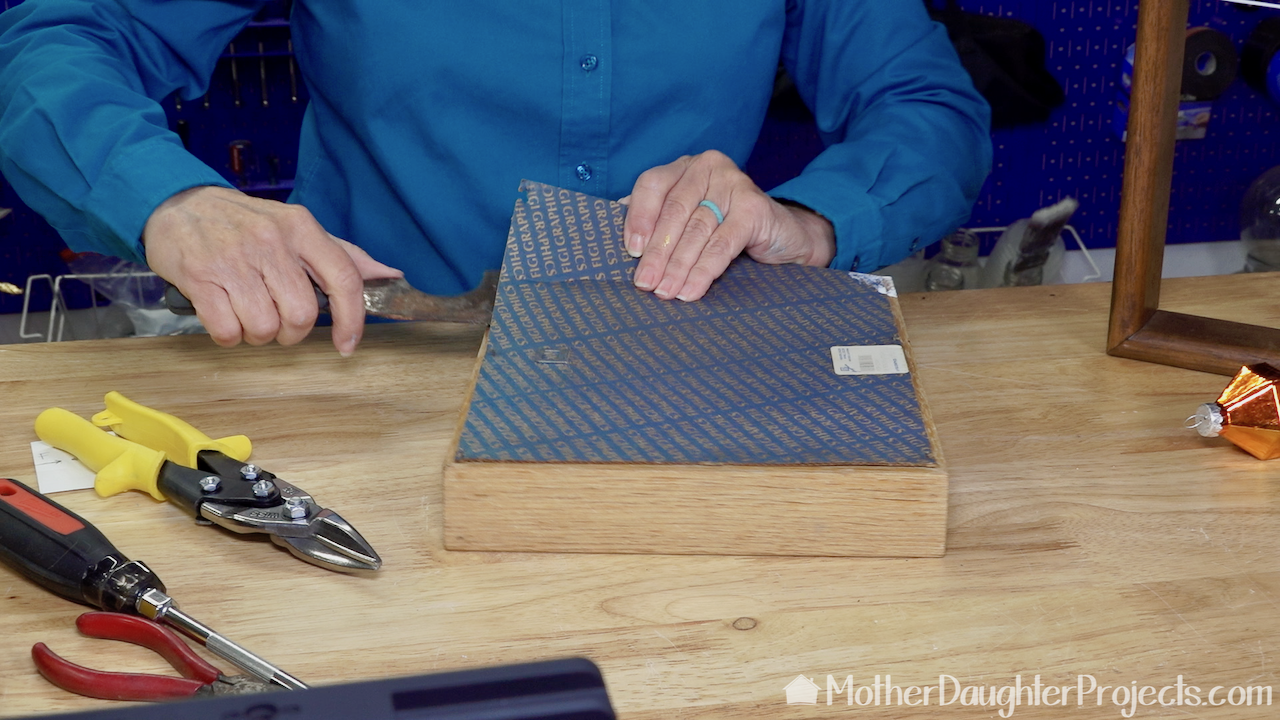 This 'FastDIY' freestanding ornament display uses repurposed materials. You'll need a frame with wide sides that will stand up by itself and a wire coat hanger. You can sometimes find wire coat hangers at dry cleaners as they often take them back to be recycled. You'll also need a drill and drill bit to match the diameter of the coat hanger wire you are using. 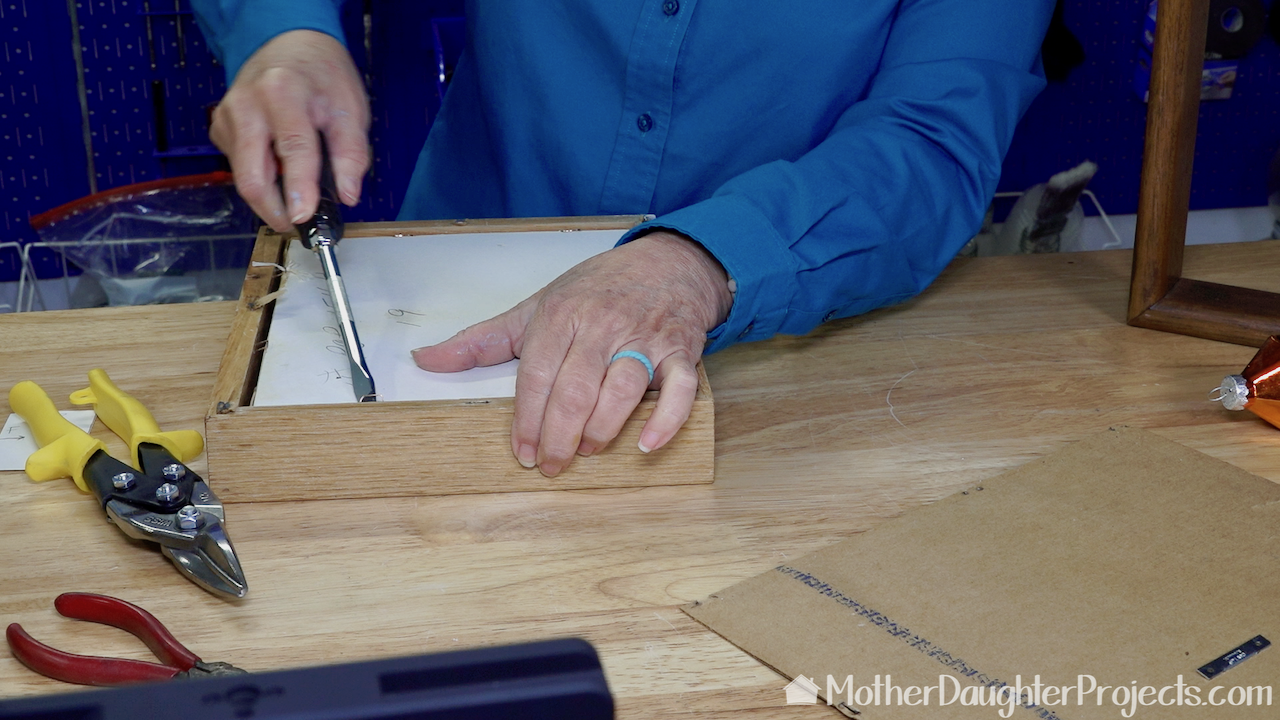 If the frame you are using is filled, you will need to deconstruct it. I used a painter's tool that has a point, a flathead screwdriver to release those staple like wires holding the picture in place, and a pair of needle nose pliers to fully remove those staples. 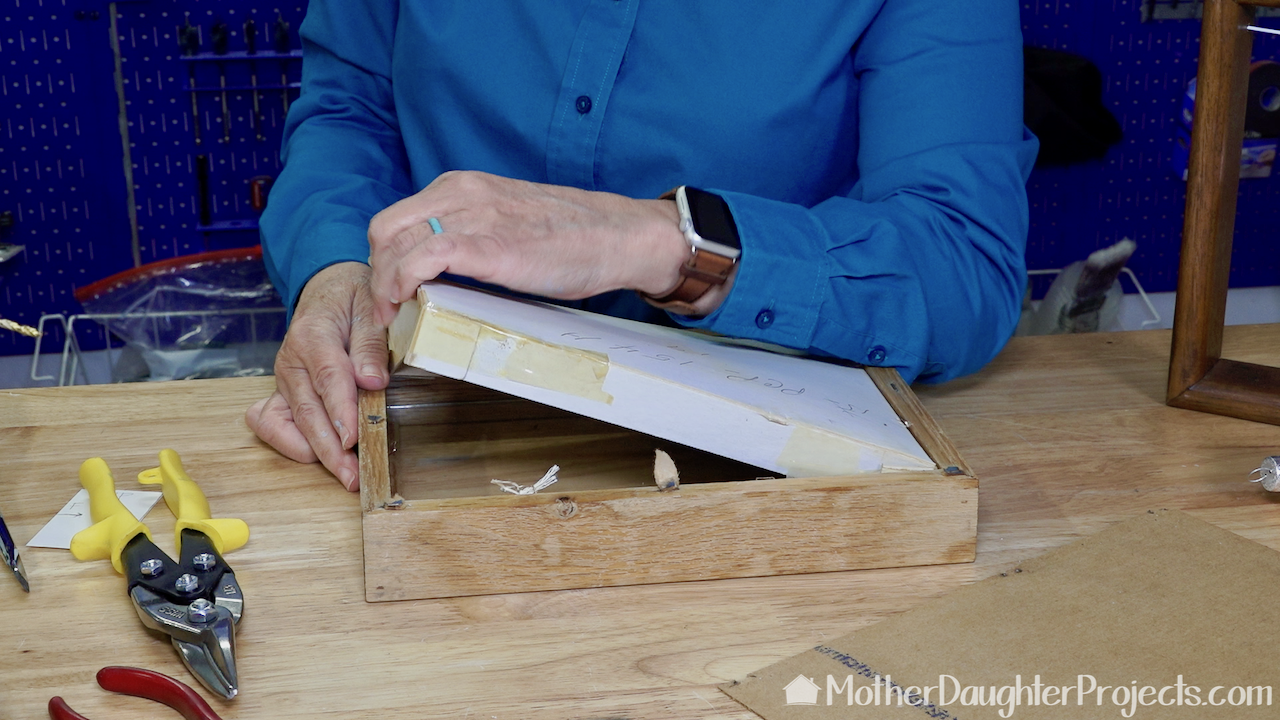 Remove the contents of the frame. 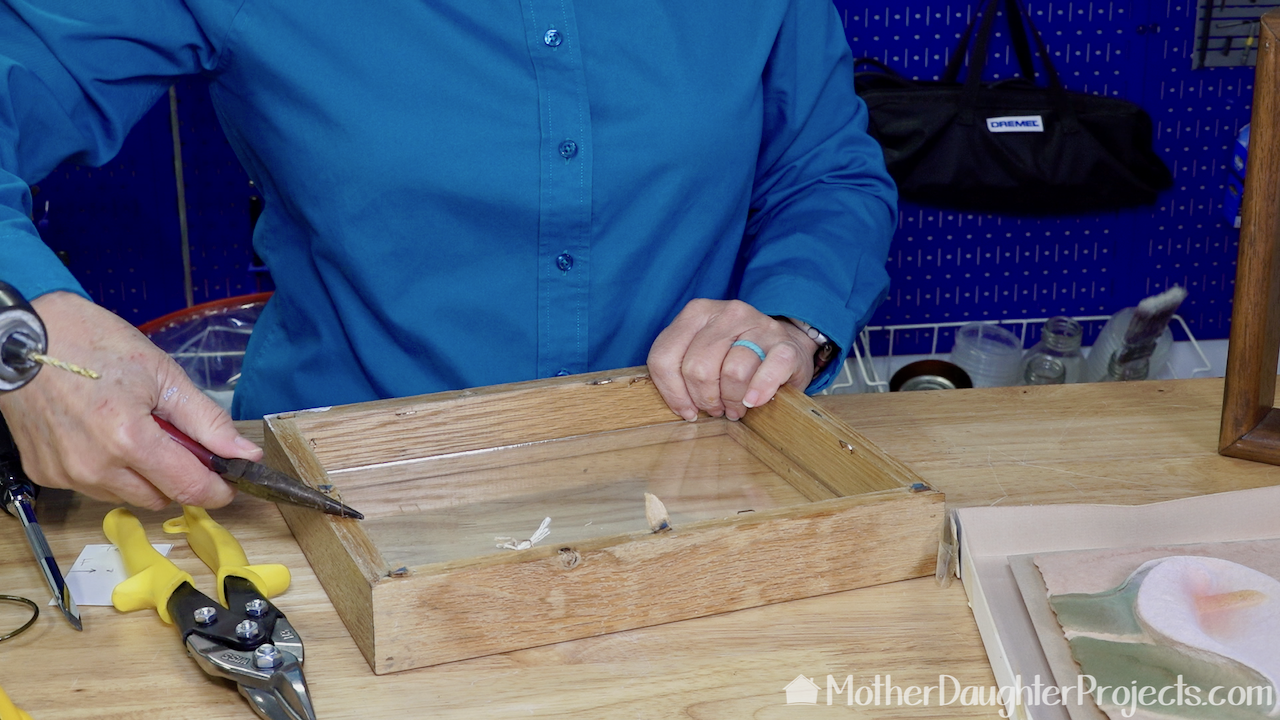 You'll need to fully remove those wire staples that held the picture in place in order to get the glass out. Handle the glass carefully and dispose of it safely. It's at this point that you should paint or stain the frame if desired. Also, if you want to hang your finished frame, you'll want to add a picture hanger. 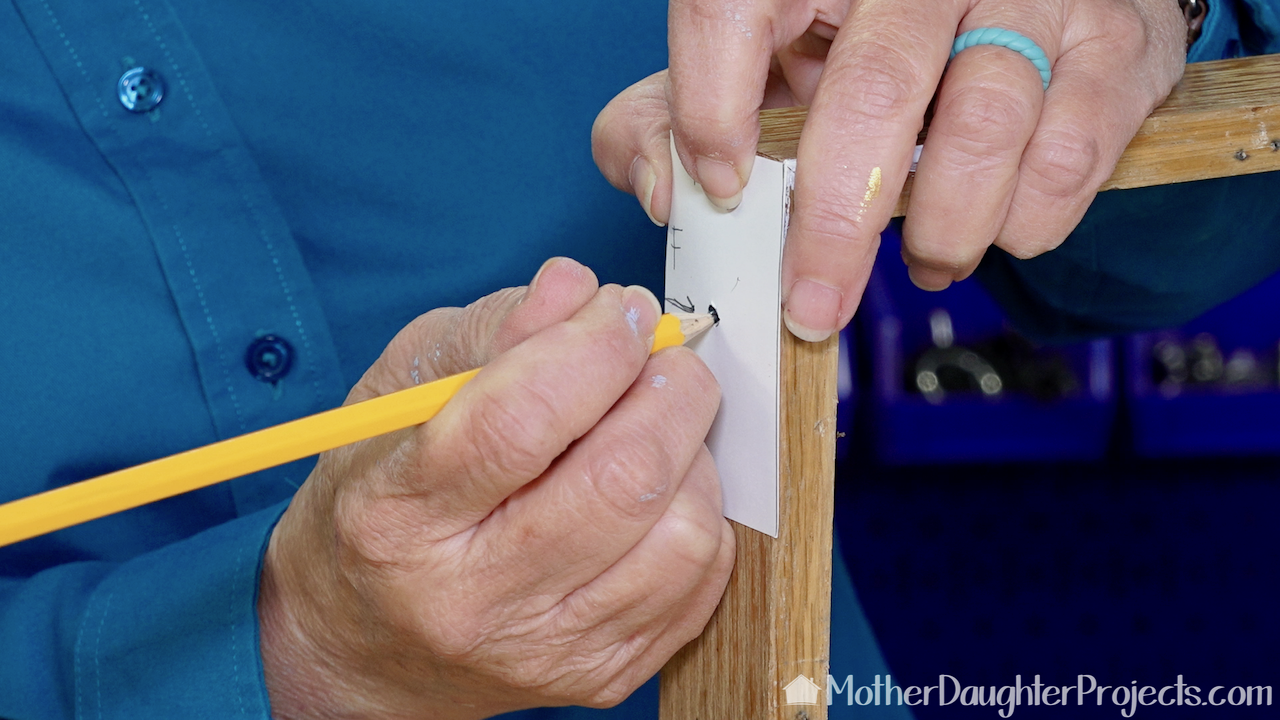 I made a little template to mark the placement of the hole for the wire. This insures the holes will be exactly across from each other. Be sure to flip the template, but with the edge still facing the front of the frame, when marking the second hole. 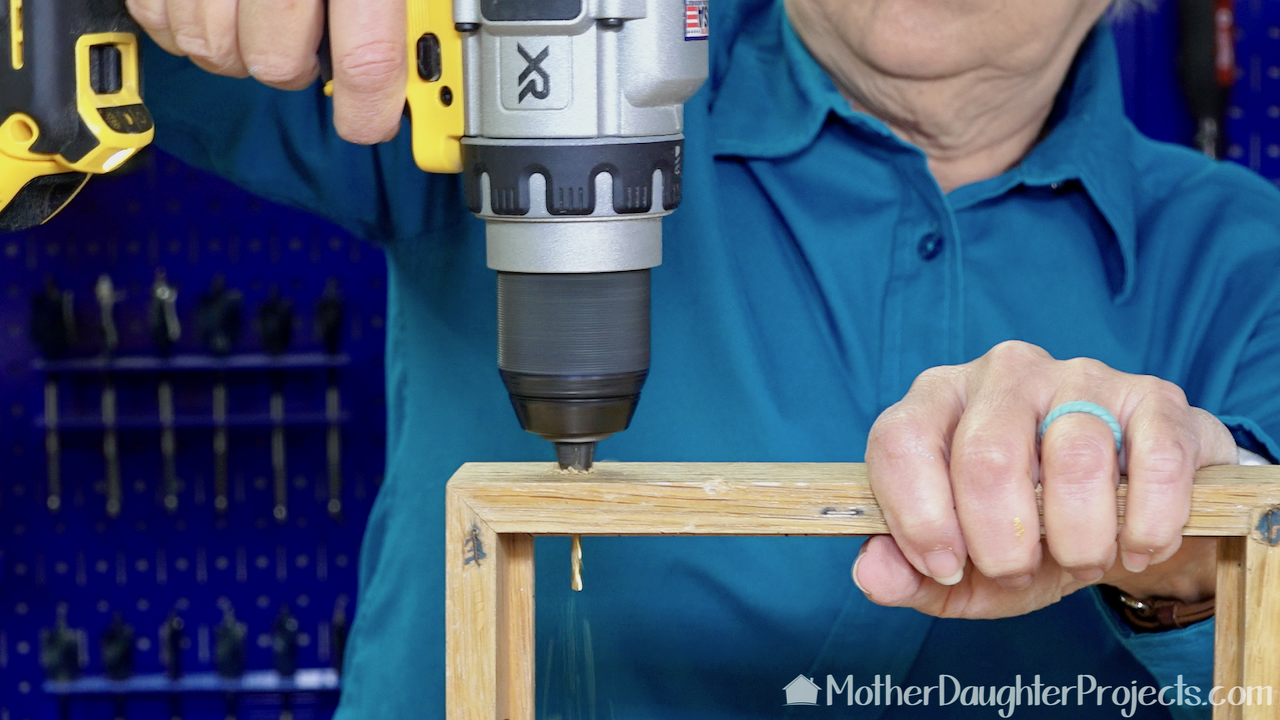 Match your drill bit to the diameter of the coat hanger wire. Drill down through the sides of the frame. Try to keep the drill as vertical as possible to keep the hole straight. 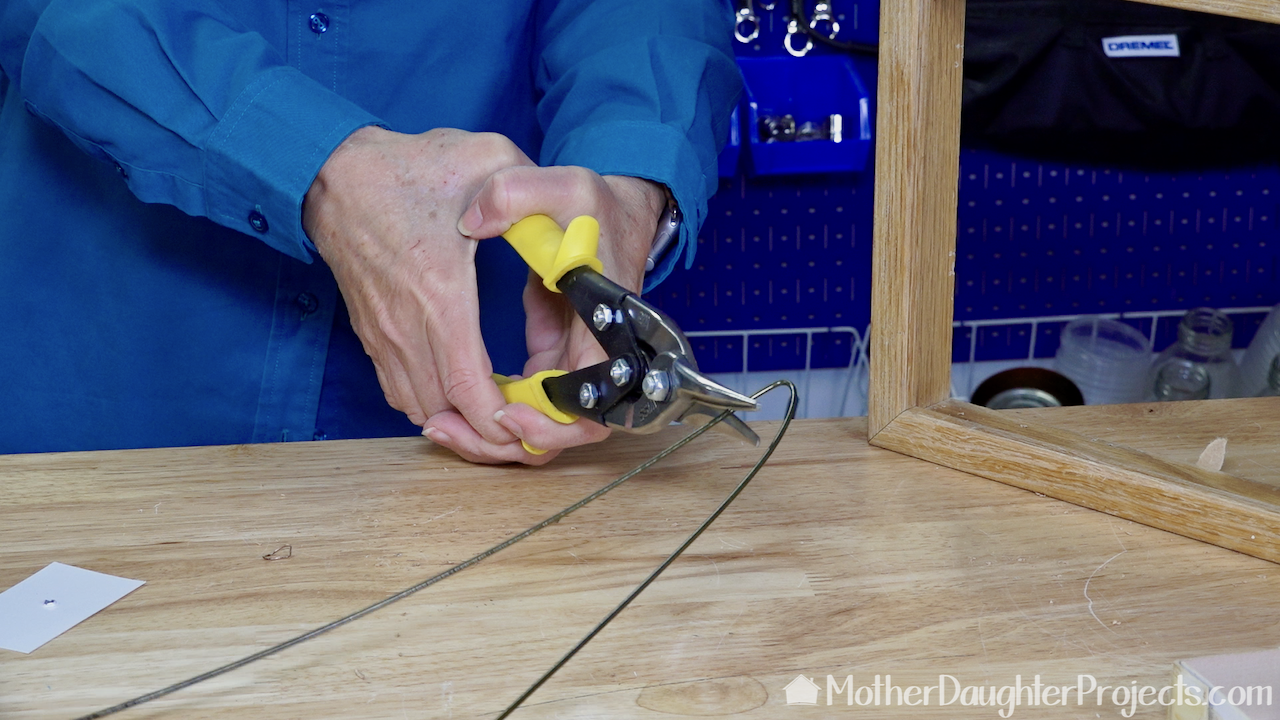 Cut the wire hanger longer than the length of the frame. Here I'm using a pair of Wiss Aviation Tin Snips. 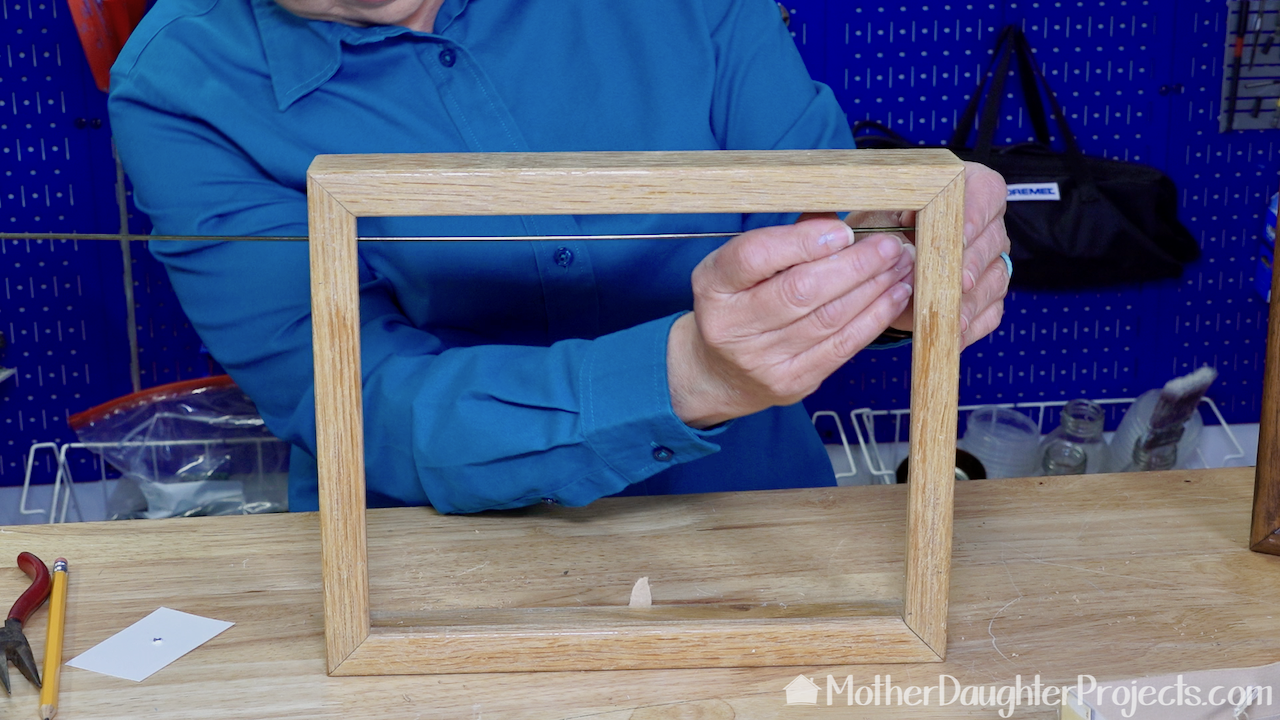 Thread the wire through the two holes. 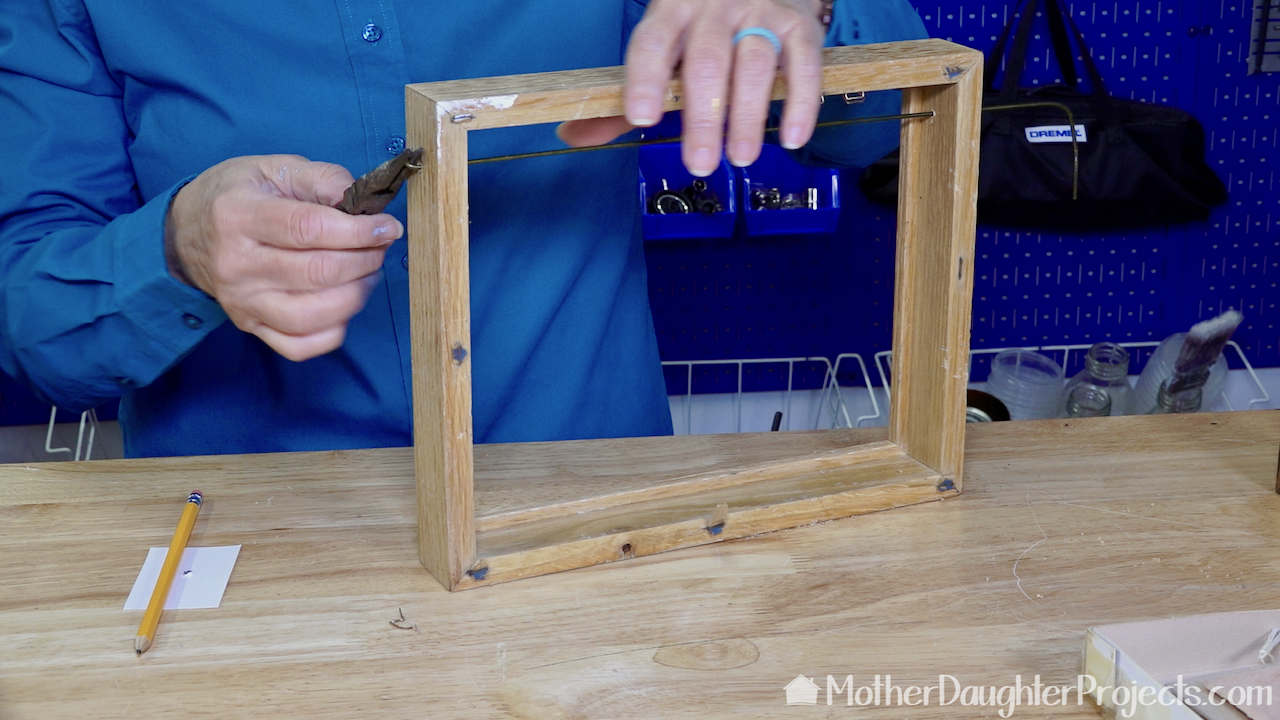 Use the needle nose pliers to curl the end of the wire to secure them in place. Cut off any excess wire.  I've used this display both hanging on the wall and displayed on a table. There is so much you can do with it. I'd love to see how you take this simple design and make it yours! Links from the show:
0 Comments
Leave a Reply. |

Mother Daughter Projects
|
