|
text by Vicki Sign up here to join our weekly email newsletter!
This is part two of four in our series on the DIY flatpack sofa from Home Reserve.
In the first video/post, Steph shared the ordering process and building the test armless the company suggested we build before getting the rest of the pieces. This video/post is all about building the various pieces: the small and large ottomans, the arm for the armless, stuffing the cushions, and "upholstering" the frames. 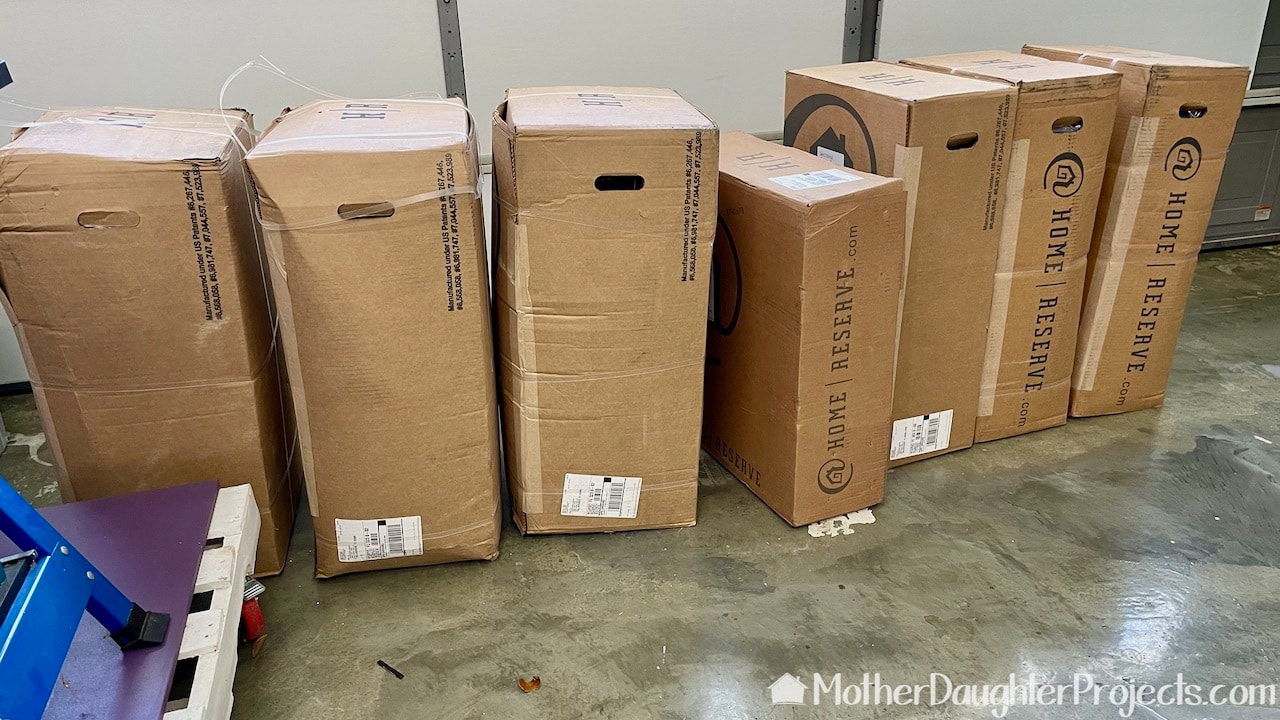
Everything comes packaged securely in individual boxes. They are light enough for one person to handle. We saw them being delivered and asked our UPS driver to put them in the garage.
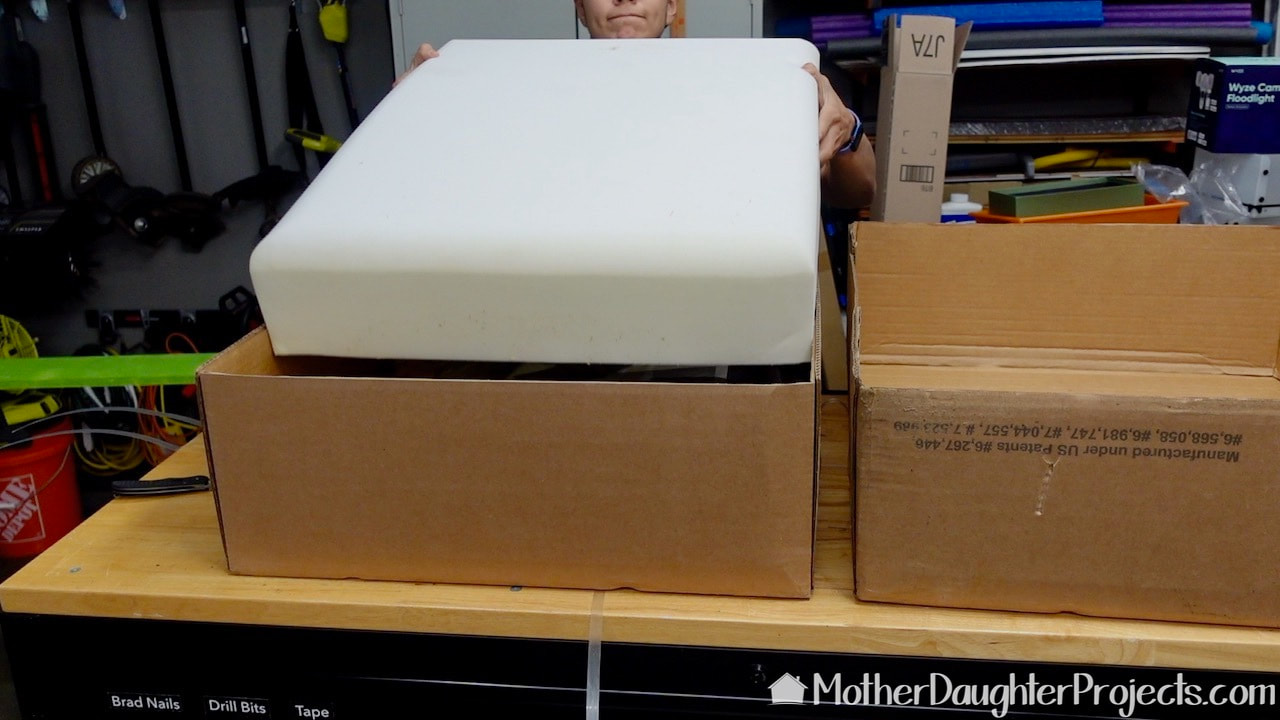
Steph started with one of the ottomans first. With the box open, the foam was first in the box followed by the upholstery, hardware and instructions and finally, all the frame pieces.
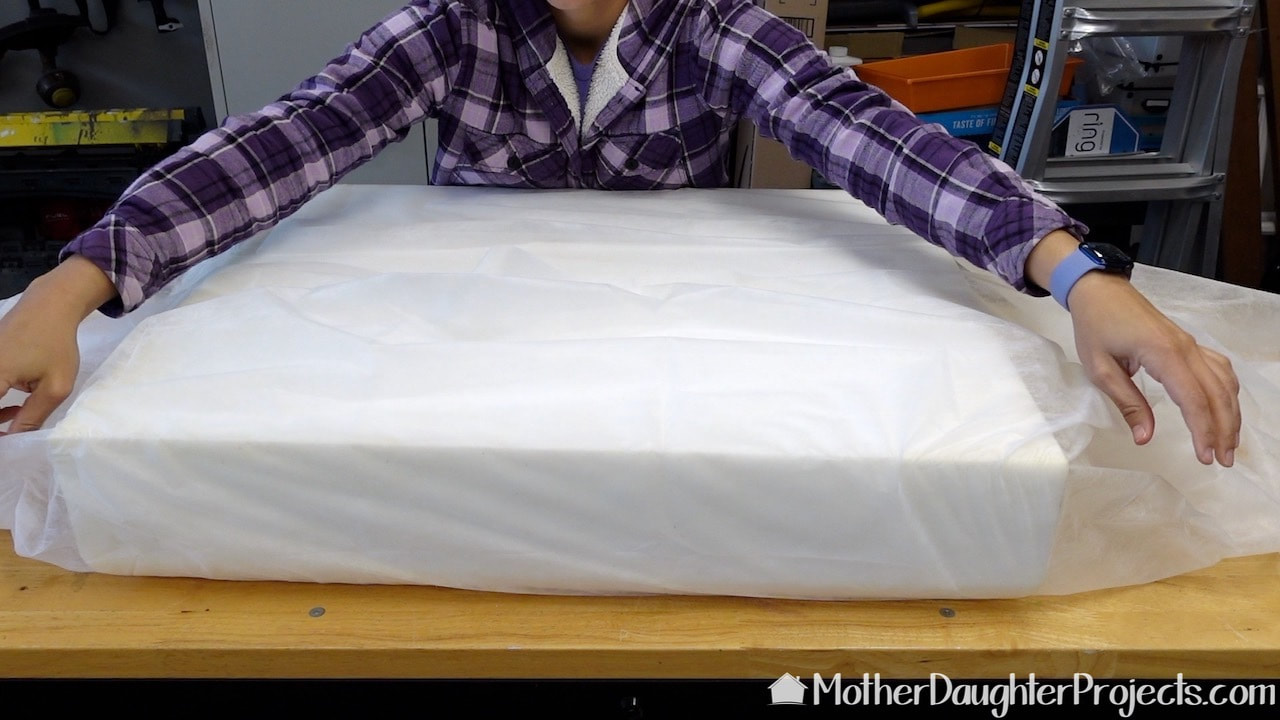
This fine, silky material is included to help get the foam cushion inside the cover.
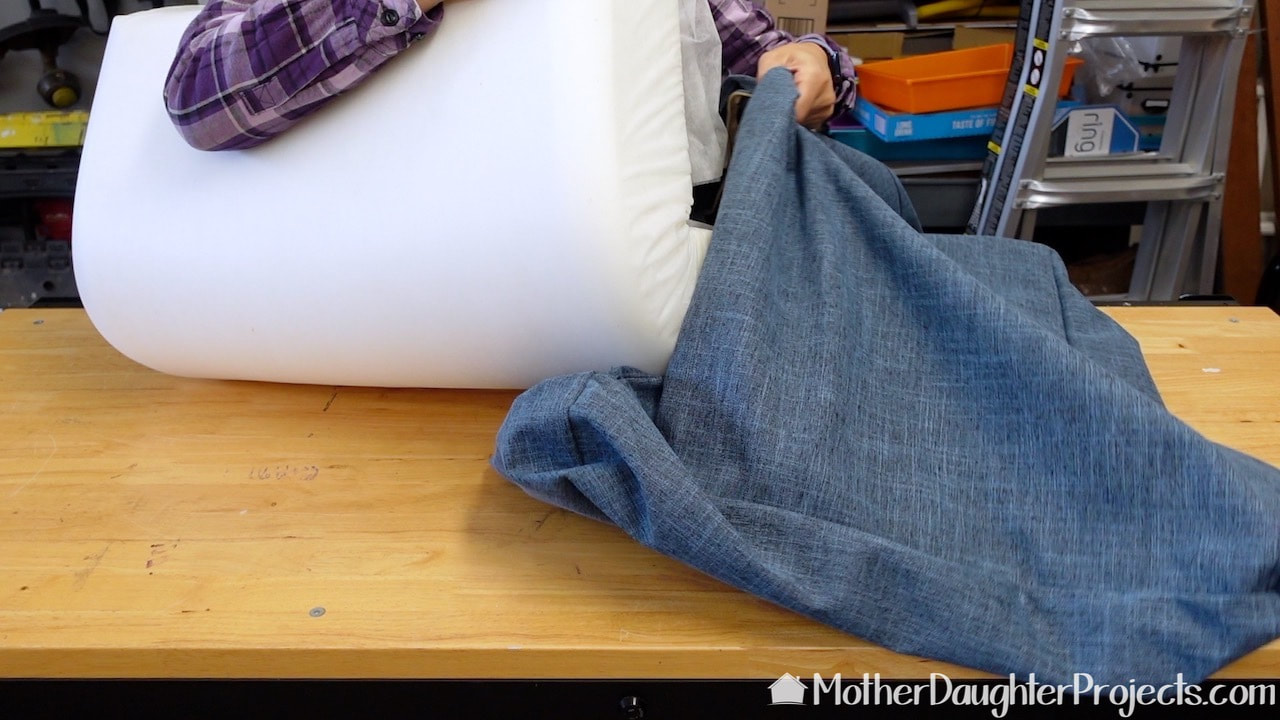
To stuff the cover, the foam is folded in half and then put into the cover and smoothed into place.
The cover zips easily. Any wrinkles that might have been in the cover disappear. It's a good, snug professional looking fit.
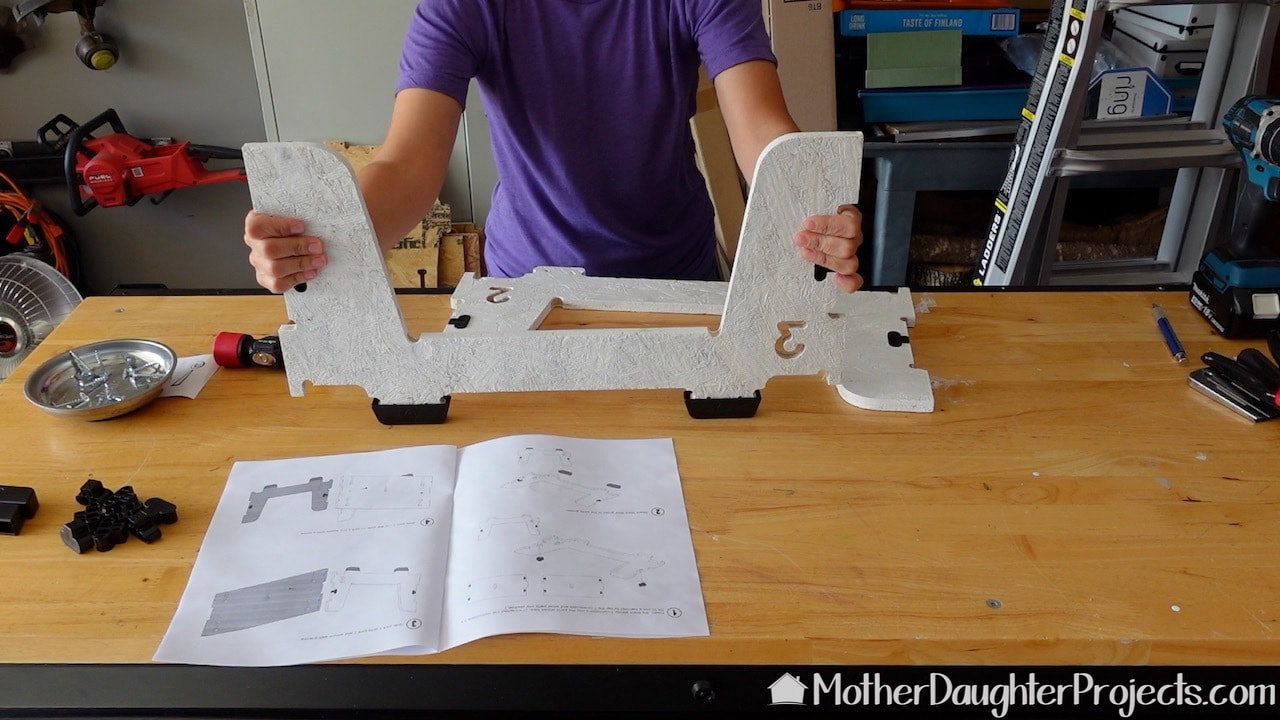
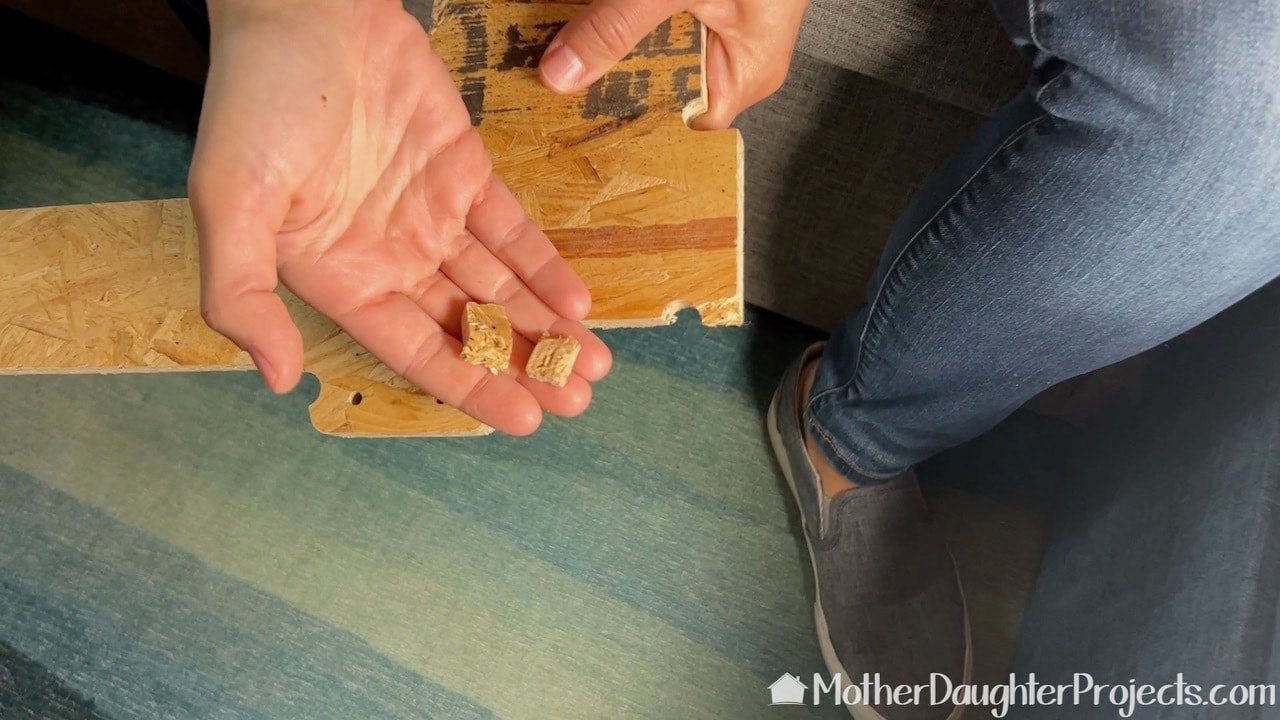
All of the frame pieces were painted prior to assembly due to the smell of the OSB material and because we like the finish much better this way. Those black things are the feet glides and T-connectors which holds everything together.
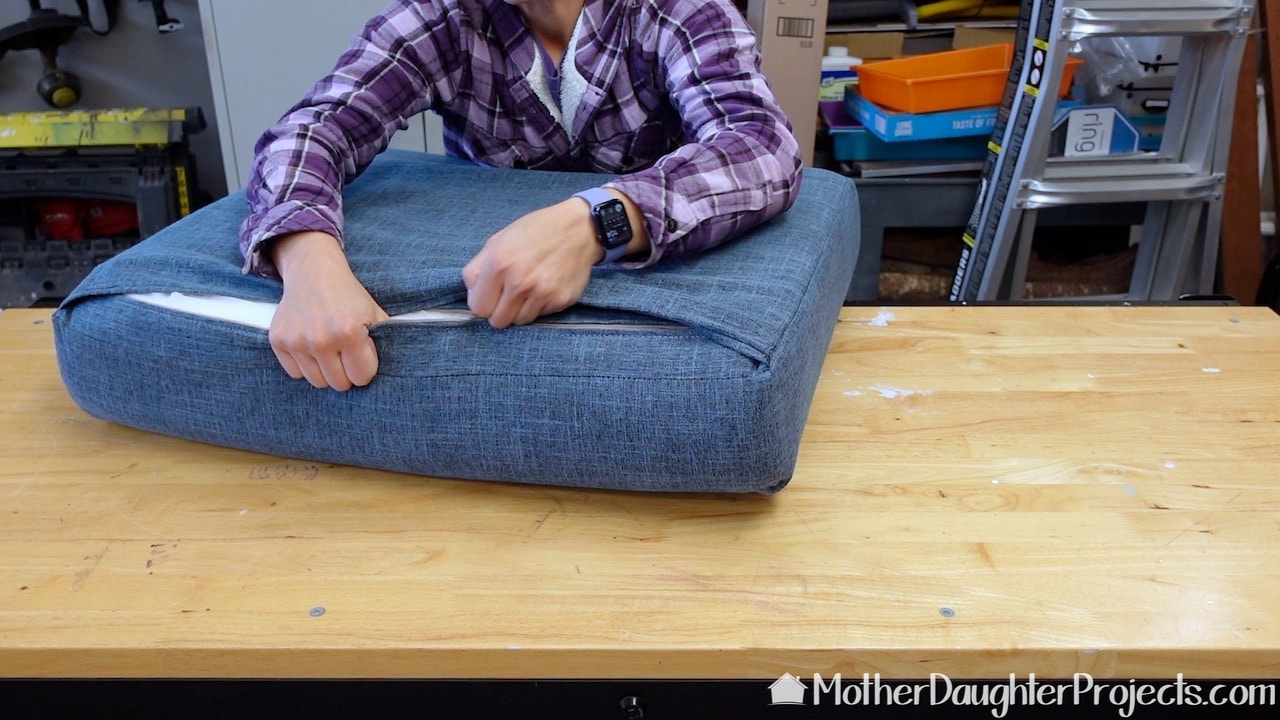
Although "upholstering" frames is not hard, it does take patience to take things slow to get a good tight fit. Moving the fabric down in equal increments a little bit at a time is key.
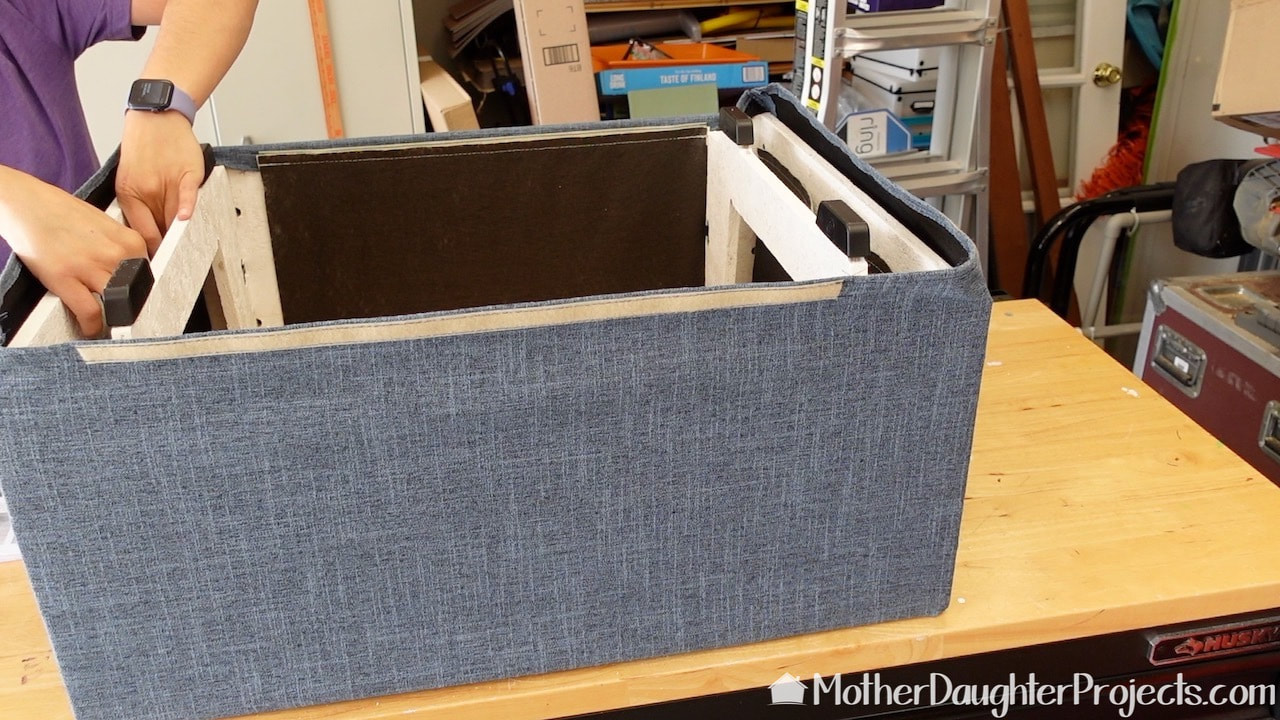
There is velcro along the bottom to keep the upholstery nice and tight and in place.
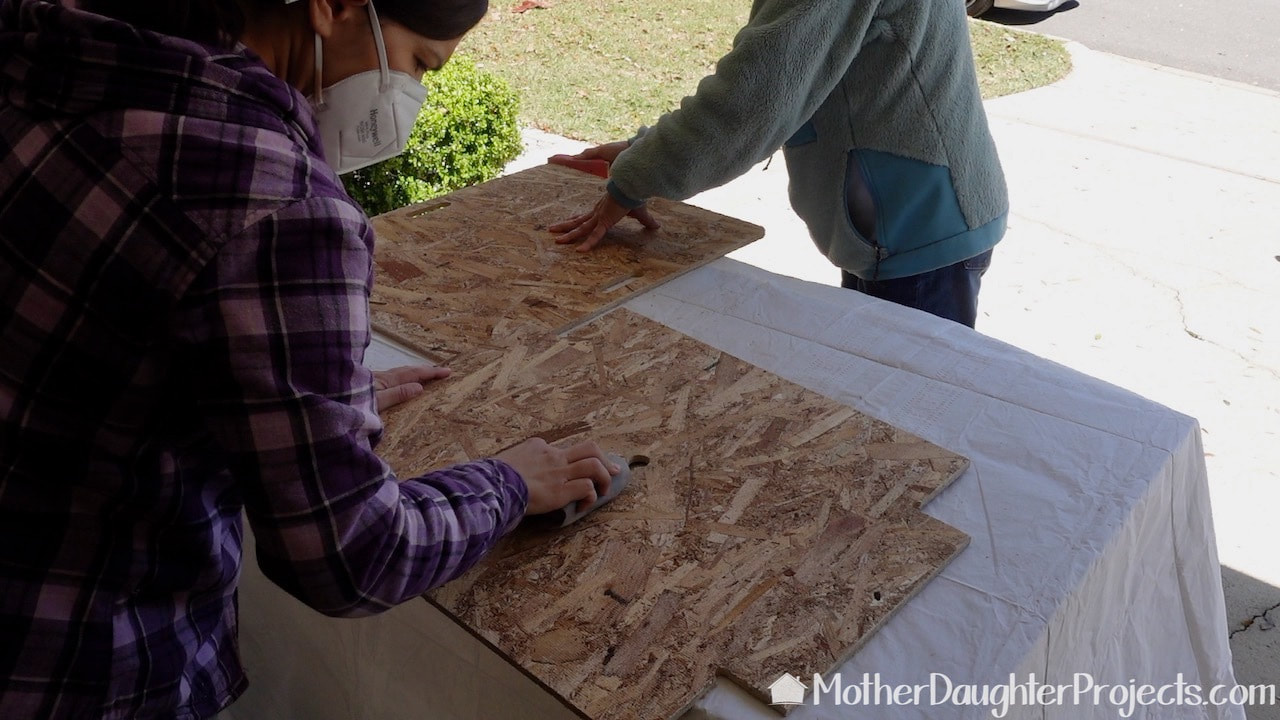
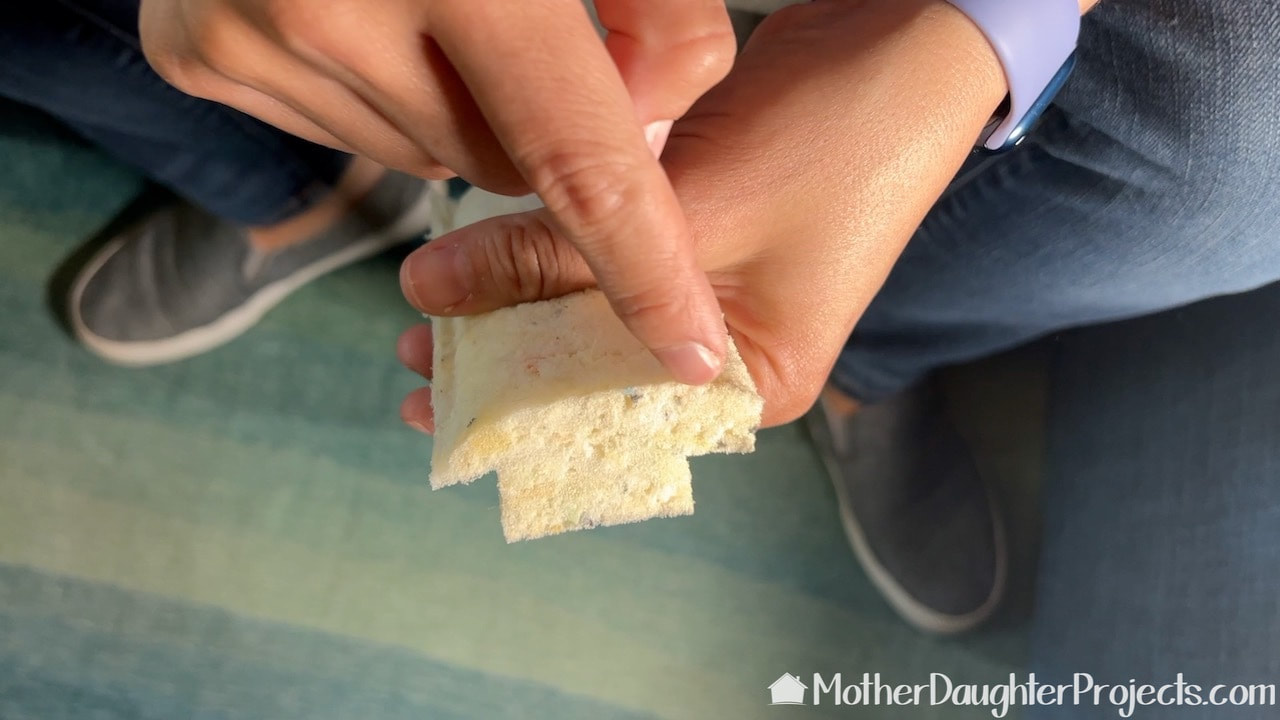
We worked assembly style to sand and paint all the remaining pieces. A piece of 150 grit sandpaper is included to sand any rough or splintery areas.
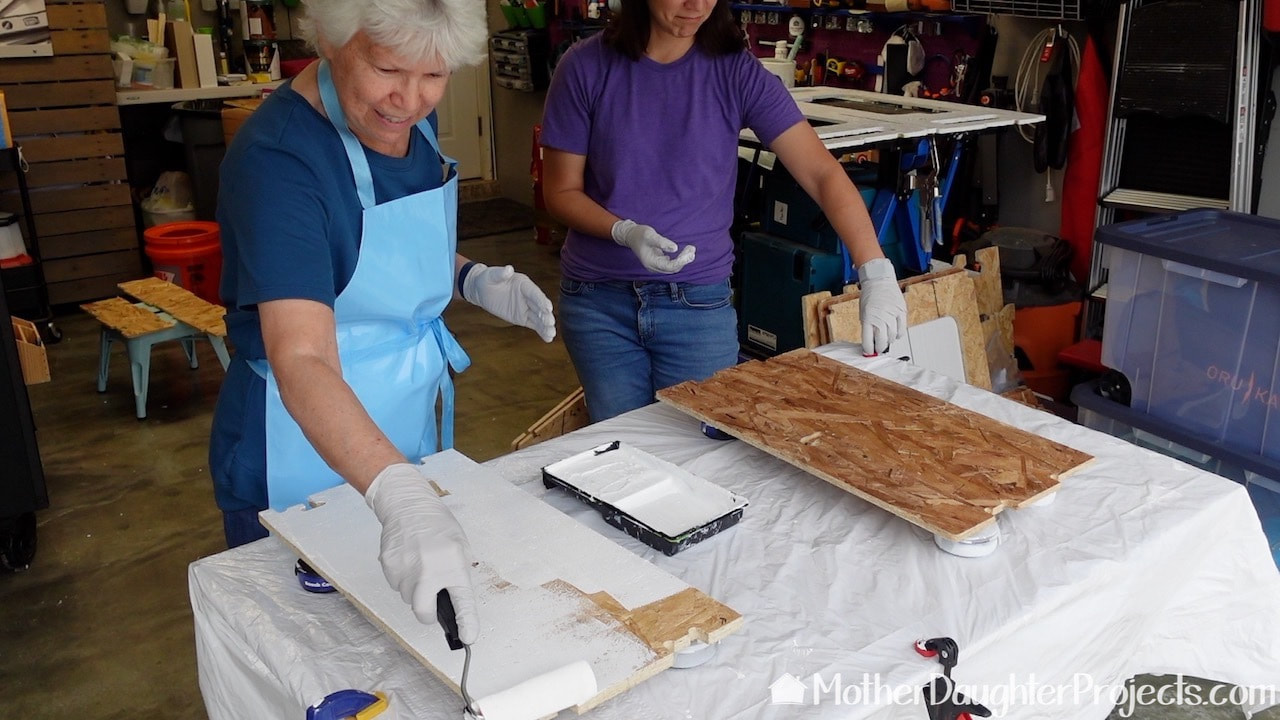
With me painting and Steph staging the pieces to paint or dry, the work went really quickly! We just used leftover paint.
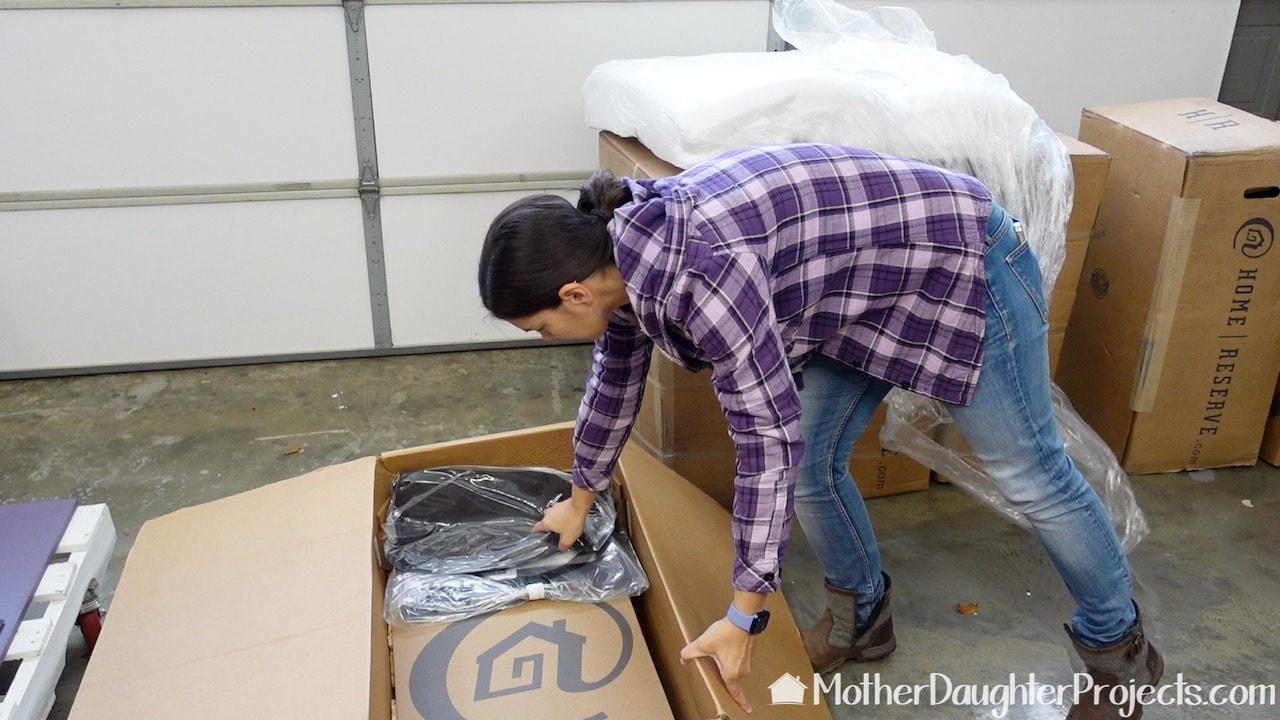
Just a reminder: open the boxes flat or all the contents will fall out!
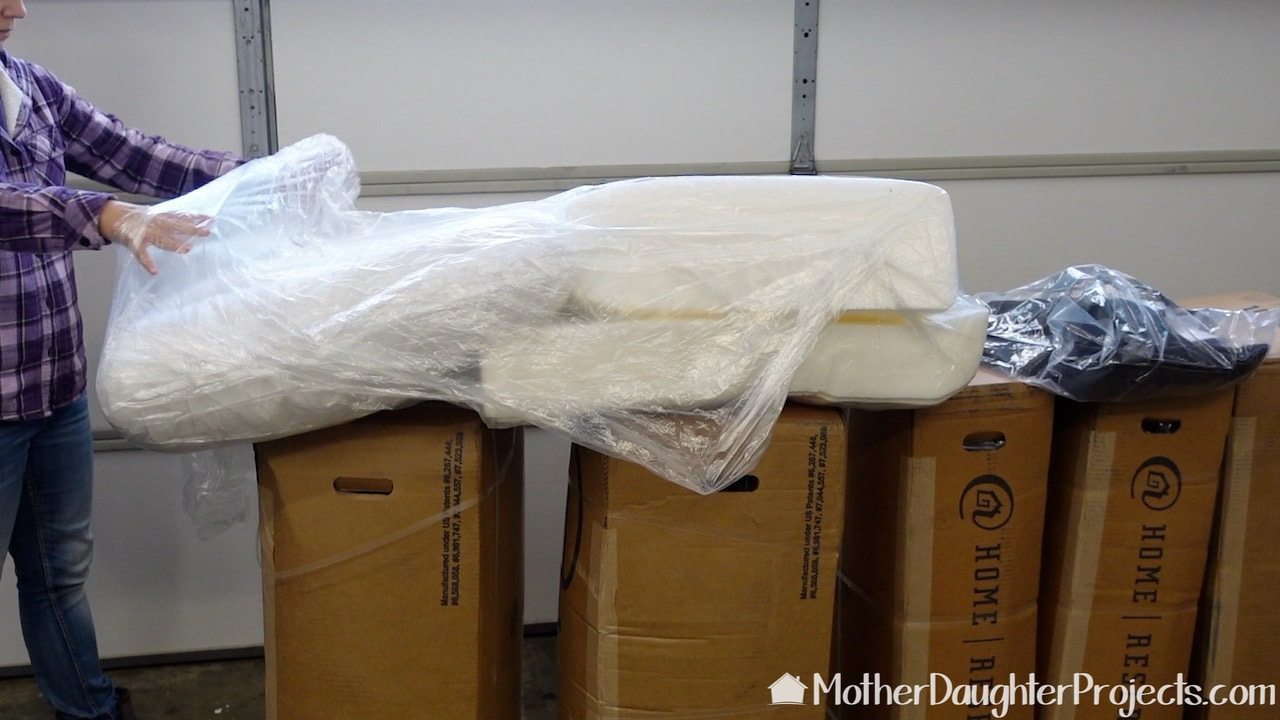
The foam cushions come compressed and will immediately expand once the bags are opened.

The arm is probably the trickiest piece to tackle, but it too was not that hard to assemble.
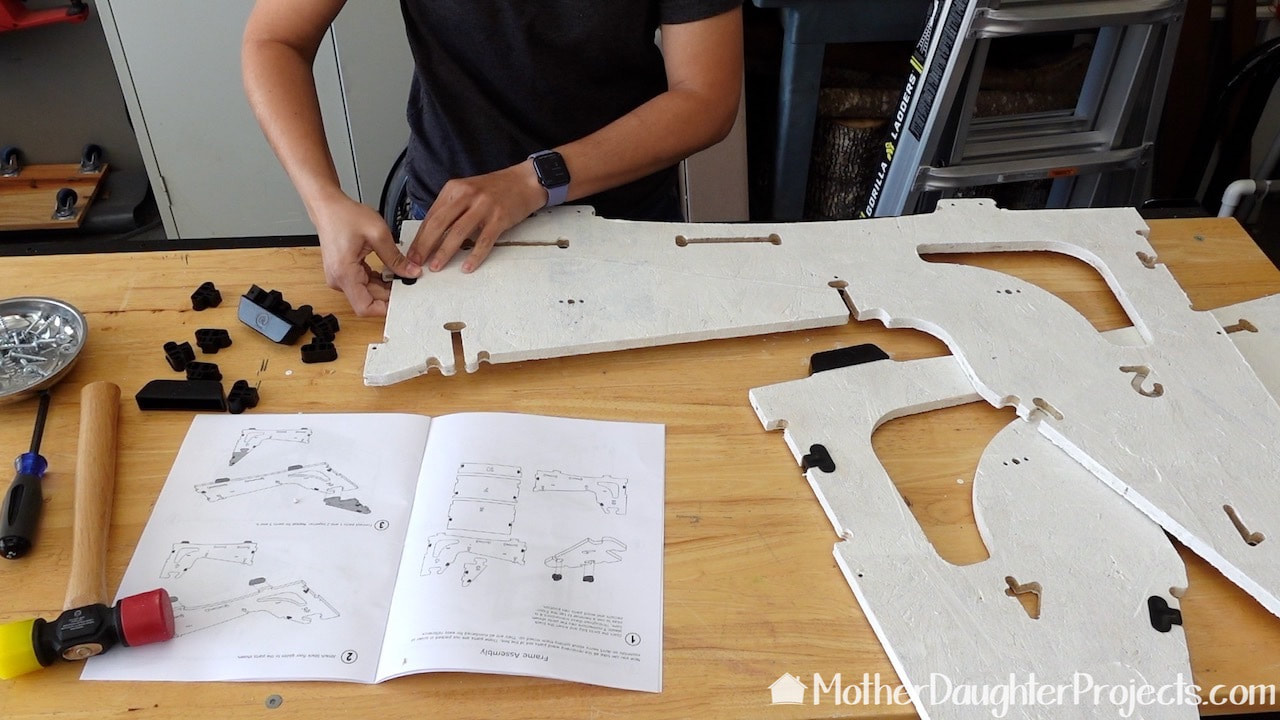
These are the sides of the armless. Pieces 1 and 2 should be put together before painting as it's easier that way. You may need a rubber mallet to gently convince some of the parts to go together.
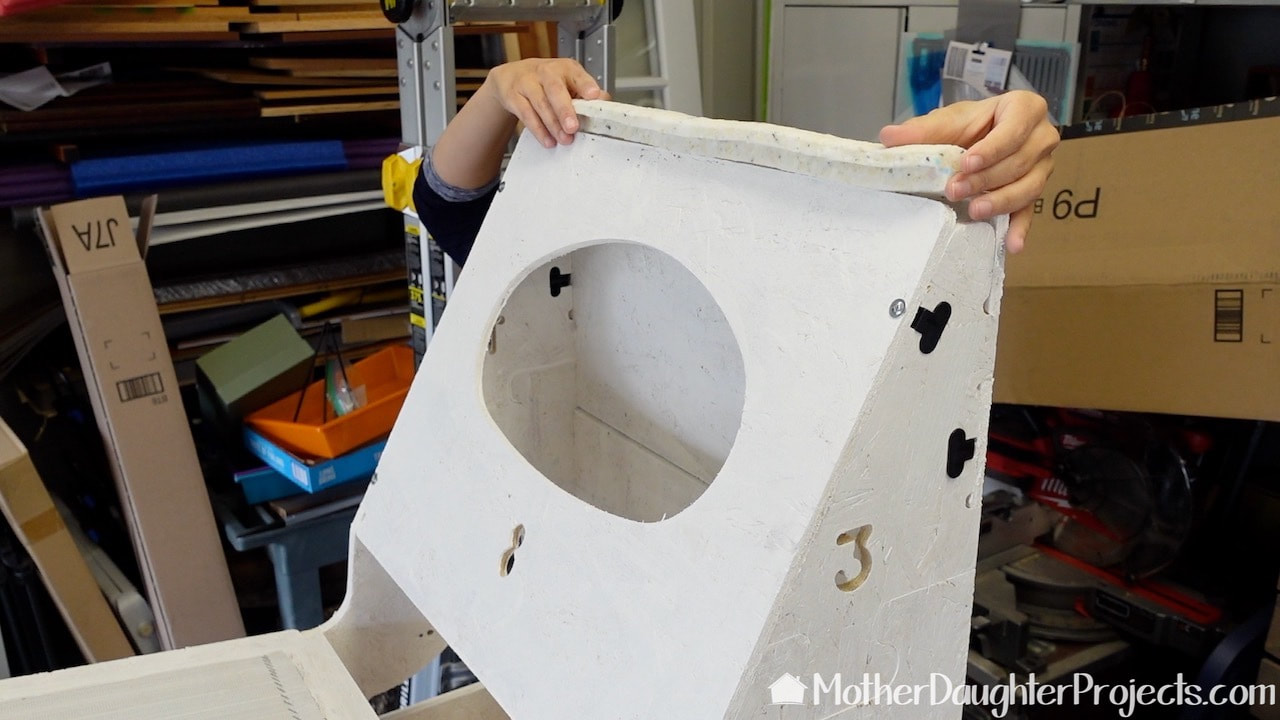
There is a piece of foam that fits nicely at the top of each armless. A couple of these were misshapen upon arrive, but Home Reserve replaced them promptly!
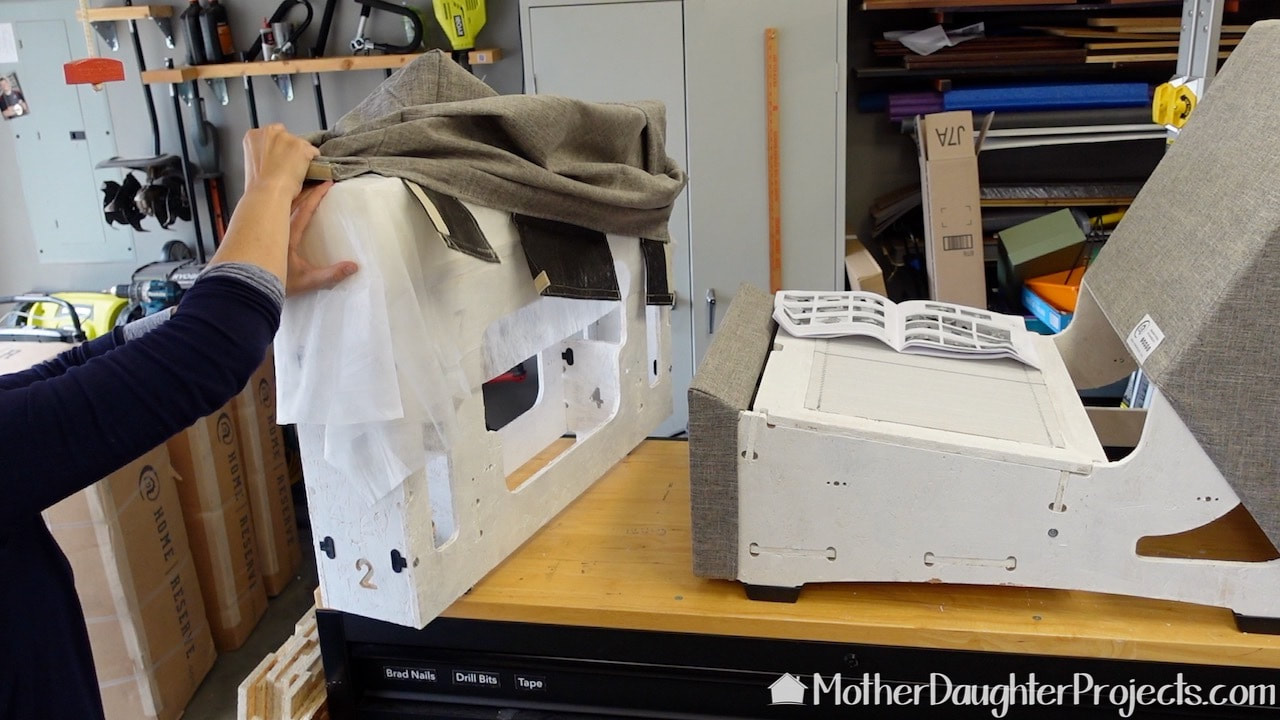
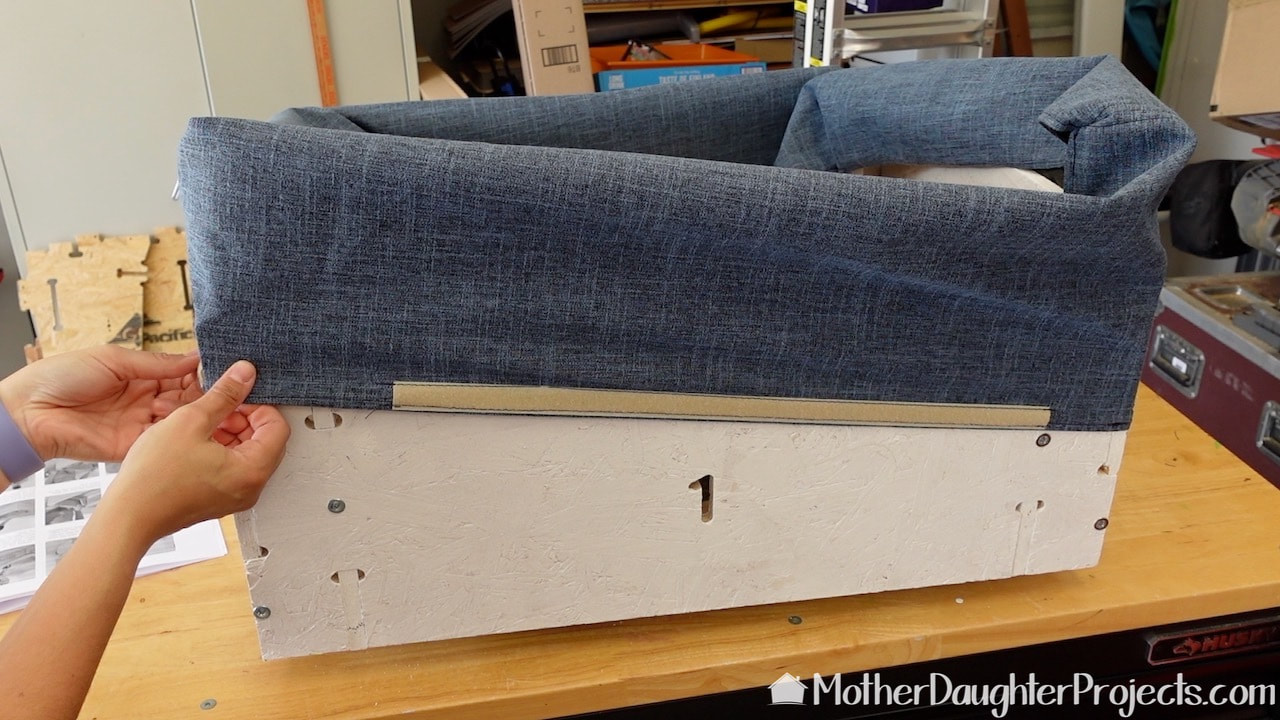
To upholster the arm, the silky material is placed over the foam and the fabric is shimmied into place.

Velcro is used here as well to keep the fabric nice and tight. Notice the holes in the side. Those line up with the holes in the frame that bolt the armless and arm together.
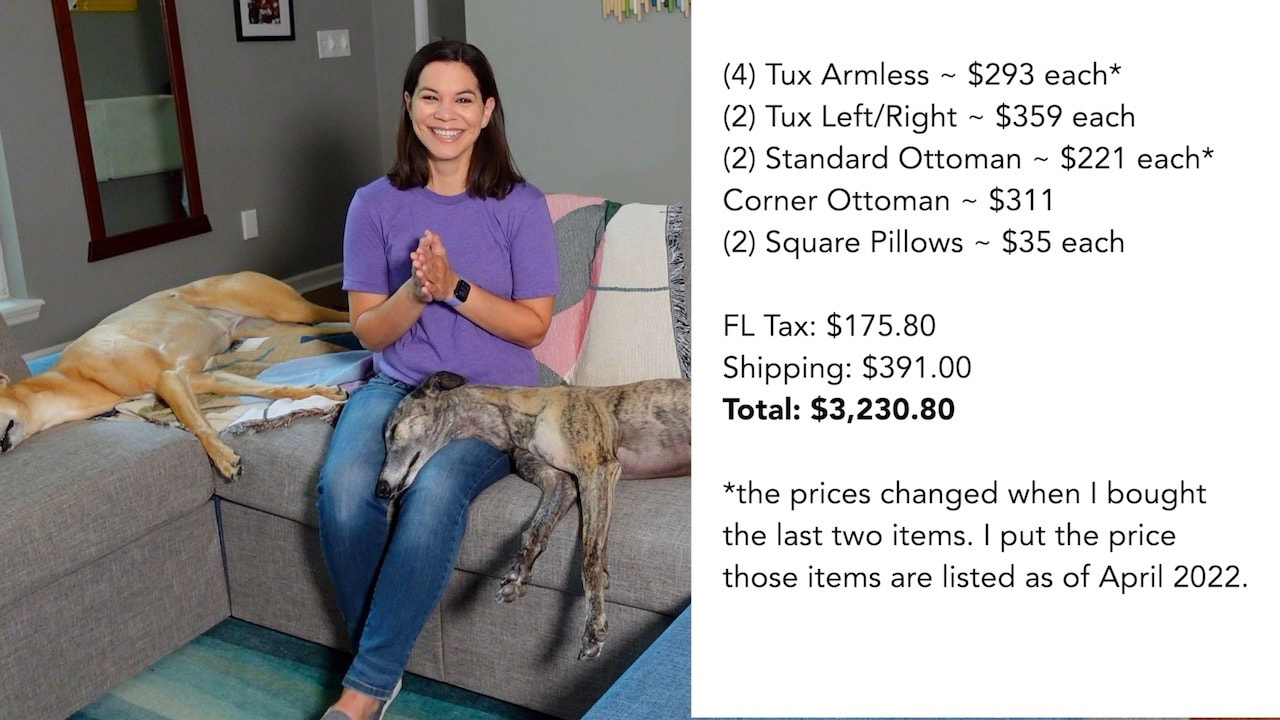
So what did all this cost? Here's the breakdown for what Steph spent.
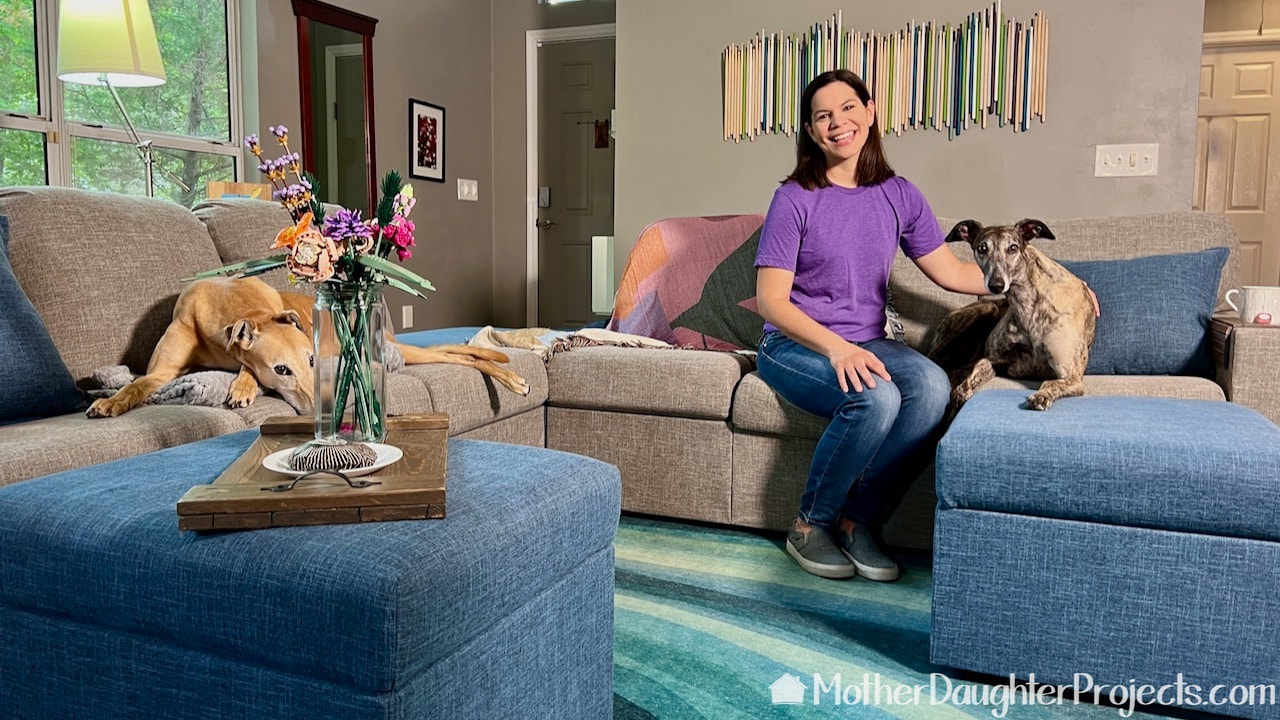
After the five pieces and two ottomans were finished, we decided to add one more armless and another ottoman. Now, there's room to spare for greyhounds and humans alike!
The sofa has been in a use a few weeks now and so far, we've been VERY pleased with the quality and functionality.
The greys were a little reluctant to get up on the couch, but once Steph added a blanket, they overcame their hesitation. It's so much fun to cuddle up with the dogs to settle in to watch YouTube videos! (Yes, Steph and I watch YouTube together for fun!) Please note: This is not a sponsored post. FYI: We are not professionals, and we don't claim to be. This is what we found worked for our project. Yours may need a little different approach. Safety first! FYI: Affiliate links are being used on this page. Purchasing via these links help support MDP Related Projects
1 Comment
Ashley Kisselman
3/1/2023 04:55:21 am
What kind of paint did you use? Leave a Reply. |

Mother Daughter Projects
|