This project was way overdue! We found these two ladders at a yard sale some three years ago. And they've been in storage and, in the way, all that time!
Finally, Steph had enough of moving them around in her garage so she devised a plan on how to use them. Most ladder shelves use a single ladder but we are incorporating two of them. They are roughly the same height and fortunately the steps line up even though the designs are not identical. 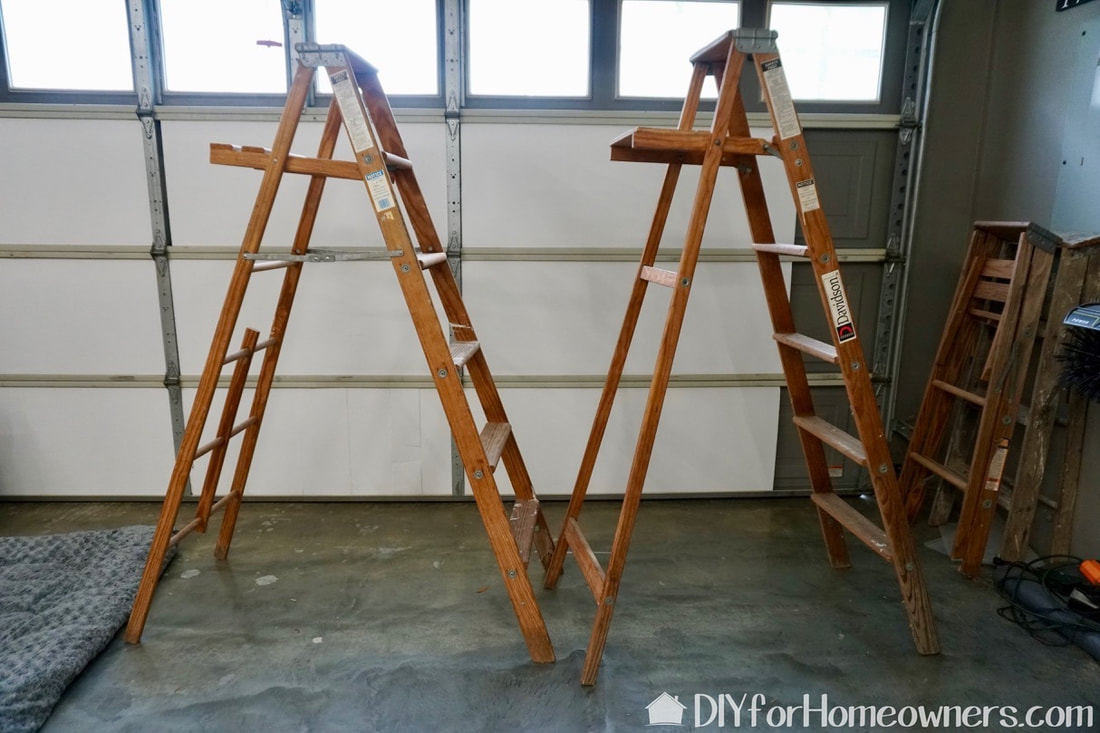
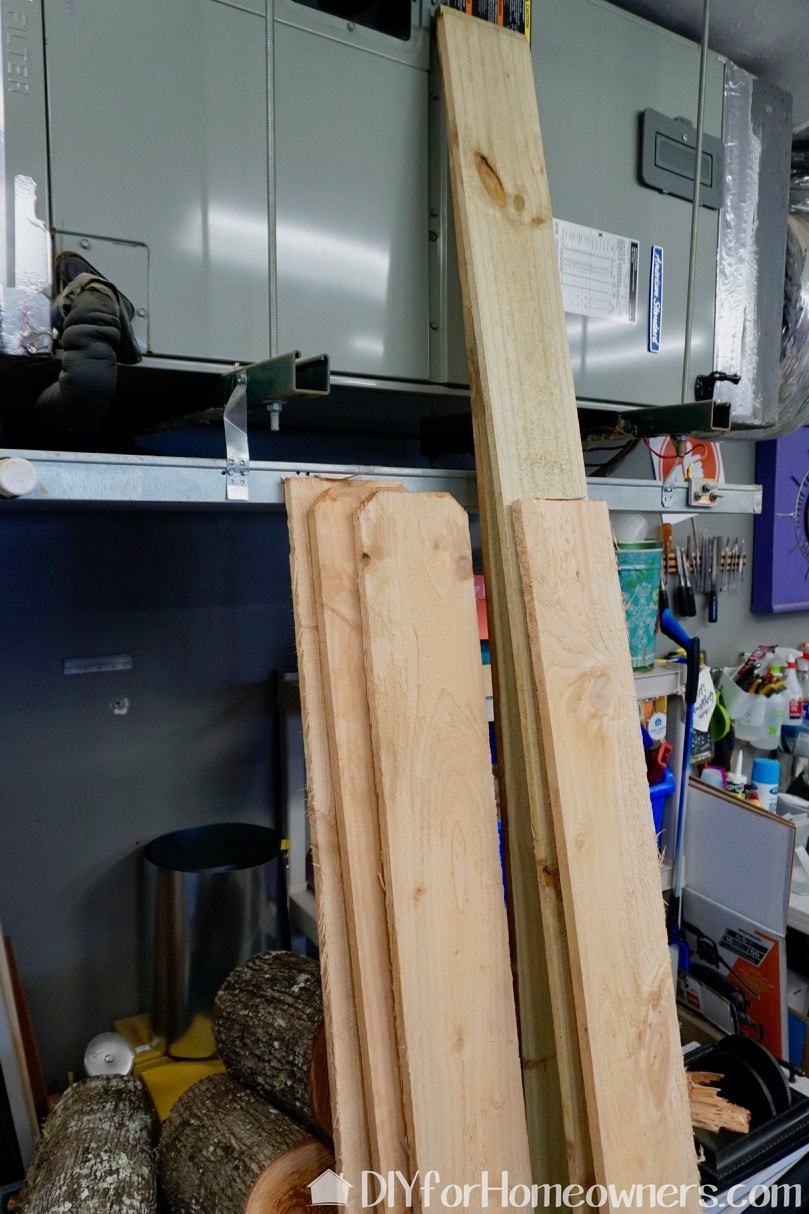
Here's the two ladders which are about 5' tall. Notice another two smaller ones in the background. Those NEED a project as well!
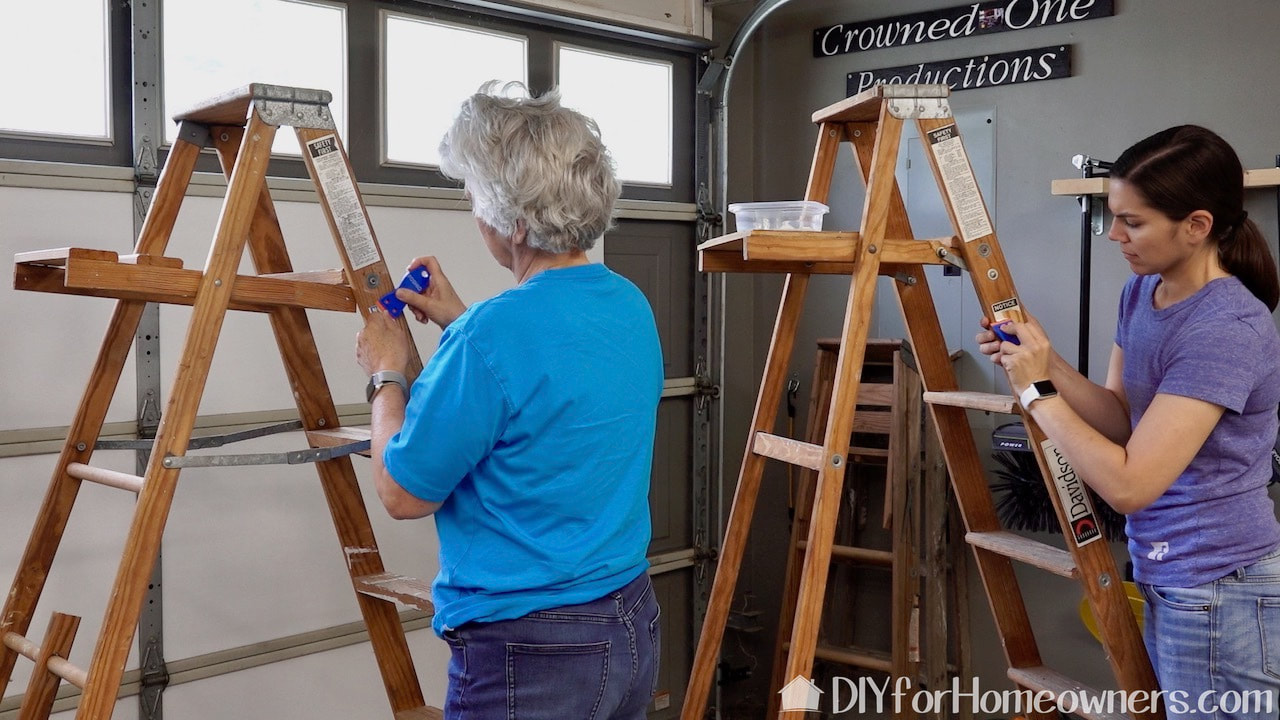
The first step is to remove all the stickers from the ladders--So. Many. Stickers! We are using plastic razor blades to remove the stickers. See the supply list for a link for this very handy tool.
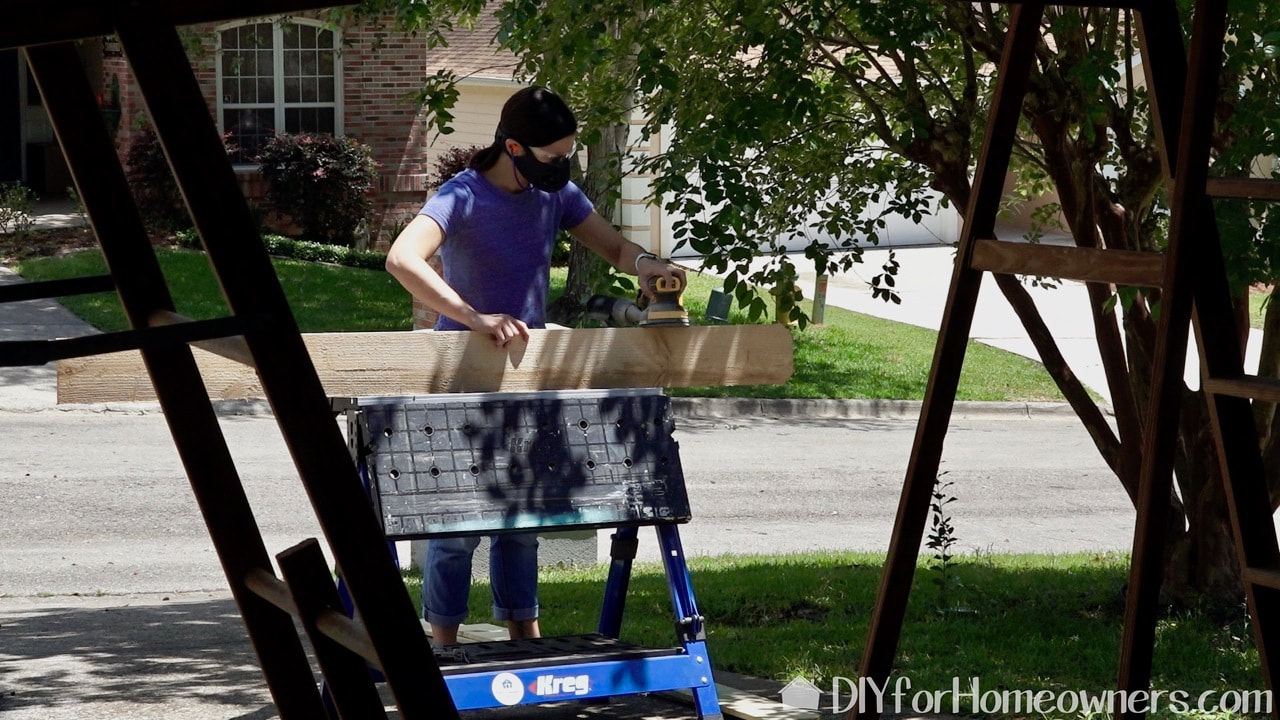
While Steph was doing a light sanding of the fence pickets, I was inside cleaning the ladders. I used a wire brush to clean up the considerable amount of dirt and dust. These were, after all, used ladders that had been stored for a while. They needed a good cleaning! Once cleaned, we painted the ladders with the same paint used on the outside of Steph's house.
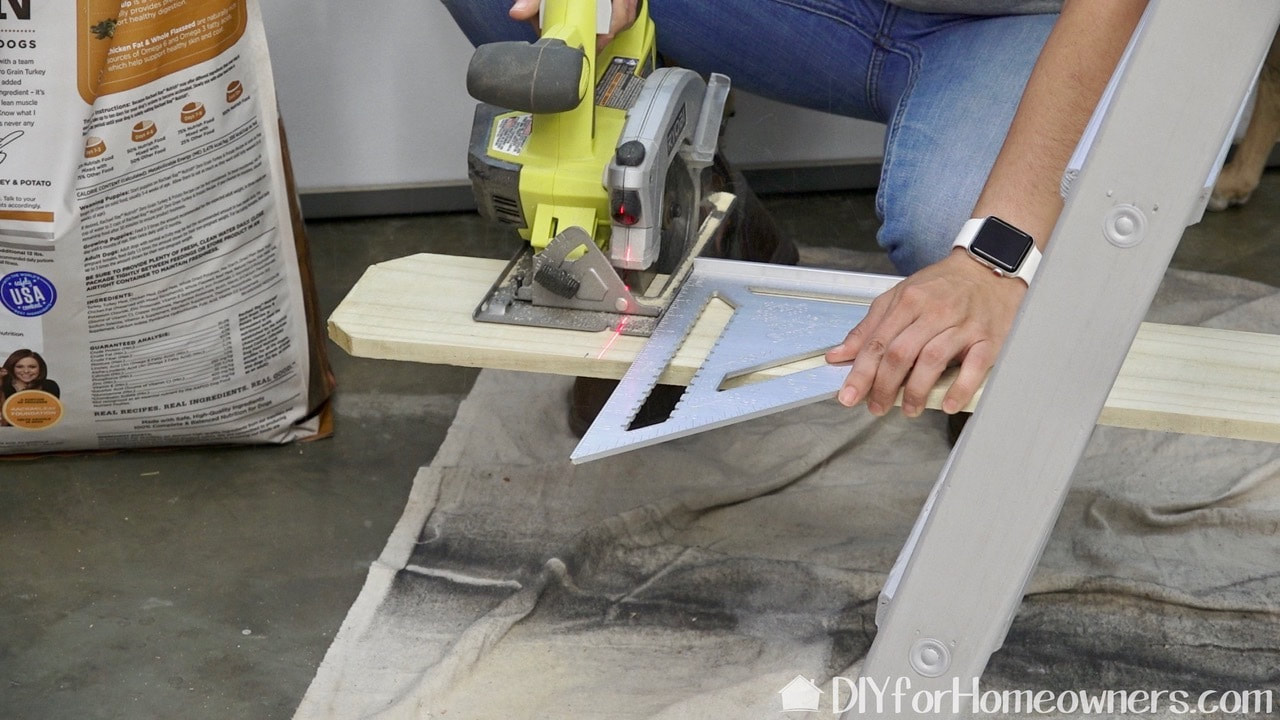
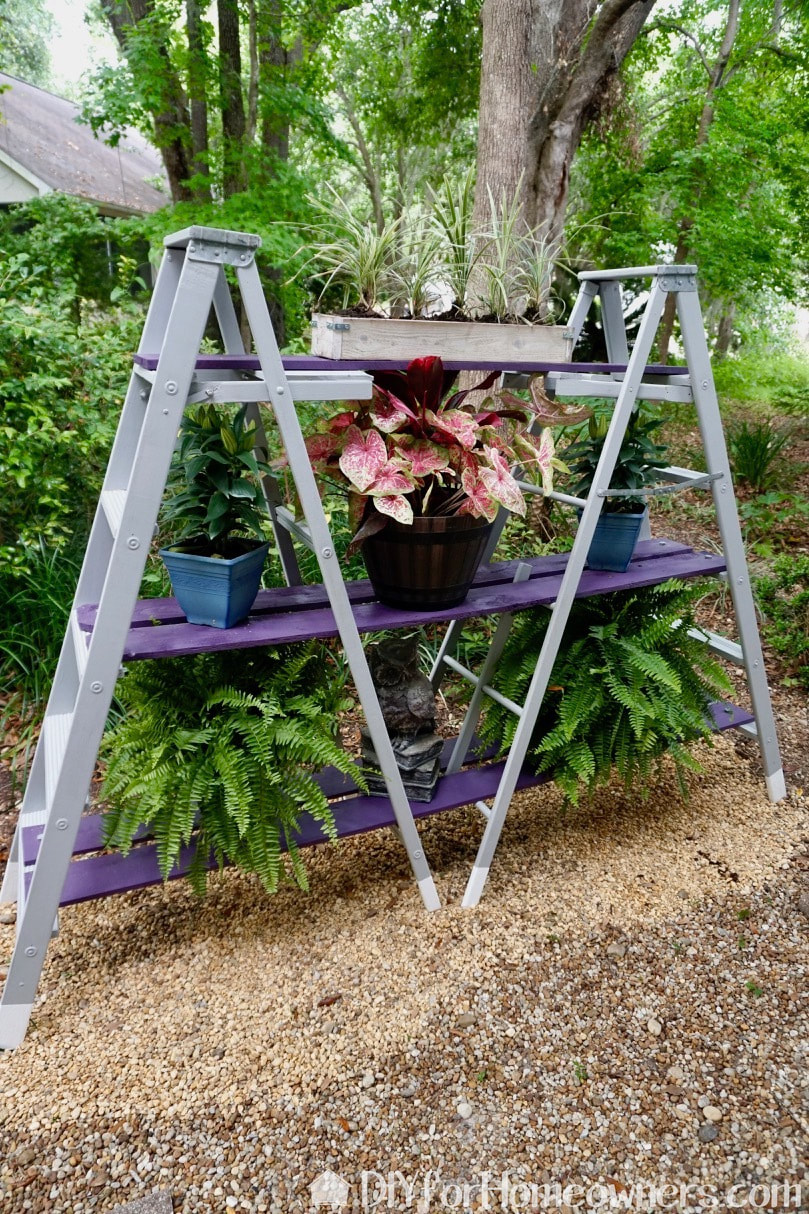
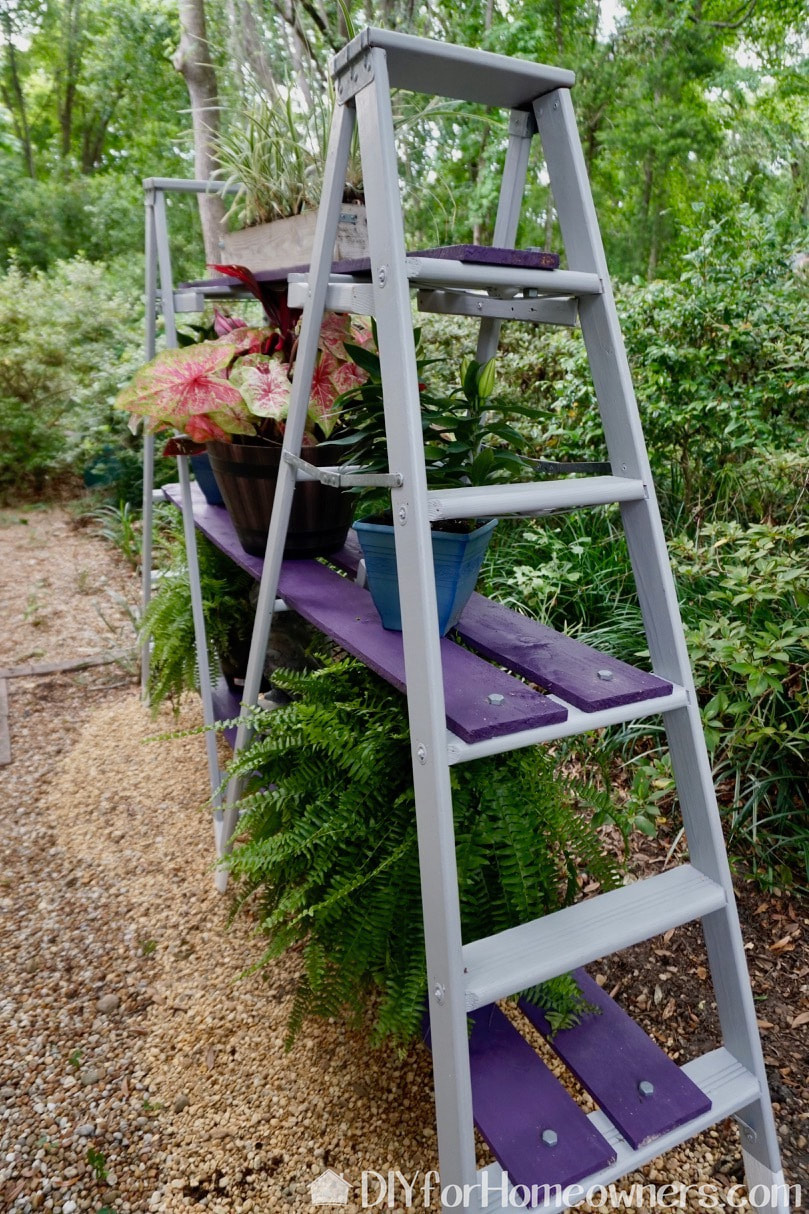
We set the ladders up, laid the boards across the steps, and cut off the excess with a circular saw. We didn't want the boards to extend past the ladder steps. Once cut to size, we painted the pickets with Steph's front door paint.
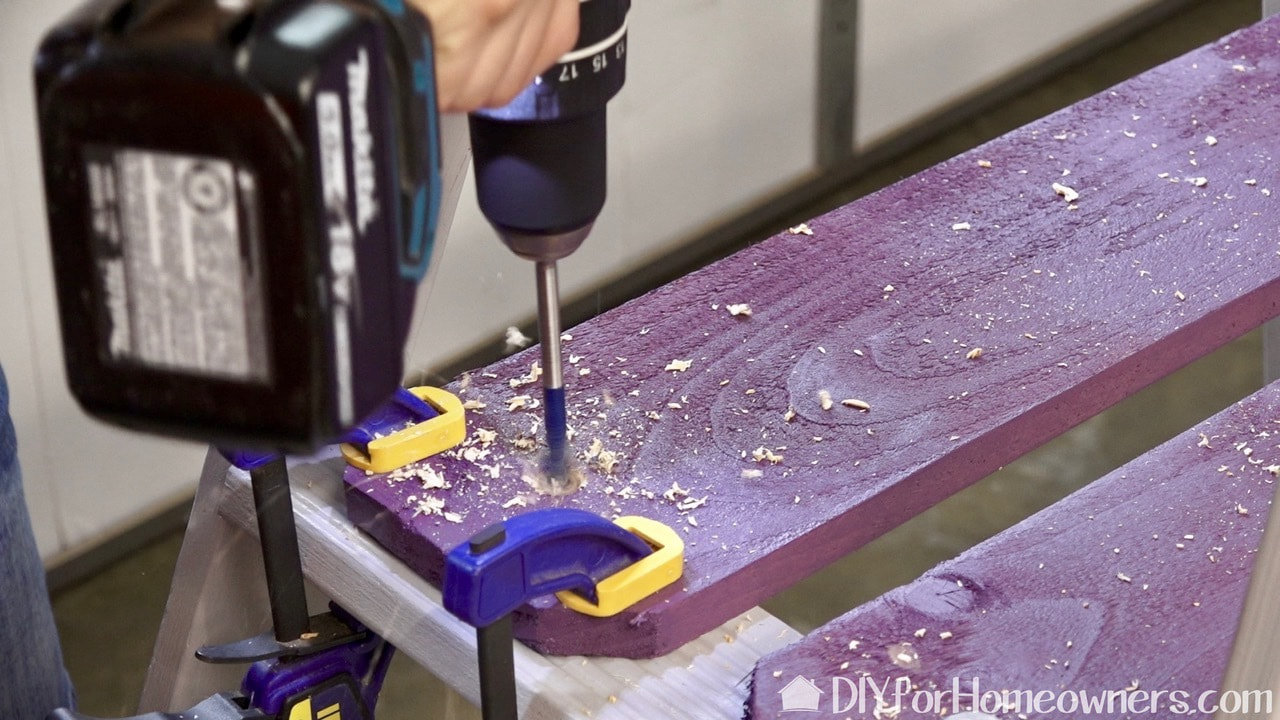
Since we live in Florida, we need to be able to take this apart to store when a hurricane approaches. That is why the shelves are held in place with a bolt and nut rather than permanently secured. We drilled a 5/8" hole with a Bosch Daredevil spade bit and then inserted the bolt to connect the shelf to the step.
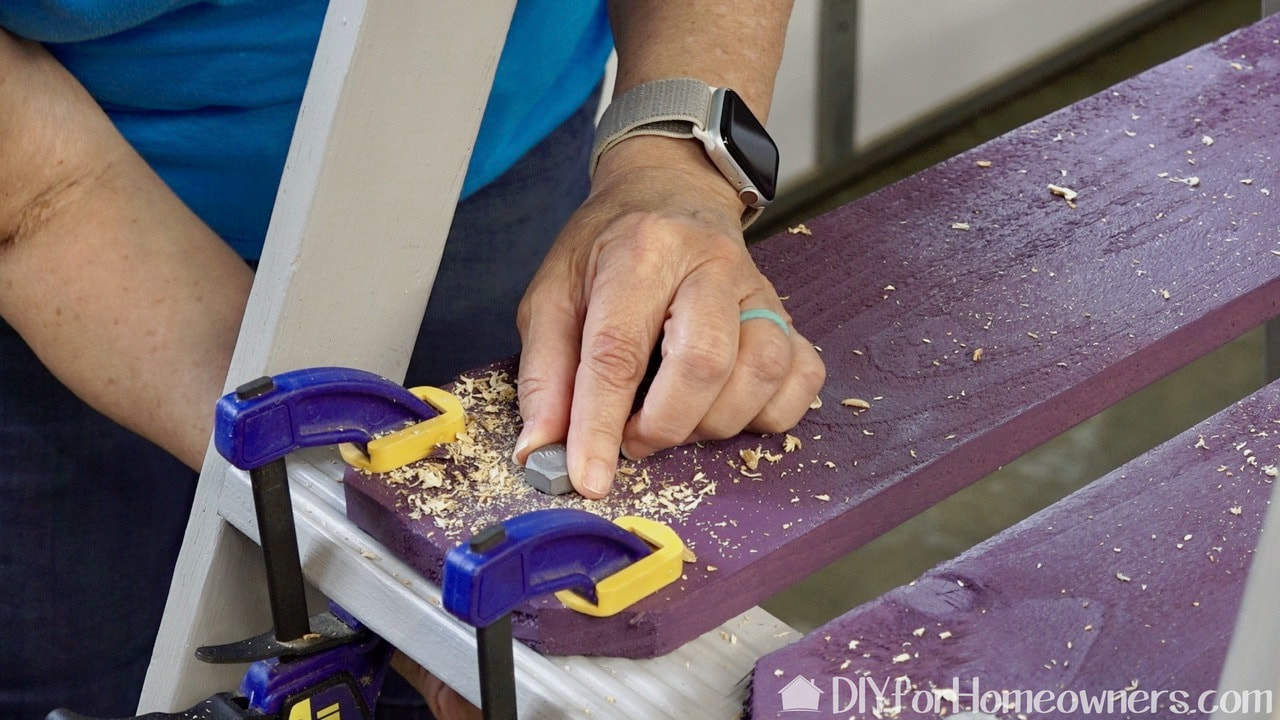
The bolts are 1/2" so they fit easily into the 5/8" holes. Which makes them very easy to remove.
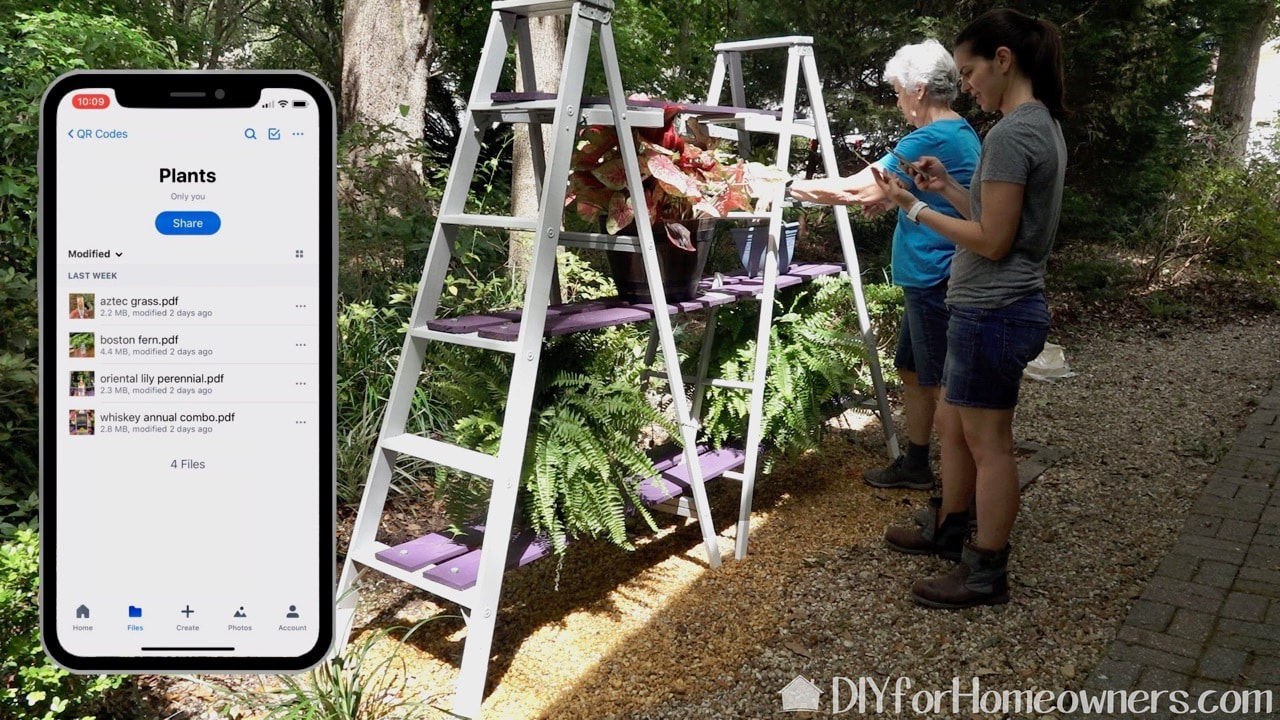
Steph is taking pictures of the plant tags and storing the information on her online dropbox. She's been known to overwater a plant or two, so now she has the information she needs to take good care of her plants! Also, she is storing the receipt as The Home Depot has a one year plant guarantee on most all of their plants. See their website for additional information.
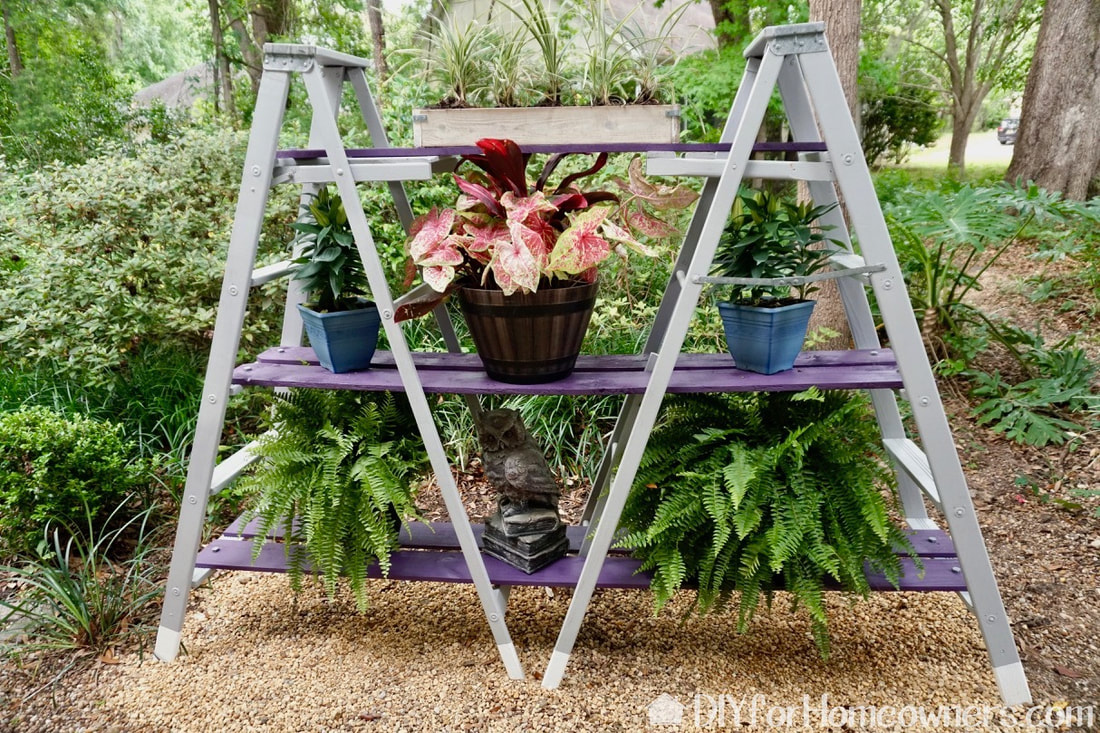
Ahhhhh, this is the view Steph now has from her living room windows!
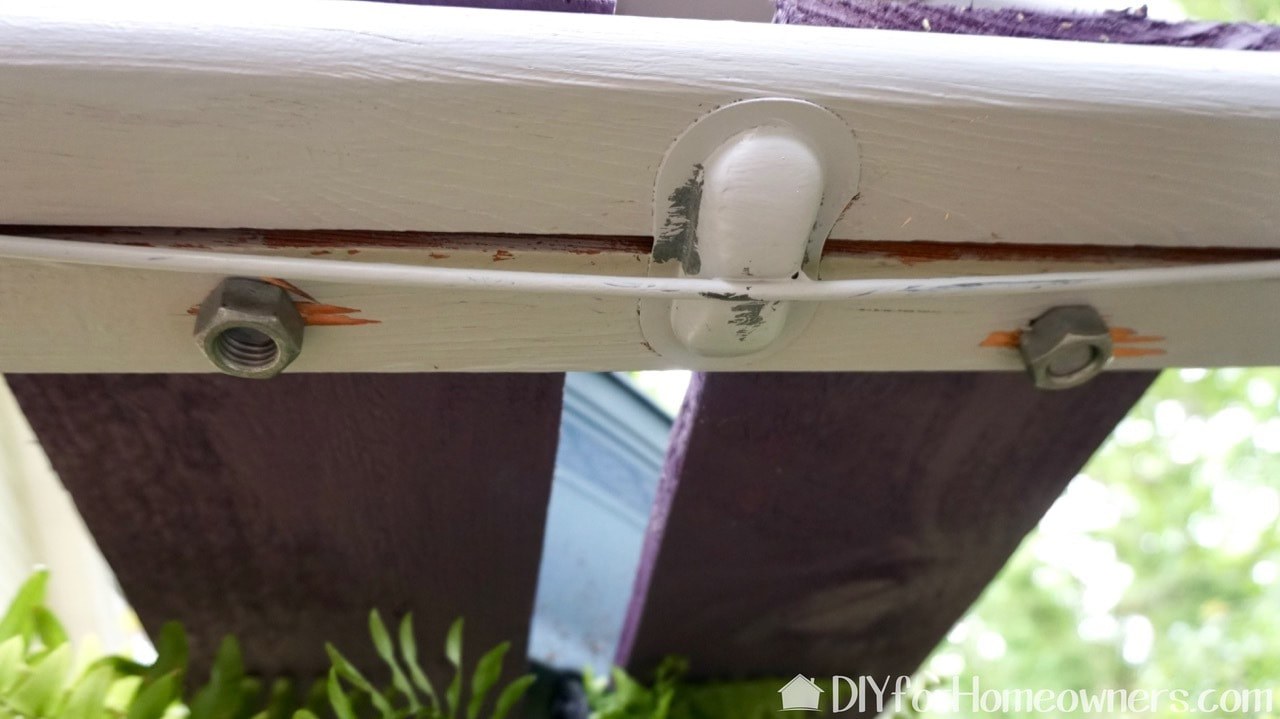
This is the underside of the steps and the reason why we couldn't put the bolt more in the center of the shelves.
Please note: This is not a sponsored post.
FYI: We are not professionals, and we don't claim to be. This is what we found worked for our project. Yours may need a little different approach. Safety first! FYI: Affiliate links are being used on this page. Purchasing via these links help support MDP! Related Projects
4 Comments
Jenny Rodriguez
9/28/2019 03:38:01 pm
Love your projects and your vibe!
Steph
10/1/2019 09:45:18 am
Thanks Jenny :)
Sharon D.
5/1/2021 09:40:45 am
love the ladder plant stand so much! I think it's something I could do on my own. Thank you so much!!!
Steph
5/1/2021 09:44:50 am
You're welcome! Glad you like it! Leave a Reply. |

Mother Daughter Projects
|