|
text by Vicki Sign up here to join our weekly email newsletter!
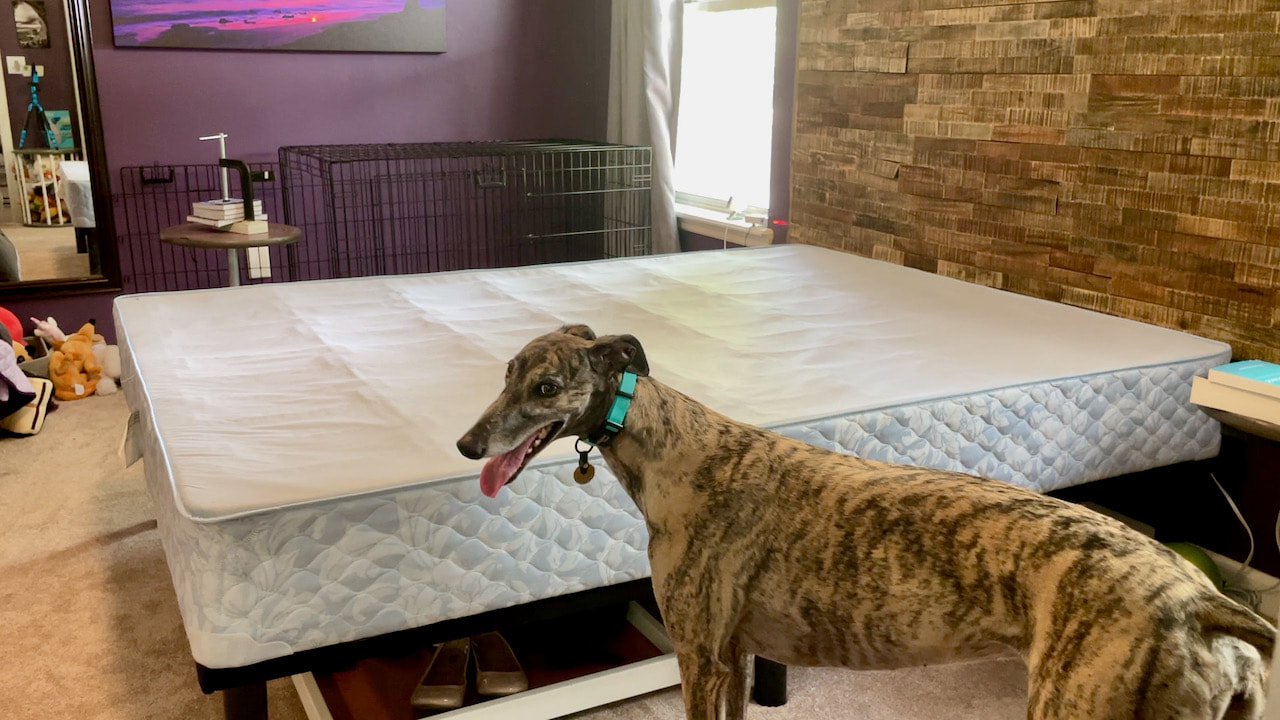
It's been a long time since I shopped for a new mattress and box spring and had no idea that the standard size was so deep. Which meant the combination of mattress and box spring on a standard metal frame is much taller than what I was used to.
And that is the reason that after I ordered my new mattress and box spring and put it in place, I found it to be much too tall to be comfortable getting in and out of it! I tried placing the bed on the floor which made it easy to get in and out of, but let's face it, it looked silly! The solution was to make a custom bed frame to the style and height that I needed. Materials/Tools:
My new bed frame starts with this old box spring at Steph's house! I decided that once this queen size box spring was deconstructed the wood frame would make the perfect base for the new bed frame. (Steph happen to get a new bed around the same time I did).
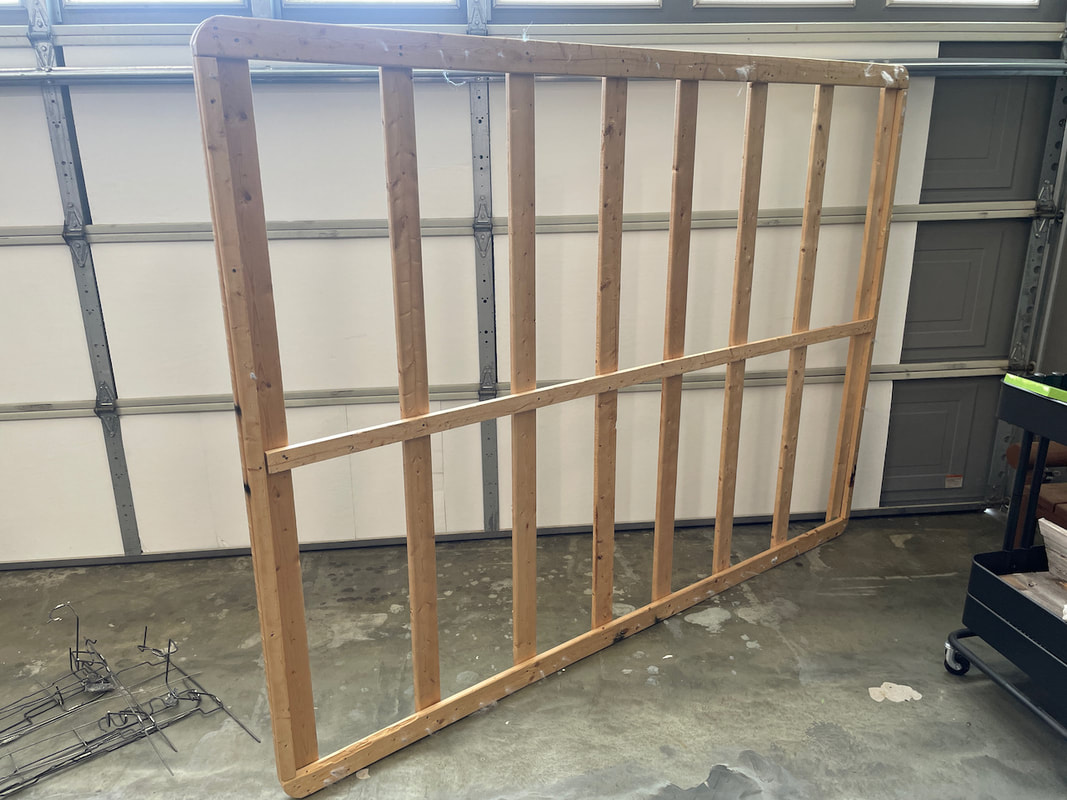
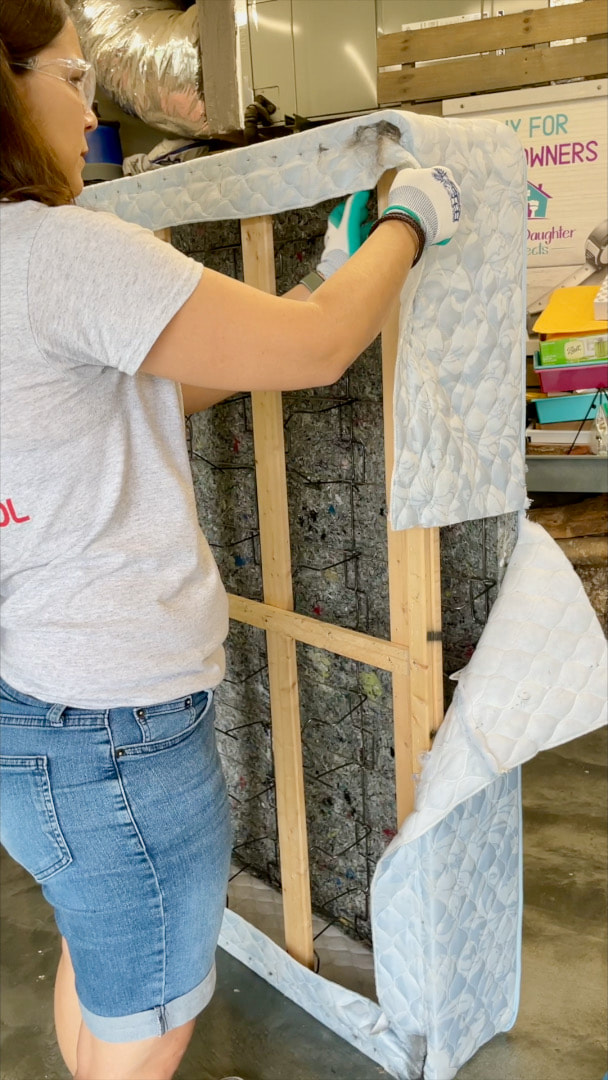
This is the box spring wood base all cleaned up. We torched those little bits of textile fluff in the upper right hand corner rather than try to remove them by hand.
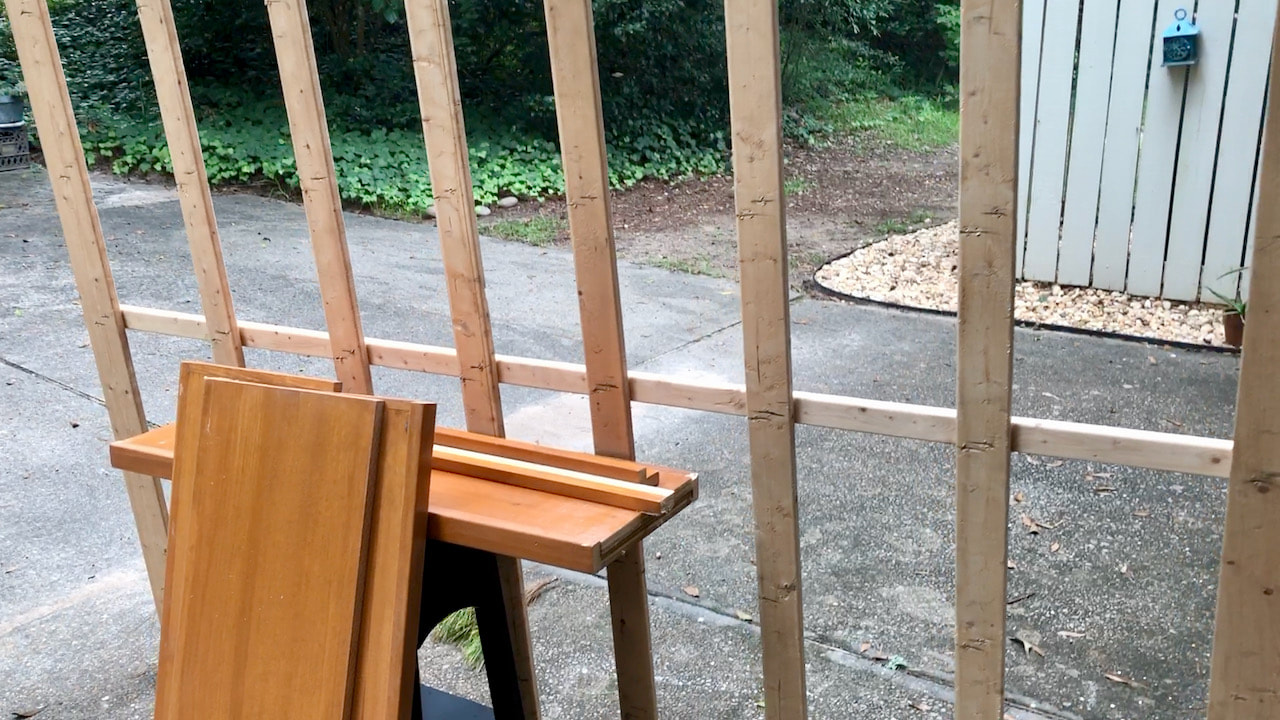
In addition to the old box spring base, I'll be using old shelving that was set out for trash day. It looked to be in really good condition so we made a quick stop and picked it up!
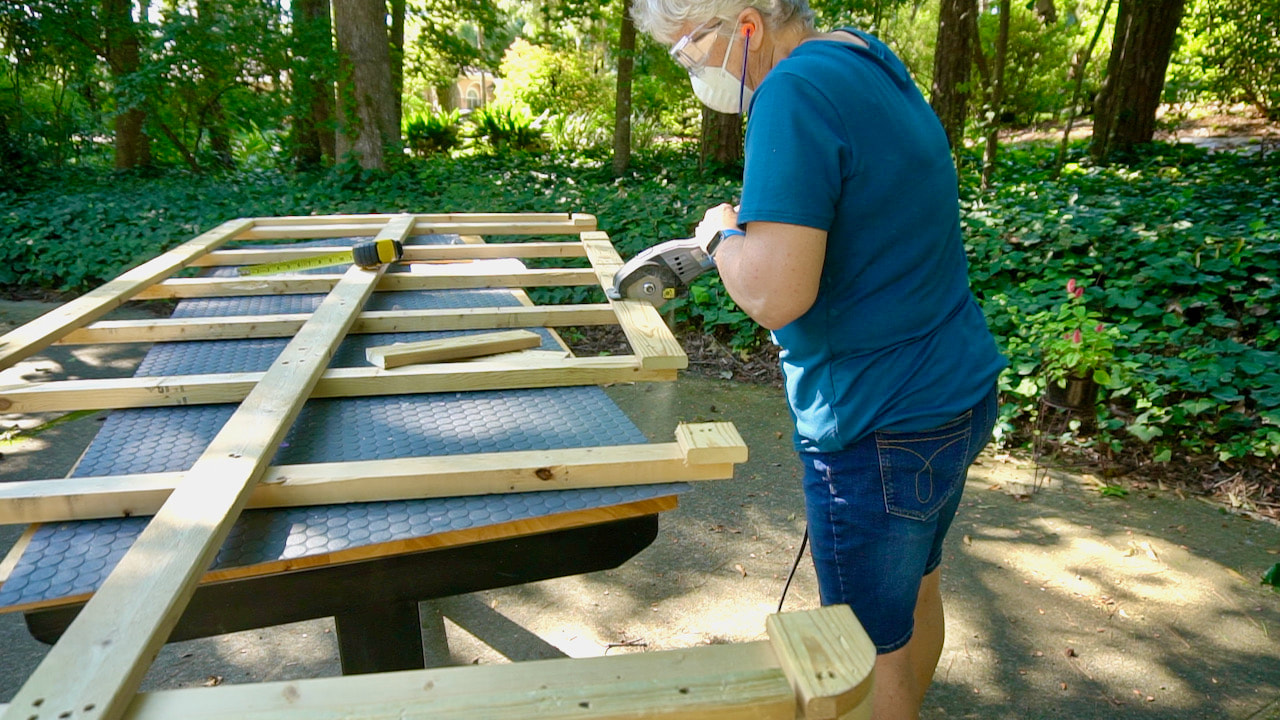
My new bed frame will replace an old king size bed. This is one of the box springs from that bed. I'm cutting sections from the sides to use in the new build.
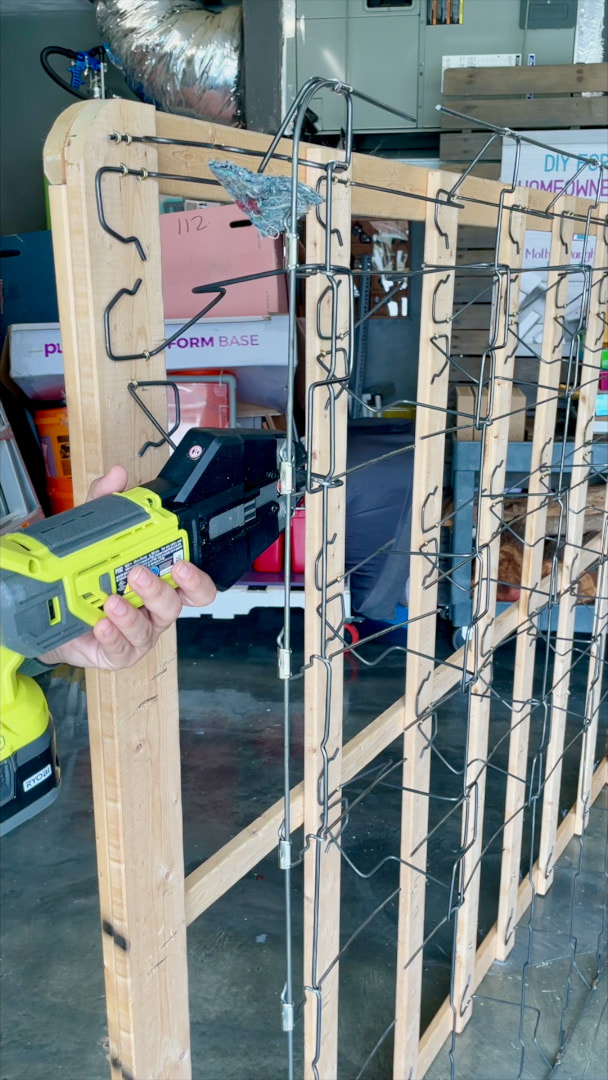
I wanted to add additional support on the sides of the bed. This is where I'm using those pieces I cut in the picture above. I wish I had placed these new pieces just a bit off the edge to give a little more space on the sides. When the new box spring was put into the new bed frame, the fit was just a bit tight. Even a quarter of an inch on each of the sides would have helped.
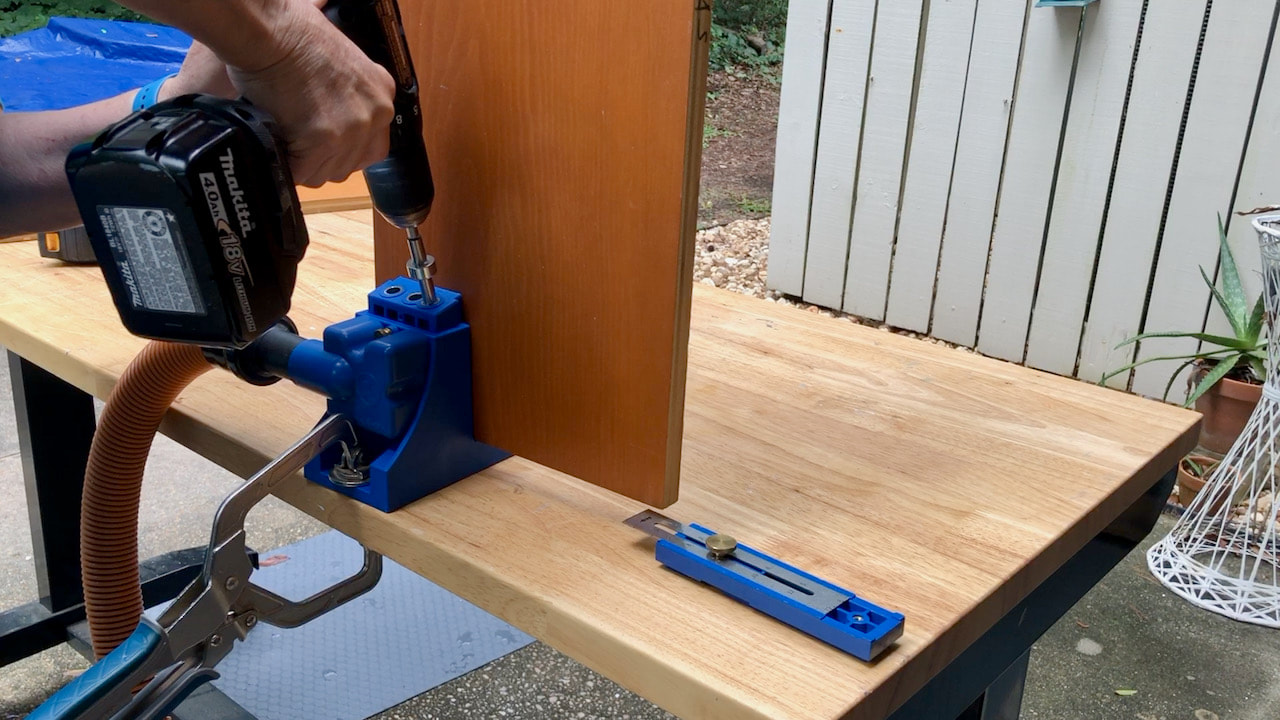
The side pieces are connected to each other with pocket holes. I reazlied that in all the years we've been using a Kreg pocket hole jig, I've never actually made any solo. So, I learned how to make them so I could use them in this project!
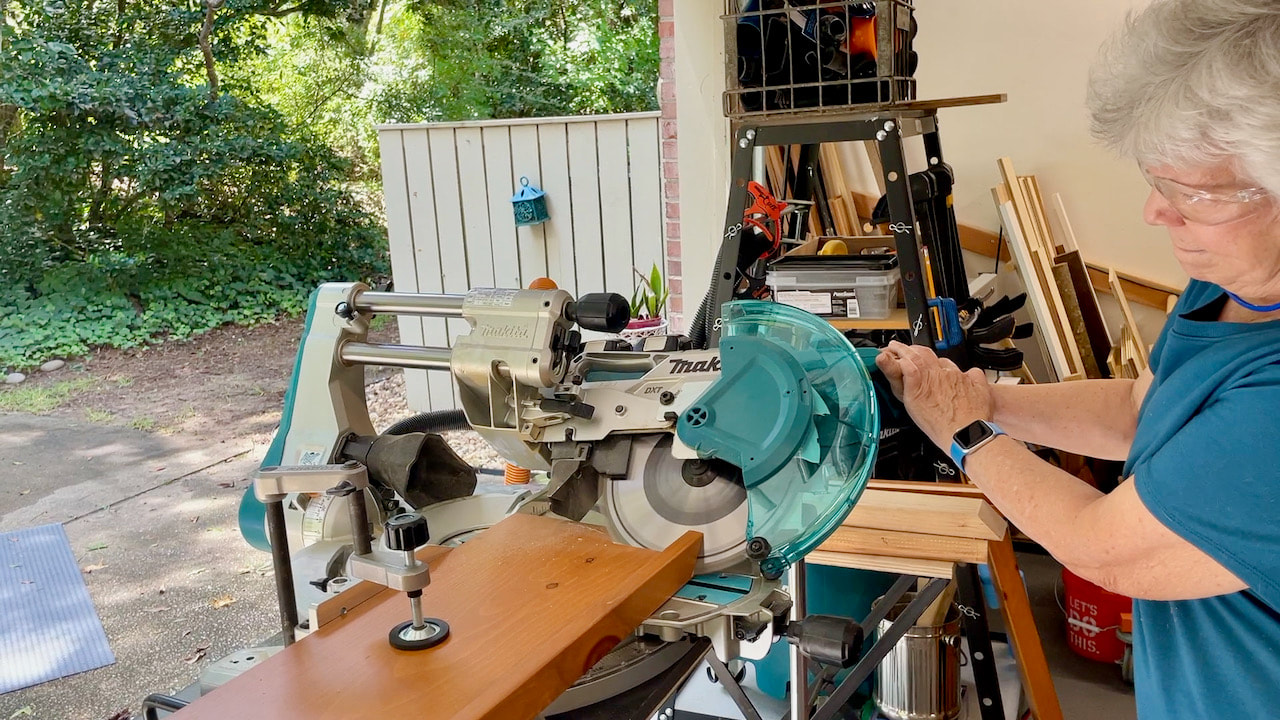
I wanted the two front corners to beveled. As I've never done this before, I did a bit of practicing before I actually cut into the boards I was using. It was scary, but I was successful!
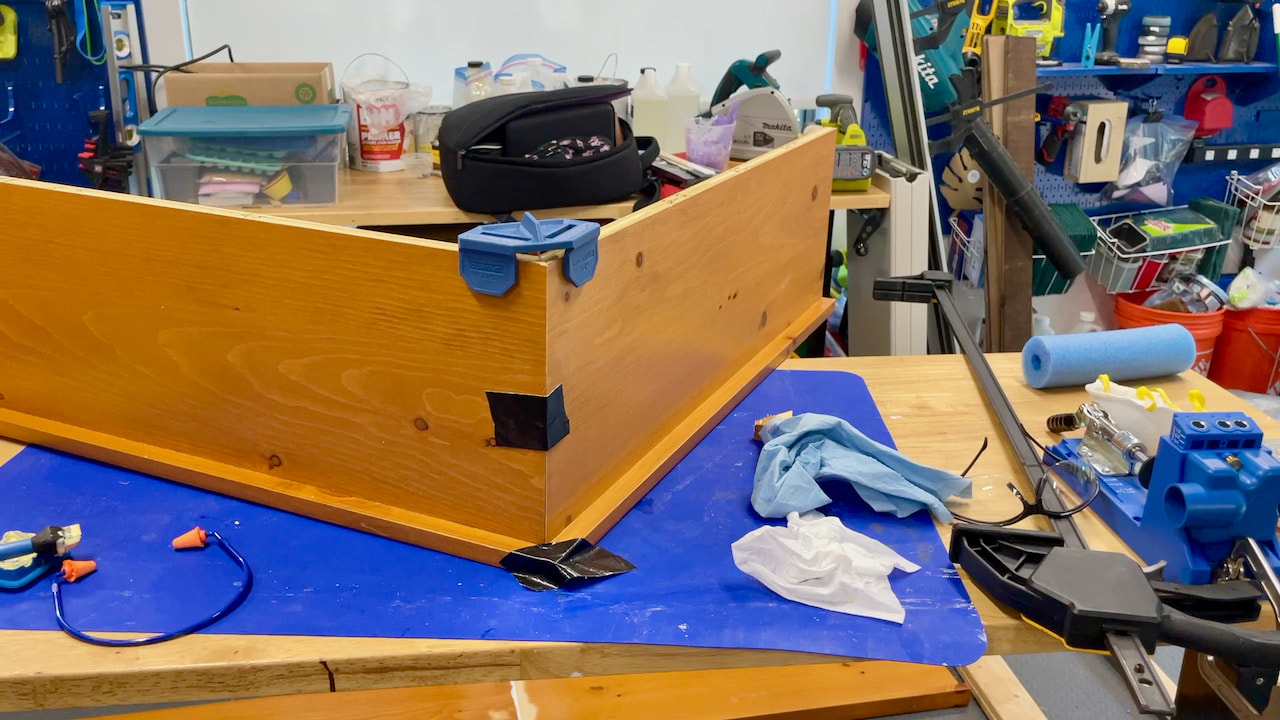
The corners were glued and brad nailed. This Rockler Clamp-It Clip and T-Rex tape helped to keep everything tight and in place until the glue dried.
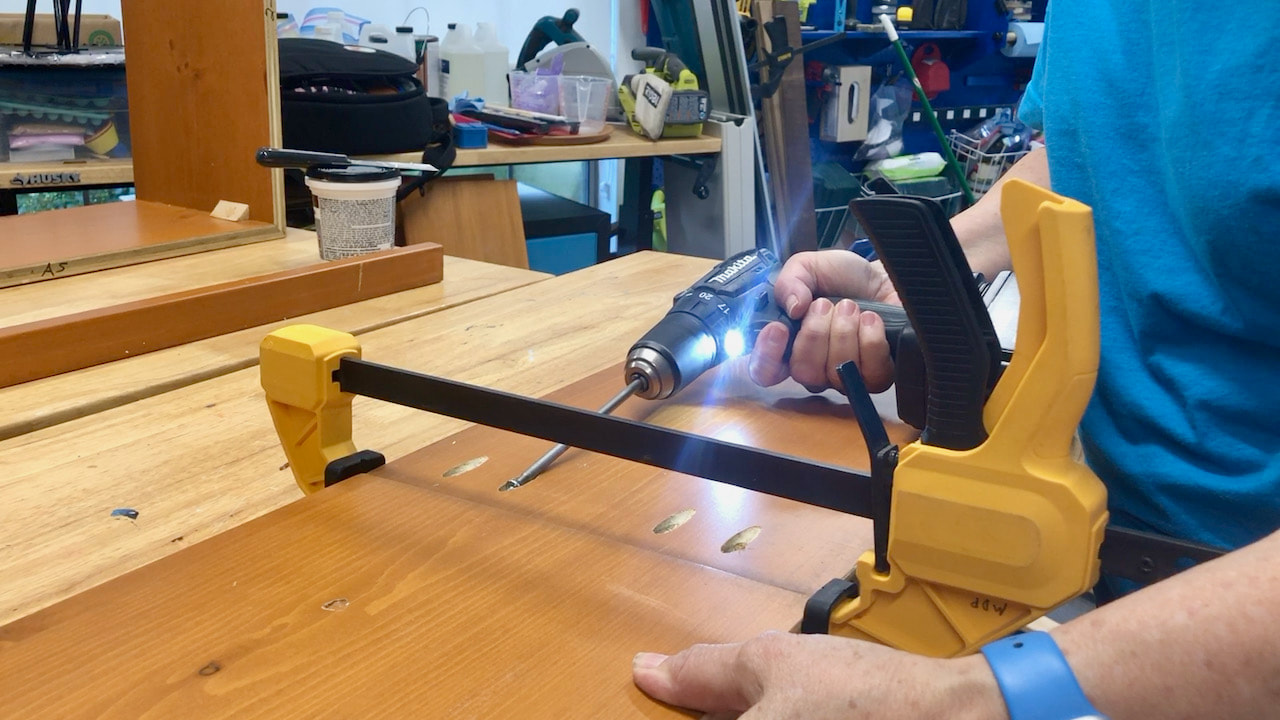
Securing the side pieces with pocket hole screws with the aid of a clamp to keep everything in place.
Fitting the sides to determine where to cut.
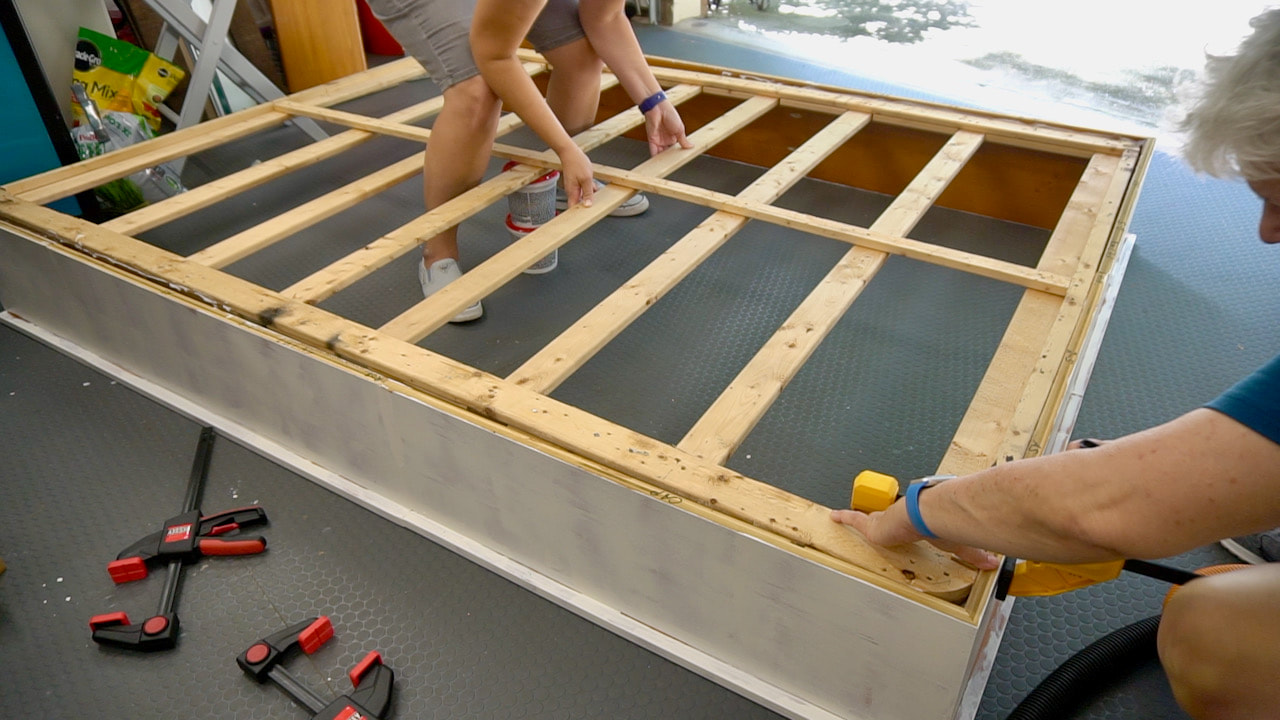
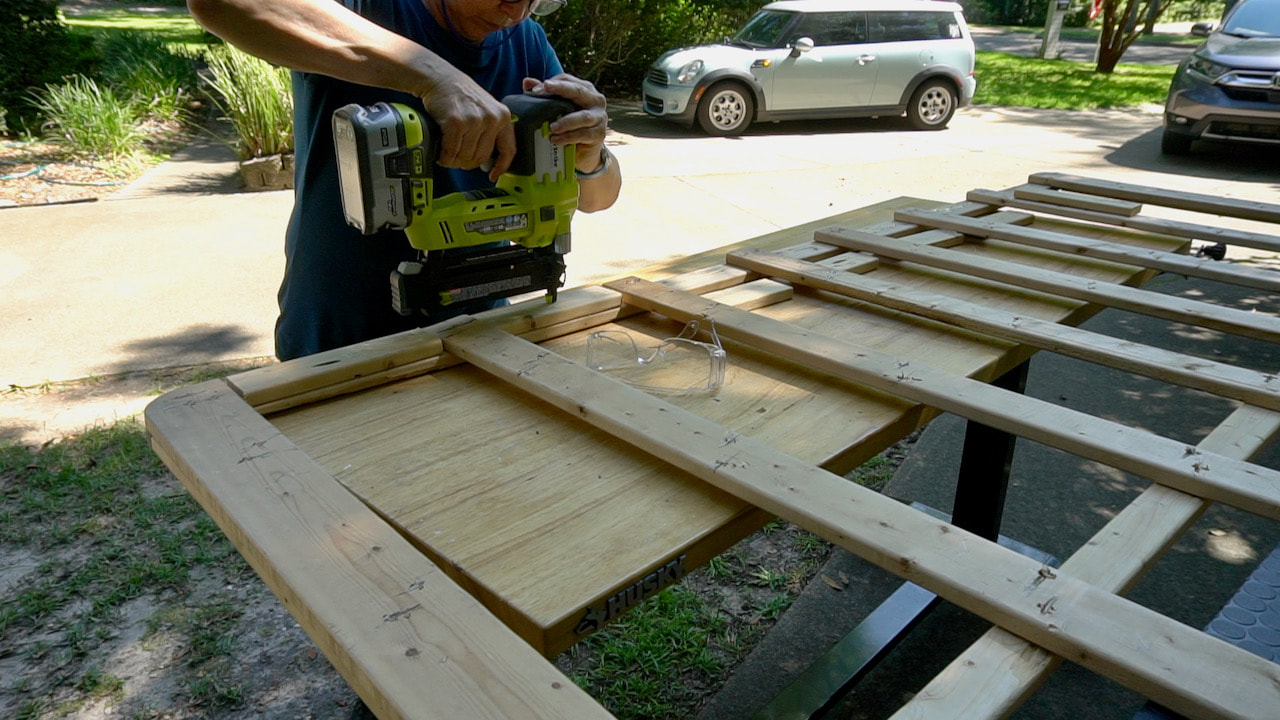
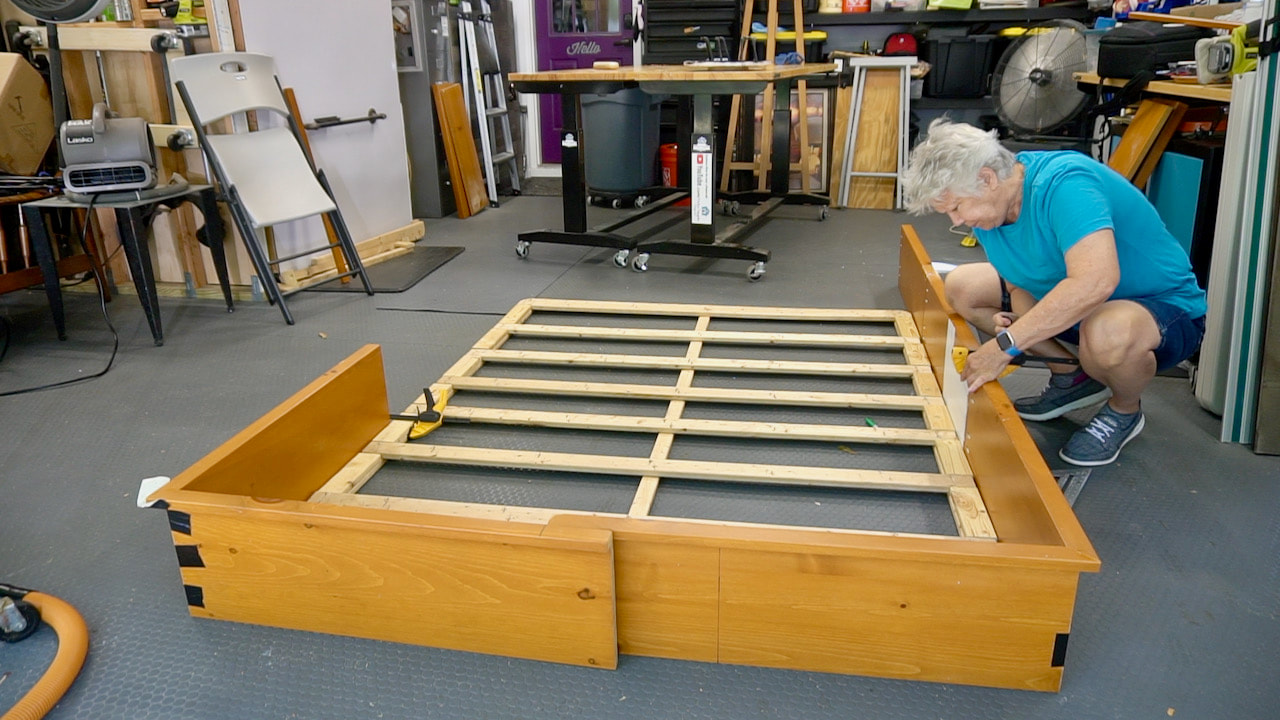
Time to assemble! We turned the base upside down and with lots of clamps, wood glue, and brad nails, we got the base attached to the sides.

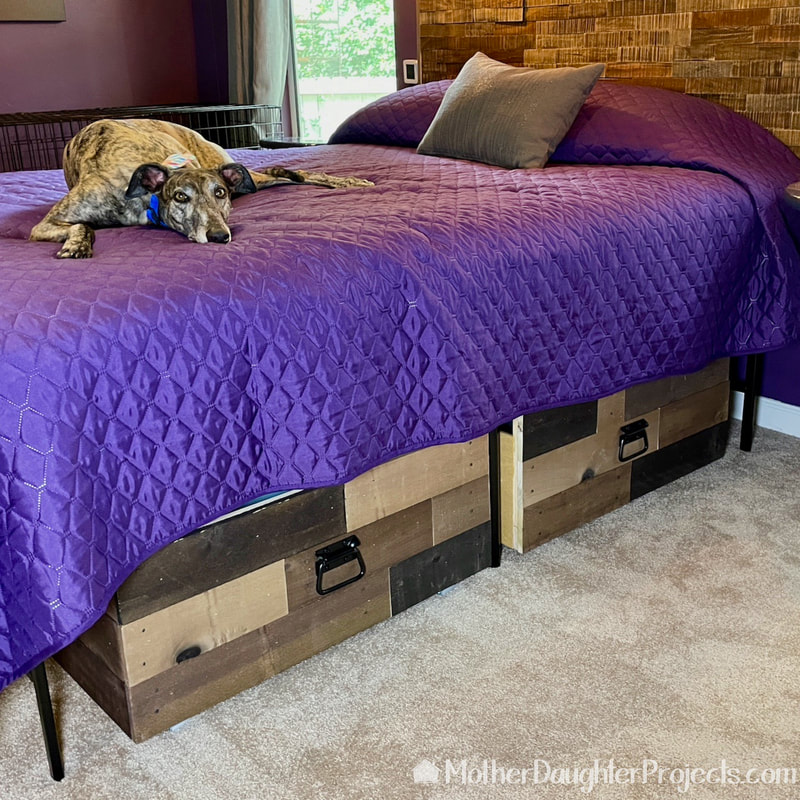
Putting the new box spring into the bed frame. It was a tight fit but it worked. Those hairpin legs are 4 inches tall and were spray painted glossy black before they were put into place. A bit of Dixie Belle Slick Stik was used to prime them before spray painting.
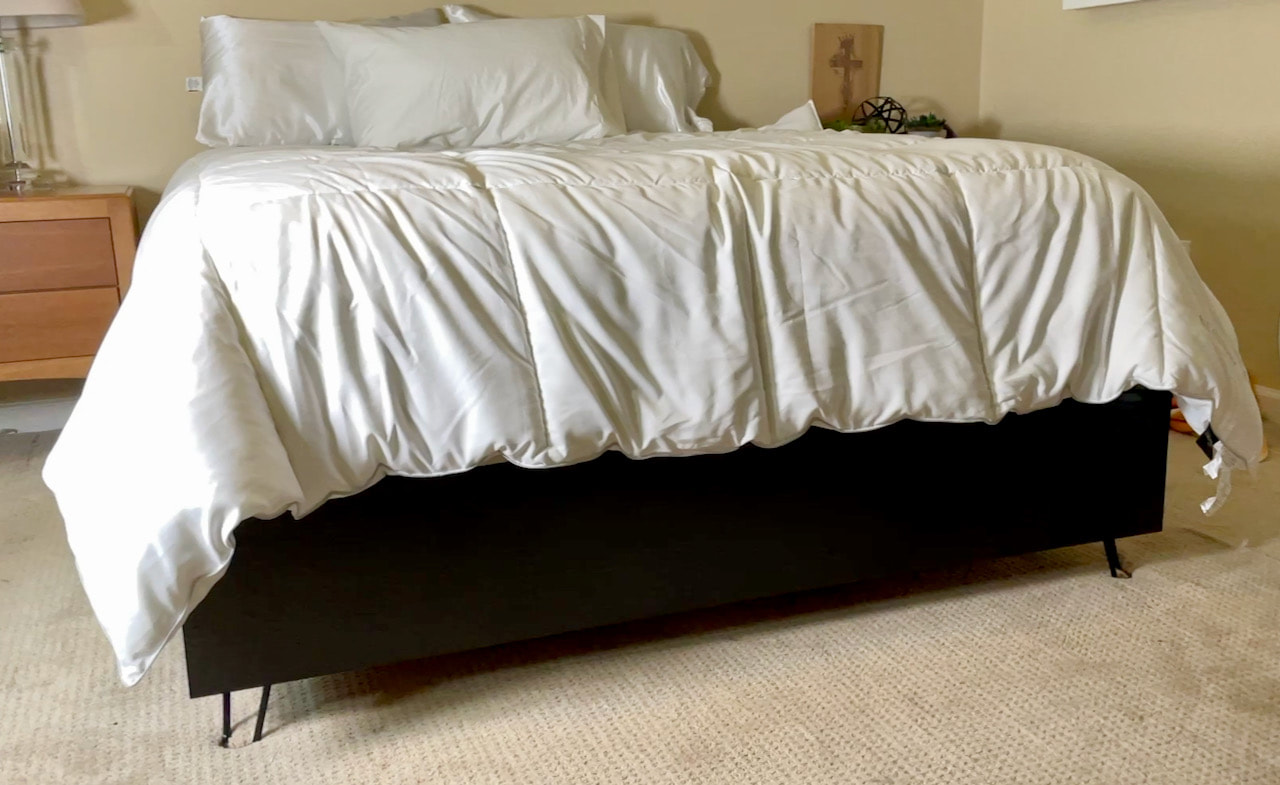
Here it is all finished and made up. It is the perfect height and look that I wanted!
This was such a fun and creative build. I love that I was able to use "found" materials and make them into something useful. Even the hairpin legs had been used before!
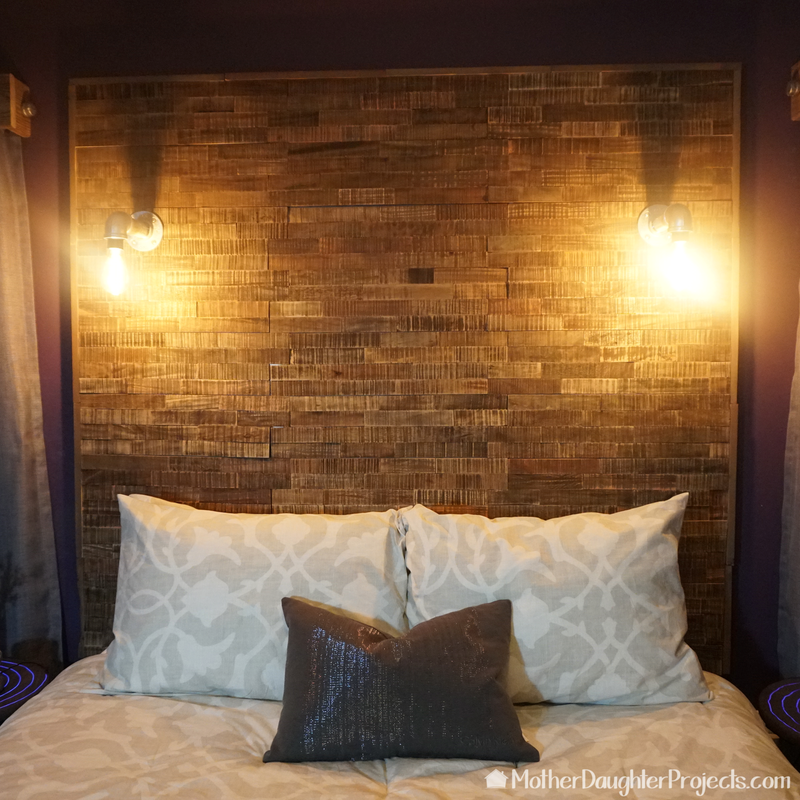
By building a custom height bed frame, I was able to make my new mattress and bed spring purchase work! If you're shopping for a new mattress anytime soon, be mindful of the thickness of the mattress and box spring if height is an issue for you. Now, it's time for a headboard build! Do you have any suggestions? Please note: This is not a sponsored post. FYI: We are not professionals, and we don't claim to be. This is what we found worked for our project. Yours may need a little different approach. Safety first! FYI: Affiliate links are being used on this page. Purchasing via these links help support MDP! Related Projects
1 Comment
10/14/2021 09:49:19 am
10-14-21 That's very interesting, toooo bad I do not have the equipment to do that....Son got a new matress LOOKED LIKE THE PRINCESS AND THE PEA, THAT GOODNESS NES 6'..HAVE A GOOD DAY BE SAFE... Leave a Reply. |

Mother Daughter Projects
|