|
text by Vicki Sign up here to join our weekly email newsletter!
Although this project started because of one of the dogs, it's not a pet project!
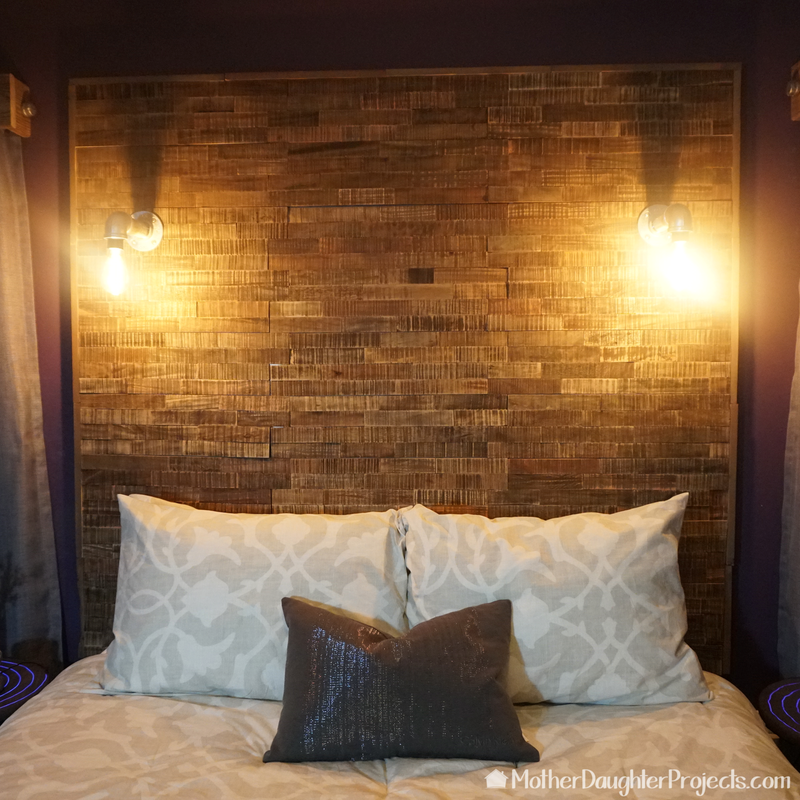
Tosh likes to get on Steph's bed and when she does she sometimes does zoomies. Here's a link to what that looks like. Anyway, the bed frame Steph was using started to squeak annoying her to no end. It was time for something different. So, Steph started looking for something new and settled on a metal frame from the Purple company. (Which led to the purchase of a new mattress, which then led to the need for taller nightstand, which leads into more projects!) The Purple metal frame while nice and strong, without squeaks, is quite tall. Steph decided to make use of that under-bed space and make a couple of storage boxes with a rustic look to blend with the existing headboard. Materials/Tools:
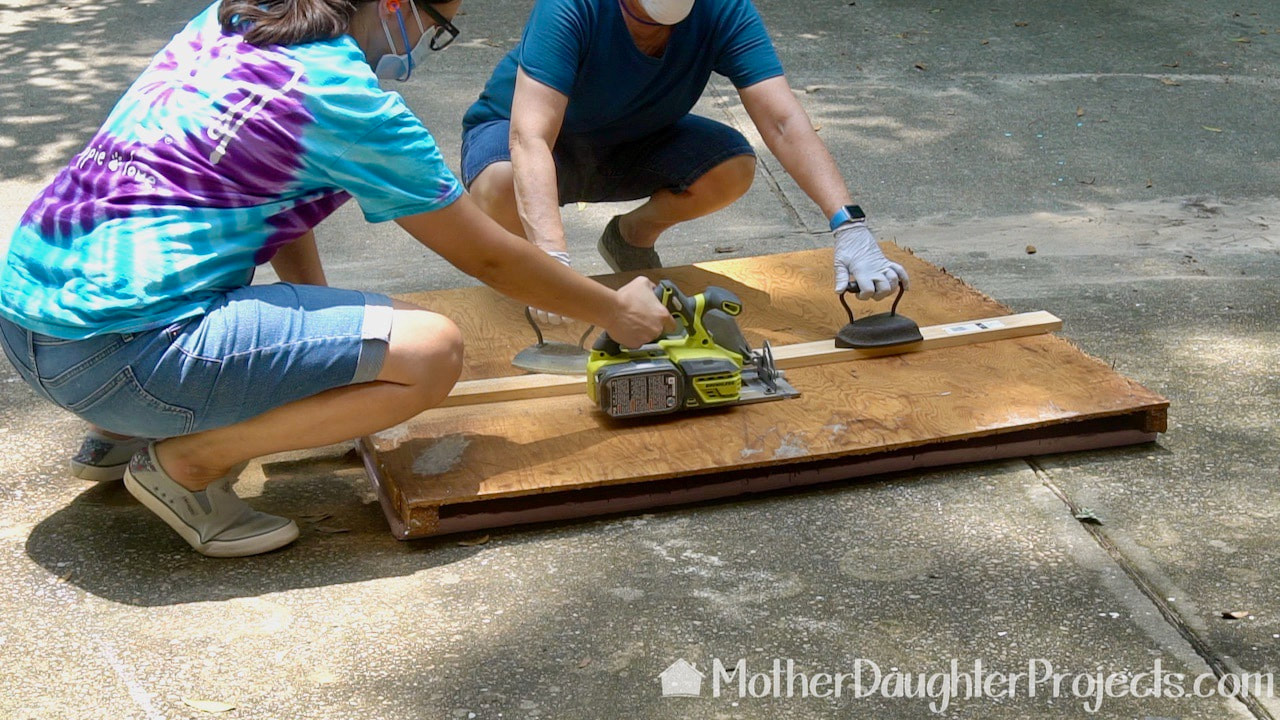
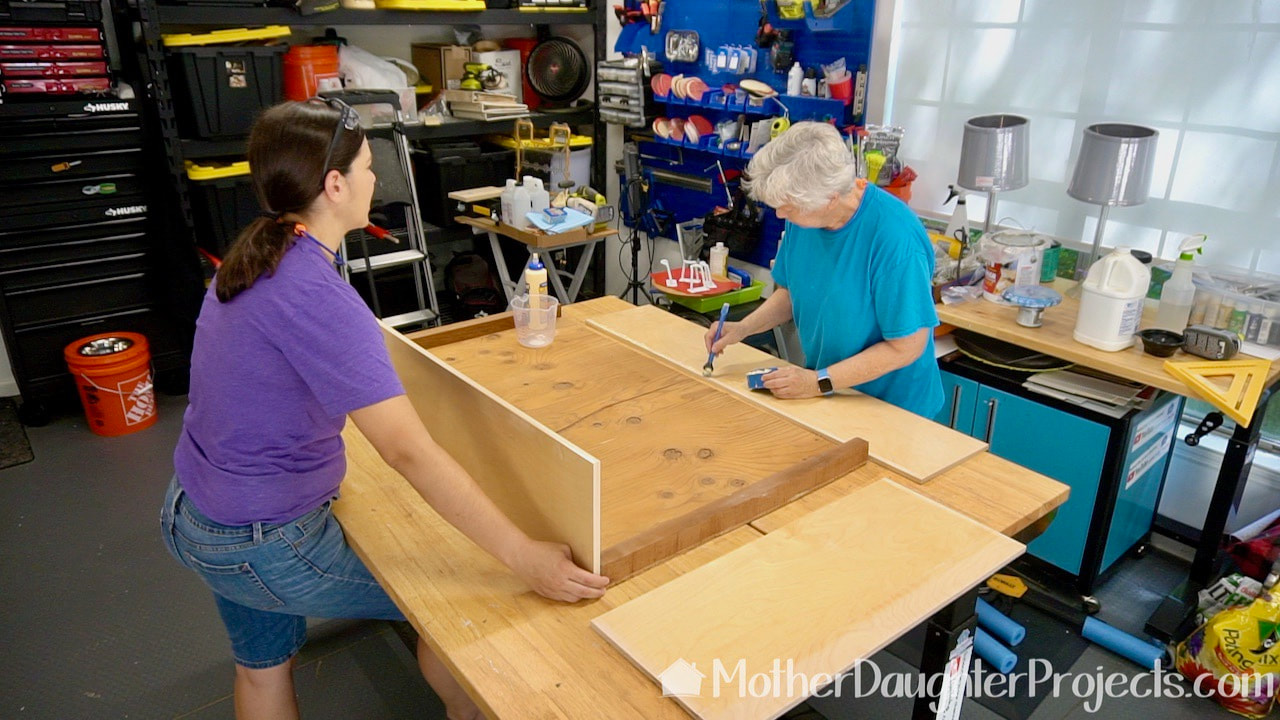
Because of the price of lumber in 2021, Steph wanted to make the boxes out of lumber scraps we had on hand. This required a little creative engineering to make those scraps work. Here she is cutting a piece of plywood that used to be part of a storage cabinet that we deconstructed many years ago.
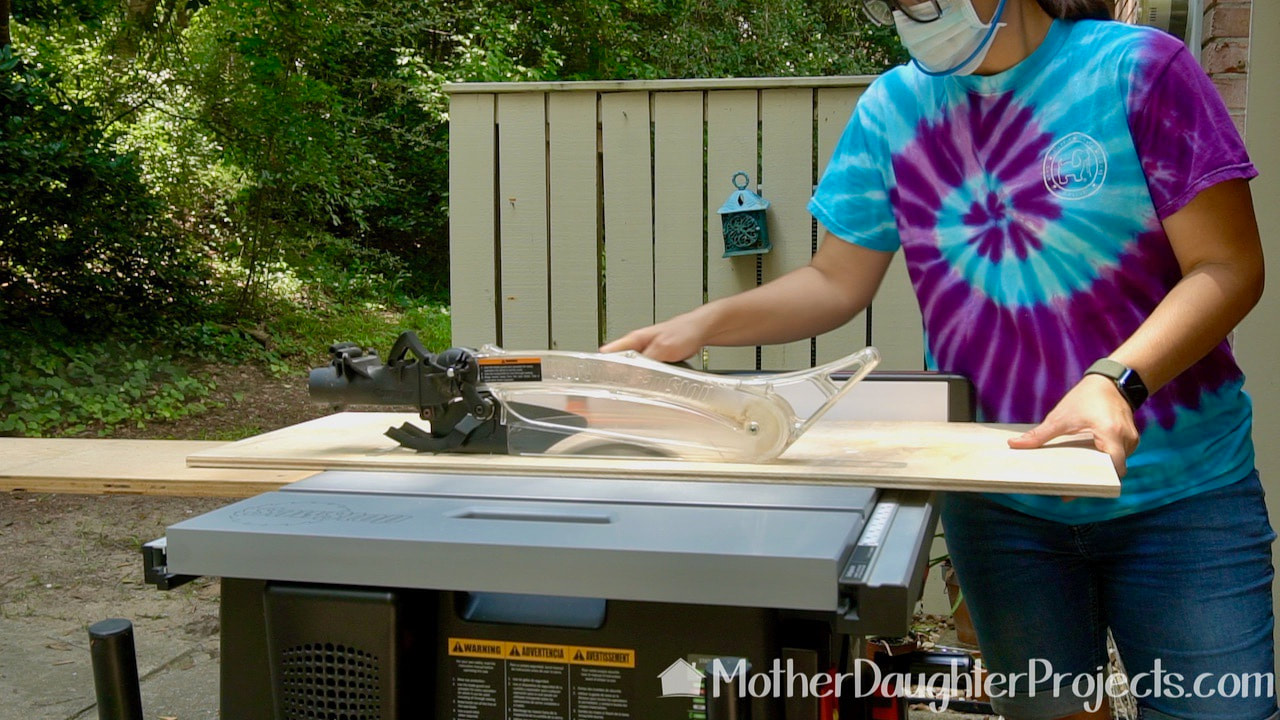
We had some boards leftover from when the slide out shelves were added to my kitchen cabinets. Here Steph is cutting them to the size she needs on the table saw.
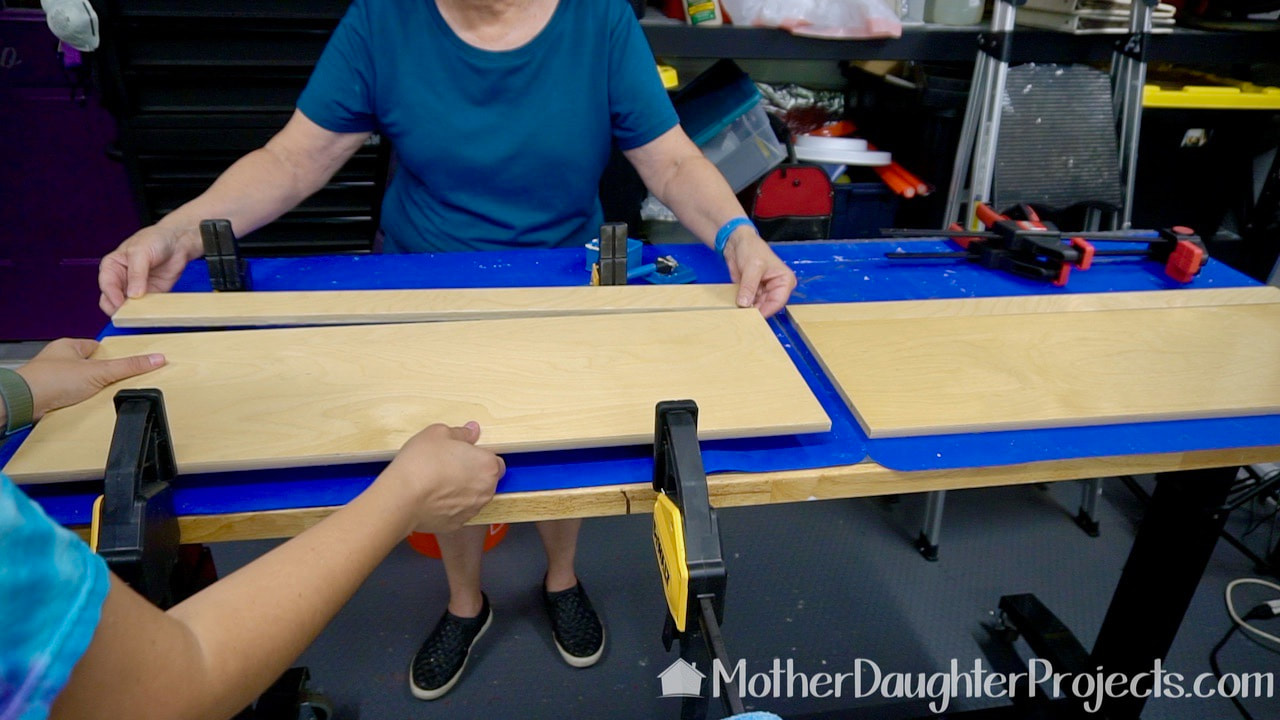
To make some of the pieces the right width, we glued and clamped additional pieces to make them the correct width. Those blue things are very large silicone pads we use to keep the glue from sticking to the workbench.
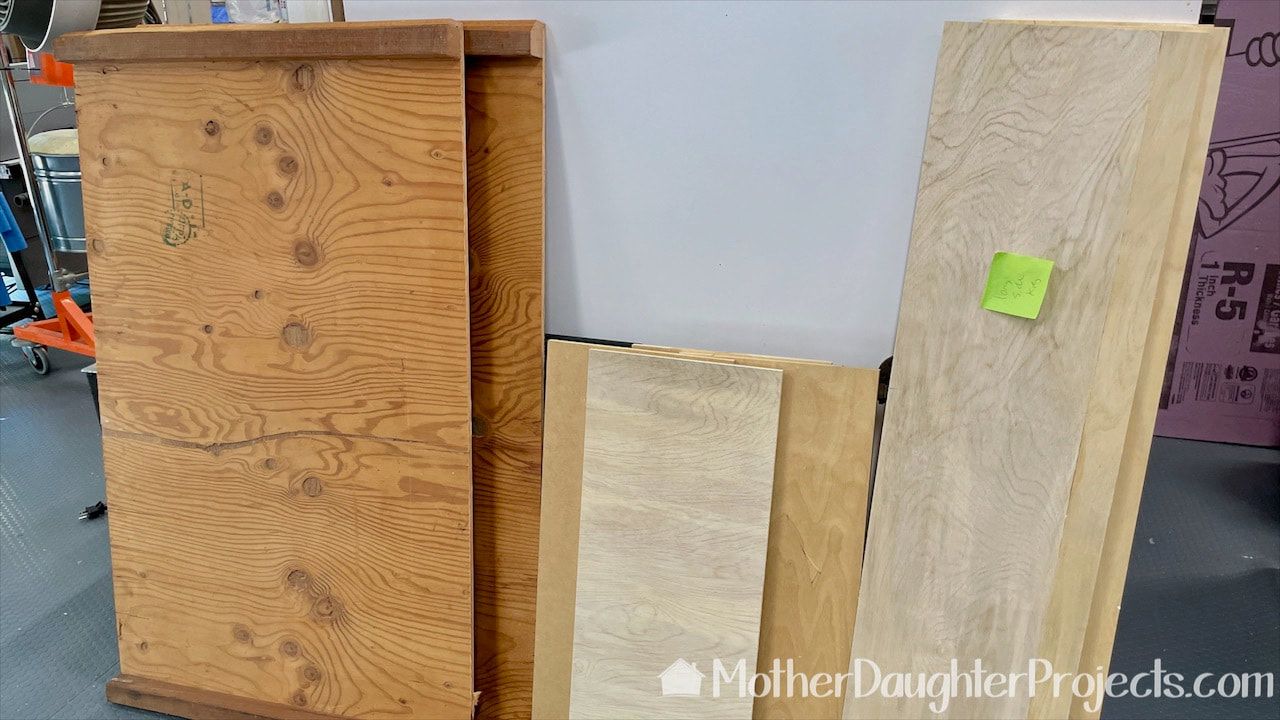
Here are the pieces cut and ready for the next step. The plywood, formerly a storage cabinet, is on the left. We left the 2x2 support pieces in place rather than try to remove them.
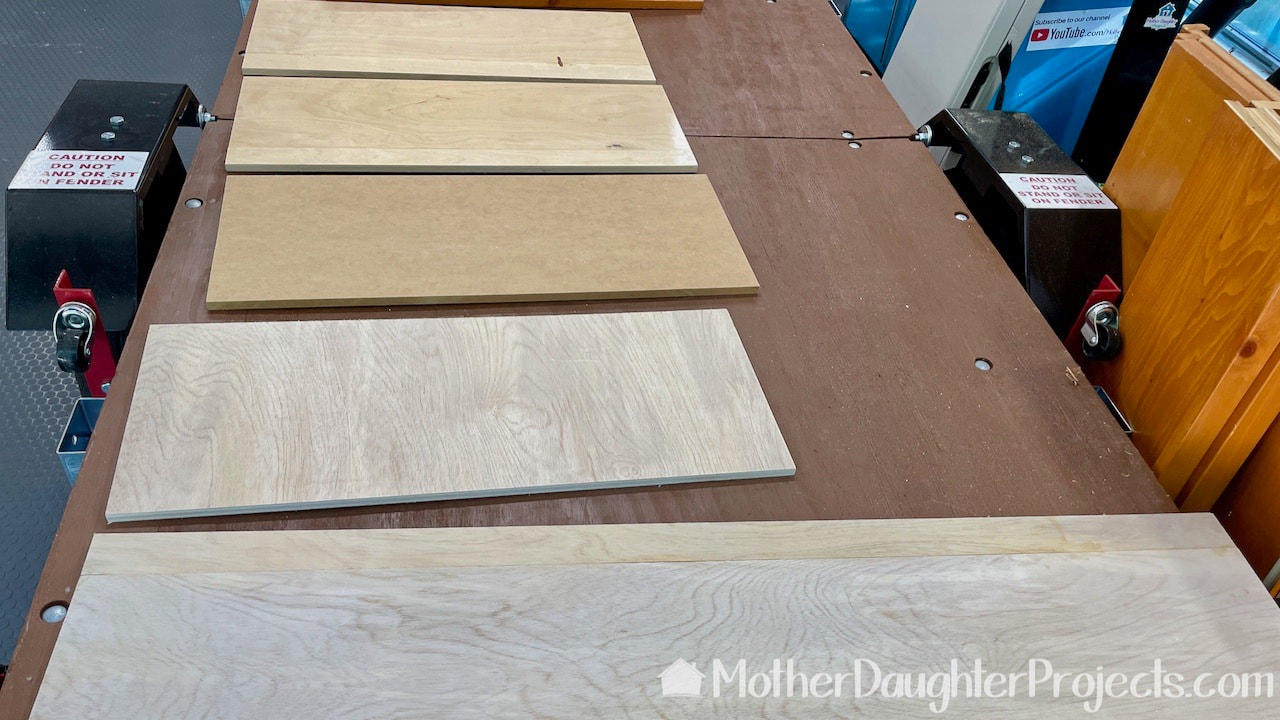
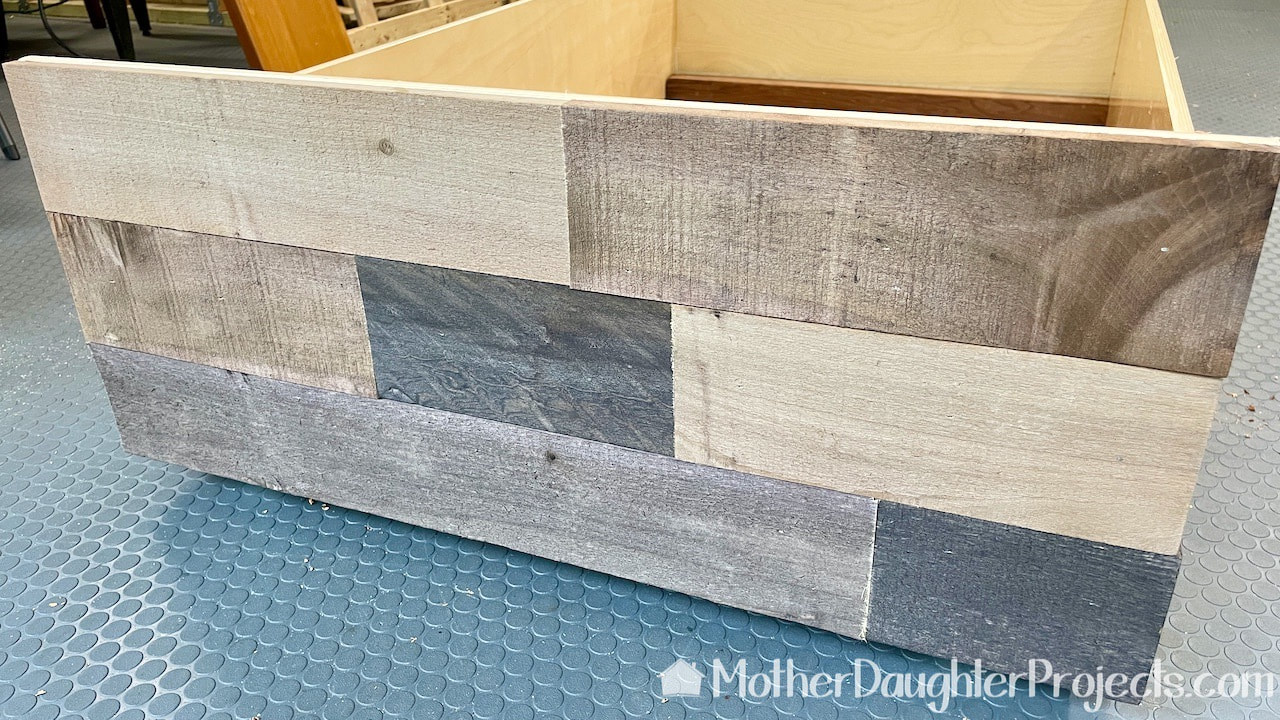
Only the sides that will be visible will get a covering of pallet wood. Steph laid them all out so we could see how the pallet wood would look.
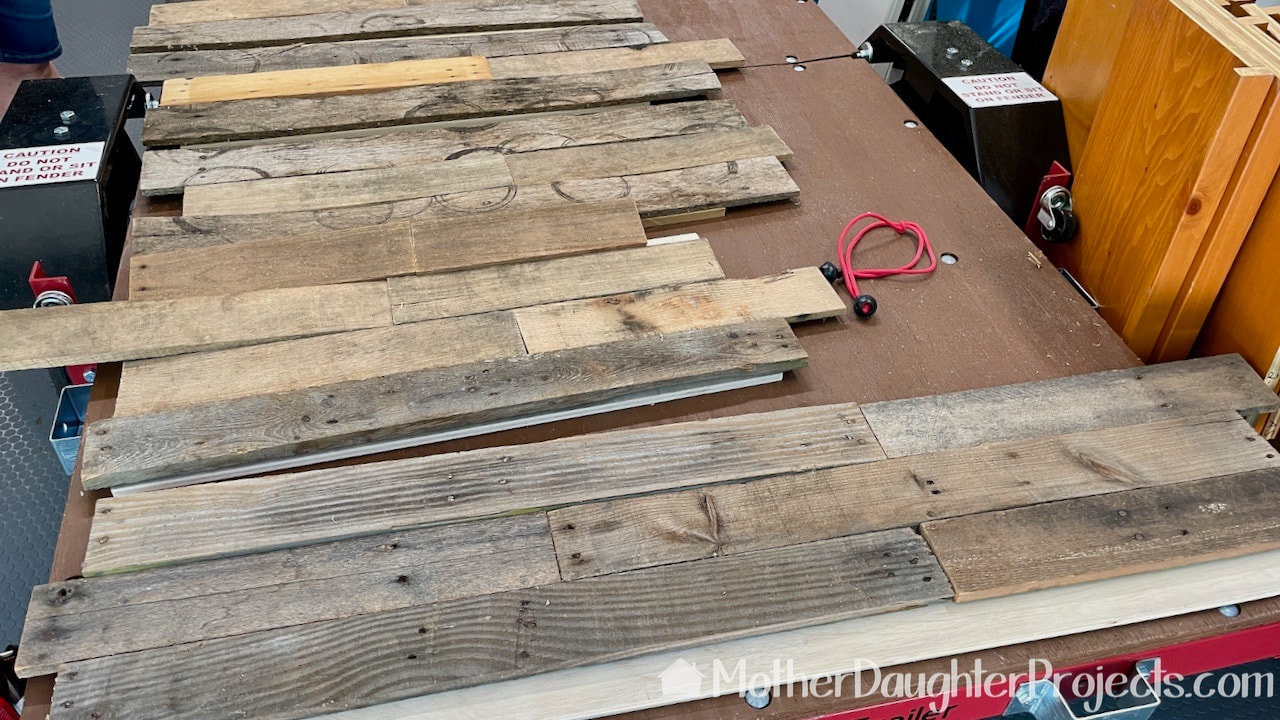
This is the layout with the pallet wood. It was at this point we had to ask ourselves, was it worth it to continue with pallet wood that had to be removed of nails, sanded, stained, sealed and cut to size in the August heat OR go buy a couple of boxes of faux pallet wood that didn't need any prep?
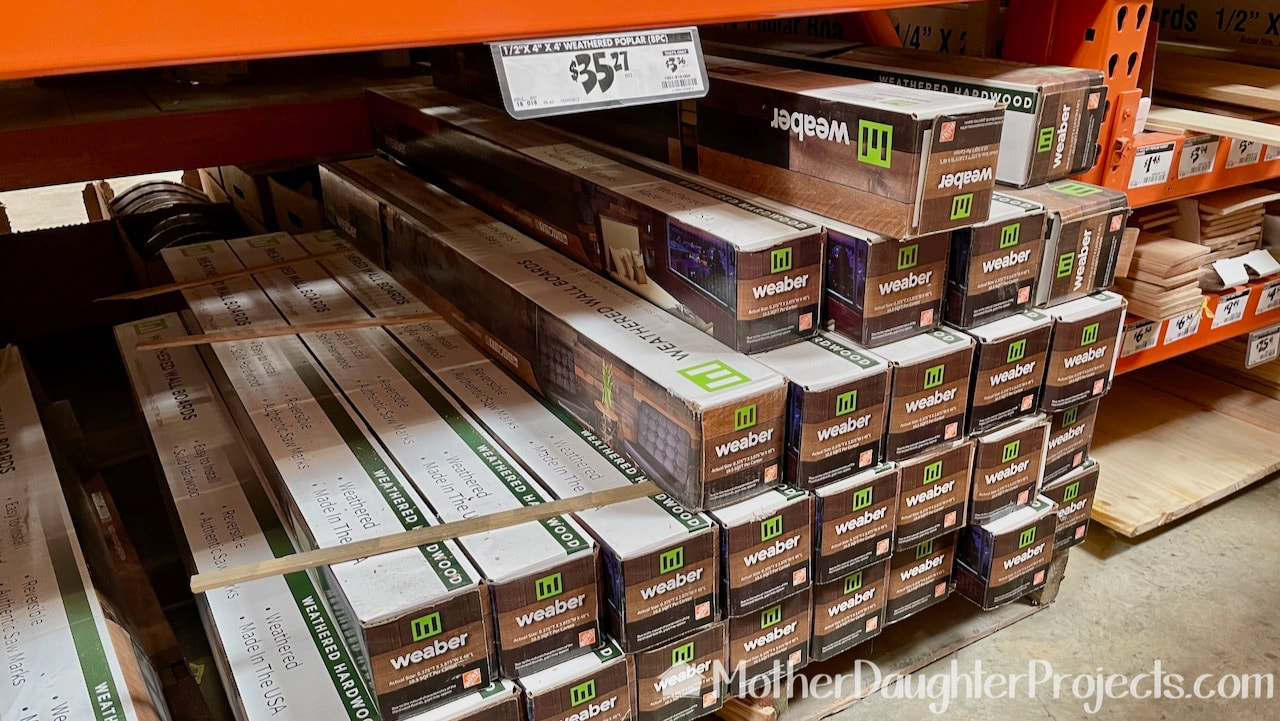
With sweat running down our faces, the answer was easy! We headed to Home Depot to pick up a couple of boxes of this faux pallet wood.
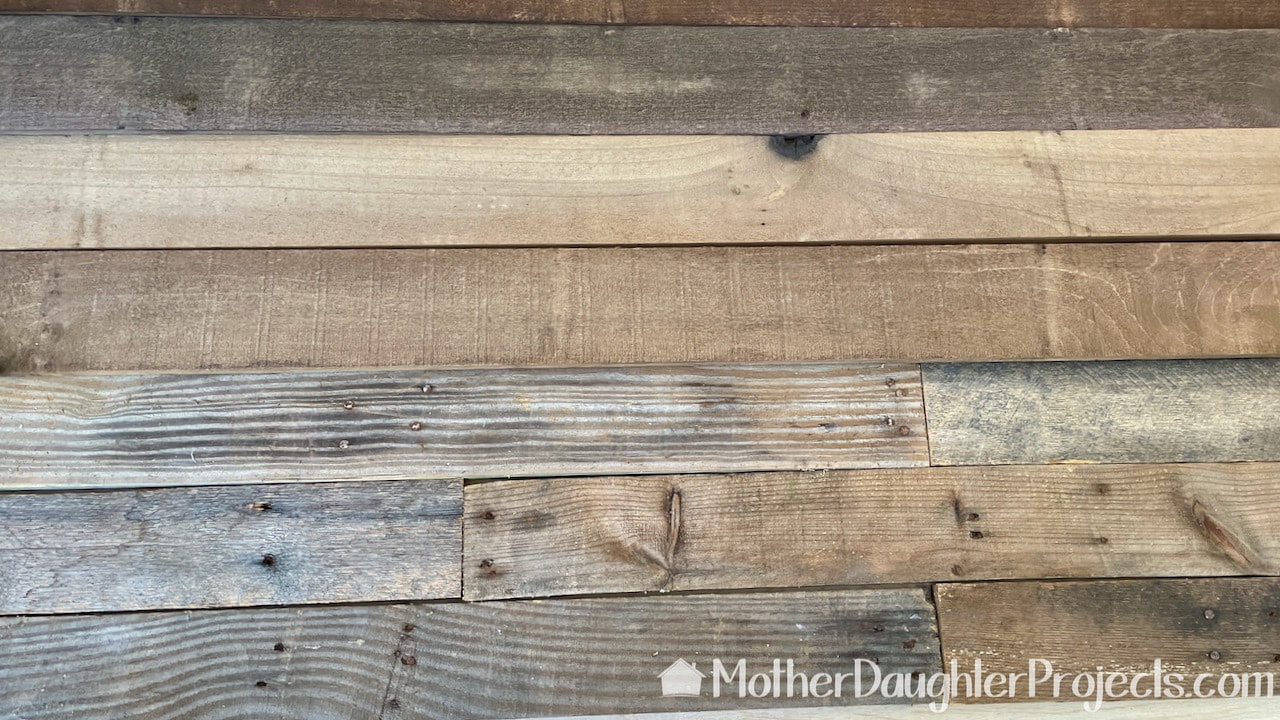
Can you tell which is faux, and which is pallet wood? Let us know in the comments!
Time to assemble using wood glue and brad nails. We doubled up our Husky worktables to provide all the space we needed.
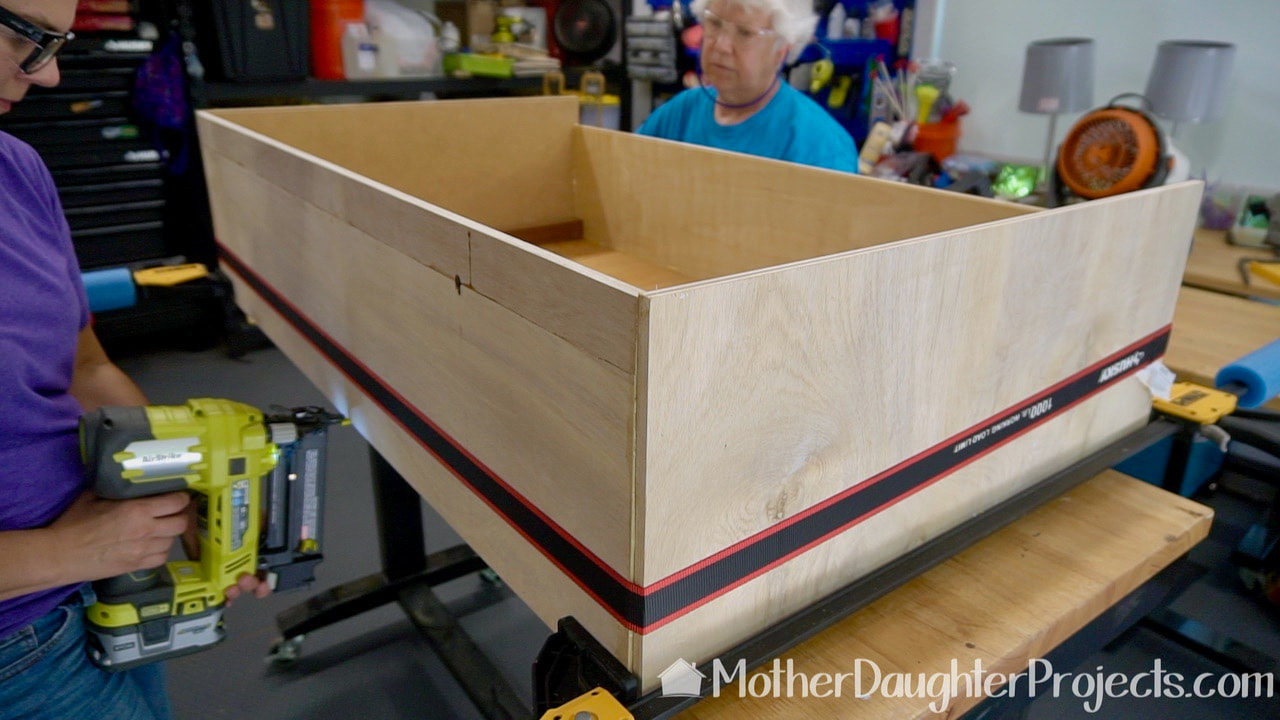
The strap is a Husky ratcheting strap that we use to tie down for the trailer, but it works equally well here as a clamp to keep the sides in place while we glue and brad nail the sides in place.
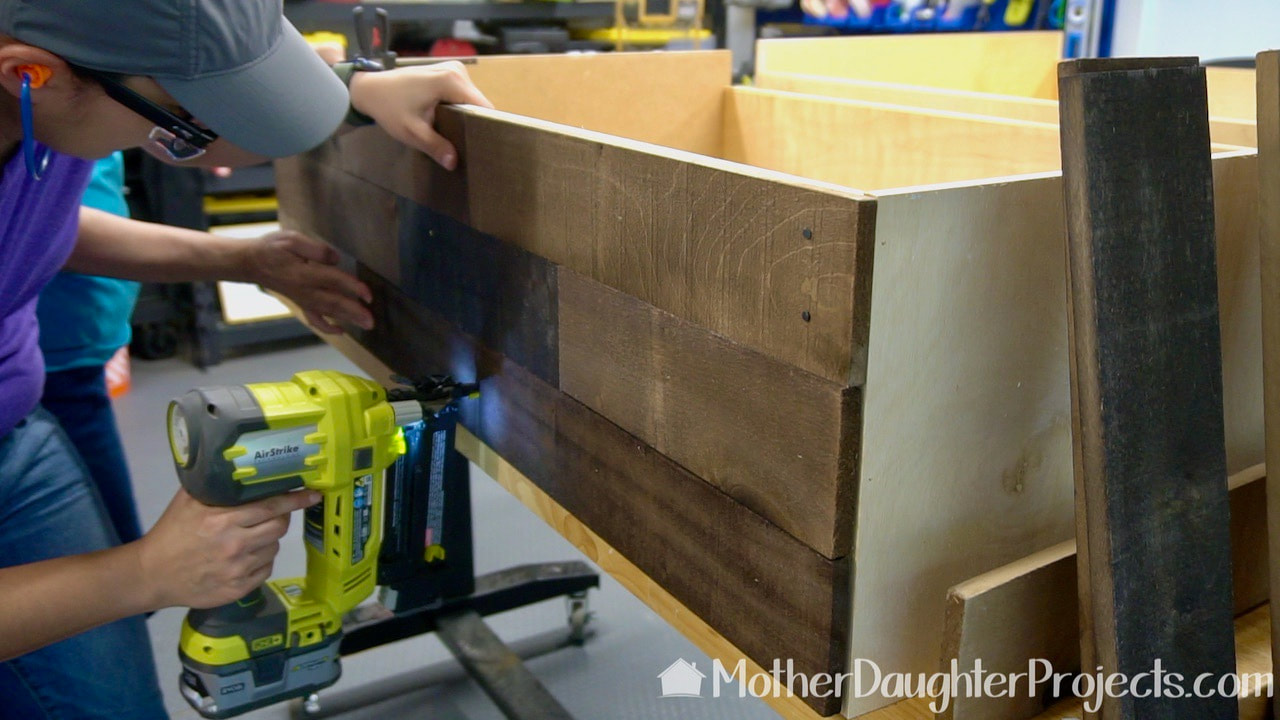
Brad nailing the pallet wood into place.
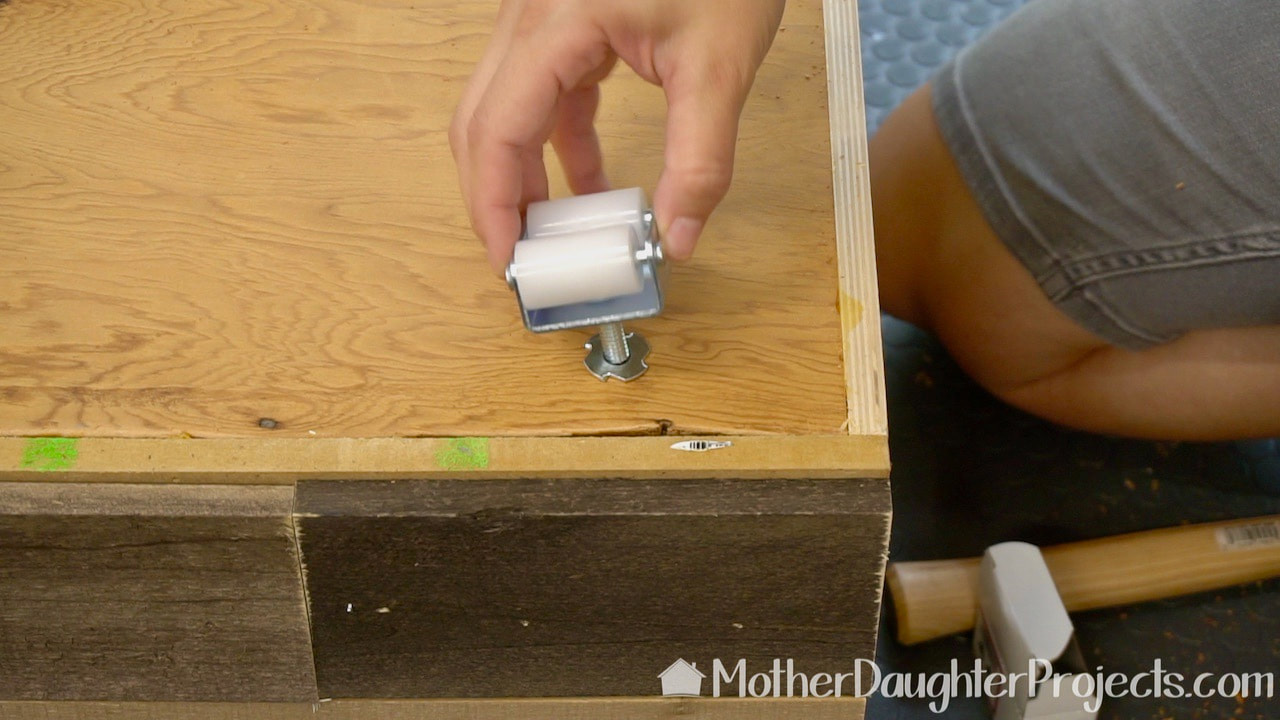
Putting the screw in appliance casters into place on the bottom. This picture truly shows the variety of scrap wood used in this project!

All four casters in place. That board on the left is for another project.

To add a little more of the pallet look, Steph hammered upholstery tacks into the pallet wood to mimic the look of original nails you'd find in an actual piece of pallet wood.
Before the "nails" were added. Notice the pallet wood has a variety of colors and finishes.
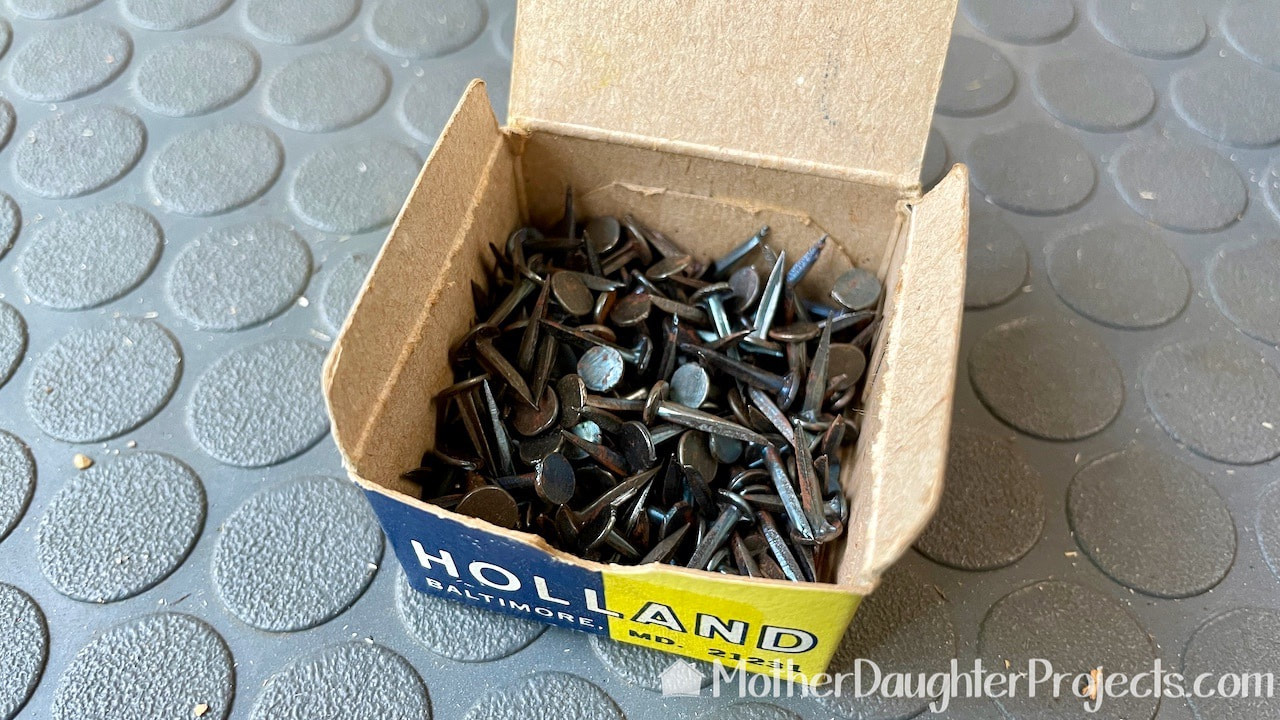
We had this box of tacks already on hand.

Here's one of the sides with the nails added.
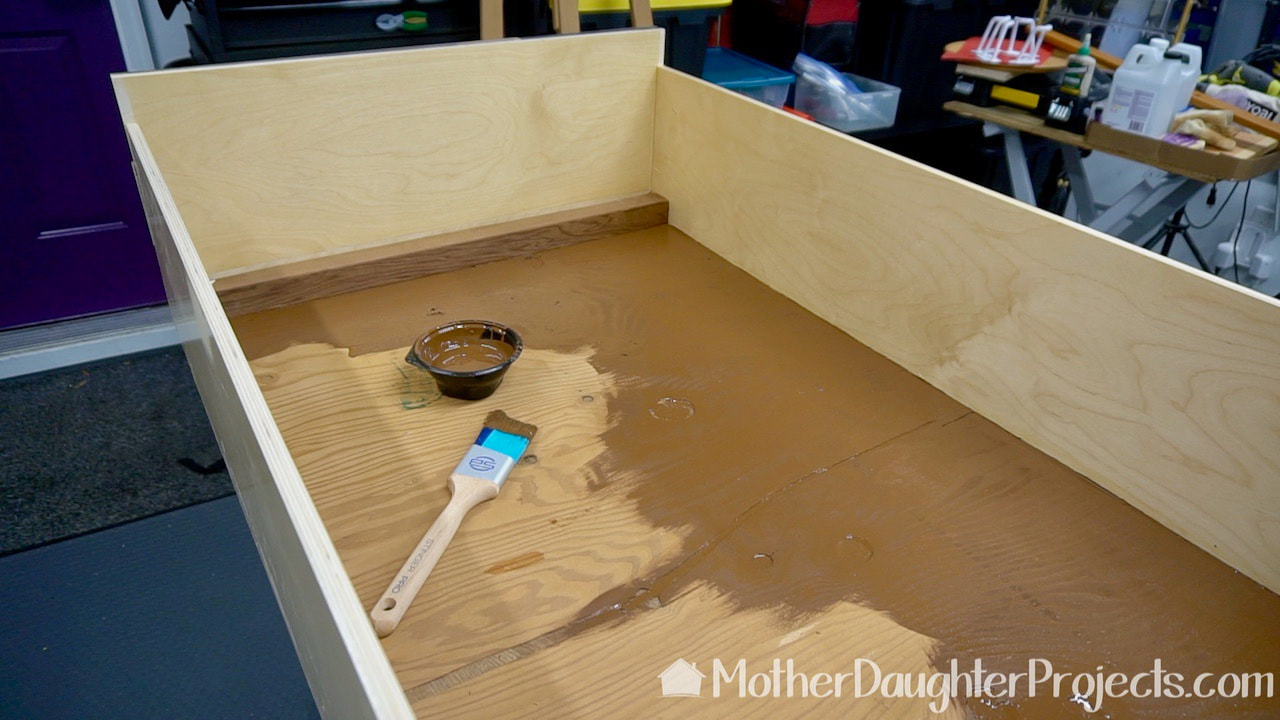
The recycled plywood was pretty rough so we painted the inside with leftover Olympic Elite Chestnut Brown Solid Advanced Exterior Stain and Sealant in One. We've used this successfully in a number of projects. That's a Stinger paintbrush which was the perfect tool for getting that beautifully cut-in line on the sides of the box.
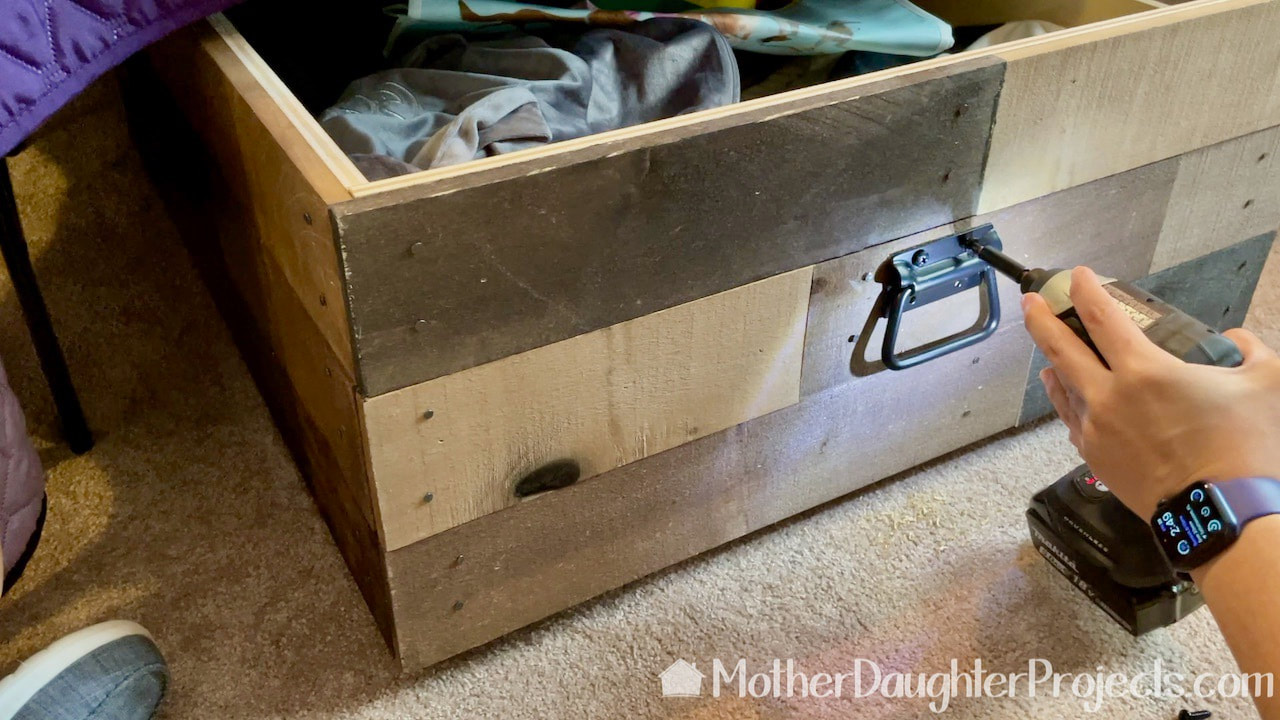
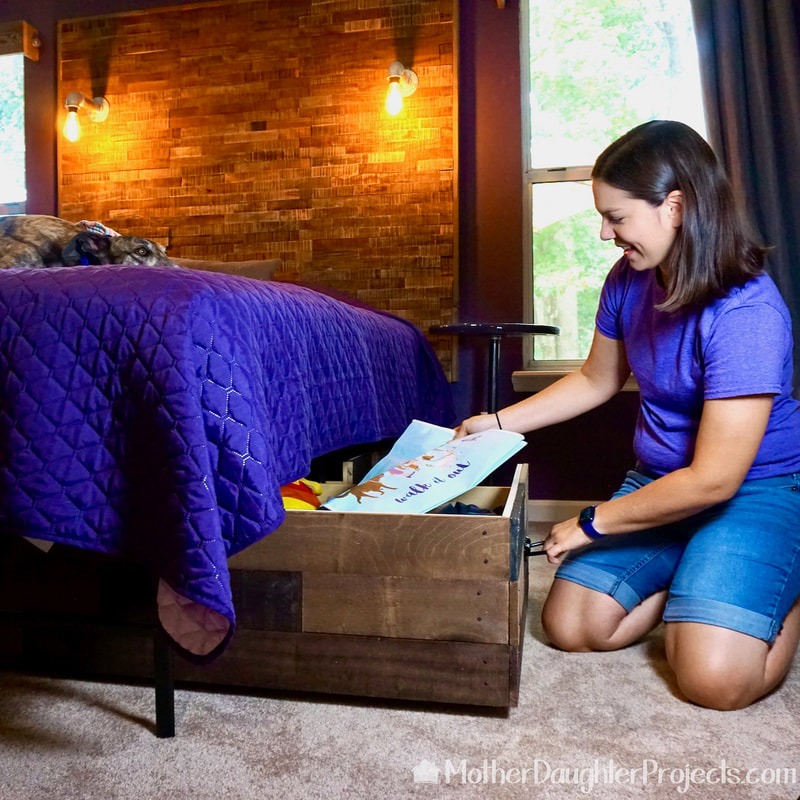
The last step was to add handles to each end of the boxes so they can easily be pulled out on either side of the bed.
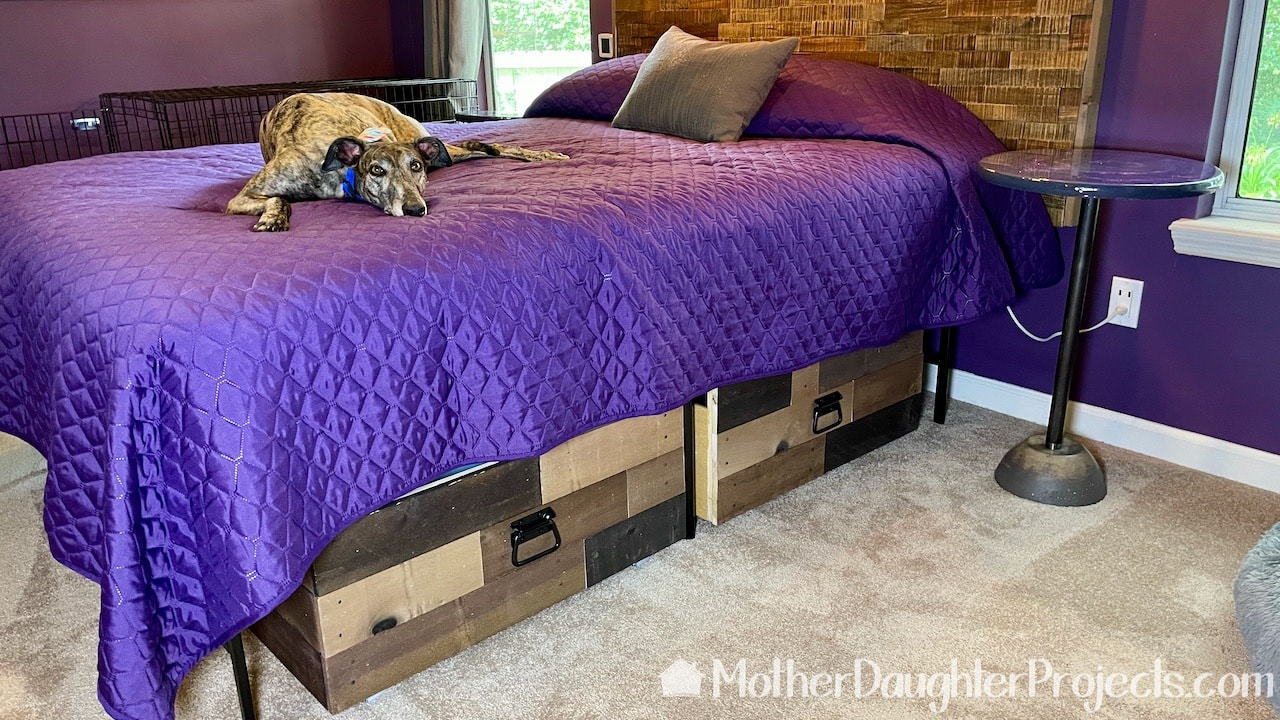
Here are the boxes with matching greyhound! The dimension of the final box is 13" tall (with casters), 29" wide, and 49" long. The metal bed frame is 15" from floor to bottom of bed.
These boxes are such a nice and functional addition to Steph's room. They fill the under bed space beautifully and blend nicely with the pallet headboard and ever present brindle greyhound!
We used appliance casters because of their low profile and because we only needed the boxes to move forward or back not side to side. They are a lower cost option than casters. Steph has already filled up the boxes to free up space in her closet for things that need to be accessed more readily. Please note: This is not a sponsored post. FYI: We are not professionals, and we don't claim to be. This is what we found worked for our project. Yours may need a little different approach. Safety first! FYI: Affiliate links are being used on this page. Purchasing via these links help support MDP! Related Projects
2 Comments
Karen
8/30/2021 02:09:54 am
Is the pallet wood on the bottom layers.
Steph
8/31/2021 09:43:12 am
The pallet wood is on the front, back, and one side of the second box. It goes top to bottom on those locations. Leave a Reply. |

Mother Daughter Projects
|