|
text by Vicki Sign up here to join our weekly email newsletter!
One of the advantages of doing things yourself is the ability to customize furnishings to fit your home. That's what we recently did when we built this footstool to replace a large coffee table at Steph's house.
Steph adopted a second greyhound, which meant having a second dog bed in the living room. With the two beds and the large coffee table there just wasn't enough room. Steph designed a heavy base ottoman that would better fit the space. Take a look at her customized piece of furniture. 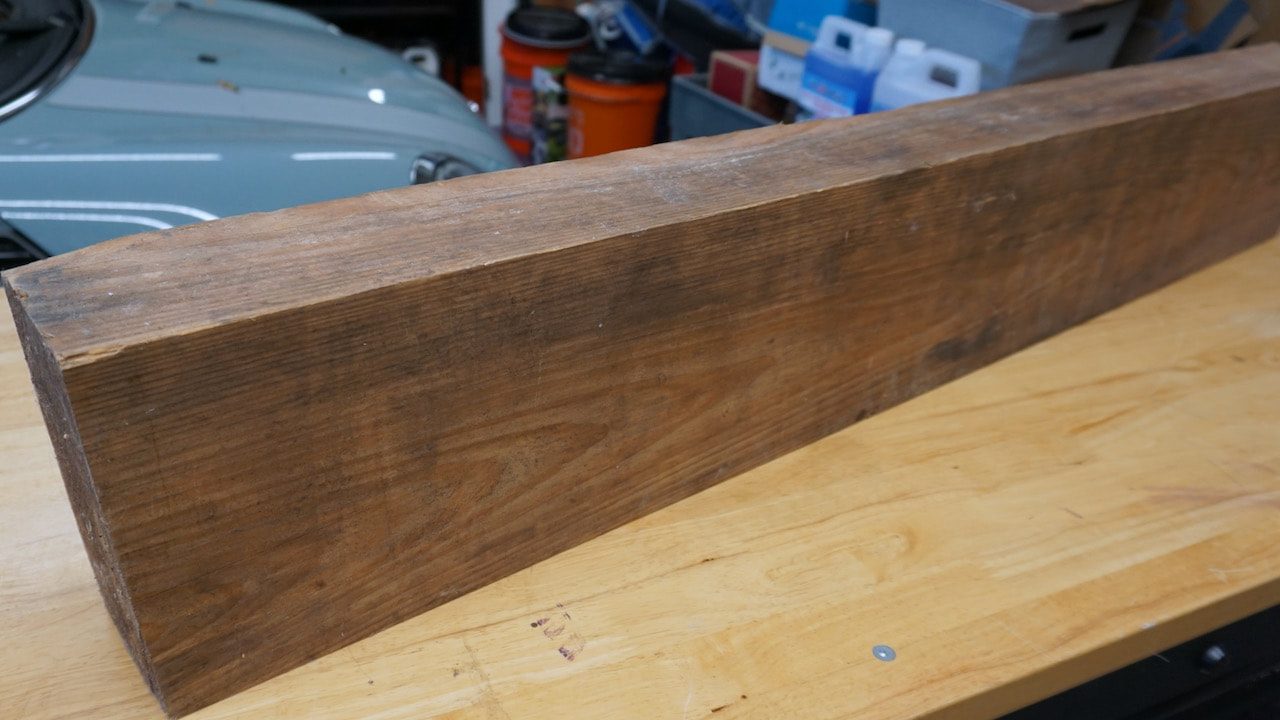
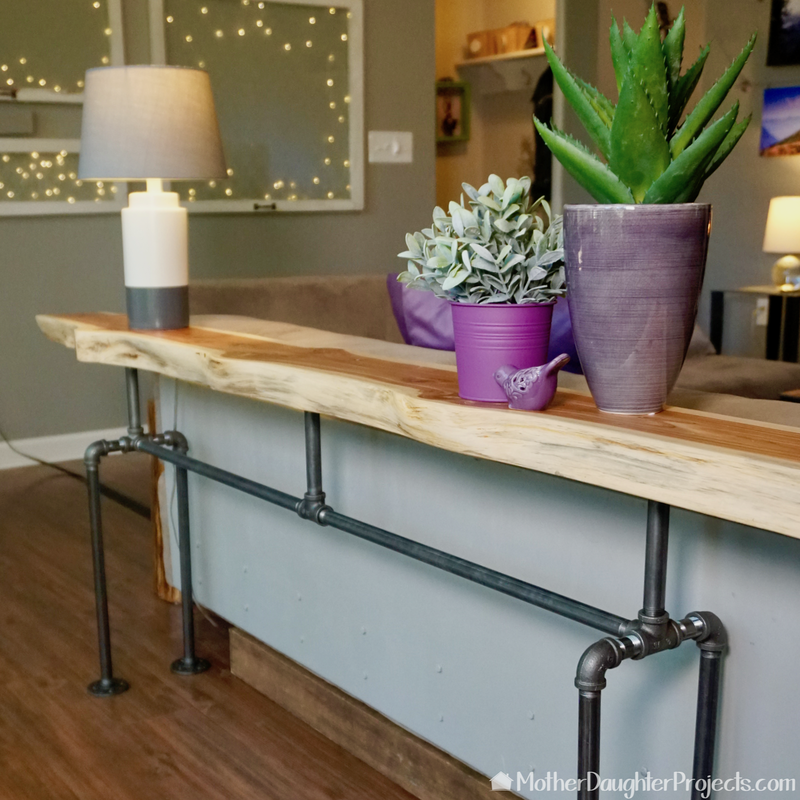
I picked up this large chunk of wood at a yard sale a few years ago. It was the same yard sale where I scored a piece of live edge cedar for $10! We used that piece for a sofa table.
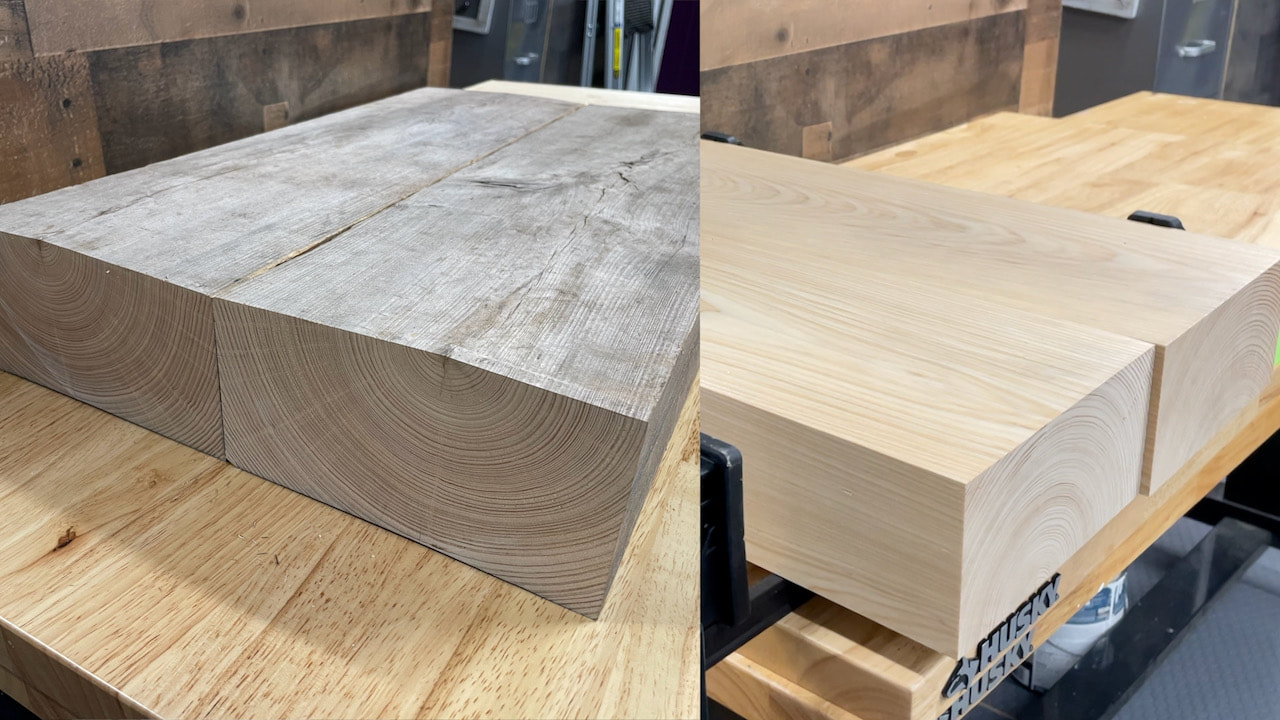
We took the cut pieces of pine to our friend's house to have them planed and jointed to make them square. The difference is amazing. It would have taken literally hours of sanding to make them look like this! Thank goodness for friends with great woodworking tools.!
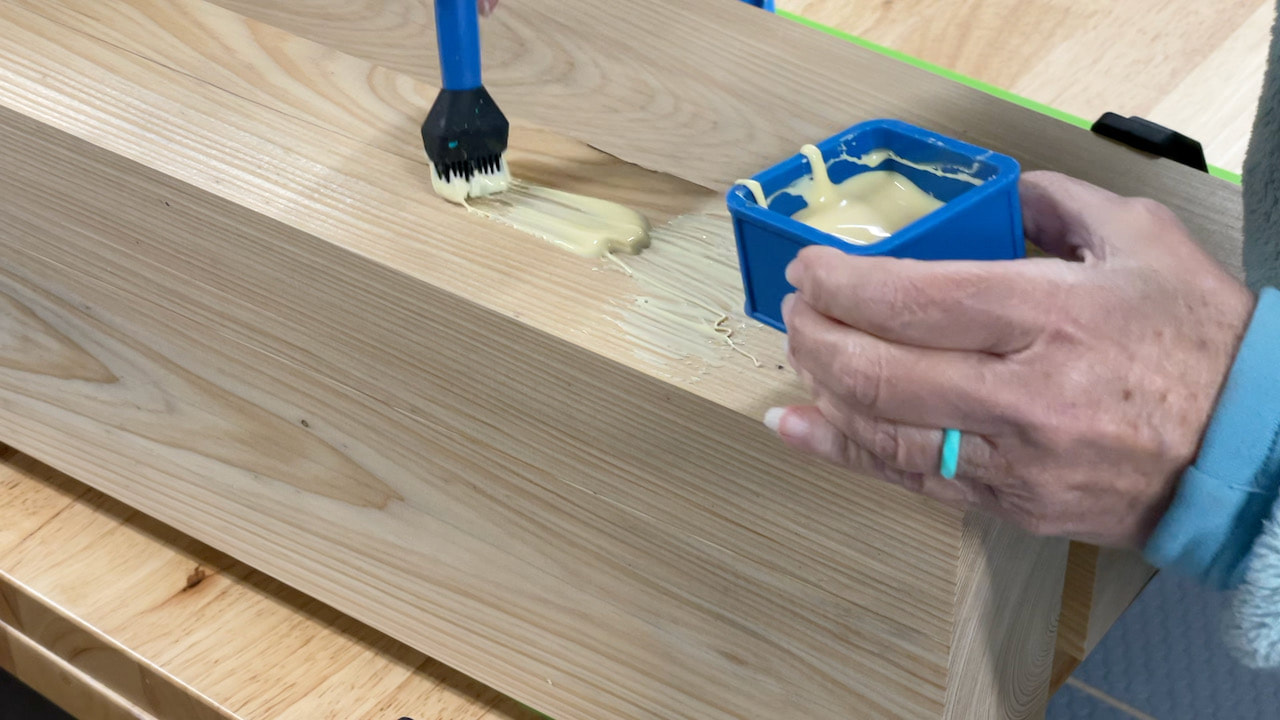
We glued the two halves together, clamped them and left them to dry for 24 hours.
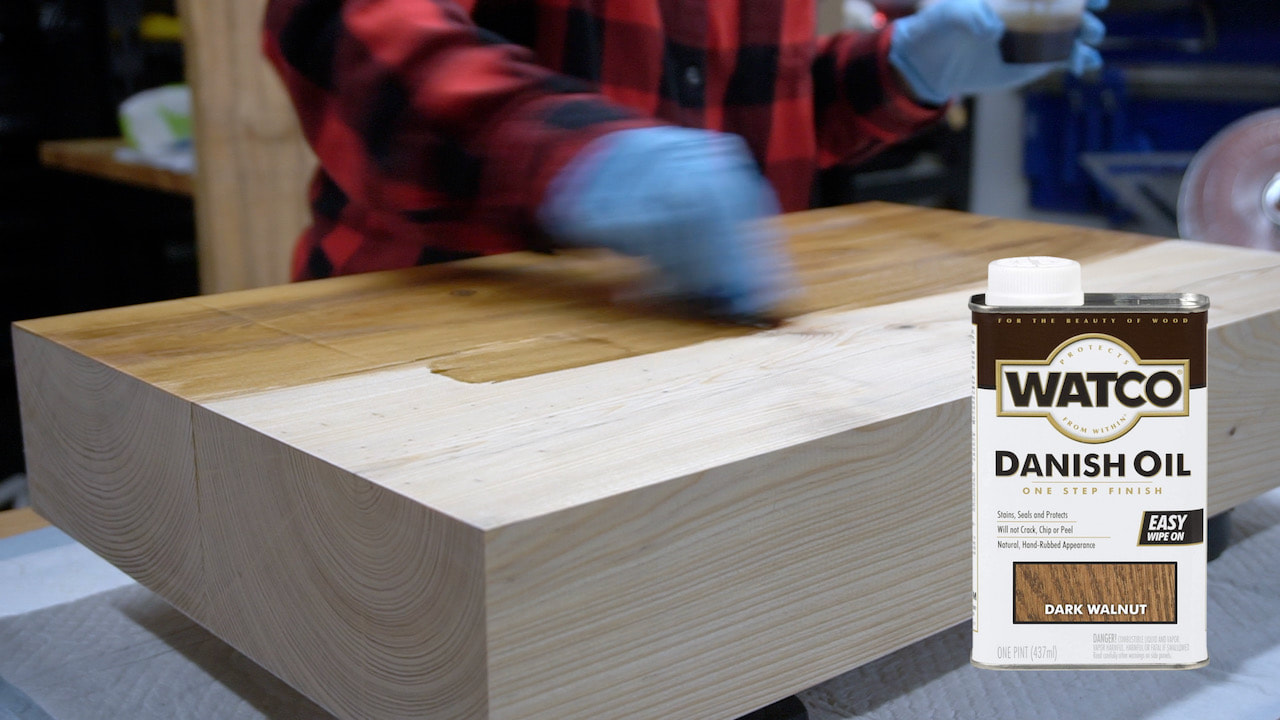
We wanted to be able to see the grain on the wood so we used Danish oil in dark walnut to finish the base.
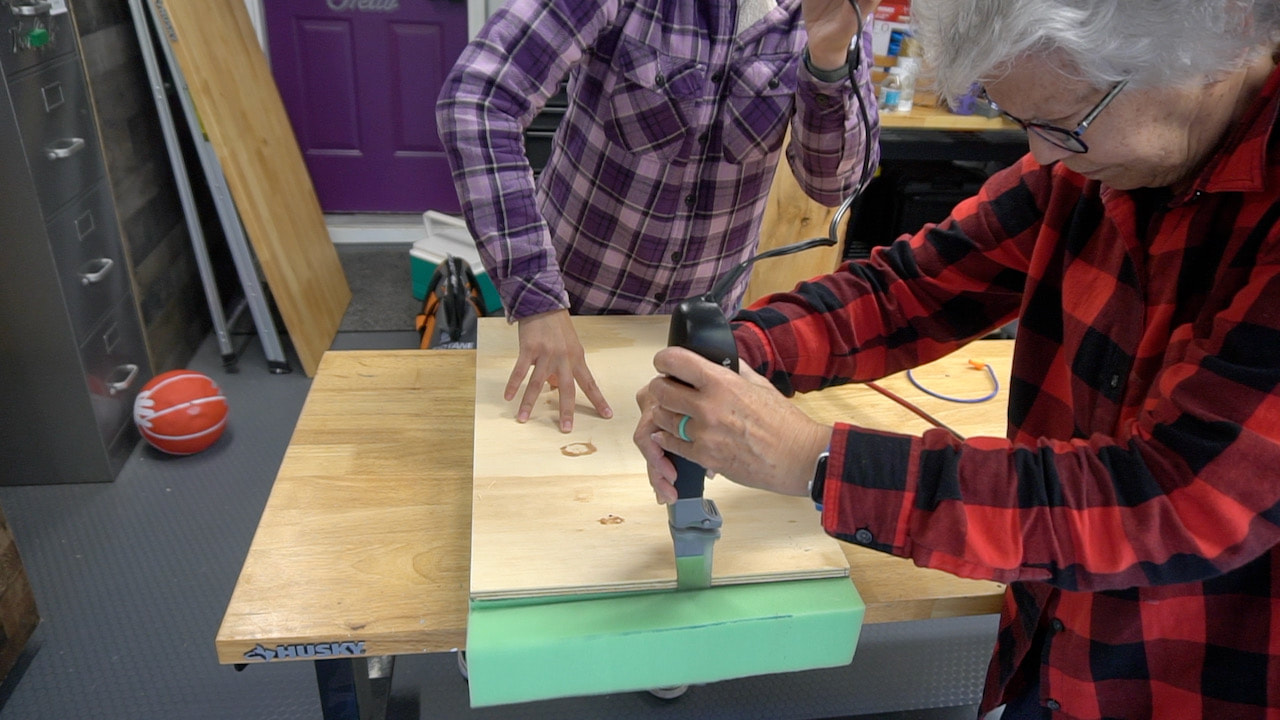
We cut a piece of plywood to the size of the base and then cut a piece of foam to fit. I'm using an electric carving knife to easily cut through the foam.
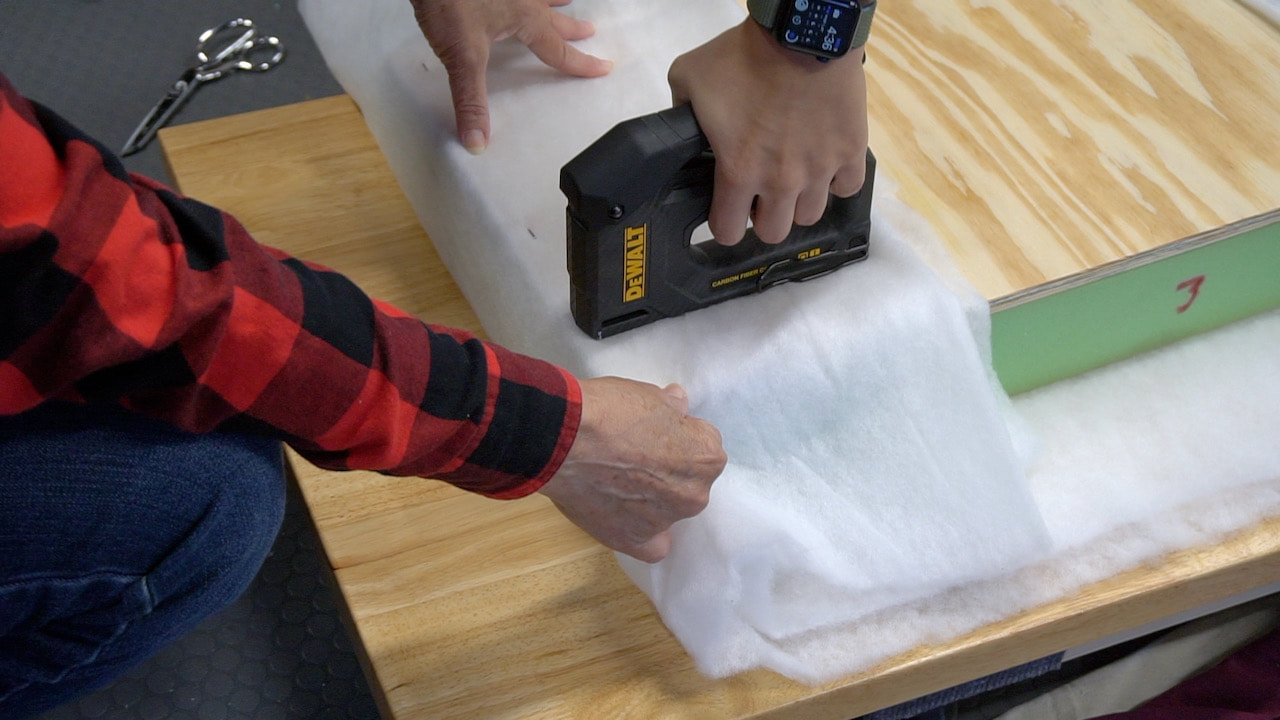
We added a piece of sheet batting to soften the hard edges of the plywood. It was stapled into place with a DeWalt carbon fiber stapler.
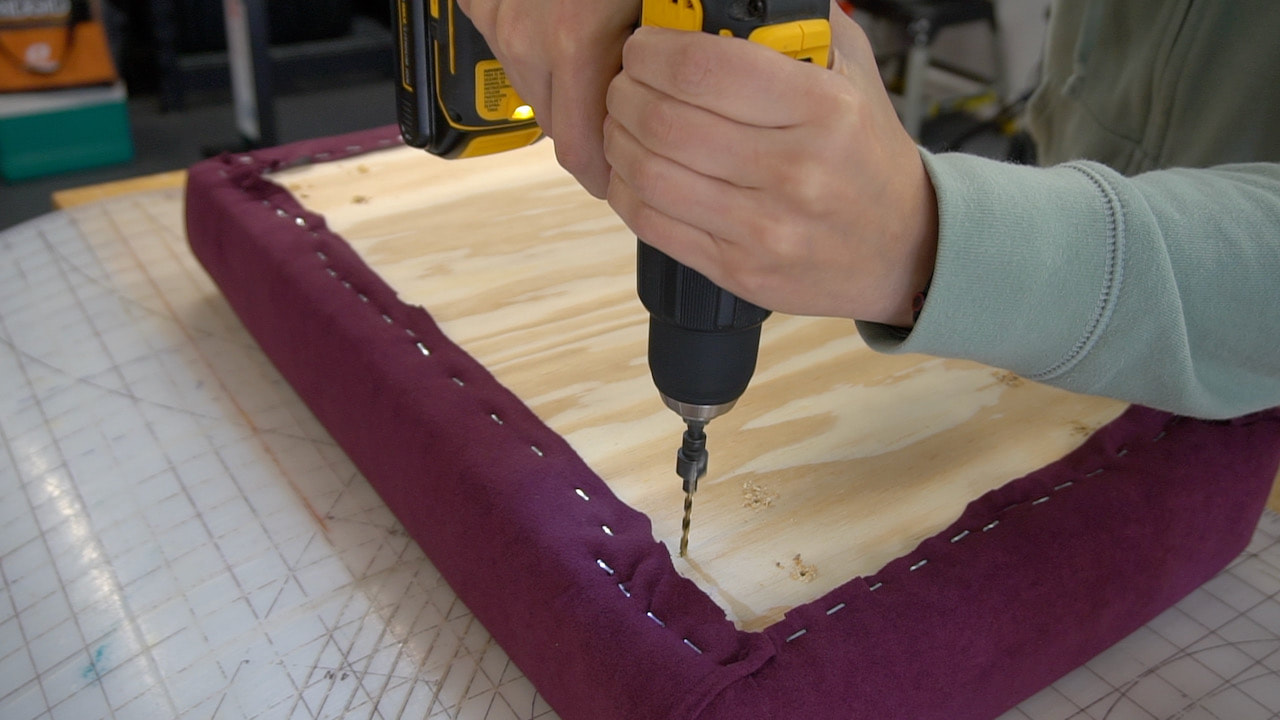
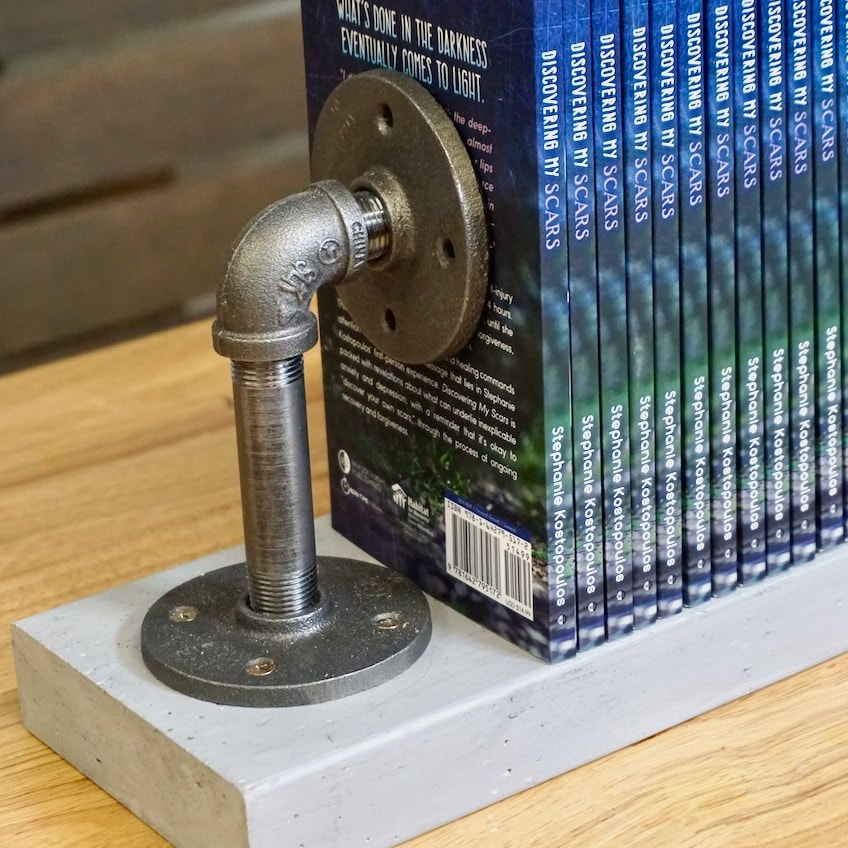
We are going to cover up the bottom of this so Steph predrilled holes for the pipe flanges.
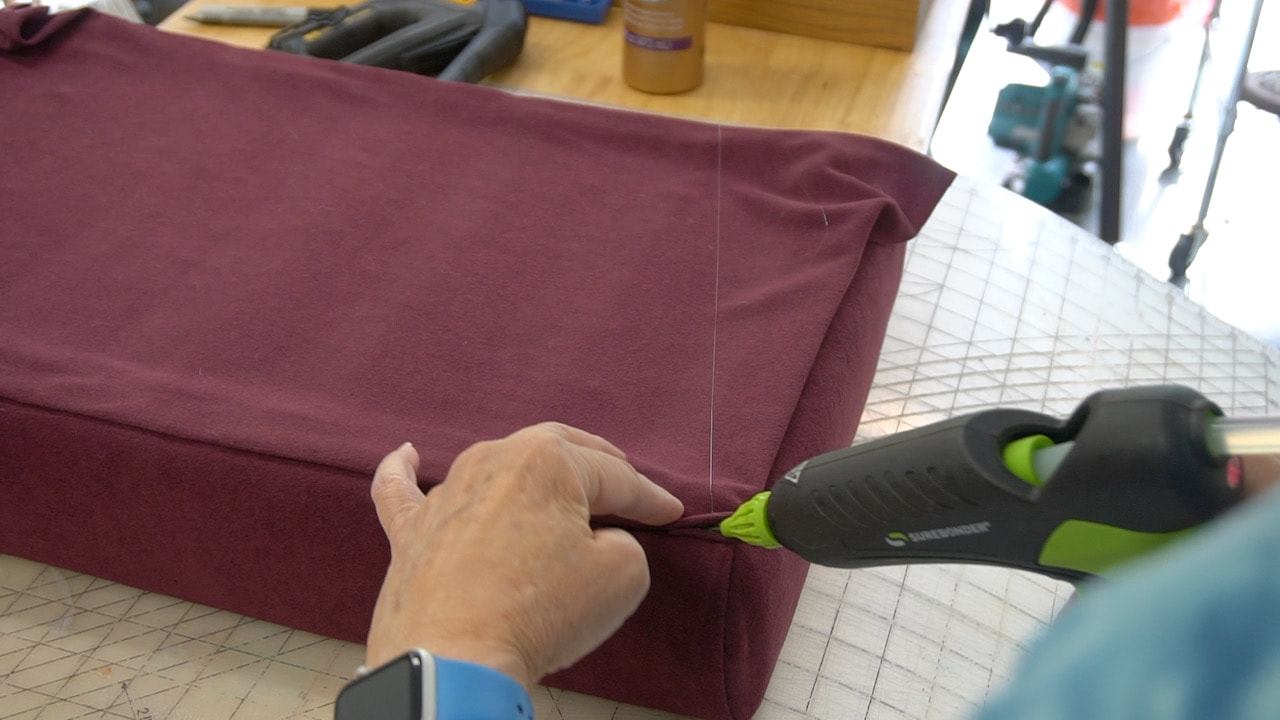
Hot glue made it easy to attach the bottom fabric to the plywood. We are using a Surebonder hot glue gun which is powered by a Ryobi battery.
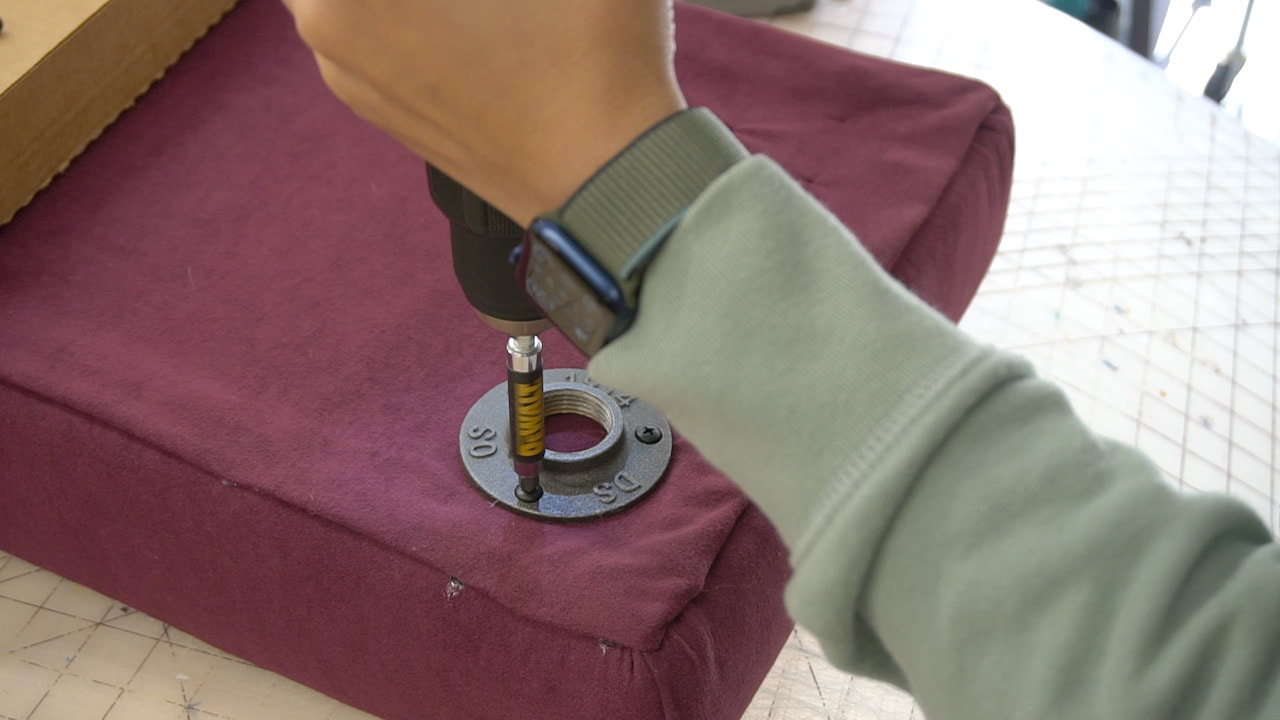
Attaching the flanges to the underside of the ottoman.
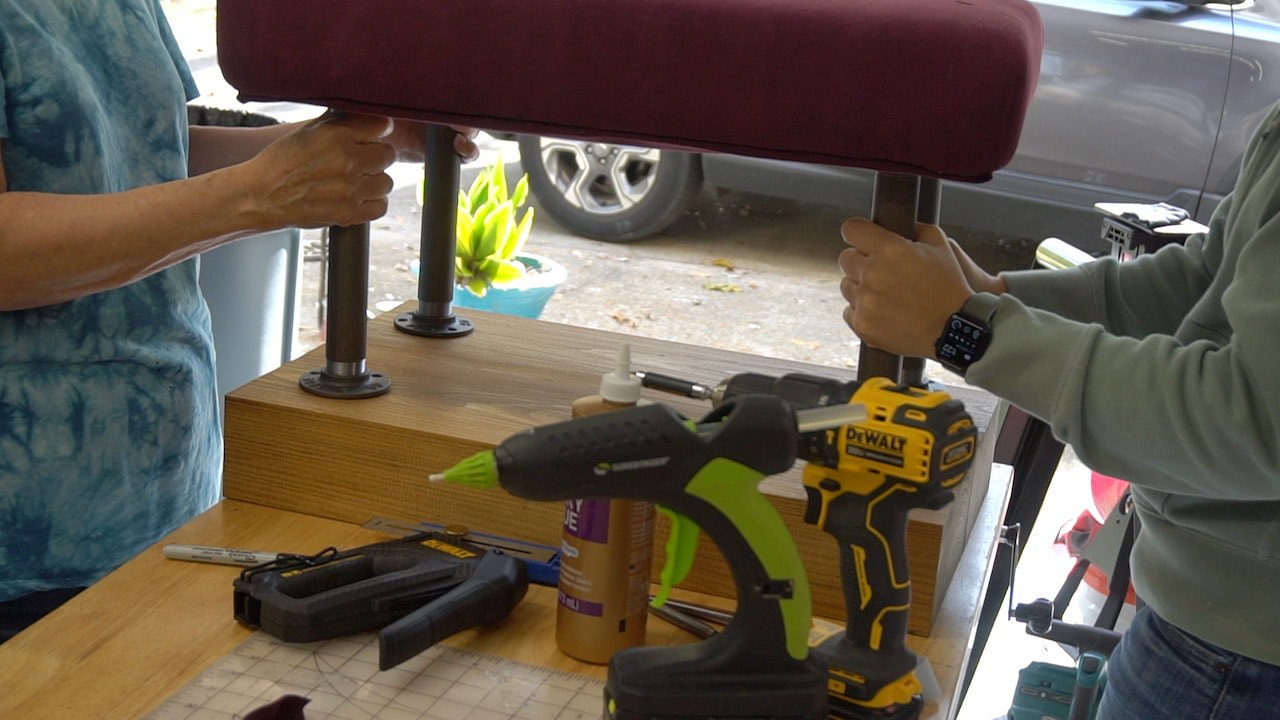
Putting it all together. Be sure to watch the video to see the step by step build.
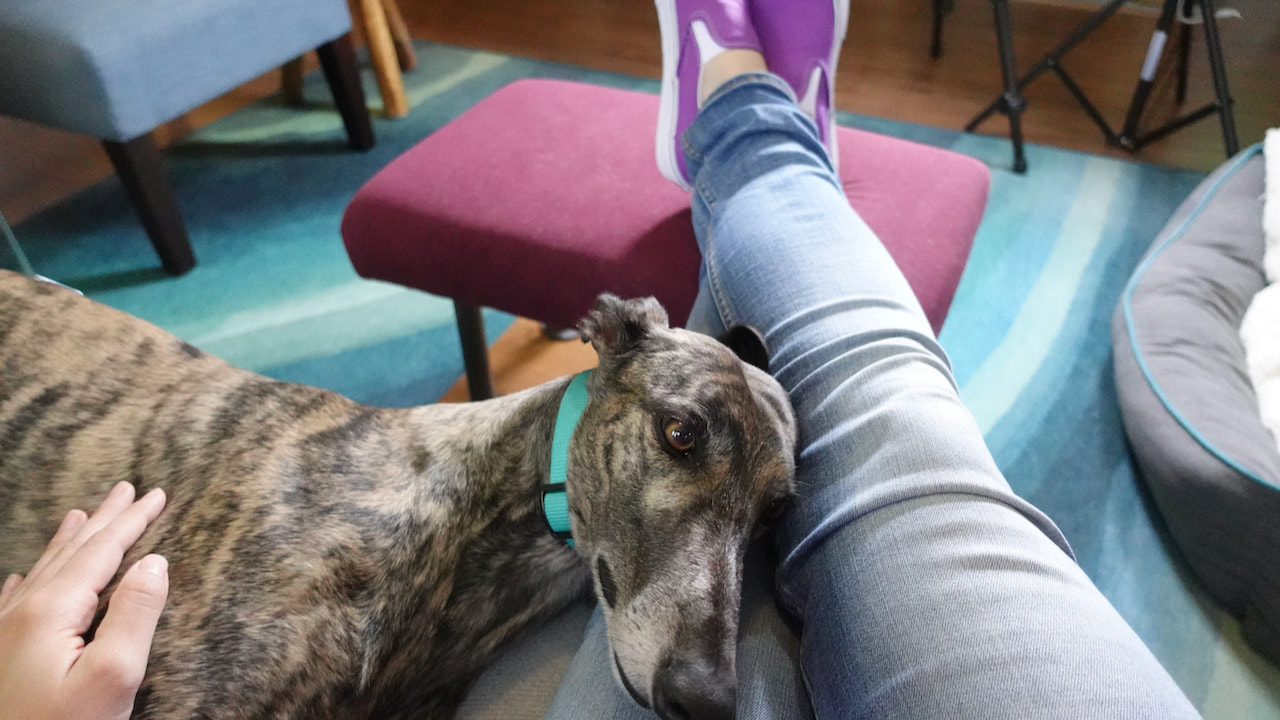
Ironically, once we finished the smaller ottoman/coffee table, the new greyhound decided she was going to be a couch dog so we DON'T need the extra dog bed in the living room!
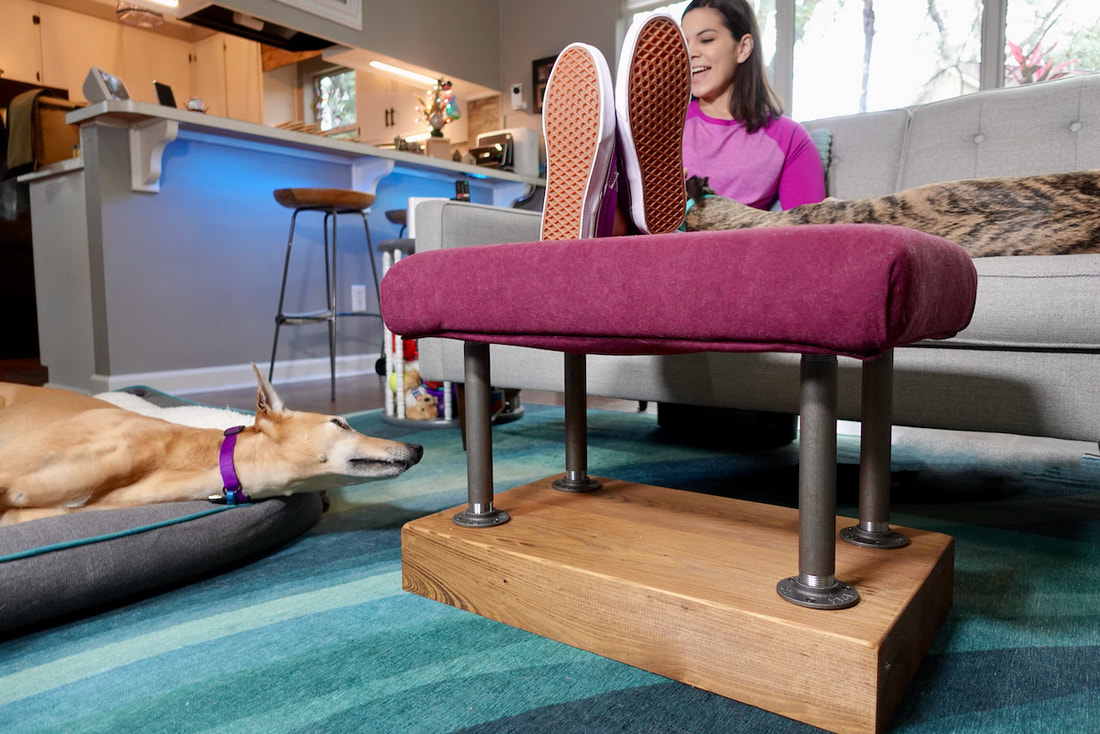
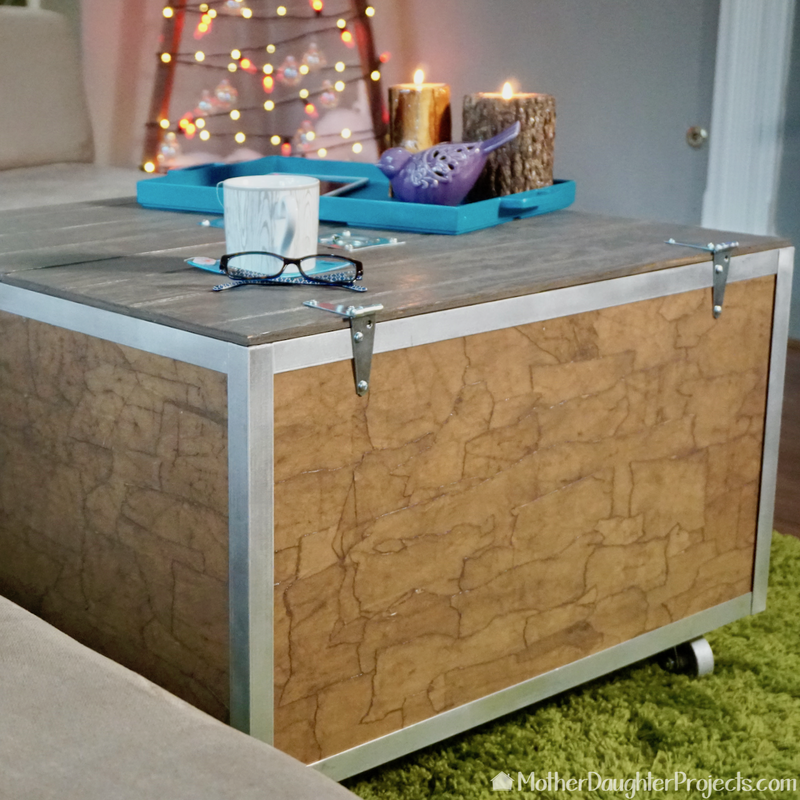
This is just what Steph wanted. The base is heavy enough that the dogs can't accidentally move it.
We were able to repurpose the old coffee table that was in this space. We set it upright, added wheels for portability and it now functions as a cabinet to house Steph's Lego instruction manuals!
What have you customized for your home? Do you have a couch puppy? By the way, Mac in the purple collar has NEVER tried to get on the couch. It's interesting how these two greyhounds have such different personalities! Please note: This is not a sponsored post. FYI: We are not professionals, and we don't claim to be. This is what we found worked for our project. Yours may need a little different approach. Safety first! FYI: Affiliate links are being used on this page. Purchasing via these links help support MDP! Related Projects
0 Comments
Leave a Reply. |

Mother Daughter Projects
|