Mother Daughter Projects

  • Blog
  • About
    • Contact
    • Privacy Policy
  • Tools
    • Tool Tuesday
  • Maintenance
  • Improvement
  • Decor
  • Tech
  • Blog
  • About
    • Contact
    • Privacy Policy
  • Tools
    • Tool Tuesday
  • Maintenance
  • Improvement
  • Decor
  • Tech

DIY for Homeowners

DIY Bike Stand for E-Bike Transport

1/4/2023

2 Comments

 
text by Vicki     Sign up here to join our weekly email newsletter!
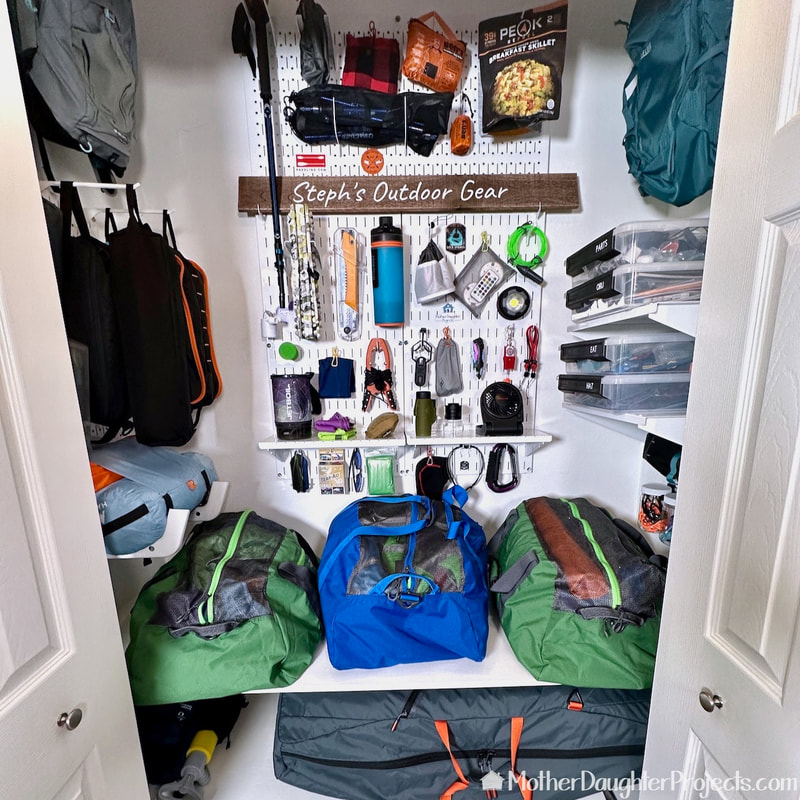
One thing you can count on during January are fitness resolutions and the pressing need to store all the things!

Well, this build shares both of those things:

1. We bought e-bikes to up our fitness game
2. We built a stand so we can transport those bikes, as well as store them in the garage when not in use.

​Read on to see how we built it!

Materials/Tools:


  • Makita 18V 5.0Ah X2 LXT Lithium-Ion (36V) Brushless Cordless 10 in. Dual-Bevel Sliding Compound Miter Saw with Laser Kit (Home Depot)

  • 2 in. x 4 in. x 8 ft. Prime Whitewood Stud (Home Depot)

  • Kreg Pocket-Hole Jig 720 (Home Depot)

  • Kreg 2-1/2 in. Coarse Zinc-Plated Steel Square-Head Pocket Screw (50-Pack) (Home Depot)

  • Husky 600 lb. Steel Wire Ring Anchor Point in Silver (4-Pack) (Home Depot)

  • Everbilt 3-1/2 in. Zinc-Plated Latch Post Safety Hasp (Home Depot)

  • Jetson Bolt Pro Electric Bike (Jetson)

  • Jetson Bolt Pro Folding Electric Bike (Costco)

  • NRS 9' x 1" Buckle Bumper Strap - Package of 2 (REI)

We're using simple 2x4s for this build which we got at The Home Depot.
We used two sets of Husky anchor points from the Home Depot.
We will use these to create anchor points for cam buckle straps to secure the bikes to the stands.
Cutting the 2x4s with the Makita miter saw.
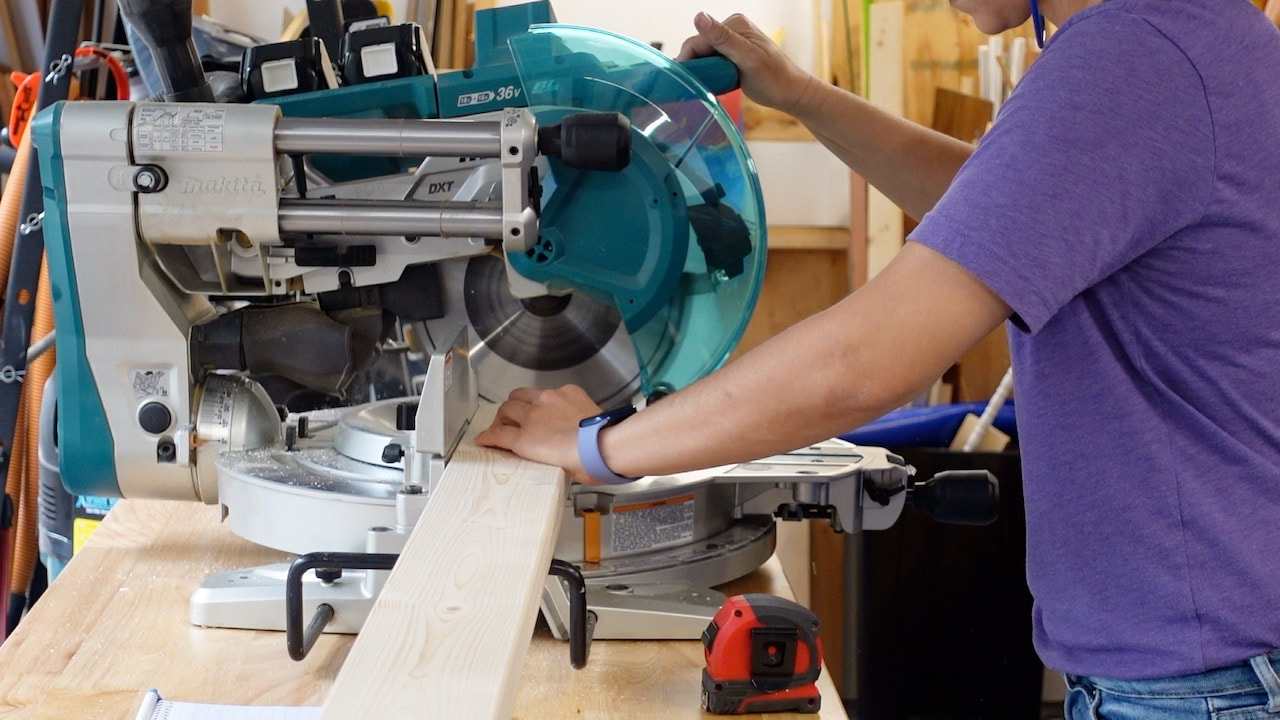
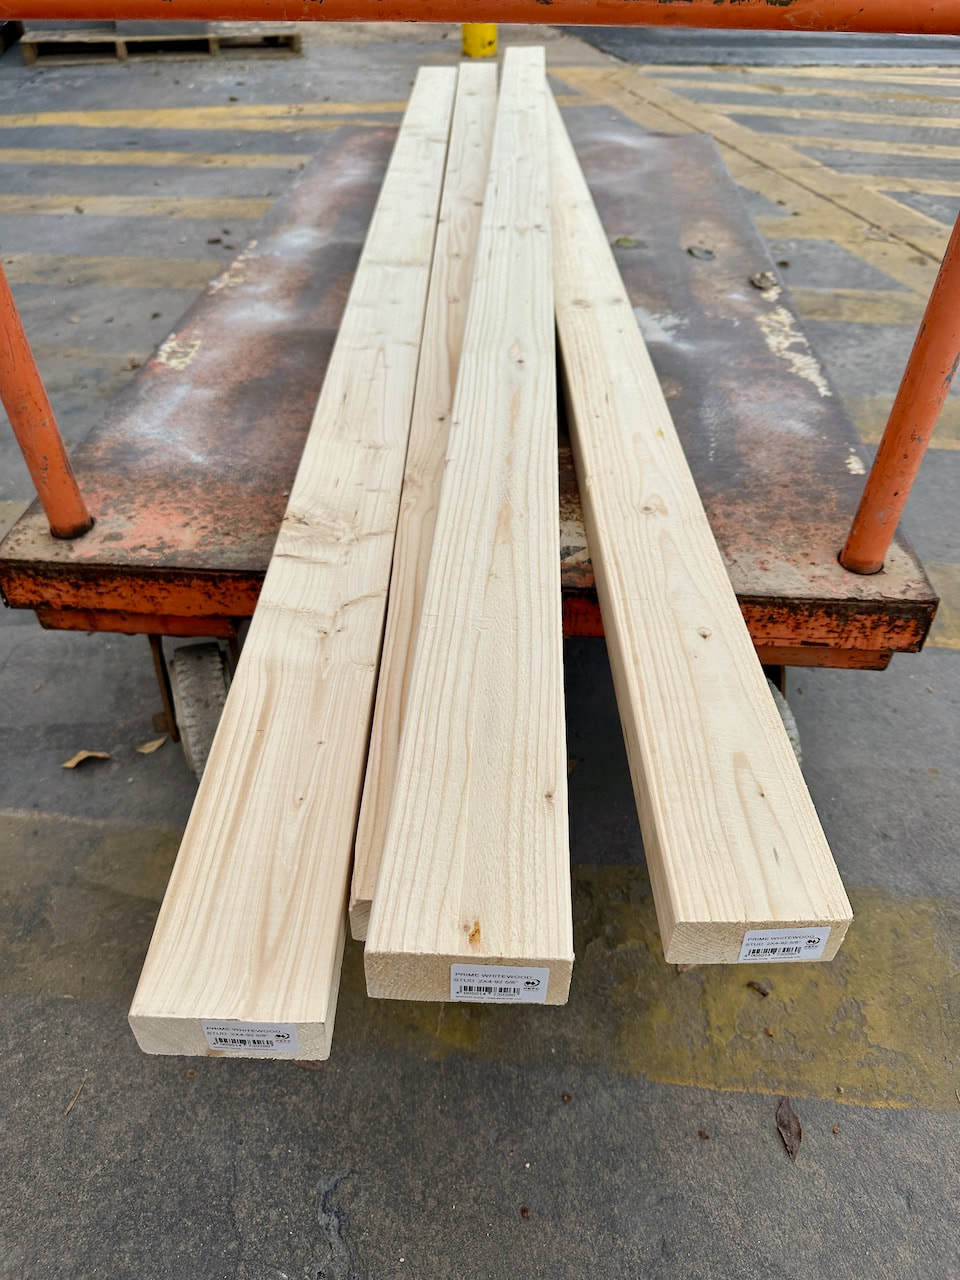
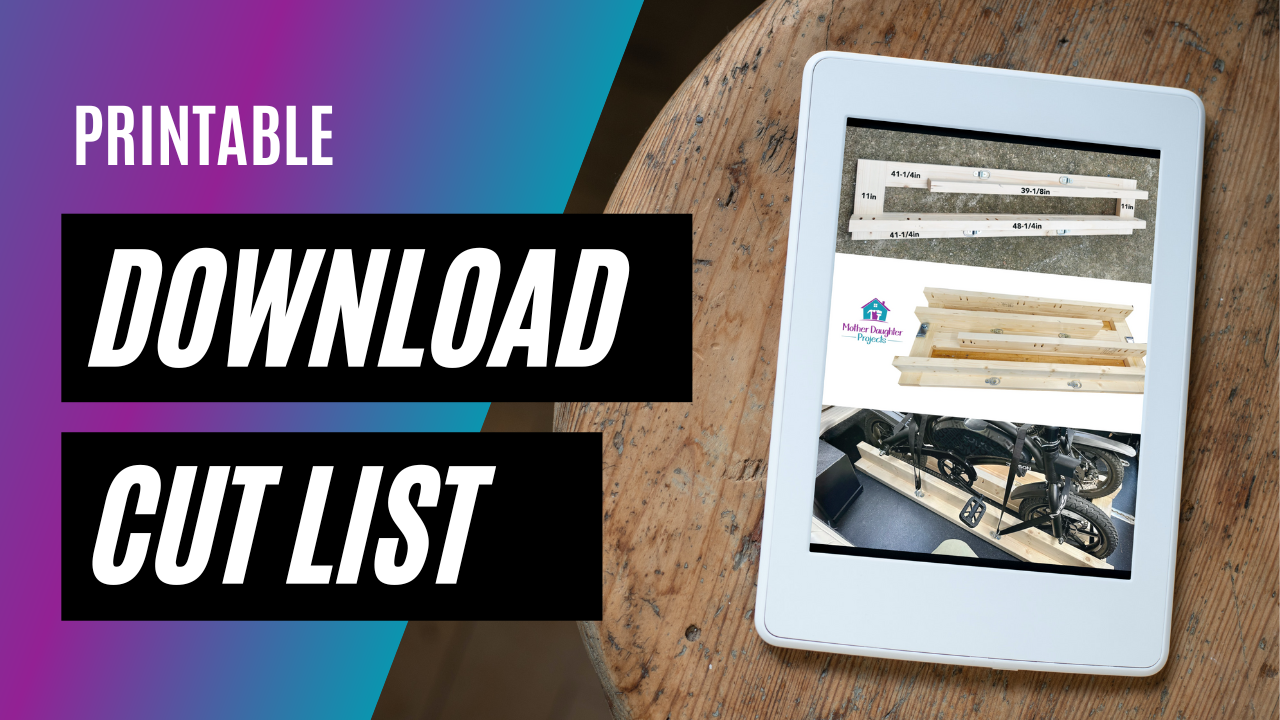
All the pieces were cut on our Makita battery powered miter saw. See the picture below for the cut list.
Picture
Using the Kreg pocket hole jig.
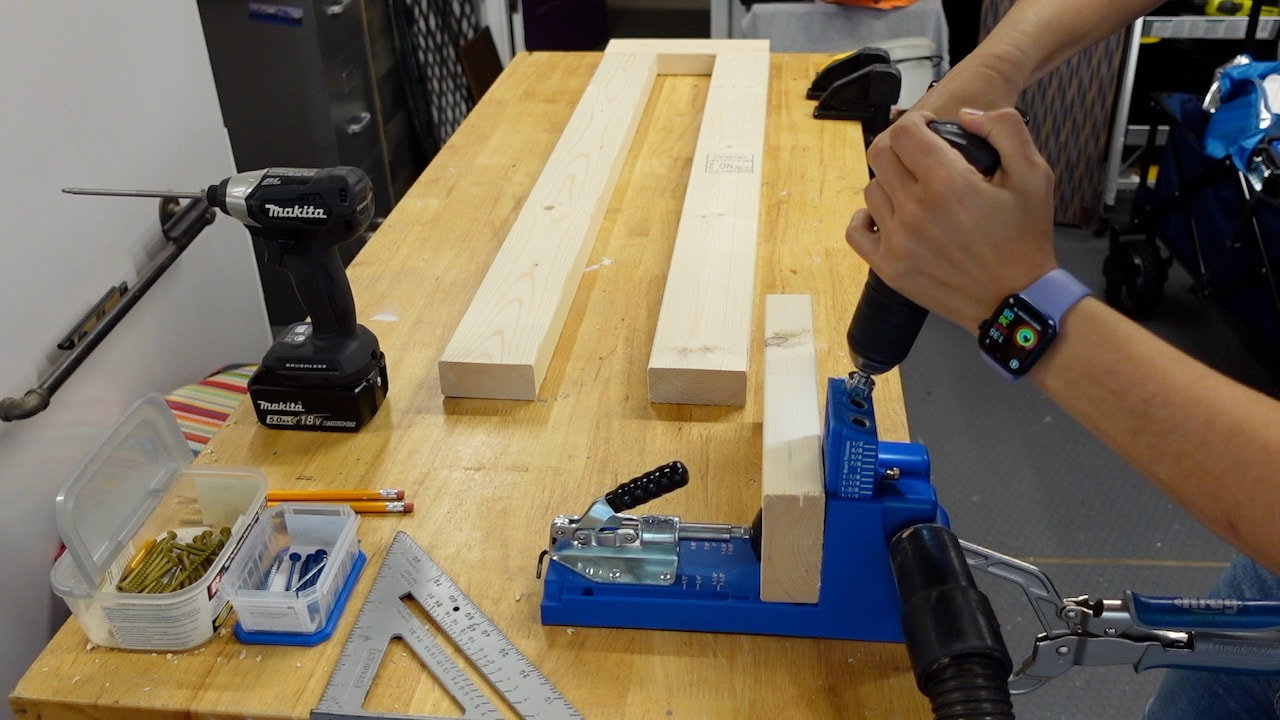
The wood pieces were joined with pocket holes. Here Steph is using an older model of the Kreg Pocket Hole jig to make the pocket holes.
Securing the pieces with pocket hole screws.
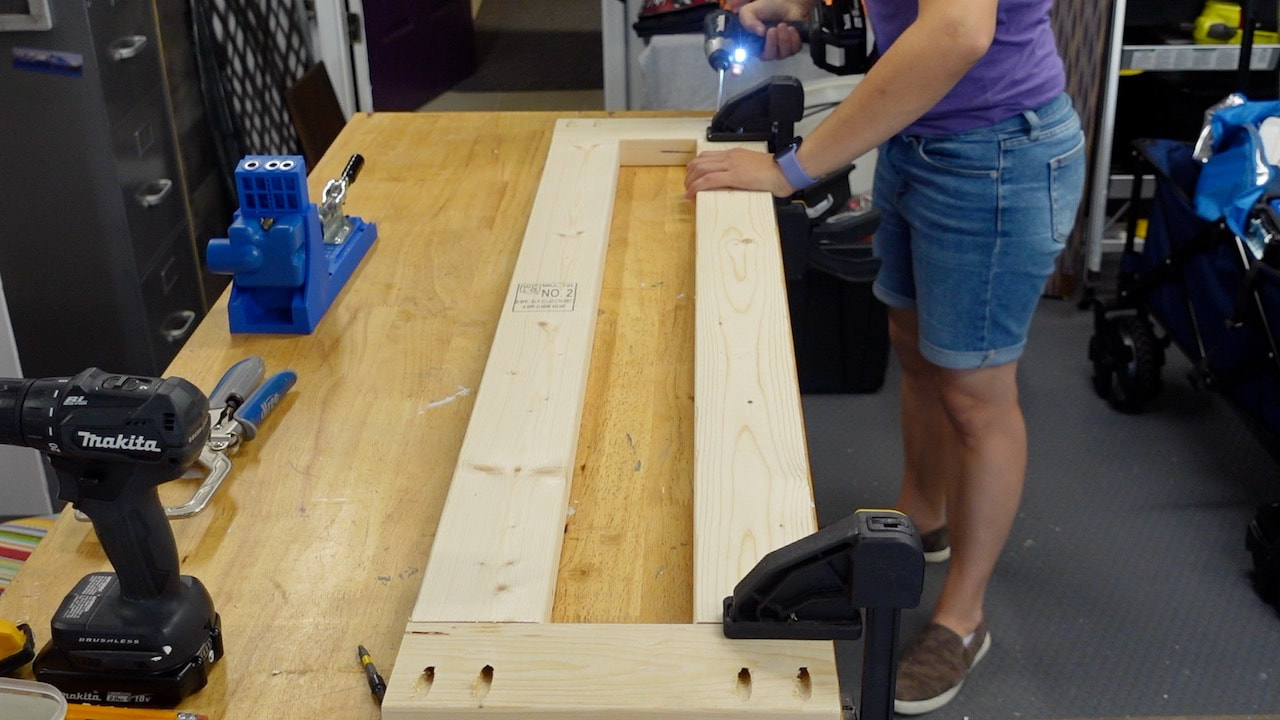
The pieces are secured with pocket hole screws. This is the base of the transport/storage stand.
Attaching the side rails to the bicycle stand.
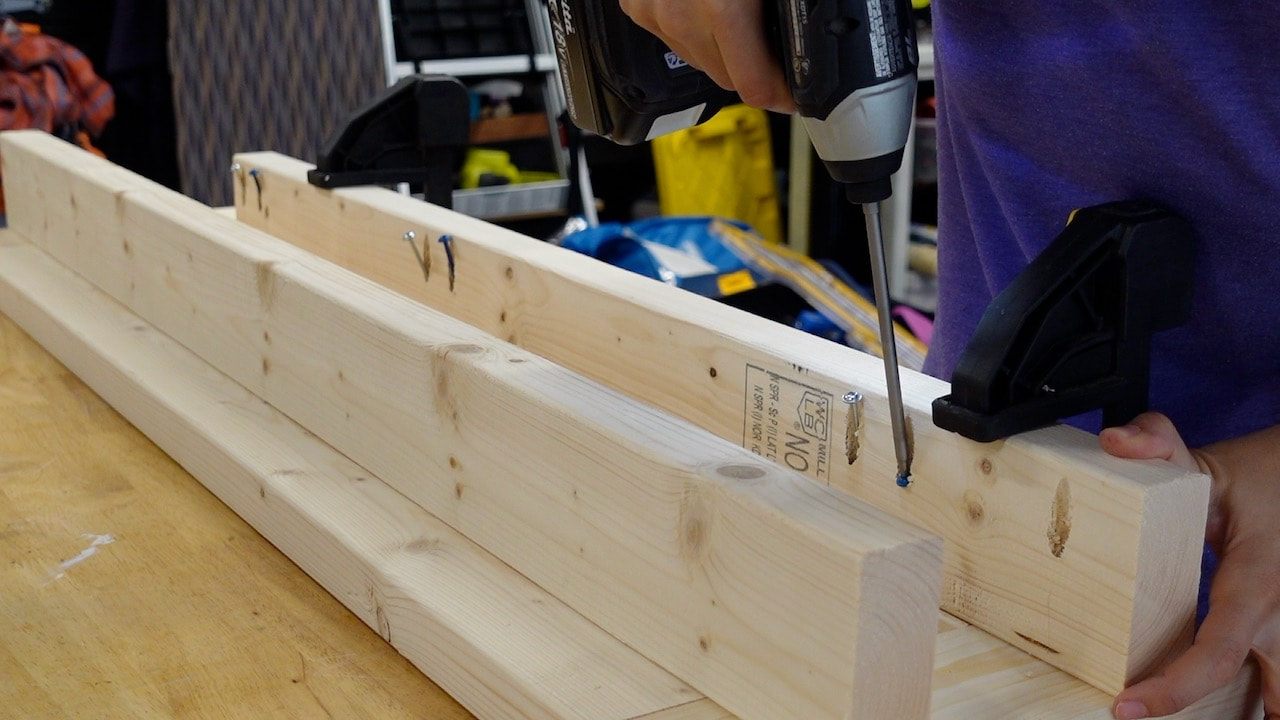
Here Steph is adding the side supports to the base of the stand. You'll notice one side is shorter than the other. This is to allow for the kick stand to still be in use.
Adding the Husky anchor points to each side of the bicycle stand.
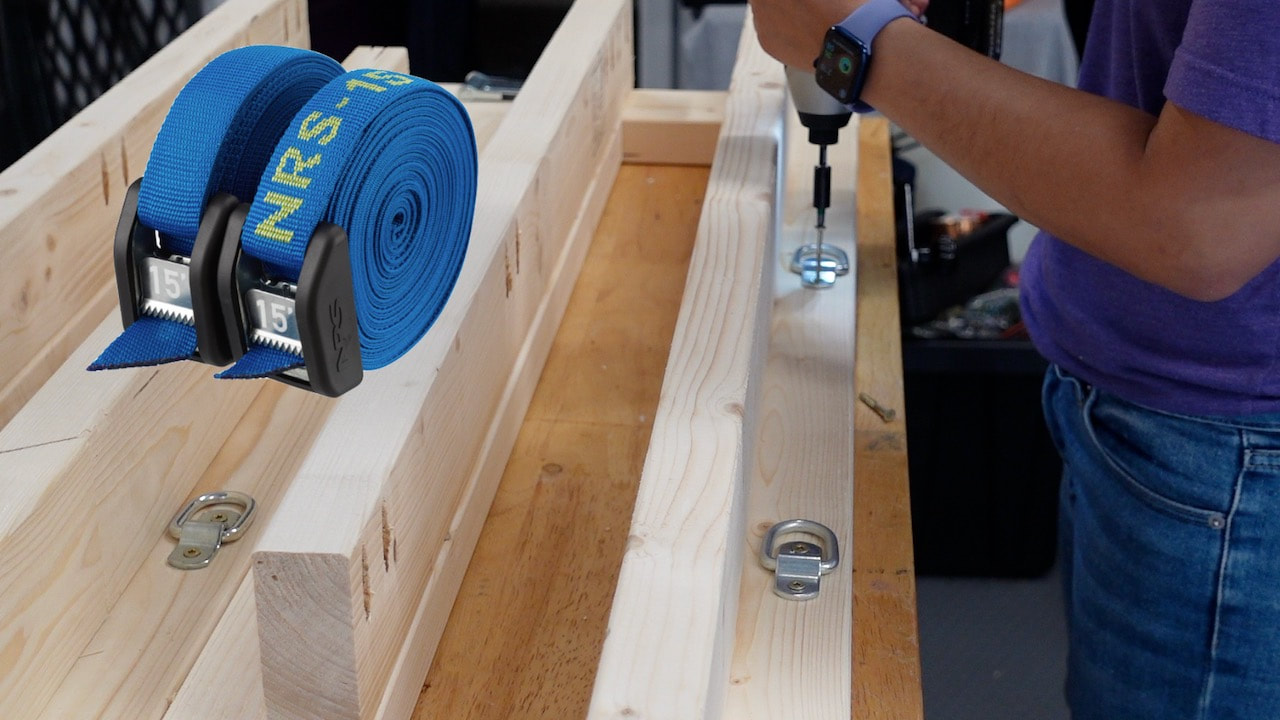
To be able to use the cam-straps, Steph added the Husky anchor points to each side of the base. We got these at REI but they also sell them at Home Depot too.
The Costco Jetson electric bike stand is now finished.
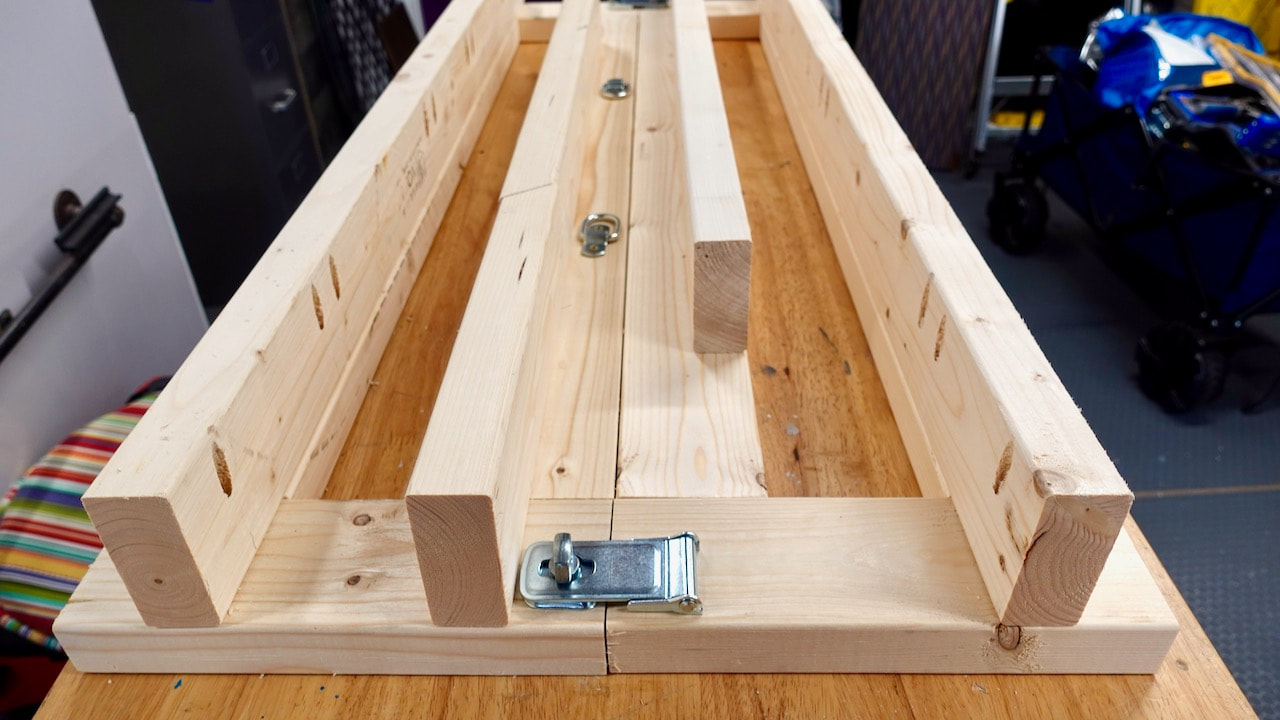
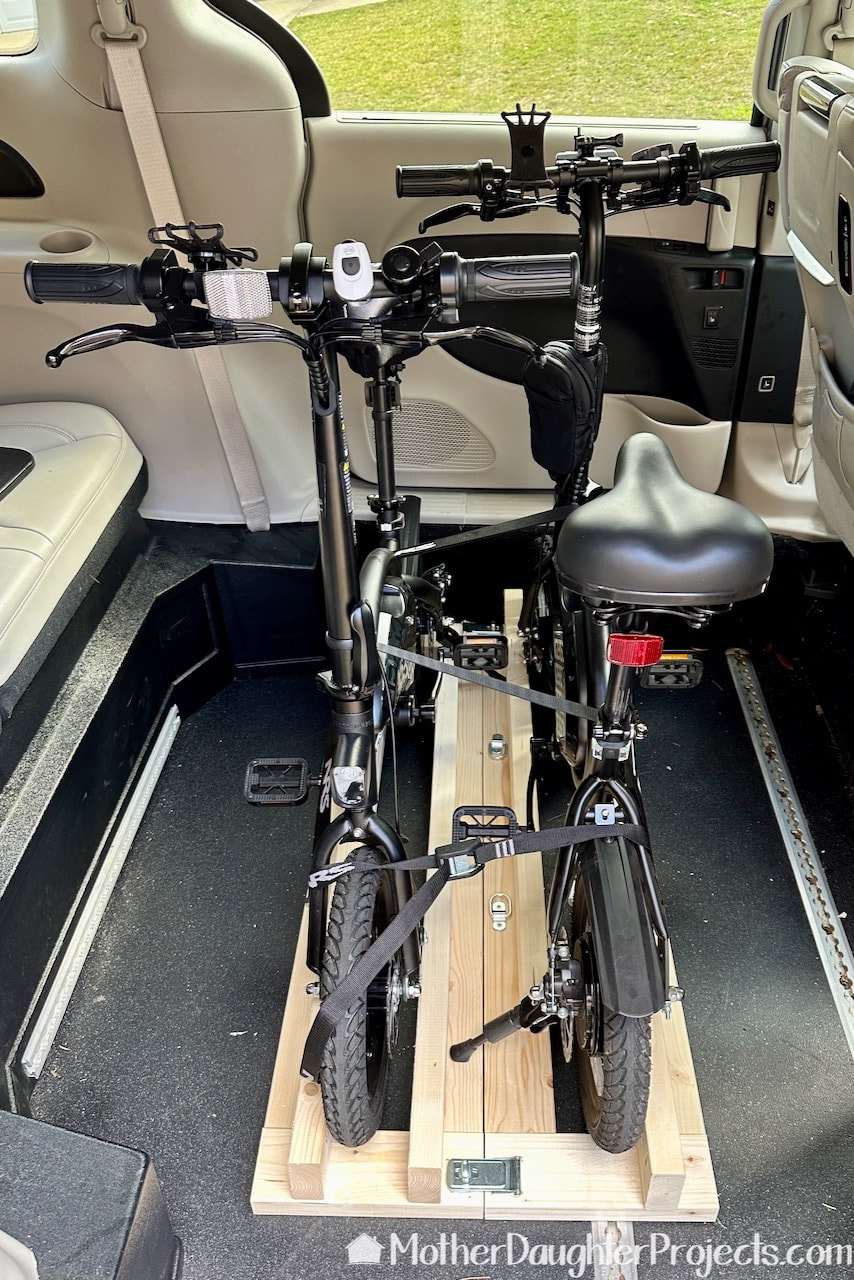
Finally, we added latches at the top and bottom of the two stands so they can be secured together if both are used at the same time.
The stand fits into the cargo area of the Chrysler Pacifica modified van with ramp.
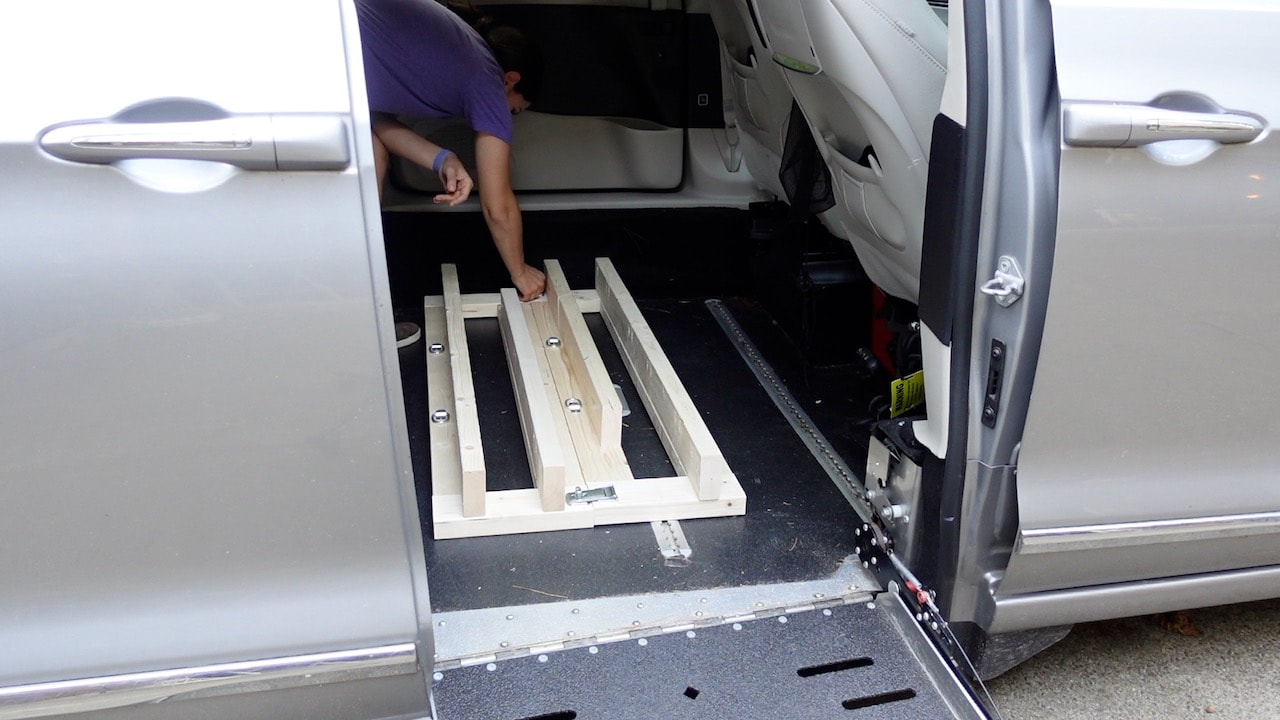
The new transportation stands fit easily into the large cargo area of the van.
The finished e-bike stand in the van.
The bikes sit side by side in the stands and are secured together with the cam-straps. By lowering the handlebars and removing the seats, this will probably fit in my CRV although we haven't tried it yet.
The stand can be used alone if only one bike needs to be transported.
One stand can be used by itself. The weight of the wood along with the bike seem heavy enough to keep the stand place while the vehicle is in motion.
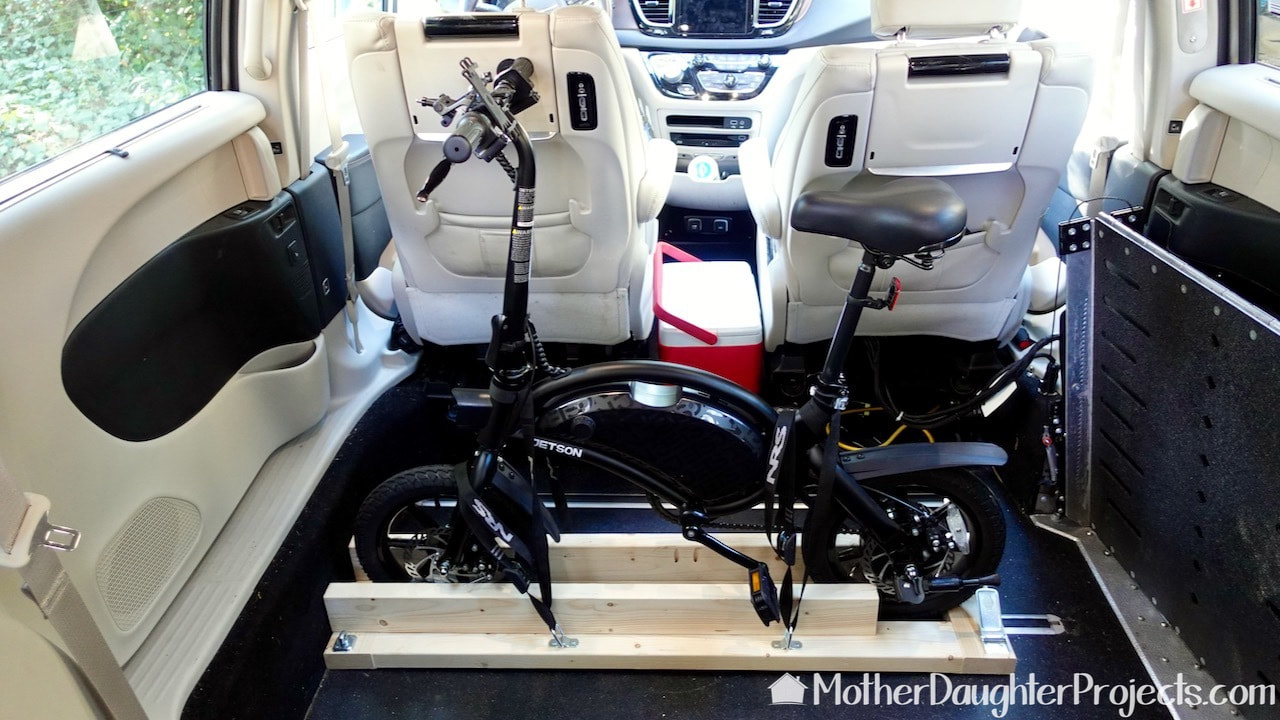
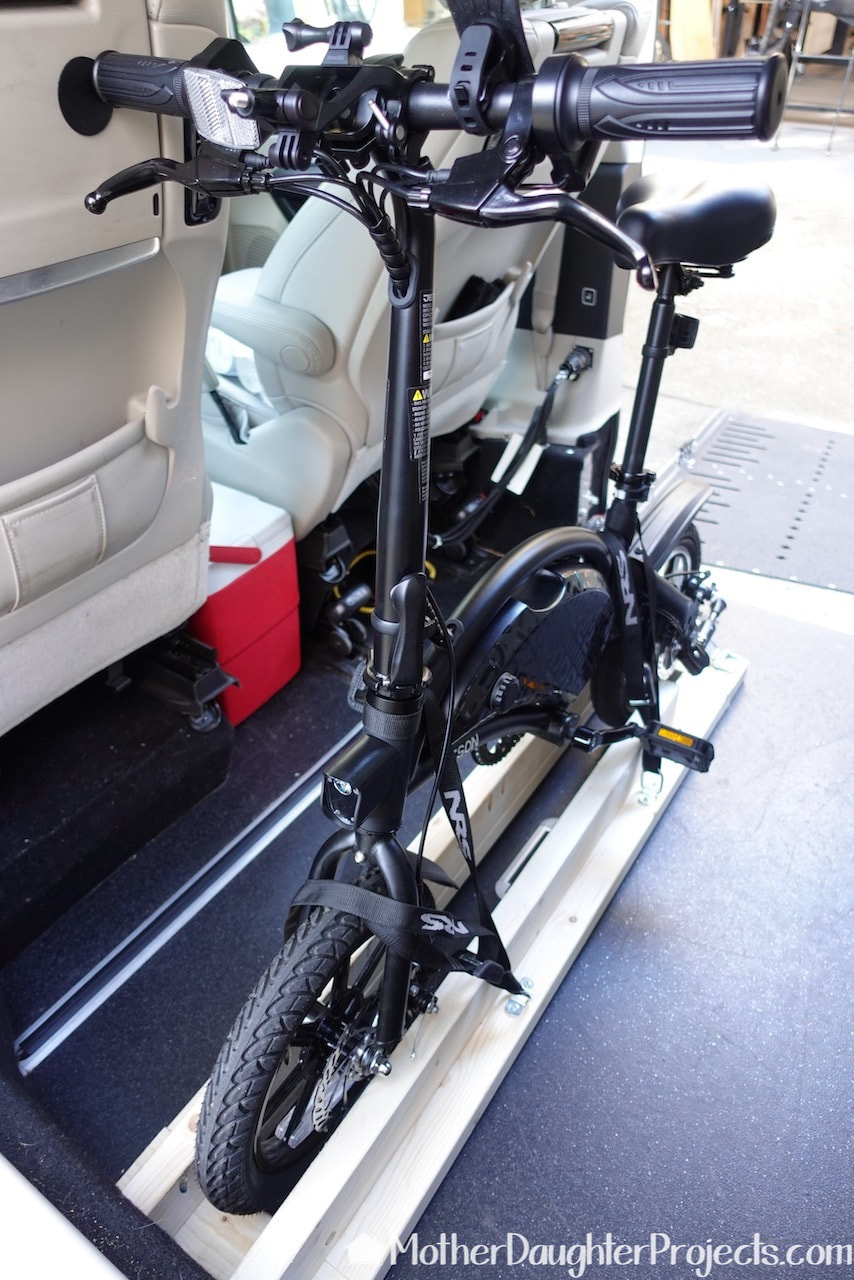
This is a Jetson Bolt Pro Folding Electric Bike that we got at Costco.
The handlebars of the Jetson Bolt fold down and the seat come off for more compact transportation.
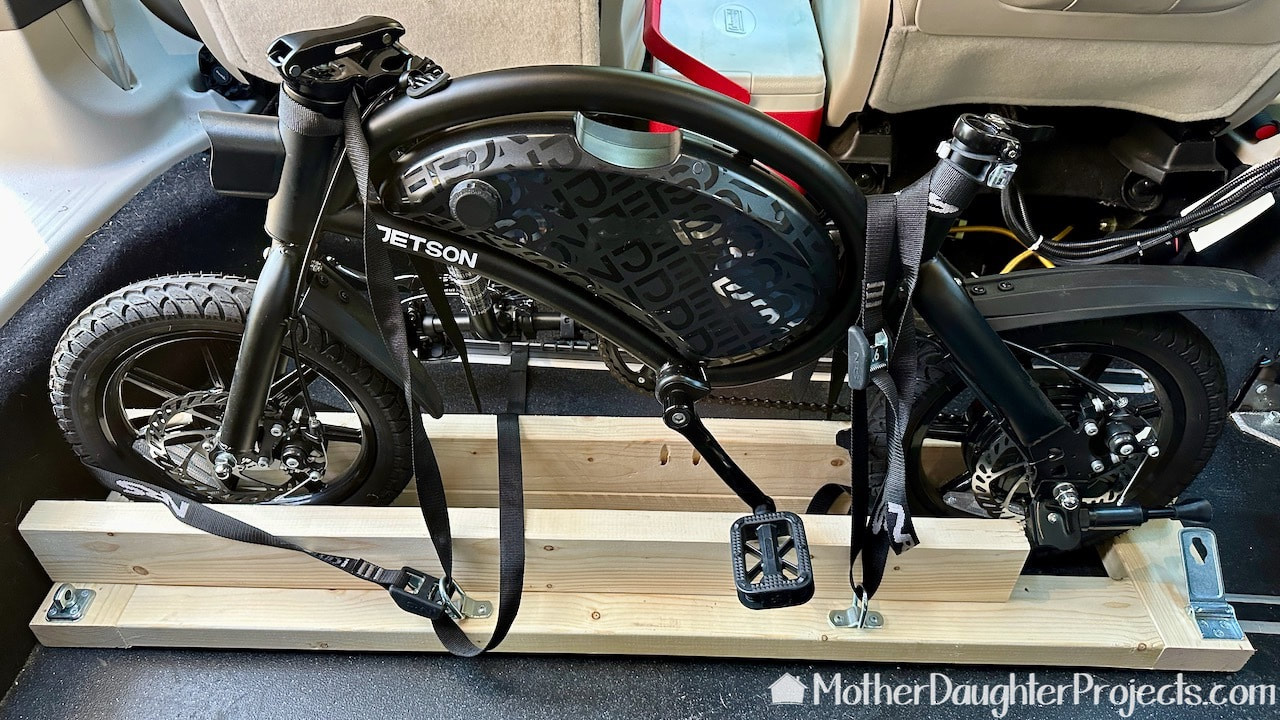
This is the bike with the handles down and seat removed.
The two stands provide a stable base for transporting the bikes, as well as a place to safely store them in the garage. 

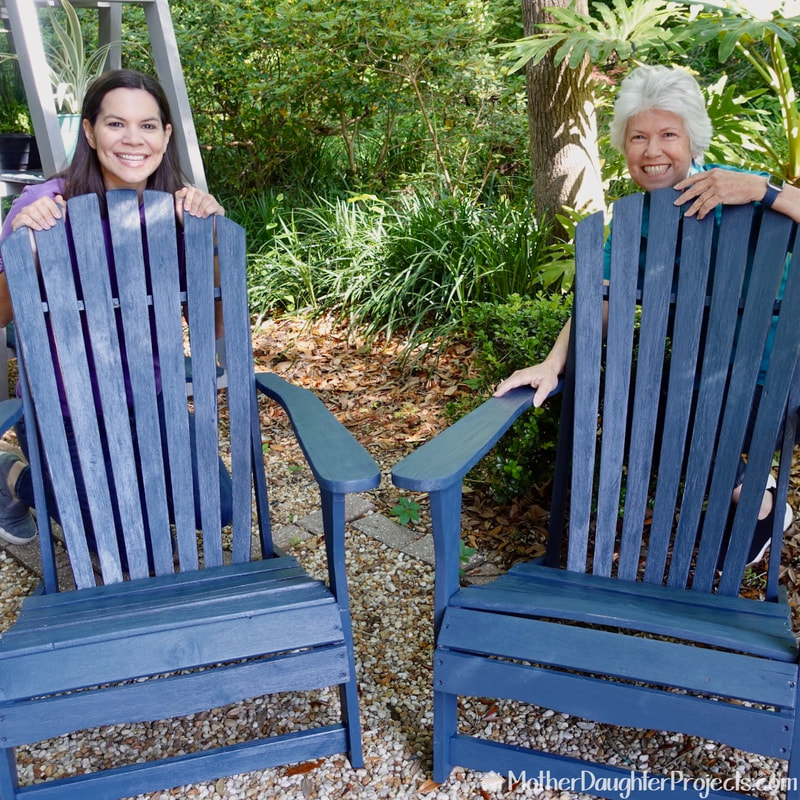
Have you ever used an e-Bike? This is our first time and we are converts now! There are too many hills where we live to comfortably cycle using a standard pedal bike. 


Please note: This is not a sponsored post. 

FYI: We are not professionals, and we don't claim to be. This is what we found worked for our project. Yours may need a little different approach. Safety first!

FYI: Affiliate links are being used on this page. Purchasing via these links help support MDP

Related Projects

Picture
Trash to Fab Chairs
Picture
Outdoor Gear Closet
Picture
Kayak Stand 2
2 Comments
Valerie Sielert
1/5/2023 10:41:47 am

I am always so impressed with your ingenuity and drive. I want an E-Bike now too. You make my day!

Reply
Steph
1/6/2023 07:45:36 am

Thanks Valerie! So glad you enjoyed it!

Reply


Leave a Reply.

    MotherDaughterProjects.com

    Mother Daughter Projects
    ​
    Steph & Vicki

    We're homeowners sharing our DIY adventures as we learn to maintain, improve, decorate, and ​use tech in our homes.
    Share your projects with us here:  
    ​#trylearnshare
    MotherDaughterProjects.com
Mother Daughter Projects, LLC ∙ est. 2015 ∙ Tallahassee, FL by Vicki & Steph ∙ Privacy Policy