Mother Daughter Projects

  • Blog
  • About
    • Contact
    • Privacy Policy
  • Tools
    • Tool Tuesday
  • Maintenance
  • Improvement
  • Decor
  • Tech
  • Blog
  • About
    • Contact
    • Privacy Policy
  • Tools
    • Tool Tuesday
  • Maintenance
  • Improvement
  • Decor
  • Tech

DIY for Homeowners

DIY Outdoor Gear Camping Closet

10/5/2022

0 Comments

 
text by Vicki     Sign up here to join our weekly email newsletter!
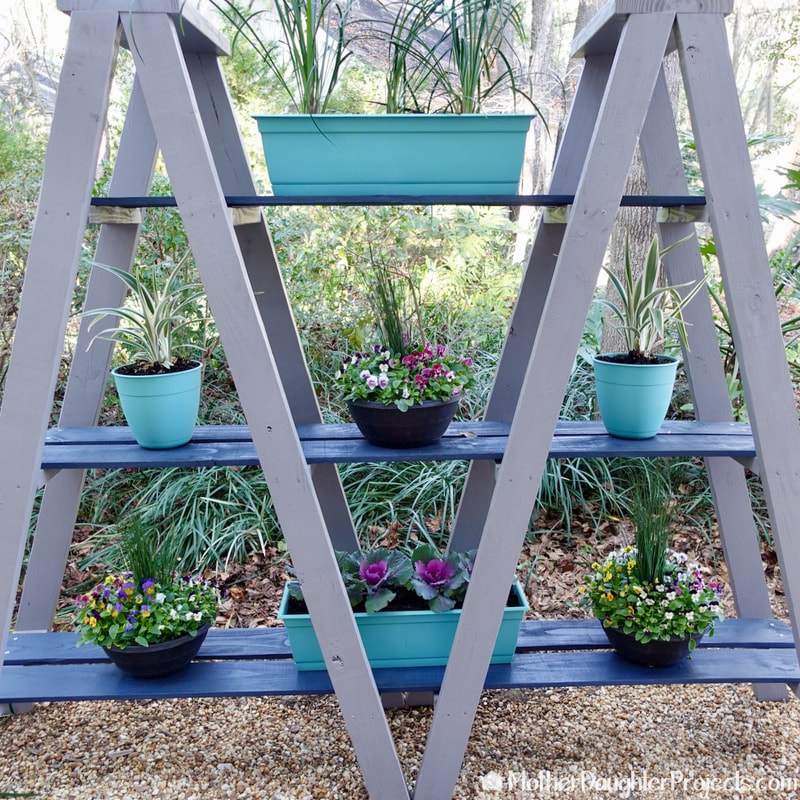
The closet in the studio at Steph's house has gone through many versions of organization based on what needed to be stored. This time, it's being renovated to organize camping and kayaking equipment including the ability to house two folding kayaks.

Take a look at the transformation!

Materials/Tools:


  • 19/32 in. x 4 ft. x 8 ft. BC Sanded Pine Plywood (Home Depot)

  • (3) 1 in. x 2 in. x 8 ft. Premium Kiln-Dried Square Edge Whitewood Common Board (Home Depot)

  • Makita 12 Amp 6-1/2 in. Corded Plunge Saw with 55 in. Guide Rail, 48T Carbide Blade and Hard Case (Home Depot)

  • Makita 15 Amp 10 in. Dual Bevel Sliding Compound Miter Saw with Laser (Home Depot)

  • DAP Patch-N-Paint 8 oz. White Premium-Grade Lightweight Spackling Paste (Home Depot)

  • Magnetic Stud Finder (Amazon)

  • Wall Control 32IN X 16IN Pegboard (Wall Control)

  • Wall Control 16IN X 32IN Pegboard (Wall Control)

  • Wall Control 2in slotted metal pegboard handle bracket (Wall Control)

  • Wall Control rubber coating hook and accessory liner (Wall Control)

  • Wall Control plastic jar storage container set (Wall Control)

In this closet renovation, we are adding plywood shelves to hold two Oru kayaks.
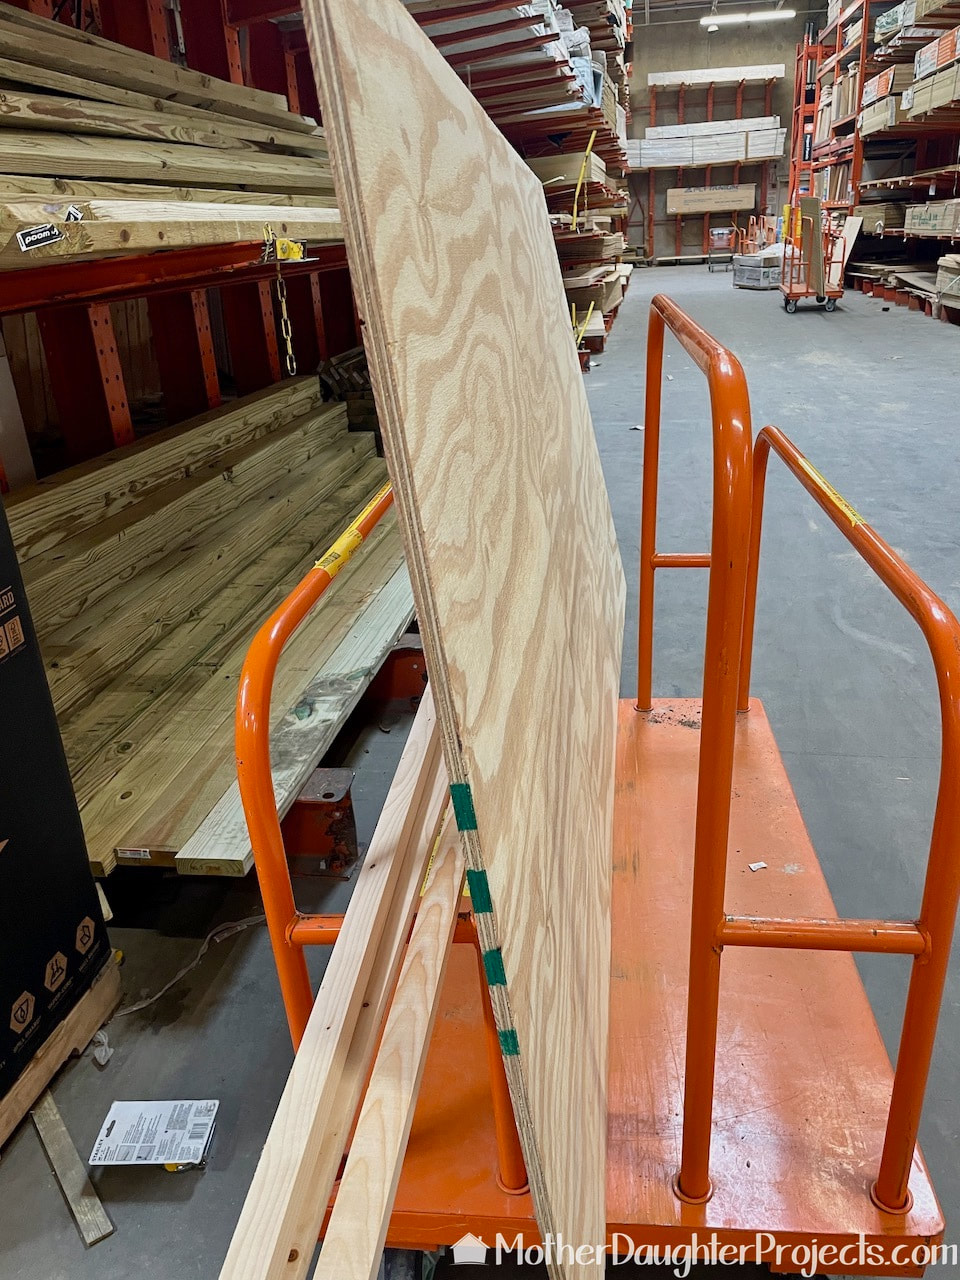
We are going to add two full length shelves to hold the two Oru folding kayaks. We headed to Home Depot to pick up a full sheet of plywood.
Cutting the plywood with a Makita track saw from the Home Depot.
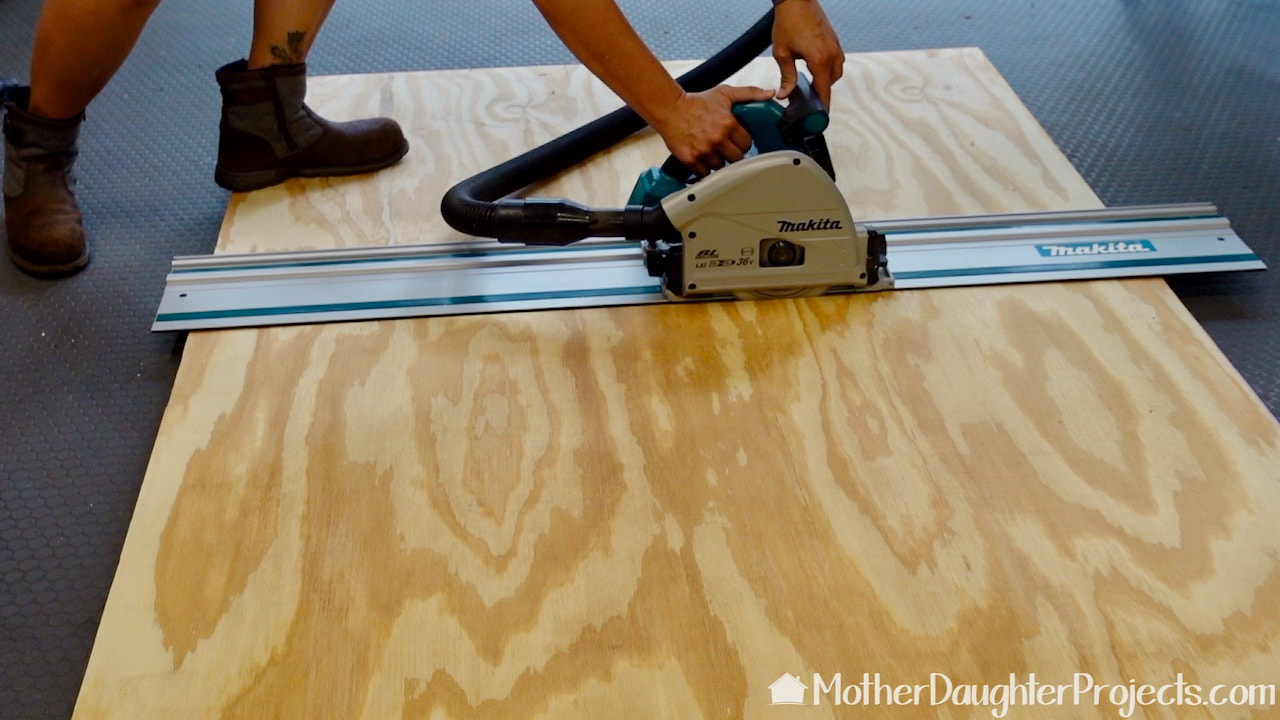
The plywood was cut to the length and width of the closet. We cut two identical size pieces.
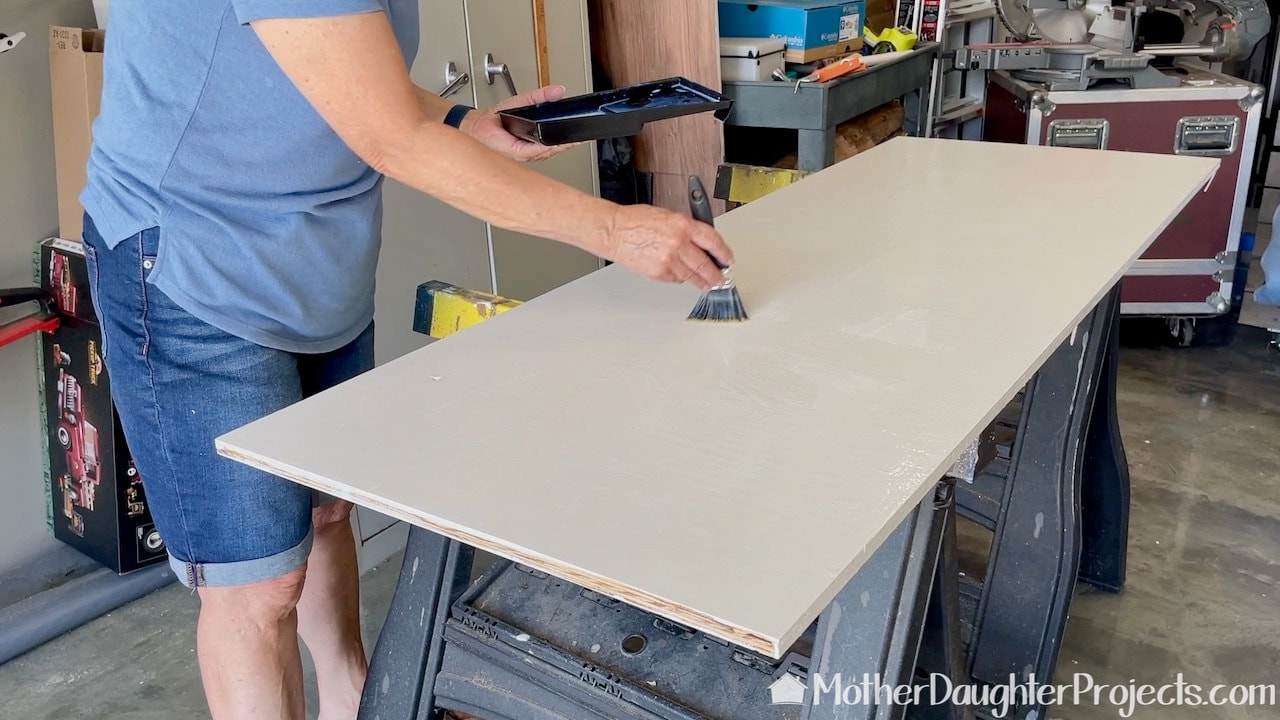
The shelves were painted with white paint and finished with a clear coat of polyurethane.
Using a Bosch laser level to find the placement for the first closet renovation shelf.
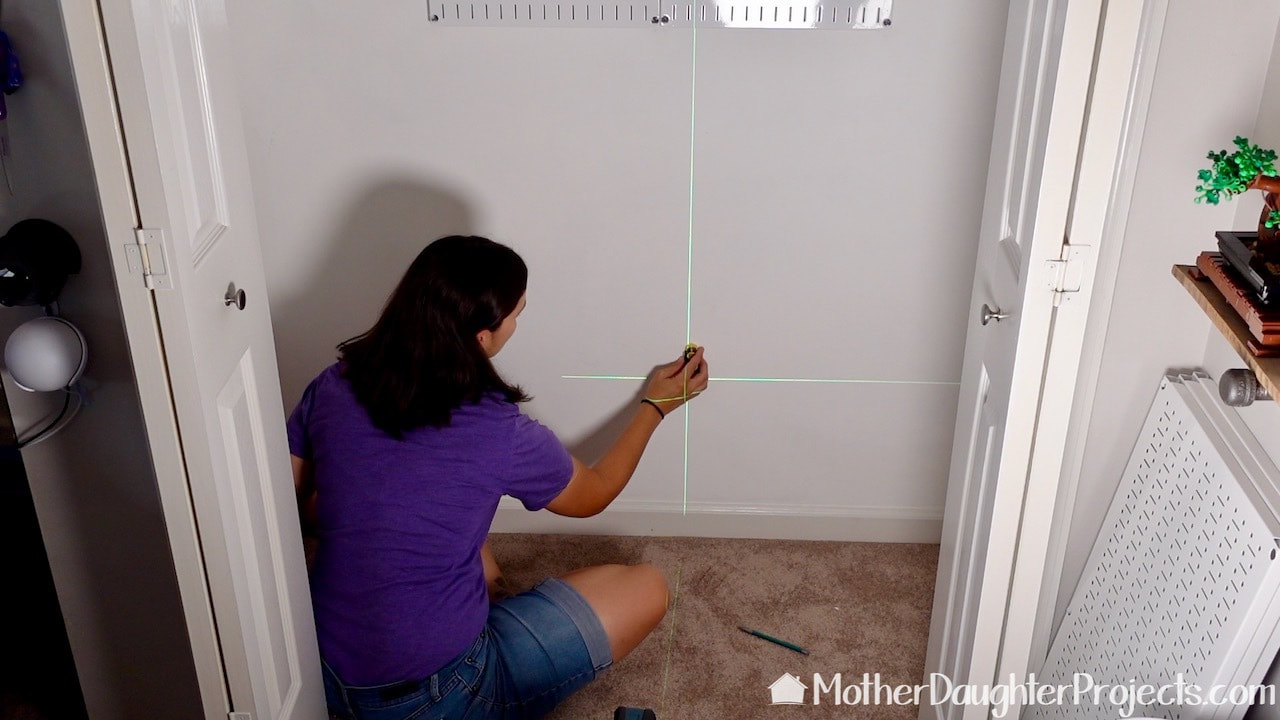
Using a magnetic stud finder, we located the studs in the back of the closet. We set up the laser level to place the first shelf. We then screwed the 1x2 boards into place.
Adding the 1x2 boards that will hold the shelf in place.
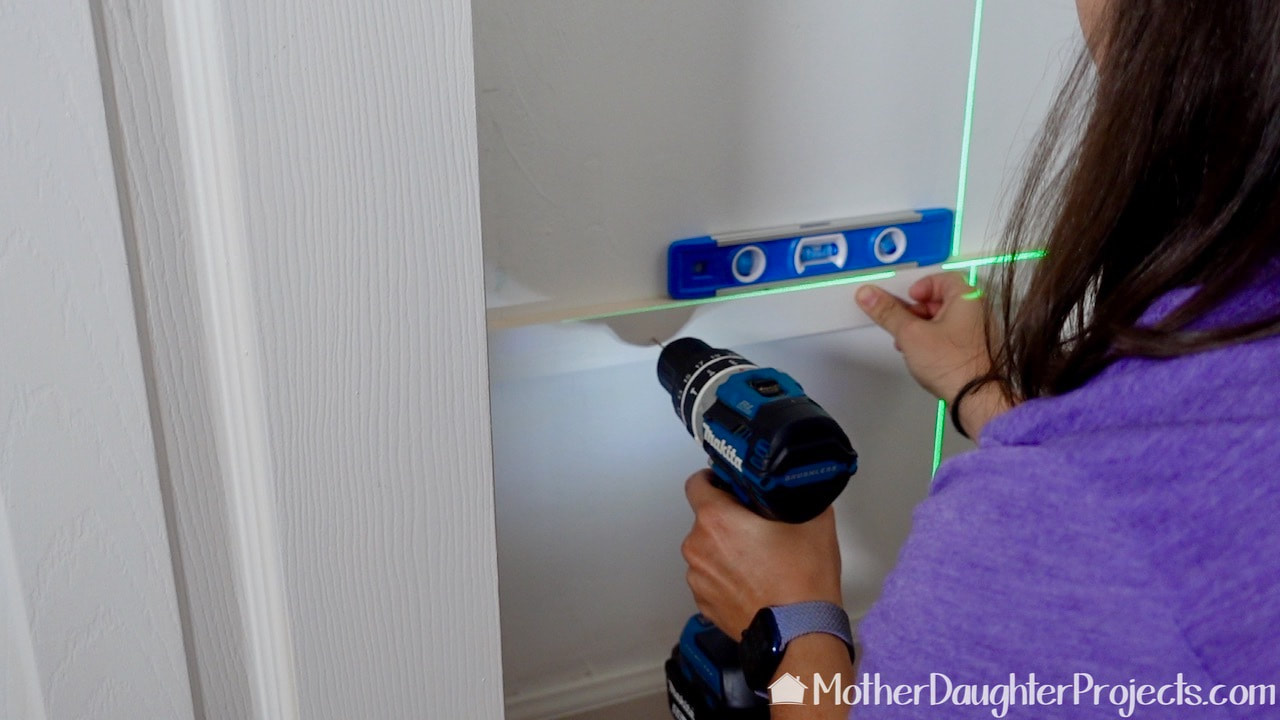
No studs could be found in the closet sides, so we used wall anchors and screws to hold the side 1x2 pieces in place.
Caulk gives the shelves a nice finished look.
After a little trimming, the shelf fit perfectly into the space. We caulked between the wall and shelf to give it a finished look.
Wall Control panels will be a big part of the closet organization in this small closet.
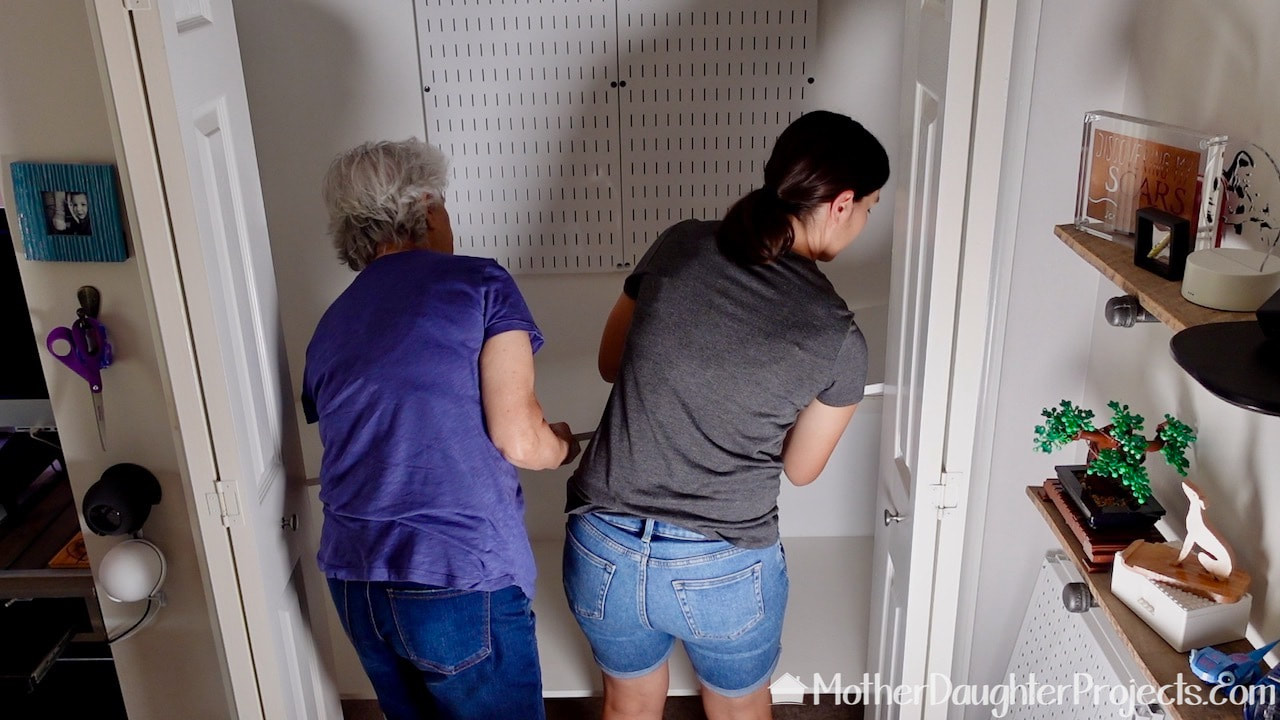
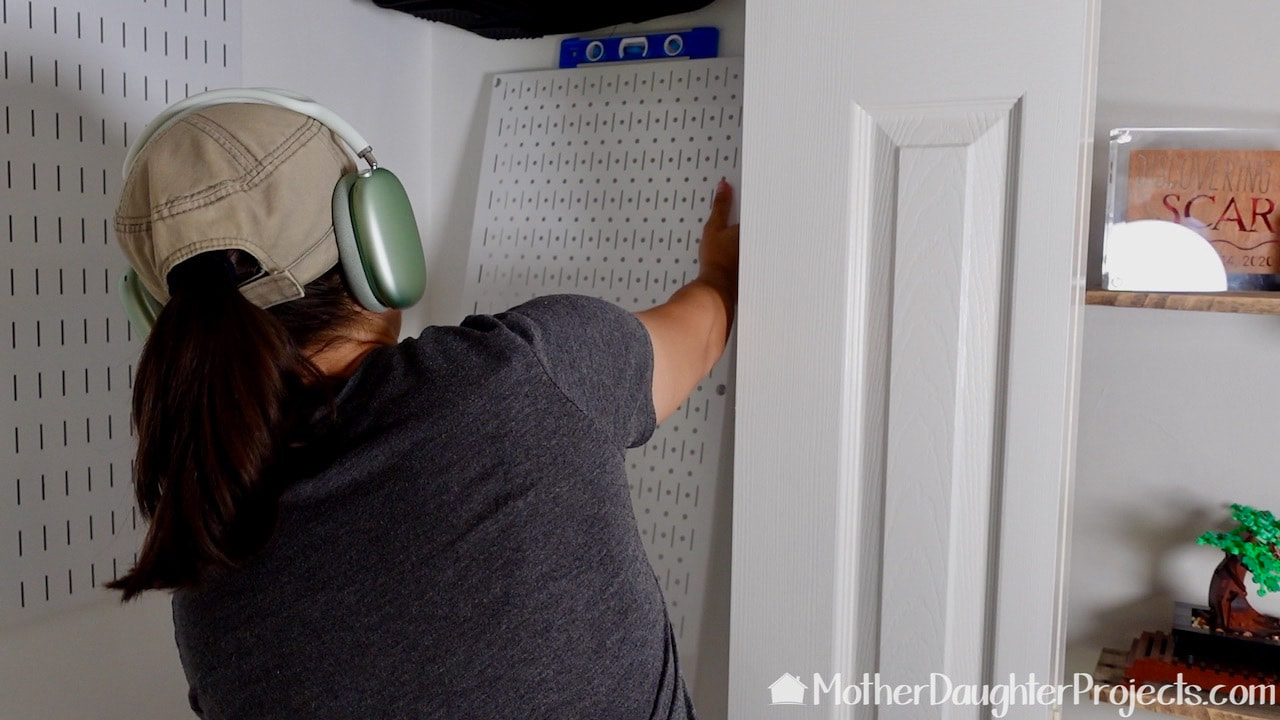
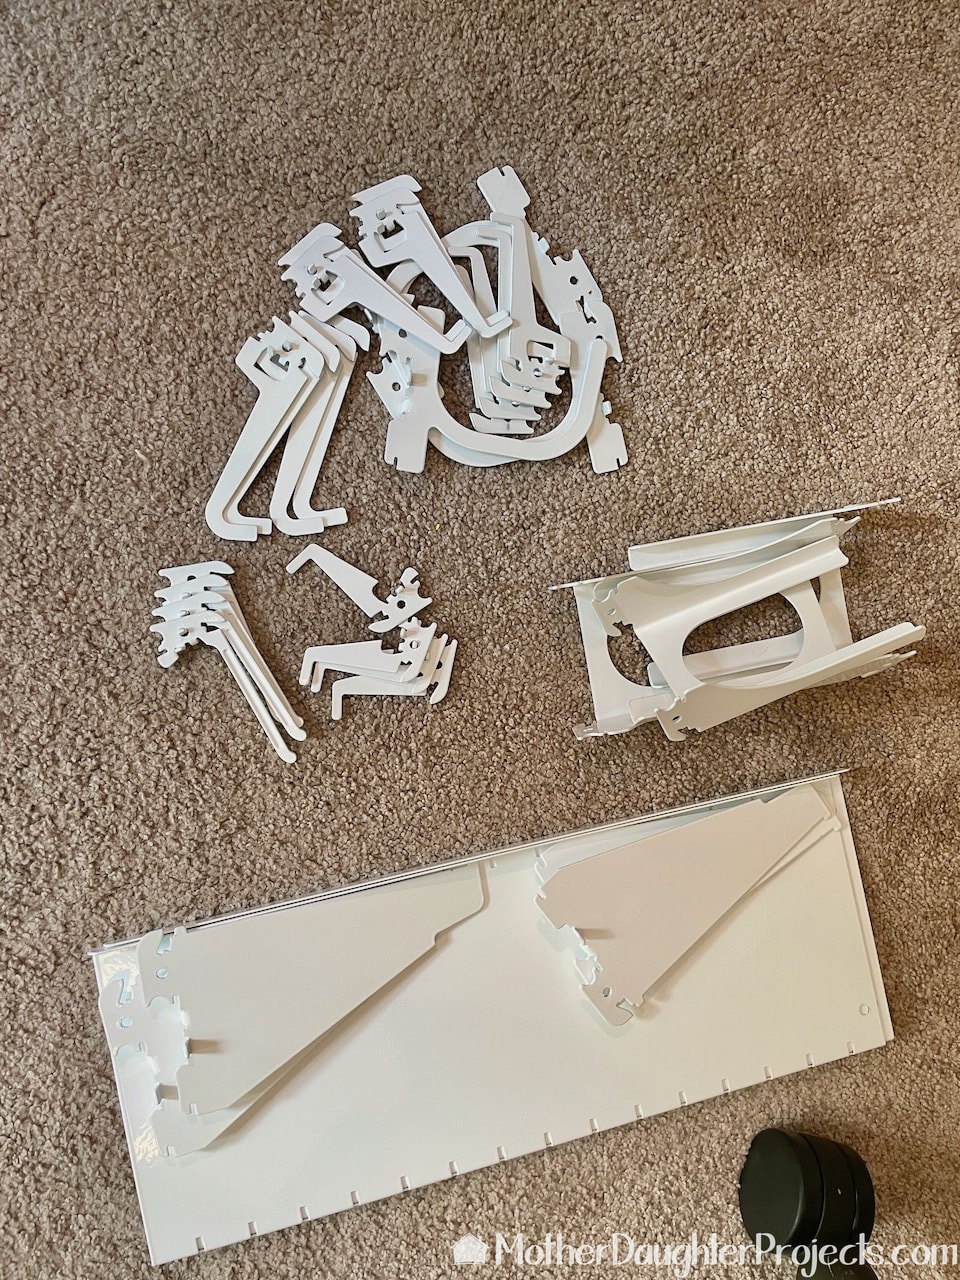
Before we installed the second shelf, Steph added a panel of Wall Control above the two pieces you see in the picture. Then we repeated the process to install the second shelf.
Steph installed a single panel of Wall Control on each side of the closet.
We used a lot of different hooks and Wall Control accessories.
We will use a variety of hooks, accessories, and shelves.
Adding all the gear to the Wall Control hooks along with a Cricut made sign on pallet wood.
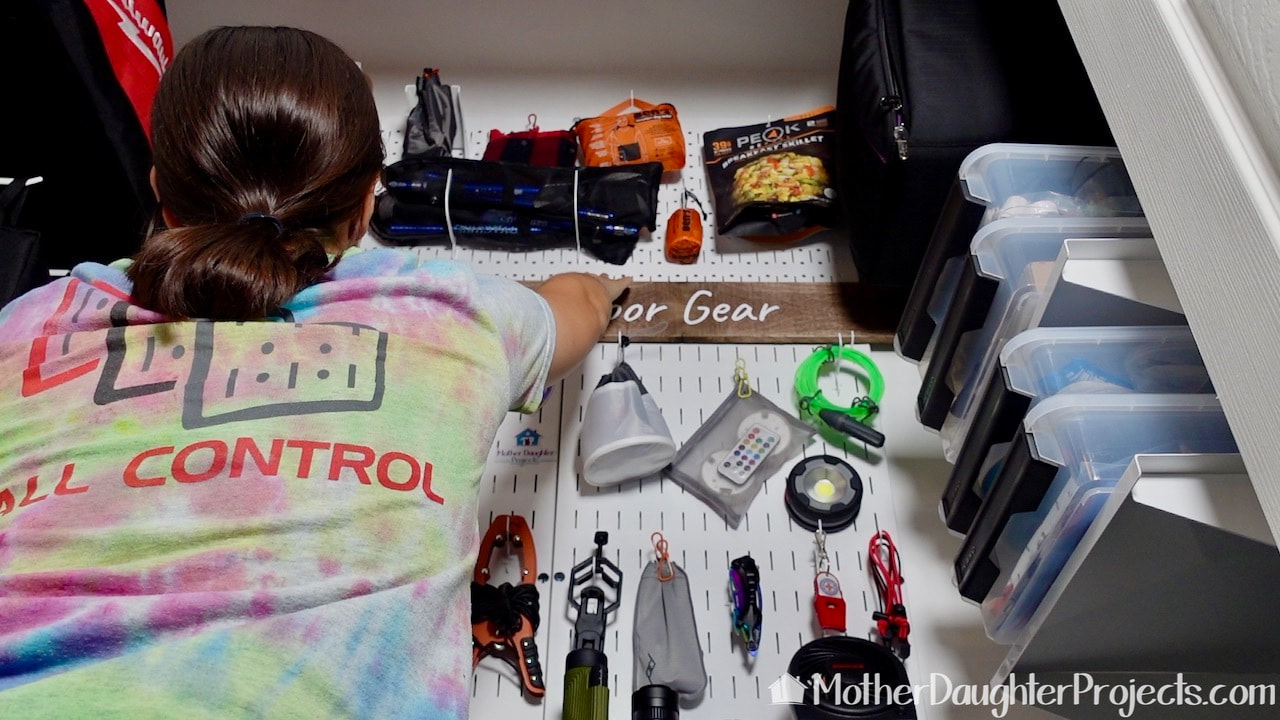
The fun part is getting to organize all the things. Steph is a master of organization!
The small closet renovation now holds all the camping equipment as well as two Oru kayaks.
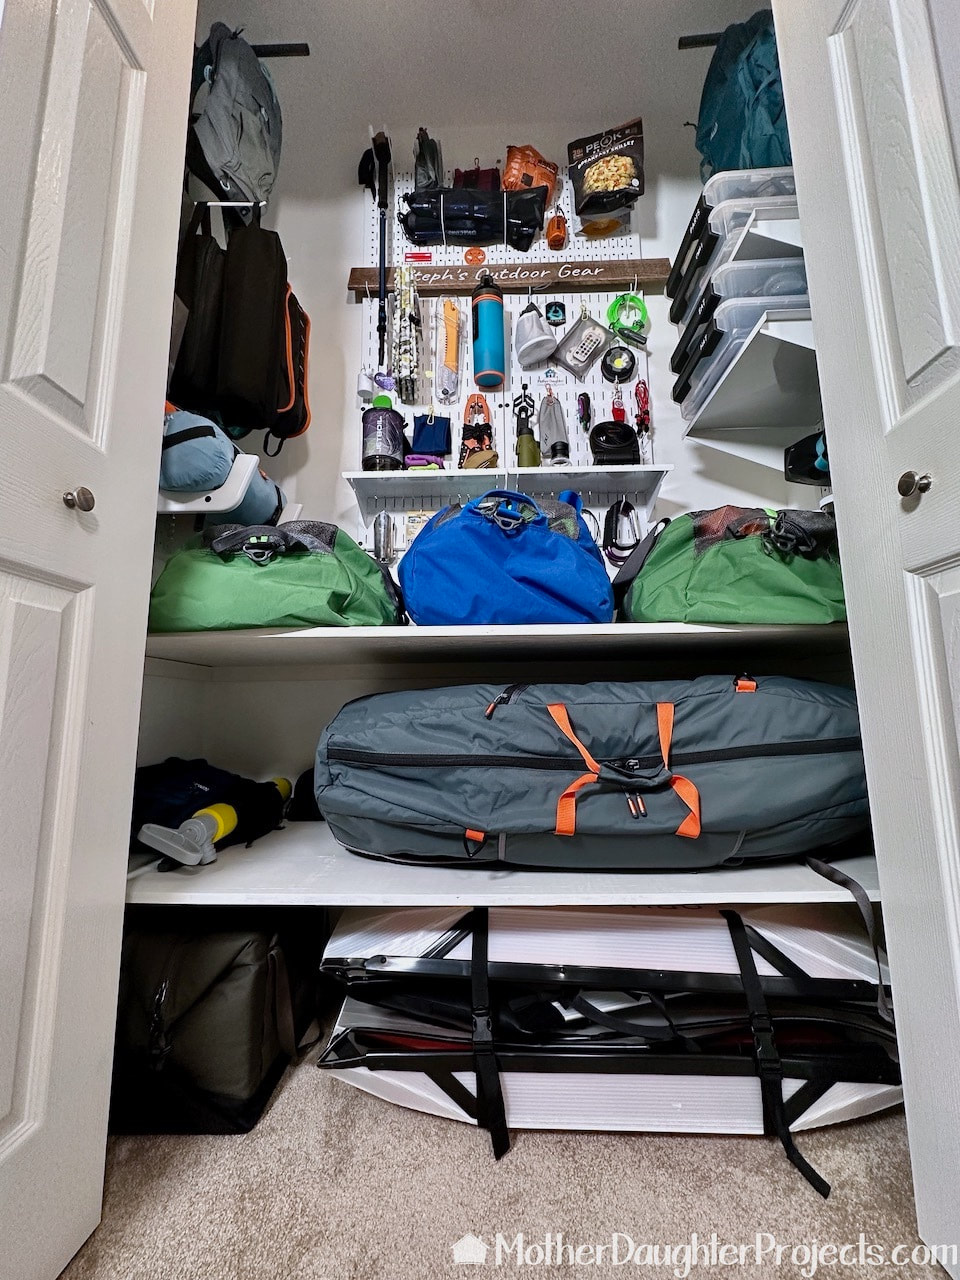
Everything is in place and easily accessible.
The left Wall Control panel holds a variety of bags.
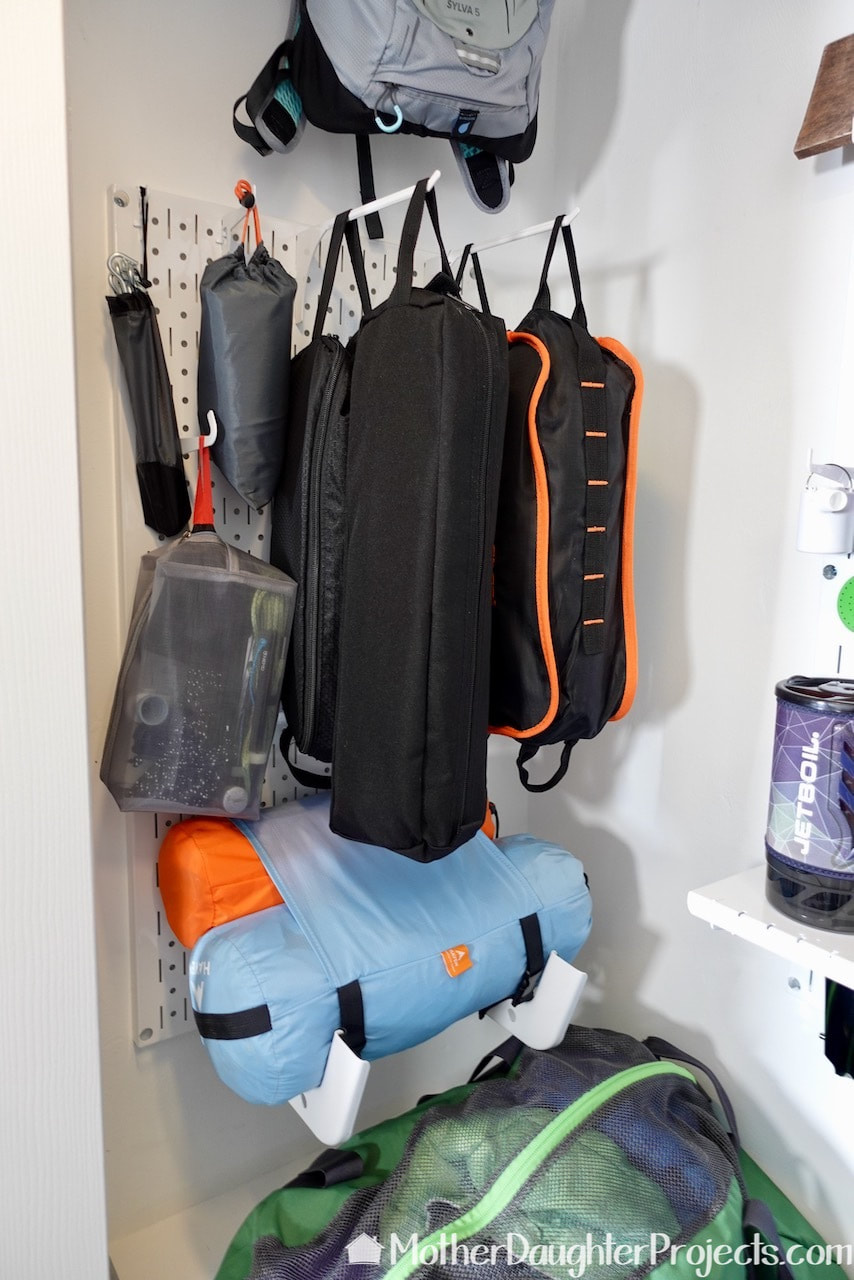
Here's a look at the left side panel.
How to renovate a small closet for camping outdoor equipment.
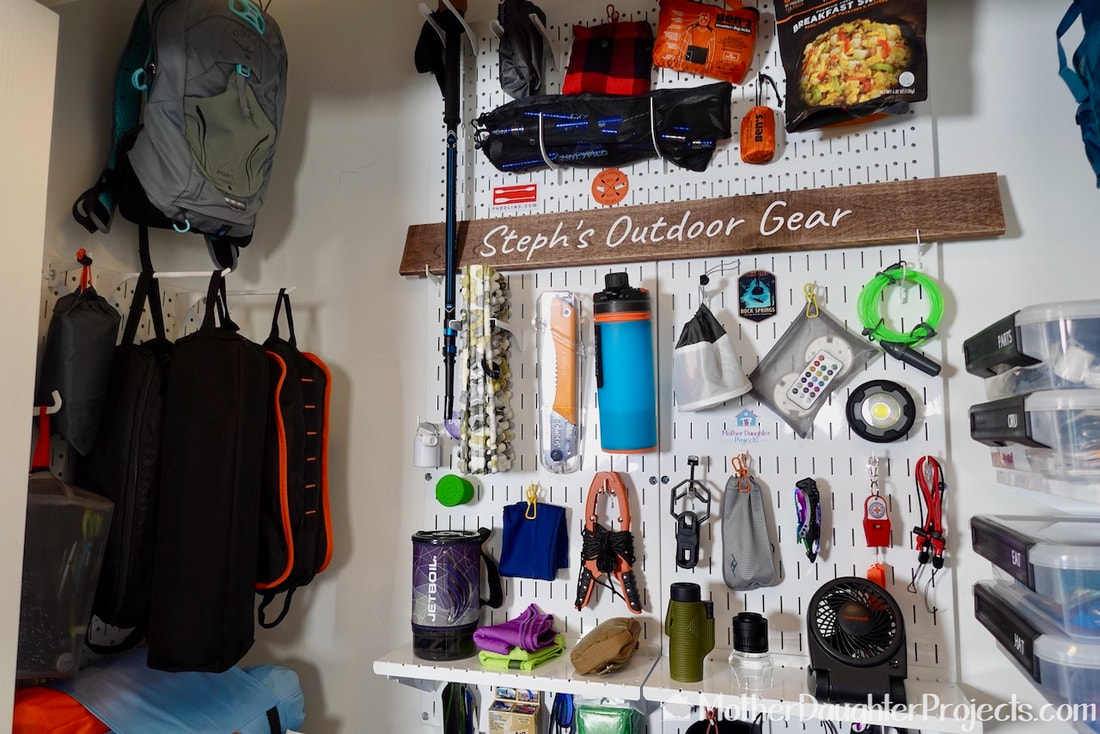
A quick sign made on the Circuit Maker finishes up this small closet renovation.

With the closet recognized, it is so much easier to grab what you need whether it's for camping, kayaking, or just for an emergency when the power goes out. 

​The Wall Control panels add a lot of flexibility to how things are organized. 


Please note: This is not a sponsored post. But the Wall Control product was provide for free by Wall Control. 

FYI: We are not professionals, and we don't claim to be. This is what we found worked for our project. Yours may need a little different approach. Safety first!

FYI: Affiliate links are being used on this page. Purchasing via these links help support MDP.

Related Projects

Picture
Costco Barn Door
Picture
Side Sofa Table
Picture
2X4 Ladder Plant Stand
0 Comments


Leave a Reply.

    MotherDaughterProjects.com

    Mother Daughter Projects
    ​
    Steph & Vicki

    We're homeowners sharing our DIY adventures as we learn to maintain, improve, decorate, and ​use tech in our homes.
    Share your projects with us here:  
    ​#trylearnshare
    MotherDaughterProjects.com
Mother Daughter Projects, LLC ∙ est. 2015 ∙ Tallahassee, FL by Vicki & Steph ∙ Privacy Policy