|
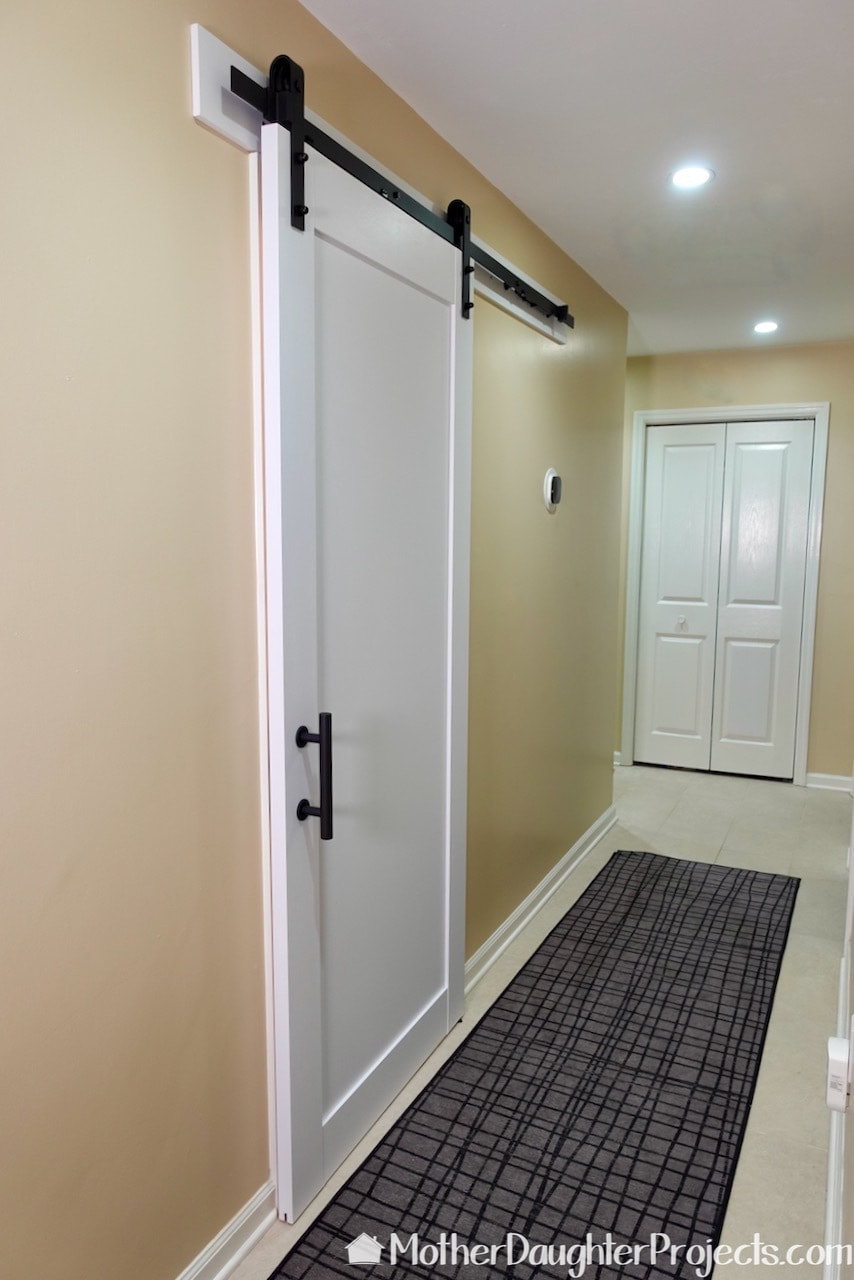
text by Vicki Sign up here to join our weekly email newsletter! A few years ago we installed a "made-from-scratch" sliding door in my laundry room. I liked it so much that I wanted to do the same in the hall bathroom. When we spotted this all inclusive sliding door kit at Costco, we decided it would be perfect for the bathroom. Rather than taking a couple of days to build a door and install it, this kit took maybe a couple of hours! That's a win! Follow along as we share how it all came together. Product:
 This is the sign at Costco--$219.99 for everything? SOLD! We didn't hesitate to pick this up. It's large so be sure your vehicle is large enough to transport it. Bring a strong buddy with you as it is heavy. 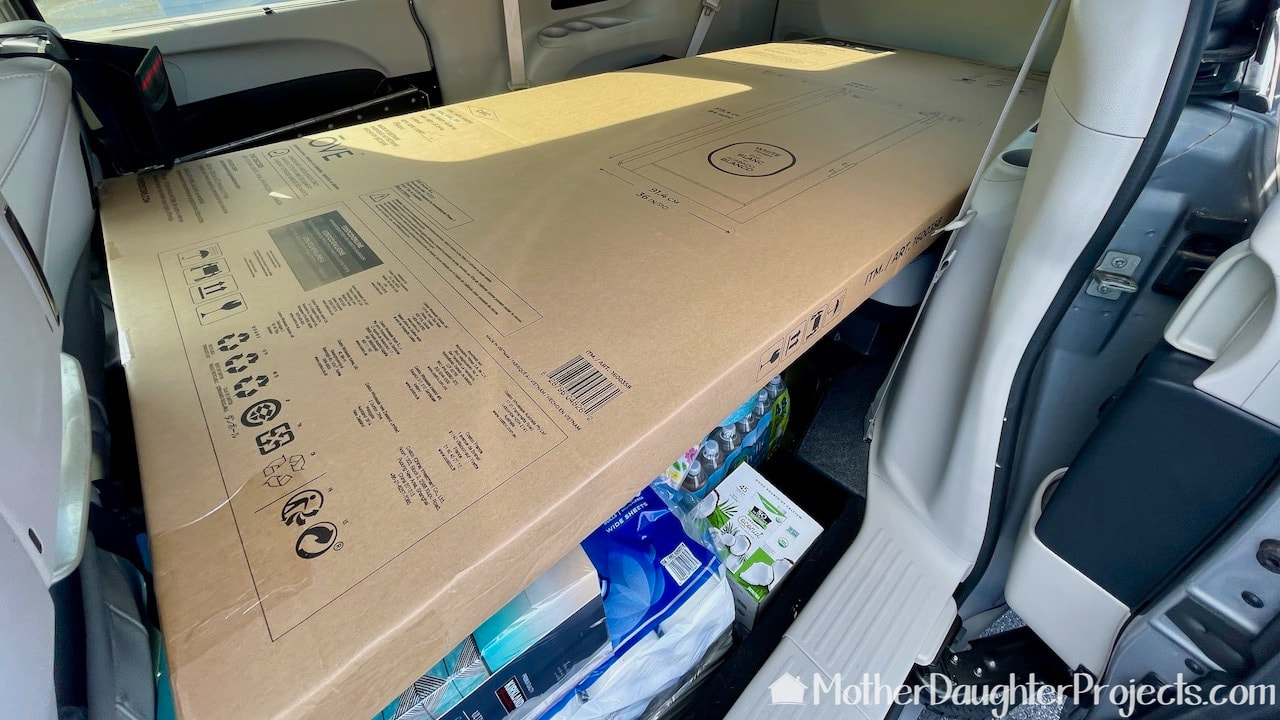 It fit in the van we were driving! 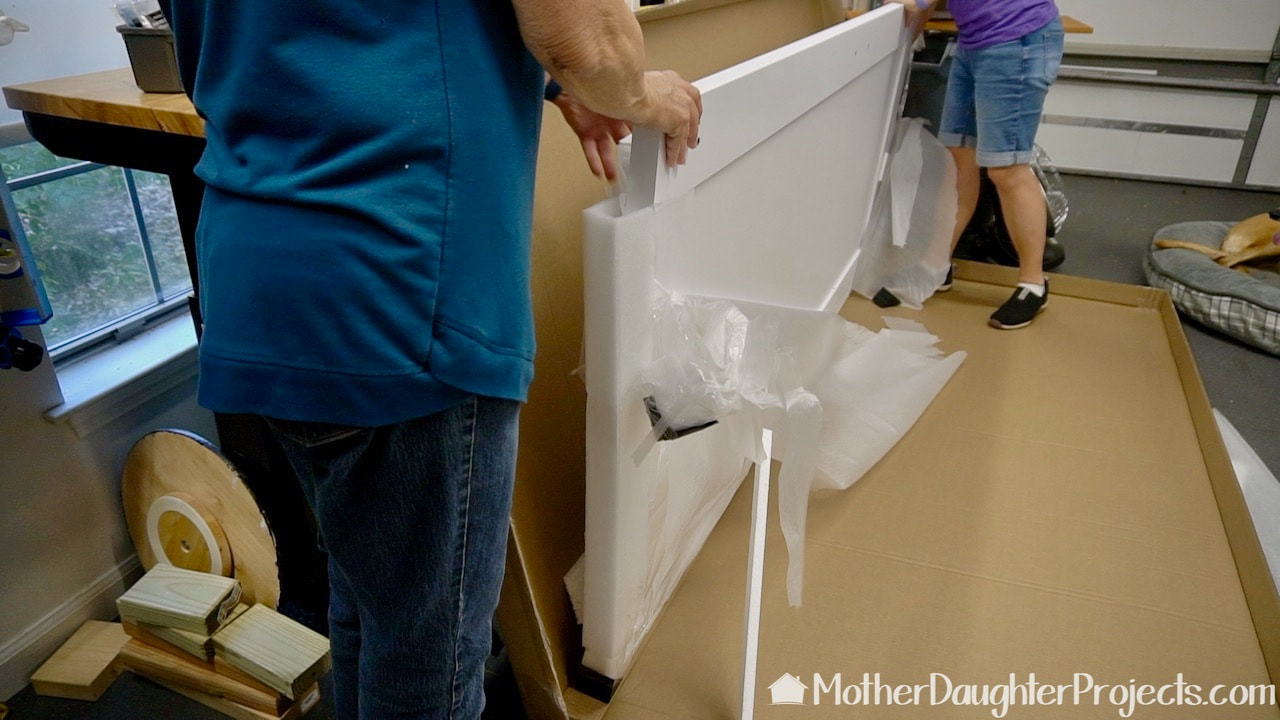 Everything was packaged well and there was no damage to the door and nothing was missing. 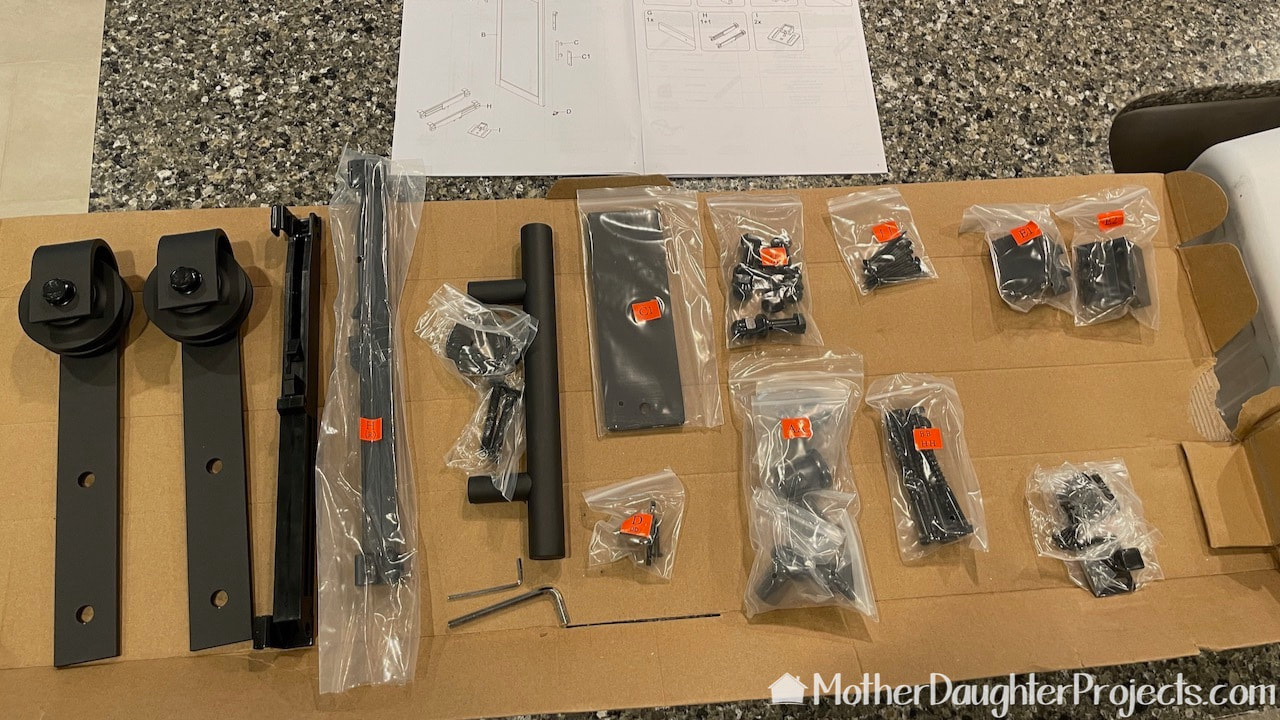 It's always a good idea to lay out all the hardware before starting just to be sure nothing was missing. It's important to note that the screws for the white header board are black. If you don't want the screws to be obvious, you'll need to pick up some white screws before attaching the header board. 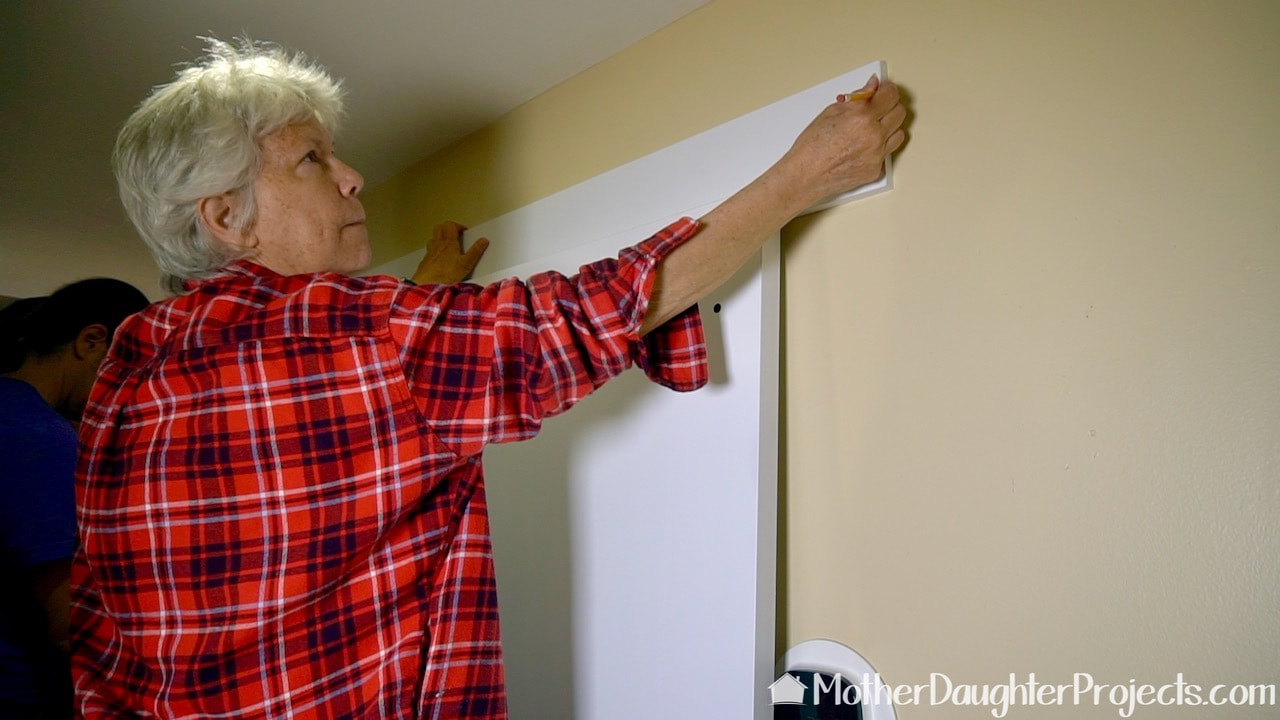 The kit comes with a header board. This is attached to the wall and then the rail is attached to this. Here we are determining the placement of the board. Since the door will slide right, the majority of the header board will extend past the door frame to the right.  Since we want the header board to be secure, we need to screw it into the wall studs. We used a magnetic stud finder to located the studs and marked the location with sticky notes. 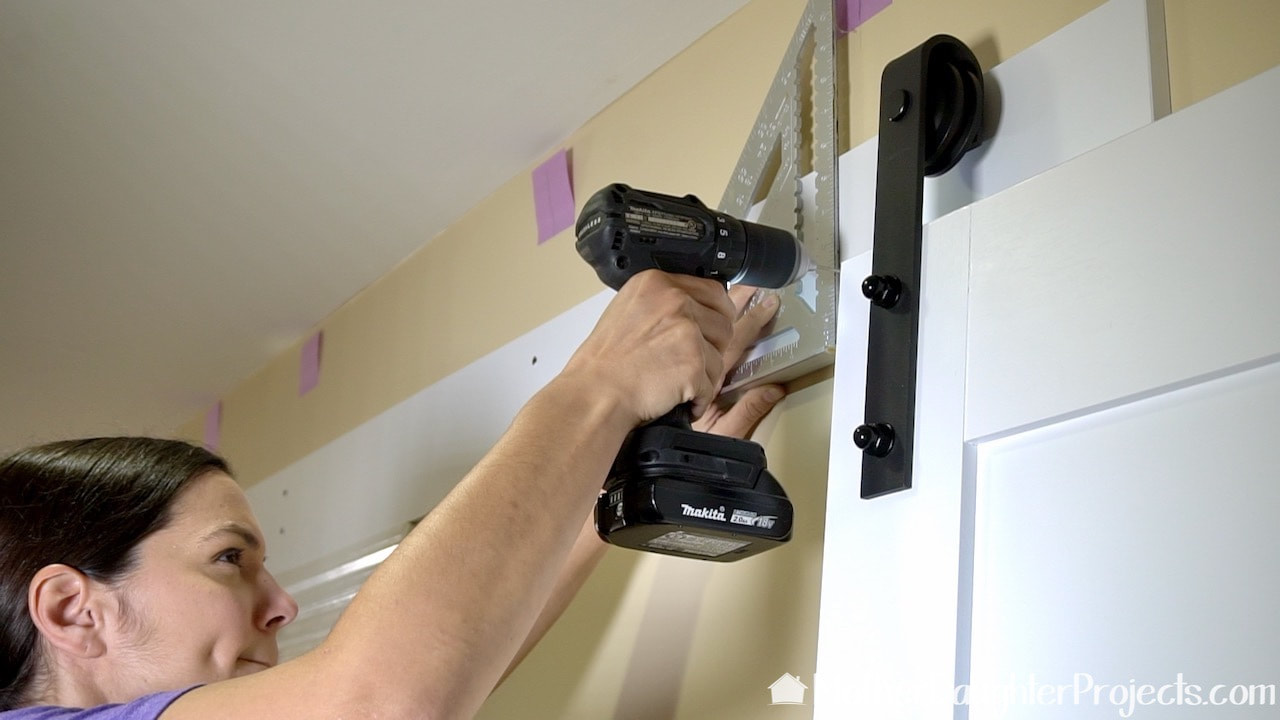 We used a carpenter's square to be sure everything was lined up with the stud markings on the sticky note. Also, by using the measurement markings on the square, we could keep all the screws aligned across the board. 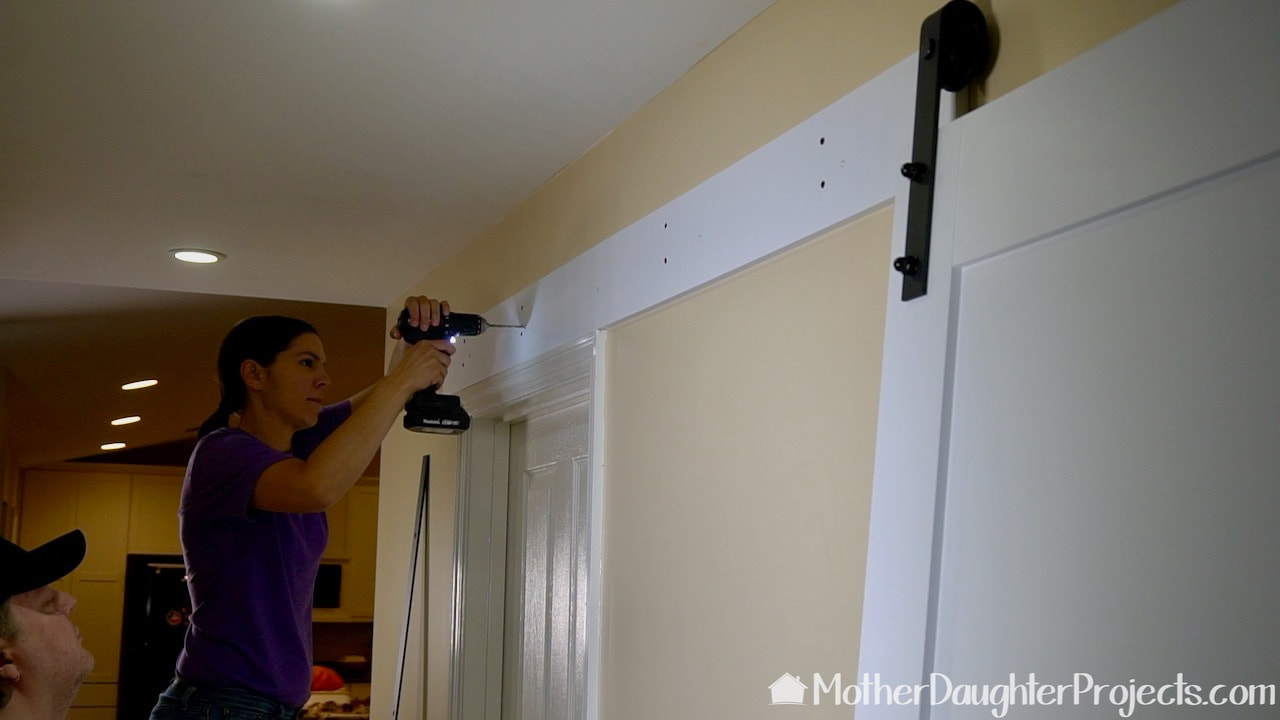 Here you can see that we had already added the hardware to the door itself. Because all the holes are predrilled, it's really quick and easy to do. 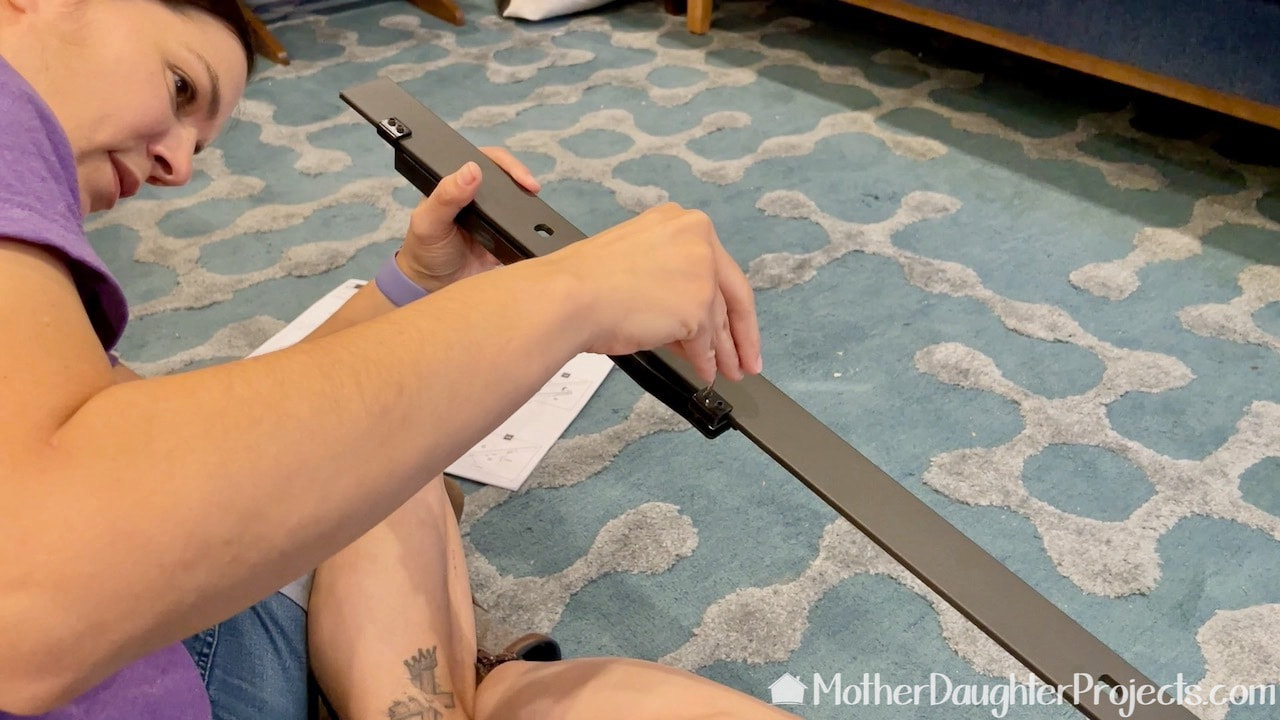 One of the really nice features of this kit is the soft close mechanism on the rail. This needs to be installed before the rail is put into place. 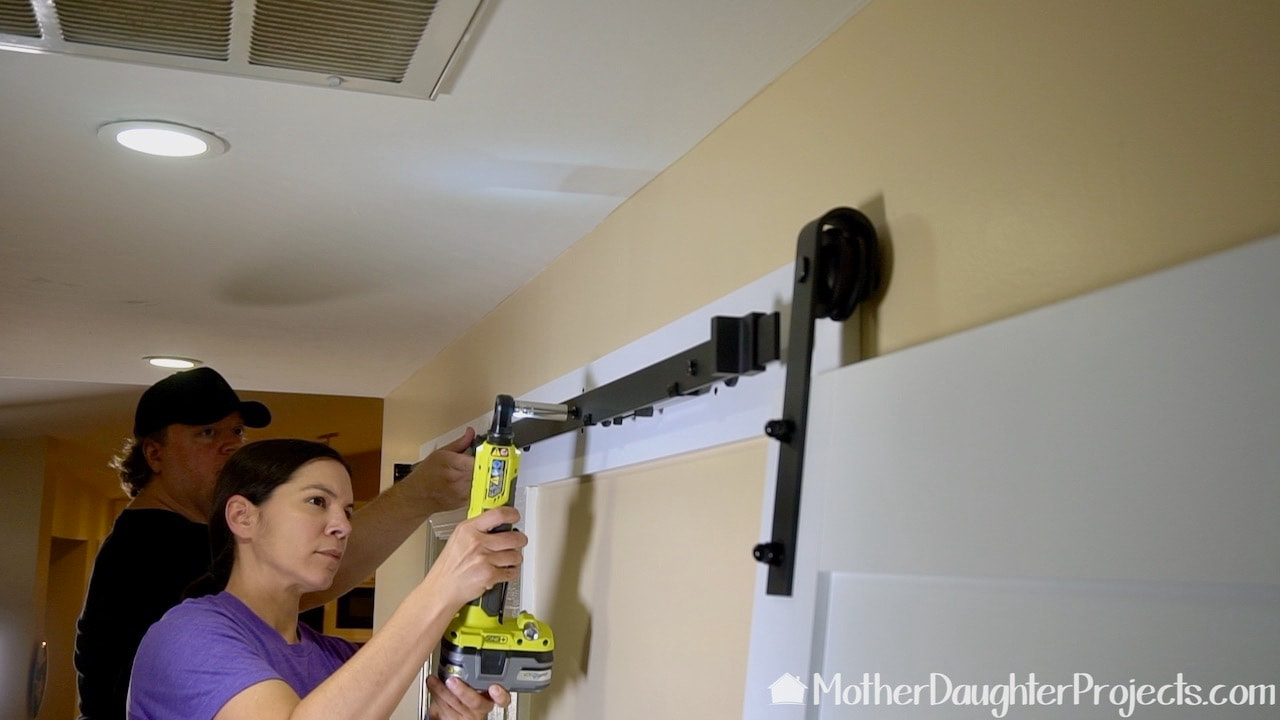 Fun! We got to use our Ryobi battery powered ratcheting wrench to tighten the bolts. We were using a hand tool, but this made it go really fast! Oh, that's Jason behind Steph, her friend of many years from back when they worked at Apple together. He was visiting but kindly agreed to help us with this project when we asked. 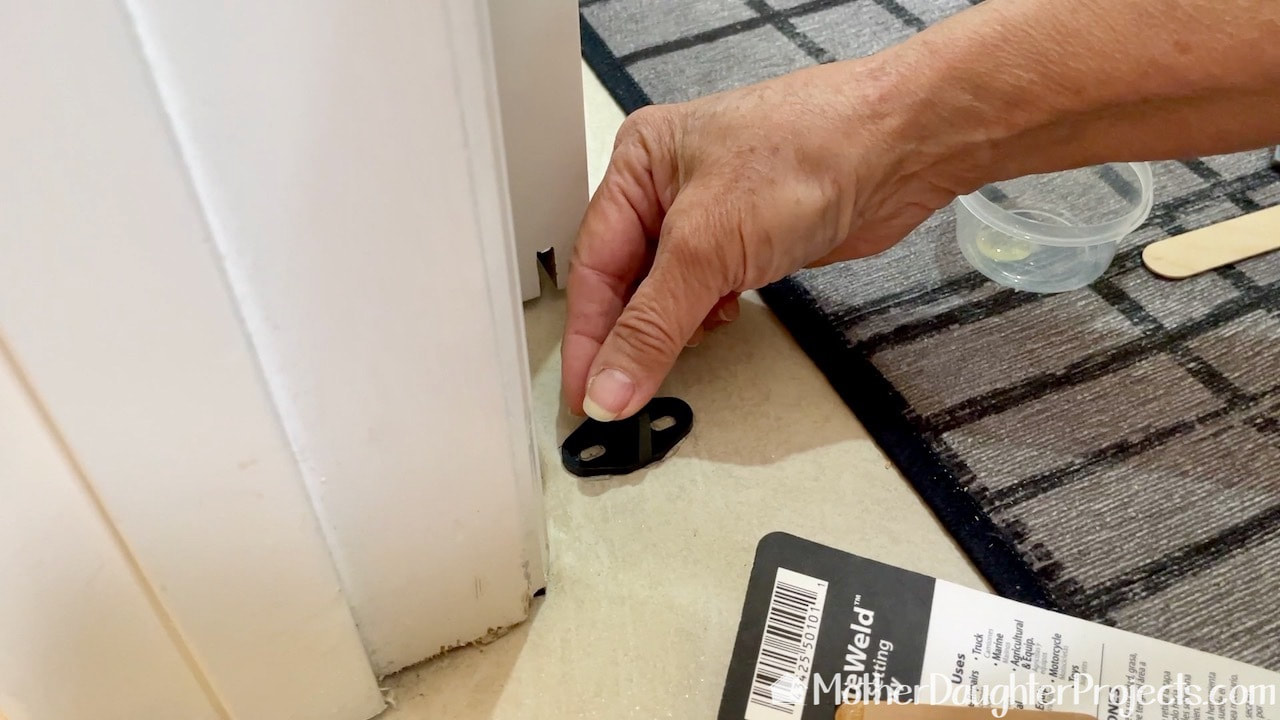 This is a step that must not be overlooked. This floor guide keeps the door from swinging out of place. It is to be screwed into place, but we used J-B Weld 50101 MinuteWeld Instant-Setting Epoxy to put it into place. We did the same with the previous barn door and it has held all these years. Be sure to mix the epoxy according to instructions. This stuff is smelly so use appropriate PPE. 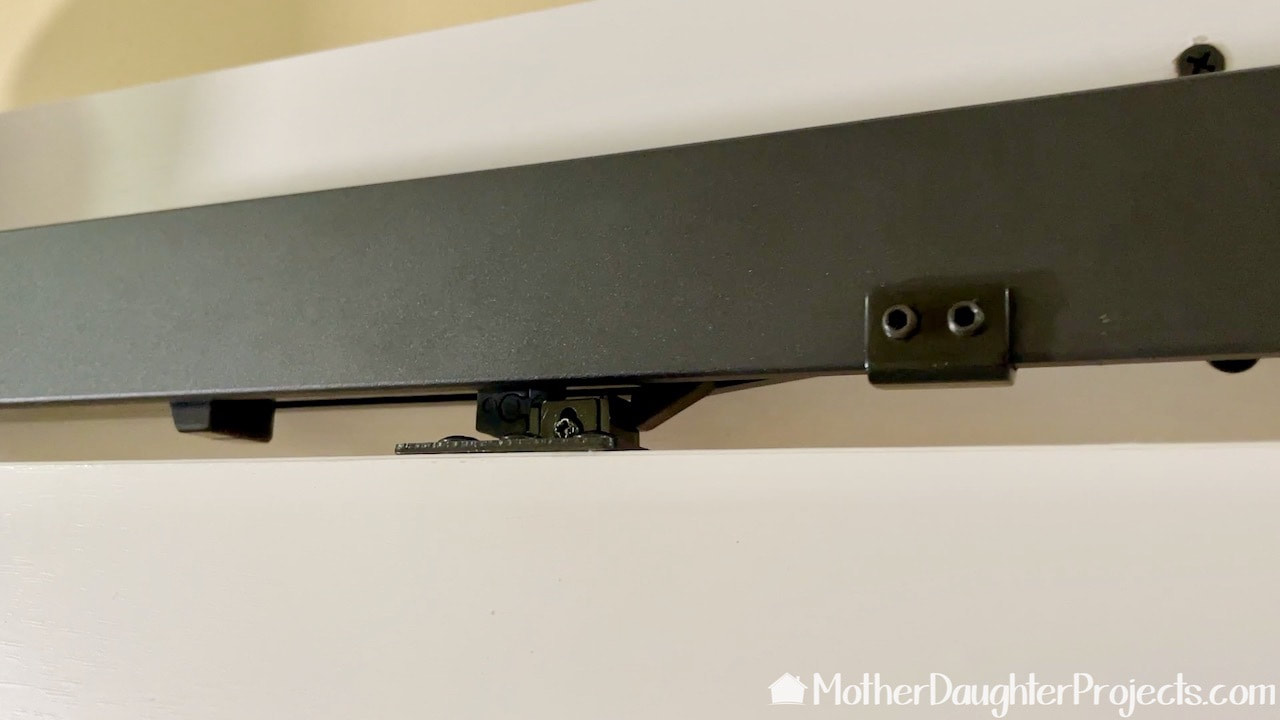 After putting the door in place, we needed to adjust the actuator (which catches the soft-close features) on the door side. It just needed to be raised a bit. 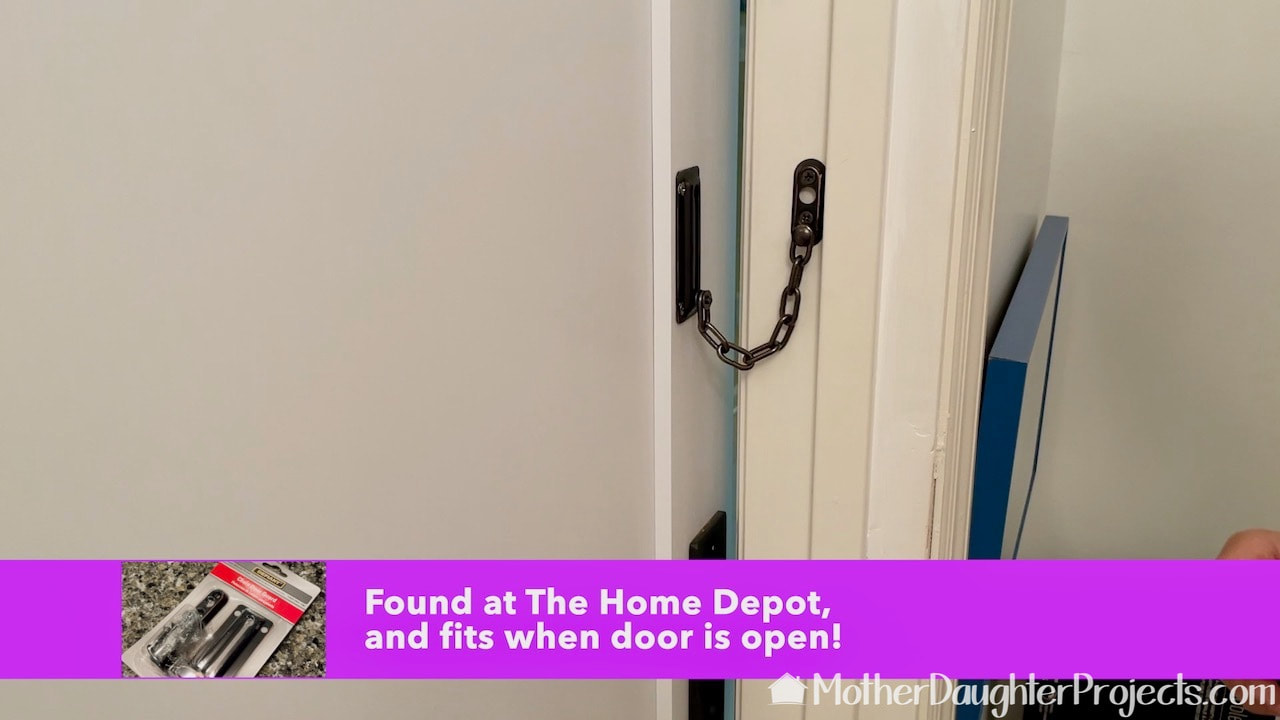 The most difficult part of the install was trying to find some kind of latch for the door. We tried six different options and this one worked.
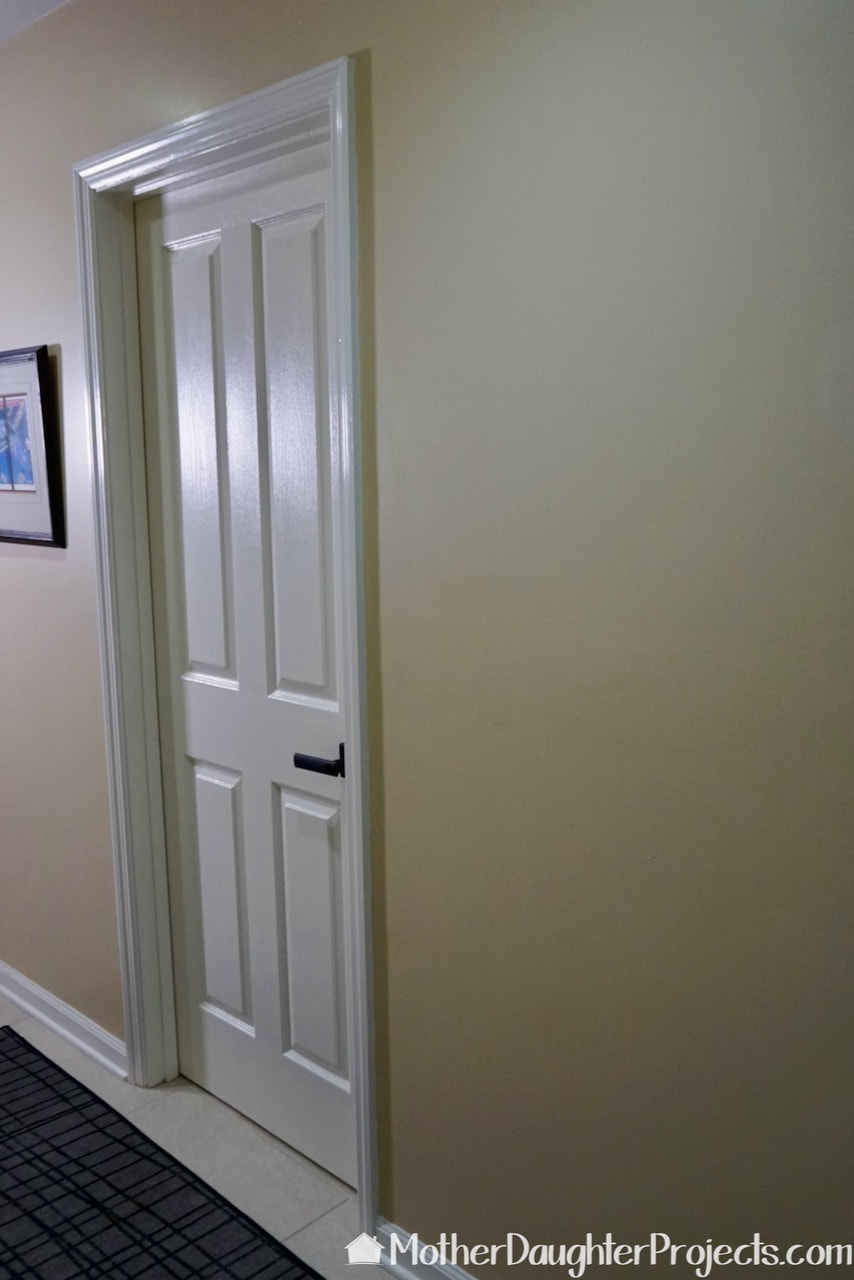
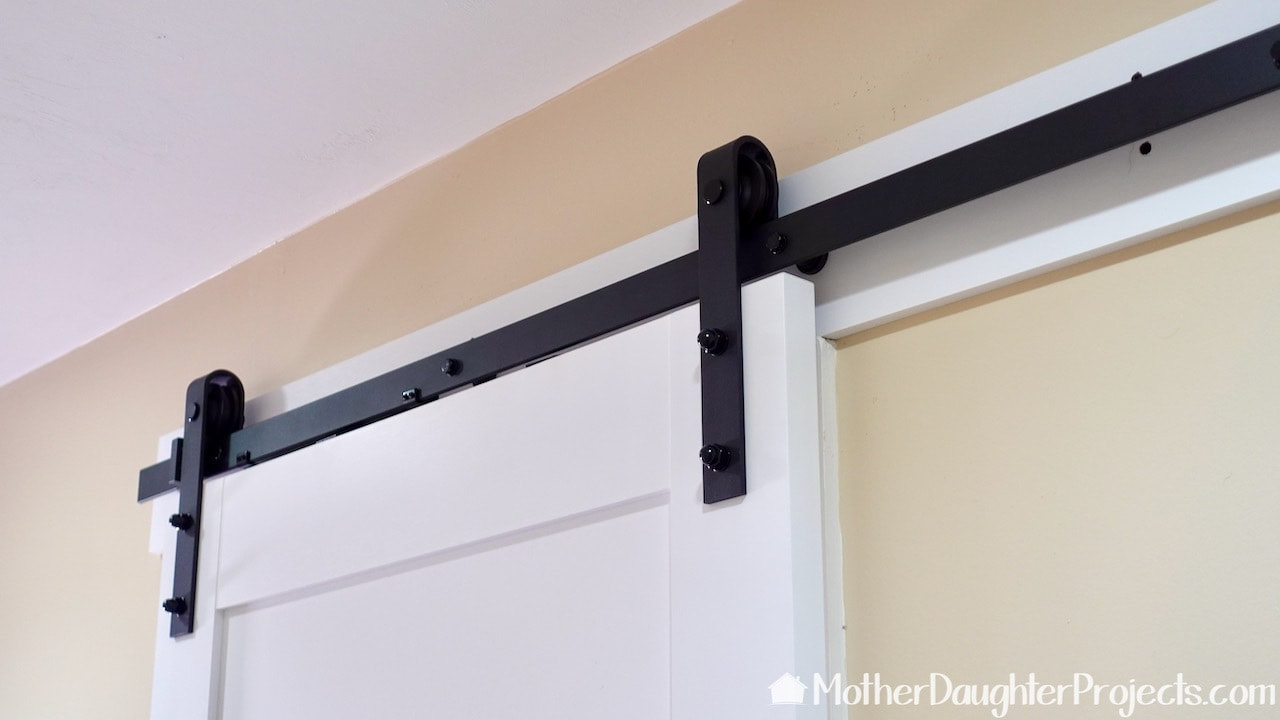 We followed the instructions included with the OVE barn door kit very closely for the installation. There is a link to a video, but unfortunately it was not helpful and just created confusion. So we don't recommend watching the video. In the above picture, you can see those black header screws. They are okay, but personally, I would have preferred them to totally blend into the white header board. With the addition of this door, the bathroom feels so much more spacious. It makes you wonder what house designers are thinking when they put in a door that opens inward and you literally can't shut the door until you're fully in the space. This would have been a perfect space for a pocket door. It's weird that one wasn't put in when this house was originally built as there were already three double pockets doors in other spaces so it's not like the builder's didn't know how to put them in! Oh well, we fixed that design issue now! Where could your house use a sliding door? Please note: This is not a sponsored post. FYI: We are not professionals, and we don't claim to be. This is what we found worked for our project. Yours may need a little different approach. Safety first! FYI: Affiliate links are being used on this page. Purchasing via these links help support MDP Related Projects
0 Comments
Leave a Reply. |

Mother Daughter Projects
|