text by Vicki Sign up here to join our weekly email newsletter!
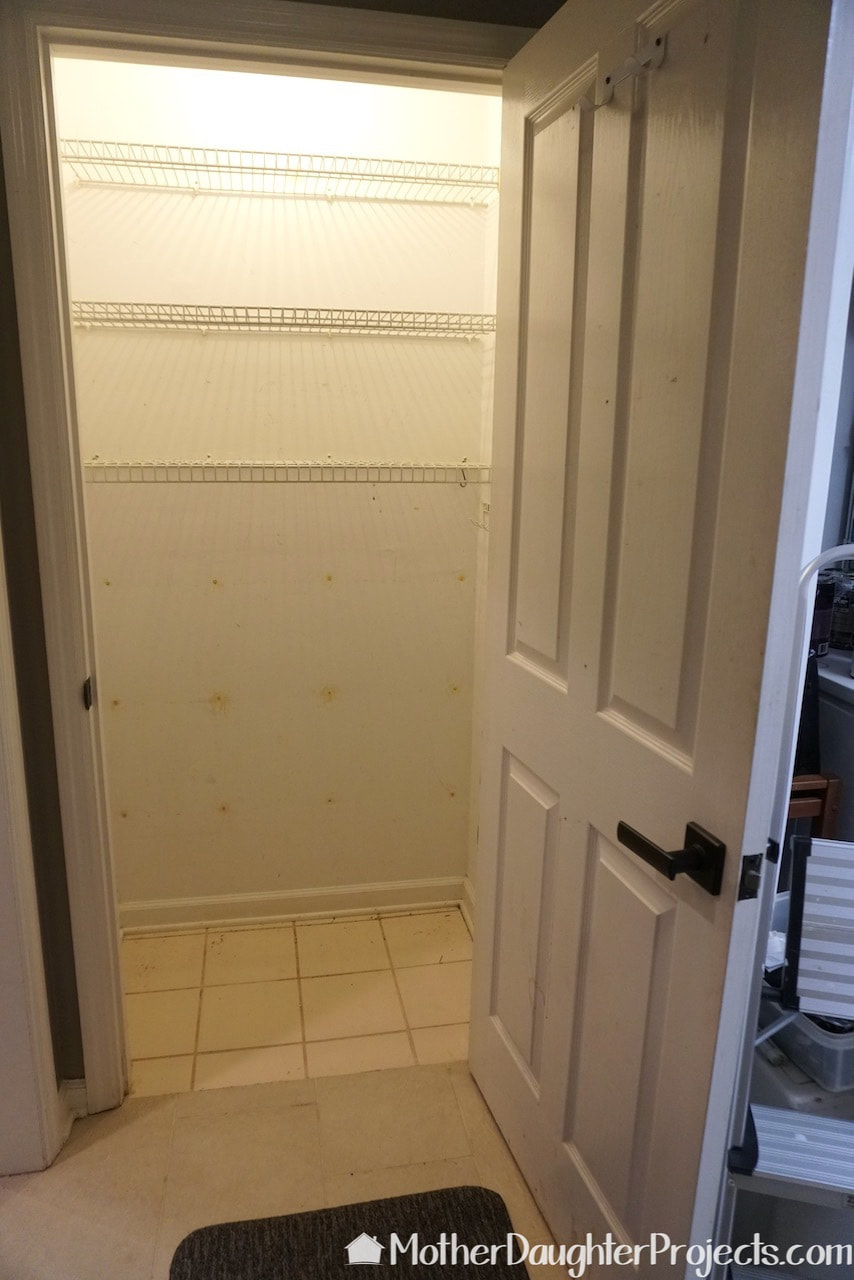
I always enter my house via the garage into a small utility hallway. At the end of the hallway is an underused closet.
Prior to the great "garage remodel of 2016" I always entered through the backdoor where there were plenty of flat surfaces to put all the stuff I always had in my hands. Coming through the garage, I had no surfaces to unload onto thus the area in front of the closet was always a cluttered mess with shoes and more. During this period of time, I've been working to relocate all the stuff that was in the closet so that I could transform it into a multi-functional landing zone. This fall I finally got all the stuff moved, trashed, or donated. Awwww, I now had a nice empty canvas in which to work! This written tutorial covers the highlights of the build. Check out the video for more details. Materials/Tools:
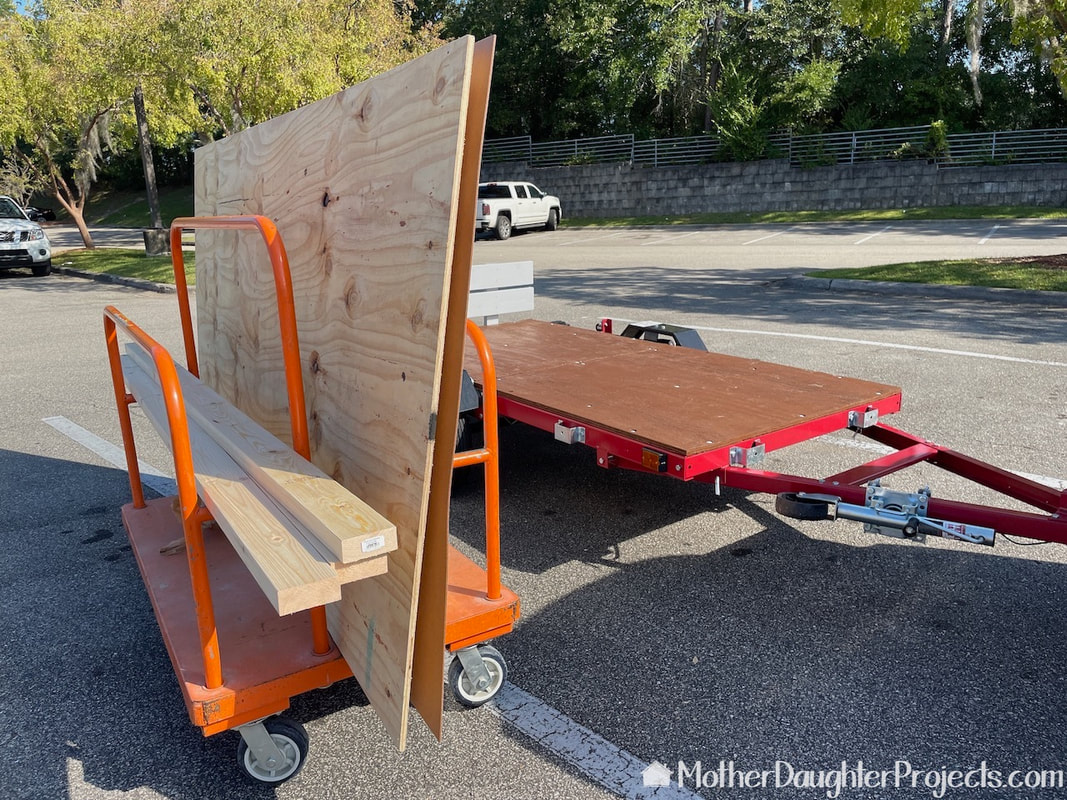
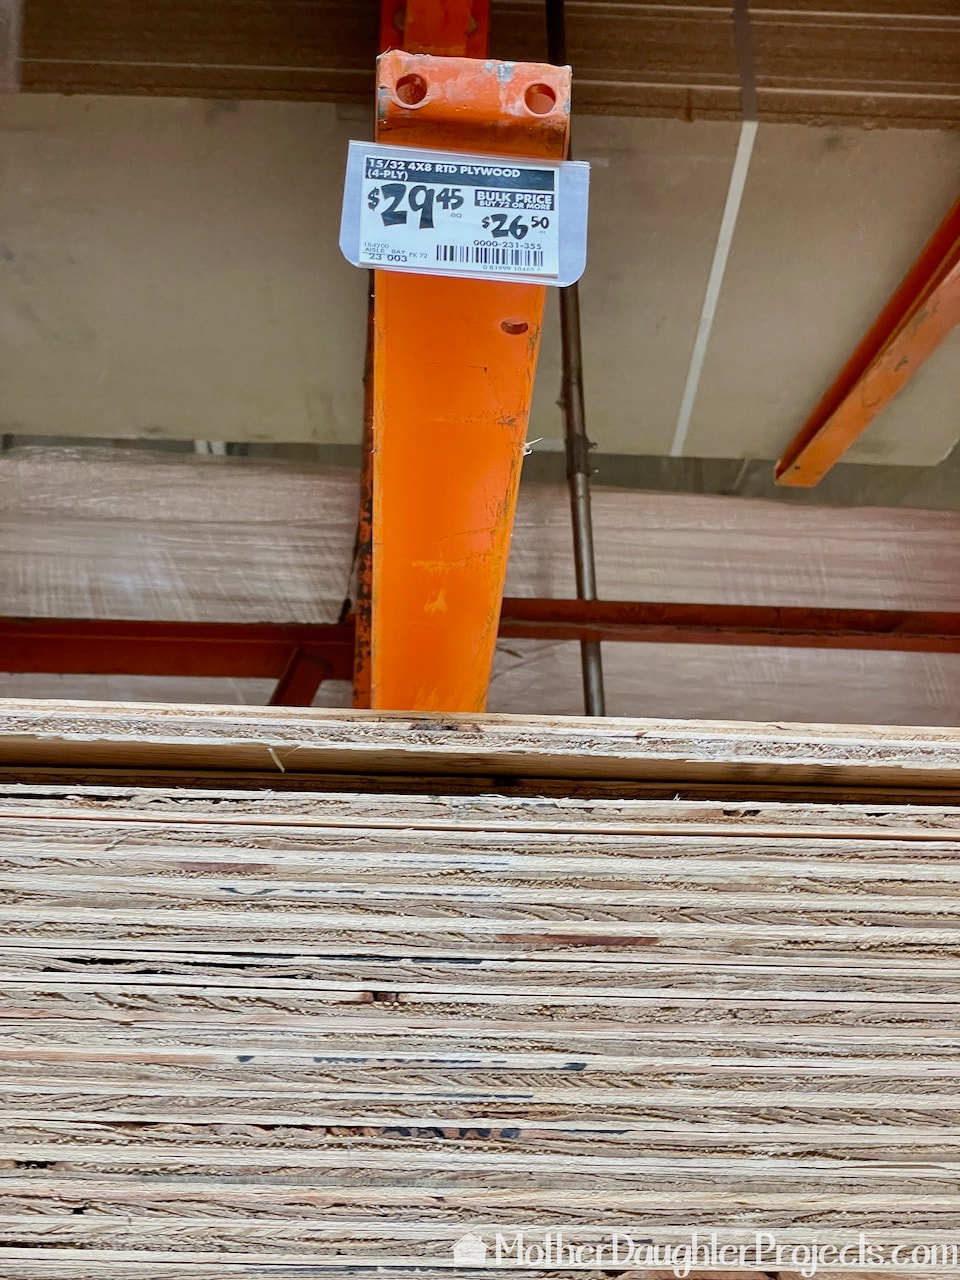
We got to bring it all home in full sheets on our utility trailer. If you don't know, Steph actually built this trailer---by herself!
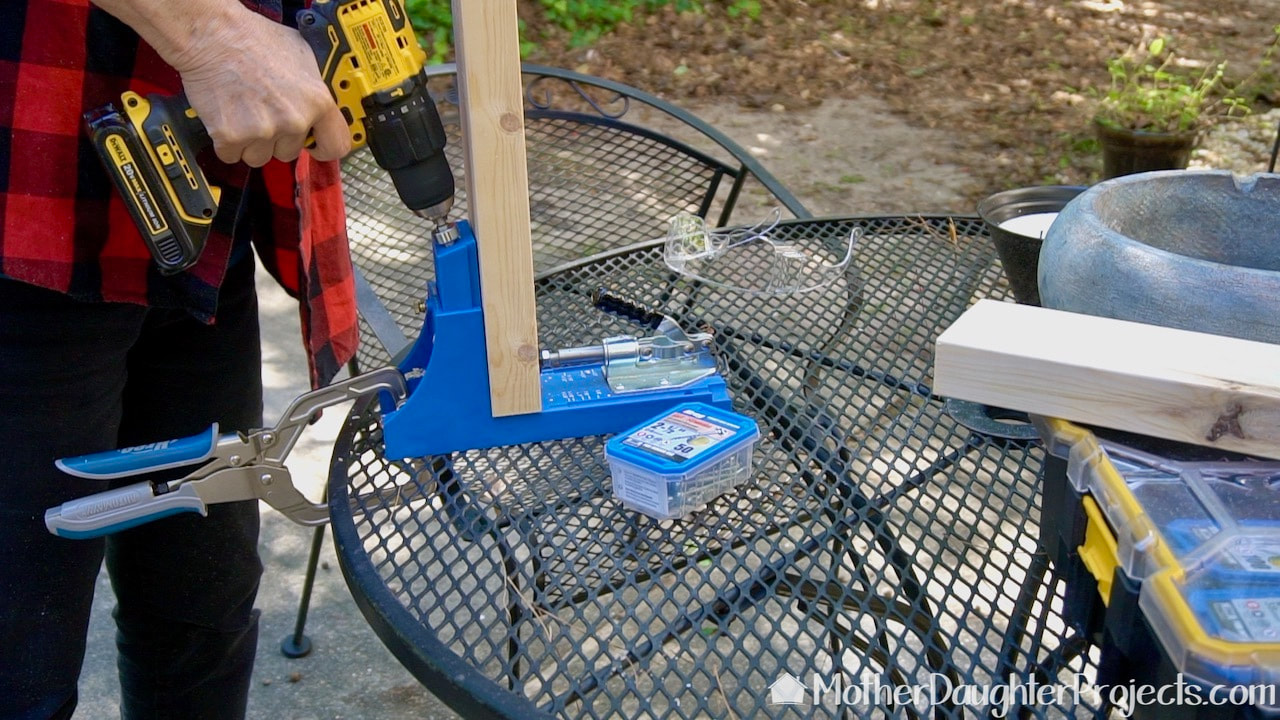
After removing all the old wire shelving, filling the holes, and painting, it was time to build the framework for the new landing zone bench seat. We used 2x4 for the frame. Here I'm adding pocket holes to the side pieces so that they can be secured to the front and back supports.
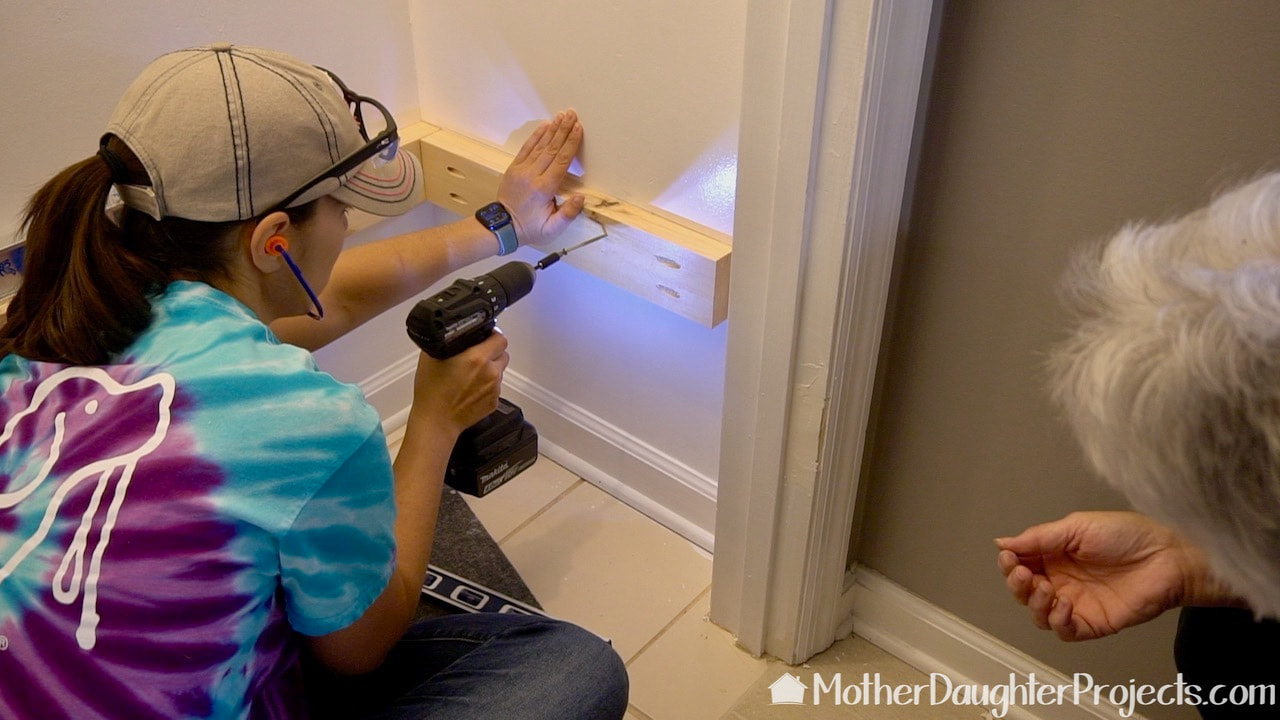
The supports were placed on the wall and screwed into studs. The bench will sit about 18 inches from the floor.

Parts from an old table were used for the apron front as well as the seat. The apron was glued and brad nailed to the front support before it was installed into the closet.
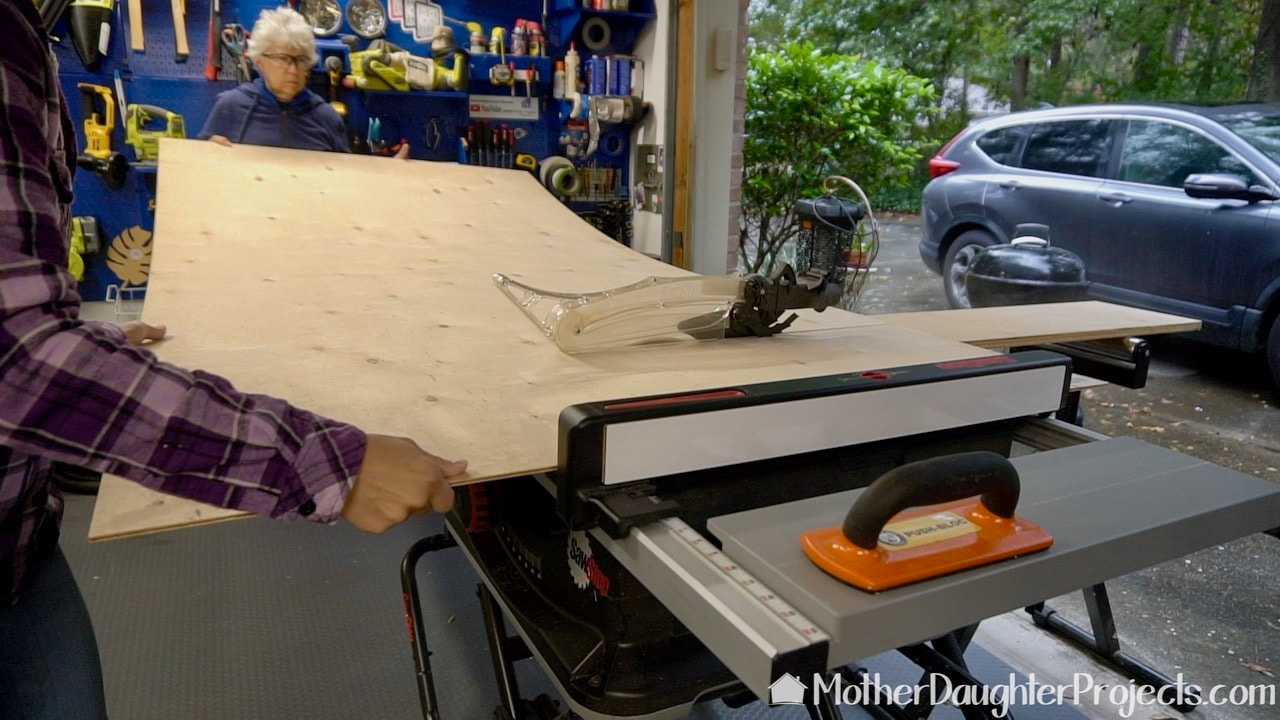
We are adding faux shiplap to the back of the closet. We decided to glue it to a piece of underlayment rather than to permanently attach the shiplap strips to the back of the closet. Here we are cutting down the underlayment to fit the back of the closet.
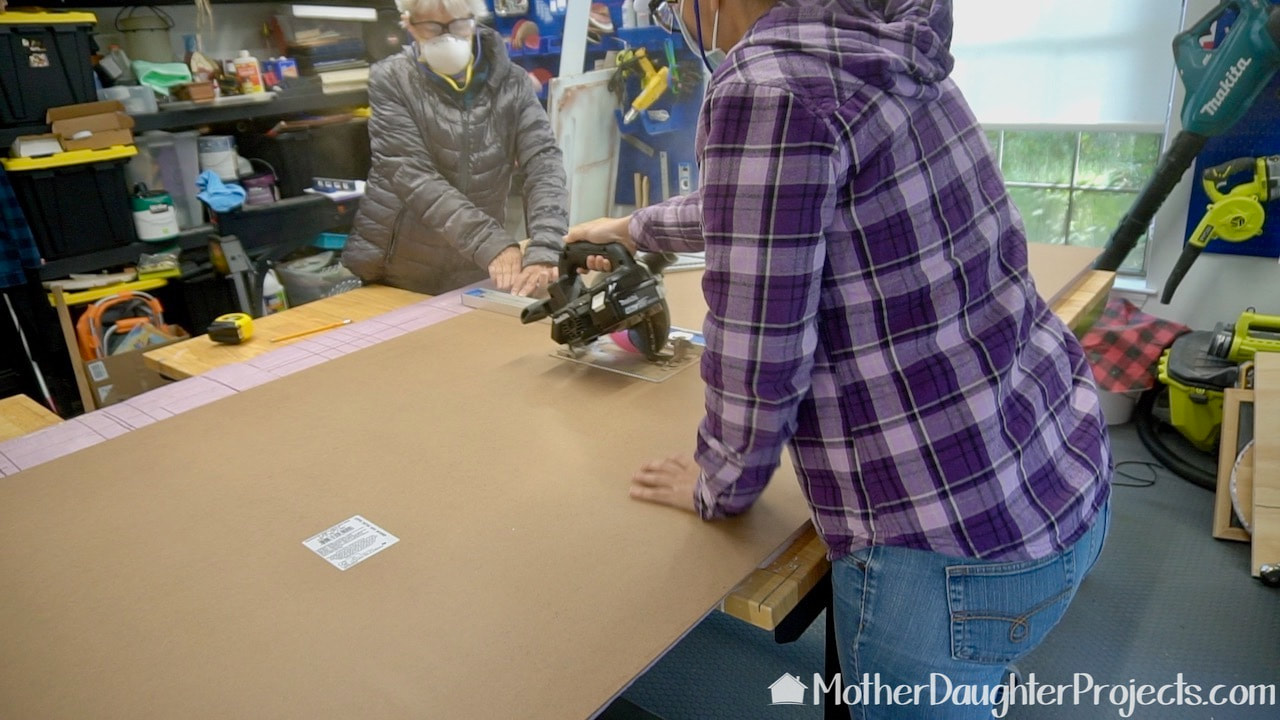
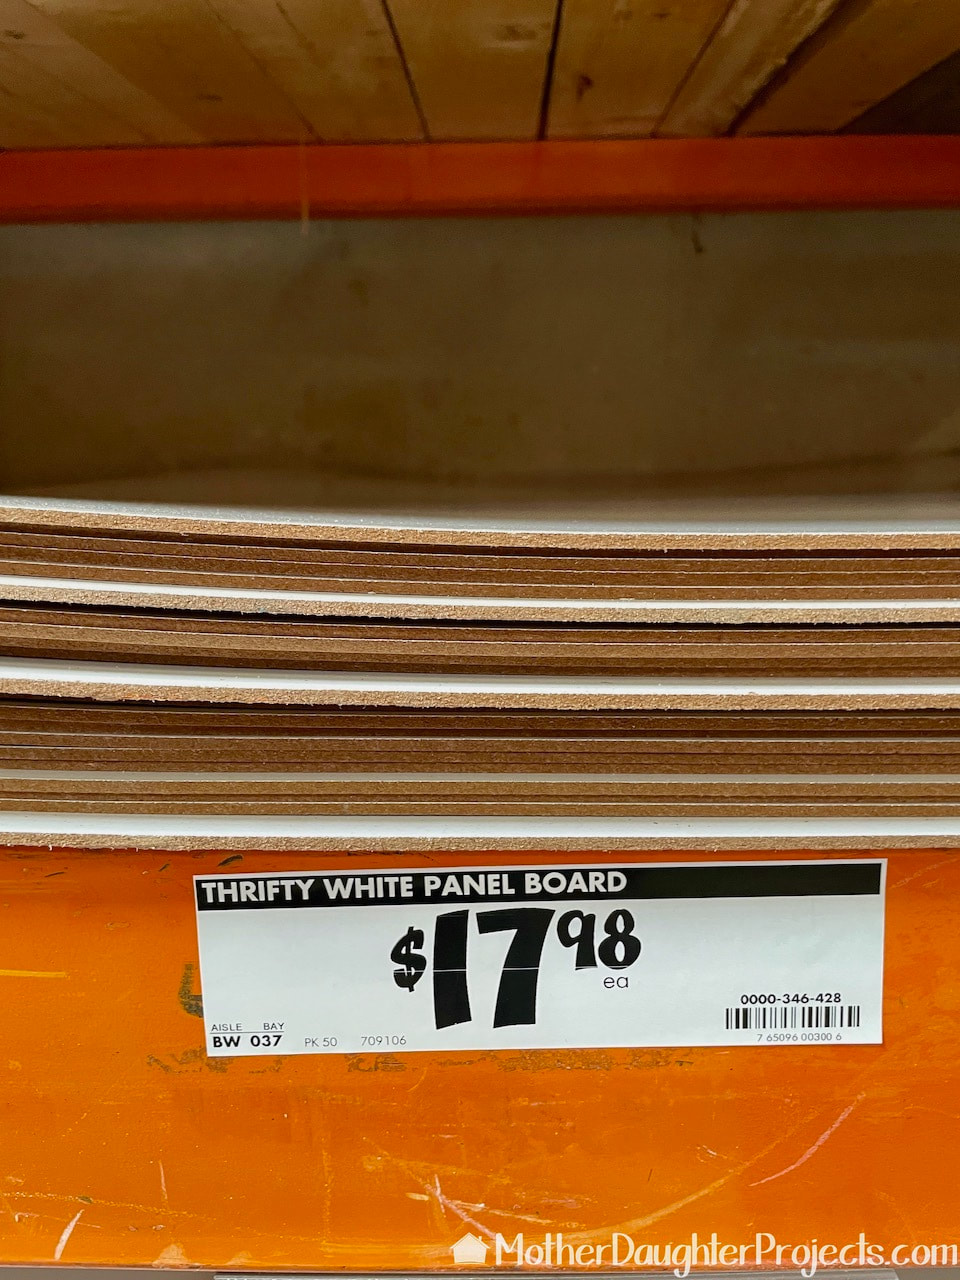
The faux shiplap is made from the white board. We first cut it to a manageable size with a circular saw so we could then use the table saw.
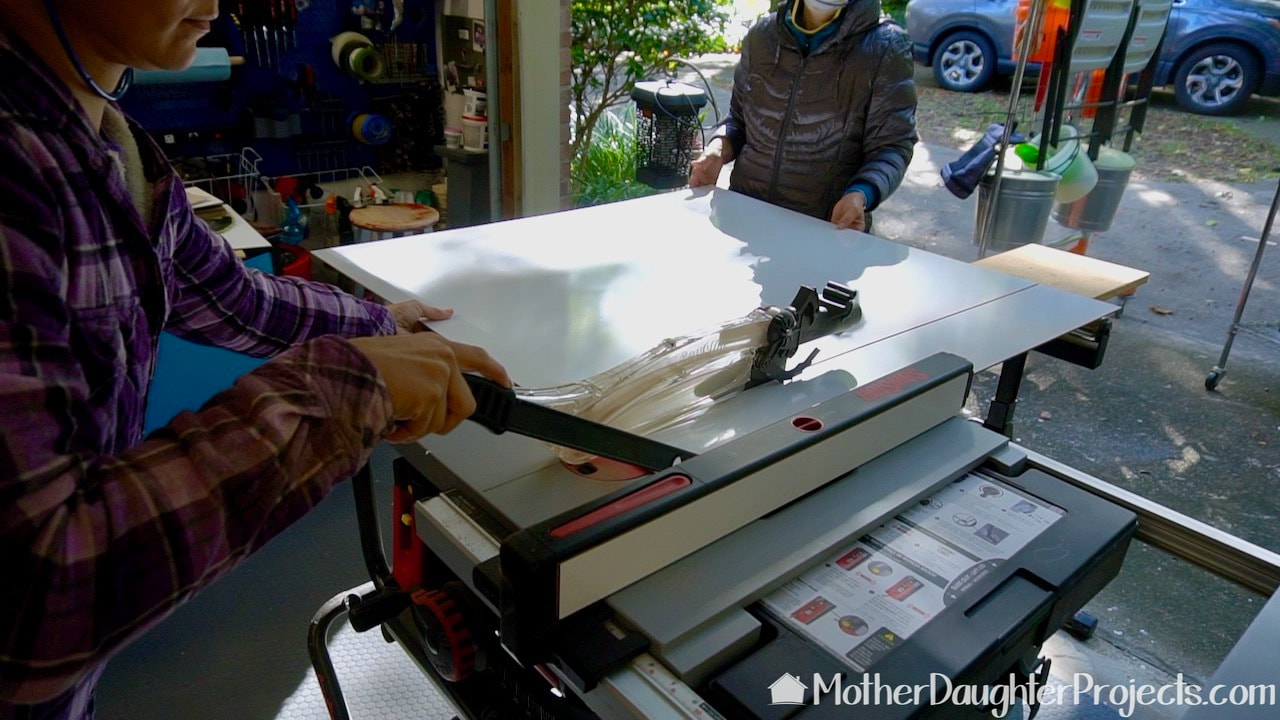
The white board was then cut into strips to fit the width of the closet. The strips are 6 inches tall.
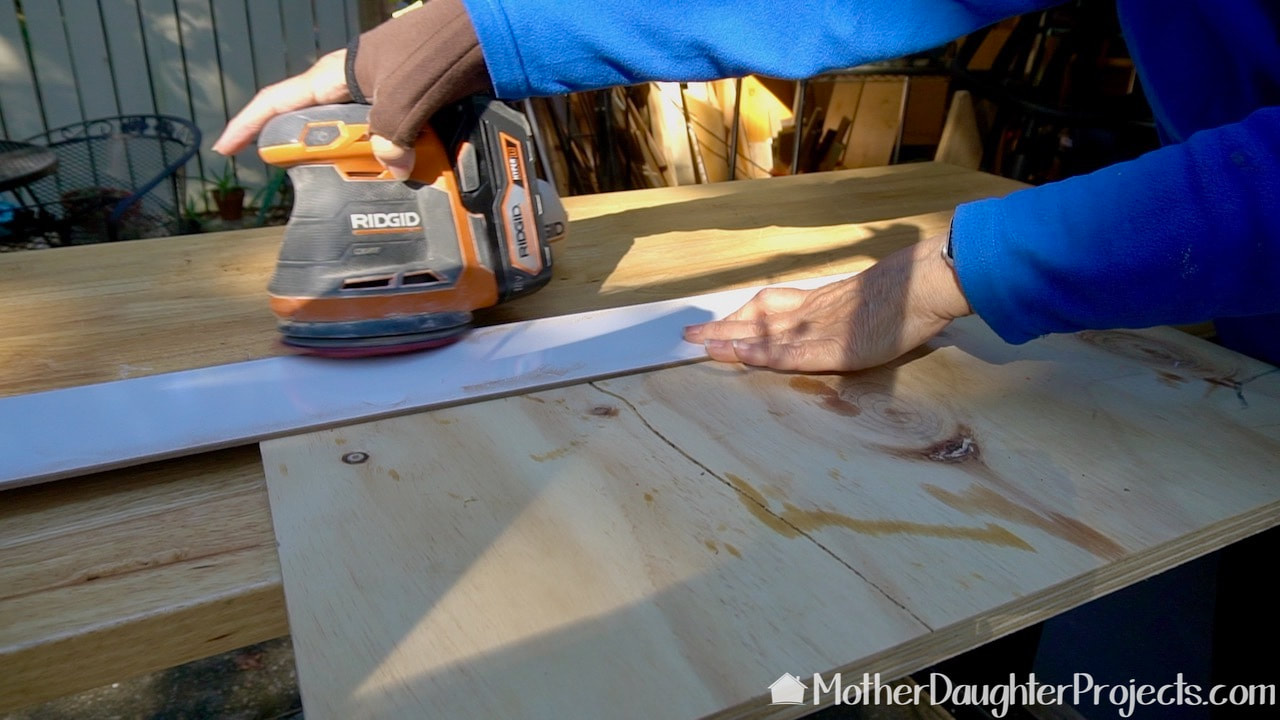
The edges of the white board shiplap strips were sanded to slightly distress them. The back of the closet will now match the sliding door that is already in the space.
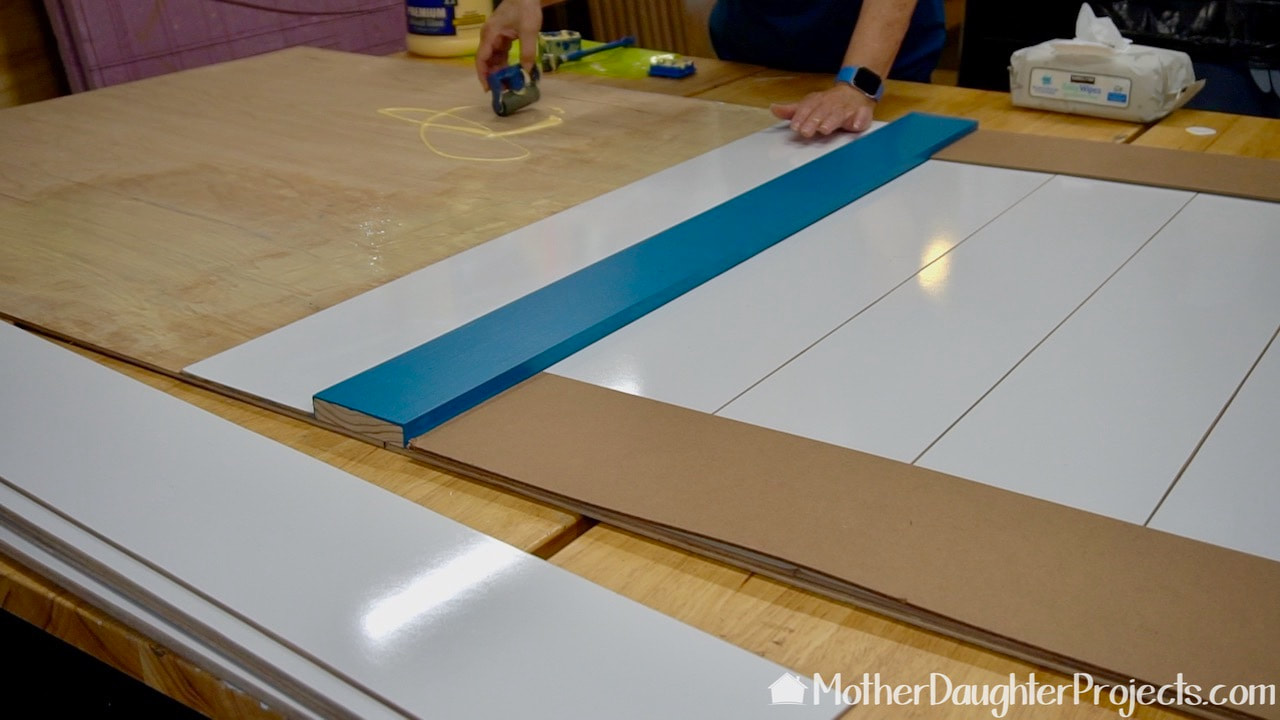
We used wood glue and weights to attach the shiplap strips to the underlayment. The blue board is not attached at this point, but is providing we keep the correct spacing.
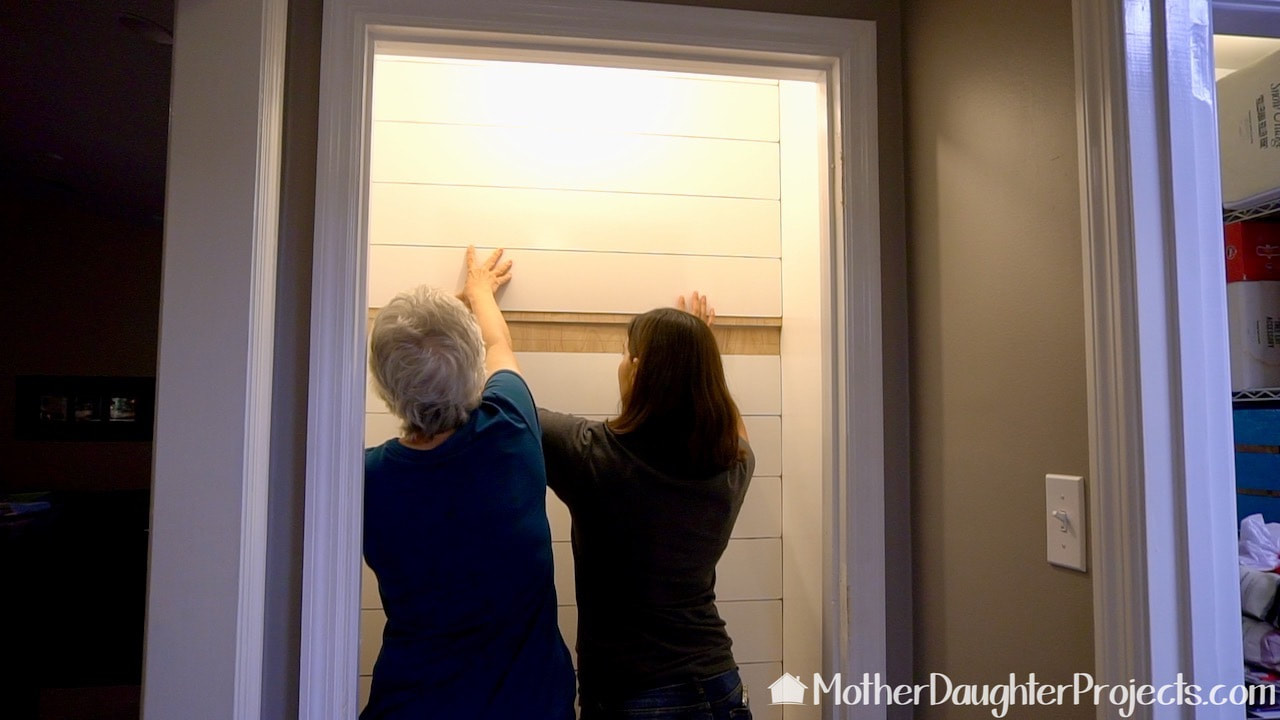
The shiplap was installed with two white screws in the corners of the top piece and two screws in the corners on the bottom piece. The bench seat hides those two screws and the two top ones are not noticeable since they are so high up in the closet. The bottom edge and top edges were secured with screws that were eventually hidden by the hook board.
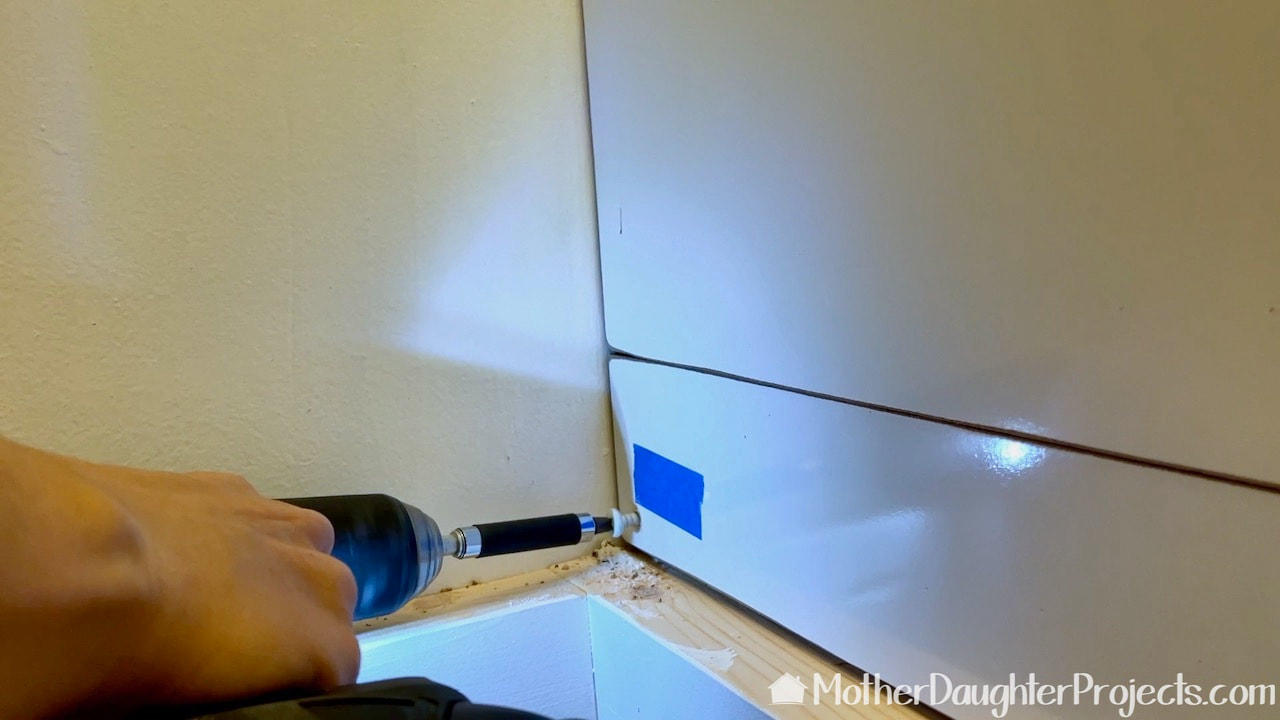
The two bottom screws will be covered by the bench seat.
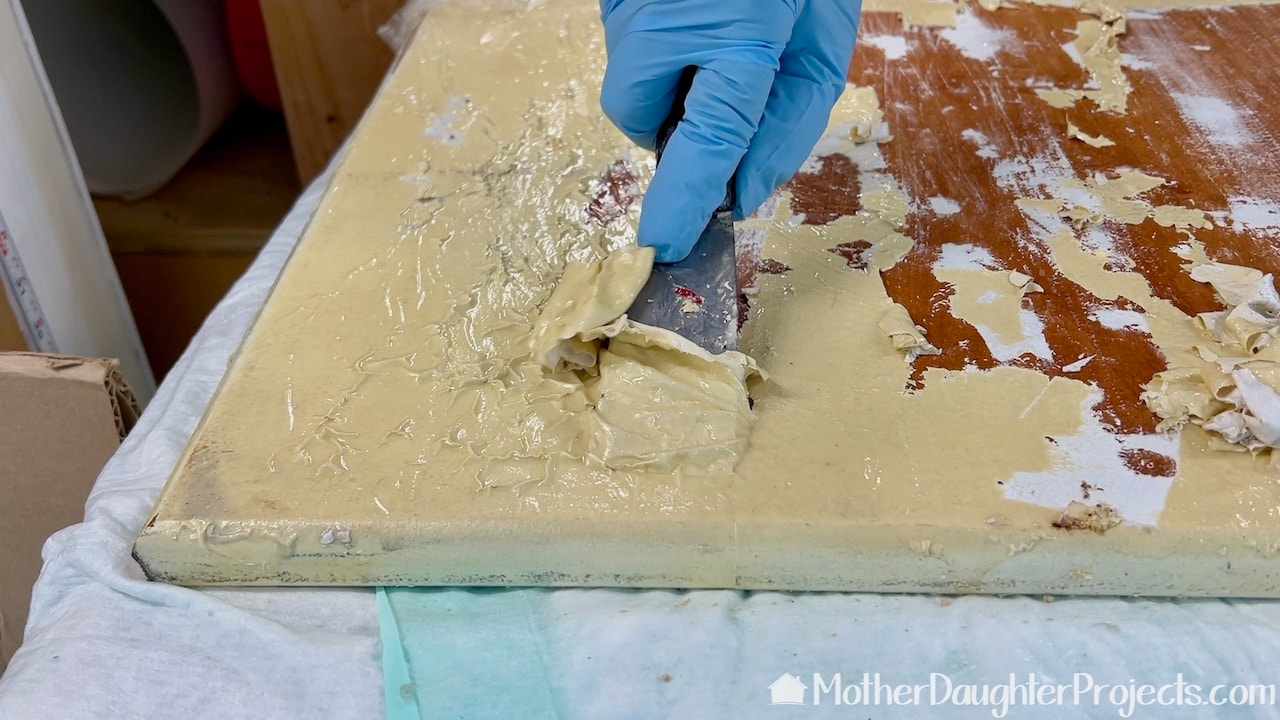
This old table was in my craft room and had seen lots of use. This old paint had to go. I used a commercial chemical stripper to get most of the old paint removed.
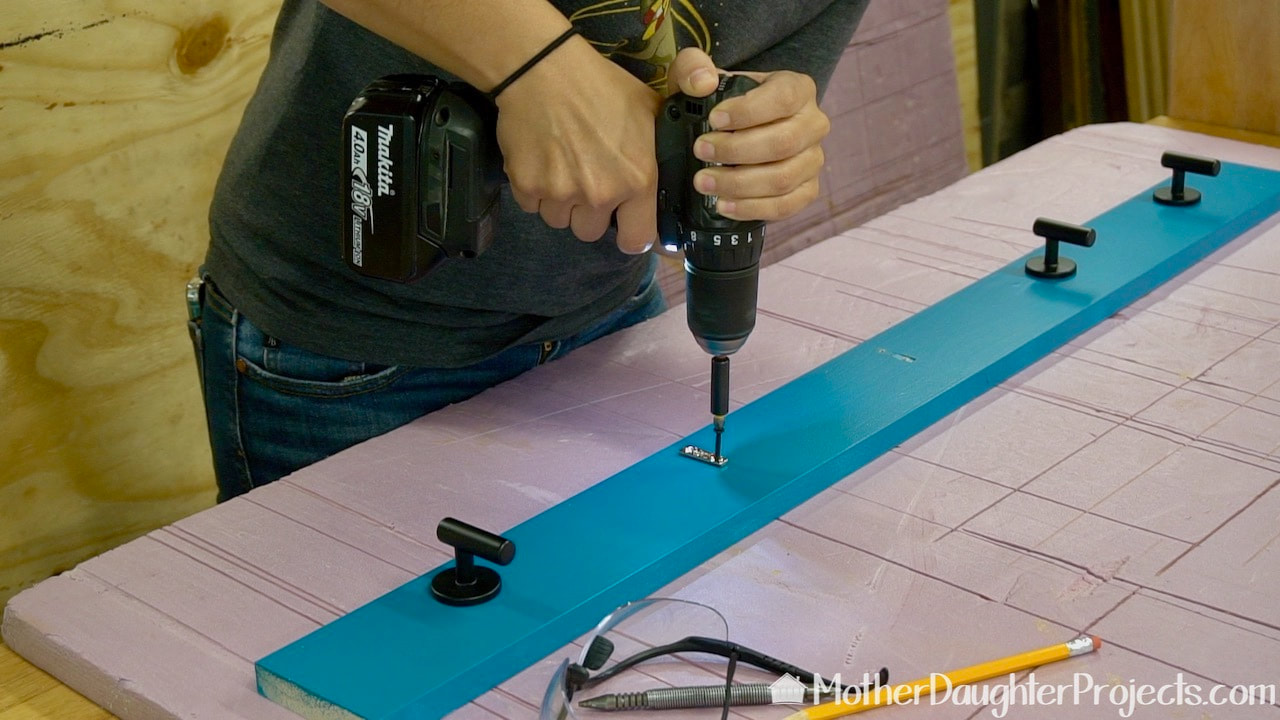
Adding the coat hooks to the board. I like that the screws are not visible, but there were a bit of a challenge to install.
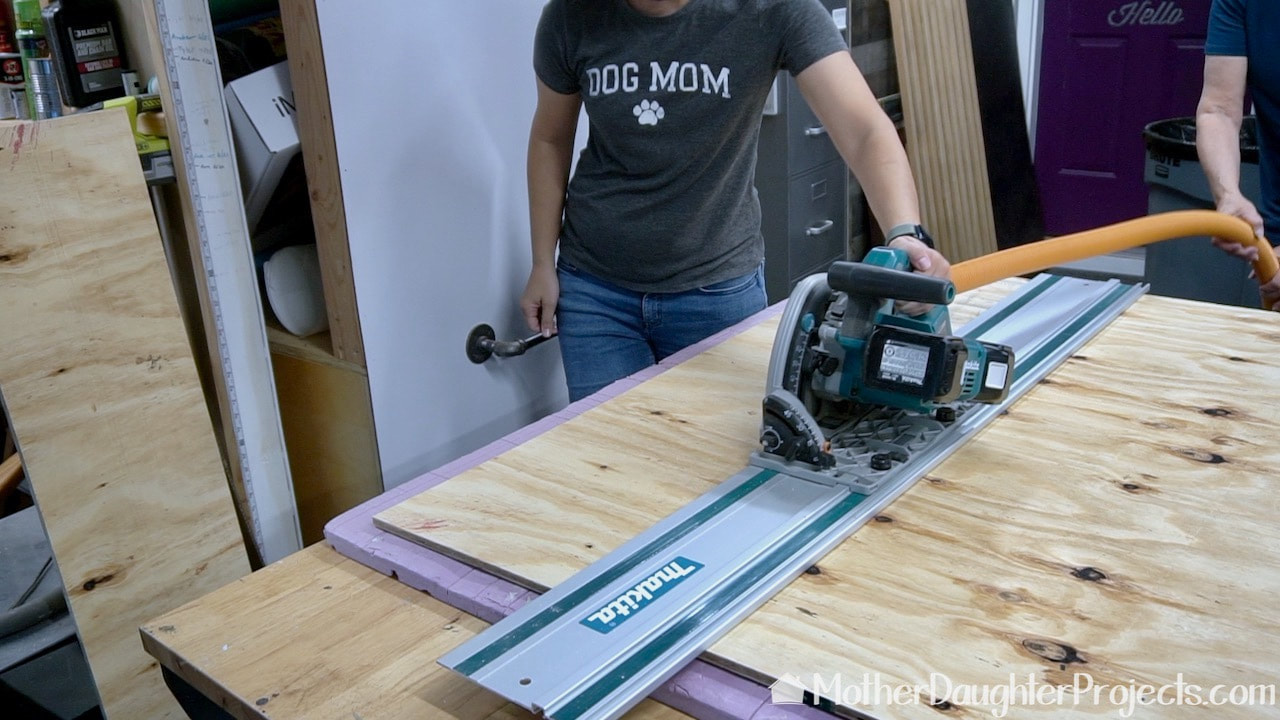
We constructed a simple box to fit under the bench made from plywood. We used our Makita track saw to make the cuts.
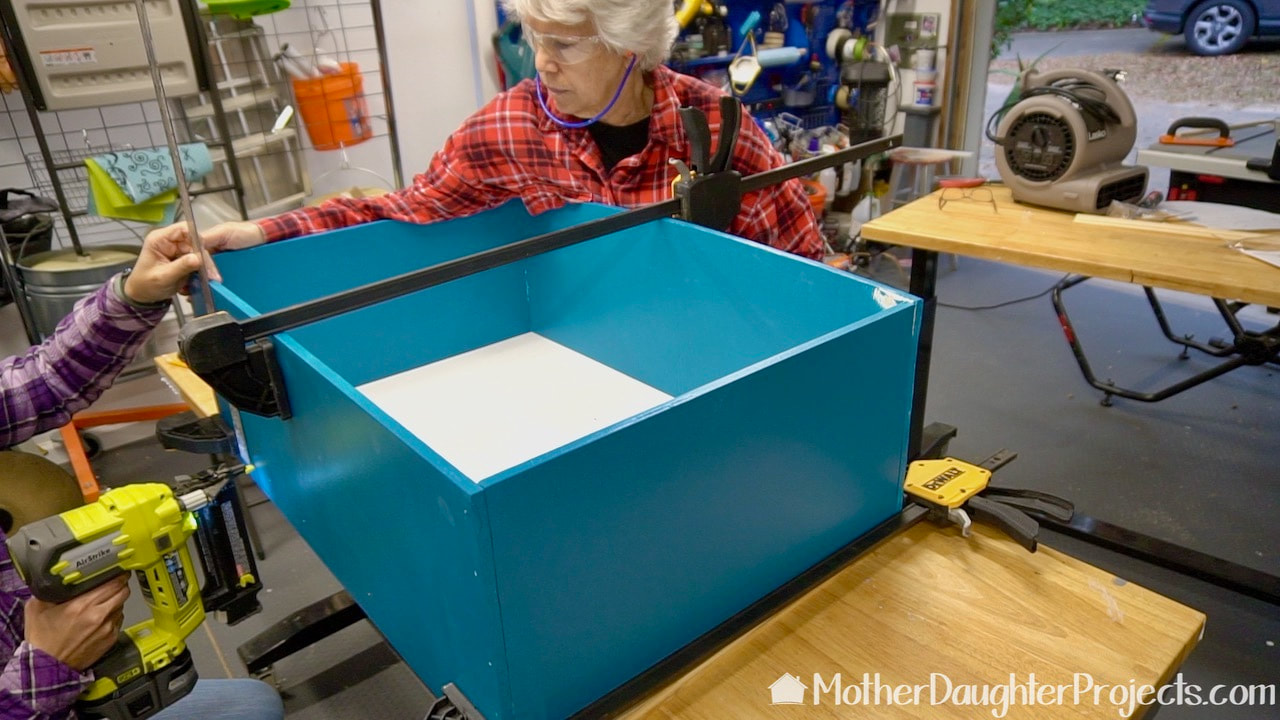
We used wood glue and brad nails to assemble the box. The bottom of the drawer was raised a few inches so that the appliance casters would not be visible once they were in place. In this photo, Steph is brad nailing the bottom into place. You can see how far up she is from the bottom edge of the box.

We are using Wall Control metal pegboard to create additional functionality to the closet. Full panels are secured to both sides of the closet.

Finding a light we liked for the space proved to be a challenge. After buying three different lights, we finally bought this one which was perfect for the space. Here Steph is checking to see how far down it needed to hang. We wanted it fully visible when looking into the closet. You can see the laundry room sliding door really well in this picture.
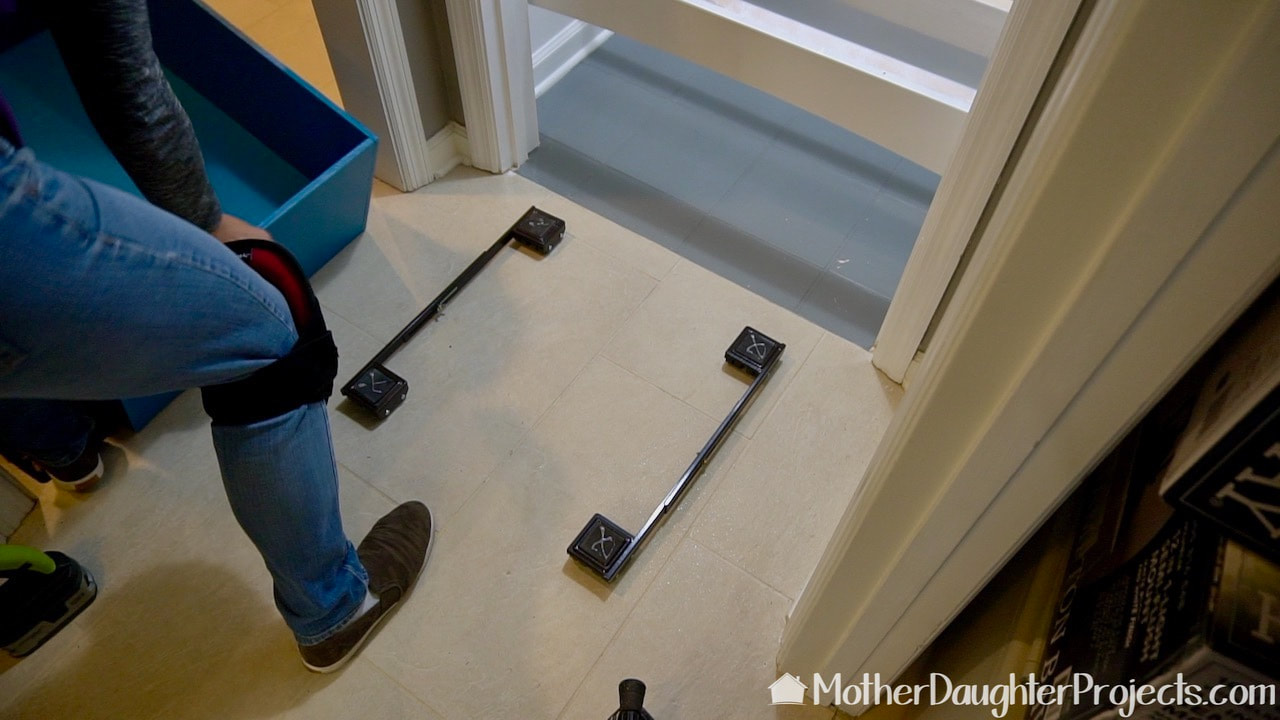
To allow the drawer to slide in and out under the bench we are using appliance casters.
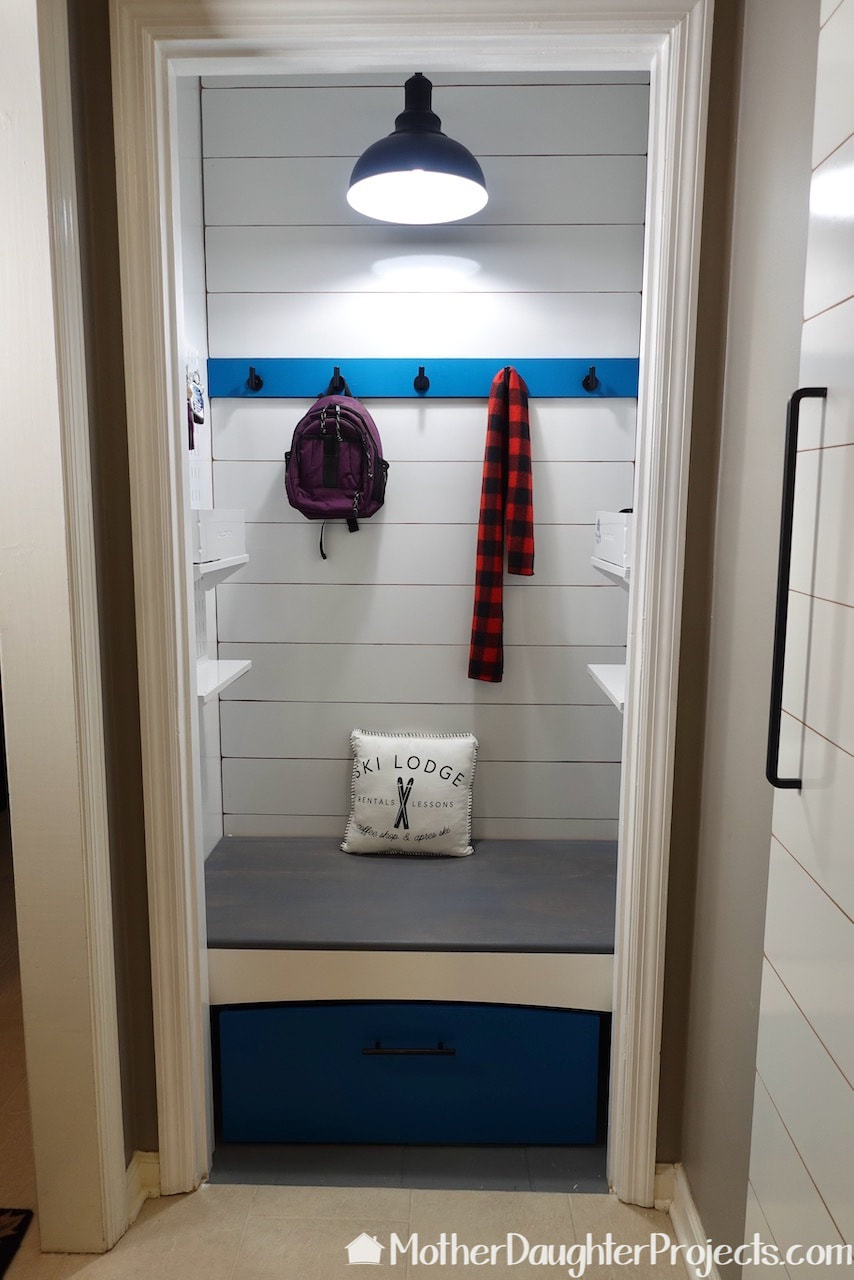
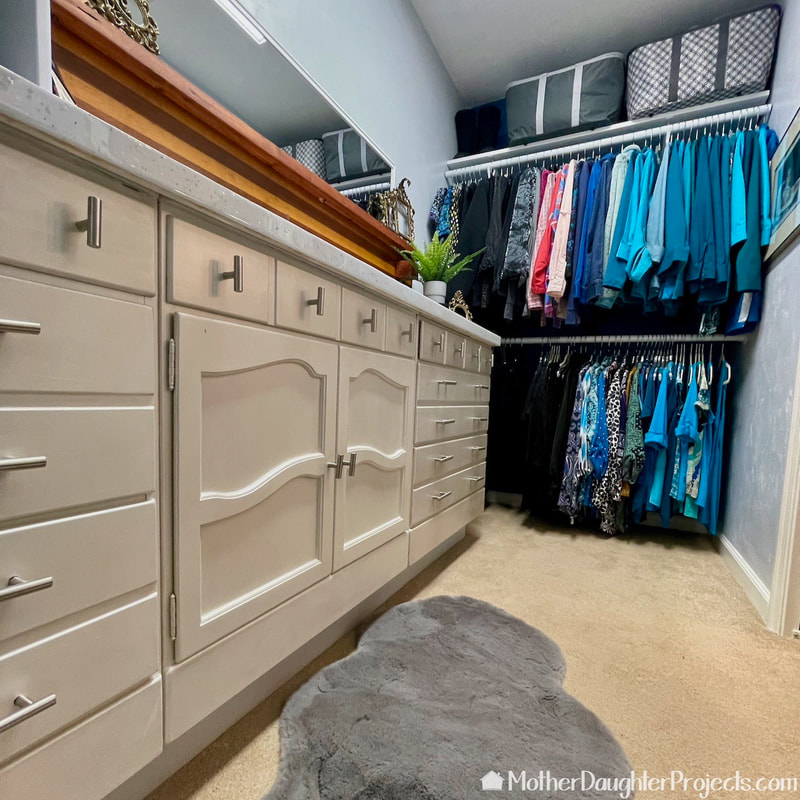
I've been using the finished landing zone for a few weeks and I love it! There is a place for everything so now there is no more clutter.
One thing that was unexpected was the way I use the shelf on the left. I had fully intended to store something on it, but I found myself using it to set down my cup when I come in. So, for the time being, that shelf will stay empty! I also like to use the bench to stage items that need to go out of the house. That way, I don't forget to take them with me. All in all, I'm very happy with the result! Please note: This is not a sponsored post. FYI: We are not professionals, and we don't claim to be. This is what we found worked for our project. Yours may need a little different approach. Safety first! FYI: Affiliate links are being used on this page. Purchasing via these links help support MDP Related Projects
2 Comments
Kathy Lauwagie
1/6/2022 12:18:31 pm
Steph, have you ever visited The Purple Store online? I've gotten a few things there. I have noticed that you like purple. :-)
Steph
1/6/2022 03:17:44 pm
I have not. I just googled it! This is so cool!!! Thanks for sharing :) Leave a Reply. |

Mother Daughter Projects
|