|
text by Vicki Sign up here to join our weekly email newsletter!
Steph recently built a flat-pack sofa from Home Reserve, which meant the side table she had been using just wasn't going to work with the new sofa.
She thought about what she needed, which was storage for a few remotes and such and enough space for a beverage and track pad. Here's what she came up with. Materials/Tools:
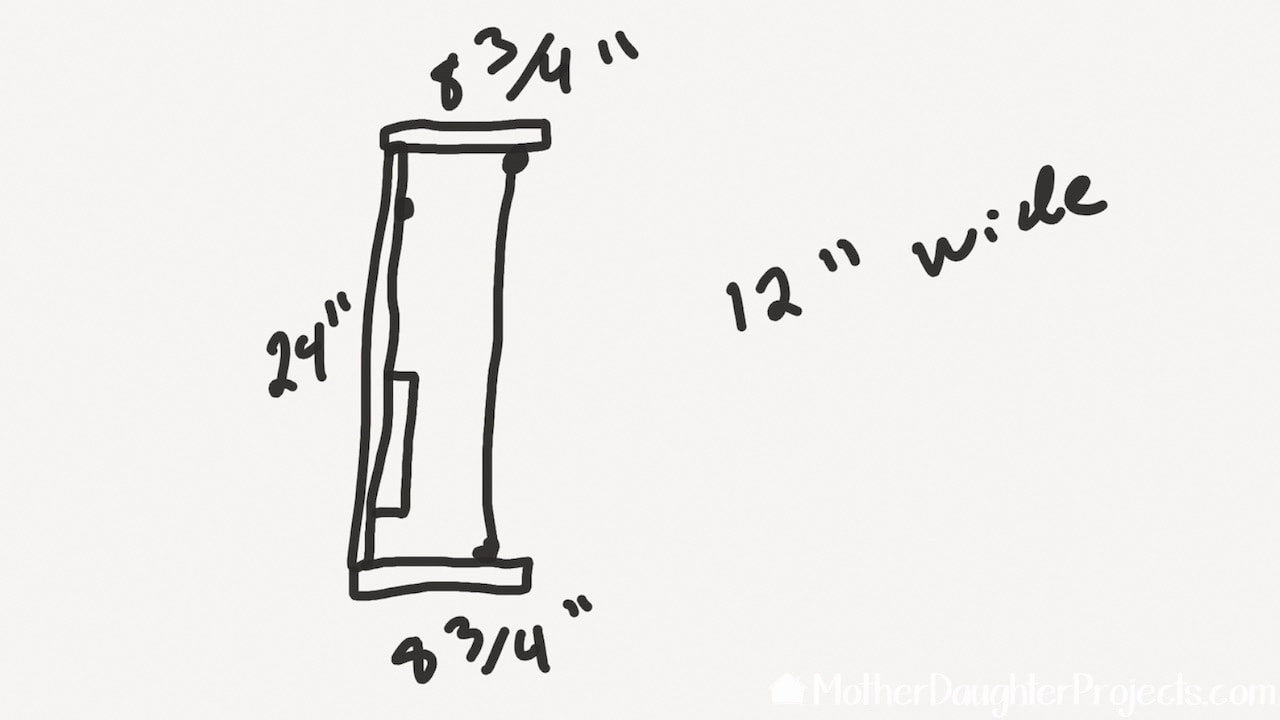
This simple, crude sketch gives you the measurements which are based on the height of the metal pipe as well as the available width of the material we are using.
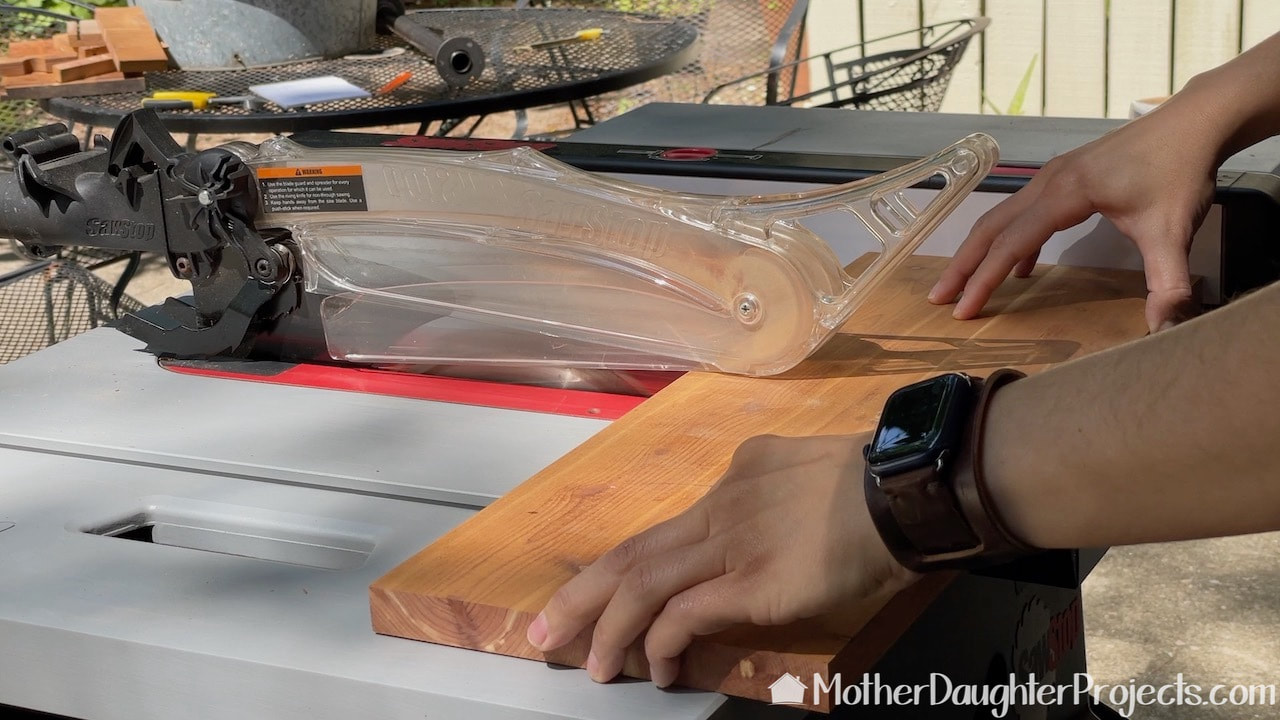
Steph cut all the boards to size on the table saw.
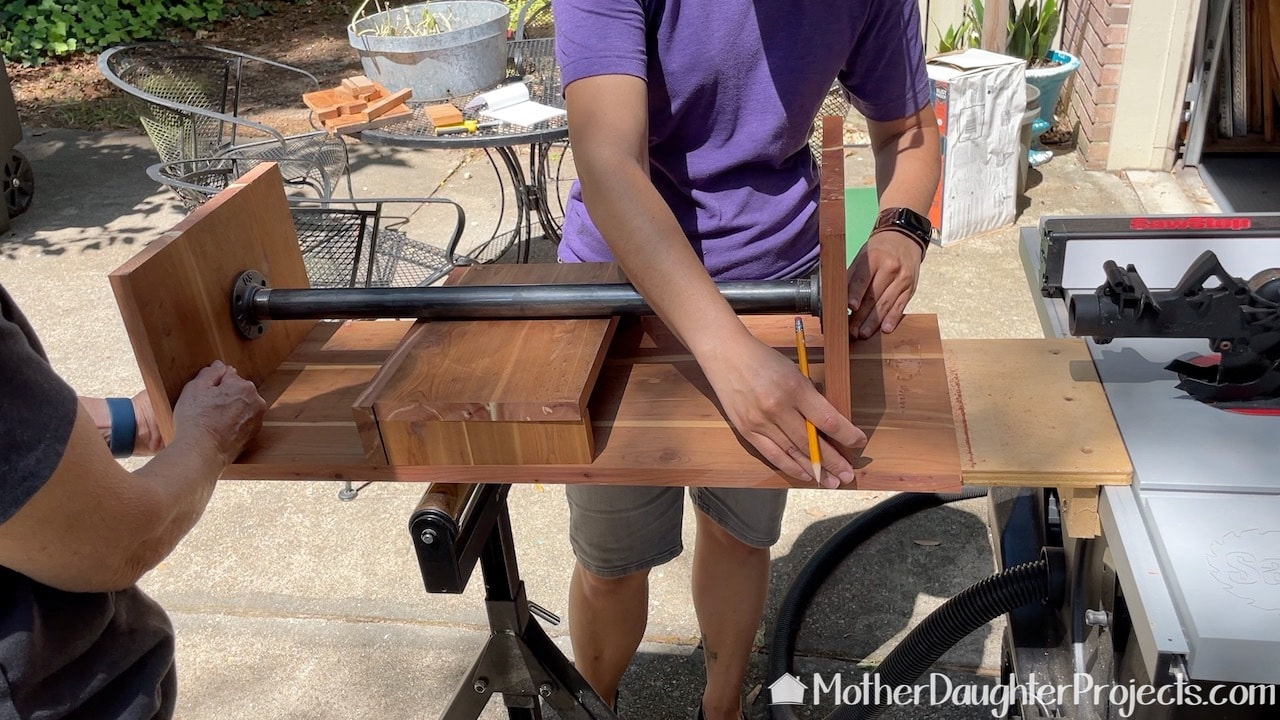
We are adding a metal pipe as a design feature. Here we are dry fitting all the parts before cutting the back to size.
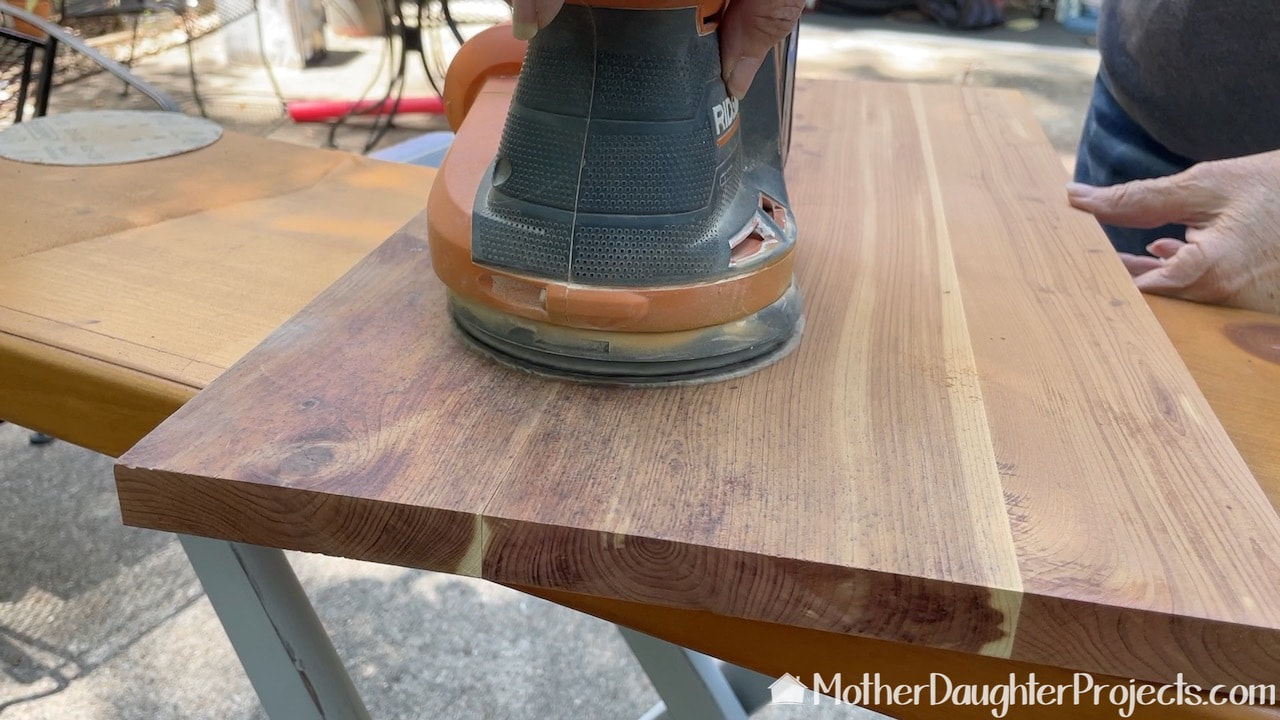
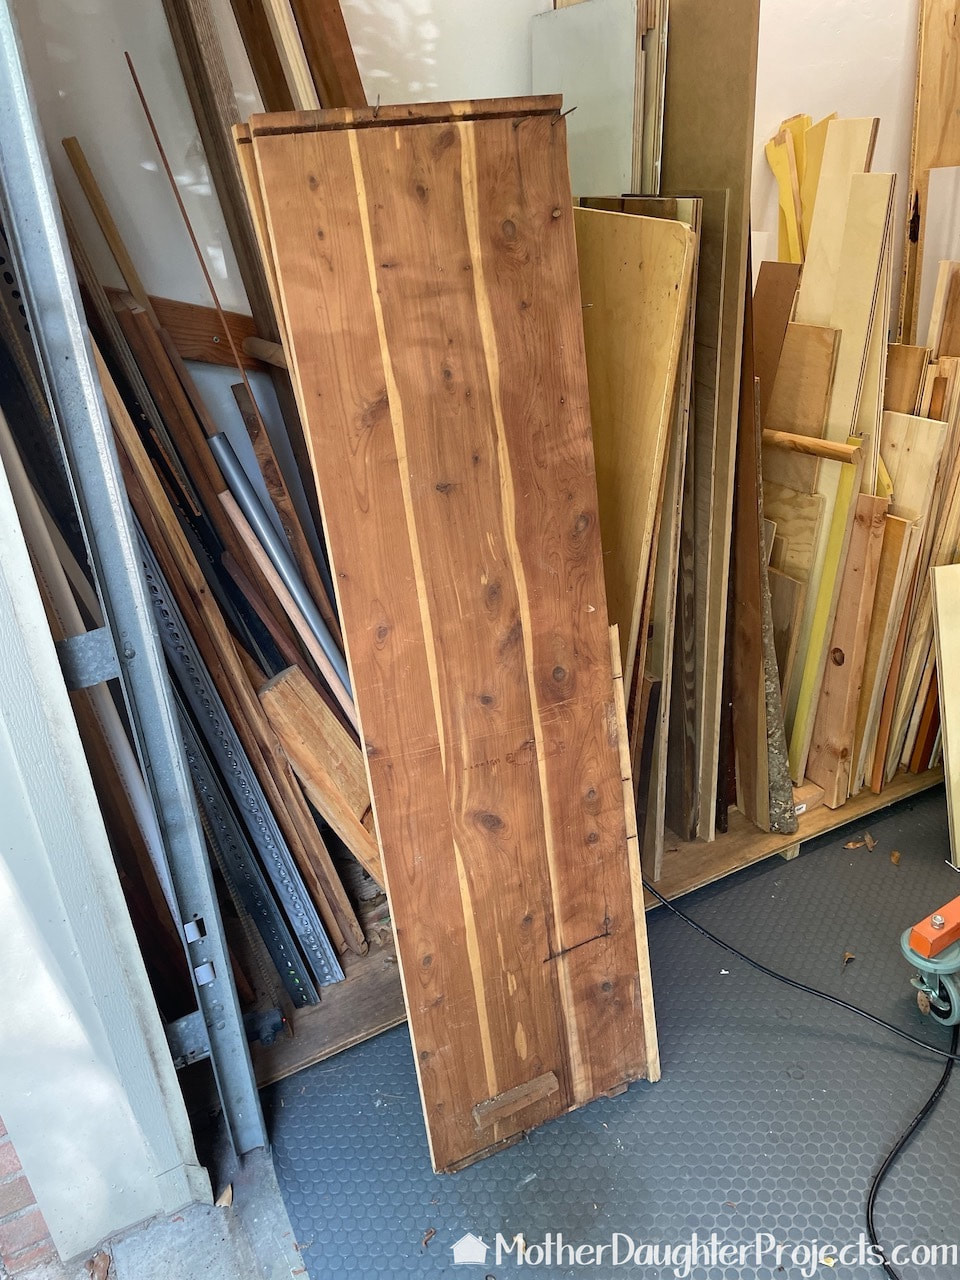
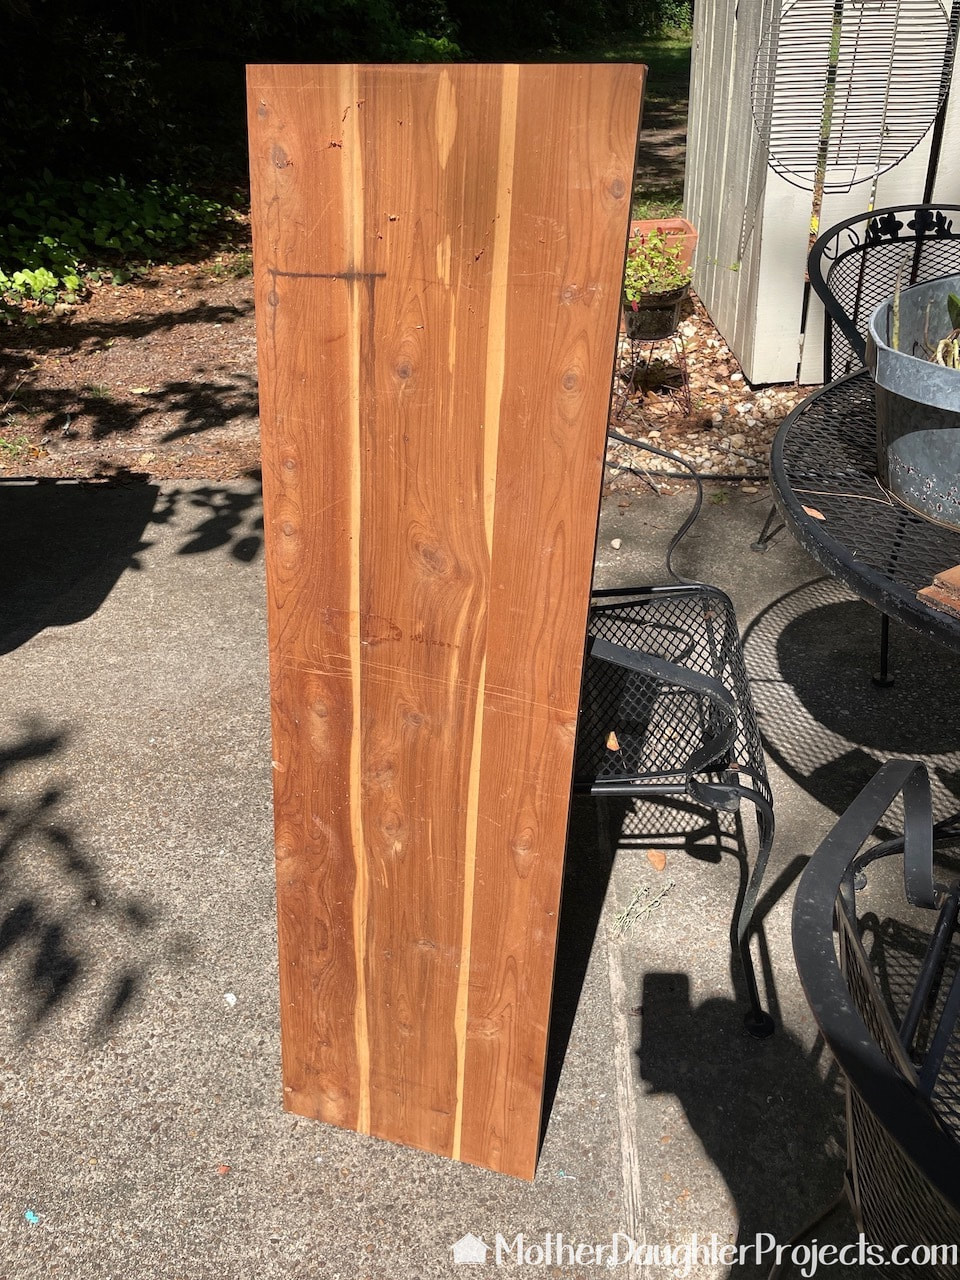
These boards cleaned up beautifully! I was easily able to sand away decades of dirt revealing the beauty of the grain and color underneath.
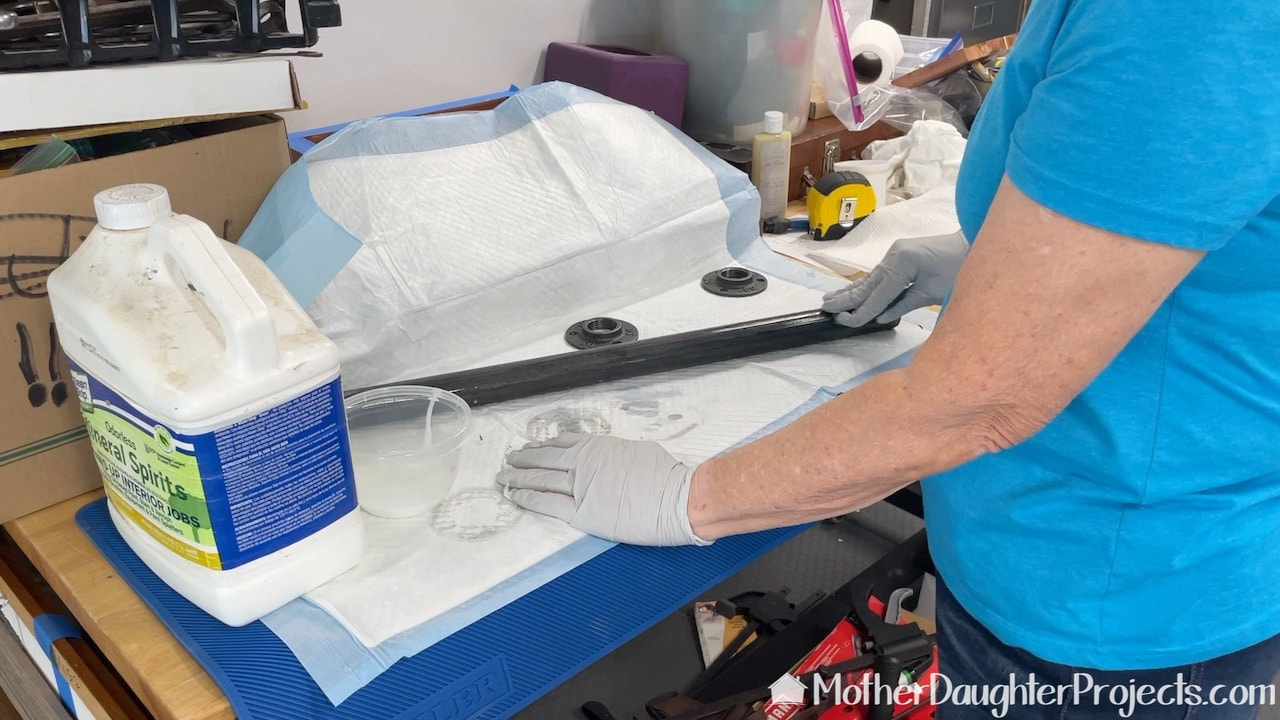
These black metal pipes and flanges are always so dirty. We clean them up with a little mineral spirits.
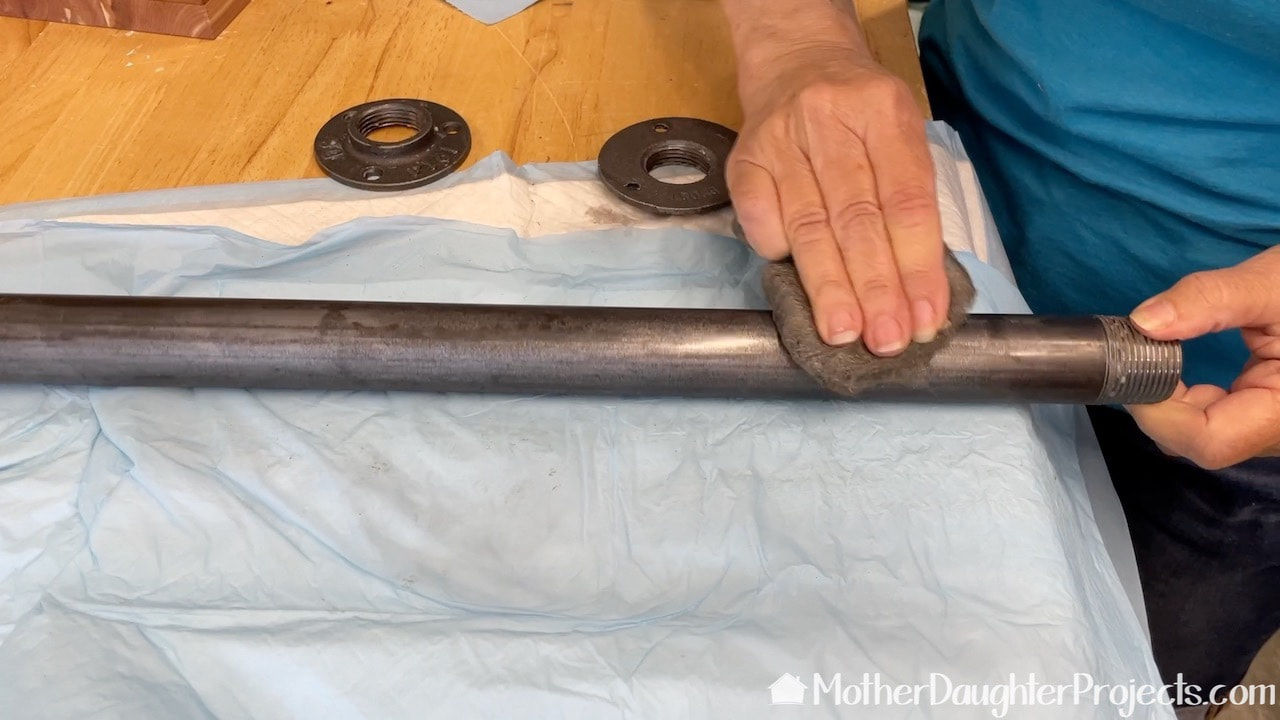
After the pipes were clean and dry, I applied a coat of wax to them. Here I'm buffing them with a piece of 0000 steel wool.
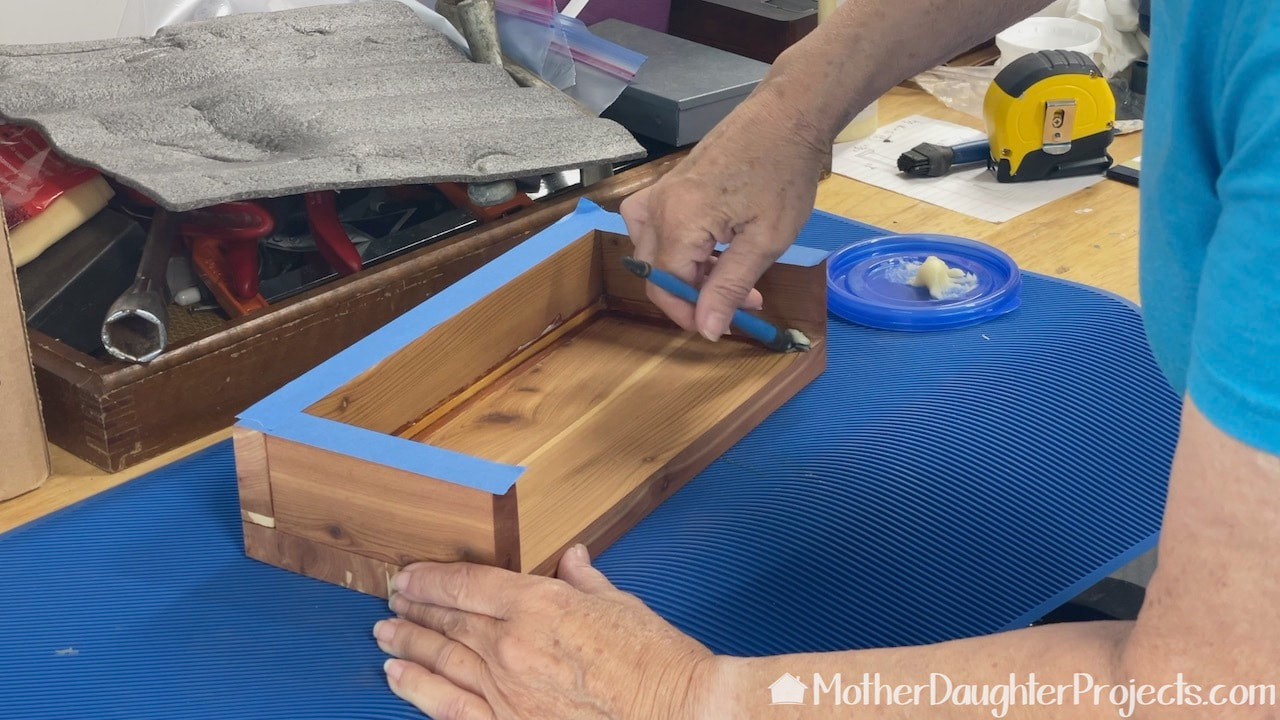
This is the table pocket which I'm finishing with wax. The blue tape is simply to remind me not to wax that edge as that will be glued to the side of the table.
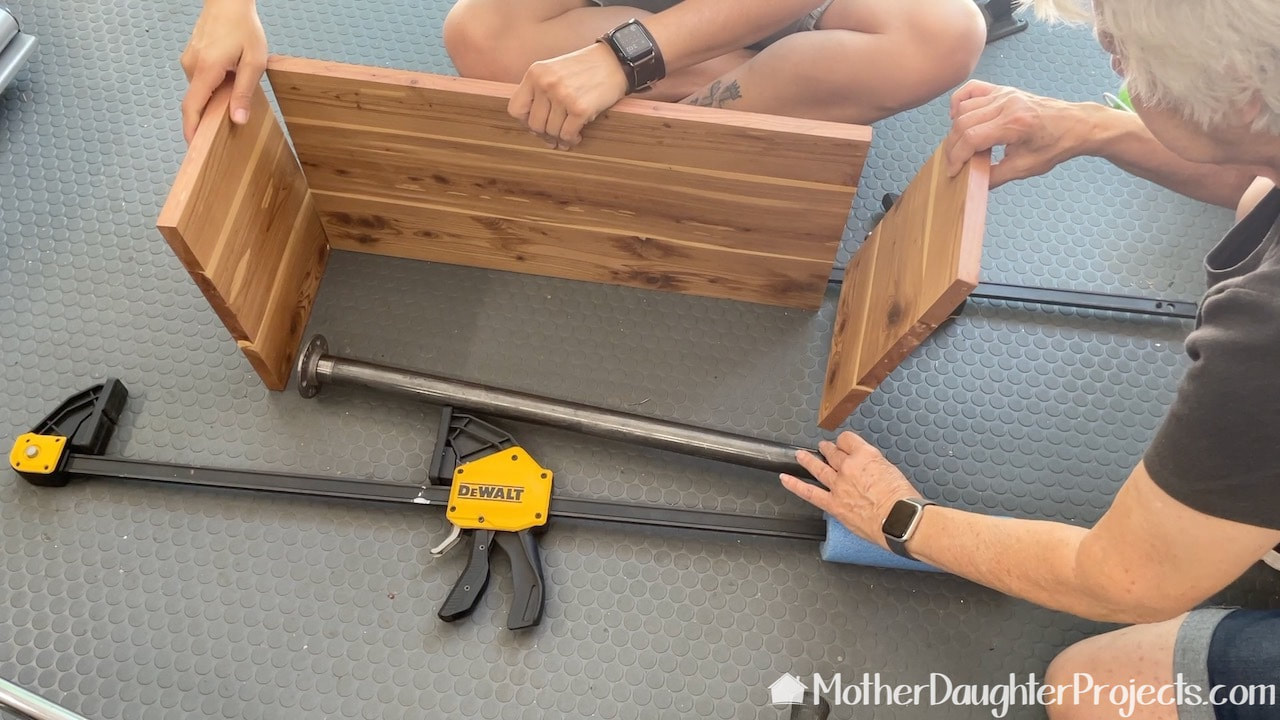
Time to assemble. We used wood glue to assemble and clamps to hold everything while it dried. The pipe is just to hold everything at the right distance and is not attached at this point.
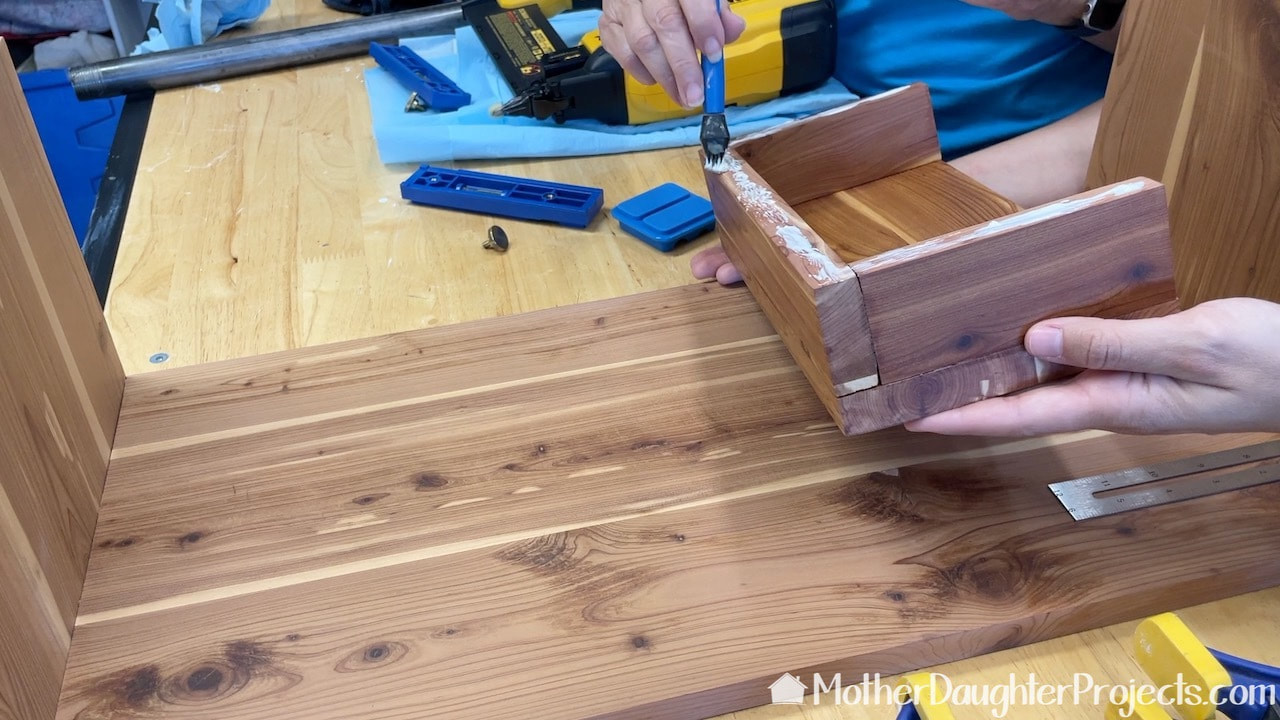
The pocket is glued into place six inches from the bottom.
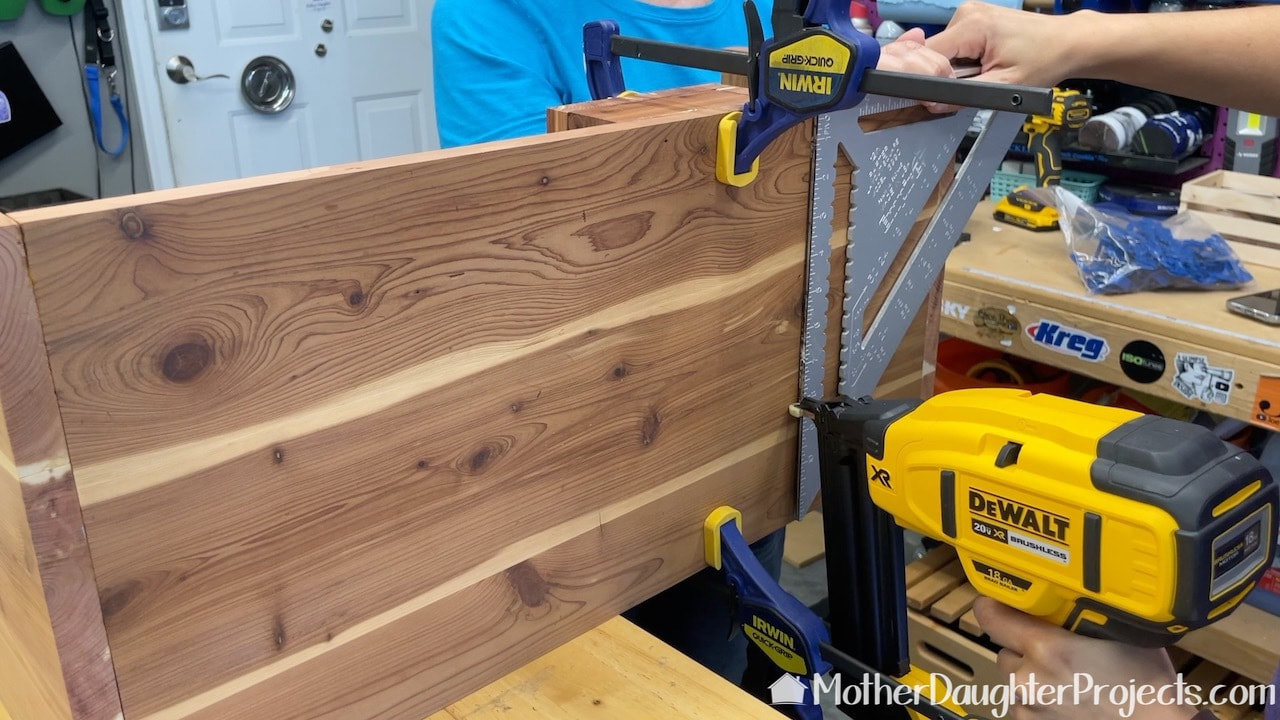
Steph added a few brad nails to hold the pocket in place while the glue dried.
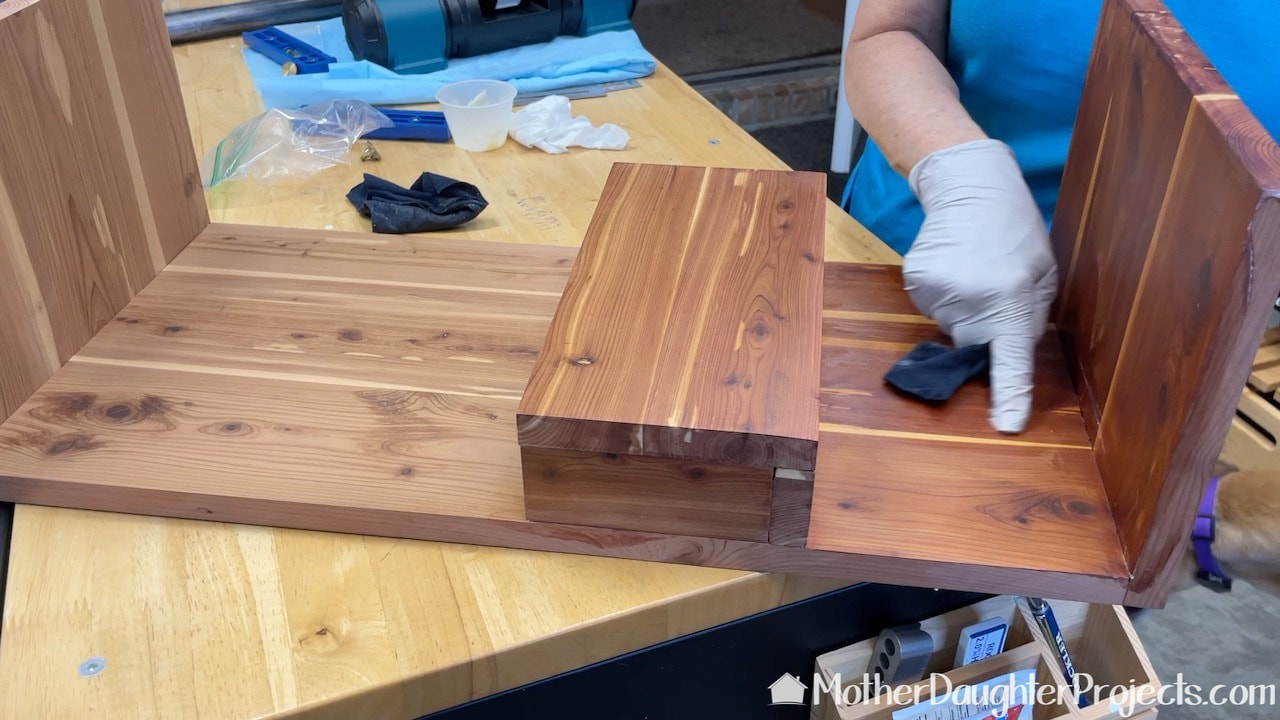
The entire outside of the table gets a coat of wax and then buffed with 0000 steel wool for a beautiful matte finish.
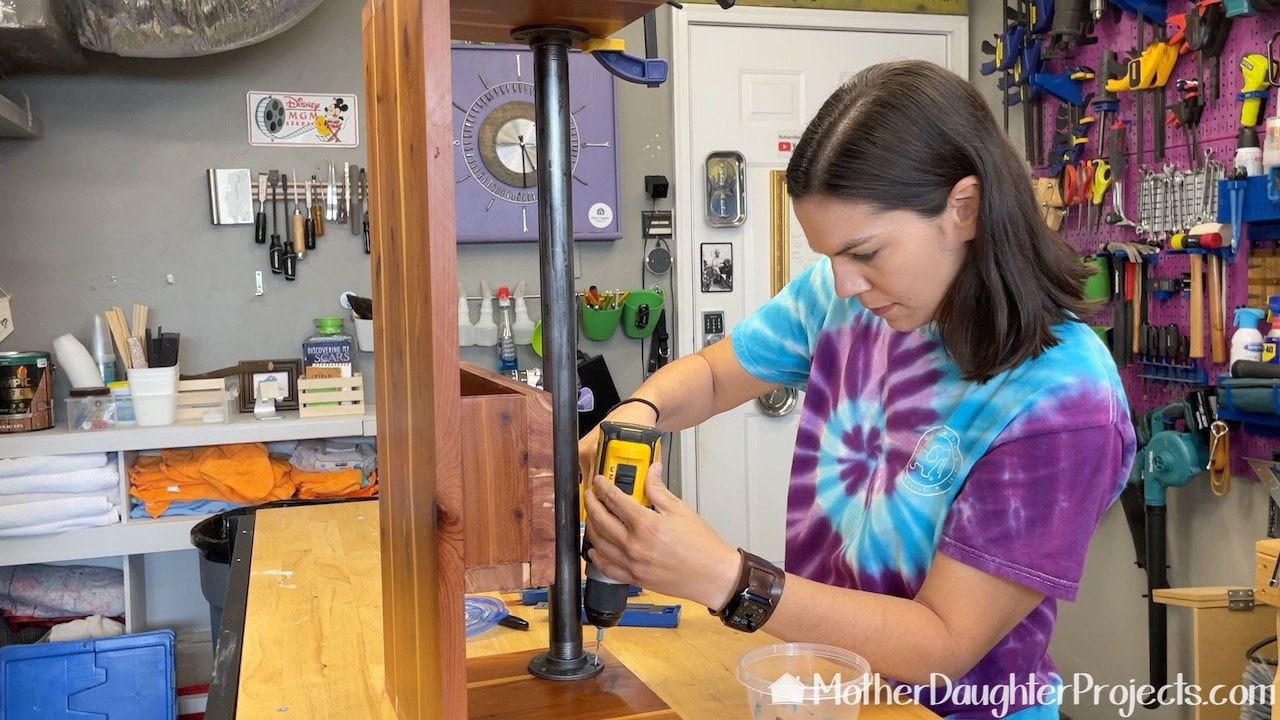
Lastly the pipe is screwed into place.
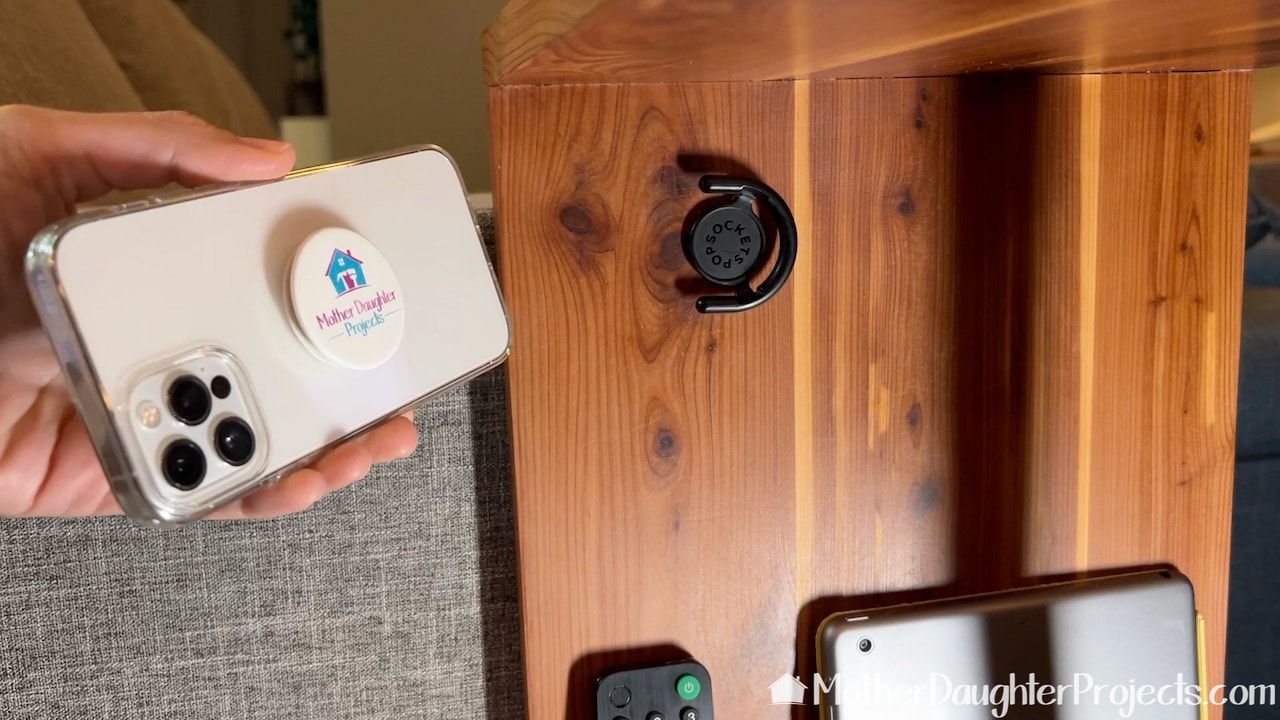
Steph added a pop socket holder for her phone.
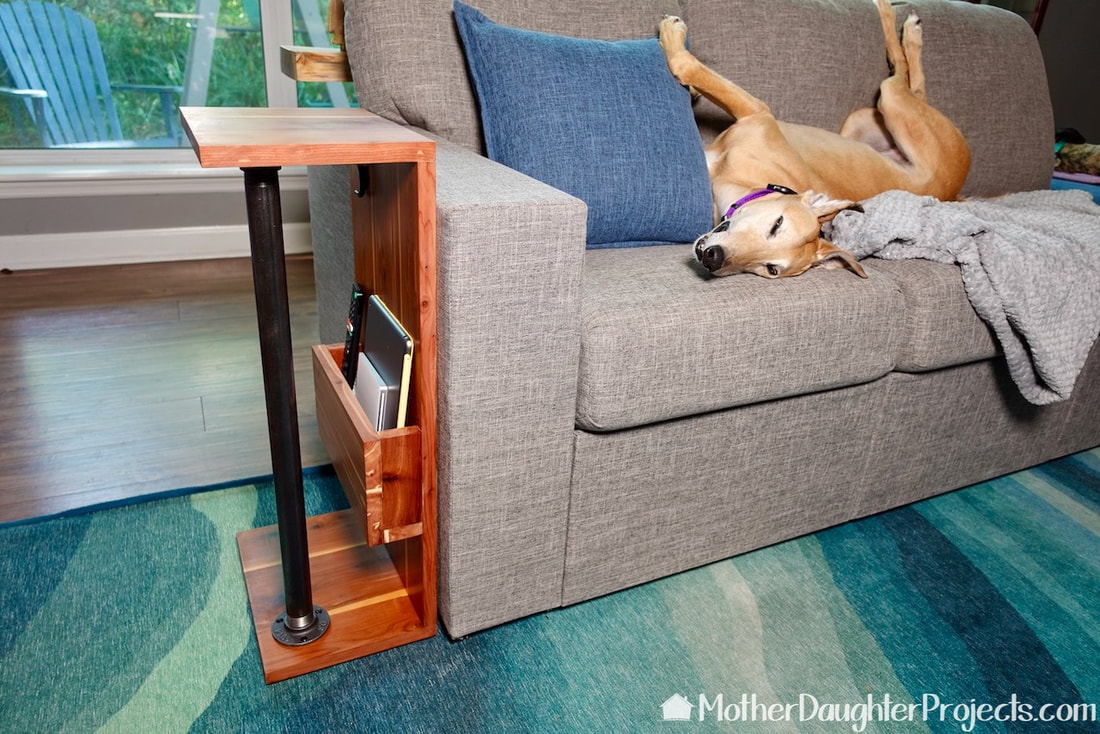
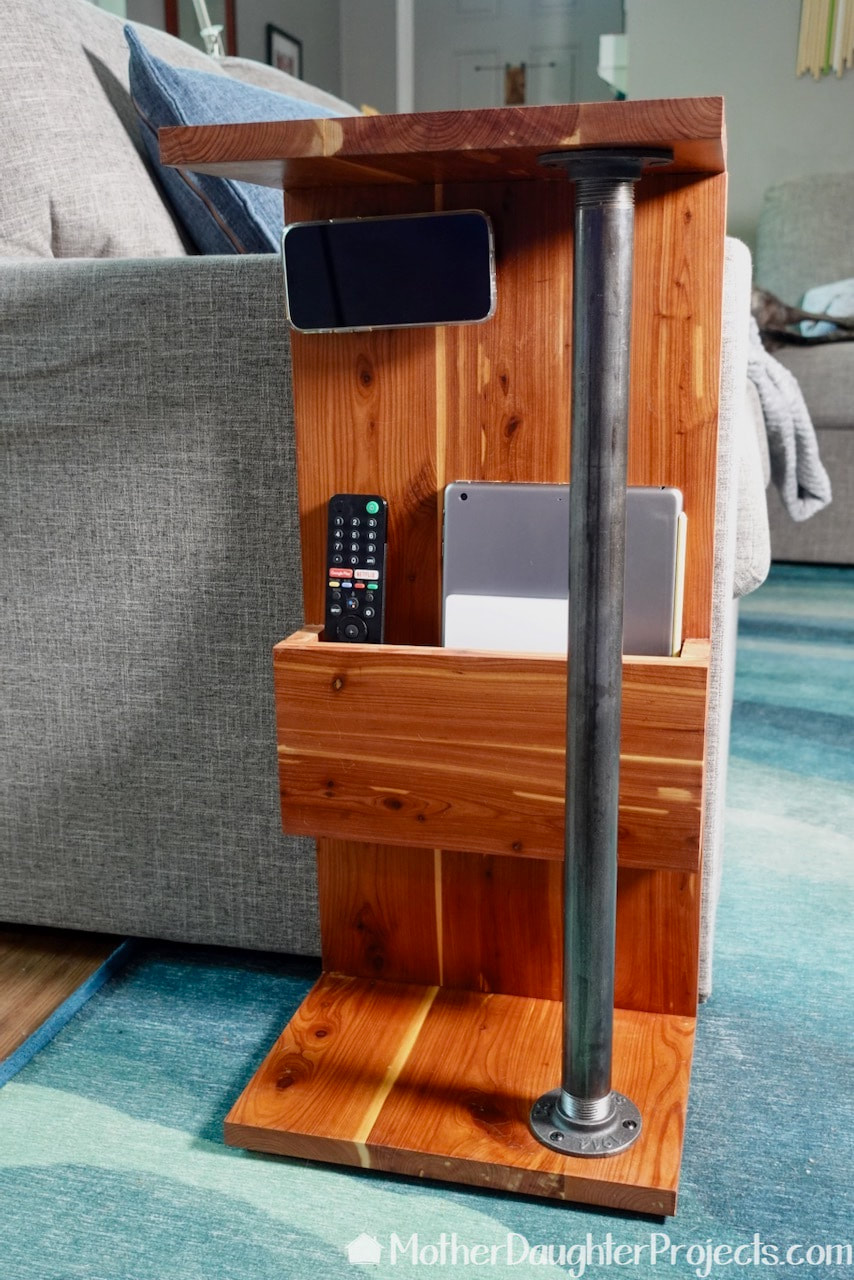
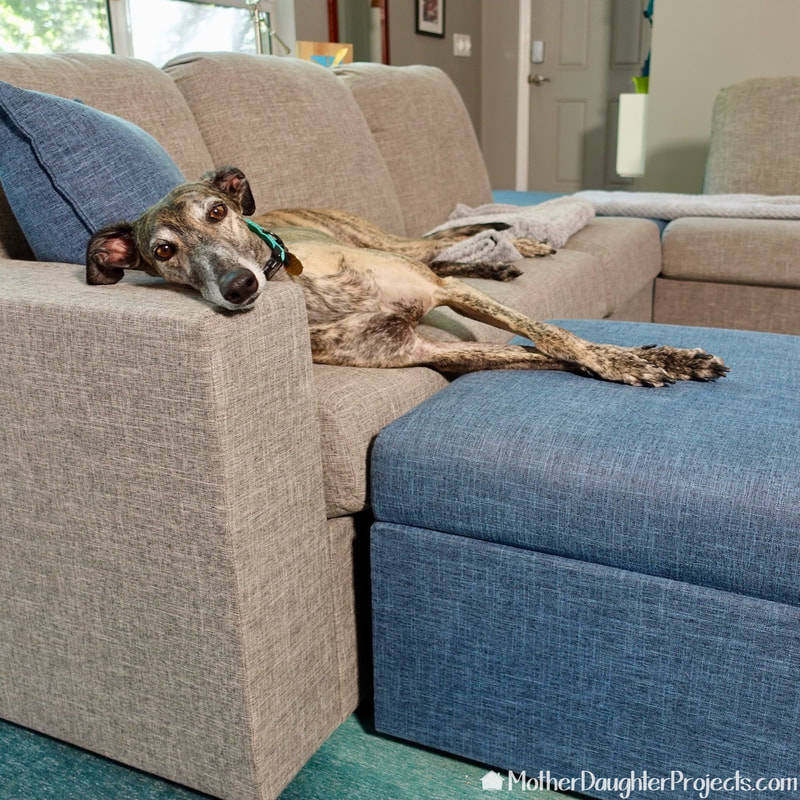
Here it is all finished and in use. That's a roaching greyhound on the couch by the way!
This simple table functions beautifully to hold all the things needed to control the TV. The pocket looks low, but is actually the perfect placement to easily reach and return the items. Offsetting the pipe means it doesn't get in the way, but still provides some visual interest. This table actually complements the sofa table right behind it. You can see that live edge cedar and pipe sofa table build at this link. Please note: This is not a sponsored post. FYI: We are not professionals, and we don't claim to be. This is what we found worked for our project. Yours may need a little different approach. Safety first! FYI: Affiliate links are being used on this page. Purchasing via these links help support MDP Related Projects
0 Comments
Leave a Reply. |

Mother Daughter Projects
|