|
text by Vicki Sign up here to join our weekly email newsletter!
It is always satisfying and cost effective to complete a project with what we have on hand. This is one of those projects!
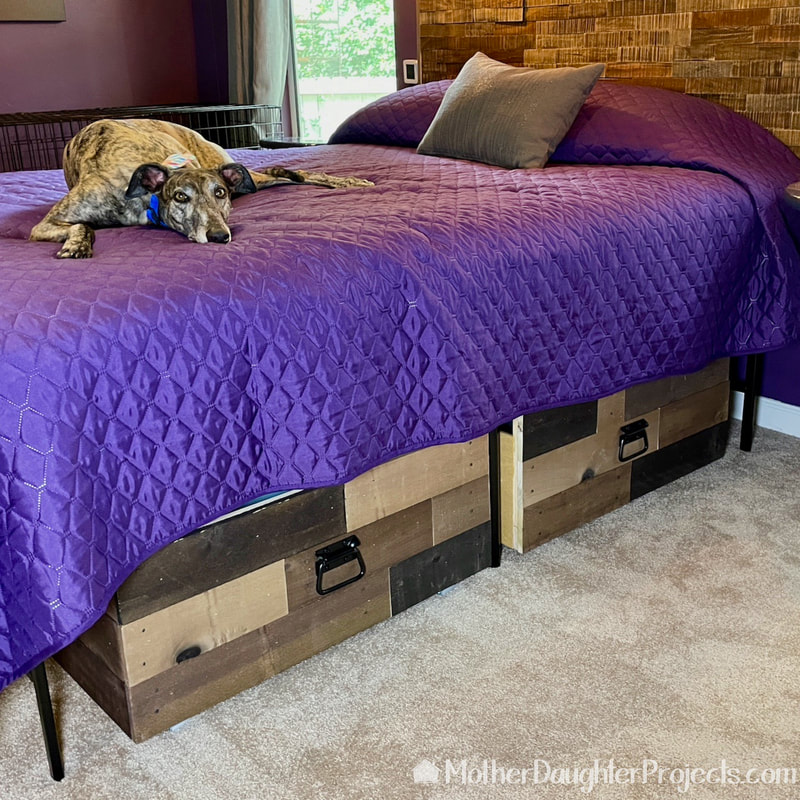
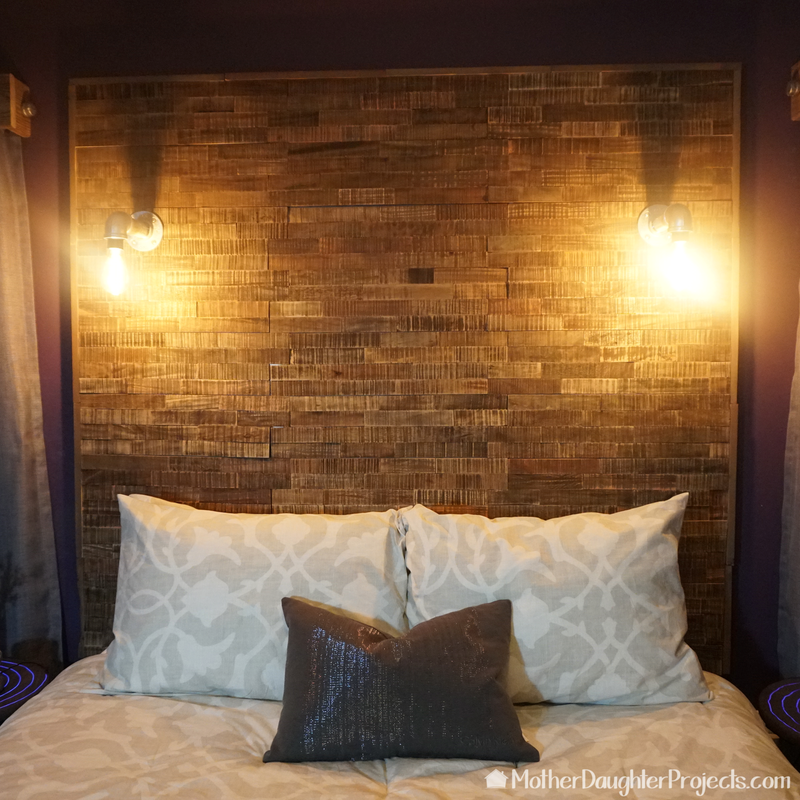
If you saw the under-bed storage boxes, you're aware that Steph's new bed frame created more space underneath for storage, but then made her existing bedside tables too short! Rather than build something new, we decided to reimagine the old ones by creating new tops and simply adding a longer pipe to make them the needed height. Materials/Tools:
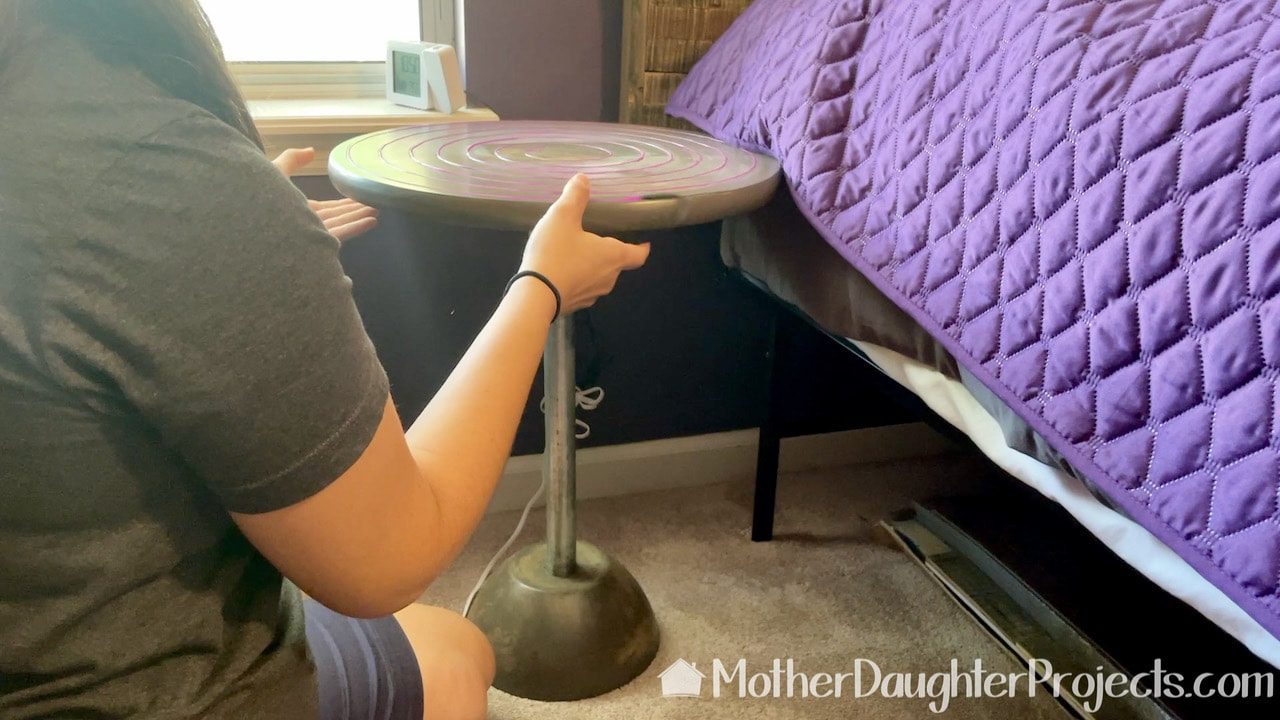
This is one of the existing tables that we made a few years back. They are constructed of a wood round, metal pipe, and custom concrete base. It's time for a refresh!
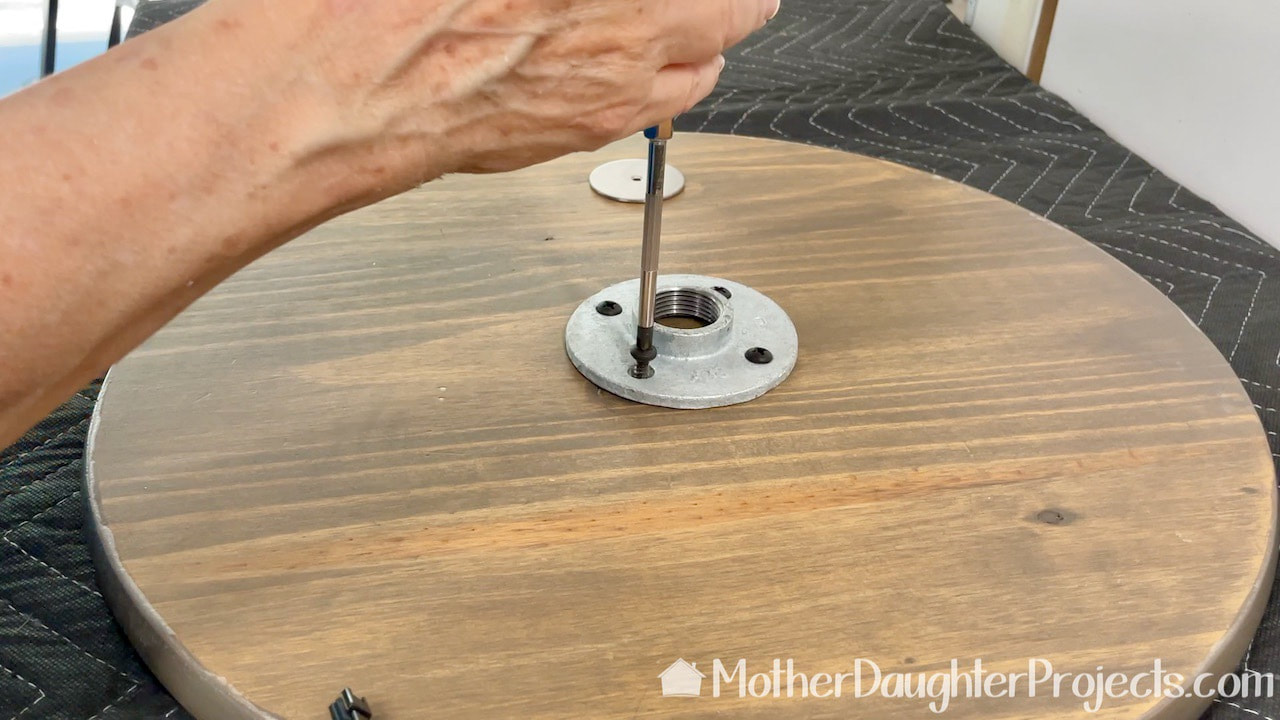
The first step was to remove the mounting hardware. Tip: put the screws and parts into a plastic bag to avoid losing any of the pieces.
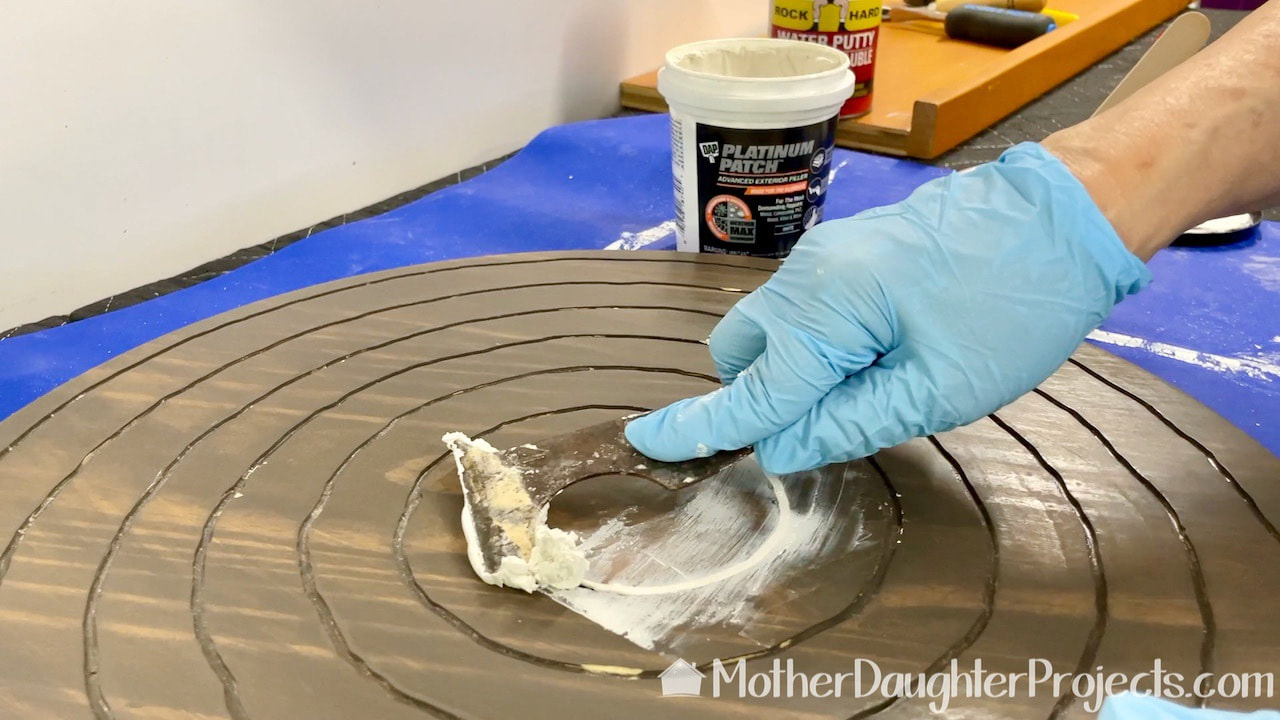
Before continuing, we had to fill in all those routed grooves to provide a nice flat surface for the epoxy. We're using this DAP Platinum Patch because that's what we had on hand.
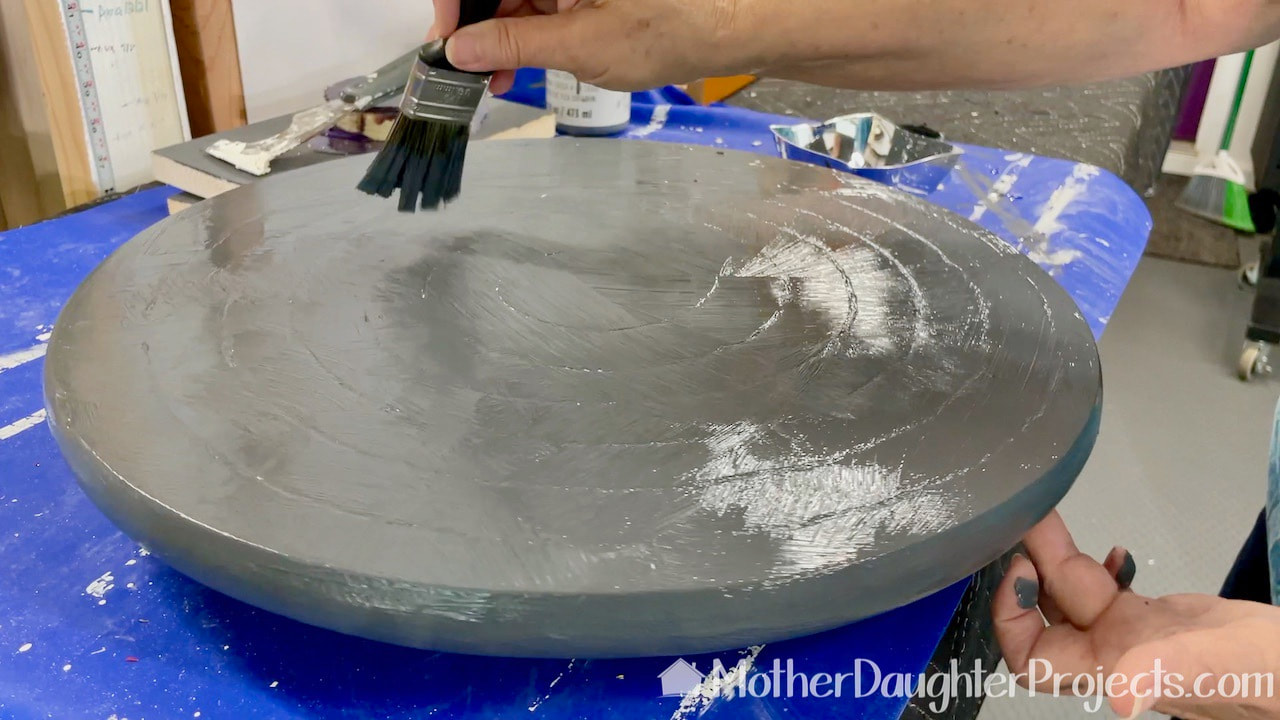
Once the fill was dry, it was sanded, and the entire top painted with DecoArt grey gesso. Gesso is what artists use to prime their canvas, but I've found it handy for priming various painted projects. It dries quickly to a nice flat, matte surface that seems to work well with epoxy pours.
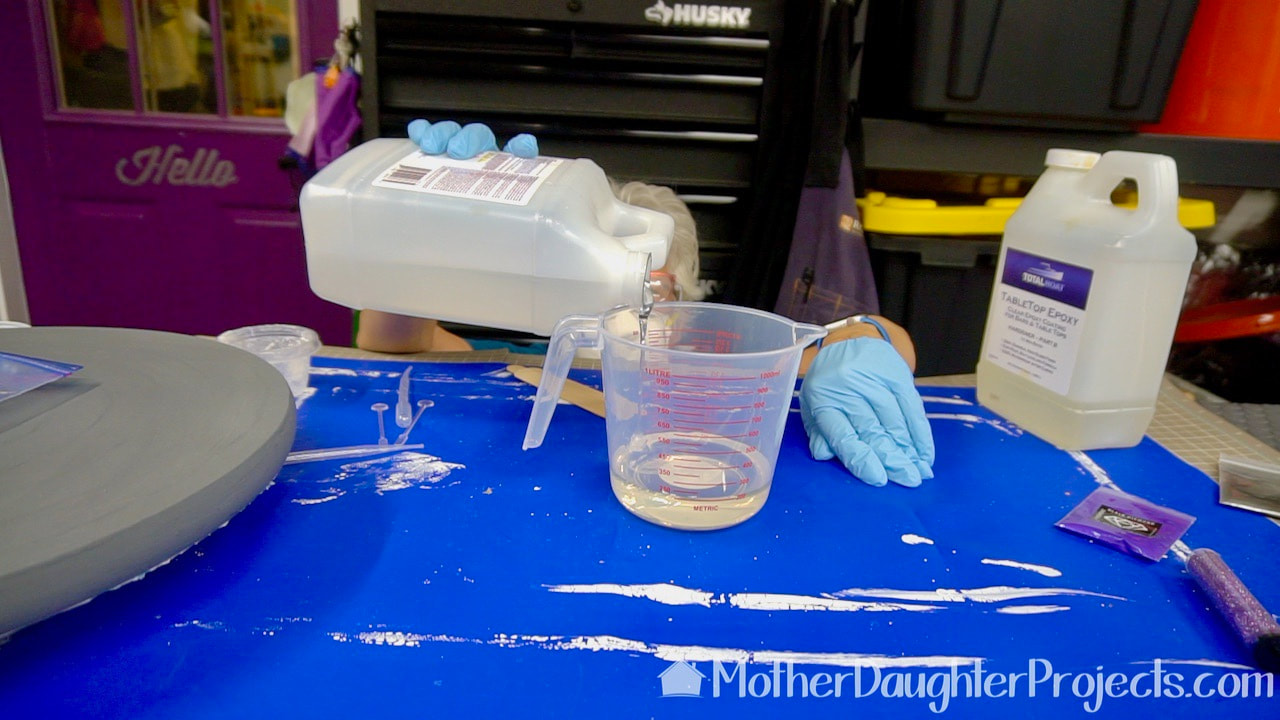
With the gesso dry, it was time to mix up the epoxy. We are using Total Boat table top epoxy which is mixed at a one to one ratio. Always follow the safety and mixing directions for the epoxy you choose to use. This is a Dollar Tree plastic measuring cup which is perfect for mixing epoxy. I'm very serious about getting an exact measurement, so as I learned in Home Economics 101, that can only be accomplished by getting at eye level to the measuring cup!
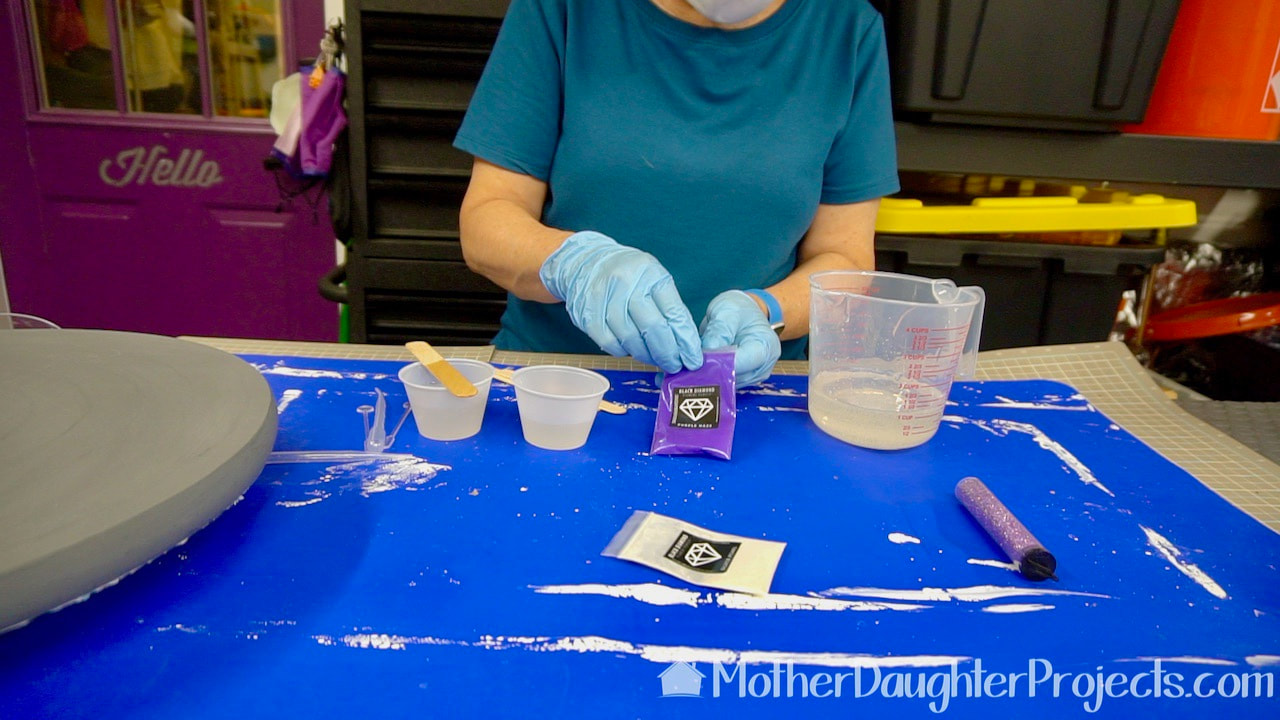
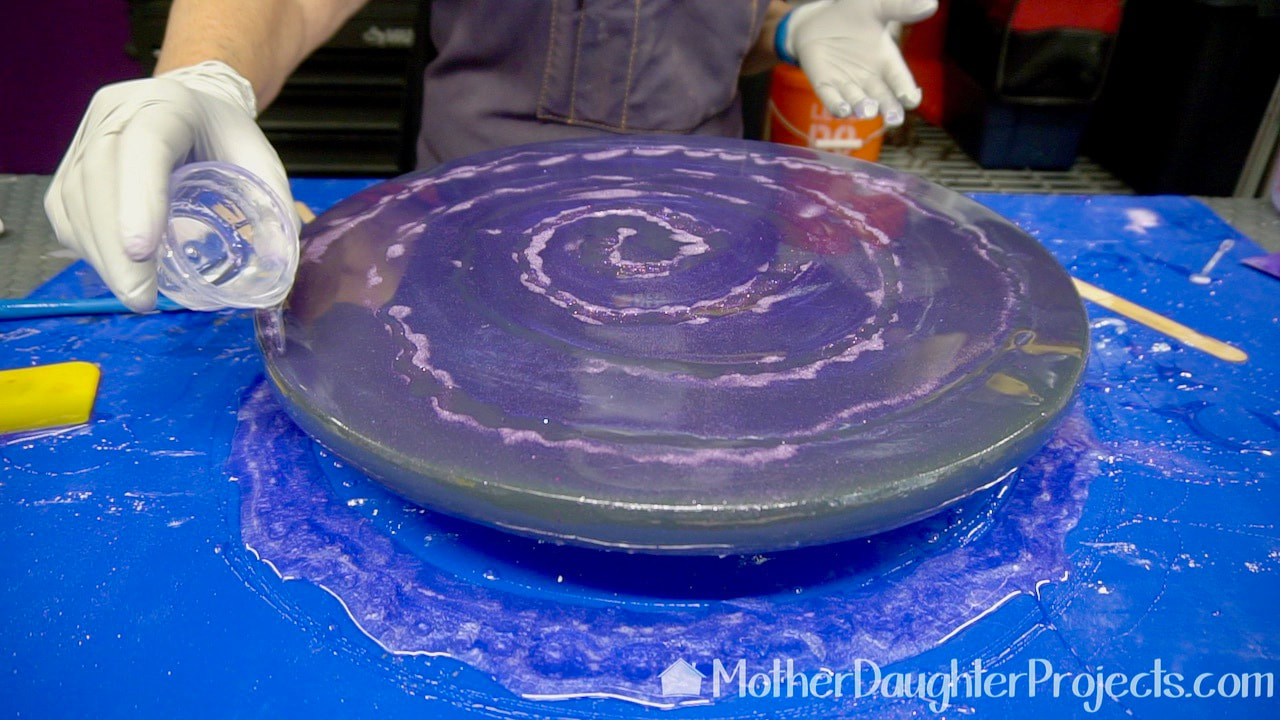
I poured smaller amounts into two cups, one will be left clear, but the other will be tinted with Black Diamond mica pigment in silver and purple. The larger amount of epoxy is tinted in purple haze. A little bit of pigment goes a long way so start with a small amount and add more if you want a more opaque look.
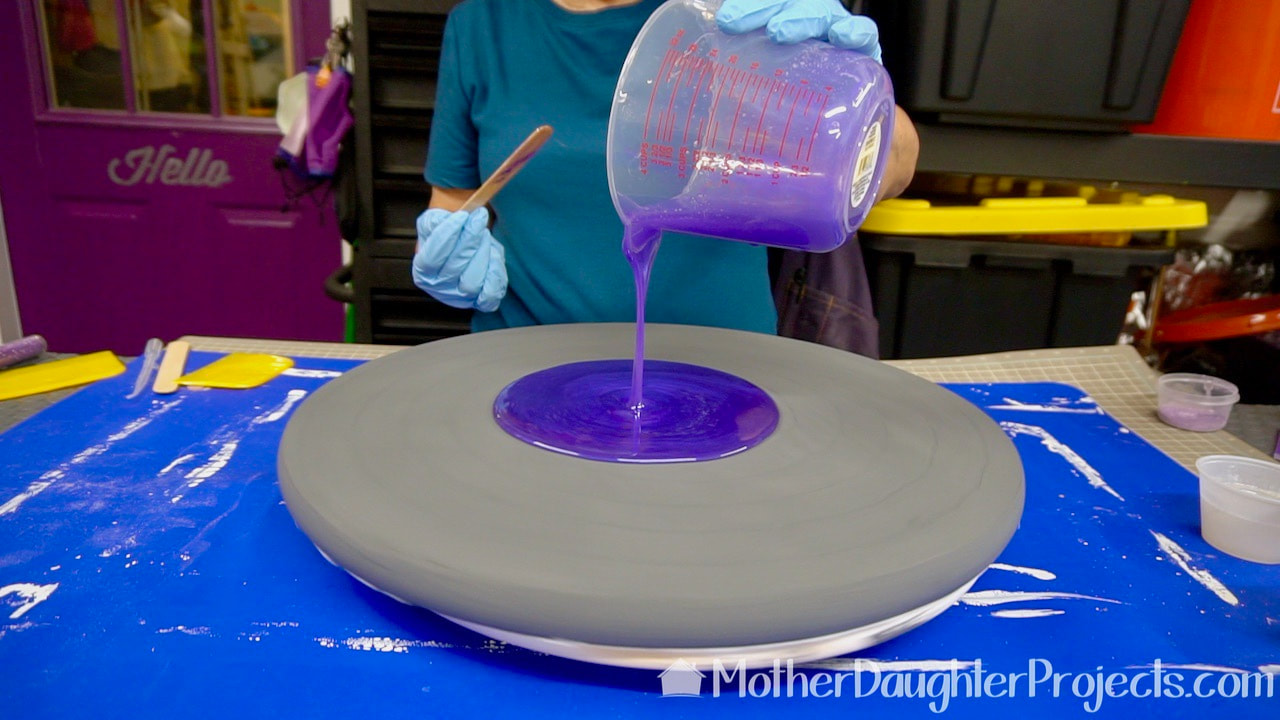
The wood round is placed on a lazy Susan to make it easier to see all sides. The purple is added first.
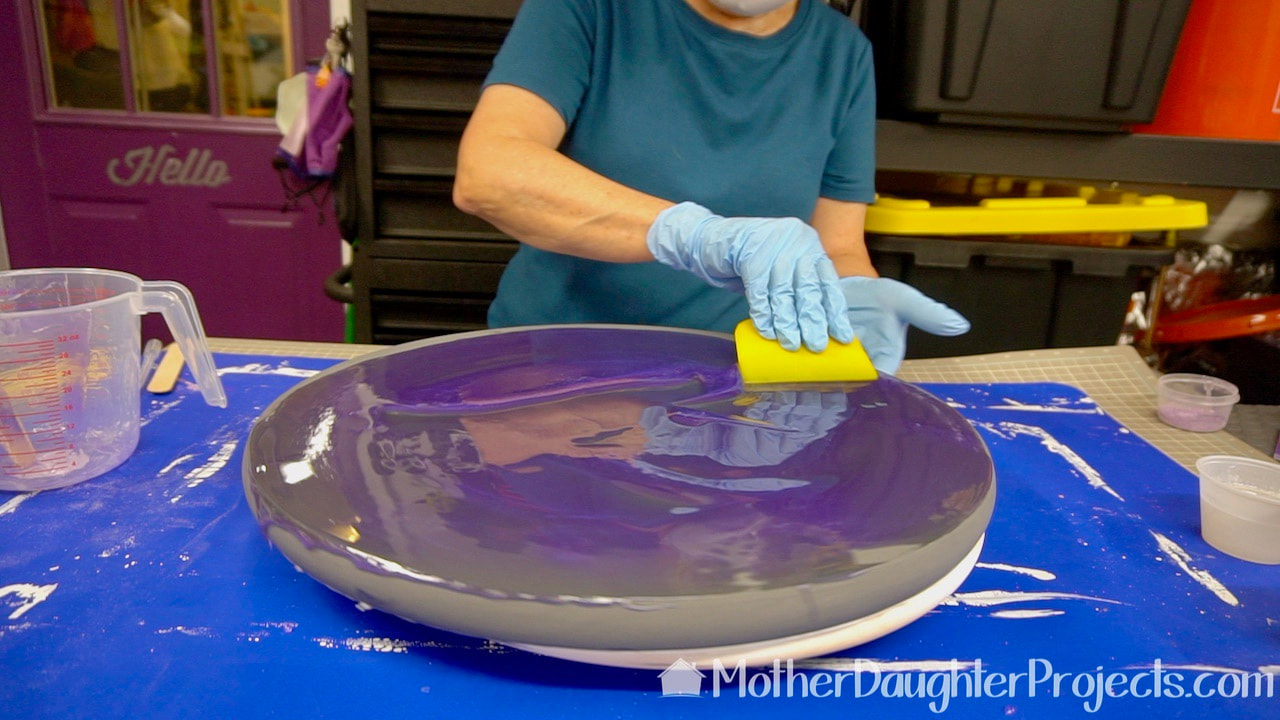
I'm using a plastic scraper, from Harbor Freight, to spread the epoxy over the surface and sides.
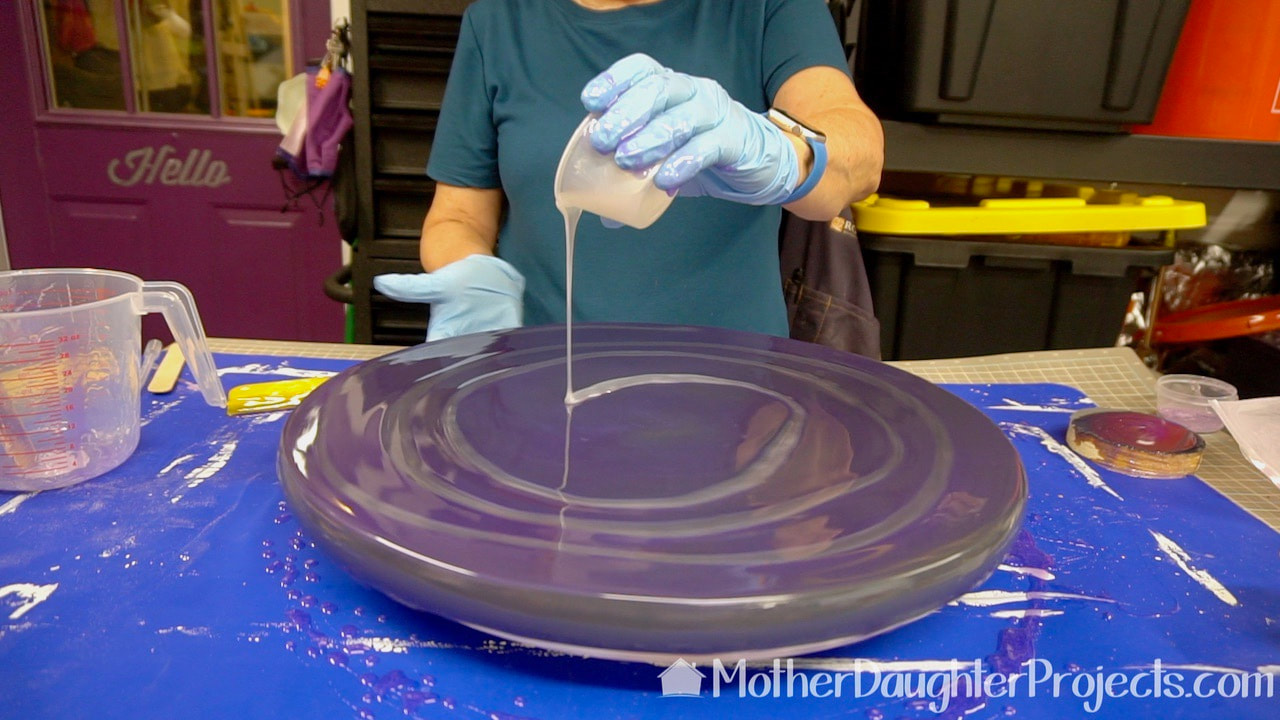
Now onto creating the galaxy look starting with a thin pour of the Silver Pearl tinted epoxy in a spiral pattern.

The epoxy pour technique used are best understood via the video.
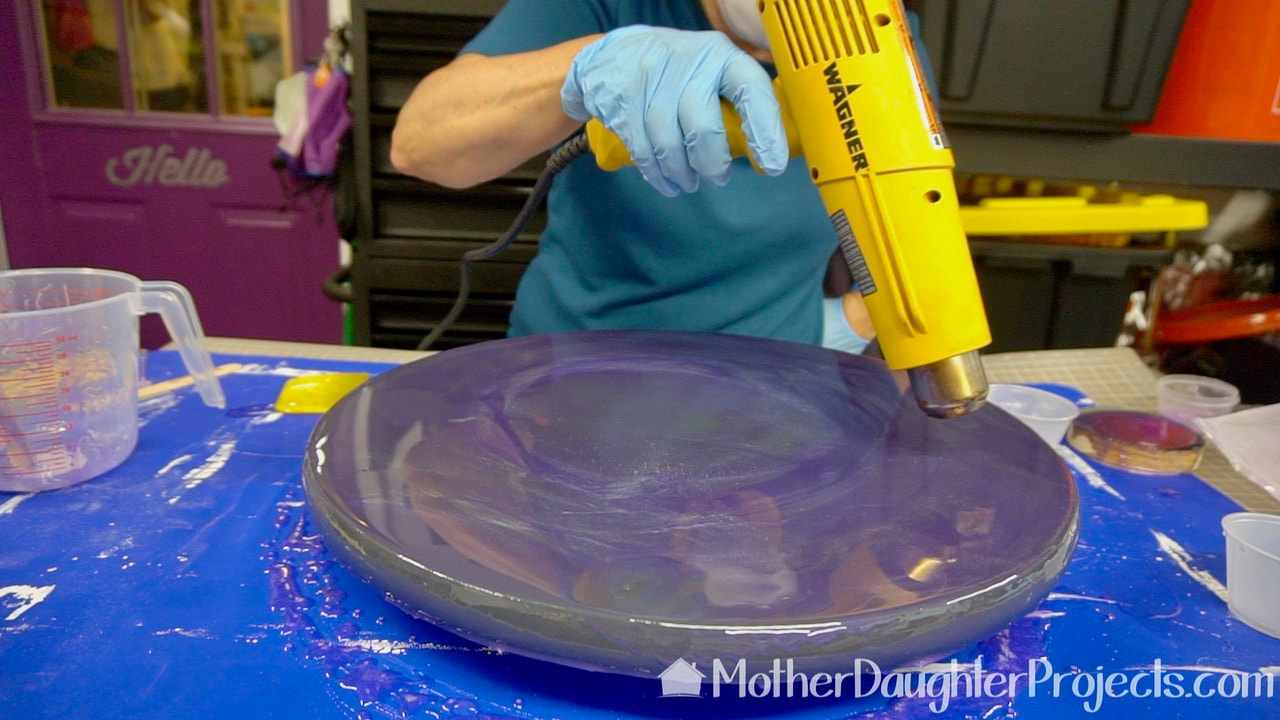
A heat gun gets rid of air bubbles that mar the surface of the finish.
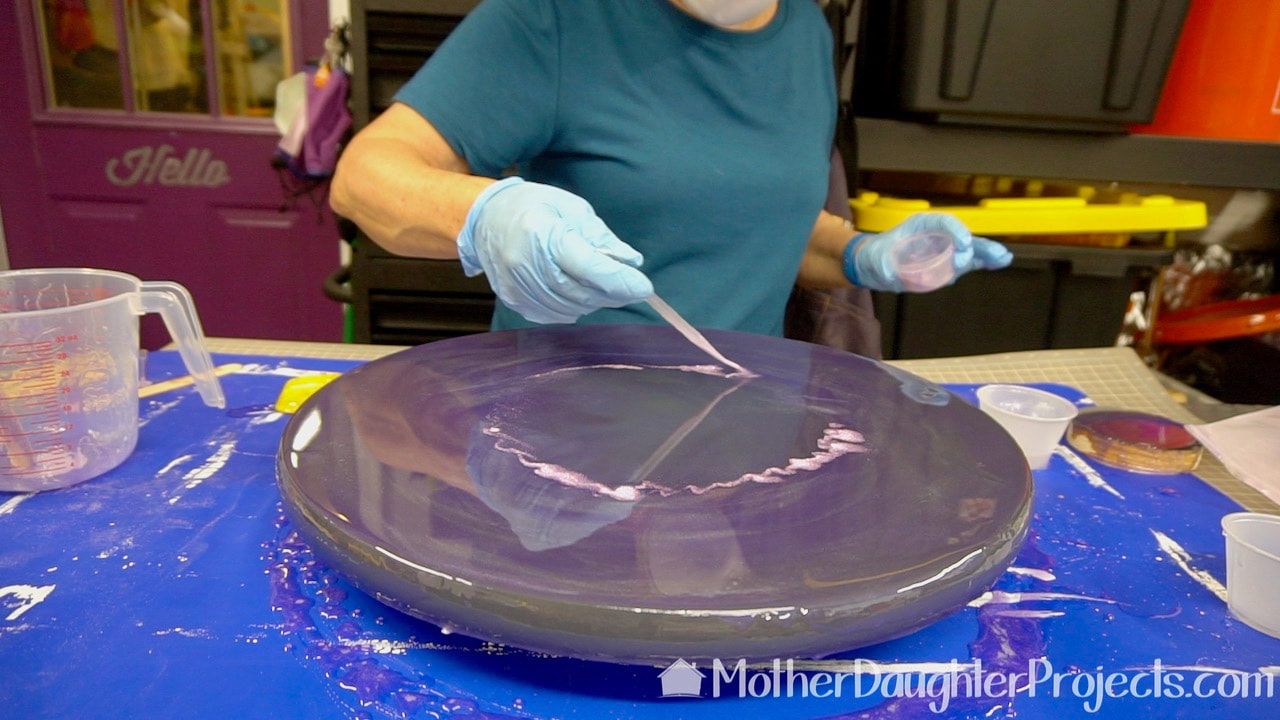
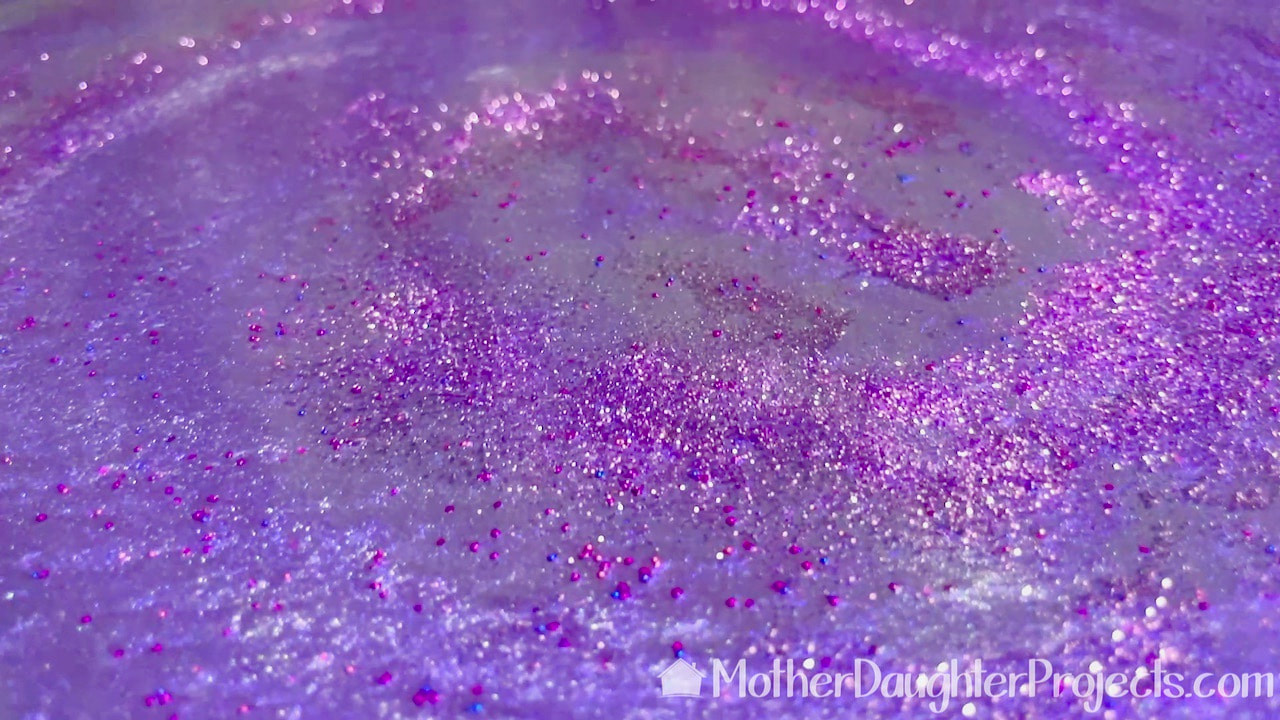
Glitter applied in a spiral pattern adds sparkle!
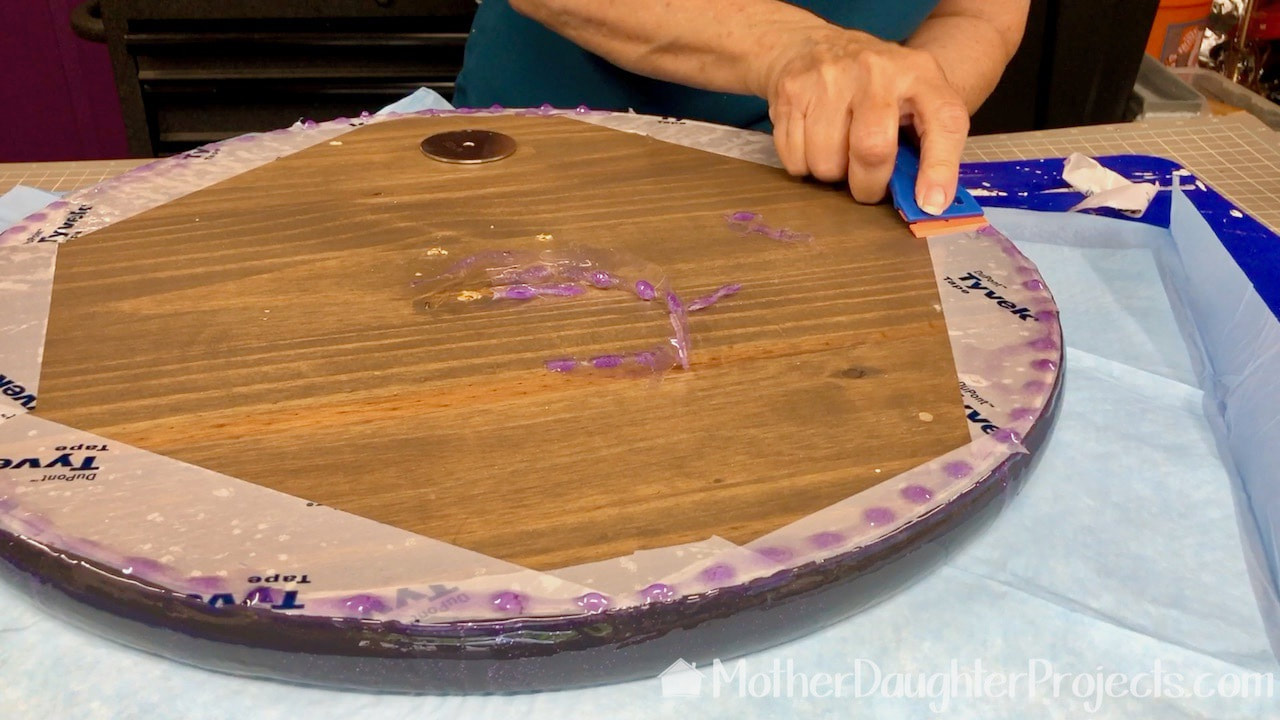
Taping the underside of the round makes it easier to remove the drips. Here I'm using Tyvek tape.
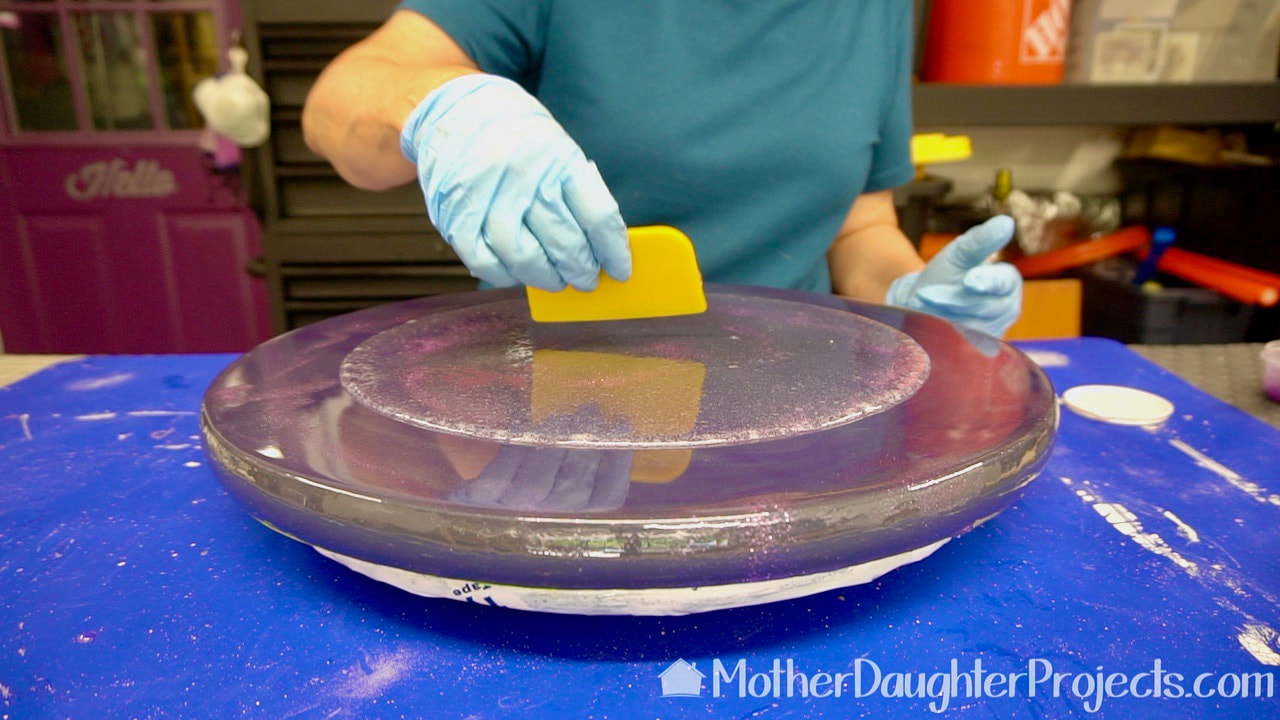
A clear coat of epoxy finishes this tabletop.
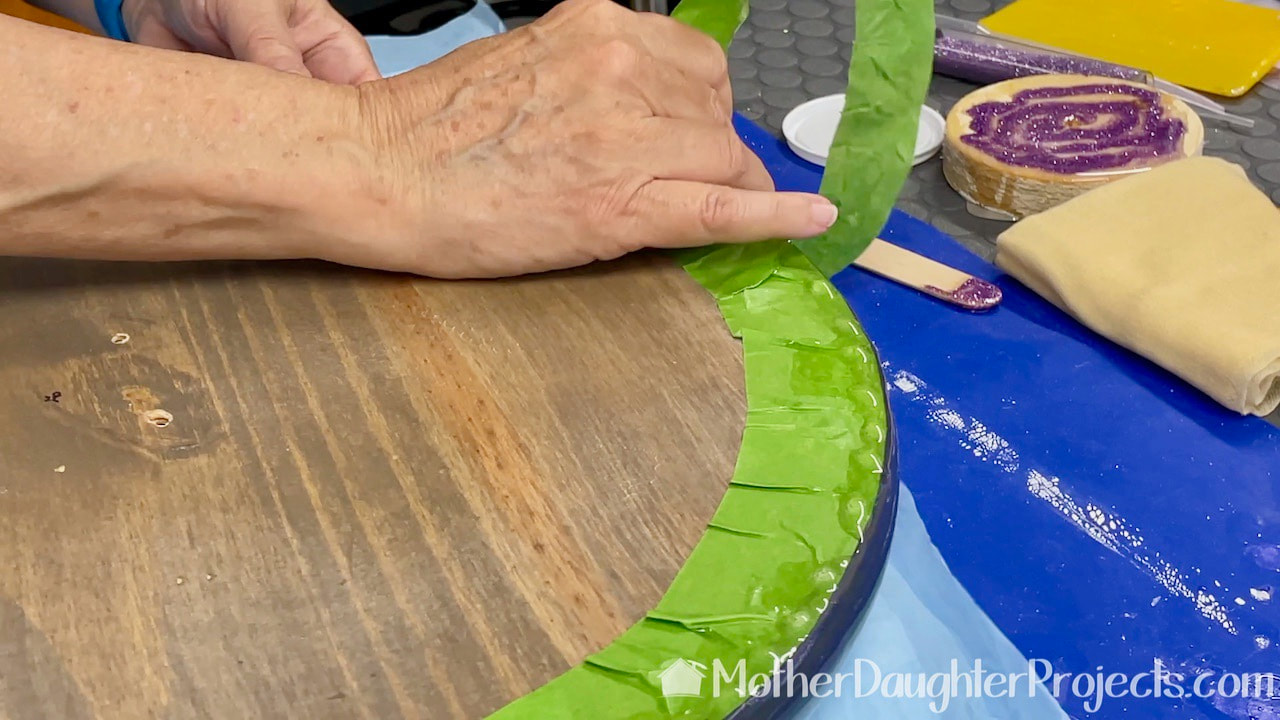
I tested green Frog tape to see how it worked. Check out the "what we learned" section at the end of the video for what tape I liked the best.
The second table top got more glitter for even more sparkle!

The third tape to be tested was this Scotch blue painter's tape.
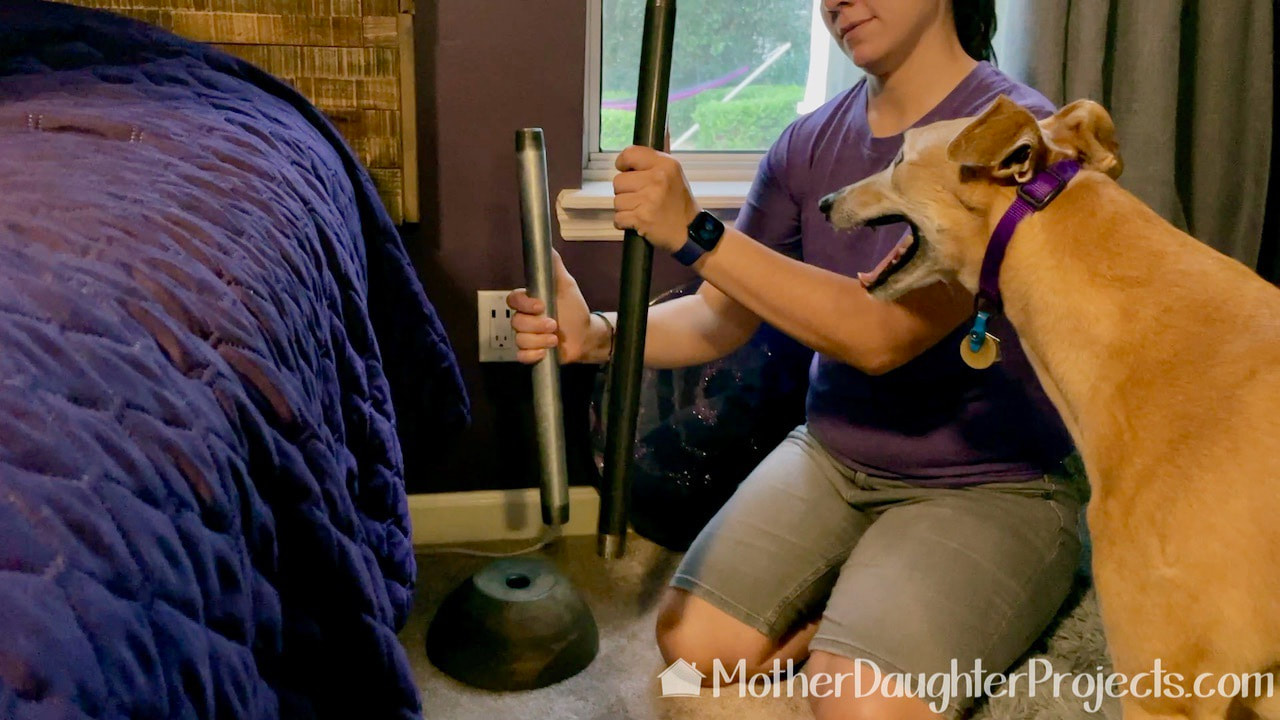
A simple swap to a taller metal pipe was all that was needed to get the table to the new height.
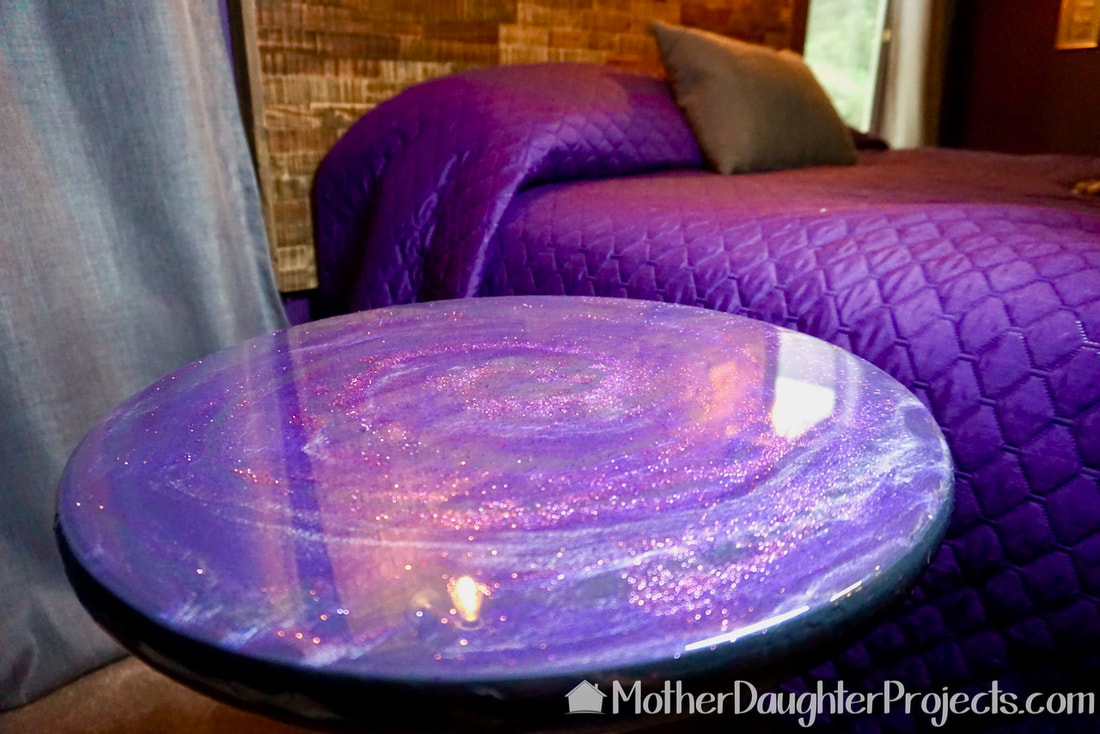
The newly reimagined and taller end tables are perfect. They are now the correct height and a beautiful, sparkly addition to the space!
Please note: This is not a sponsored post. FYI: We are not professionals, and we don't claim to be. This is what we found worked for our project. Yours may need a little different approach. Safety first! FYI: Affiliate links are being used on this page. Purchasing via these links help support MDP! Related Projects
0 Comments
Leave a Reply. |

Mother Daughter Projects
|