|
text by Vicki Sign up here to join our weekly email newsletter!
We've used TotalBoat epoxy for a number of projects and because we like their products, we subscribe to their emails to keep up with their newest products.
Well, in one email a fews weeks ago, we saw they had new silicone charcuterie molds for sale. I talked it over with Steph and we decided on the spot to buy both the circle and rectangle molds. The shipping was super fast so I was on my way to some creative fun in no time! By the way, I really do enjoy all kinds of epoxy projects. Most have been large multi day projects, so I was looking forward to working on a small project that would take very little time. Take a look at the latest offering from TotalBoat. Materials/Tools:
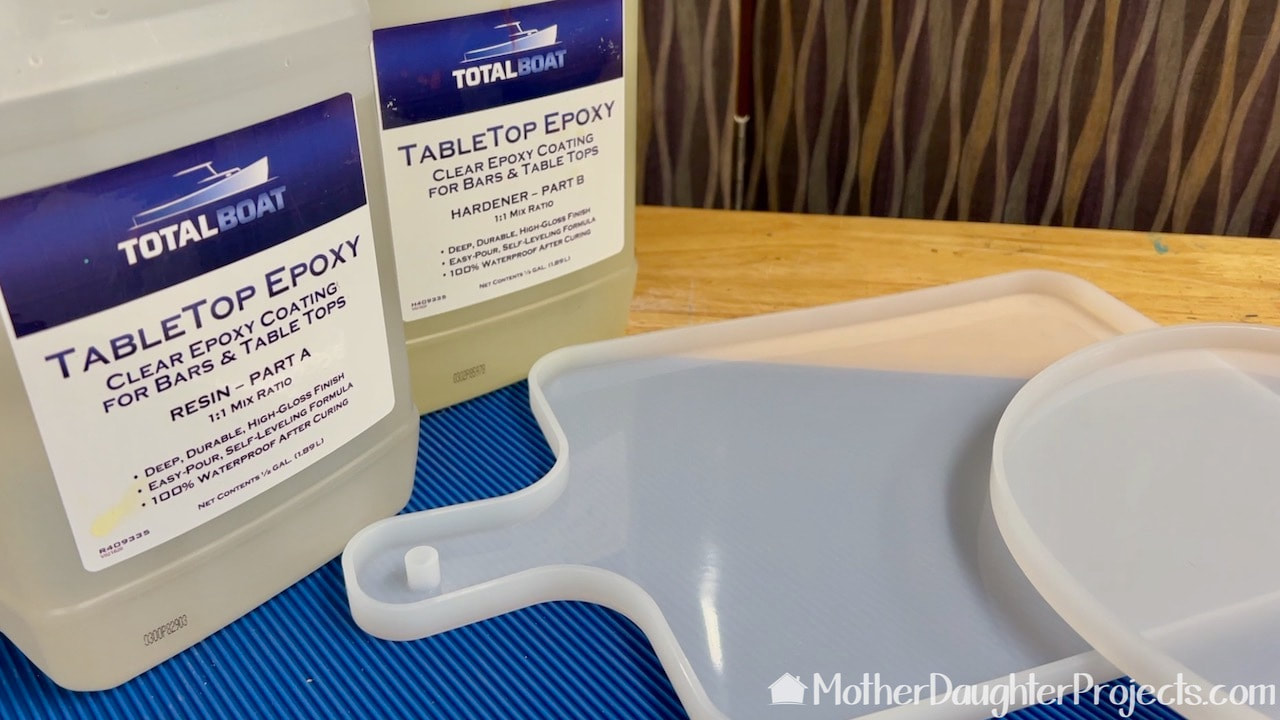
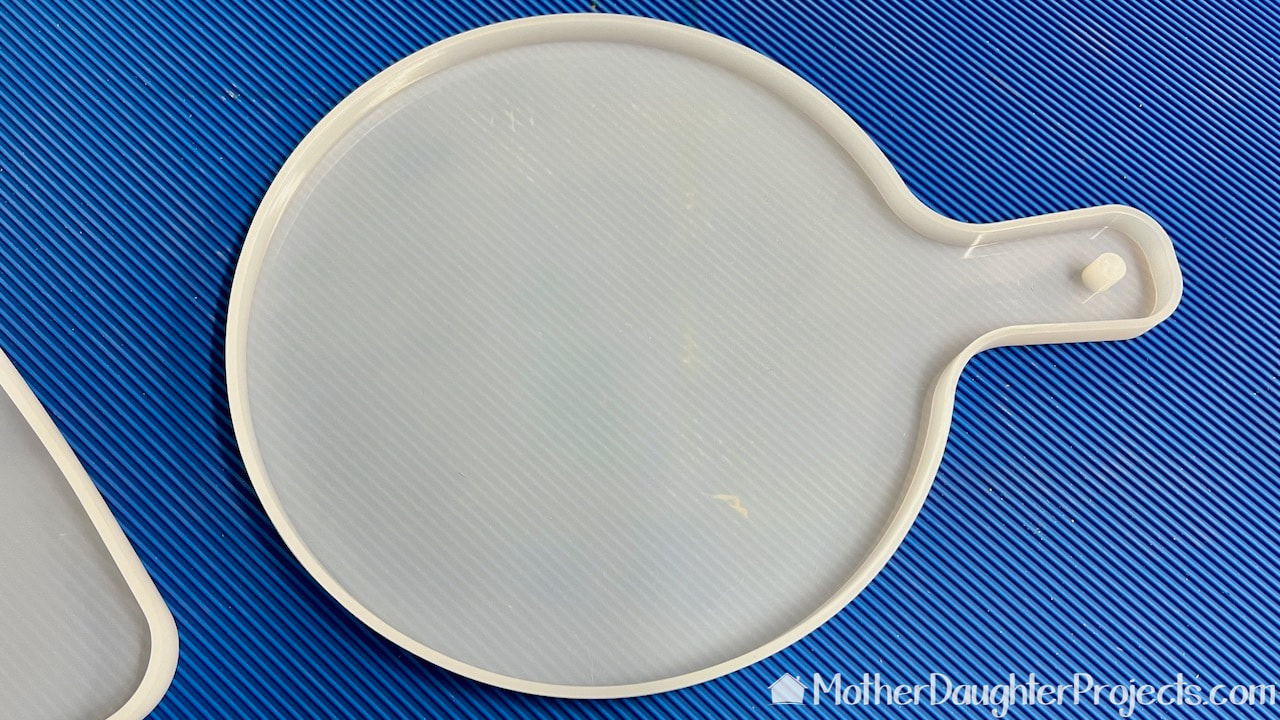
These are the new silicone molds. I'm using The TotalBoat tabletop epoxy to make my boards.
I worked with the circle mold first. That's a silicone pad underneath from Rockler to help keep spills contained. Before you start, be sure the surface you are working on is absolutely level!
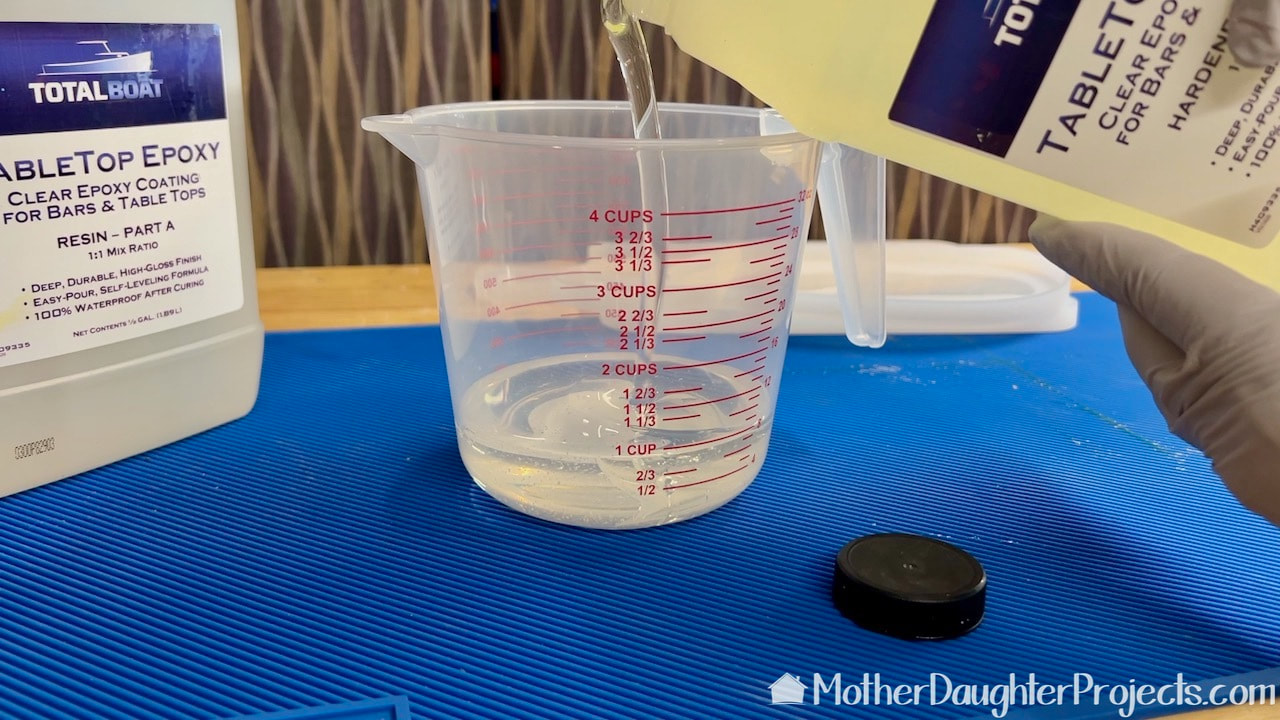
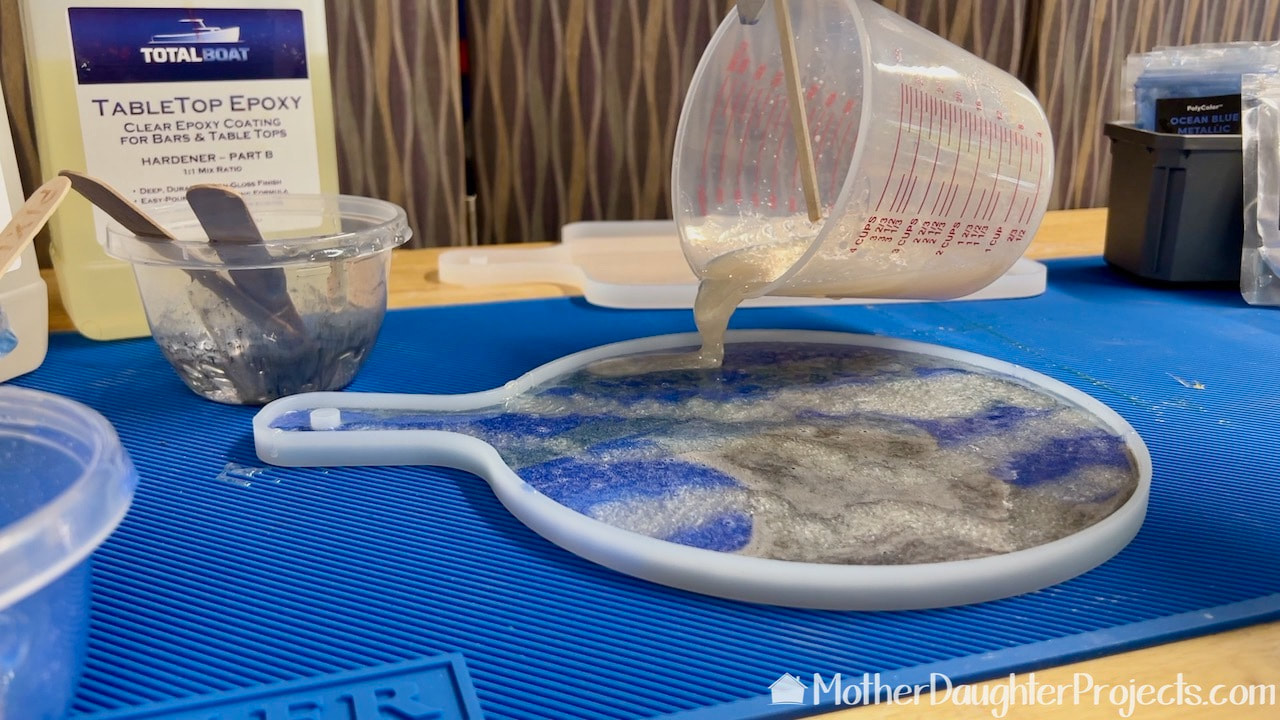
The round mold uses 12 ounces of mixed epoxy. I'm mixing 6 ounces each of the resin and hardener (parts A & B). According to the directions, you mix for 3 to 5 minutes. Read the label for full instructions as well as PPE requirements.
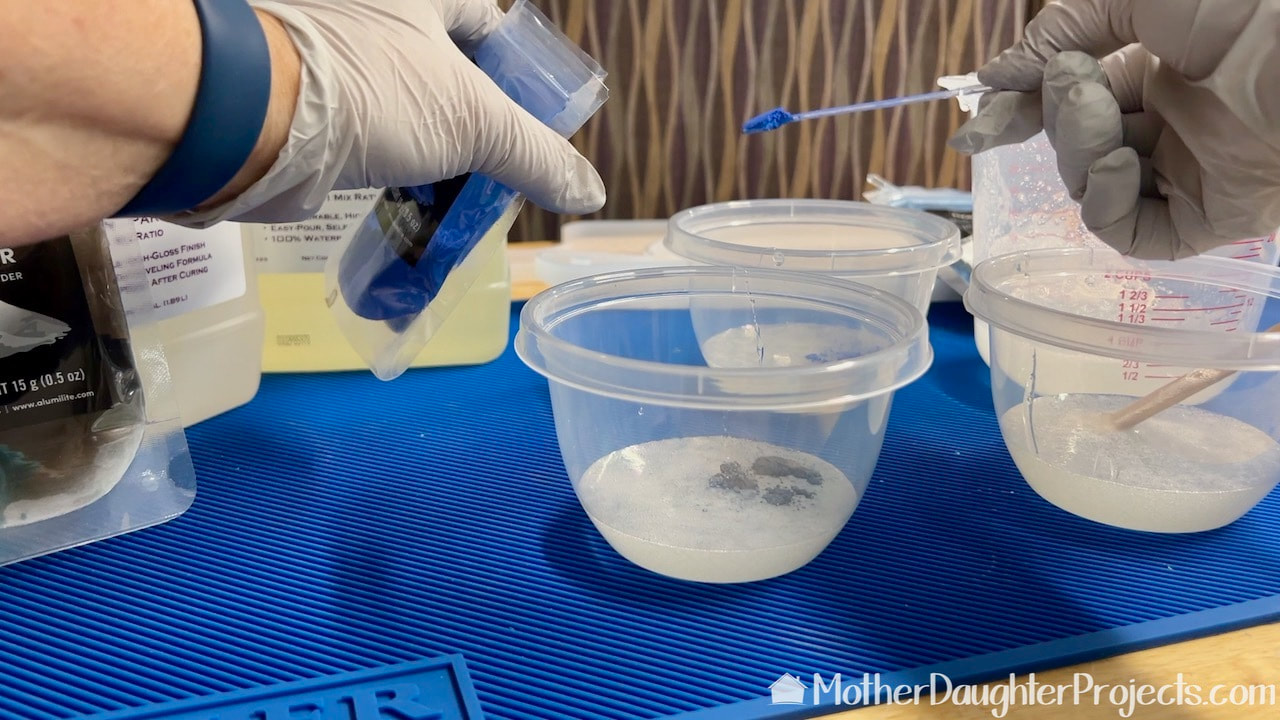
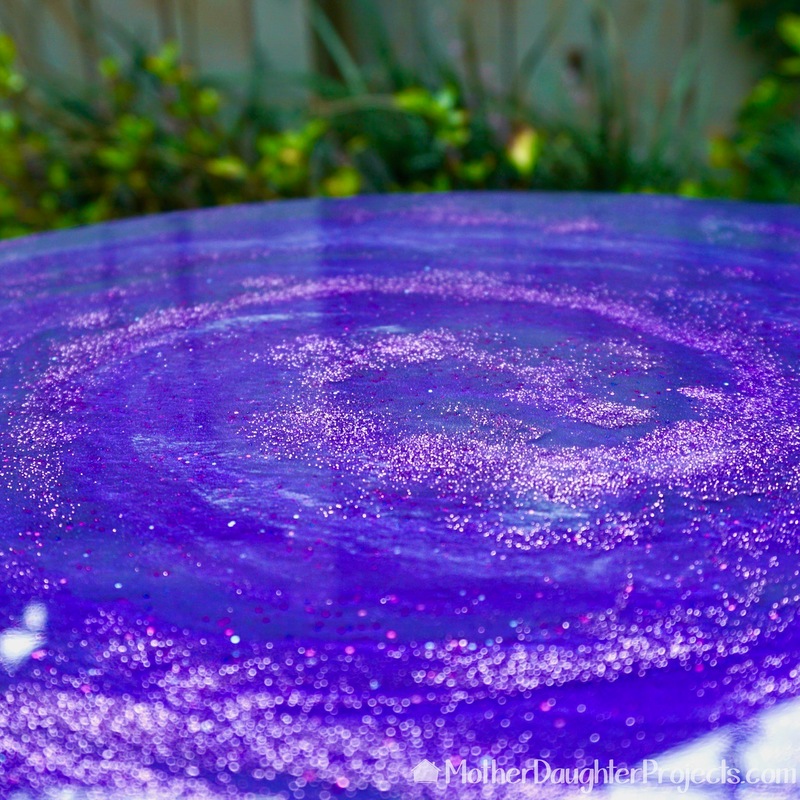
I'm using mica pigments to color four different containers of epoxy. A little pigment goes a long way. Start with a small amount and then add more to get the desired look for your project.
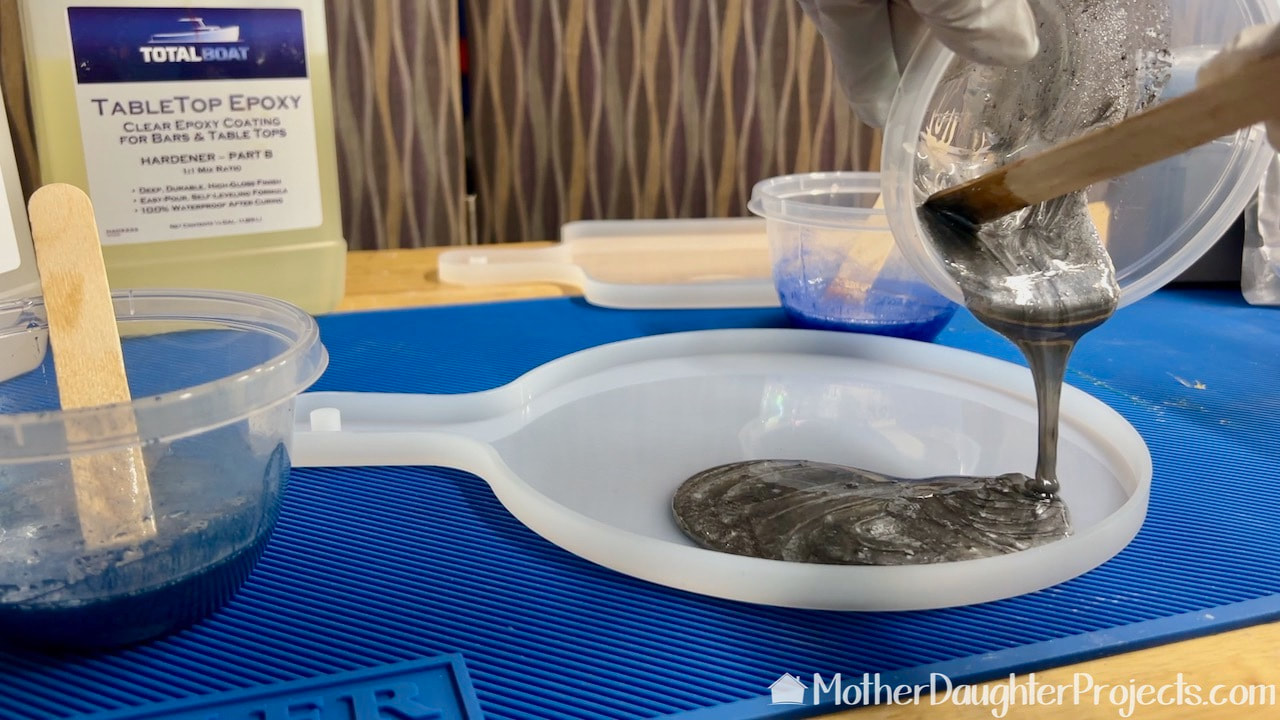
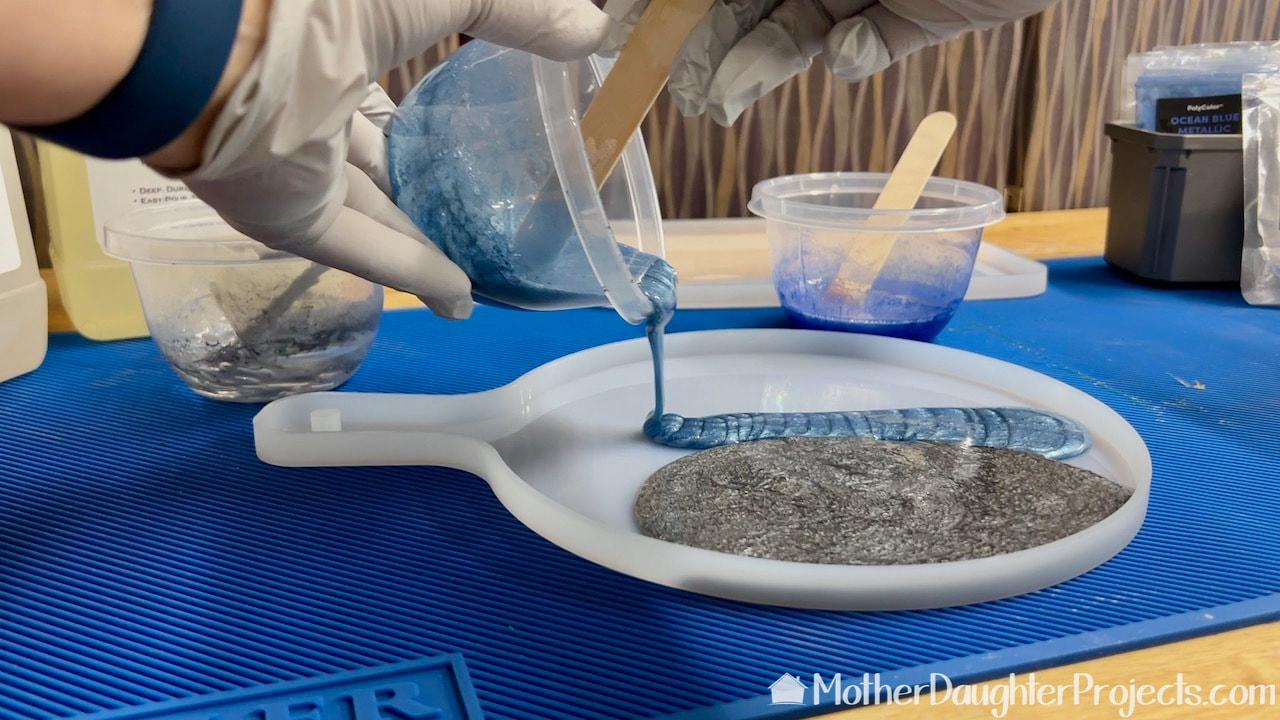
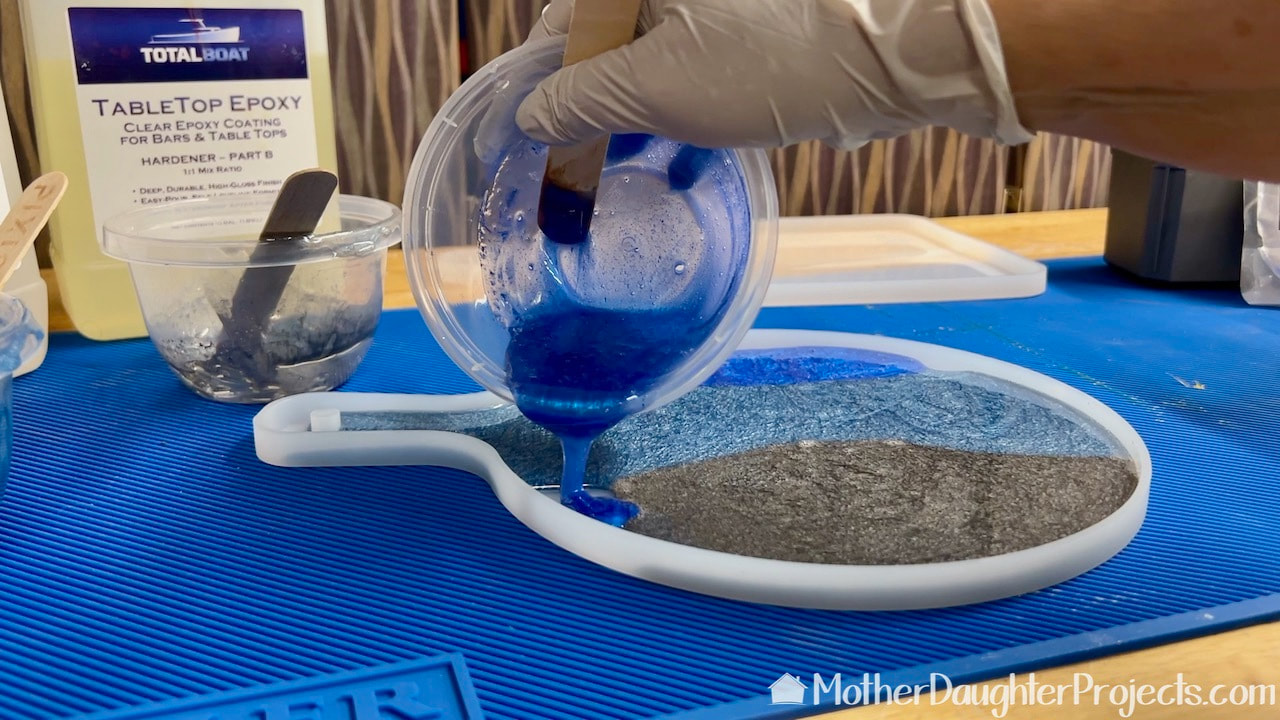
I'm randomly adding the four colors. Just have fun with this part!
Check out resin videos from other creators for color inspiration.
Paint pouring project videos are also a great resource for color combination inspiration. These colors are actually based on those in my bathroom.
Finally, I added this pale gold color to finish filling in the mold.
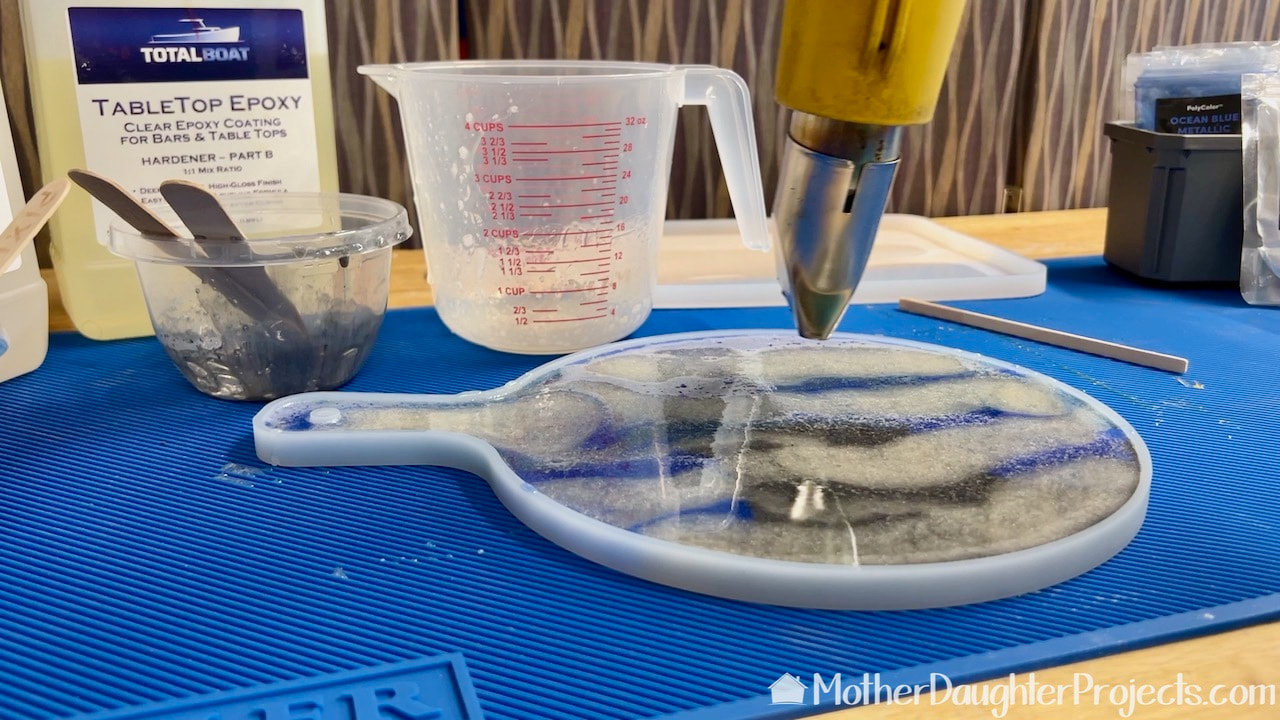
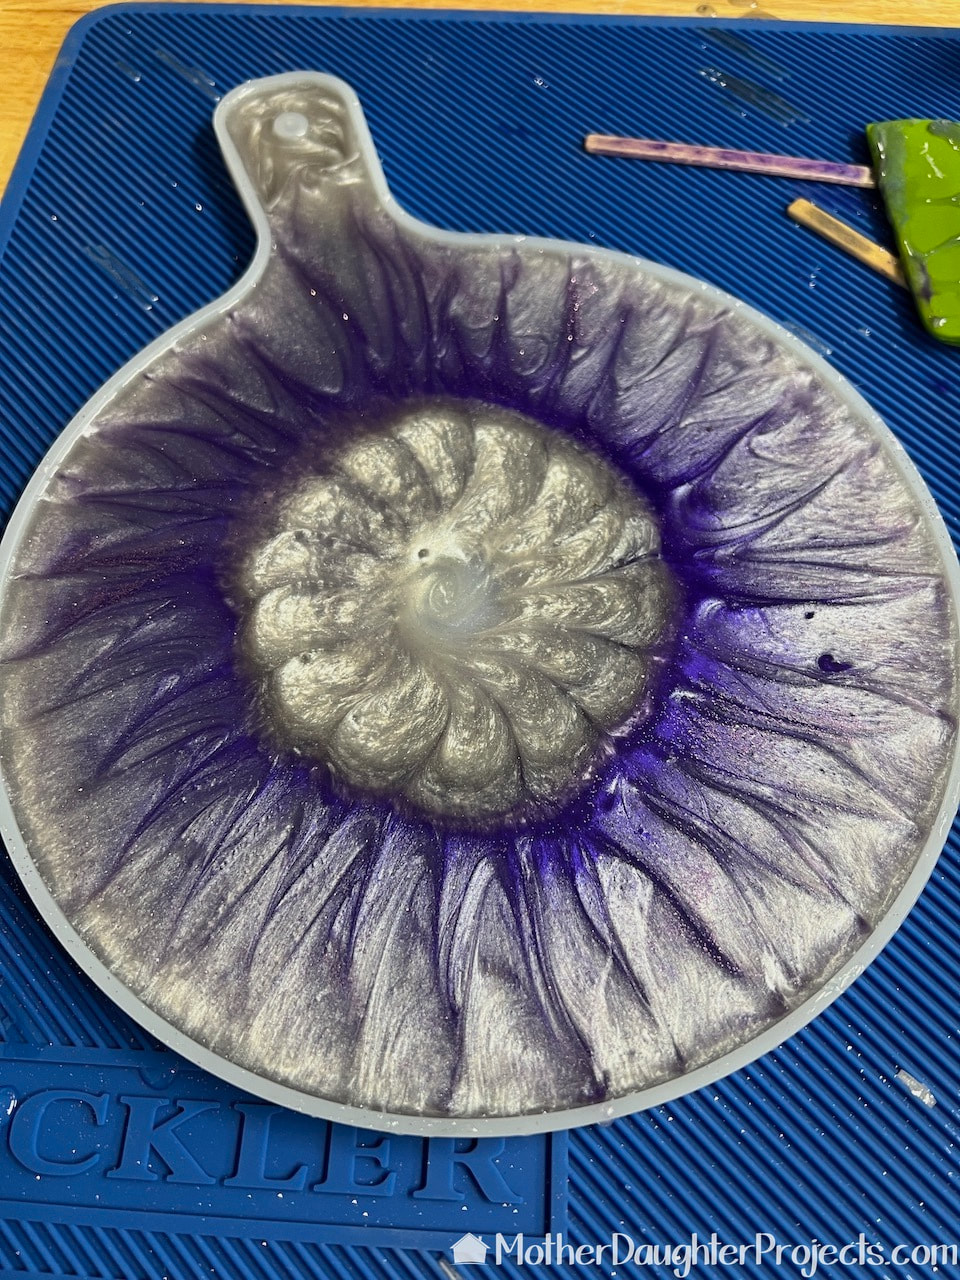
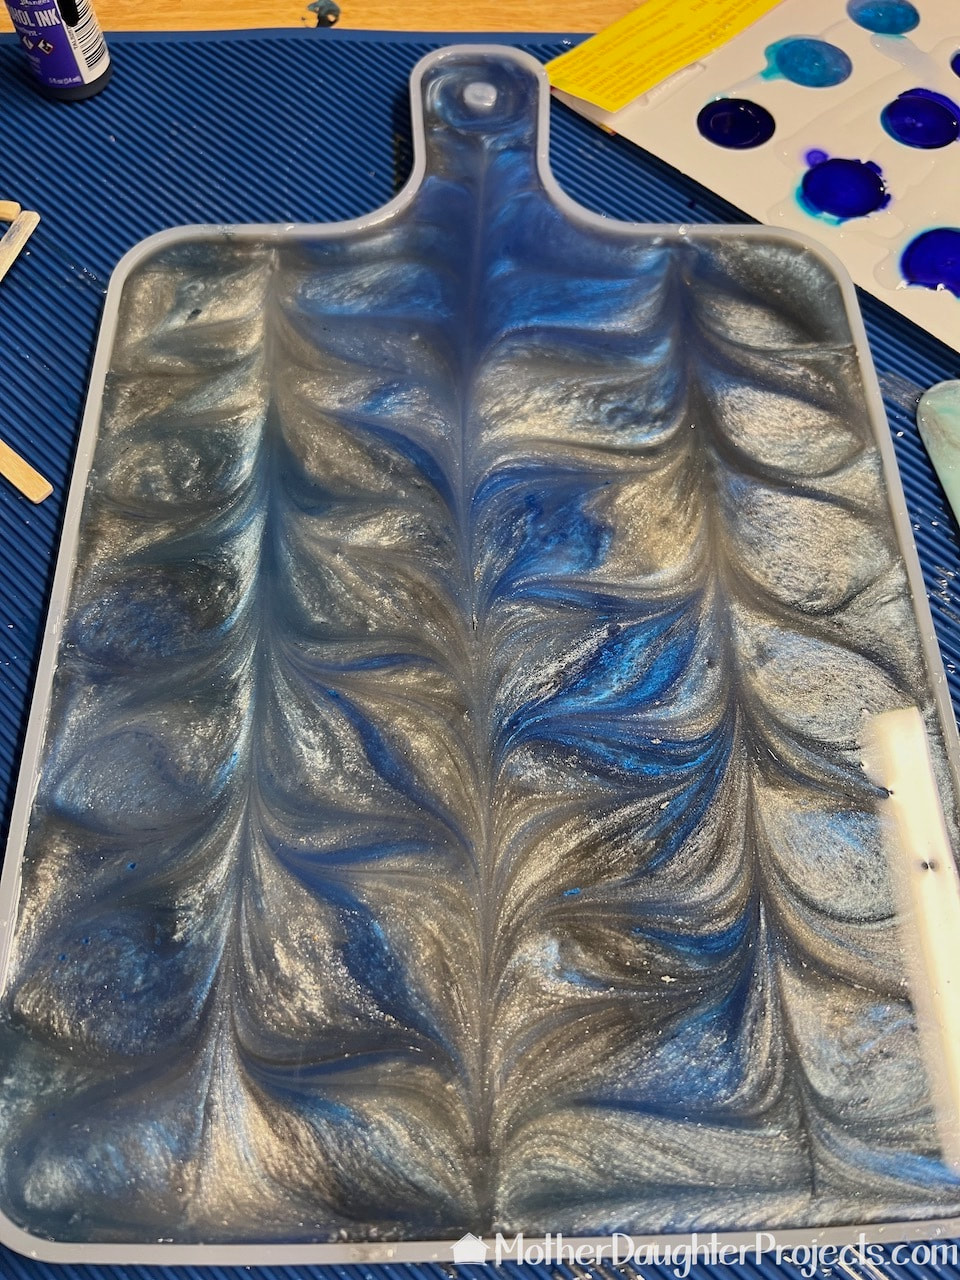
I'm using a heat gun to pop the air bubbles. Keep the heat gun moving to avoid accidentally burning the epoxy. At this point I let the epoxy set-up about 20 minutes BEFORE attempting to make a pattern in it.
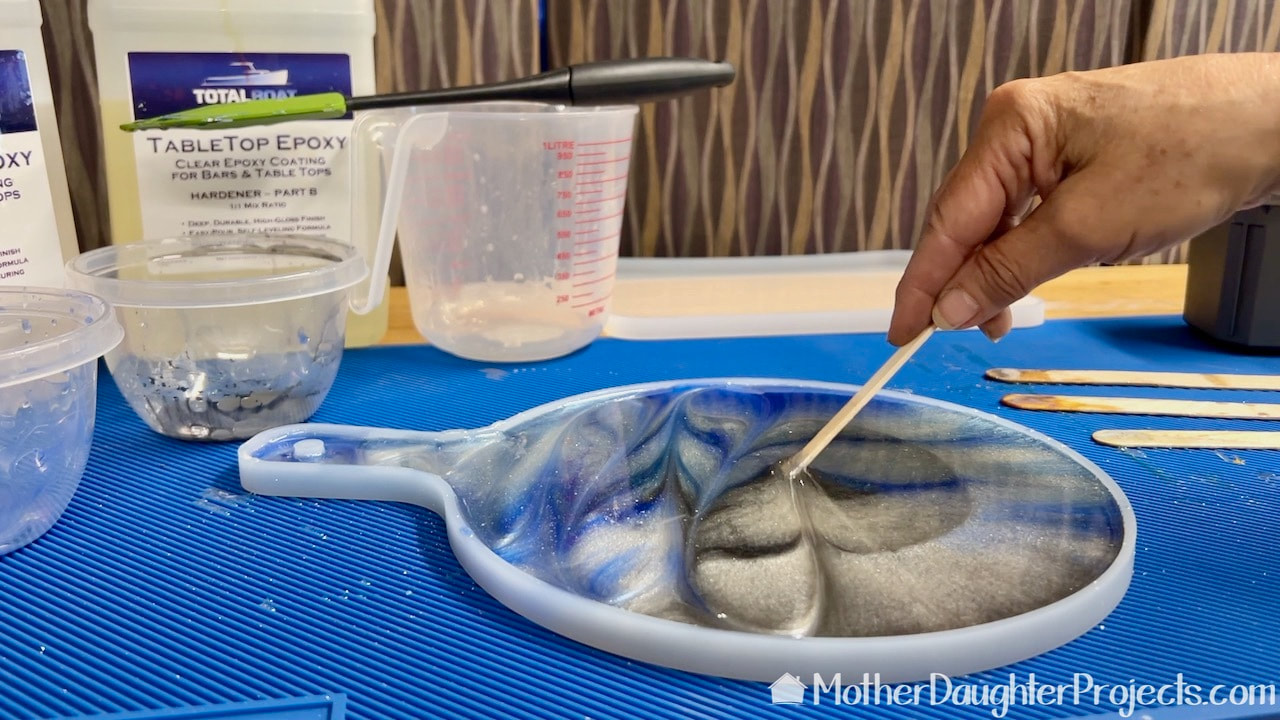
Once the epoxy was set up, I used a coffee stirrers to create a very simple pattern in the epoxy. If you don't wait for the epoxy to set up, the pattern will not hold.
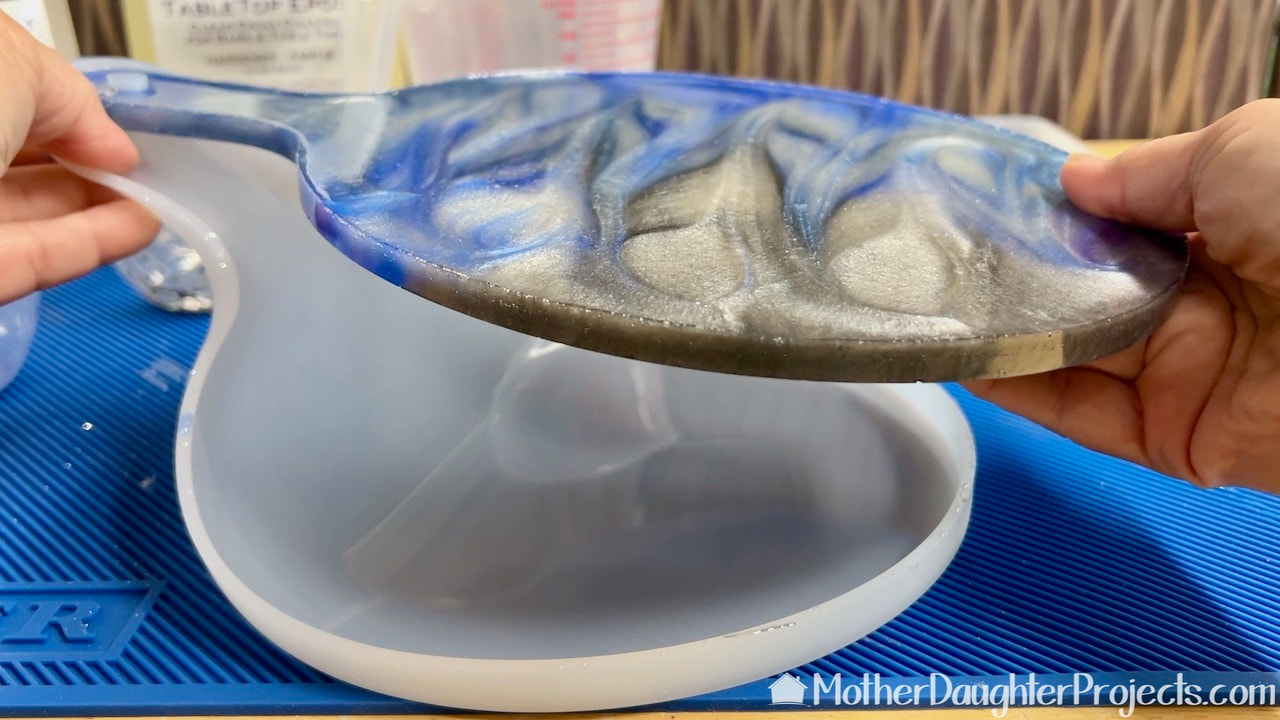
The cured epoxy pops easily and cleanly out of the mold. Once I finished, I went ahead and used some warm soapy water on the mold to clean it so it's ready for the next time.
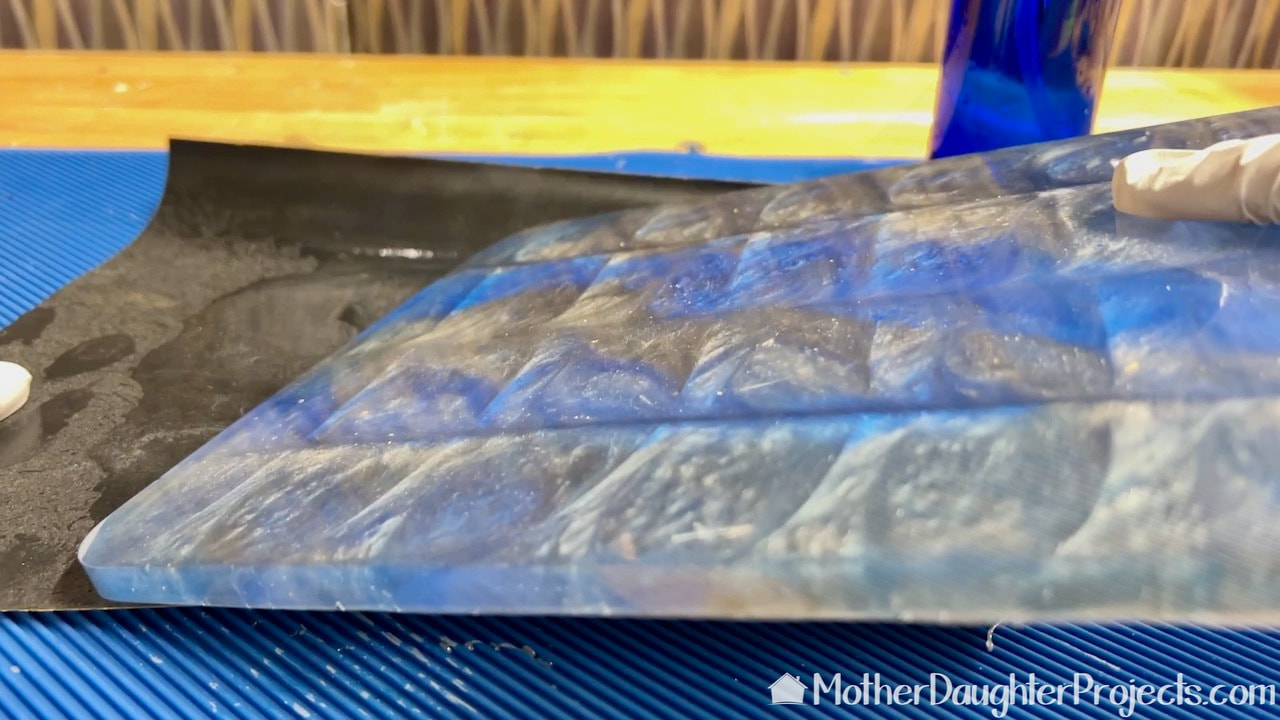
All three of the boards I made had raised edges coming out of the mold. A little wet/dry sandpaper took care of the raised edge. I used 320 grit wet/dry to do this.
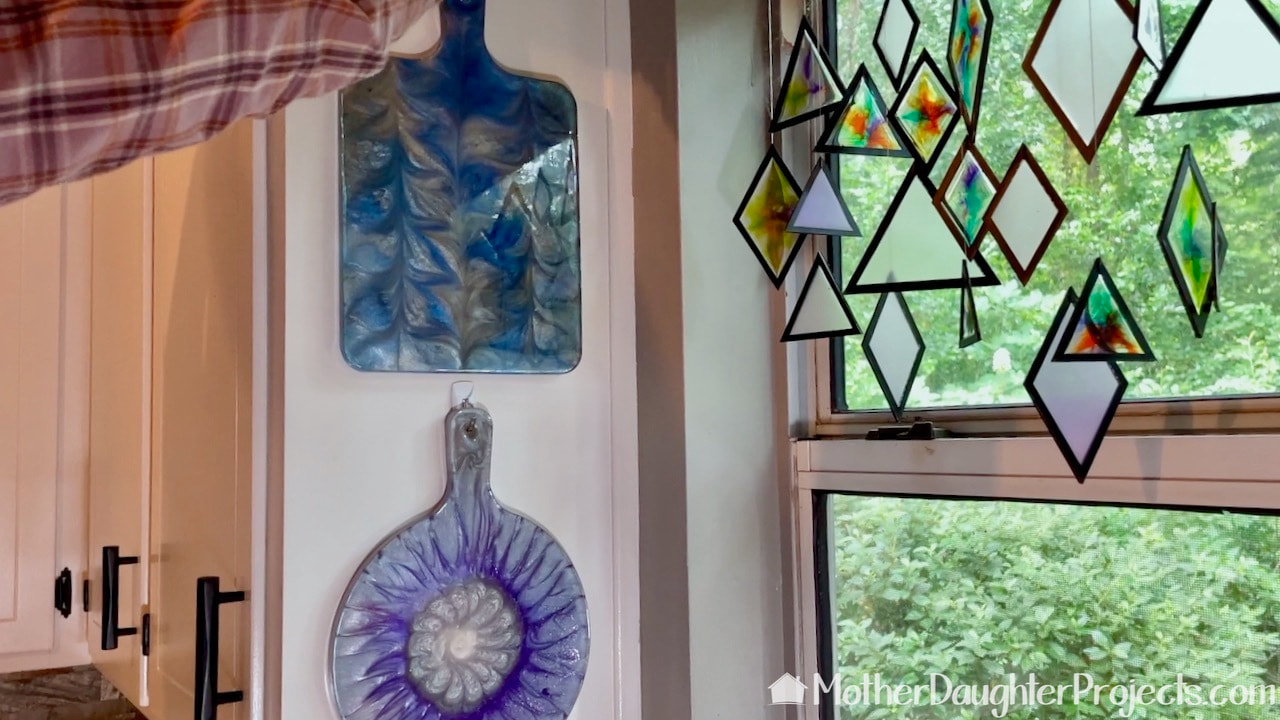
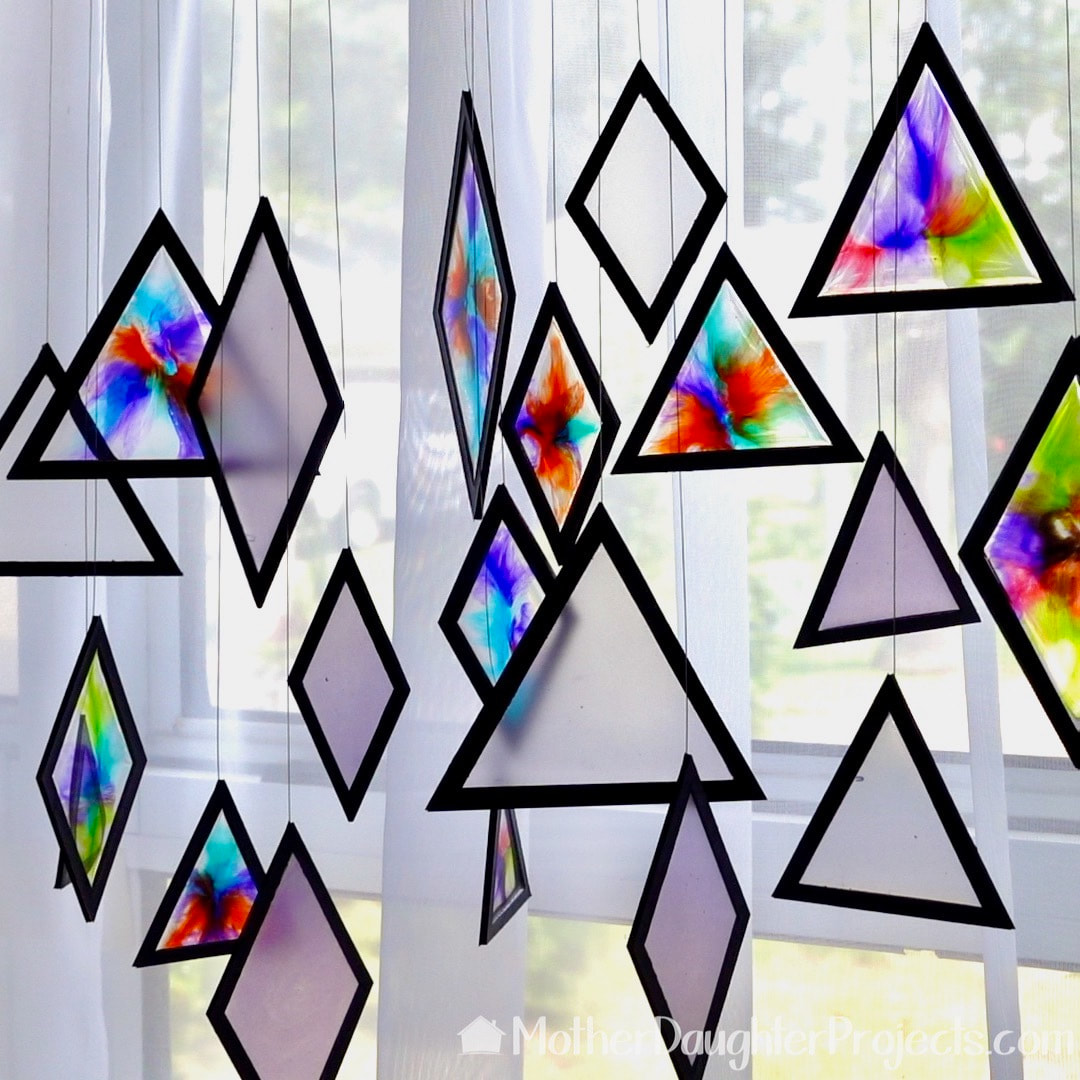
Steph used 3M hooks to hang these in her kitchen window next to the epoxy sun catcher that is already in the space.
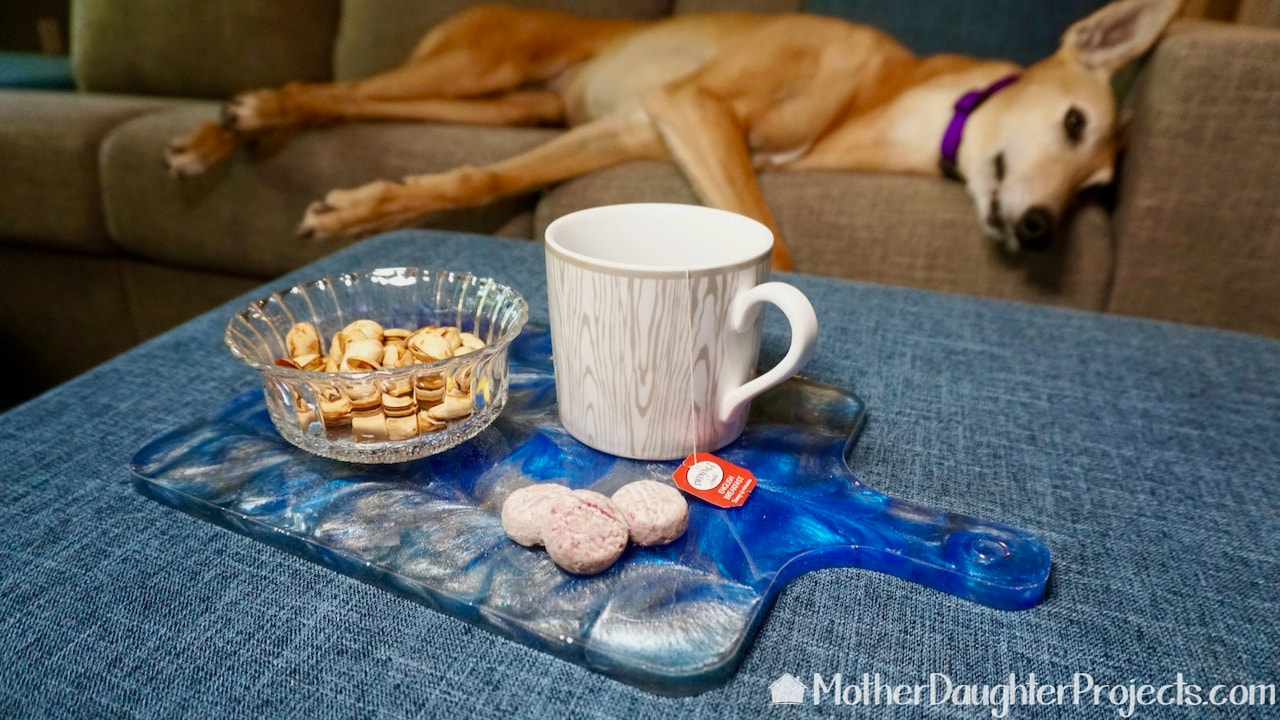
These are perfect to hold a little snack while hanging out with the pups while watching videos!
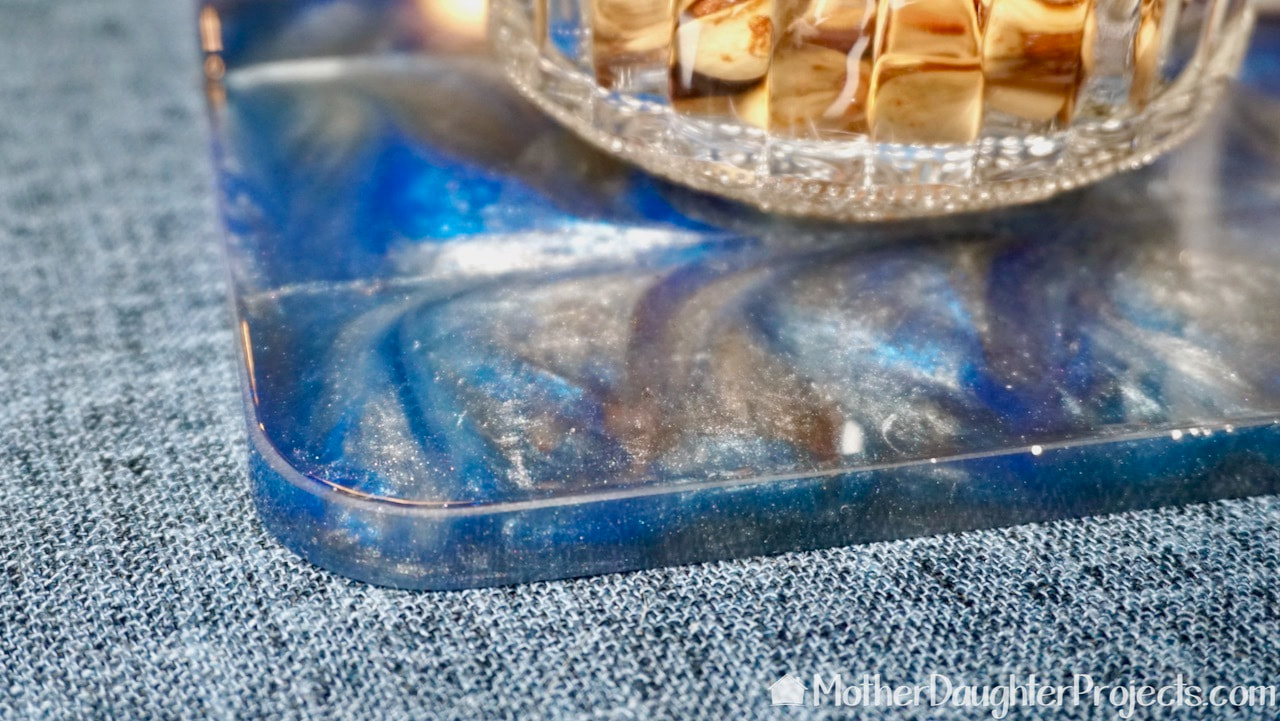
So pretty!
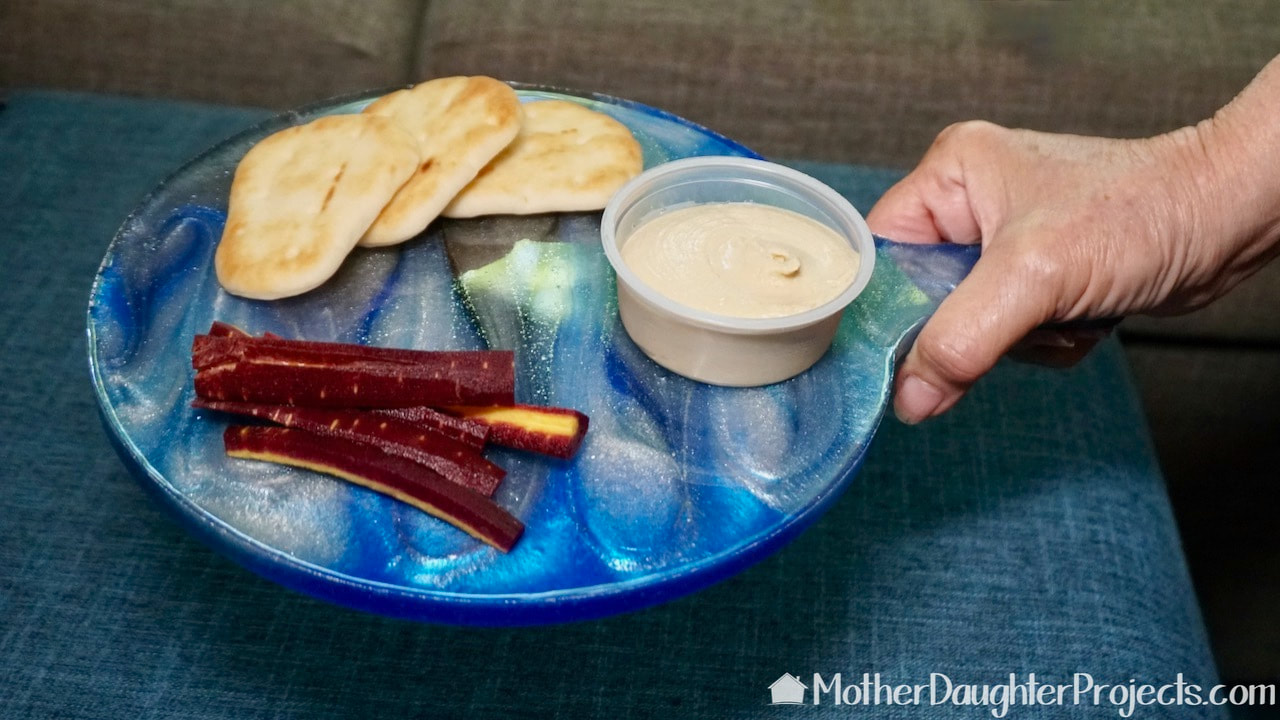
It's perfect for a personal size charcuterie board. Yum, healthy carrots, hummus and naan!
Okay, this was so much fun for me! It's nice to every once in a while to do a simple, quick project.
These TotalBoat silicone charcuterie molds really do set you up for a successful outcome. If you are new to epoxy, this is a GREAT way to get started. Get yourself a silicone mold or two, a few pigments, and some epoxy and get started. Head to the dollar store to pick up measuring cups and stirring sticks and you are on your way! Don't forget the PPE though! Safety first. Please note: This is not a sponsored post. FYI: We are not professionals, and we don't claim to be. This is what we found worked for our project. Yours may need a little different approach. Safety first! FYI: Affiliate links are being used on this page. Purchasing via these links help support MDP Related Projects
0 Comments
Leave a Reply. |

Mother Daughter Projects
|