Mother Daughter Projects

  • Blog
  • About
    • Contact
    • Privacy Policy
  • Tools
    • Tool Tuesday
  • Maintenance
  • Improvement
  • Decor
  • Tech
  • Blog
  • About
    • Contact
    • Privacy Policy
  • Tools
    • Tool Tuesday
  • Maintenance
  • Improvement
  • Decor
  • Tech

DIY for Homeowners

DIY Jewelry Display Stand with Glass Cover

9/2/2020

2 Comments

 
Picture
text by Vicki     Sign up here to join our weekly email newsletter! ​
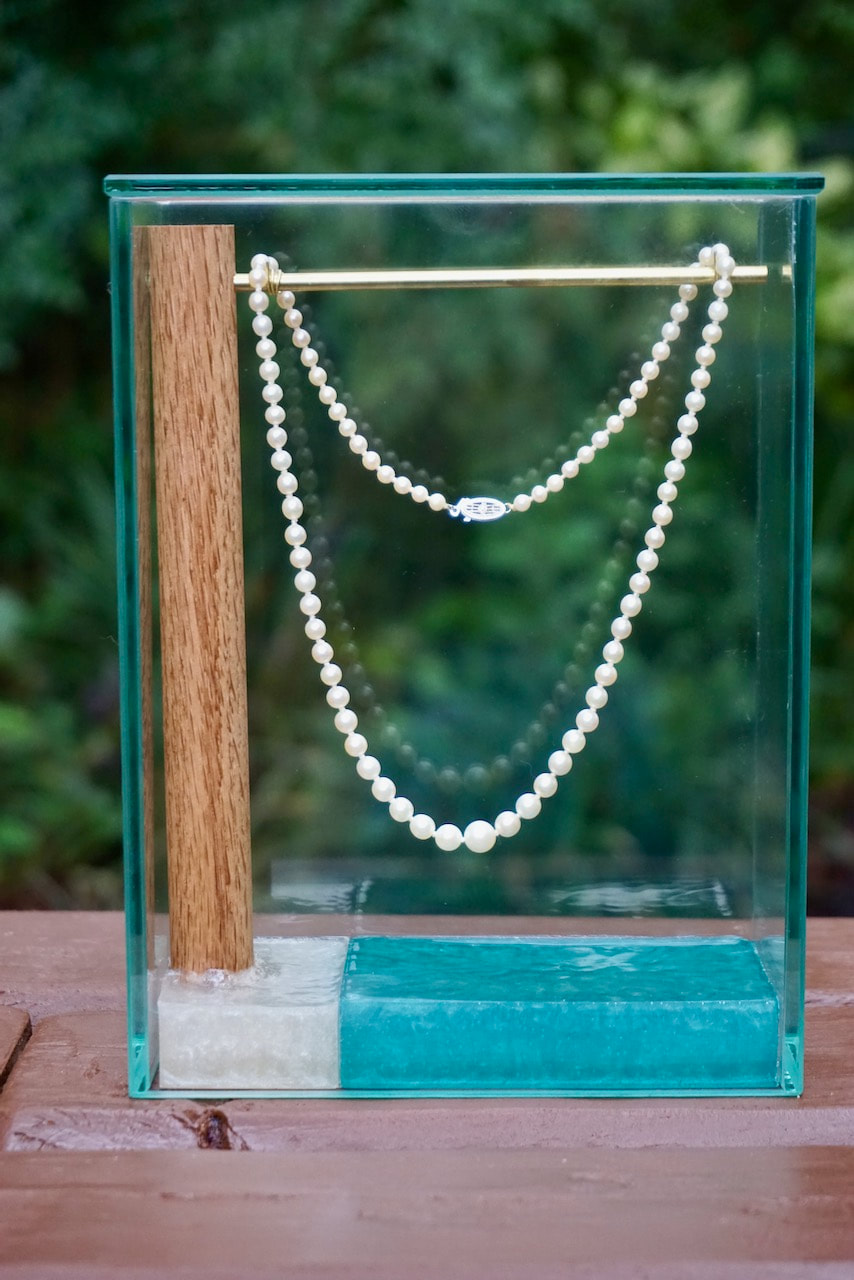
Steph received an heirloom pearl necklace from her grandmother and wanted to find a way to display it when not wearing it. 

She did a little internet research and found a couple of ideas that she adapted into a DIY design that would work. The surprise material used in this project is a glass vase! She found one the size she needed, took off the feet and inverted to use as the display case--so smart!

Follow along as Steph puts together this simple, but perfect display case.

Materials/ Tools:


  • Royal Imports Flower Glass Vase Decorative Centerpiece for Home or Wedding Flat Rectangle Plate Glass (Amazon)

  • K & S Precision Metals 3405 Round Brass Rod, Diameters .020, 1/32, 3/64, 1/16, 3/32, 1/8, 5/32, 3/16.114.081.072, 11 Pieces per Pack (Amazon)

  • Environmental Technology 33128 Casting Epoxy (Amazon)

  • Disposable Epoxy Resin Mixing Cups Clear Plastic 10-Ounce 100-Pack for Measuring Paint Epoxy Resin Art Supplies (Amazon)

  • Resin Molds for Crafts, 9 Pack Silicone Resin Mold Kit for Casting Epoxy Resin UV Resin, Include Square, Rectangle, Ball Molds, with Resin Mixing and Measuring Tools (Amazon)

  • Mica Powder (Amazon)

  • Wood Dowel (Amazon)

  • Ryobi P305 One+ 18V Lithium Ion Cordless Hot Glue Gun w/ 3 Multipurpose Glue Sticks (Amazon)

A glass vase becomes the display cover when inverted.
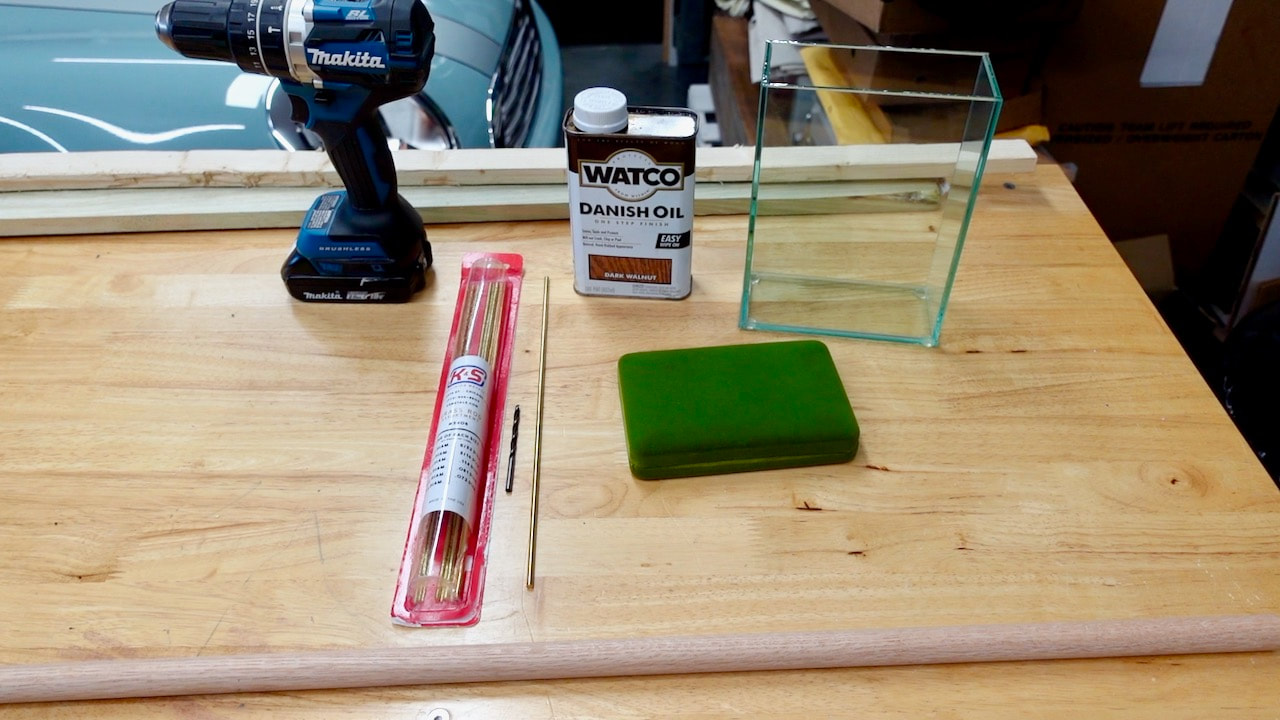
Steph is using a glass vase, wood dowels, brass rods and a few tools. The pearls are in the vintage green velvet box in the center of the table.
Creating the stand for the pearls using a brass rod.
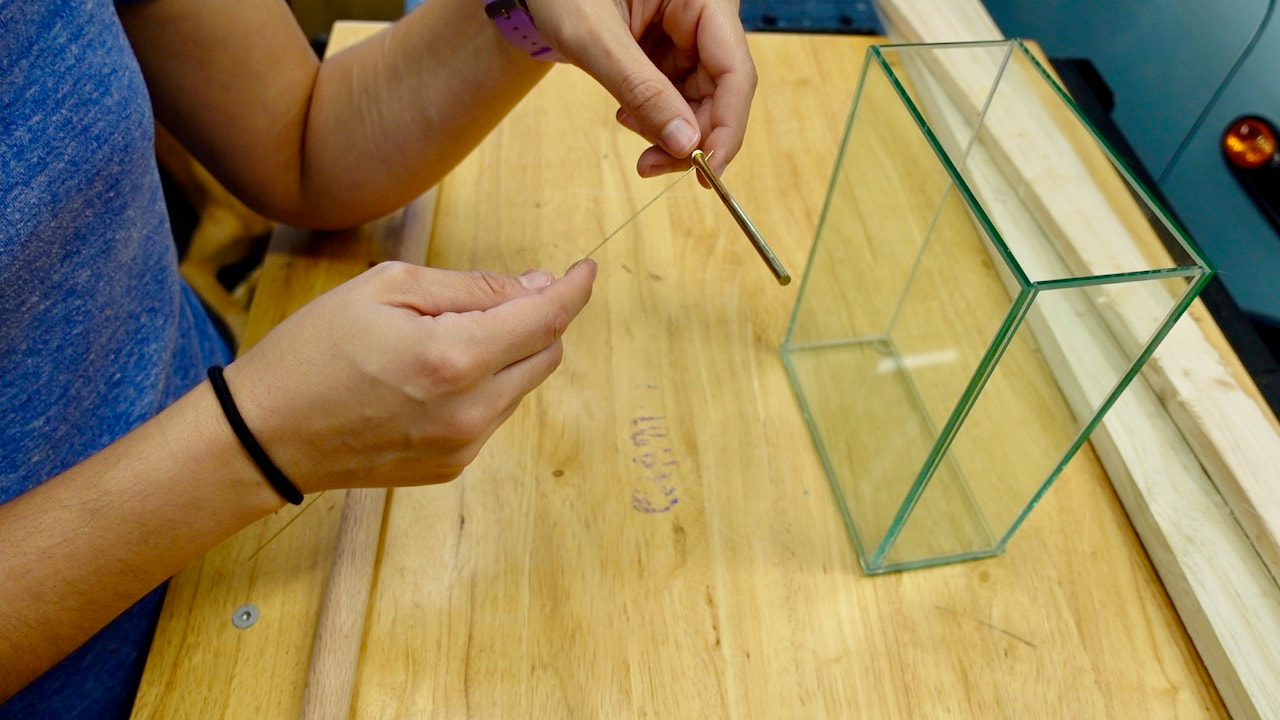
Steph realized the pearls were not going to stay on the brass rod without help. There was a tiny brass rod included in the collection she purchased. She used this one to create a stop block at each end of the brass rod.
Cutting the brass with a DeWalt battery powered band saw.
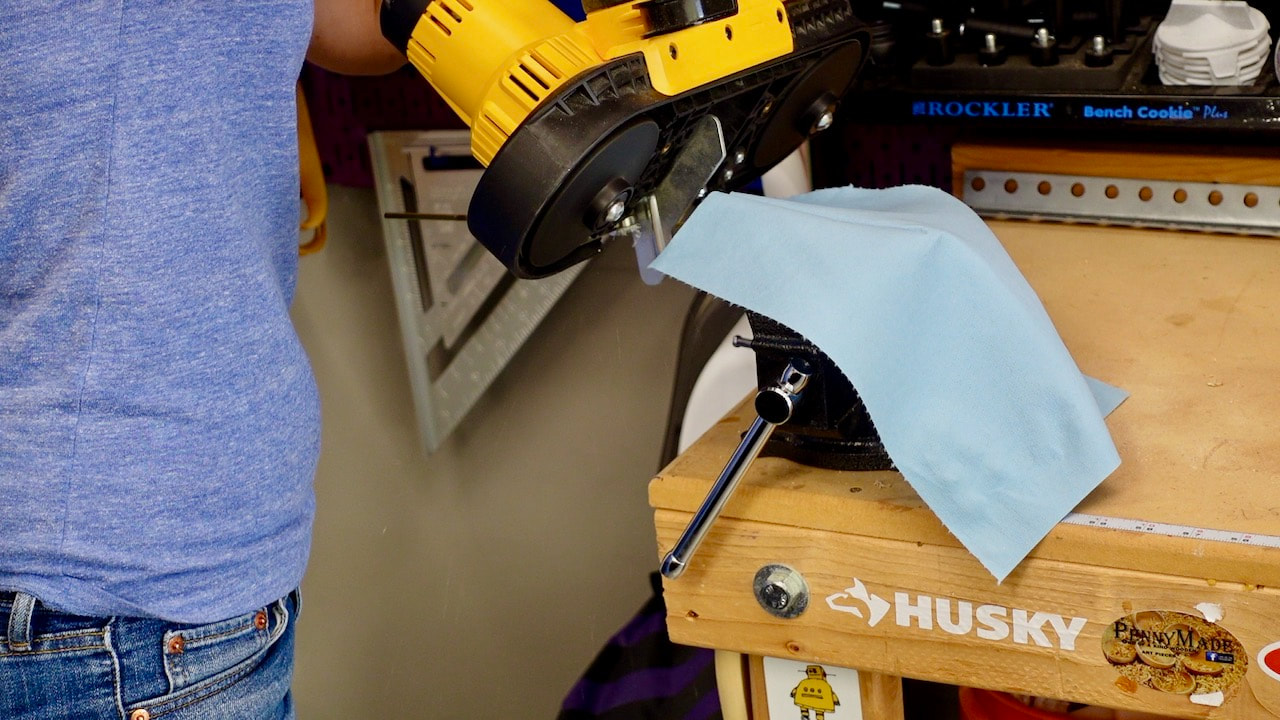
To cut the brass to length, Steph used a portable band saw. She first wrapped the brass in a shop towel and secured it into a bench top vice.
The wood dowel is scared onto the Kreg table and a hole drilled into it.
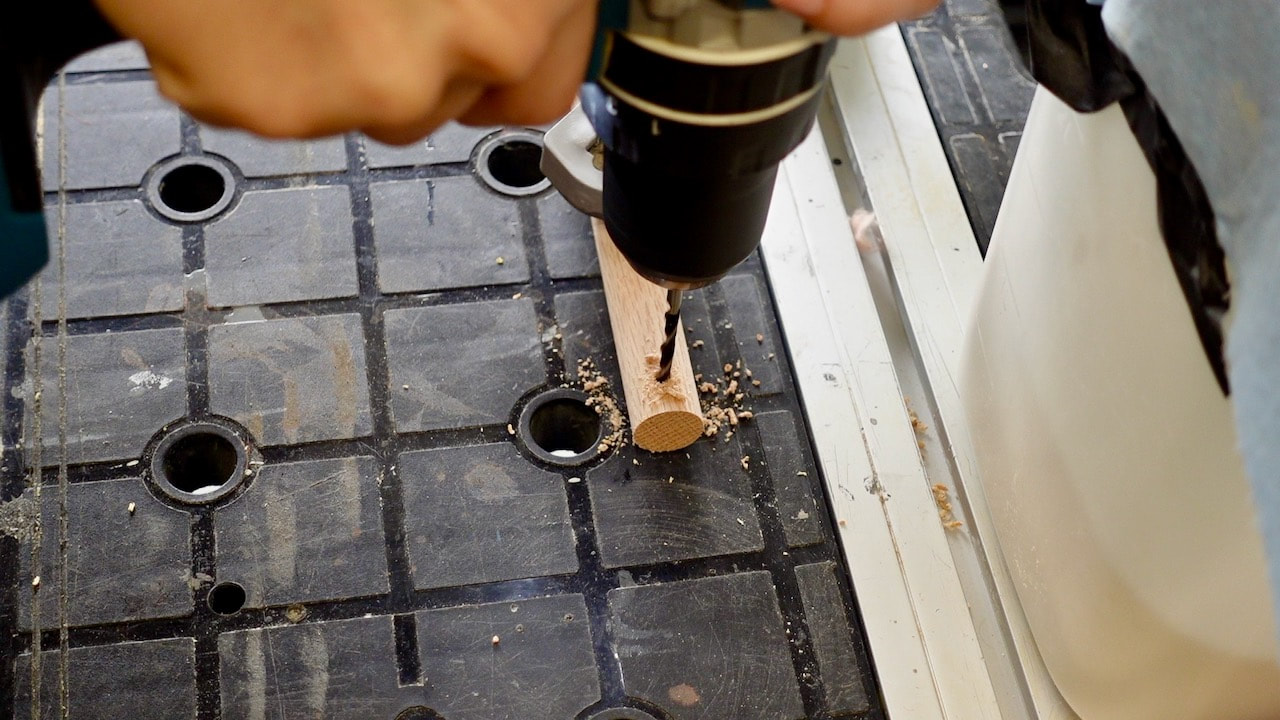
Using a drill bit the same diameter of the brass, Steph drilled a hole through the wood dowel. And yes, she did drill through the plastic top of our Kreg table. We have quite a collection of holes and cut marks on our well used Kreg table!
Pouring epoxy into a silicone mold.
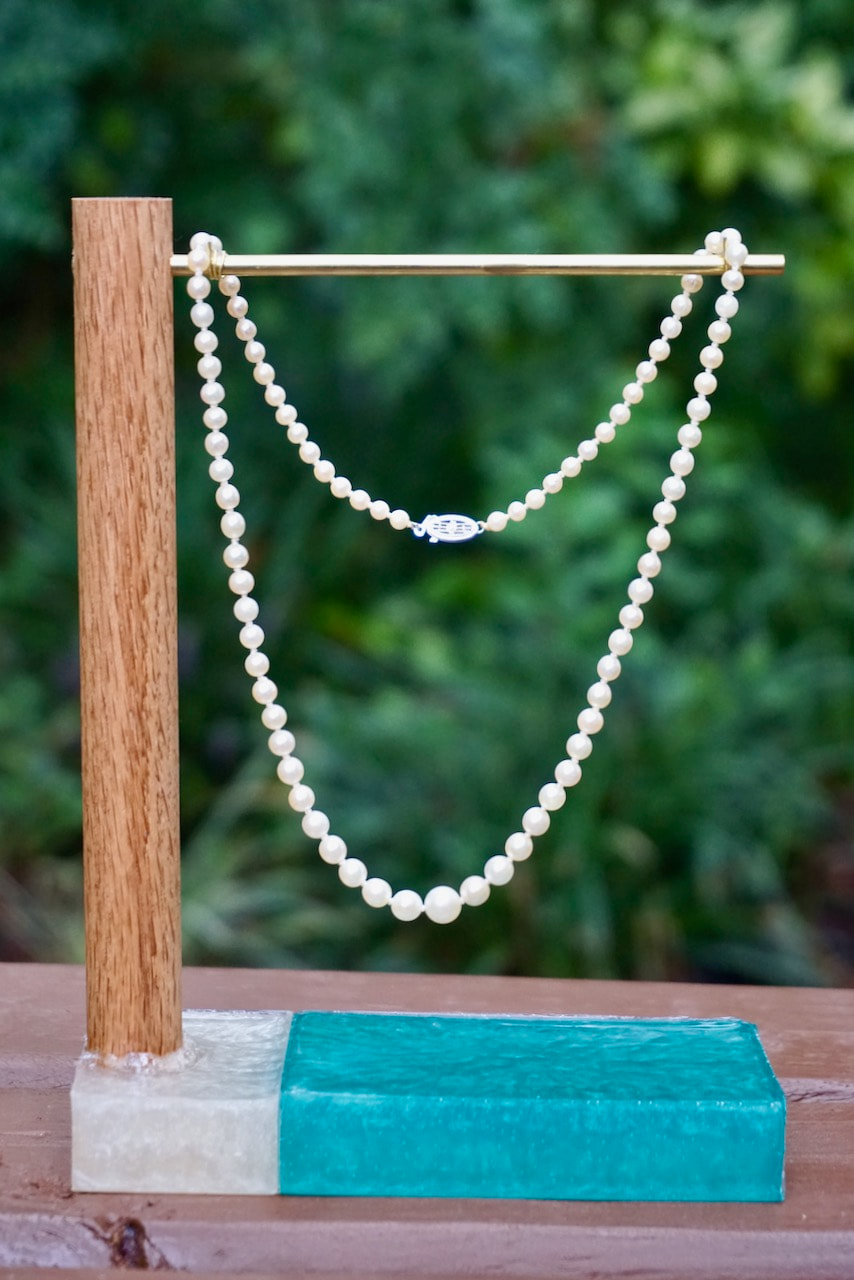
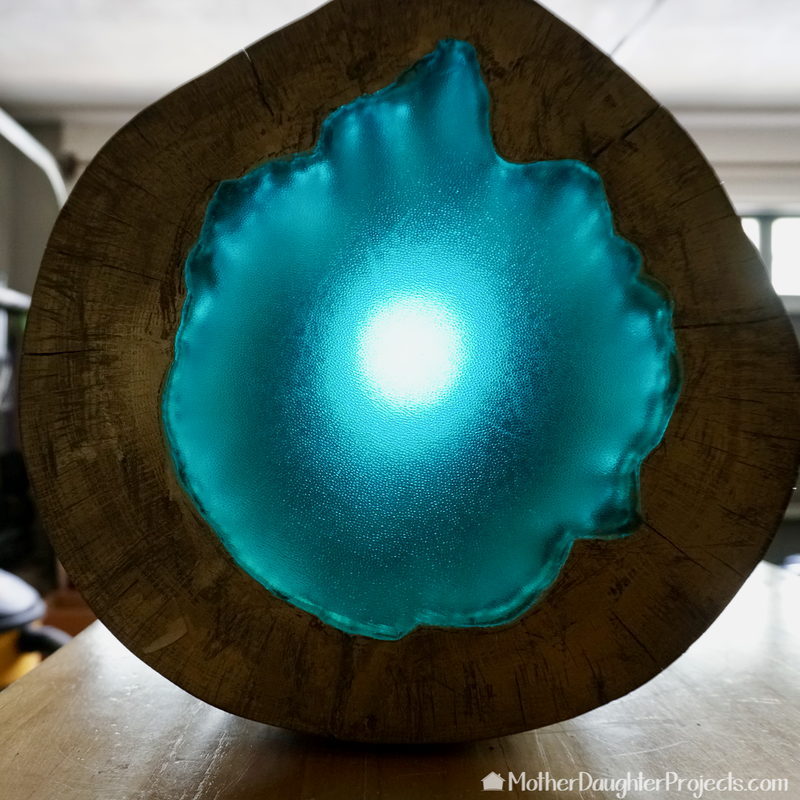
We are using two sizes of silicone molds to create the base. This one gets a bit of mica powder in teal added to the epoxy.
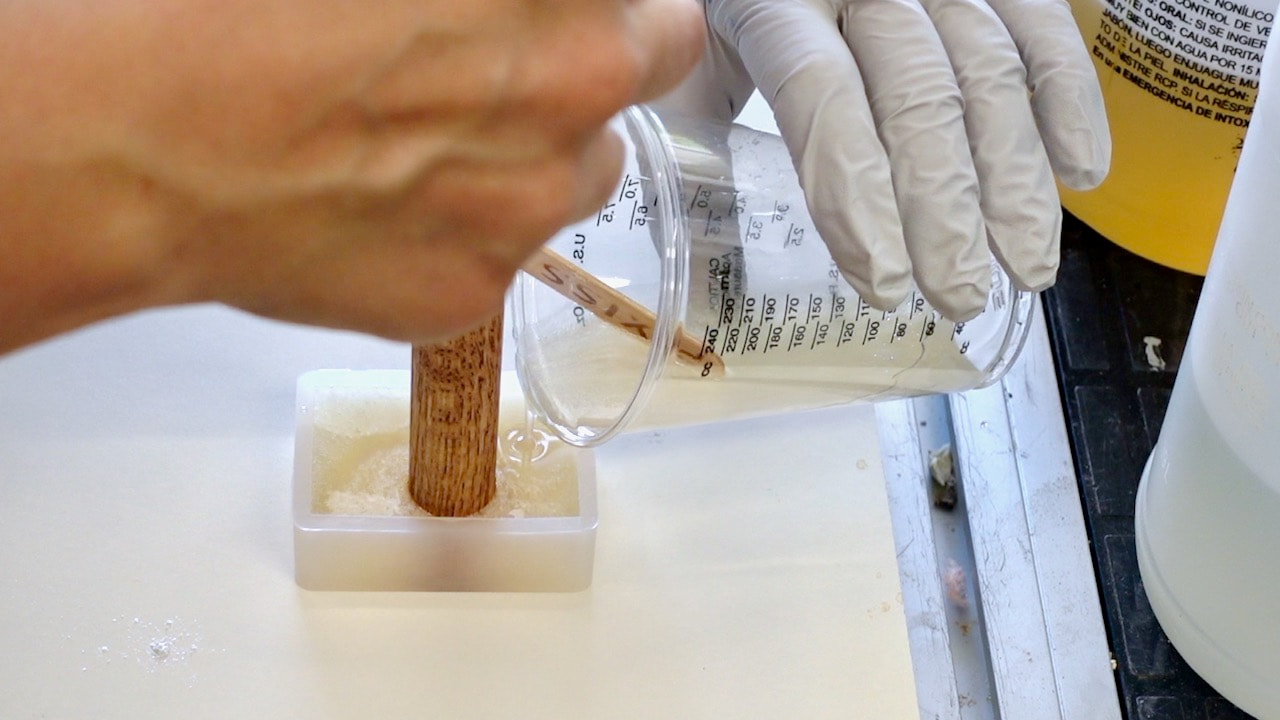
The smaller mold is filled with pearl colored mica powder in which the wood dowel is positioned.
The two parts of the base are also hot glued together.
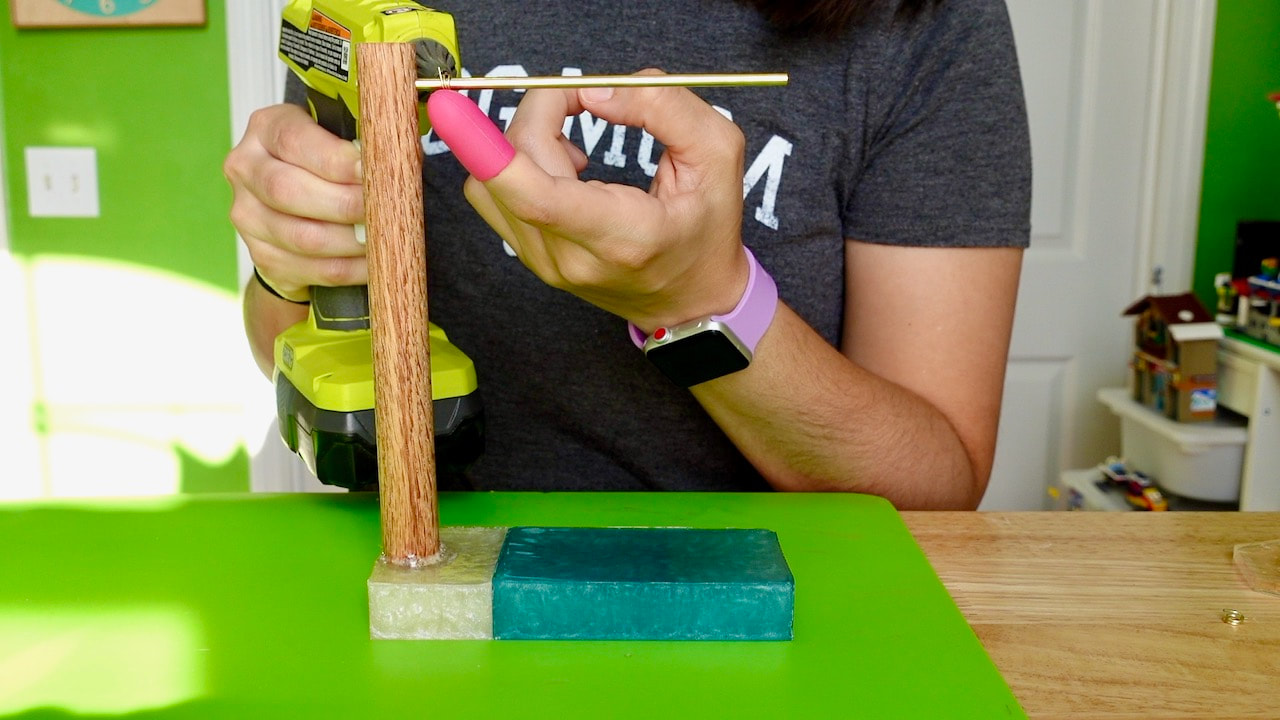
That pink thing is a silicone fingertip which helps to prevent burns when working with hot glue. The brass stop blocks are hot glued into place. The two parts of the base are also hot glued together.
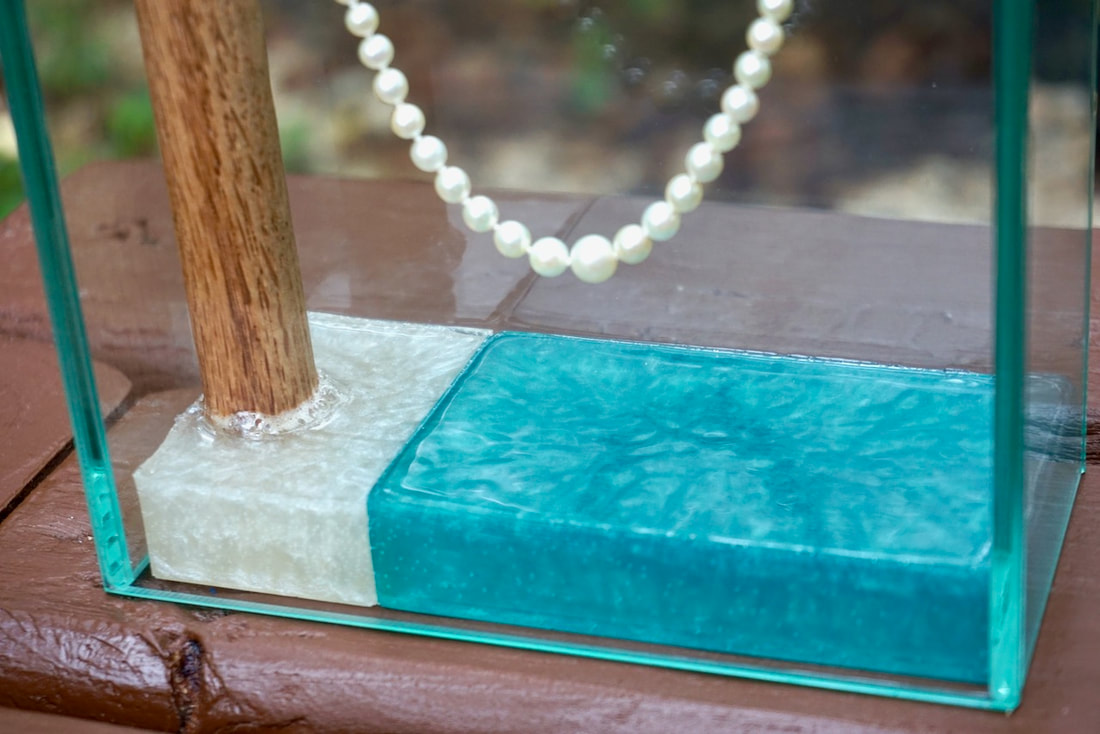
The rubber feet were removed from the bottom of the glass vase and was inverted onto the epoxy base.
My mother passed along this family heirloom necklace to Steph.
Vintage graduated pearl necklace from my mother to Steph.
Vintage pearl necklace in glass display case with epoxy base.
Epoxy Base
Close up of the brass stop block on the top of the hanging rod.
Close up of brass rod stop blocks
Do you have a special piece of jewelry passed down from a beloved family member? What is it? Have you created a special way to display it? Please share in the comments below!

Please note: This is not a sponsored post.

FYI: We are not professionals, and we don't claim to be. This is what we found worked for our project. Yours may need a little different approach. Safety first!

FYI: Affiliate links are being used on this page. Purchasing via these links help support MDP!

Related Projects

Picture
PVC Artwork
Picture
Faux Stained Glass
Picture
LED Log Lamp
2 Comments
Karen Knutson link
9/11/2020 11:10:32 pm

I think maybe a nice knob at the top would make easier to access the necklace when lifting the cover.

Reply
Steph
9/13/2020 02:27:59 pm

Great idea!

Reply


Leave a Reply.

    MotherDaughterProjects.com

    Mother Daughter Projects
    ​
    Steph & Vicki

    We're homeowners sharing our DIY adventures as we learn to maintain, improve, decorate, and ​use tech in our homes.
    Share your projects with us here:  
    ​#trylearnshare
    MotherDaughterProjects.com
Mother Daughter Projects, LLC ∙ est. 2015 ∙ Tallahassee, FL by Vicki & Steph ∙ Privacy Policy