|
text by Vicki Sign up here to join our weekly email newsletter!
We love to kayak, and recently added another kayak to our collection which also includes a folding Oru and an inflatable stand up paddle board/kayak. The last two do not require any special storage requirements, but the new hardshell one does.
We decided to create a simple storage stand to keep the kayak off the ground and also at a height where we could simply slide in onto the stand with the kayak cart (wheels) in place. Read on as we share how we made this kayak stand with the materials we had on hand. Materials/Tools:

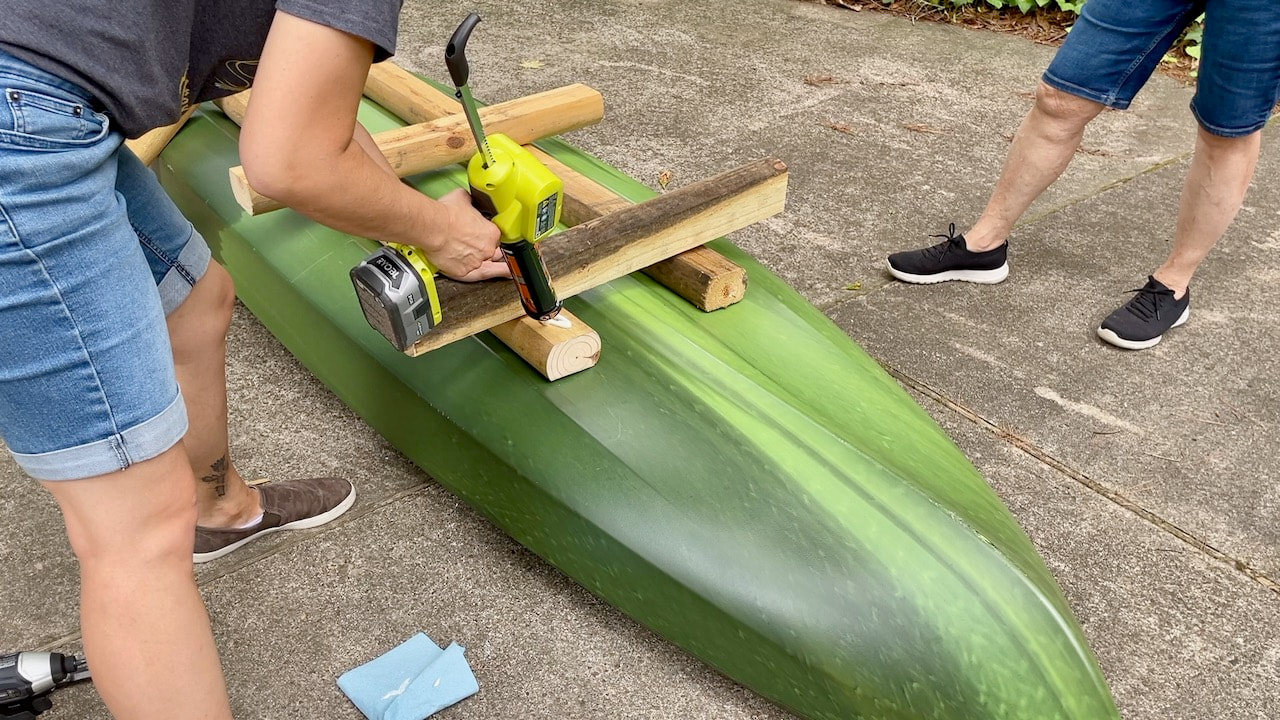
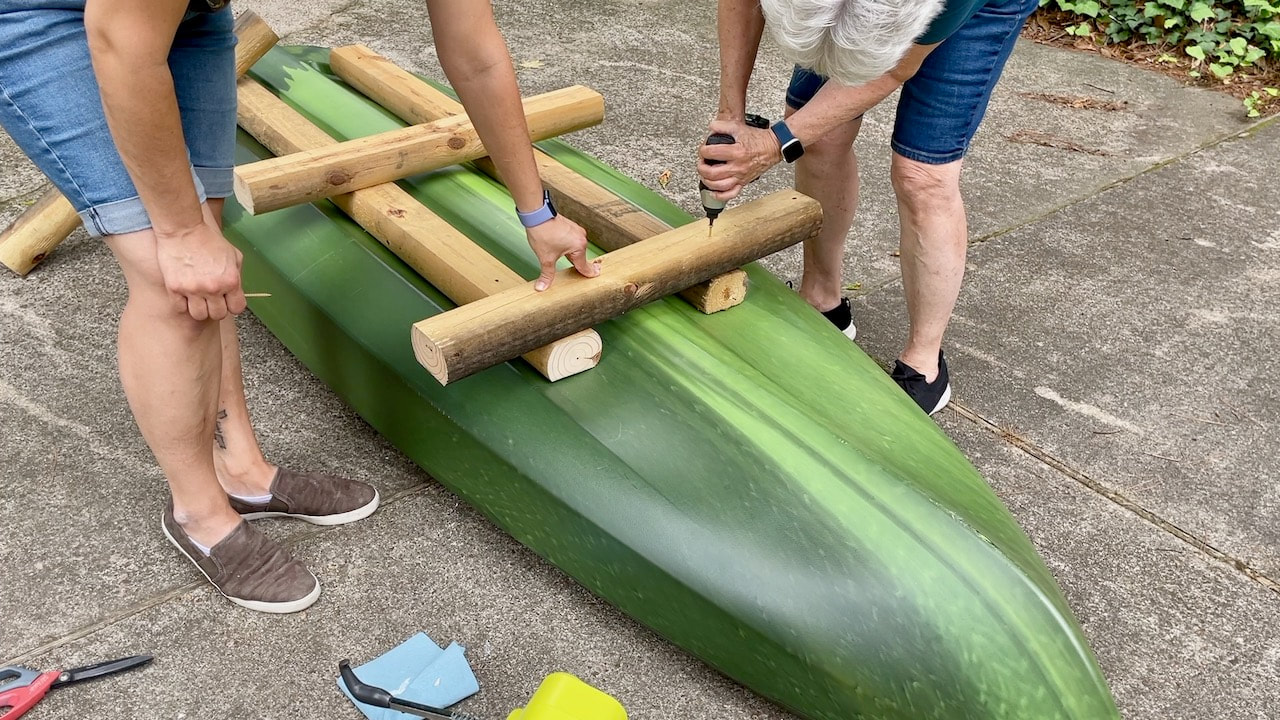
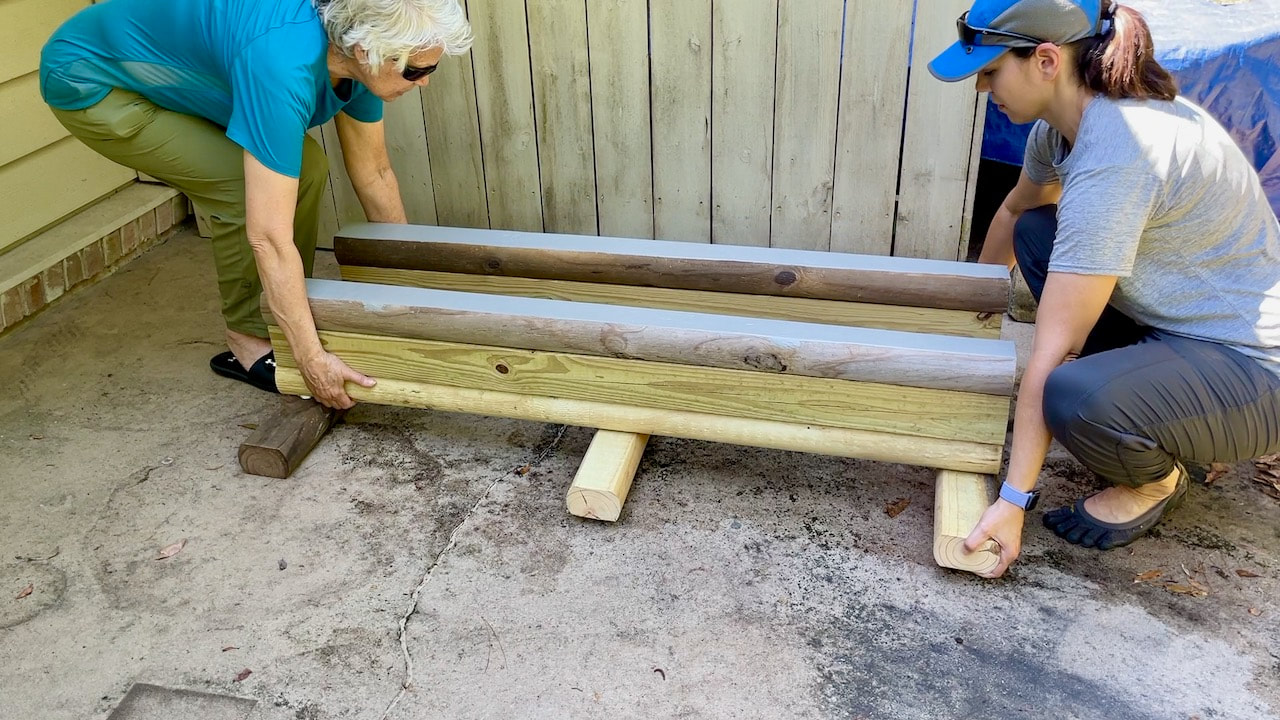
The size and design was all based on the materials we had on hand. Here we are determining how long the stand needs to be made.
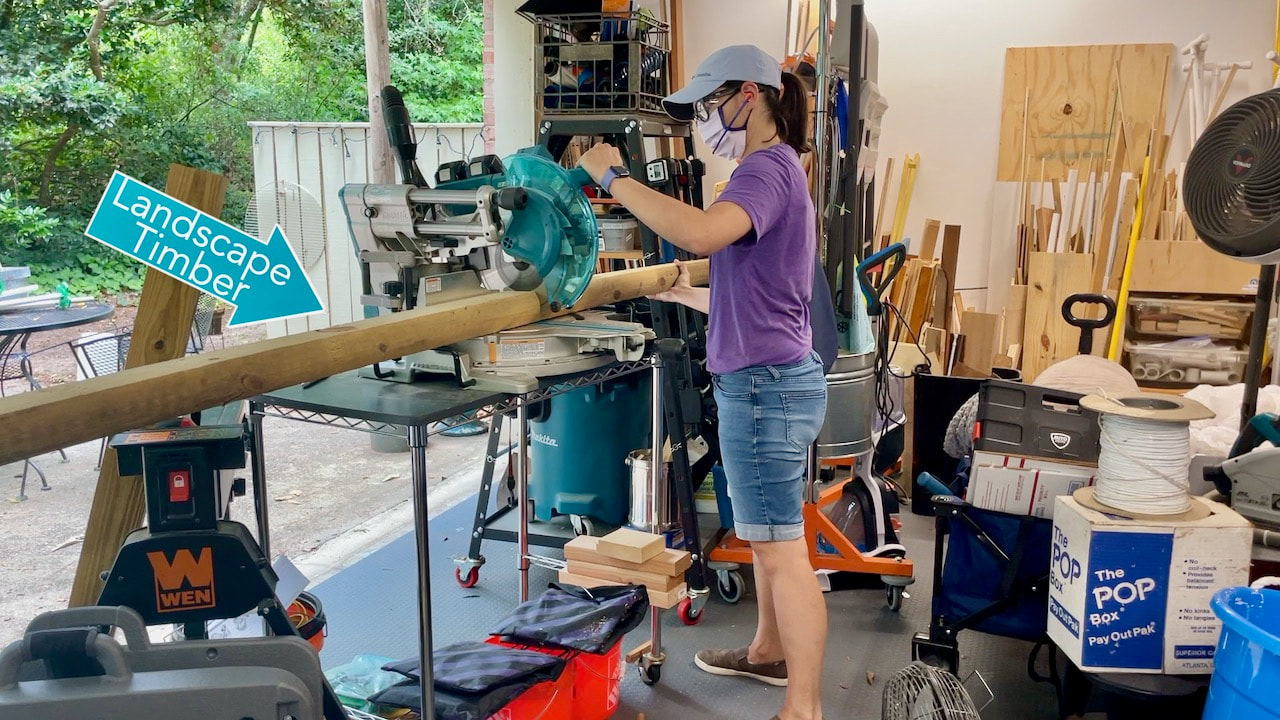
We are using landscape timbers and 4x4 posts. Back inside the garage, Steph cut all the wood to length.
Steph cut three short pieces to serve as feet for the stand for added stability. We used construction adhesive and long screws to attach the feet to the long side pieces.
We found some 4-inch exterior screws in our stash which were perfect for this project!

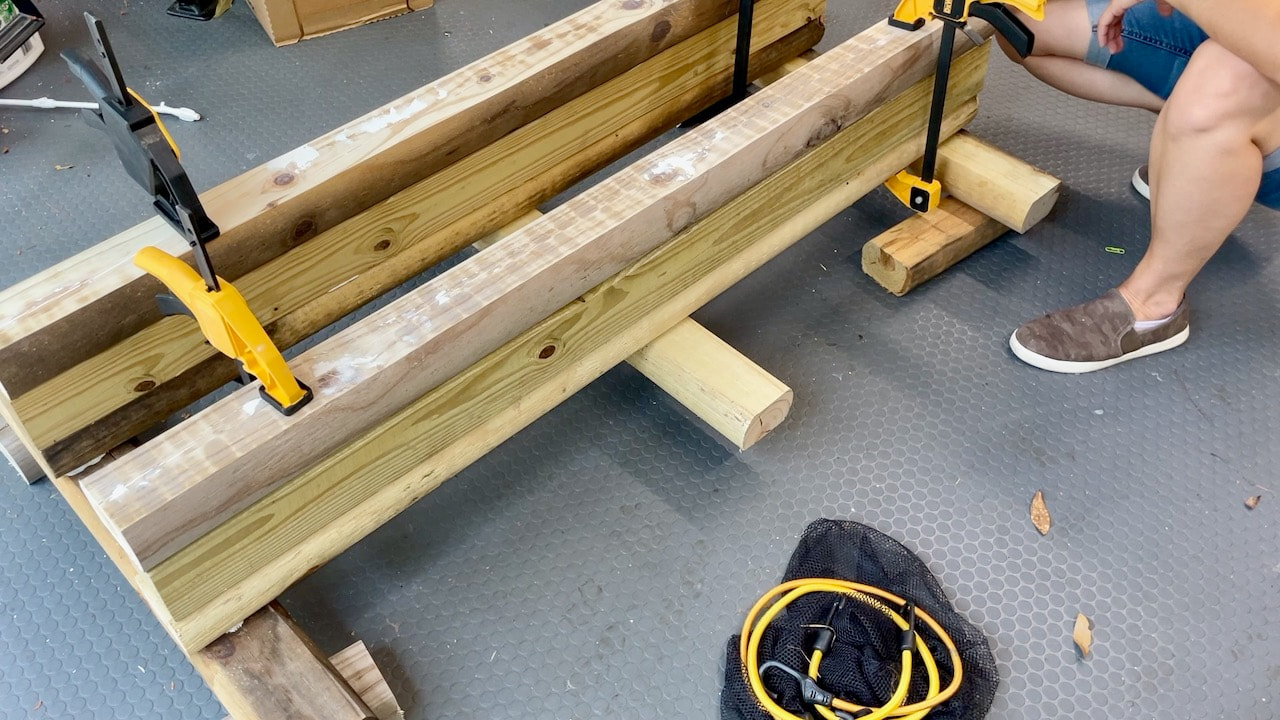
Here we are adding the second and third layer of boards. Again, we are using construction adhesive and clamps to hold it all together while it dries.
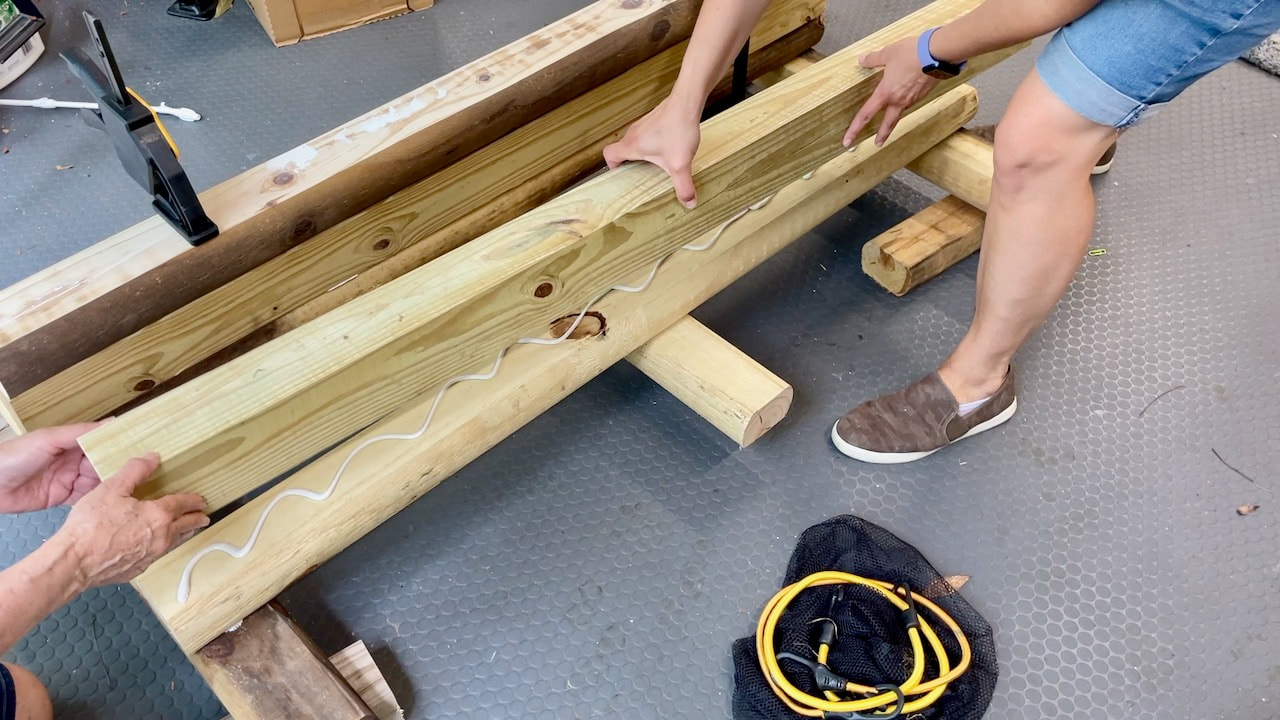
We used two layers of landscape timbers and one 4x4 to get the height we needed for the stand.
Prior to assembly, the top board was sanded and wood fill was used to help smooth out the roughness. We wanted a nice smooth surface on which to slide the kayak. We also painted the top with an exterior paint.
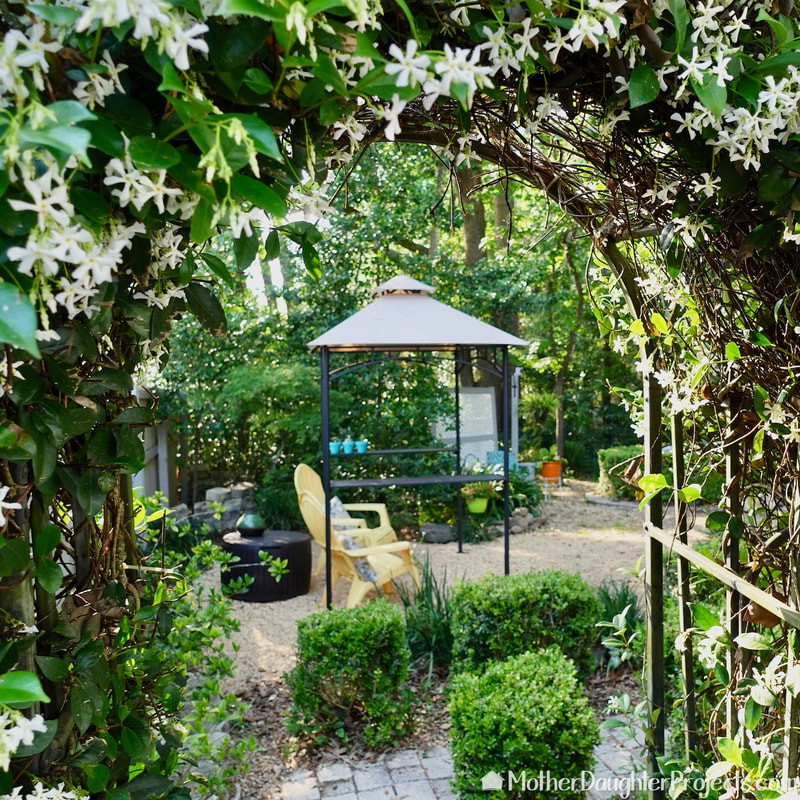
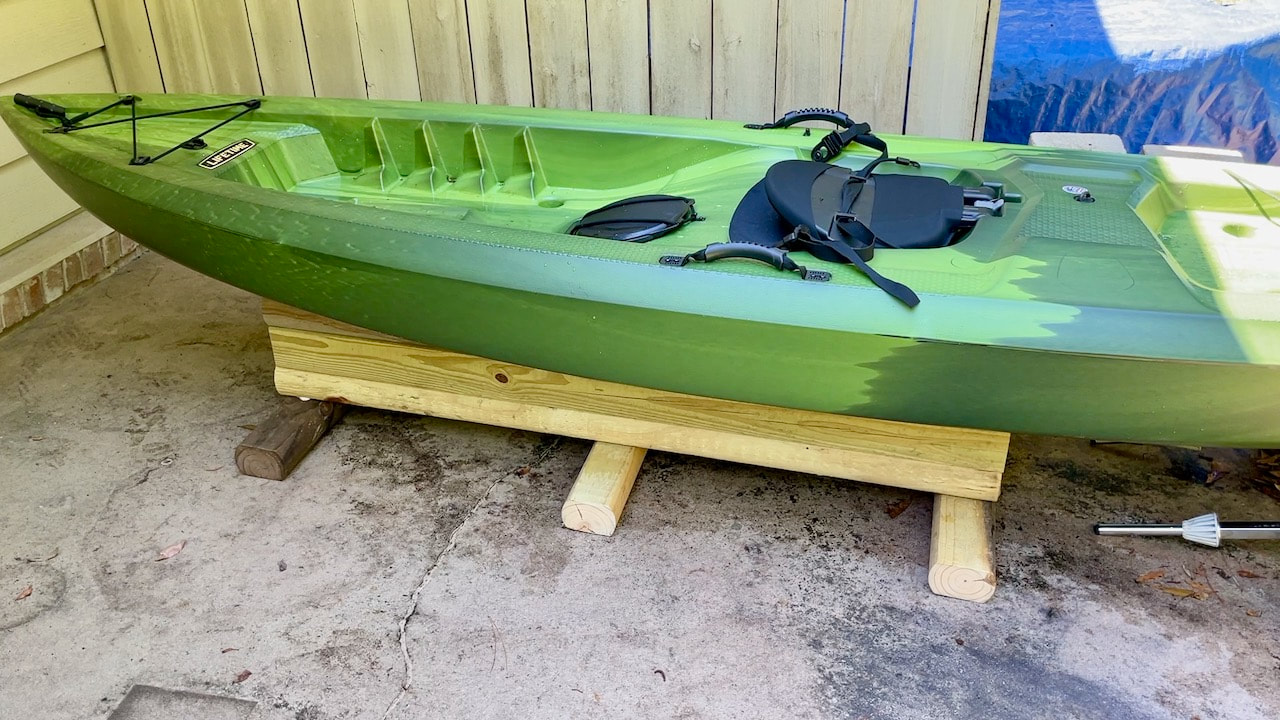
The kayak stand was moved onto this corner of the concrete patio.
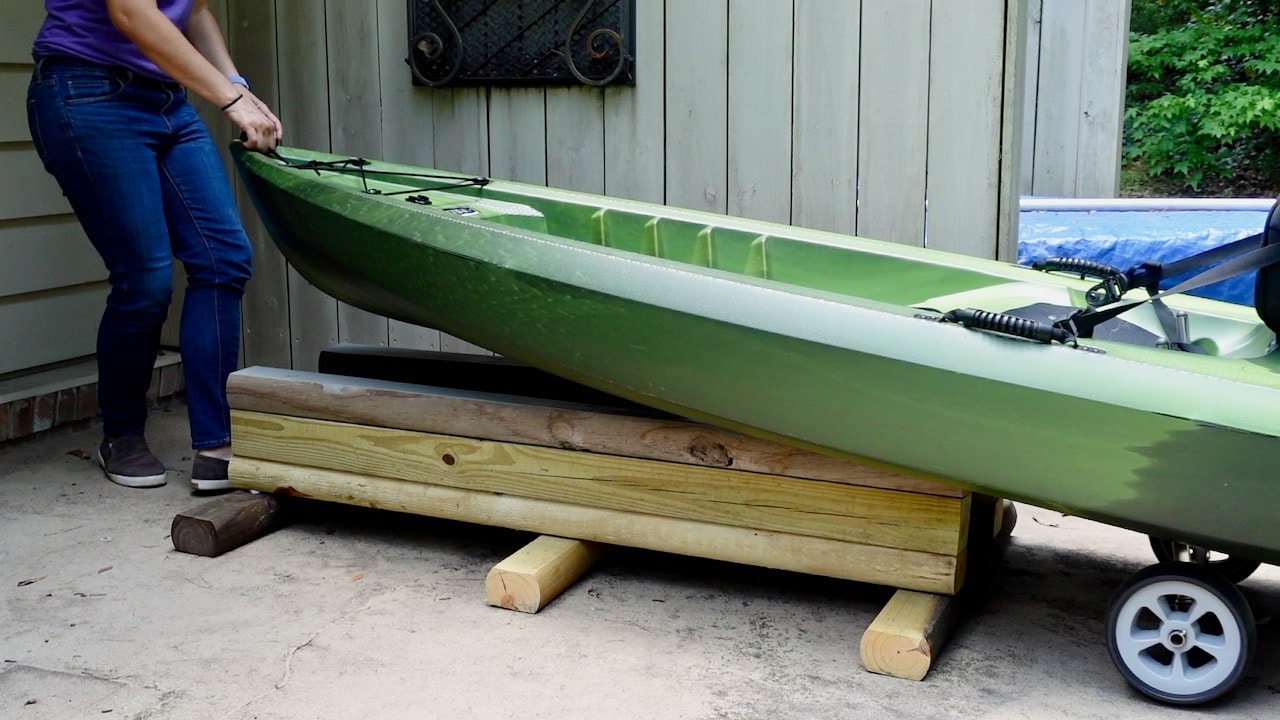
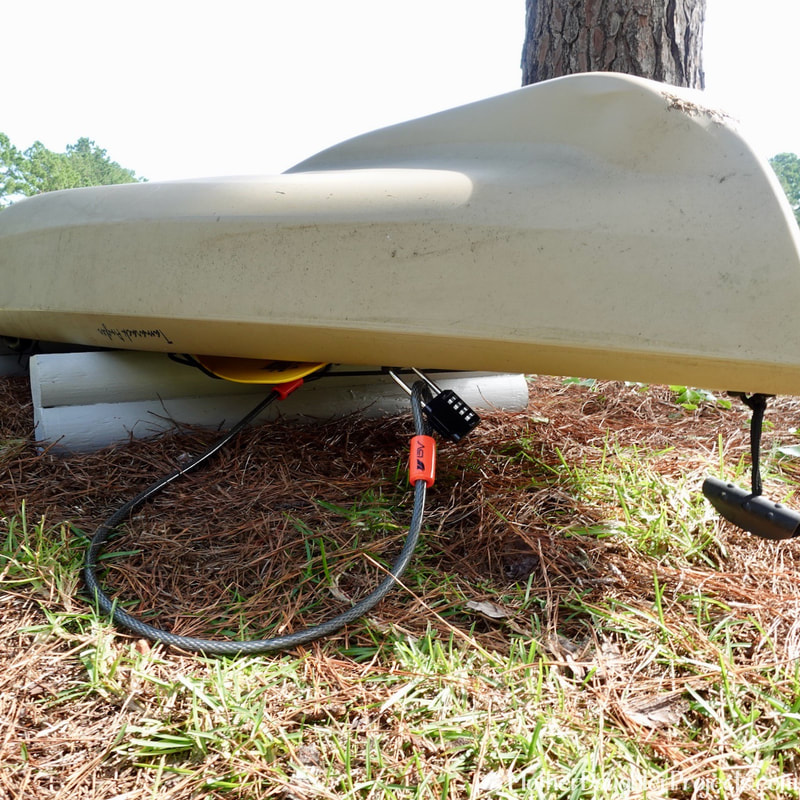
To use the stand, we roll the kayak up to the stand, lift it onto the stand and then slide the kayak in place. Once in place, we lift the back and the wheels fall out. We then store the cart inside the kayak.
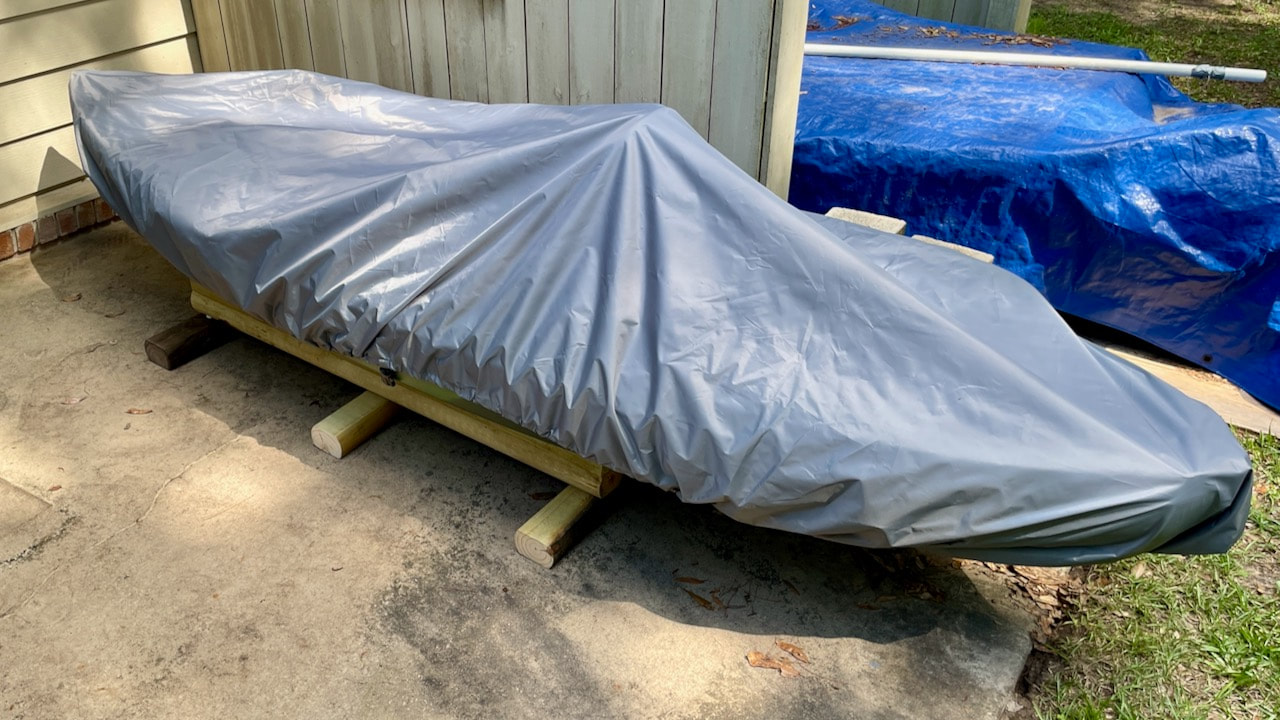
We store the kayak with the seat up which helps keep the rain from pooling on the cover.
This is the second hardshell kayak storage stand we have built. Both use inexpensive materials but the design are unique to where each kayak is stored. You can see the first kayak stand here as well as view the video here. (We initially did not have wheels (kayak cart) for the kayak, but after the first outing with it, we realized it was too heavy to carry. The wheels, which fit into the scupper holes, were a little pricy, but well worth the cost in saving our backs!) Please note: This is not a sponsored post. FYI: We are not professionals, and we don't claim to be. This is what we found worked for our project. Yours may need a little different approach. Safety first! FYI: Affiliate links are being used on this page. Purchasing via these links help support MDP Related Projects
0 Comments
Leave a Reply. |

Mother Daughter Projects
|