|
text by Vicki Sign up here to join our weekly email newsletter!
Steph has a friend with a kayak that allows her to use it whenever she wants. The friend lives on a lake so it's just a matter of moving the kayak to the water and launching for a quiet, solo relaxing paddle on the lake!
The kayak was stored a ways away from the lake so with the homeowners permission, she decided to create a more convenient storage spot for the kayak near the water. Materials/Tools:
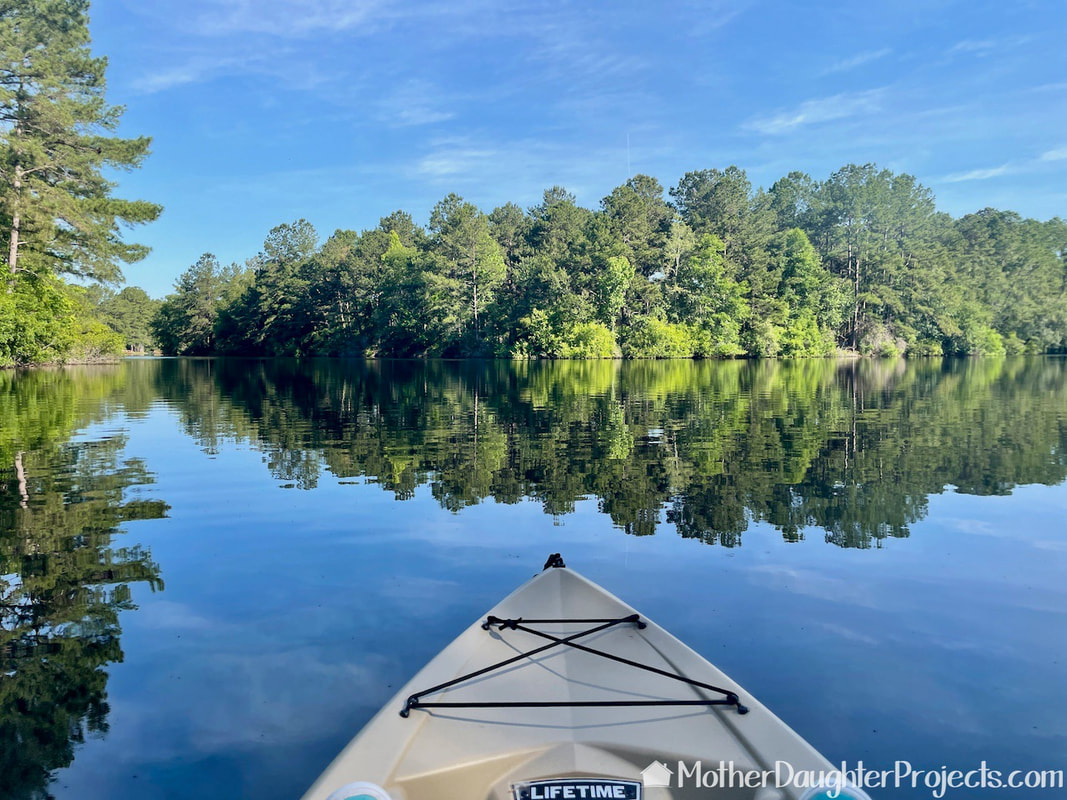
On many early Sunday mornings, Steph takes the kayak out for a leisurely, relaxing paddle on the lake.
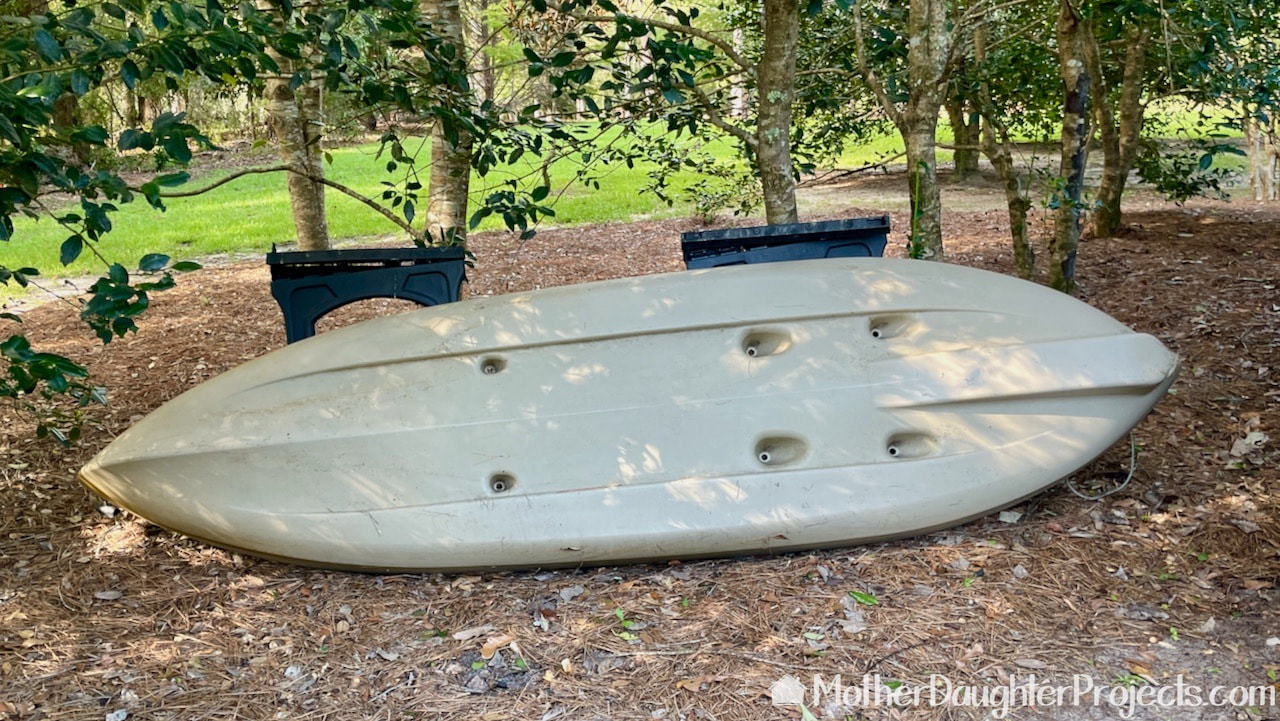
This is where the kayak is currently being stored. It was time for an upgrade!
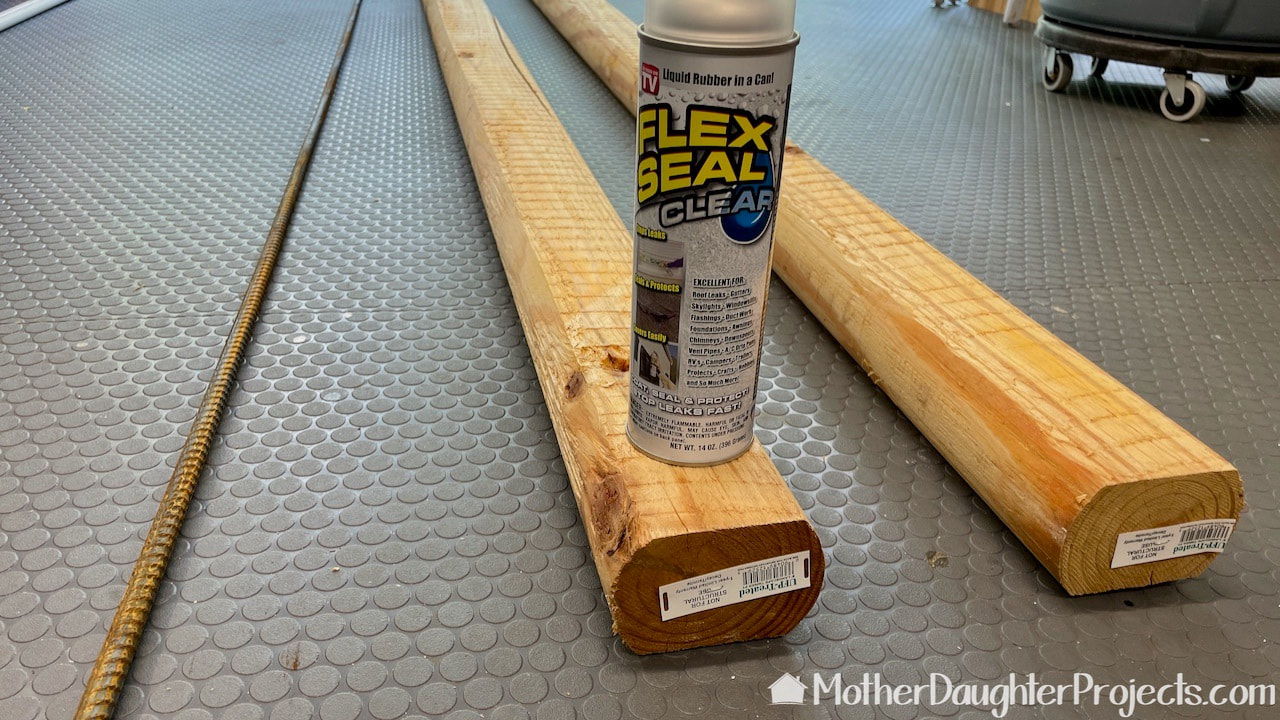
Steph did some research on kayak stands and decided simple was best! We're using landscape timbers, rebar, paint, and Flexseal sealant.
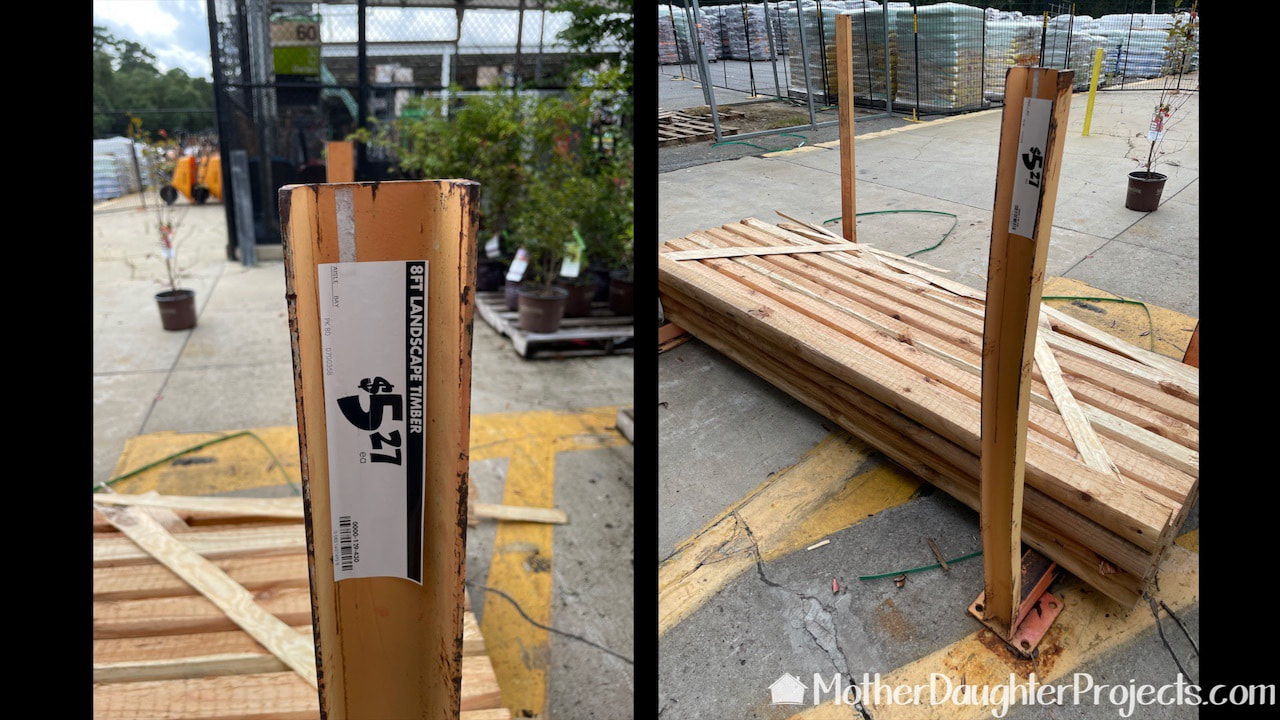
At our Home Depot the landscape timbers are located right outside the garden department.
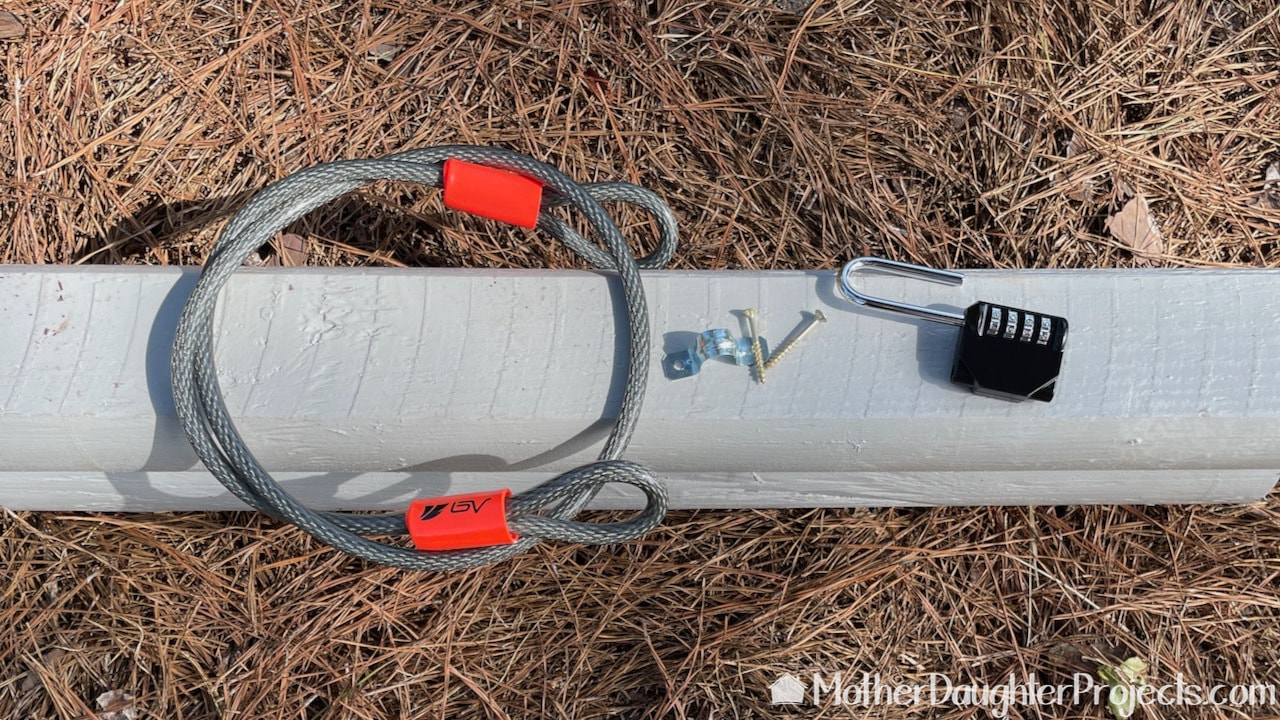
For security, we are using cables and outdoor locks.
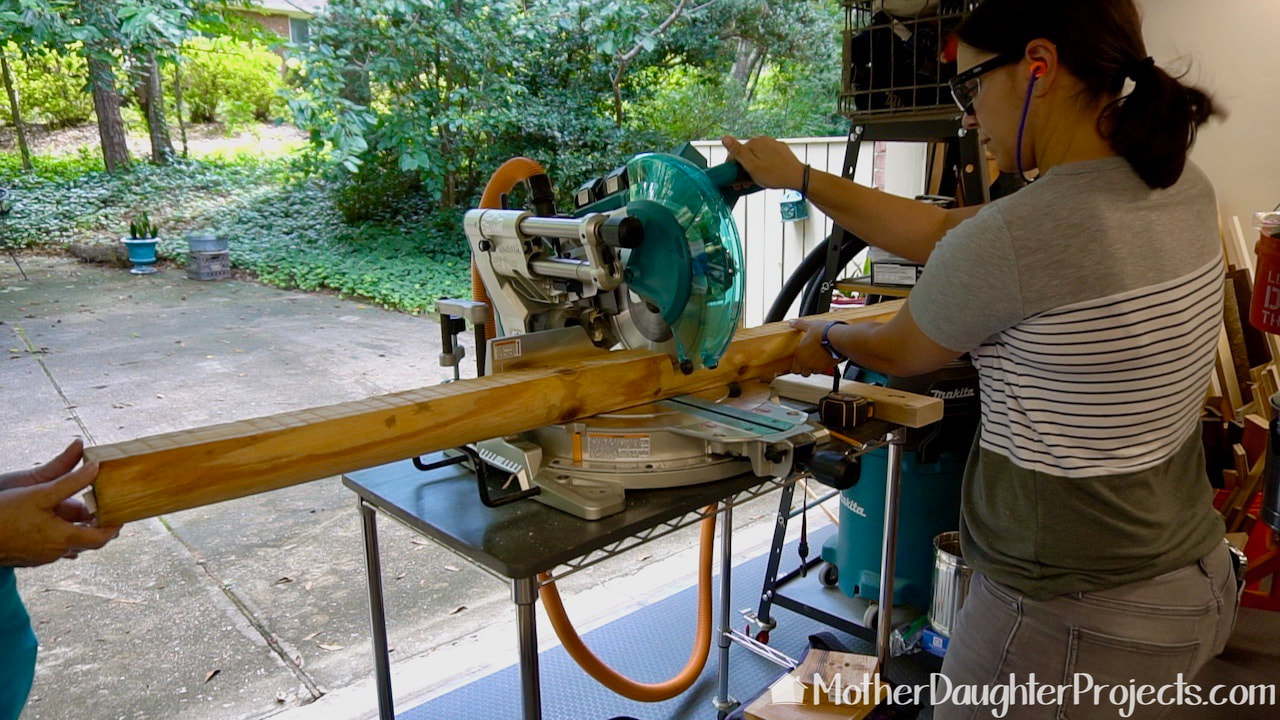
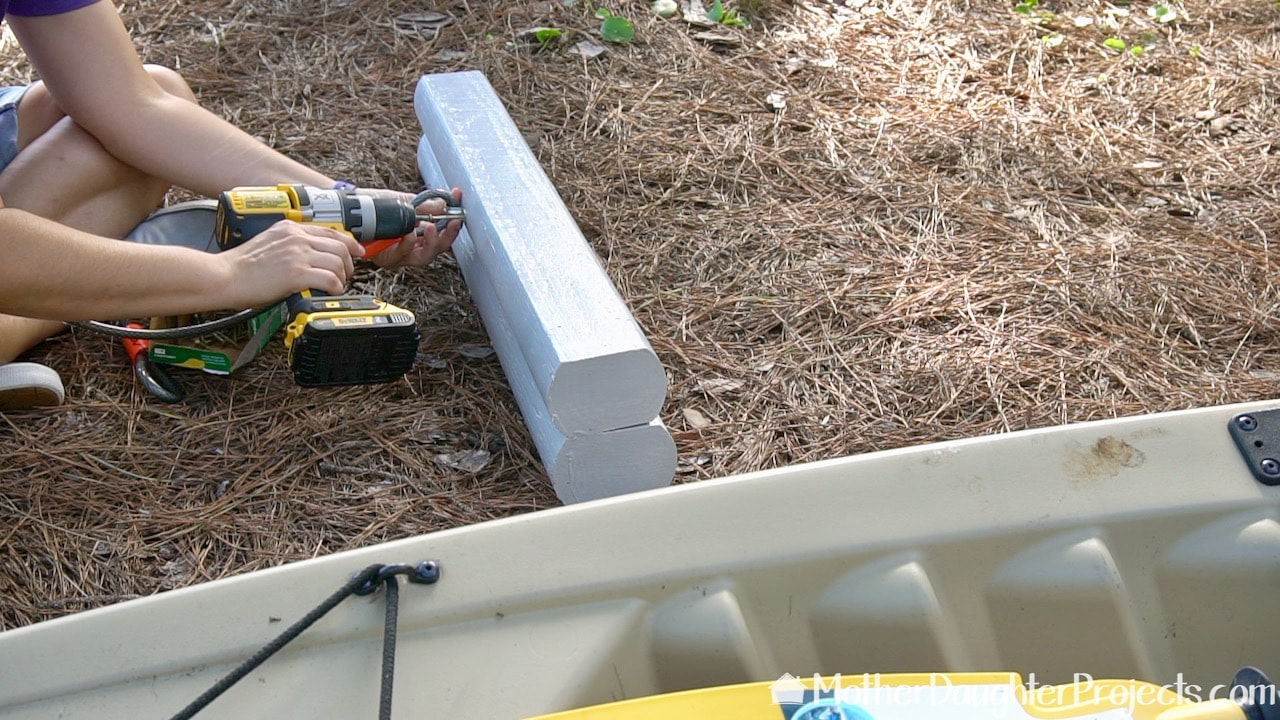
We are making the kayak stand one inch wider that the width of the kayak. Here we are cutting the landscape timbers on the miter saw to 32".

The supports are going to be two timbers thick. Here we are applying Titebond III glue, which is waterproof, to one timbers in order to attach the two together.
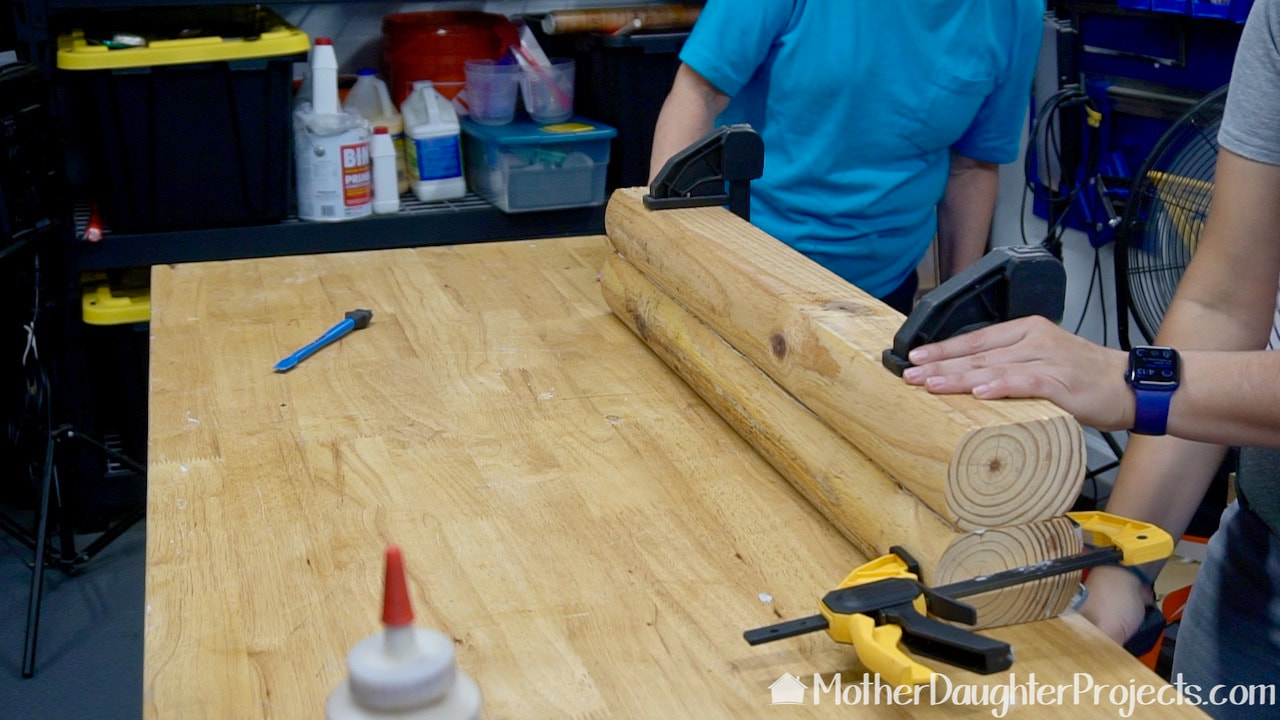
We clamped the two timbers and allowed them to dry overnight.
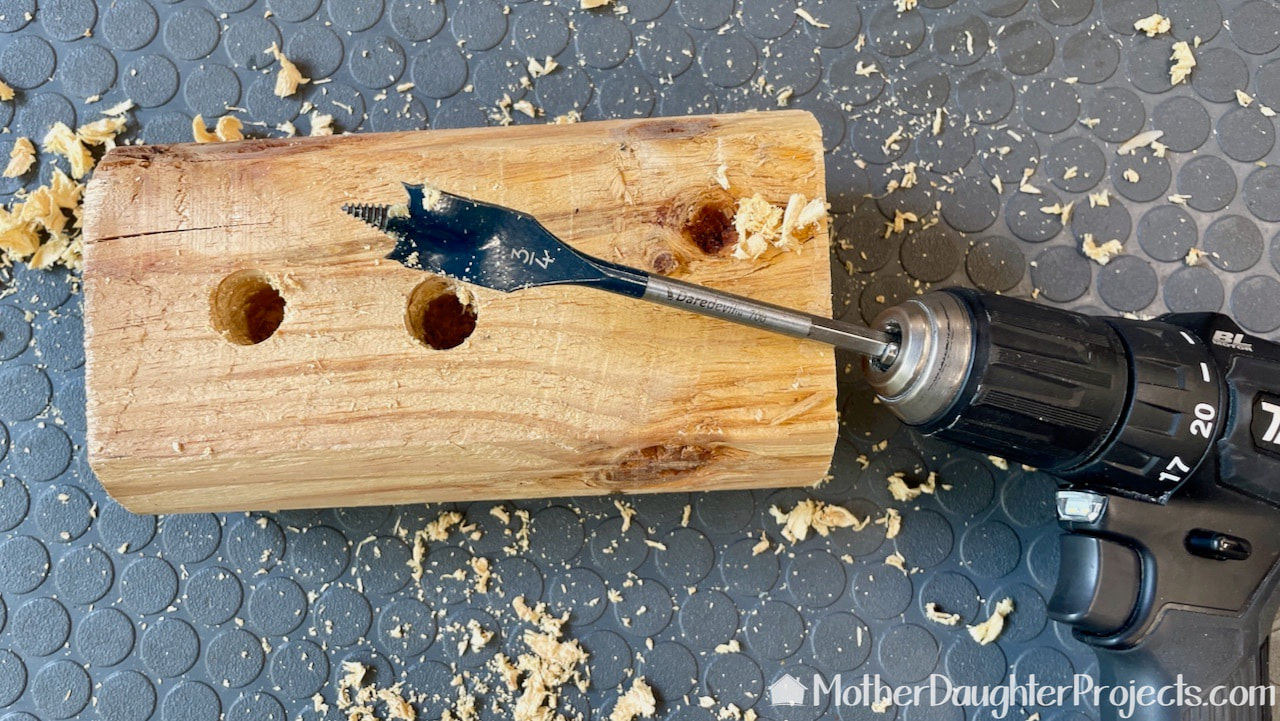
Test drilling holes for the base of the stand. A 3/4 inch spade bit worked well.
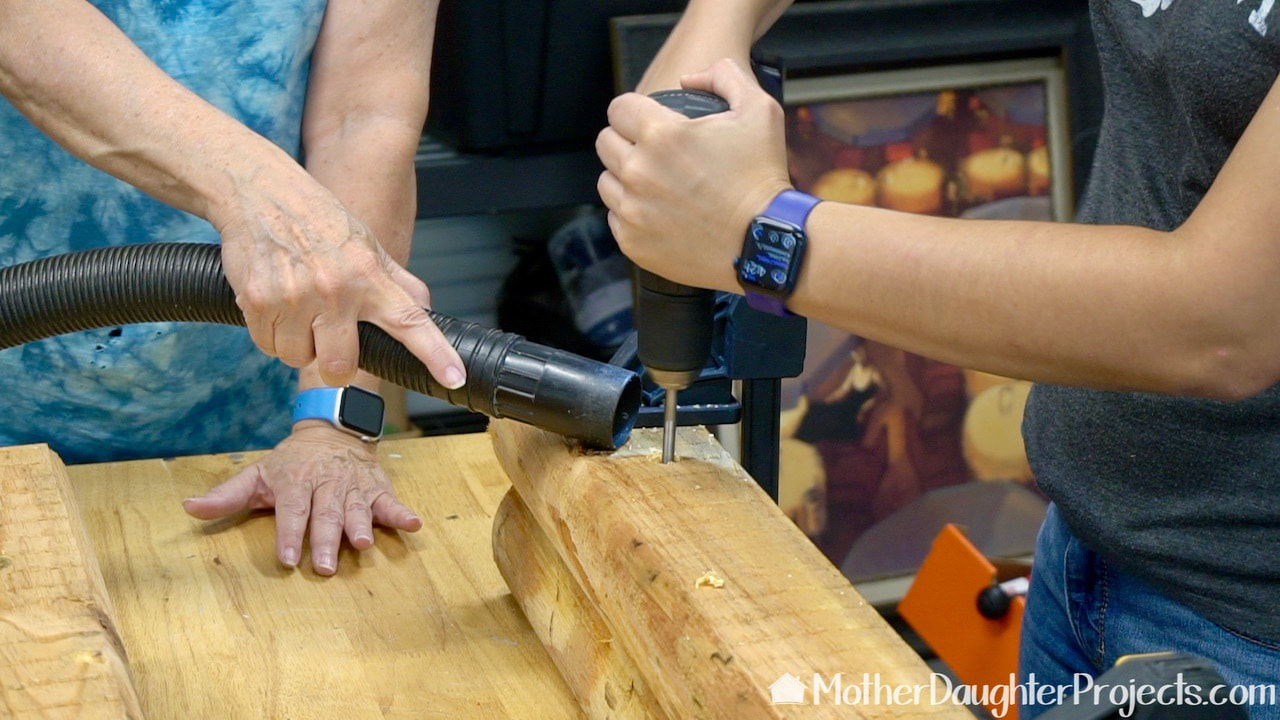
Drilling the base holes worked best with the help of a vacuum and by drilling a little bit at a time and removing and clearing the hole frequently.
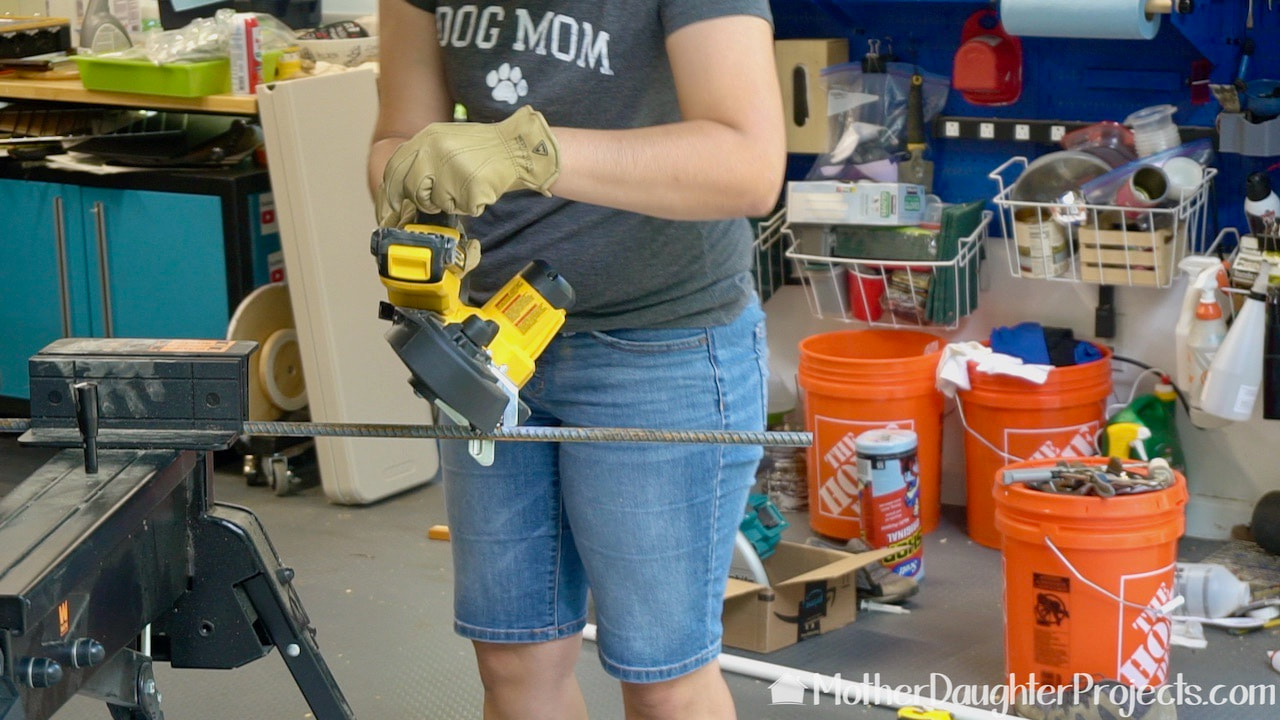
Steph cut the long piece of rebar into twelve inch segments with the DeWalt portable band saw. You can't see it but Steph is wearing a full face protective shelf to guard agains flying shards of hot metal.
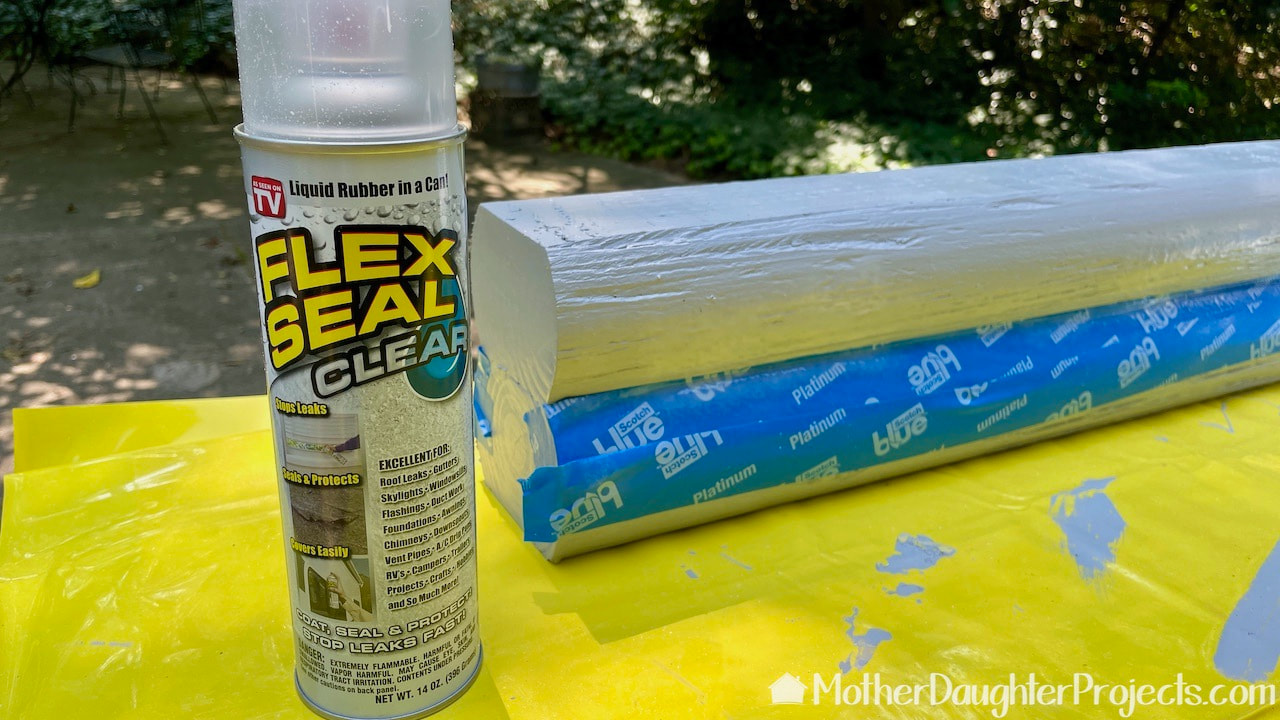
After painting the two stands with outdoor house paint, the piece was covered with Flexseal sealant to help guard against moisture and damage to the bottom of the kayak.
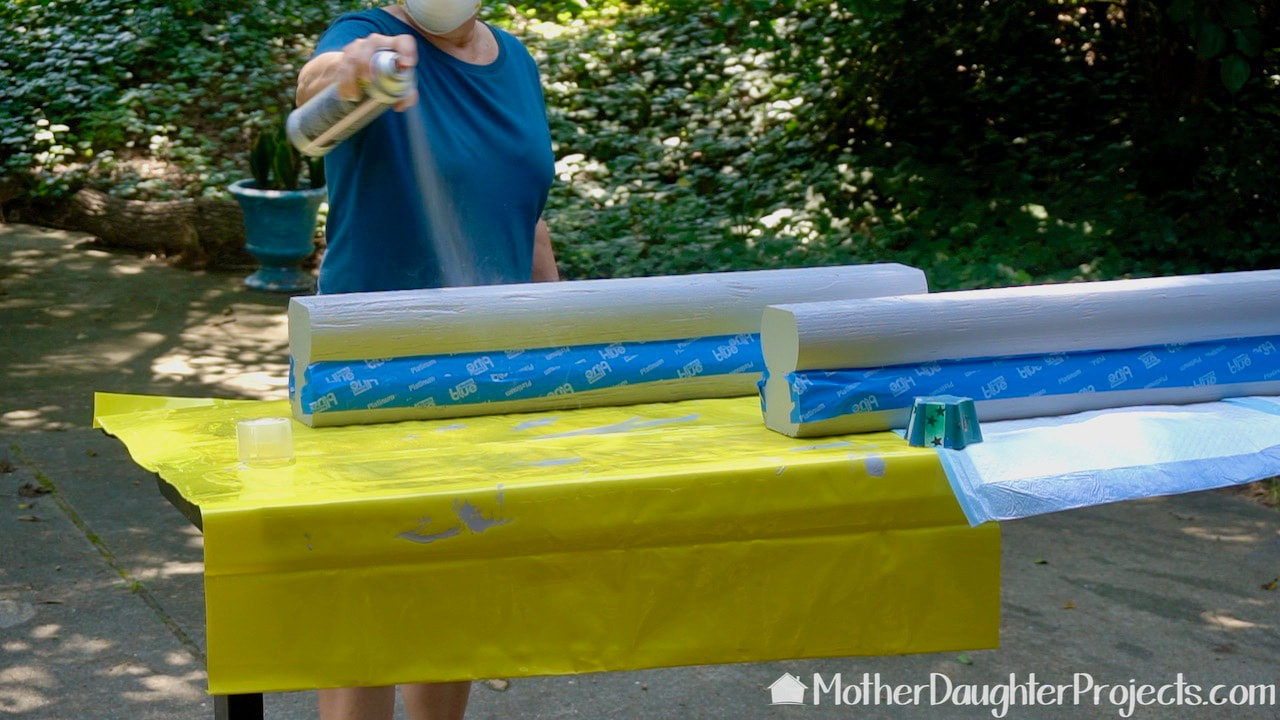
The Flexseal, which is rubber in a can, sprays on. To keep the product free flowing after use, spray the can upside down for a few seconds. In total, I did three coats of Flexseal.
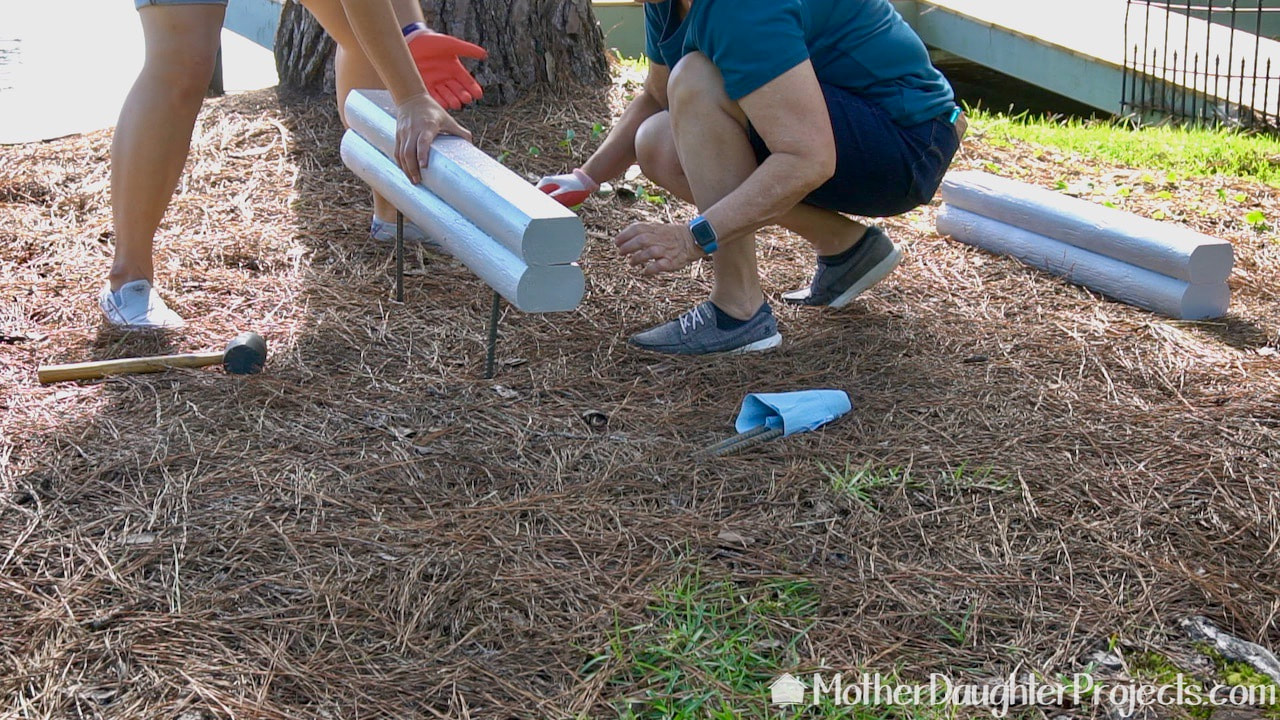
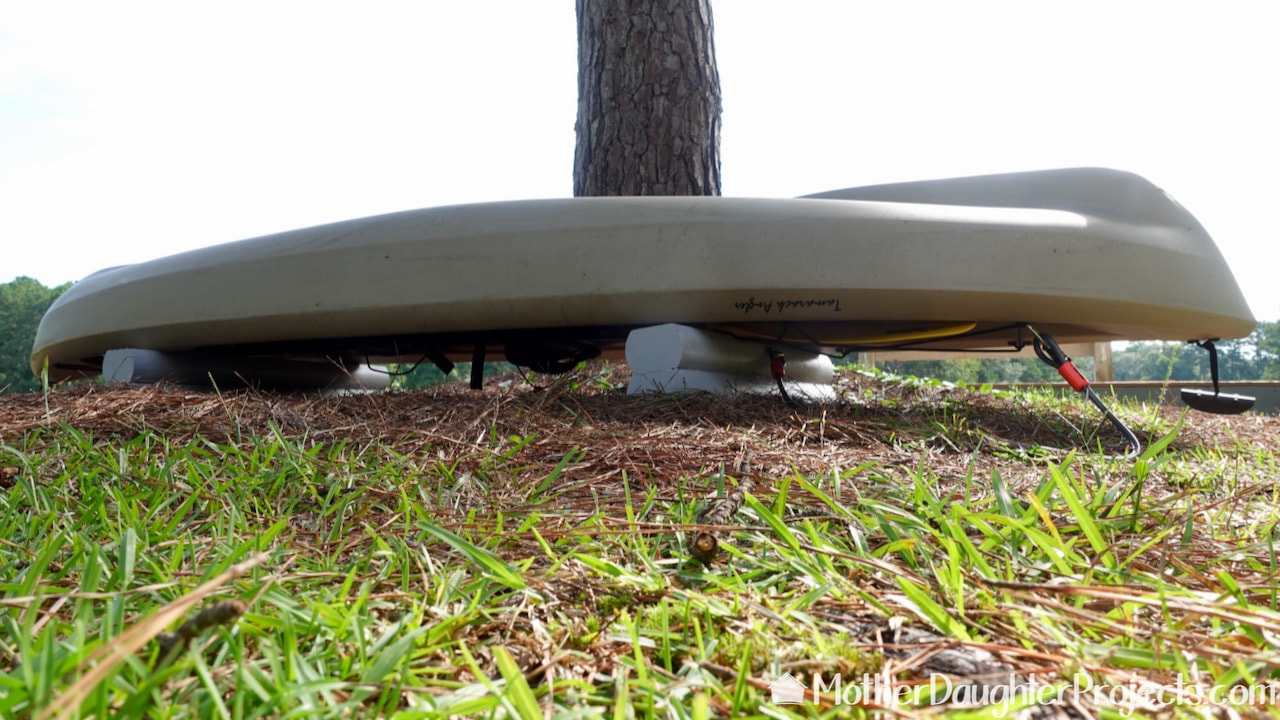
Time to install at the lake. We chose a clear spot near the water under a pine tree. Not the best spot due to the very real possibility of falling sap from the tree, but it was the best option. We determined the placement and pounded the rebar into the ground.
For a bit of security and to deter anyone from easily removing the kayak, Steph is adding a 2-hole strap on which she put a cable which she screwed into place. She's using a Spax screw which as a specialized head so a common flathead or Phillips screwdriver won't work to remove it.
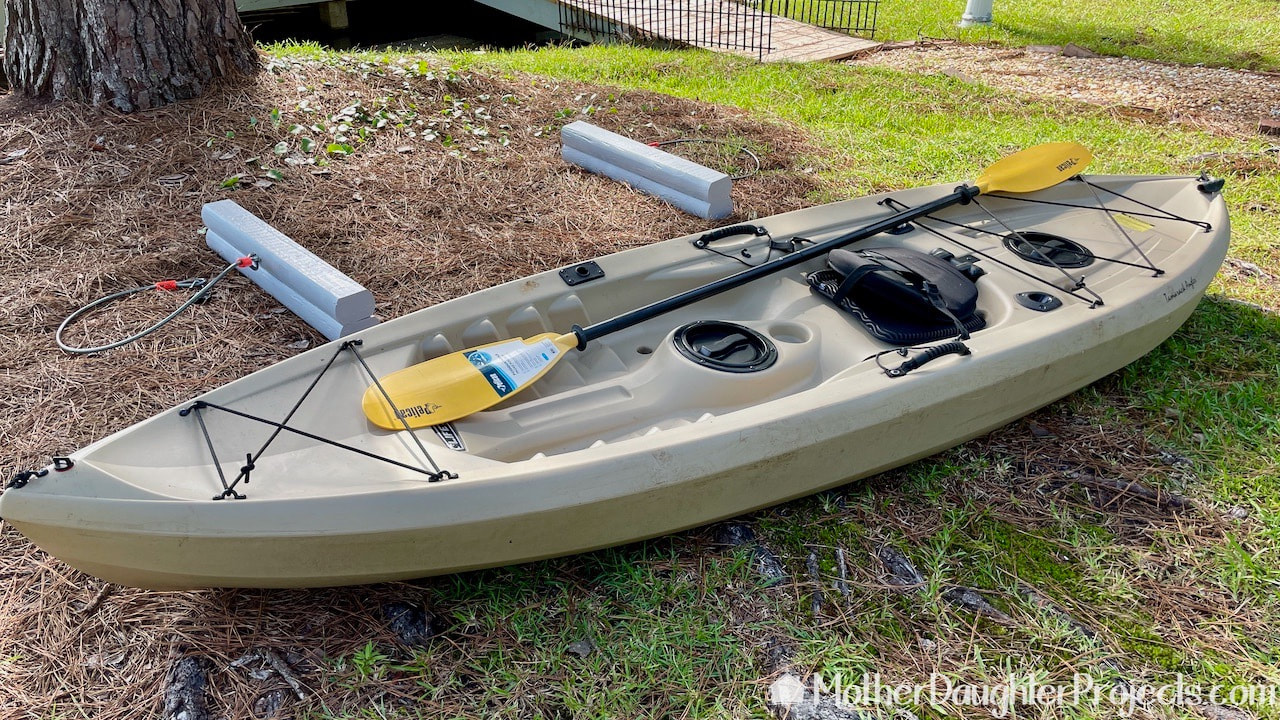
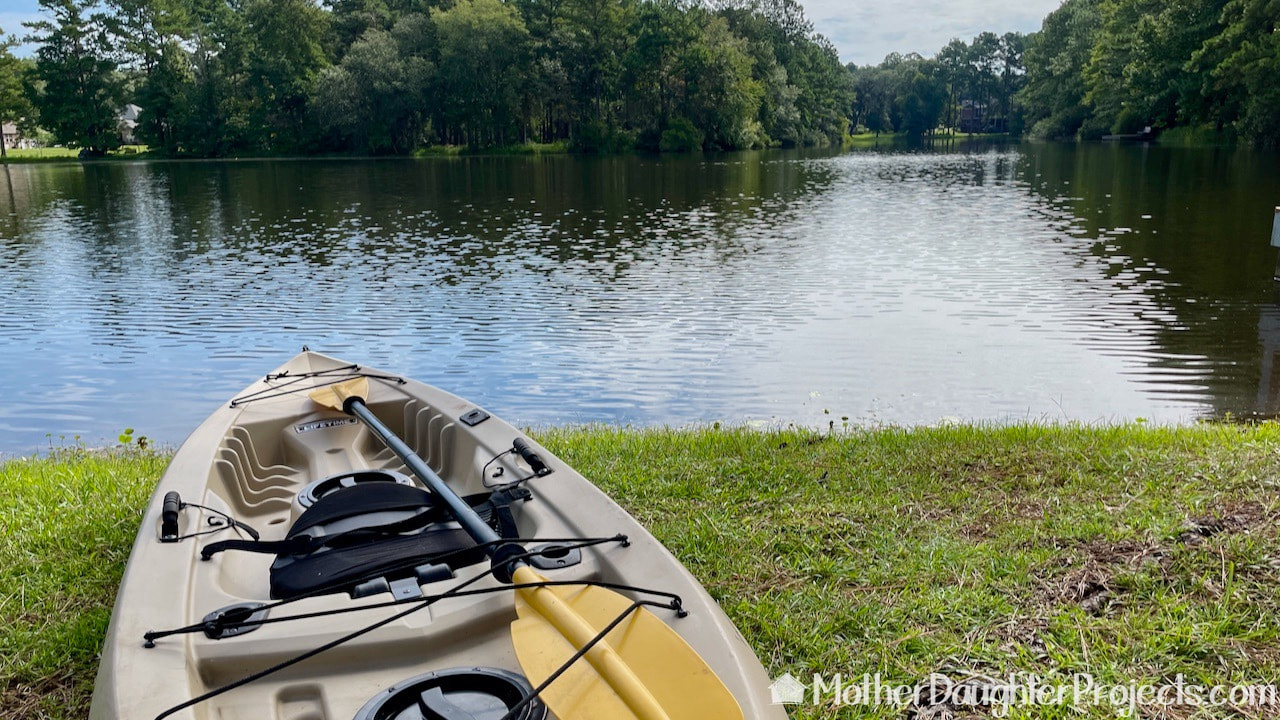
The stand is all installed so it's time to try it out! By the way, this is a fishing kayak if you were wondering.
Here's the kayak in place with locks secured to the boat.
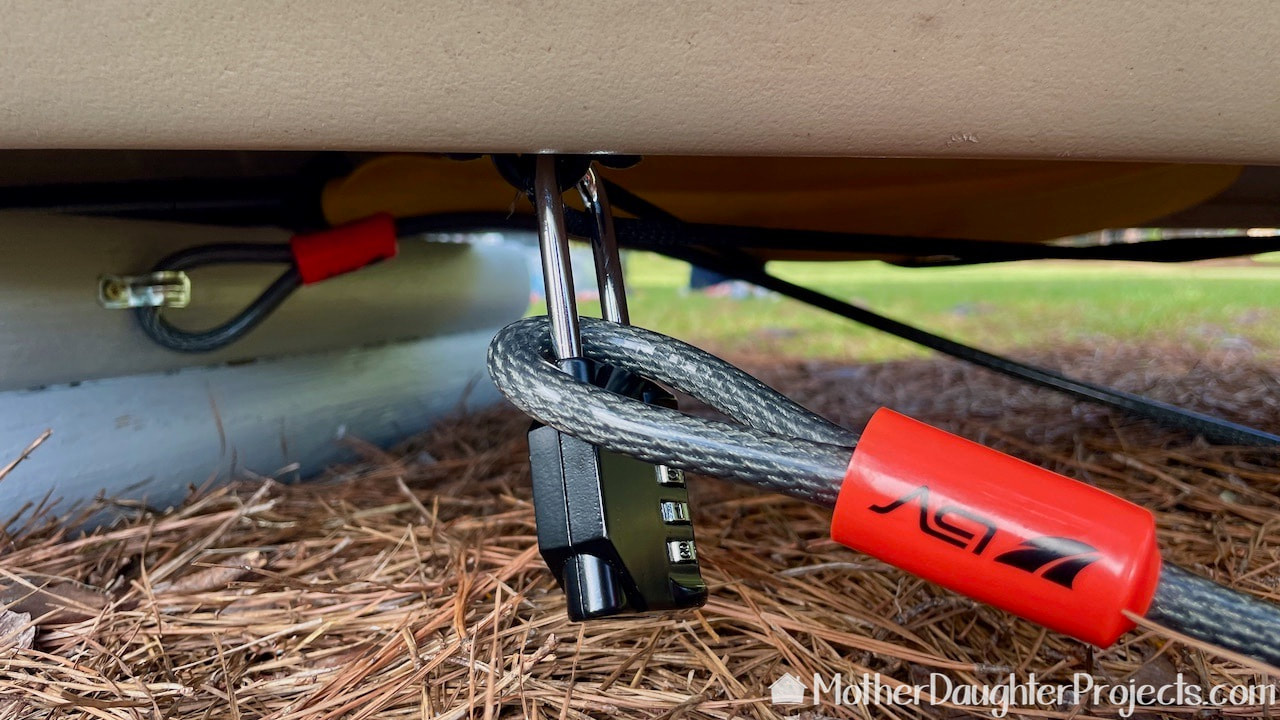
The locks add a bit of security and should act as a deterrent. Also, having the kayak secured to the base, should help keep it in place in the event of a storm.

It's a simple design but it works. It's much handier to have the kayak next to the water.
Let's go!
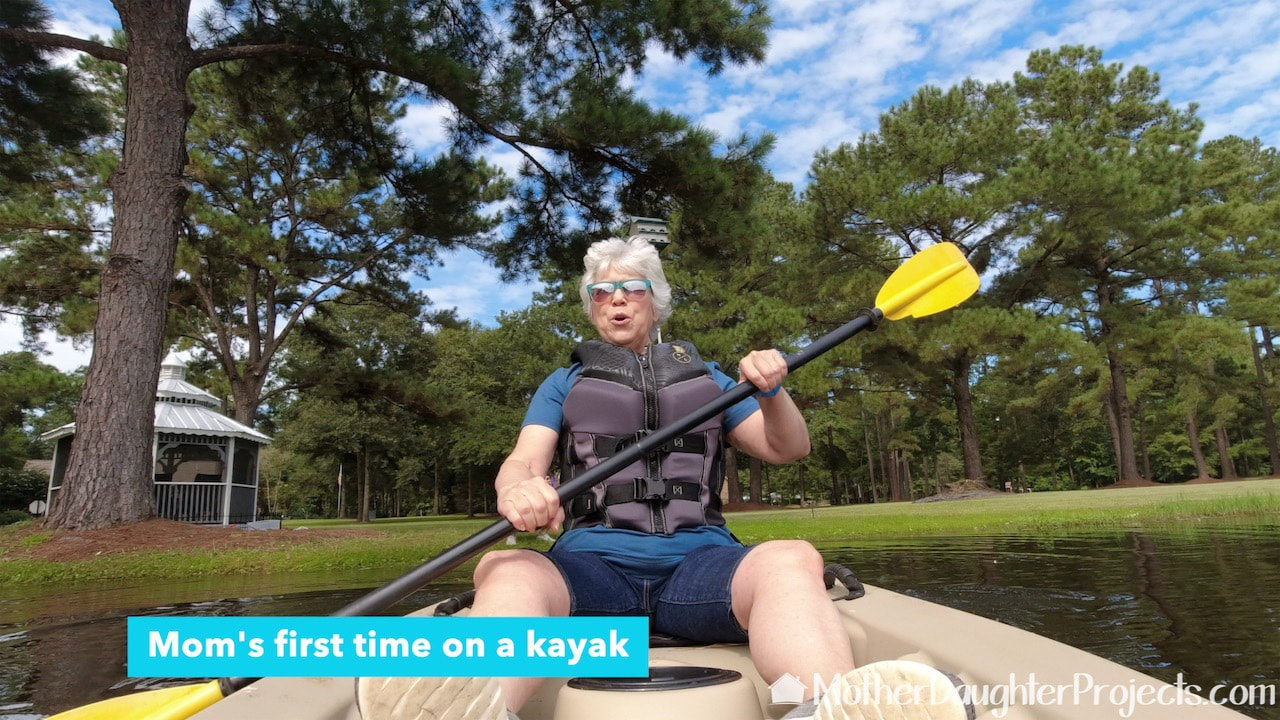
And yes, Steph talked me into taking the kayak out on the lake on my own! I'm hooked!
Steph is so fortunate to have such a generous friend who allows her to use the kayak whenever! The lake is beautiful with calm water and is so peaceful.
The storage stand near the water is much more convenient that having to drag the kayak from its former storage spot. I did enjoy my first time on the water and am looking forward to trying it again. Be sure to watch the video through the end to see my most inelegant exit from the kayak! It was pretty funny! It makes me laugh every time I see it. Please note: This is not a sponsored post. FYI: We are not professionals, and we don't claim to be. This is what we found worked for our project. Yours may need a little different approach. Safety first! FYI: Affiliate links are being used on this page. Purchasing via these links help support MDP! Related Projects
2 Comments
Bill and Cookie Zimmer
10/28/2021 11:07:26 am
Bill and I both watched this one together. Looks simple enough and certainly will keep the kayak secure. Too bad we can't put our kayaks in our back yard. HOA won't let us. Great video!
Steph
10/29/2021 10:47:21 am
Darn HOA! Leave a Reply. |

Mother Daughter Projects
|