|
text by Vicki Sign up here to join our weekly email newsletter!
Over a year ago when we built the bed-in-a-box, we knew we wanted some kind of decoration on the side of it. We were unsure what we wanted but when we got a Cricut Maker a few months ago, we realized we could design a custom stencil to use to decorate the box and that is what we did.
Read on to see how we did it. 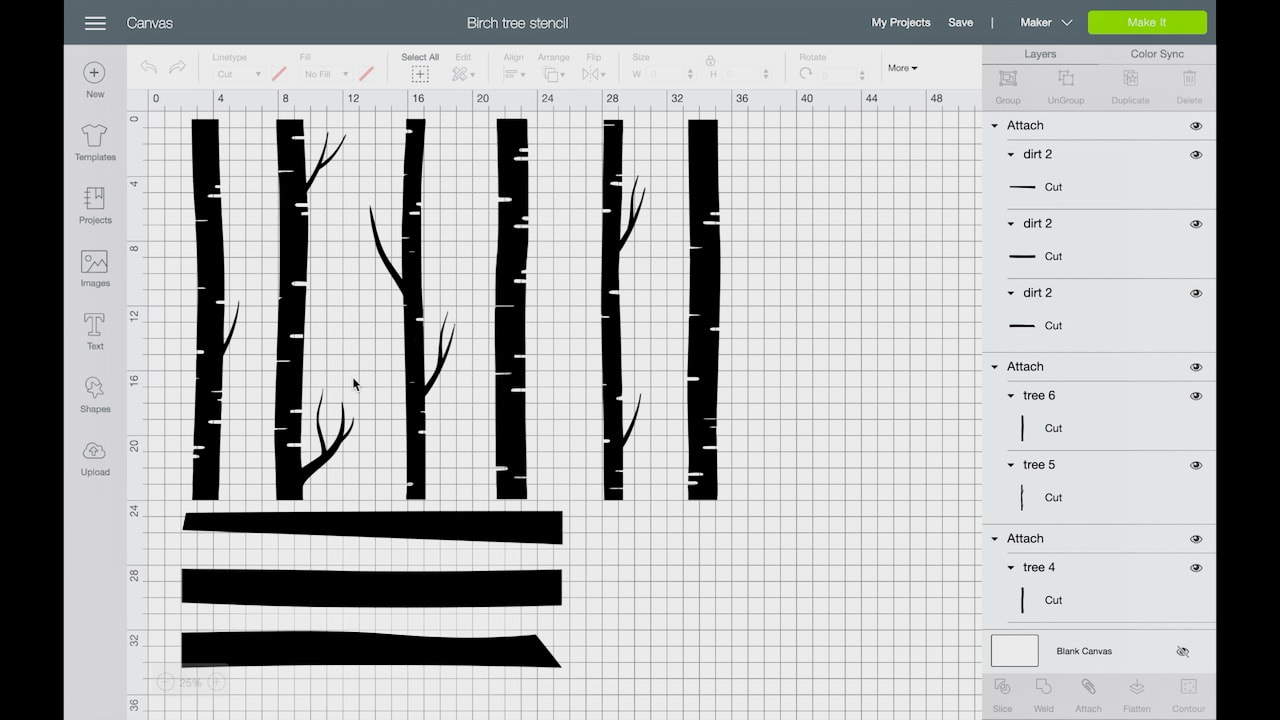
Using our pro account on Canva.com, Steph found a graphic she could use for our purpose. She brought the graphic into Cricut Design Space where she manipulated the graphic to the size she needed. More details on this process in the video.
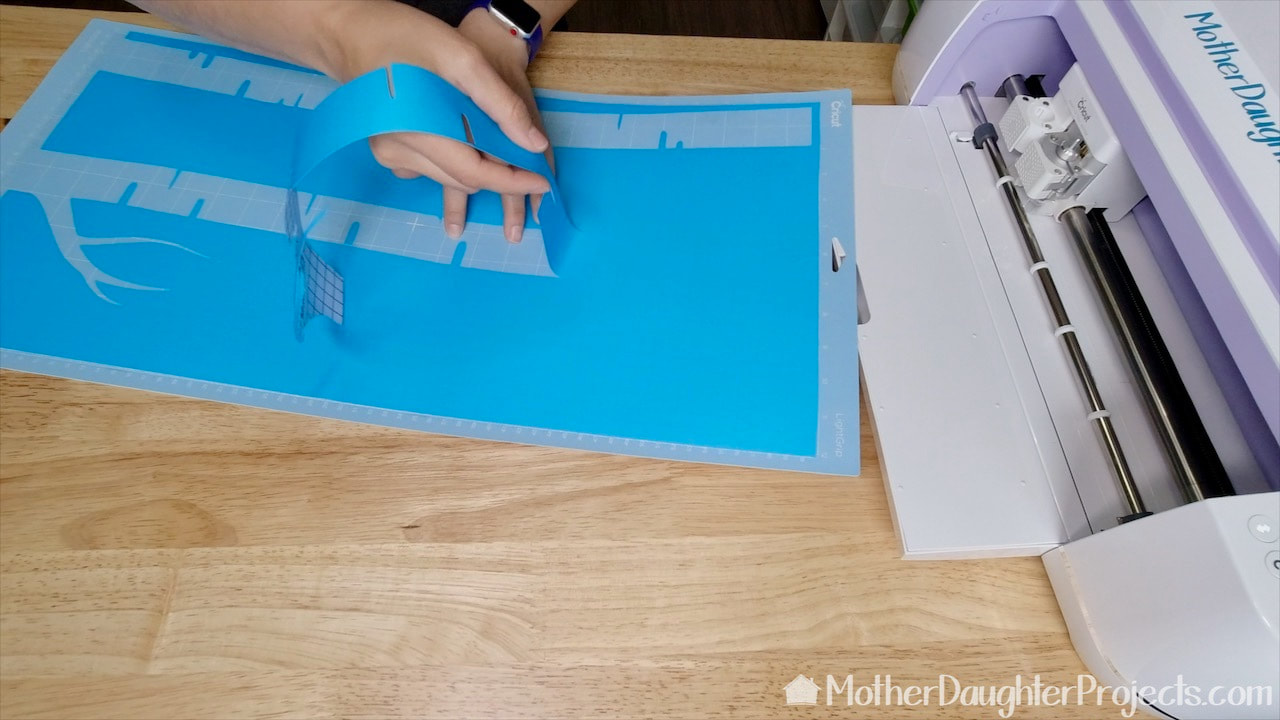
Steph added stencil vinyl to a 24 inch Cricut mat and sent it through the machine to be cut.
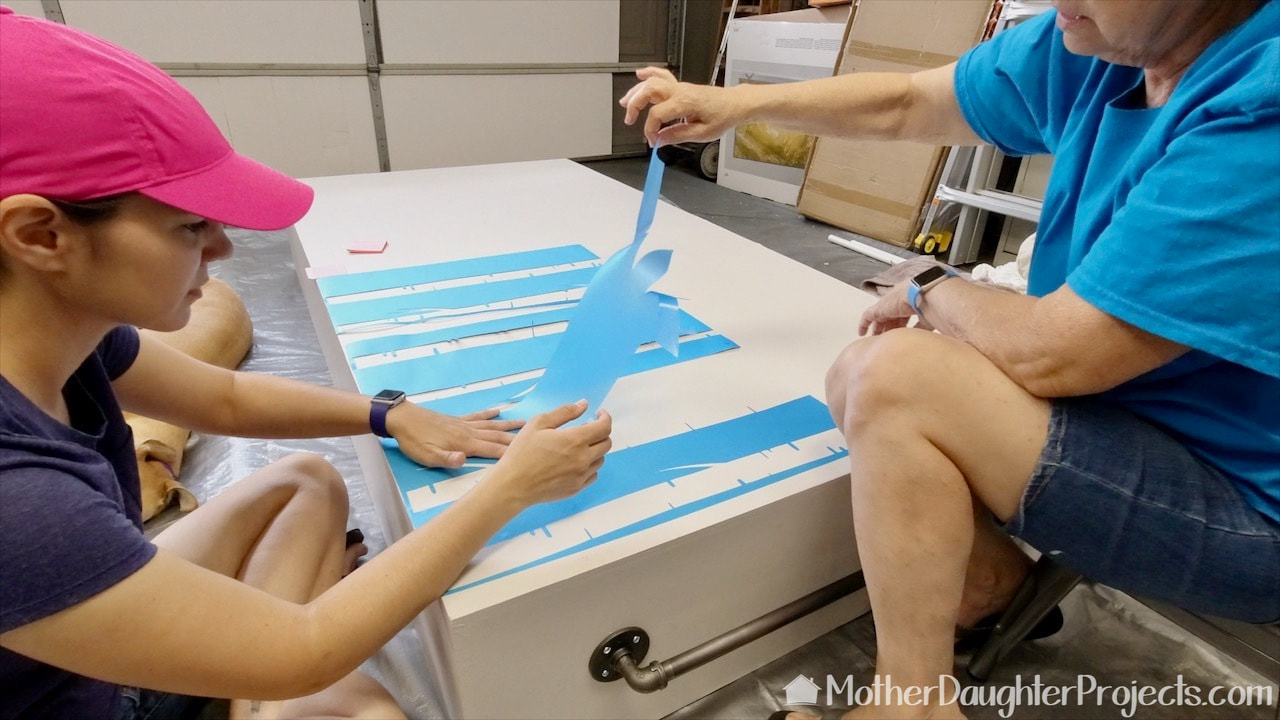
Placing the stencils on the box was definitely a two person job. It's not hard, just a bit awkward for one person to handle the long pieces.
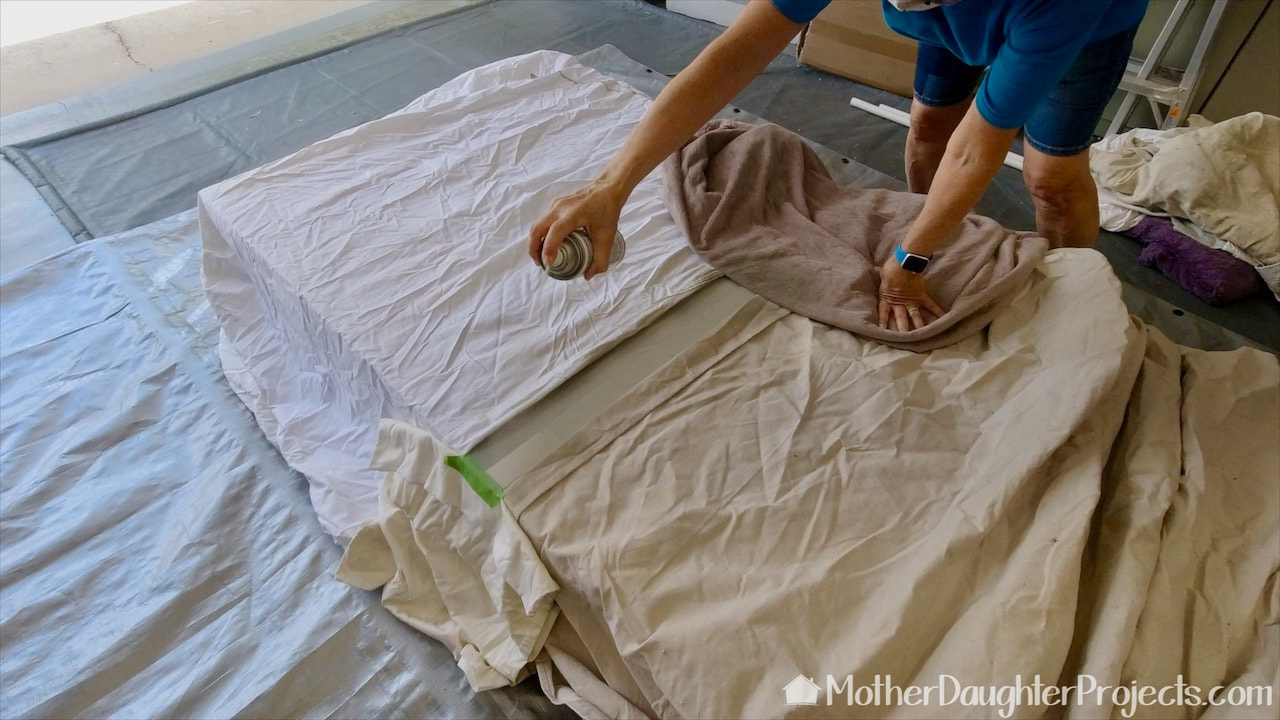
It is important to throughly mask any area to protect it from overspray. We used a combo of canvas drop cloths, plastic and assorted fabric pieces. Don't skip this step!
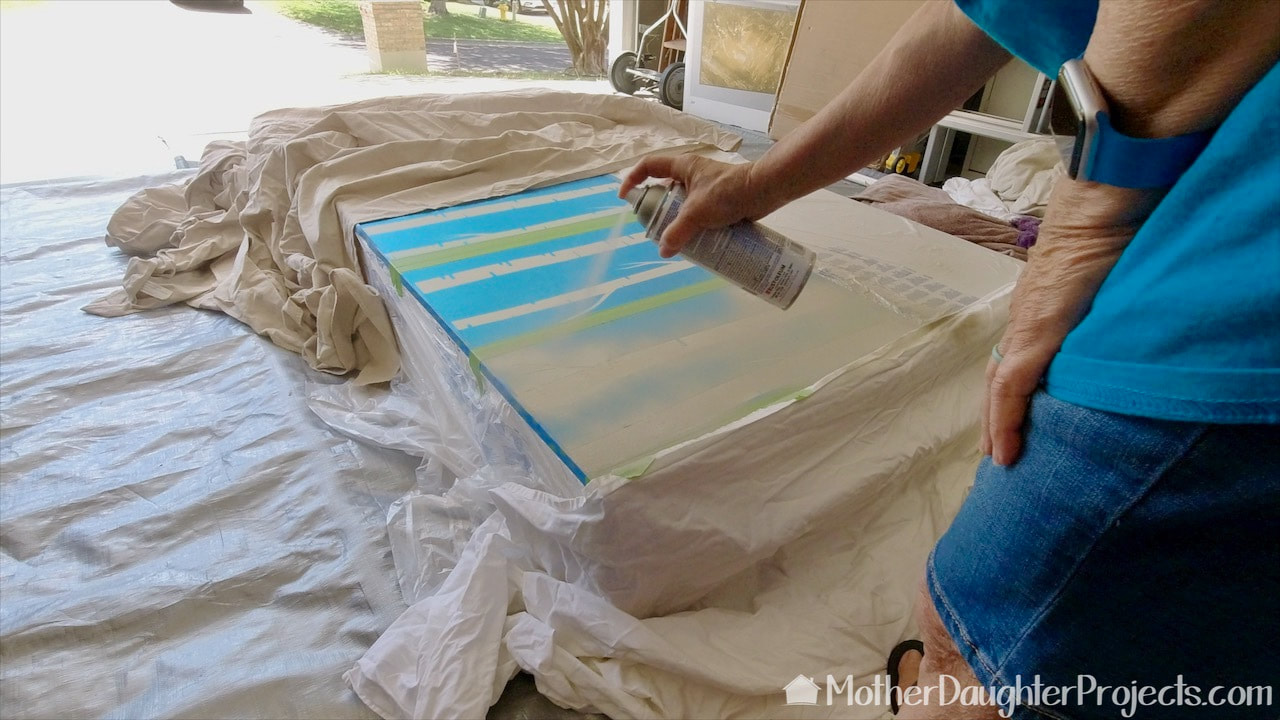
We are using Rust-Oleum chalked spray paint. The nice thing about this paint is how fast it dries. We were able to move the stencils fairly quickly to finish up.
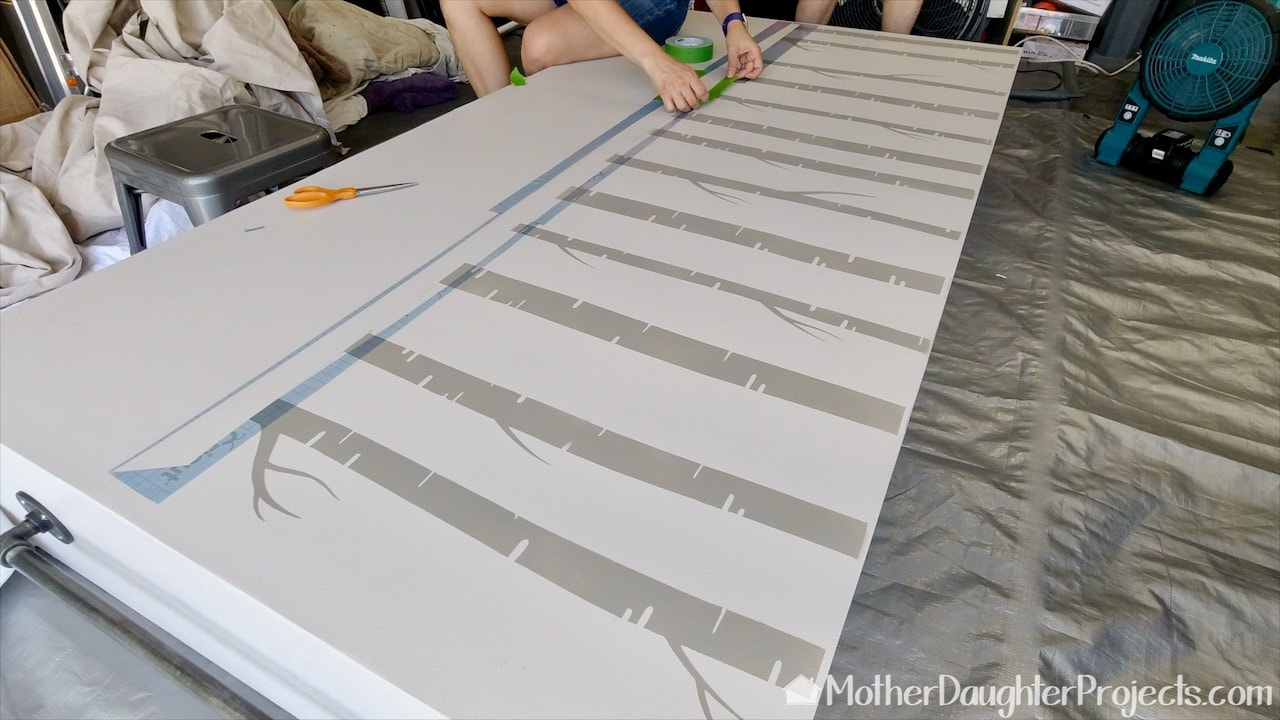
Here we are positioning the 'ground' stencil. It wasn't quite long enough so we just added a bit of Frog Tape to bridge the two pieces.
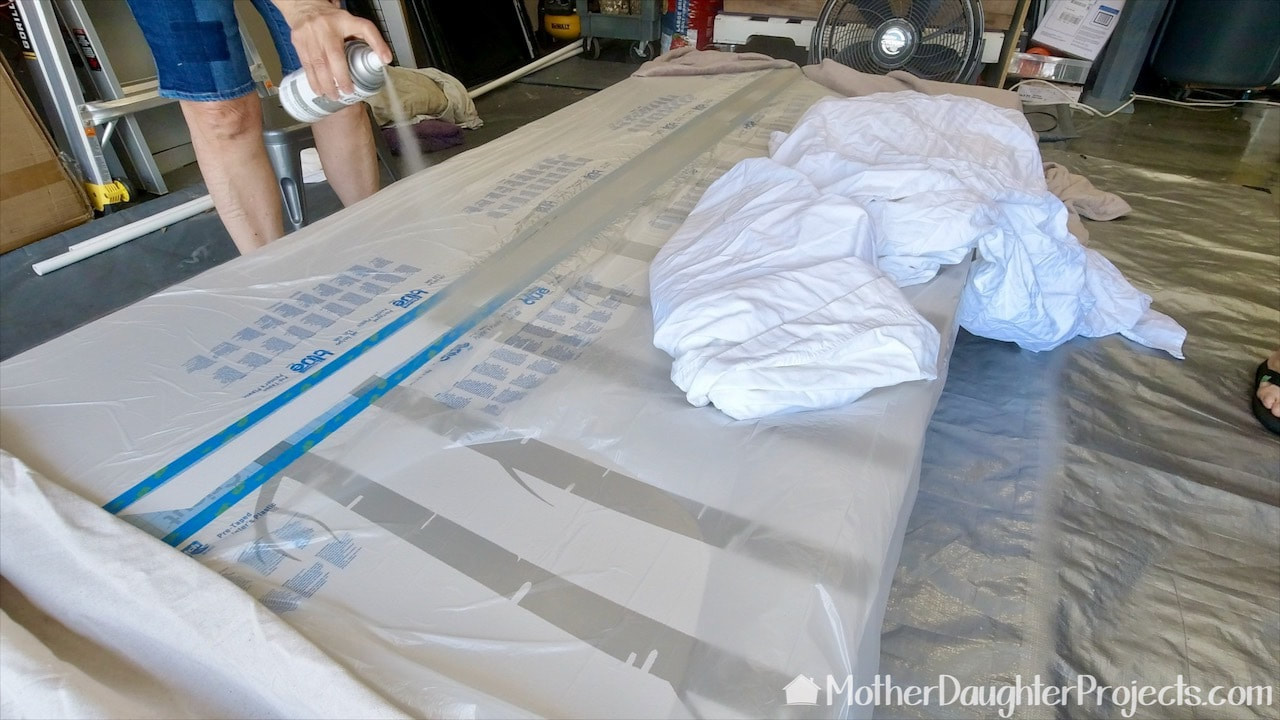
We made sure to mask everything and finished up the chalk spray painting.
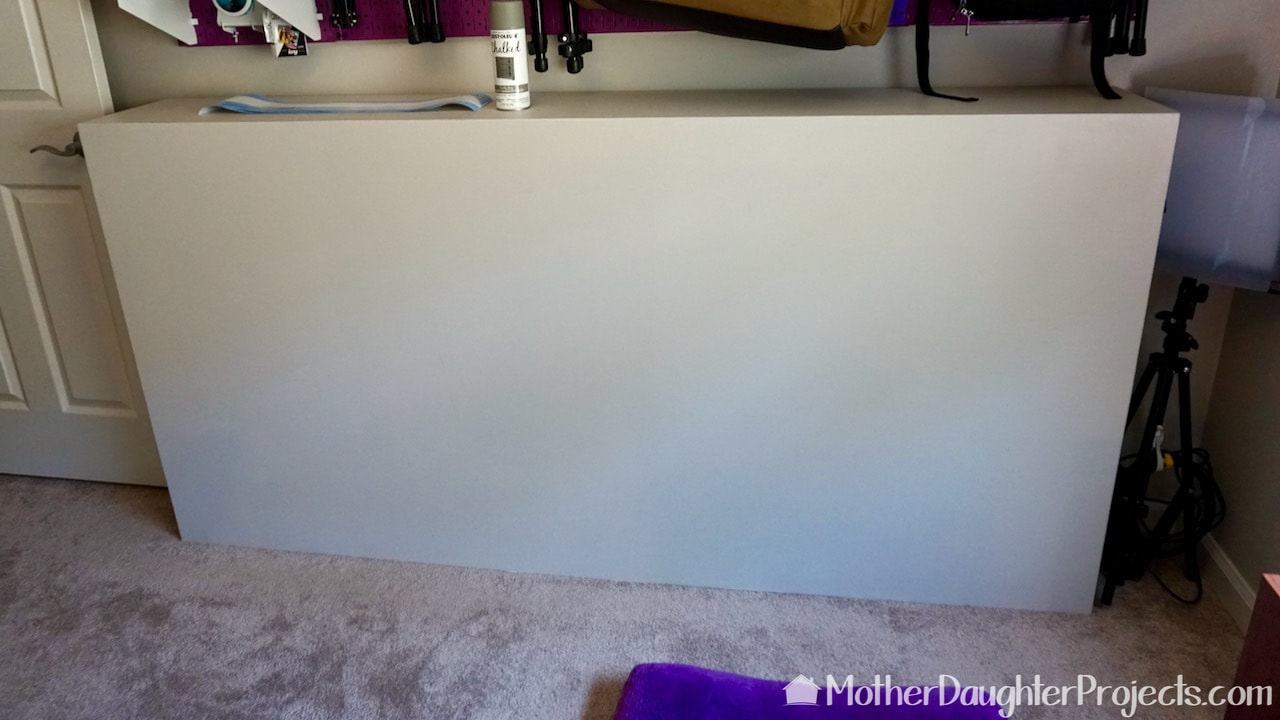
Before...
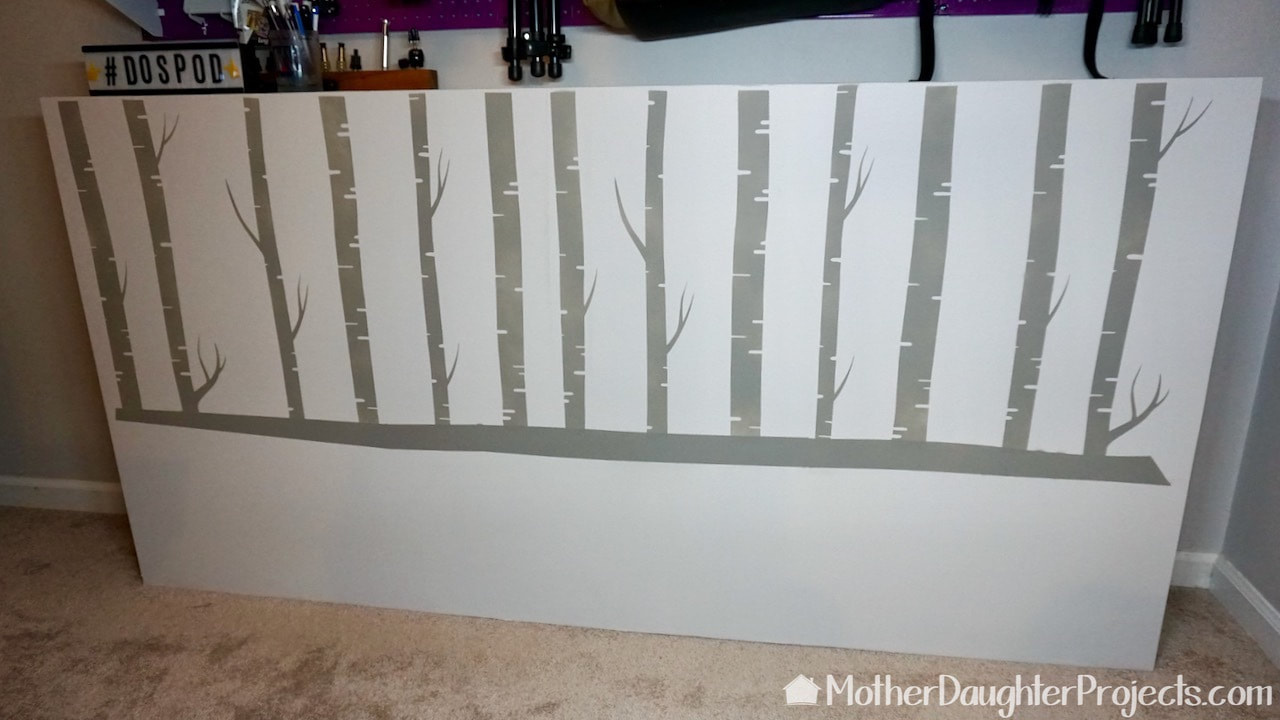
After. Our nature inspired decor.
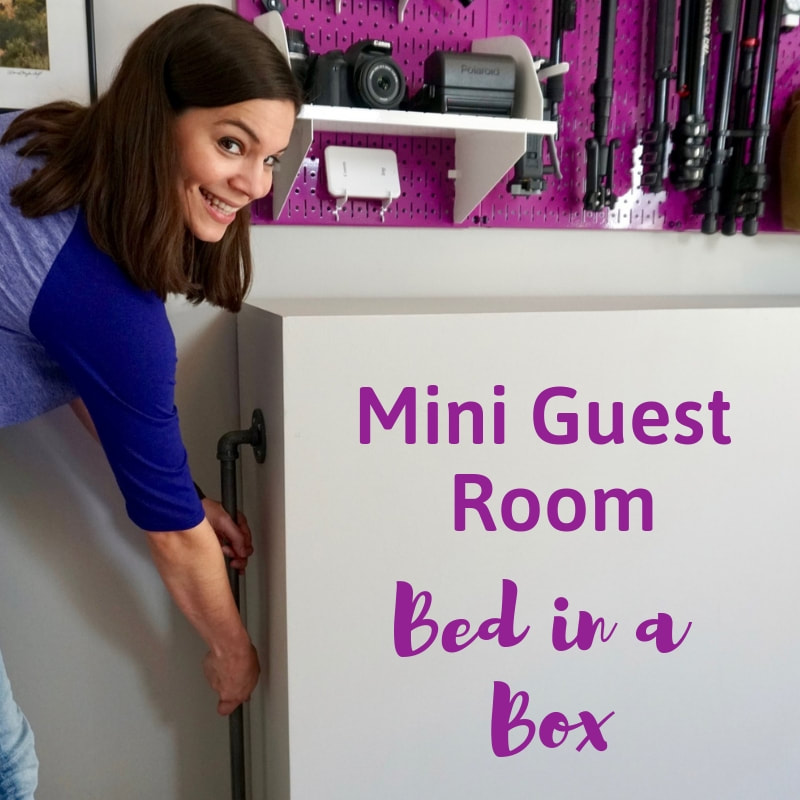
What you are seeing is actually a platform for an inflatable mattress and the other side of the box is storage for all the bedding a guest would need. The box and its storage turns this space from office to guest room. When not in use as a guest room, everything goes back in the box and the top now turns into a ledge for storage and display of technology equipment.
Please note: This is not a sponsored post. FYI: We are not professionals, and we don't claim to be. This is what we found worked for our project. Yours may need a little different approach. Safety first! FYI: Affiliate links are being used on this page. Purchasing via these links help support MDP! Related Projects
0 Comments
Leave a Reply. |

Mother Daughter Projects
|