|
text by Vicki Sign up here to join our weekly email newsletter!
So we did it.
We finally bought a Cricut Maker! Let me back up for those of you who don't know what the world of Cricut is all about. Cricut (the Explore Air 2 and Maker models) is a computer controlled cutting machine that replaces a wide variety of cutting tools. It allows the user to create shapes and words in a variety of adhesive vinyl and more. For example, if you were ever a school volunteer, you probably used an Ellison machine to cut letters for bulletin boards. A Cricut can do that and more. If you've seen personalized mugs and bags as well as t-shirts, they were probably created with a Cricut. Well, we were undecided until we realized the Maker model could cut wood! That seemed to be right in Mother Daughter Projects wheelhouse so we went for it. 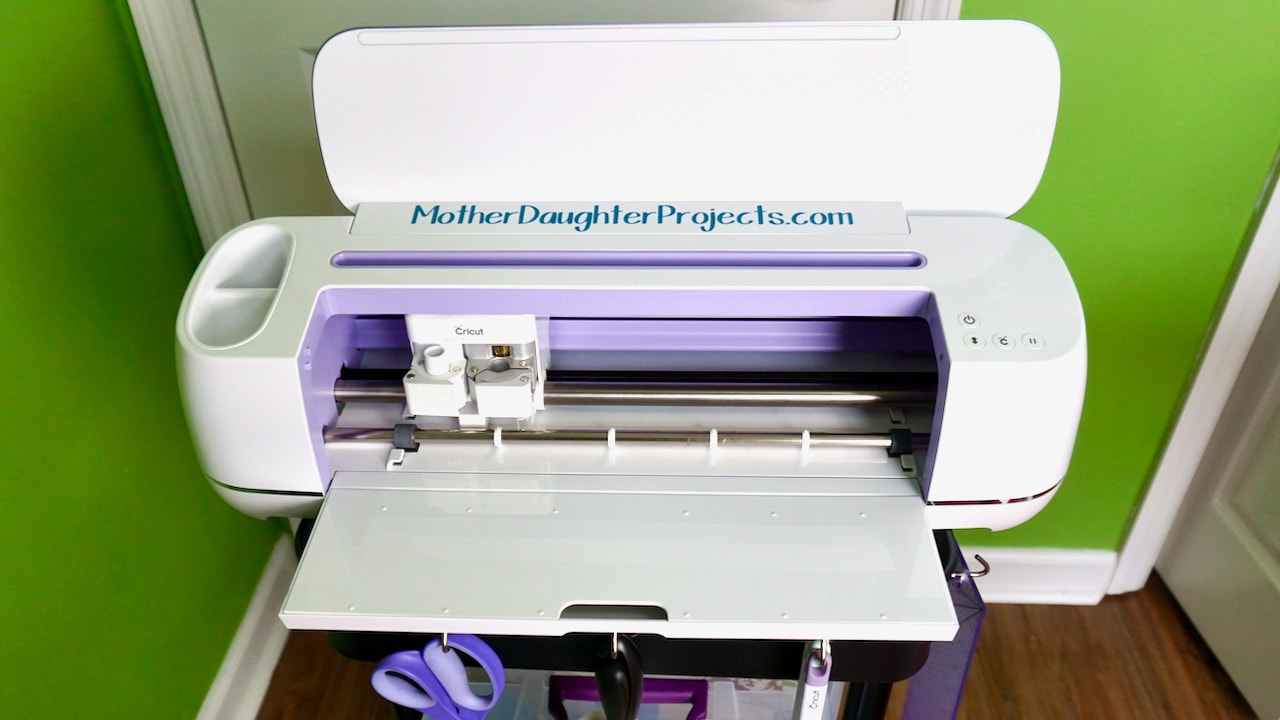
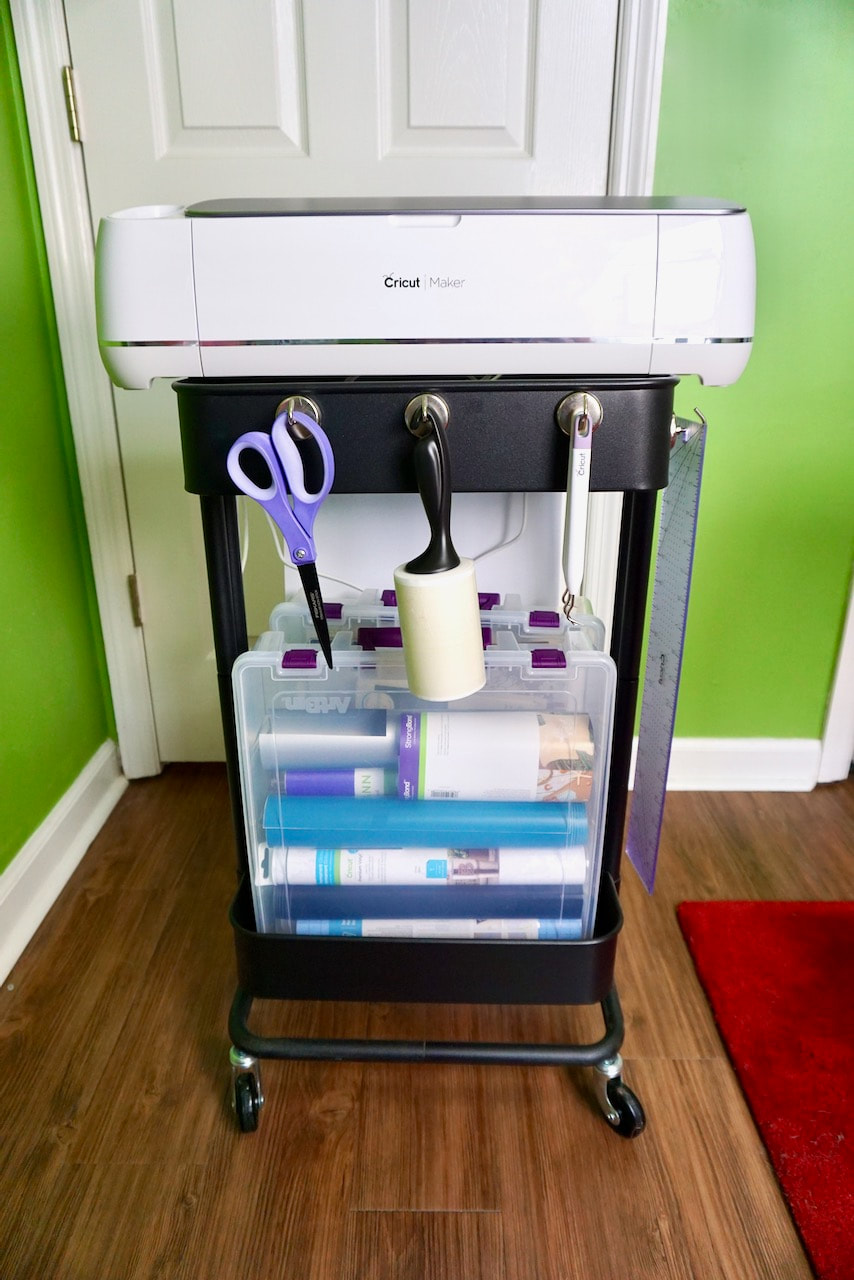
The Cricut Maker comes in a variety of colors but we knew we had to get the lilac version. We cut some vinyl and added a little personalization to the inside. We are unable to show the unboxing as we didn't film it. One of the things we were impressed with during the unboxing was the step by step instructions for setting up and using the machine. There are materials included to complete a basic project to teach you how to use the machine. Cricut does a good job setting the user up for success!
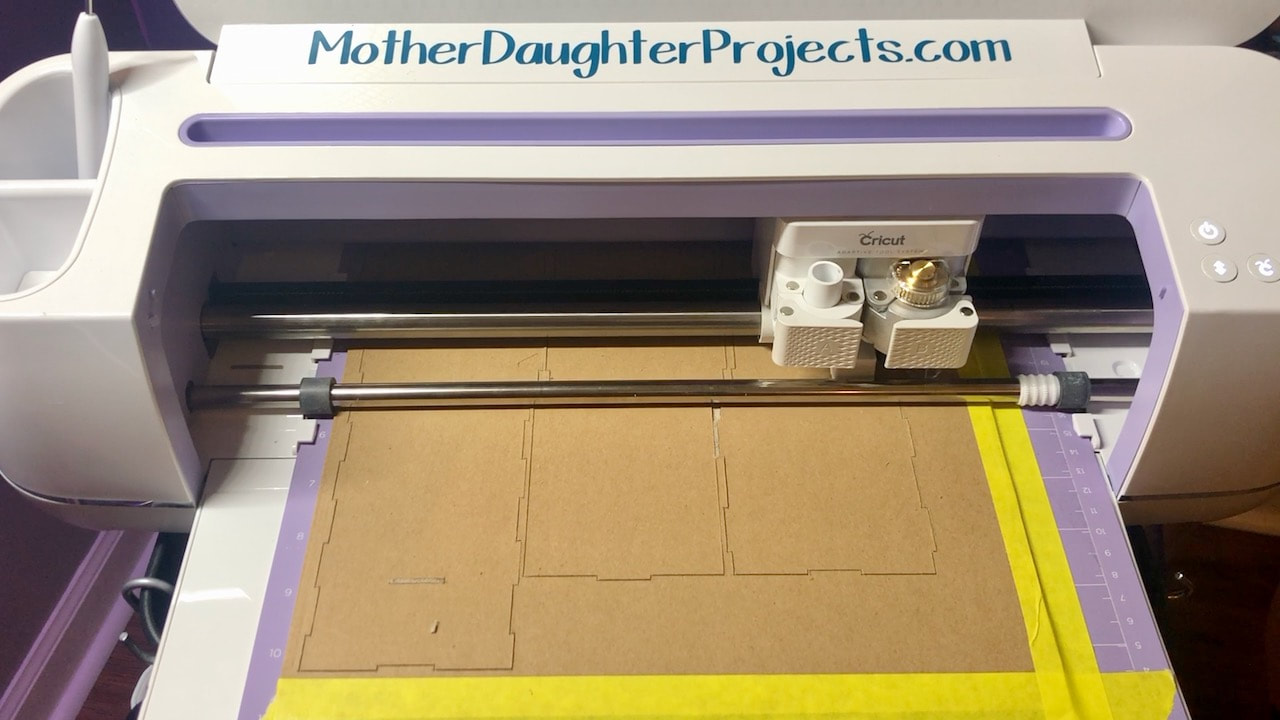
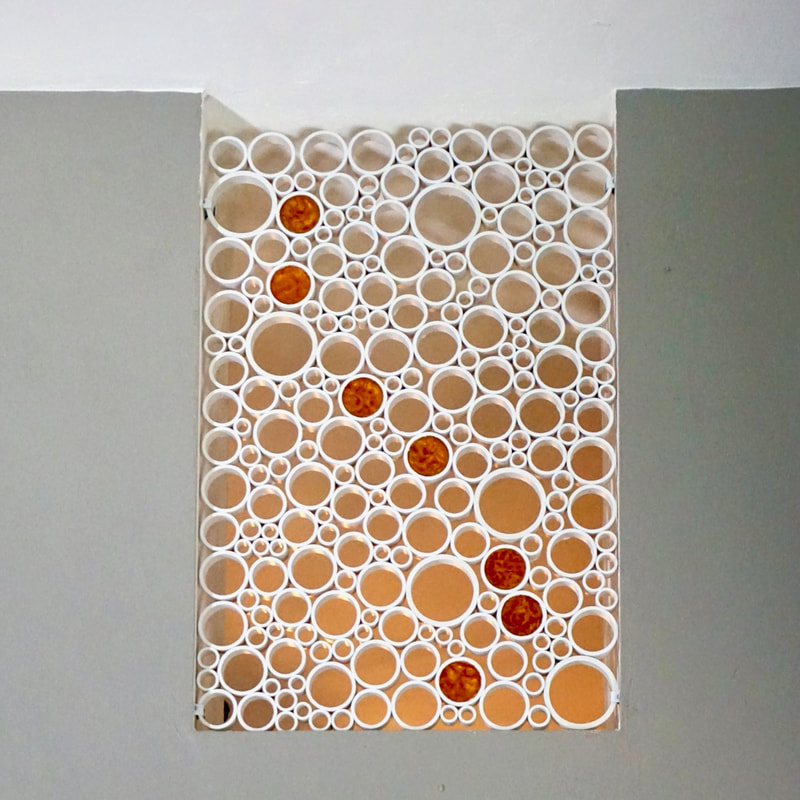
With the knife blade inserted into the machine, you can cut chipboard which can then be used to make 3-D objects for fun or function.
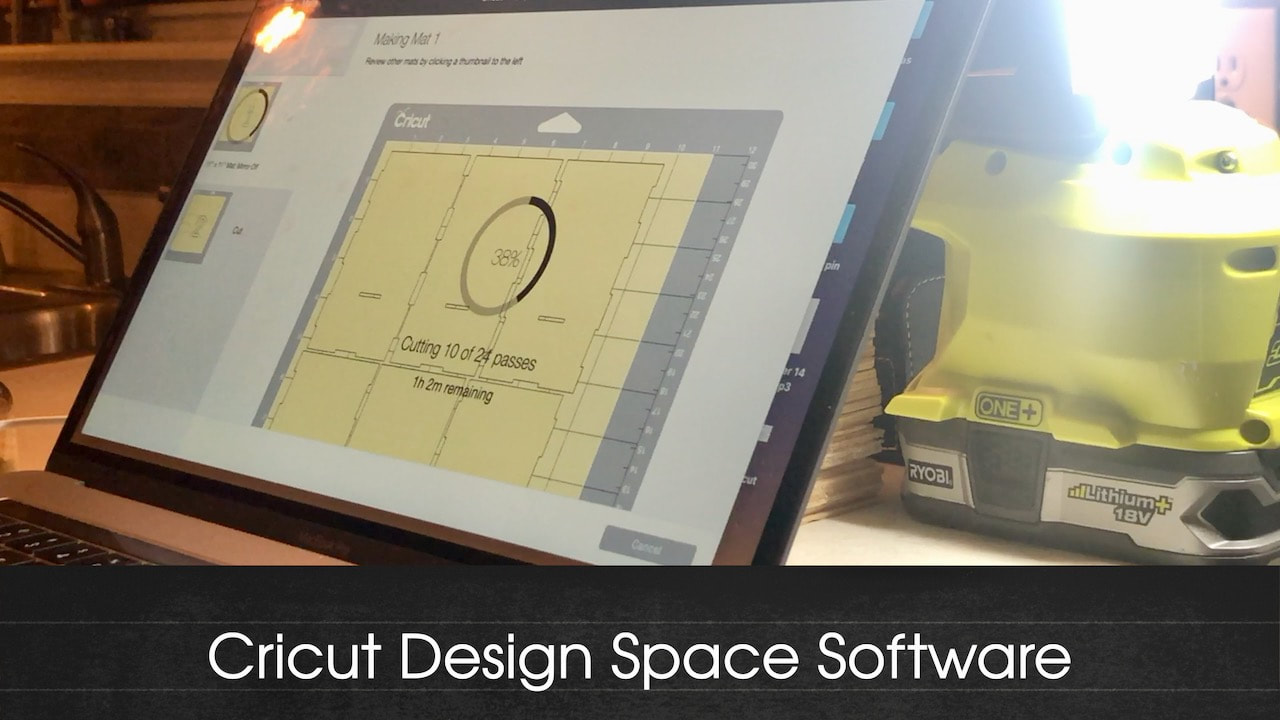
Cricut design space tell the machine what and how to cut. Steph found the program to be intuitive and straight forward to use. You can even work in a program you're already familiar with and then just download your graphic into the Cricut design space.
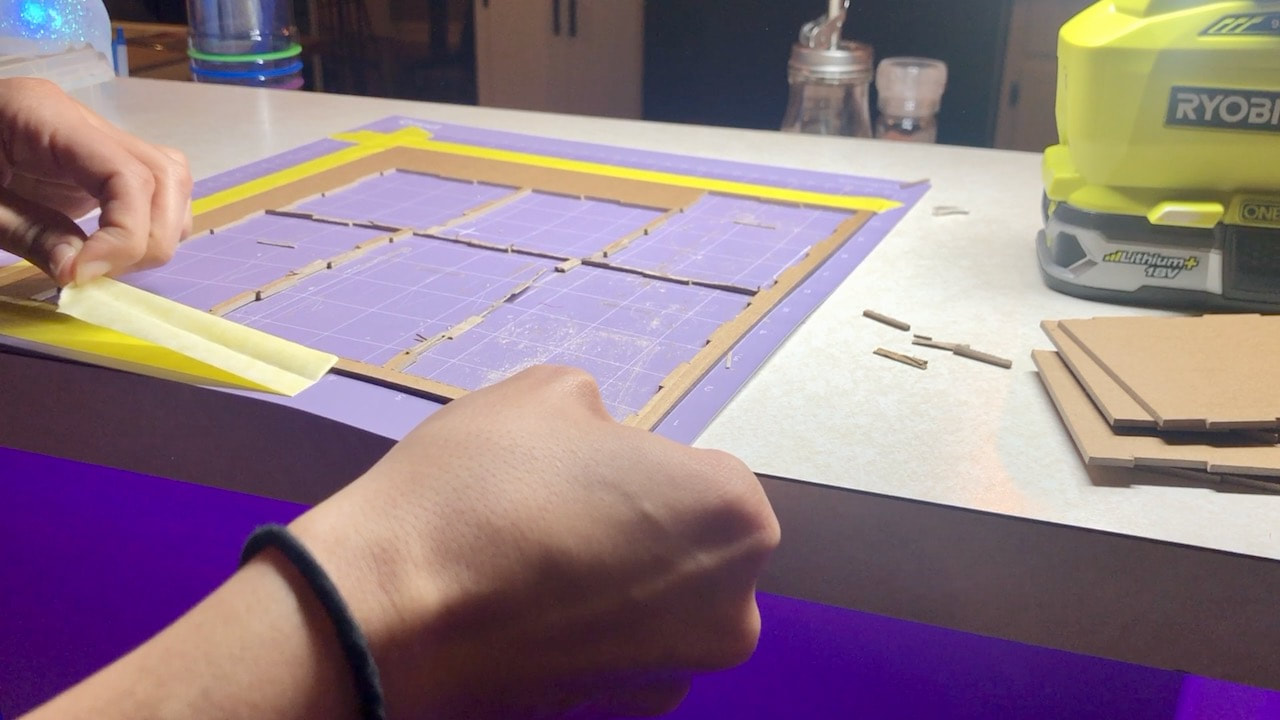
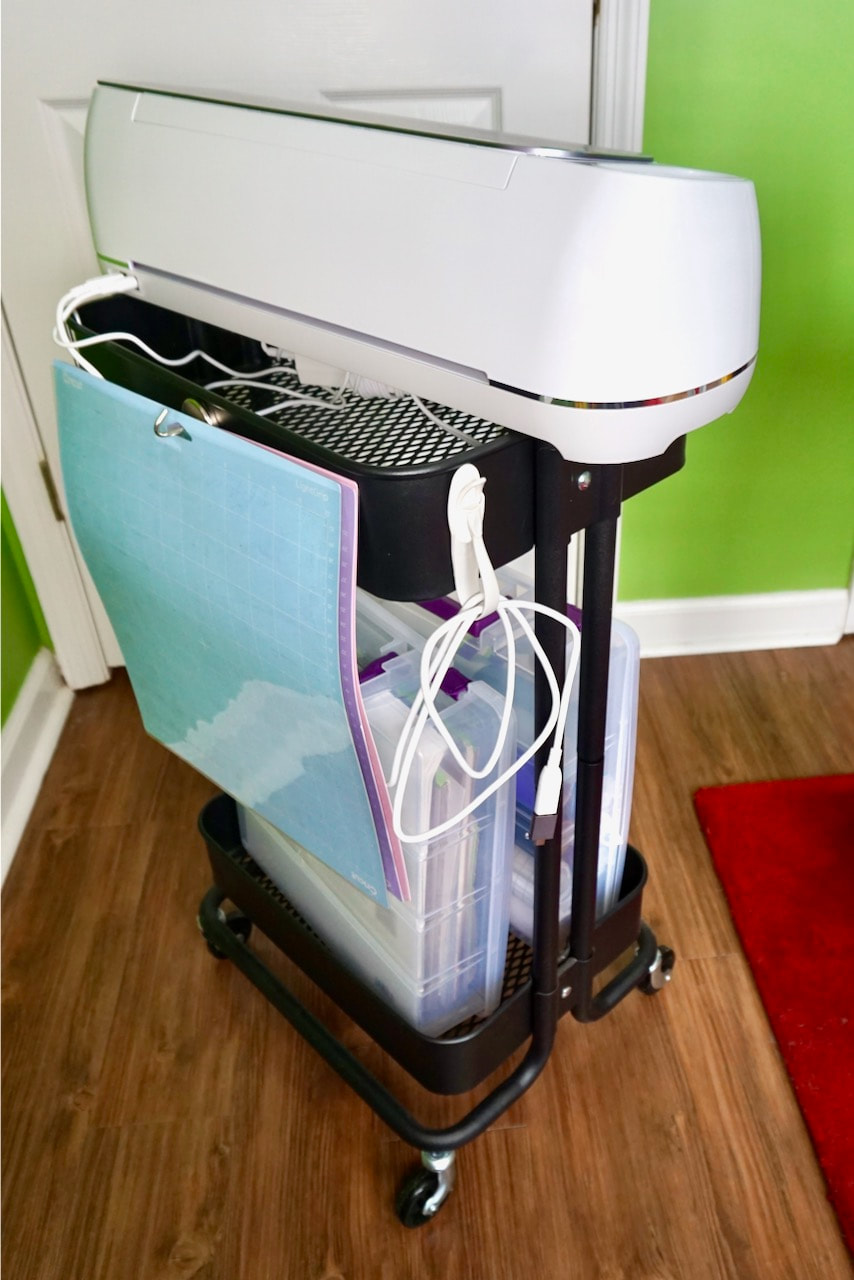
All materials to be cut are placed on one of four available mats of various sticky strength. For most materials, it's easy to match them up to the correct mat, but for some materials, there may be some trial and error involved. Note: that's a Ryobi battery powered light that Steph finds very useful when she needs more light to work.
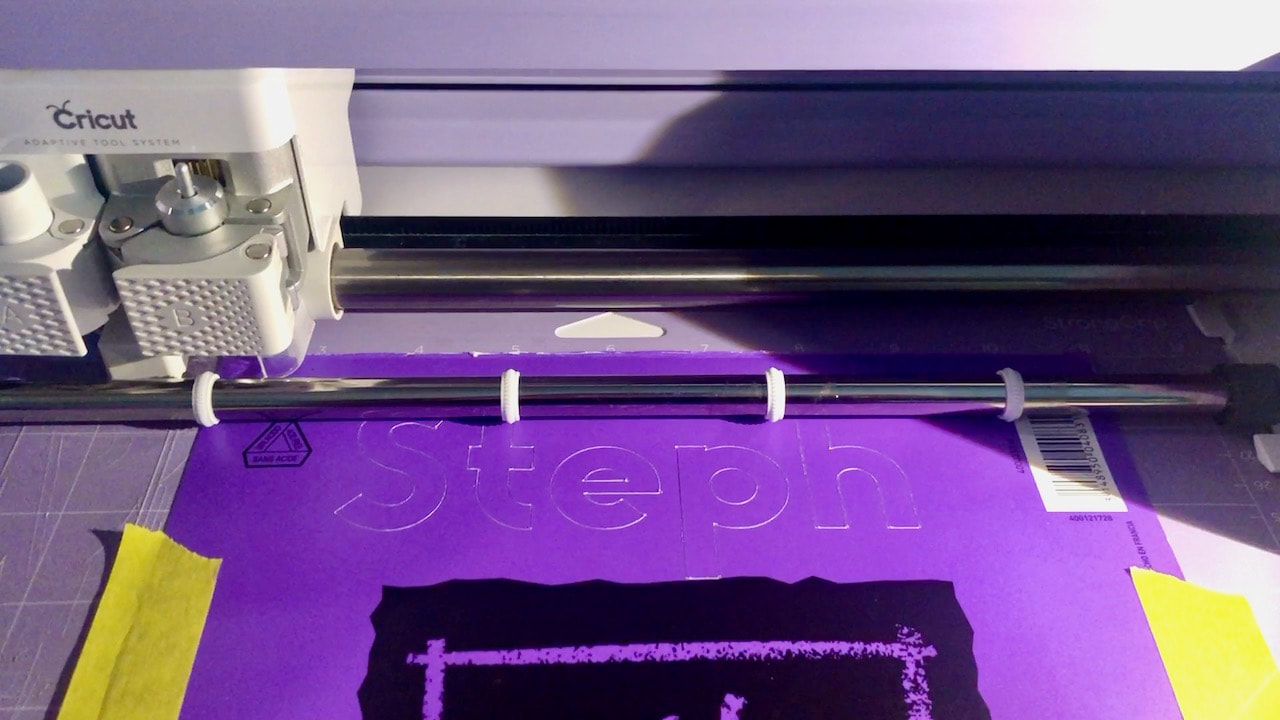
This is an example of using "found" materials in the machine. In Design Space Steph was able to tell the machine where on the paper it needed to cut.
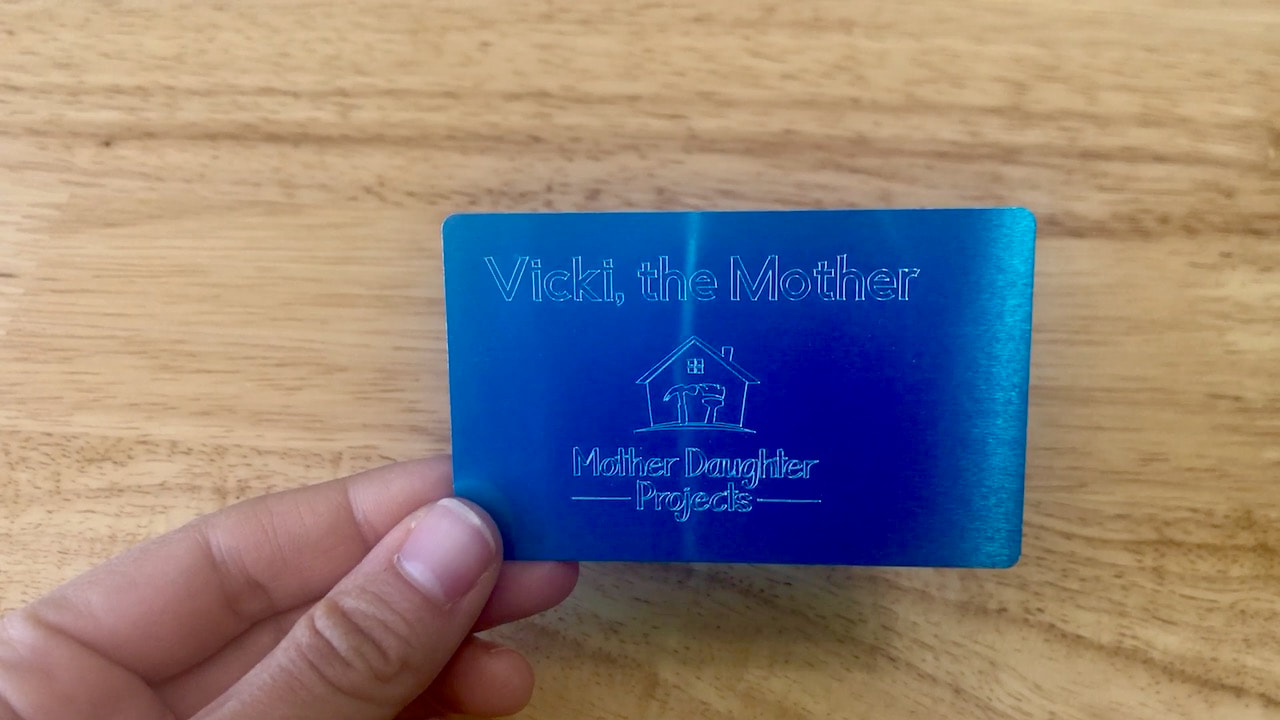
Using the engraving tip, the machine can engrave metal. This design needed to be shifted right, but it did work.
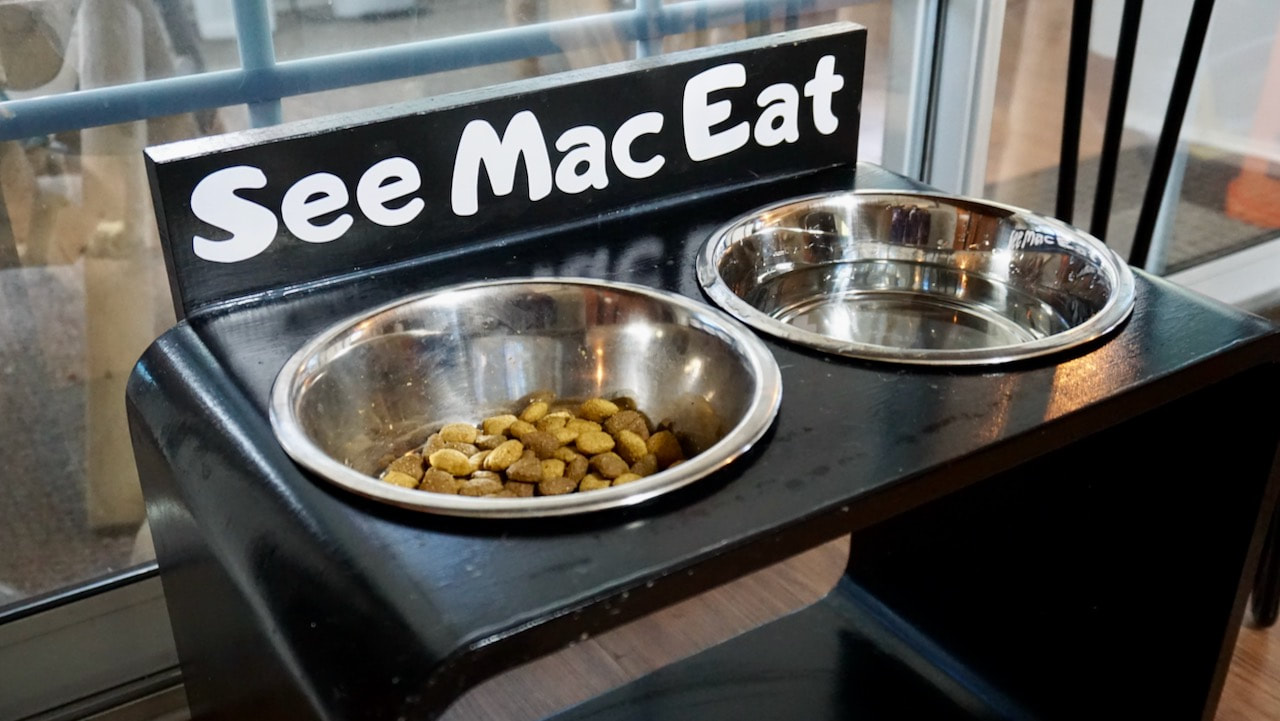
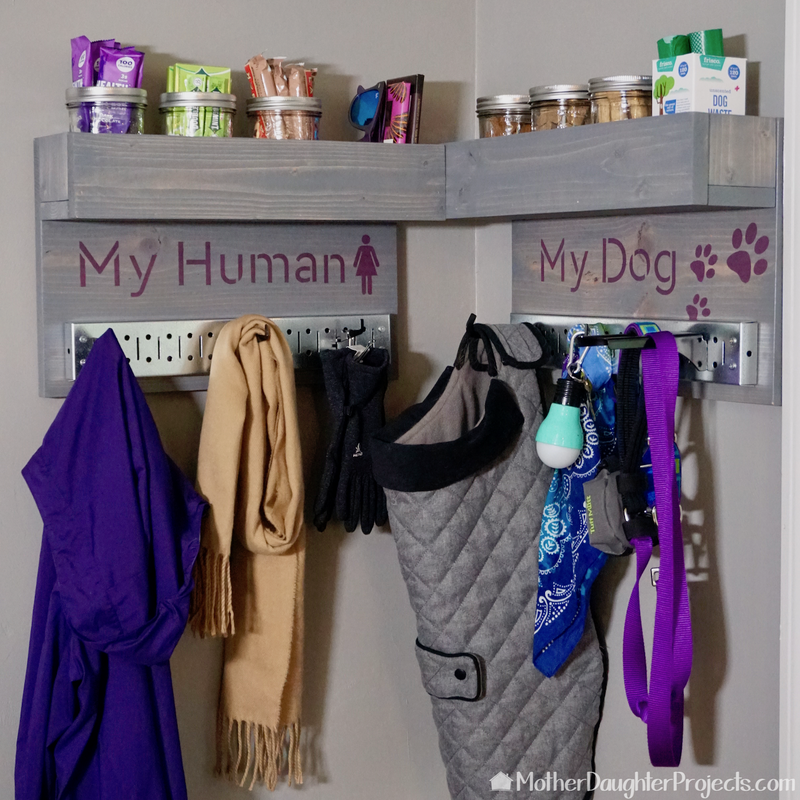
Steph modified Mac's feeding station with a board at the back to keep food from falling over that side. She added some fun lettering to the finished board!
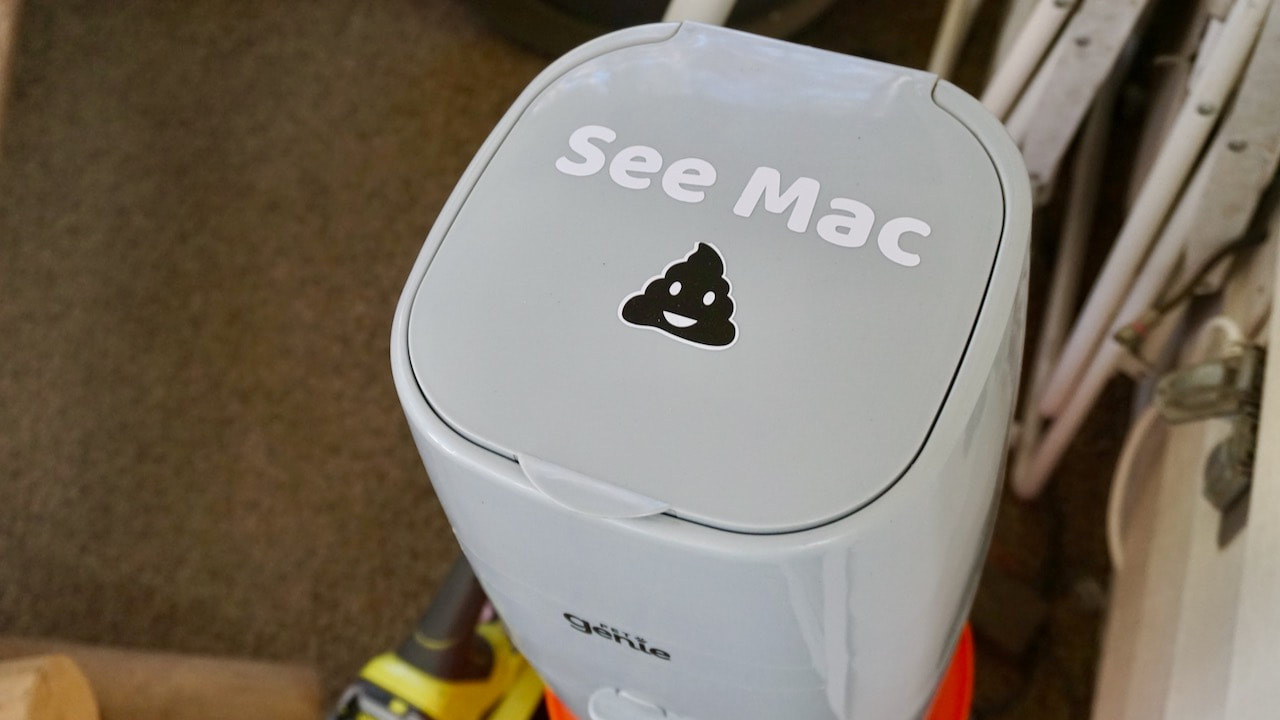
More 'just for fun' personalization!
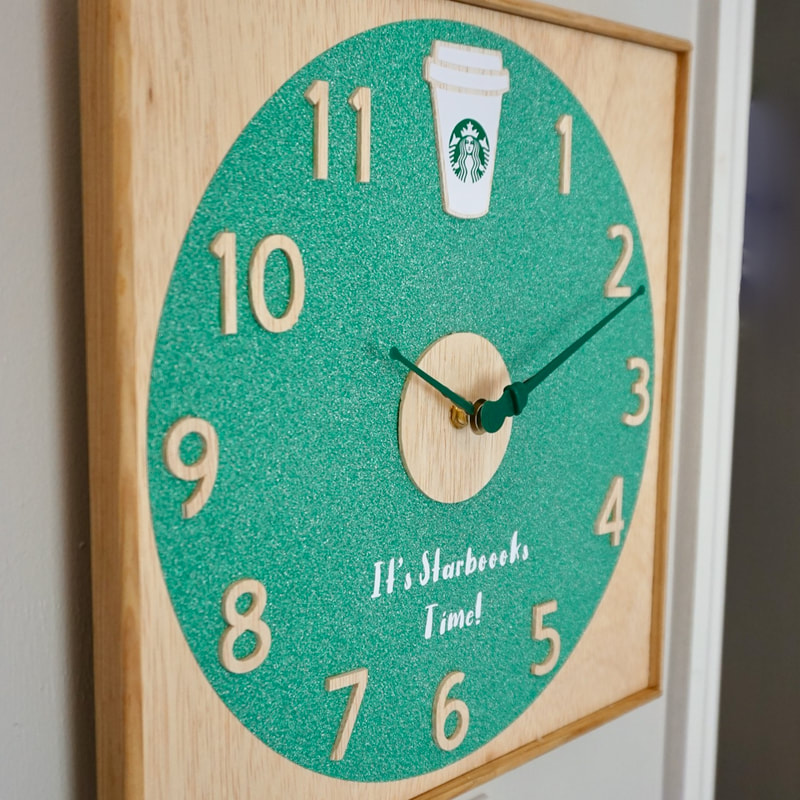
Here's the first project Steph made with wood. She cut the center circle, Starbucks cup, and numbers out of balsa wood. The large circle is glitter vinyl. The cup is cut from white vinyl and the Starbucks logo is cut from green vinyl. Steph attached it to plywood and made a simple frame of molding for it. Yes, the hands are Starbucks 'coffee stoppers'! A purchased clock mechanism make it actually function as a clock.
Are you wondering why we misspelled Starbucks? The spelling is a nod to a trip to Disney World where we overheard some tourists speaking in another language and the only thing we understood is when they said Starbucks but they pronounced it Starboooks which we found utterly sweet and repeatable. Starbucks has been Starboooks ever since! It constantly reminds us of that fun trip to Disney with the family.
Please note: This is not a sponsored post. FYI: We are not professionals, and we don't claim to be. This is what we found worked for our project. Yours may need a little different approach. Safety first! FYI: Affiliate links are being used on this page. Purchasing via these links help support MDP! Related Projects
2 Comments
Michael Forry
3/3/2020 08:55:03 am
I was always curious about these. It looks like it has dual cutting heads in it so can you use them both at once?
Steph
3/7/2020 08:22:05 pm
The first spot is for a pen. It can draw on paper. The second is for the different cutting blades. The knife blade will cut wood up to 2.4mm thick. So not a router bit, but it can cut letters out with the knife blade. Leave a Reply. |

Mother Daughter Projects
|