|
text by Vicki Sign up to get Mother Daughter Projects updates in your email!
This post is sponsored by The Home Depot.
When it comes to upcycle or repurposing projects, this drum table lamp was a pretty straight forward transformation. You only need a couple of power tools for this project. A jig saw, which is one of the least intimidating and inexpensive saws out there, as well as a drill and a hole saw bit.
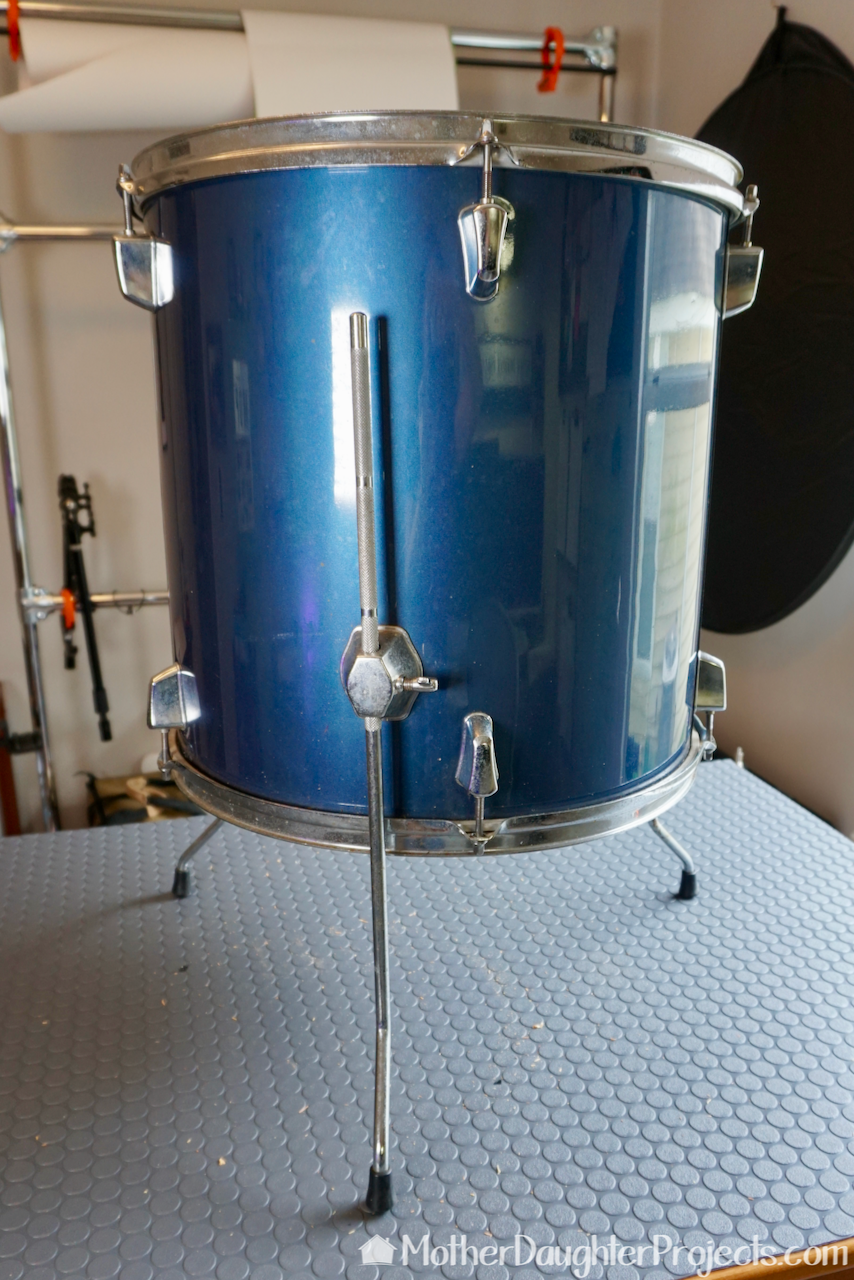
You may have seen our previous drum upcycle. It was a small tom made into a table/lamp. We liked that one so much that when we saw this drum on the curb on trash day, we knew we had to rescue it! The drum we used is a floor tom, which means it already has legs. Because of this we didn't have to build something for it to stand on. That step alone eliminated a lot of work and need for additional power tools. 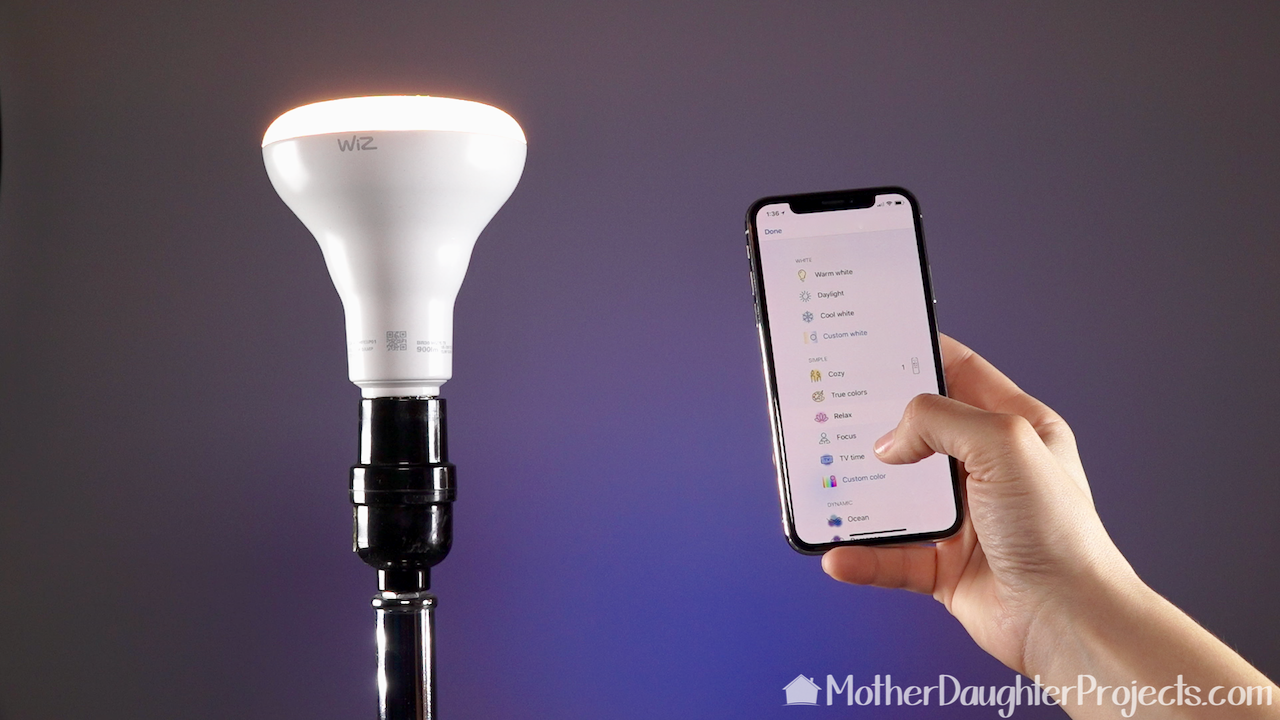
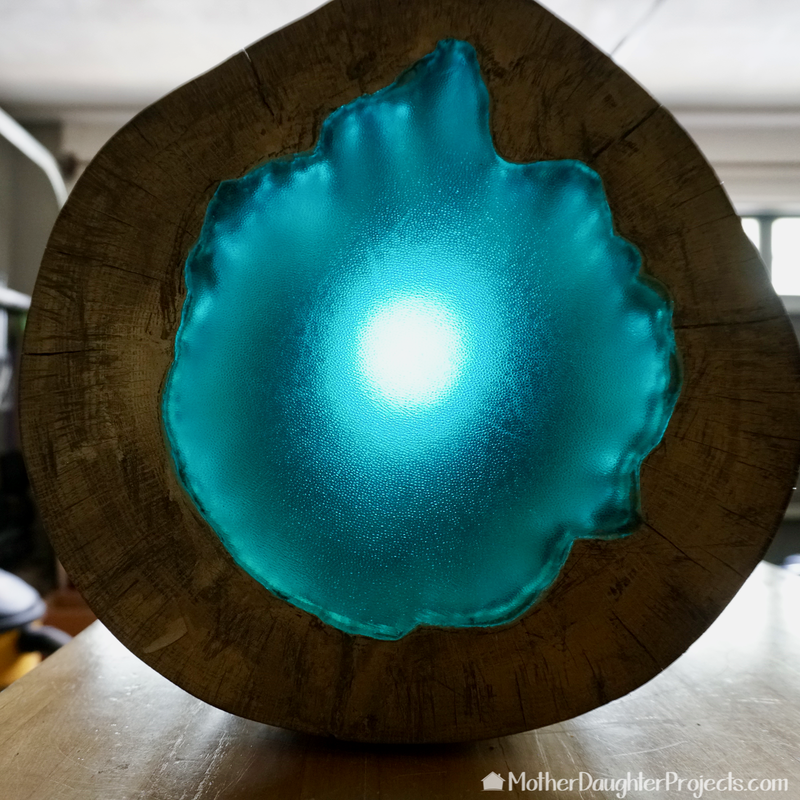
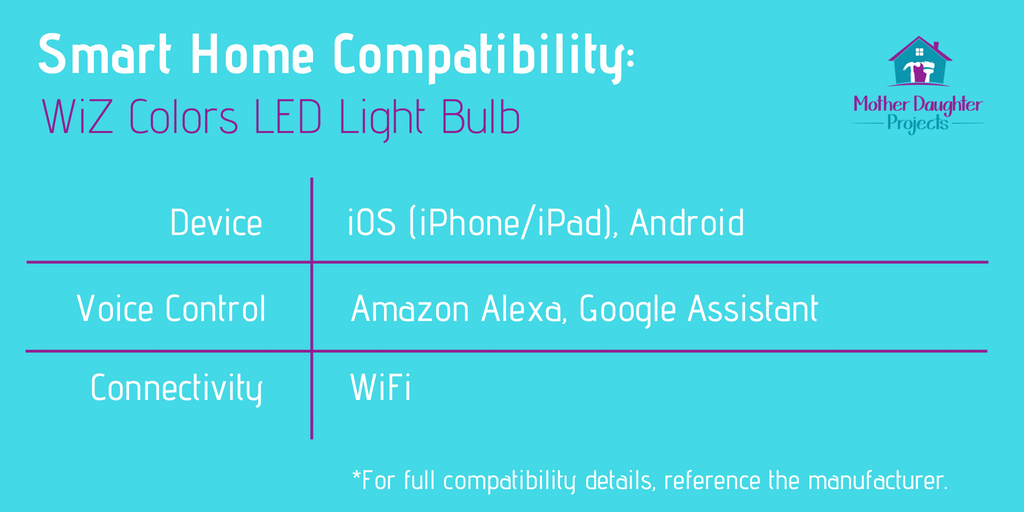
The lighting magic is compliments of this WiZ bulb. It is remotely controlled via an app on a smart phone. You can set the colors to match your decor or mood!
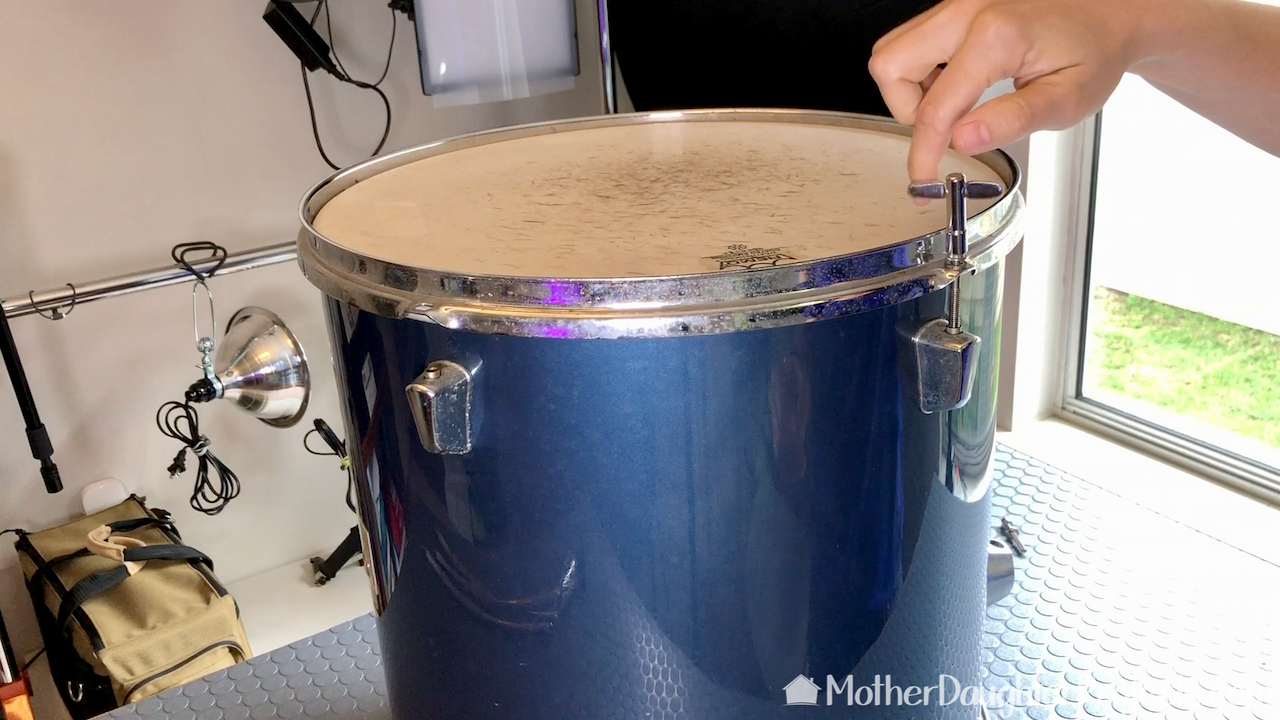
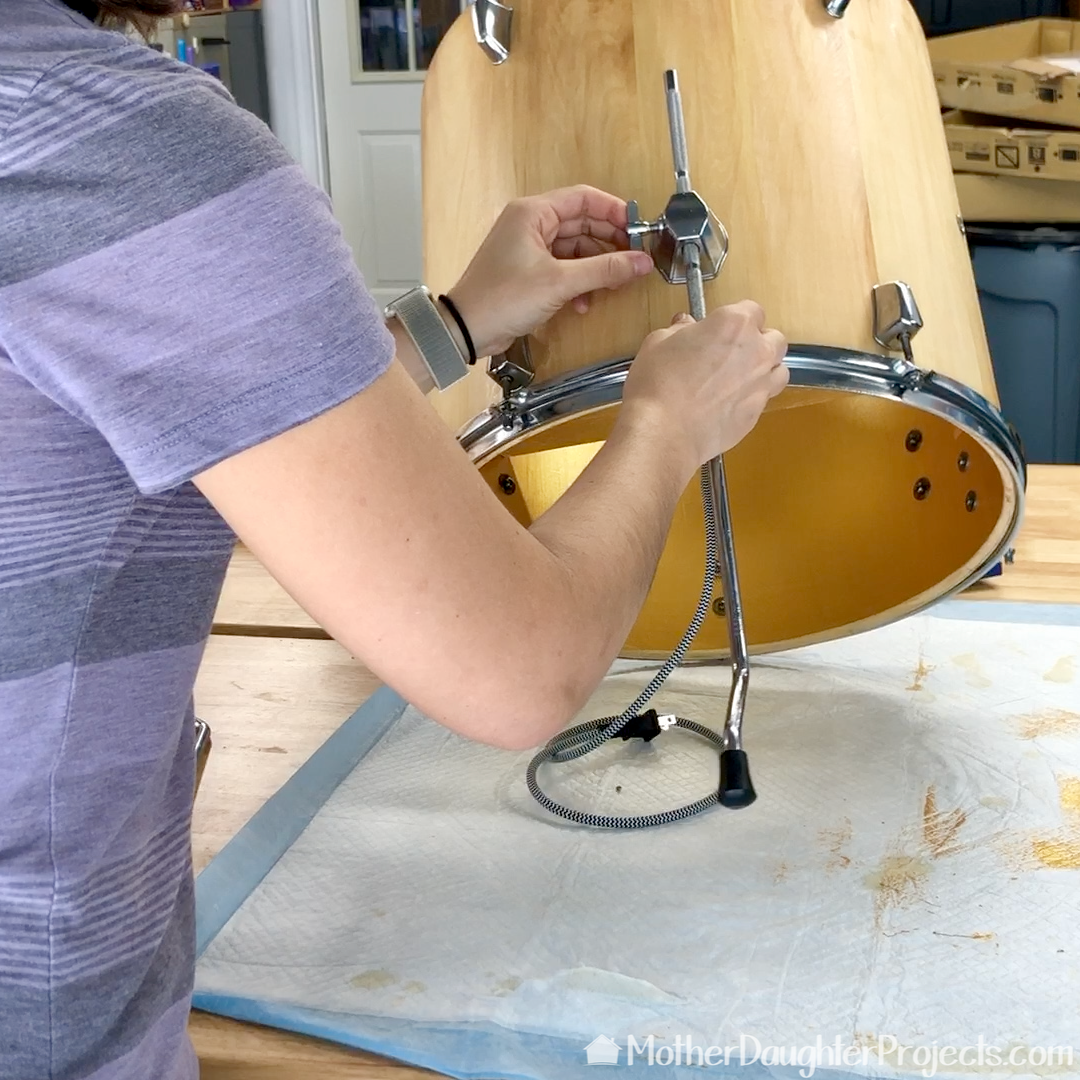
We started our build by removing everything from the drum. We borrowed a drum key from a drummer friend which made this process really quick.
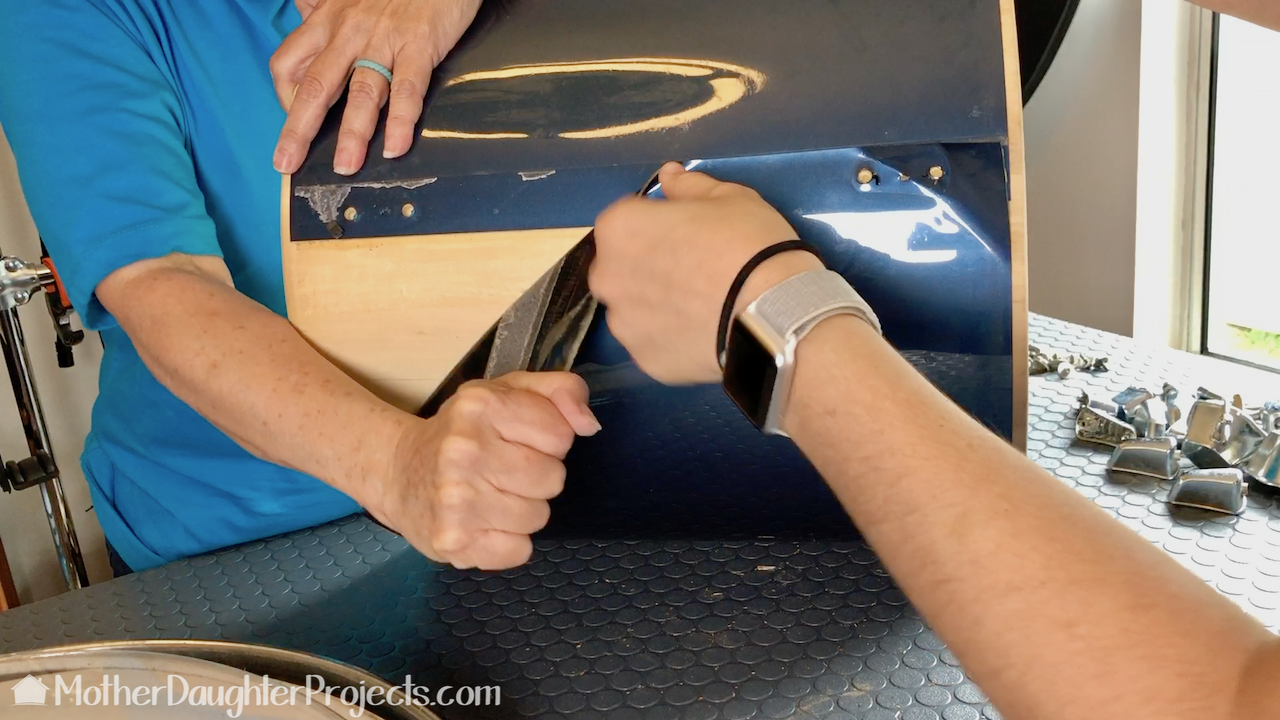
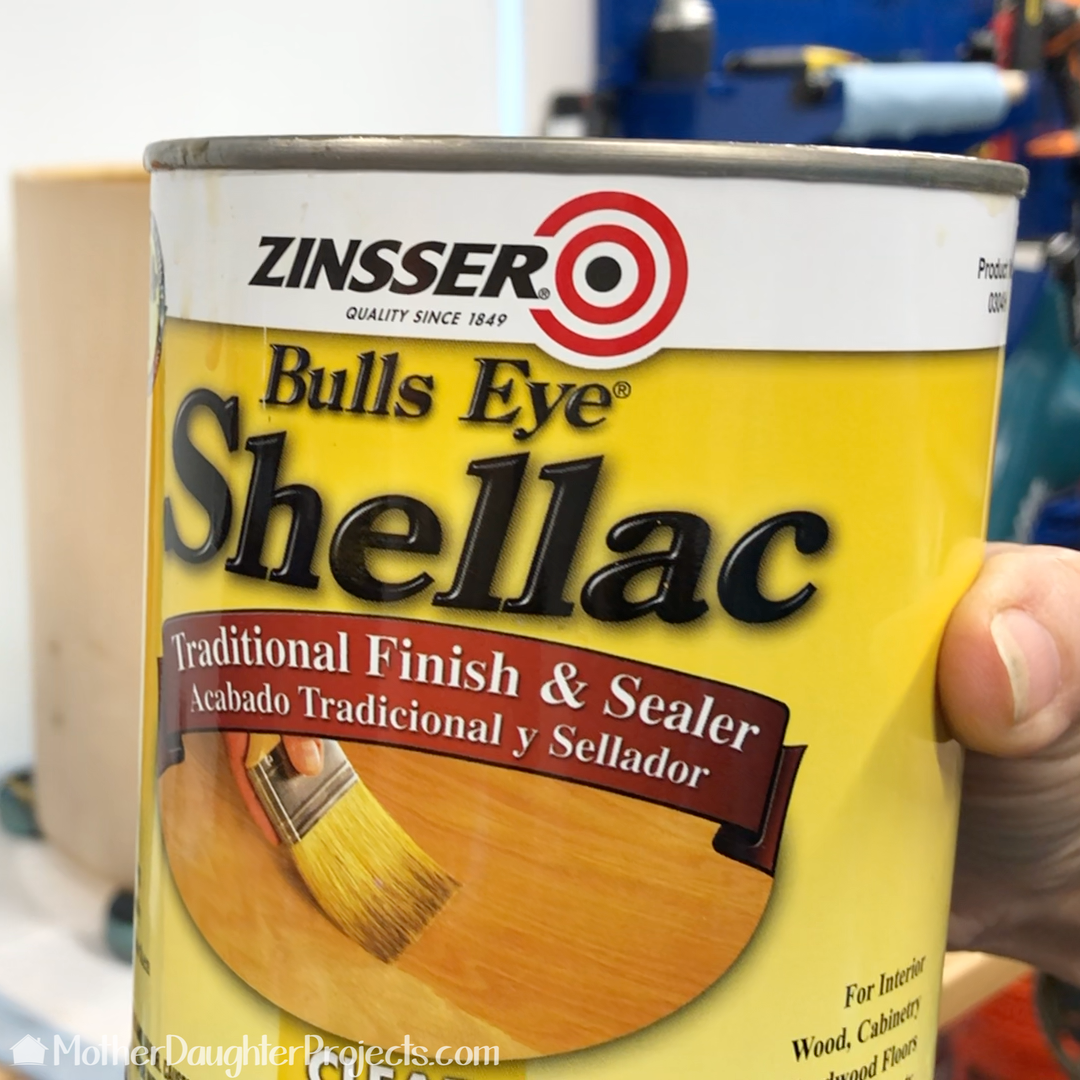
We even removed the plastic covering. This is glued on one side of the drum body and is easy to muscle off the drum. It leaves a little sticky residue that can be sanded off with fine grit sandpaper. Be sure to only lightly sand as it's easy to sand through the top layer (veneer) of the drum body.
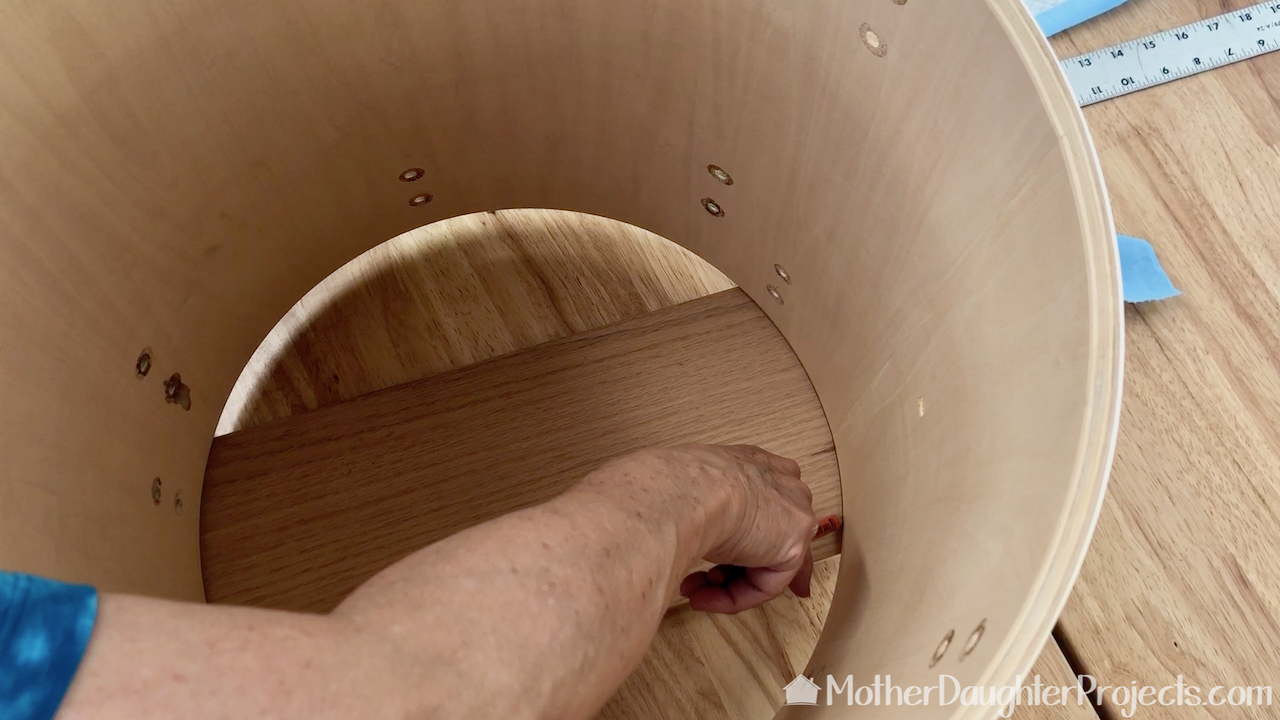
To hold the cord kit in place, we marked a scrap piece of wood. We set the drum on top and marked the curve with a pencil.
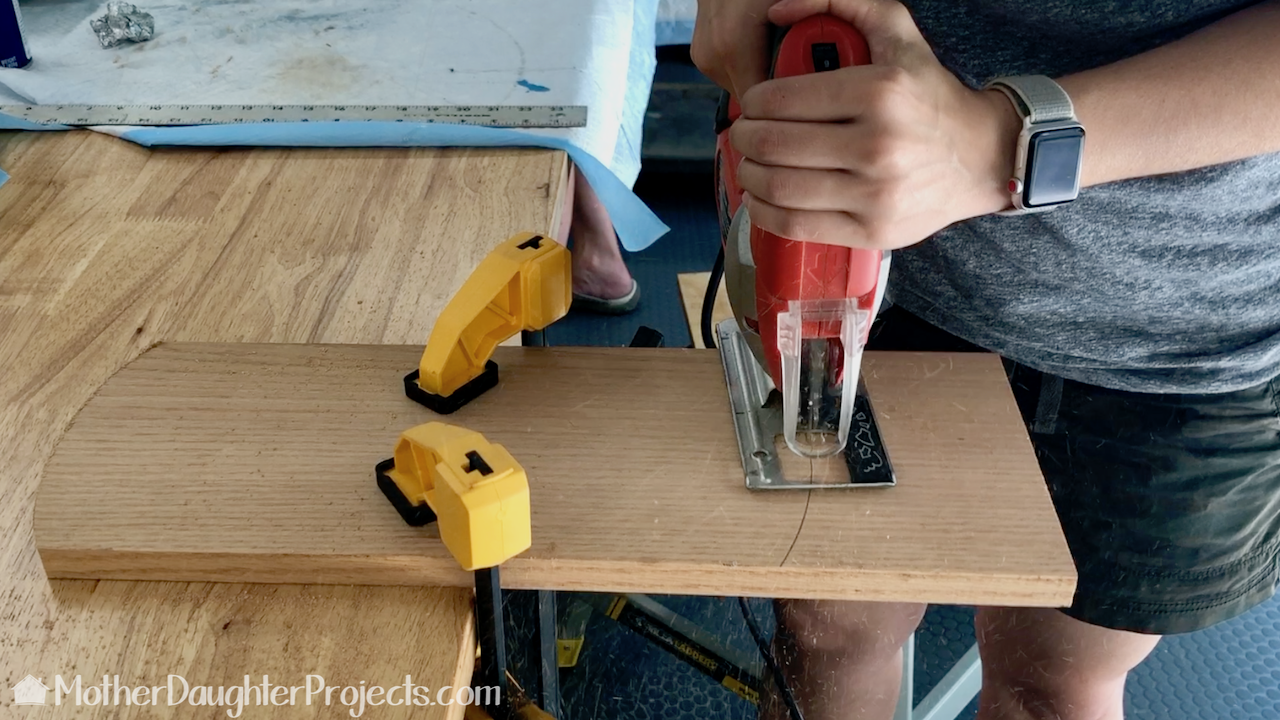
We used a jig saw to cut the curve and then sanded the edges. We used a power sander, but hand sanding works just as well. We also cut a hole in the center for the socket to sit.
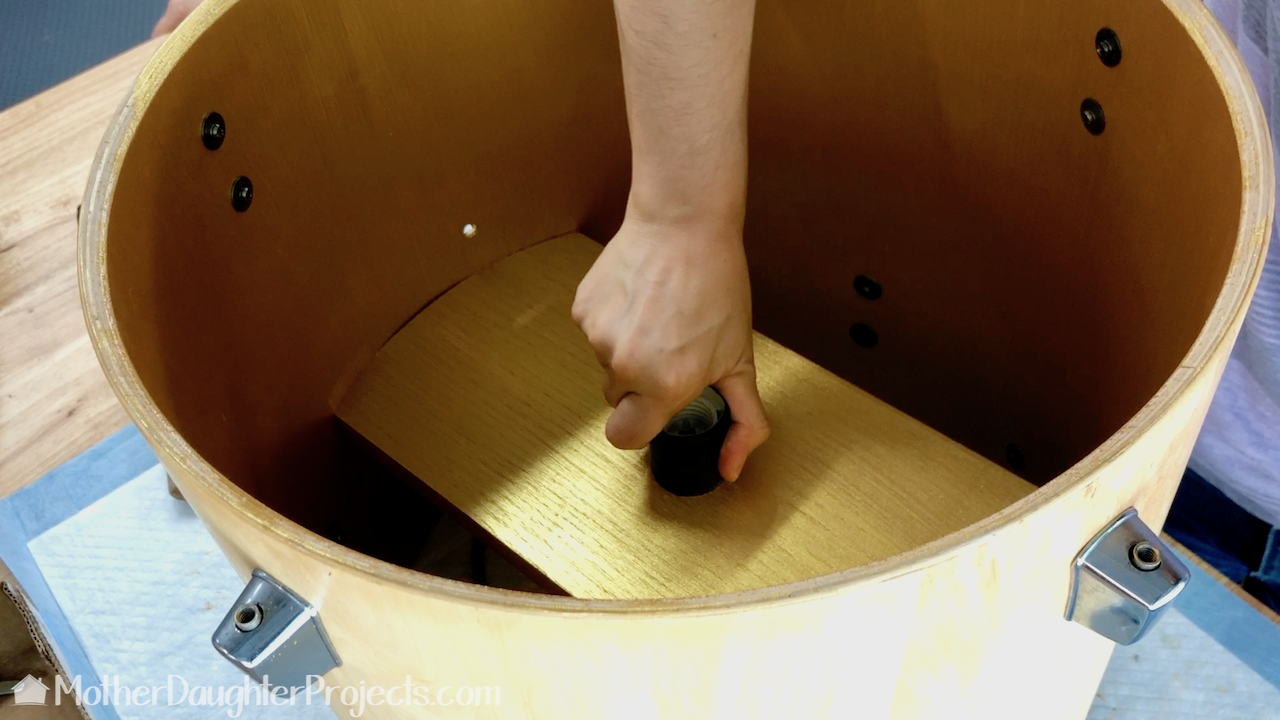
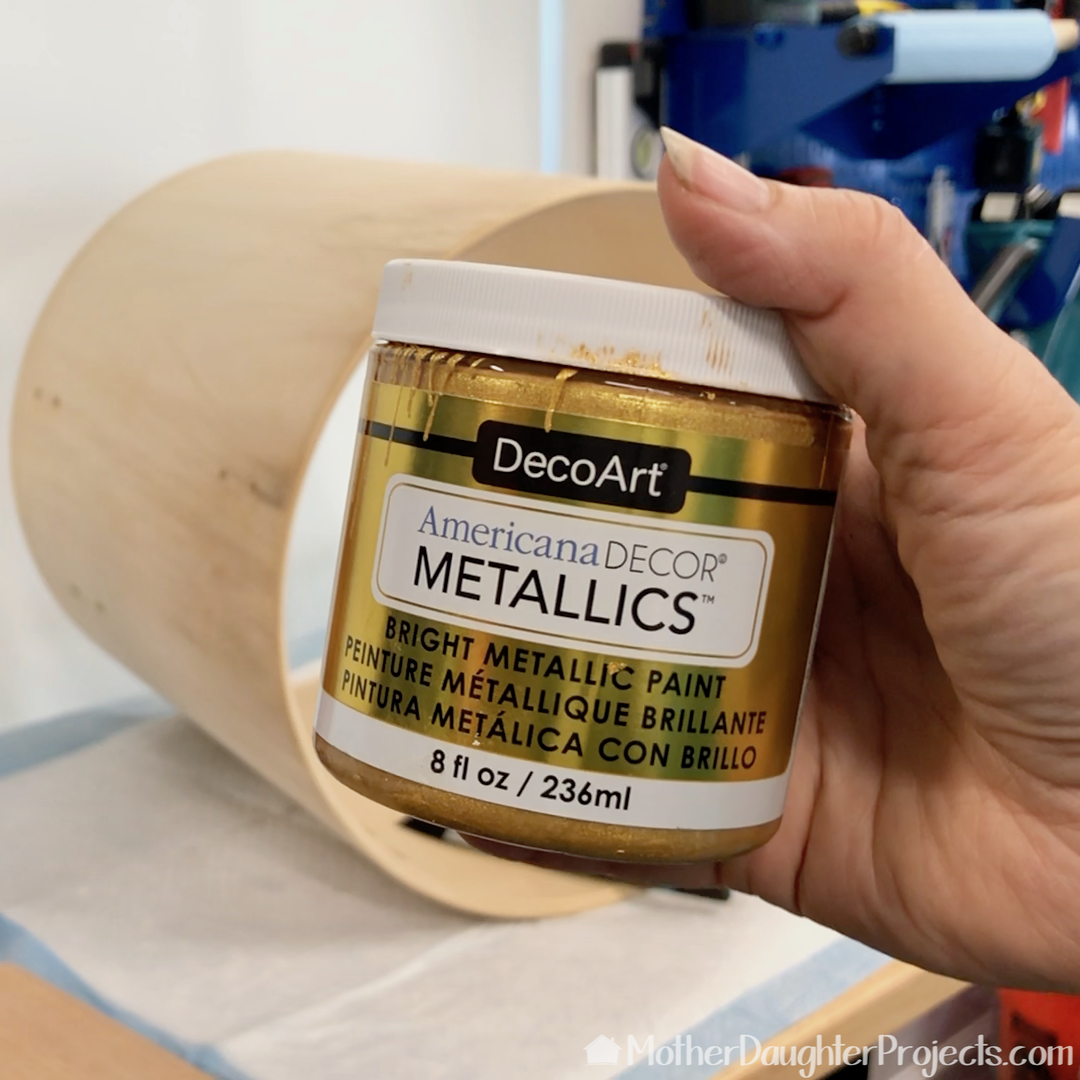
The cord set board was put into place. It fits so snug that no additional nailing was needed. We put the socket into place. Note: we put this board into place after reattaching all the hardware. We would suggest putting the board into place BEFORE attaching the hardware. Also, we had to do a little touch up to the gold paint after putting the board into place.
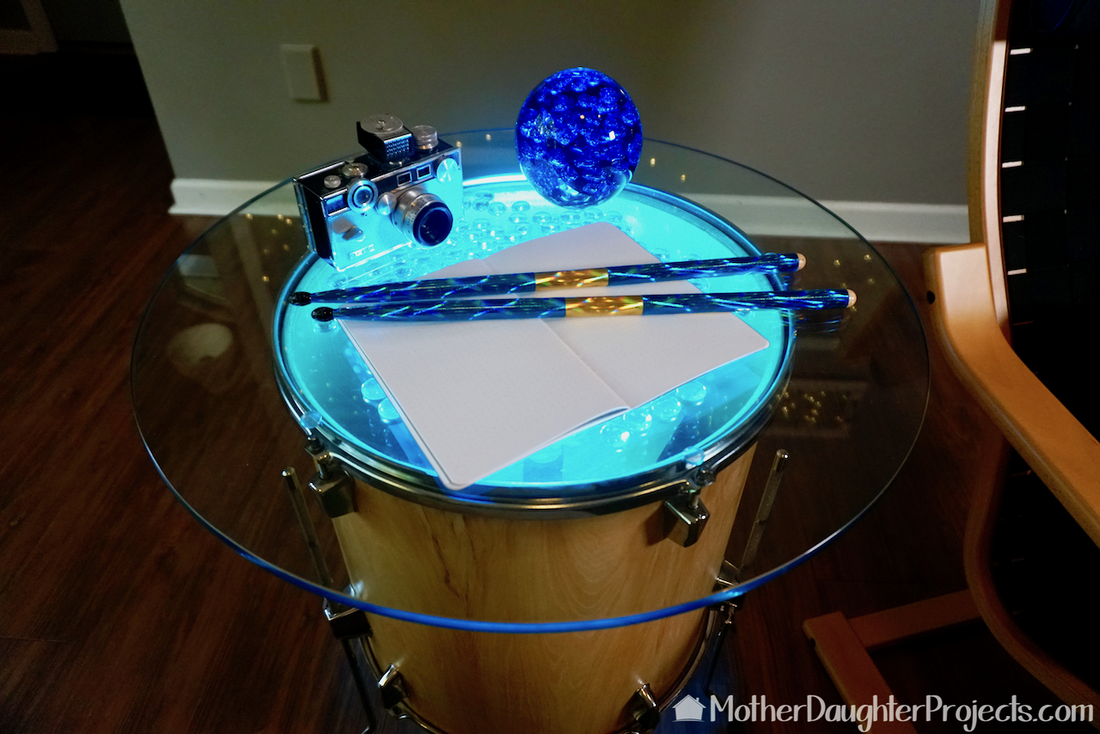
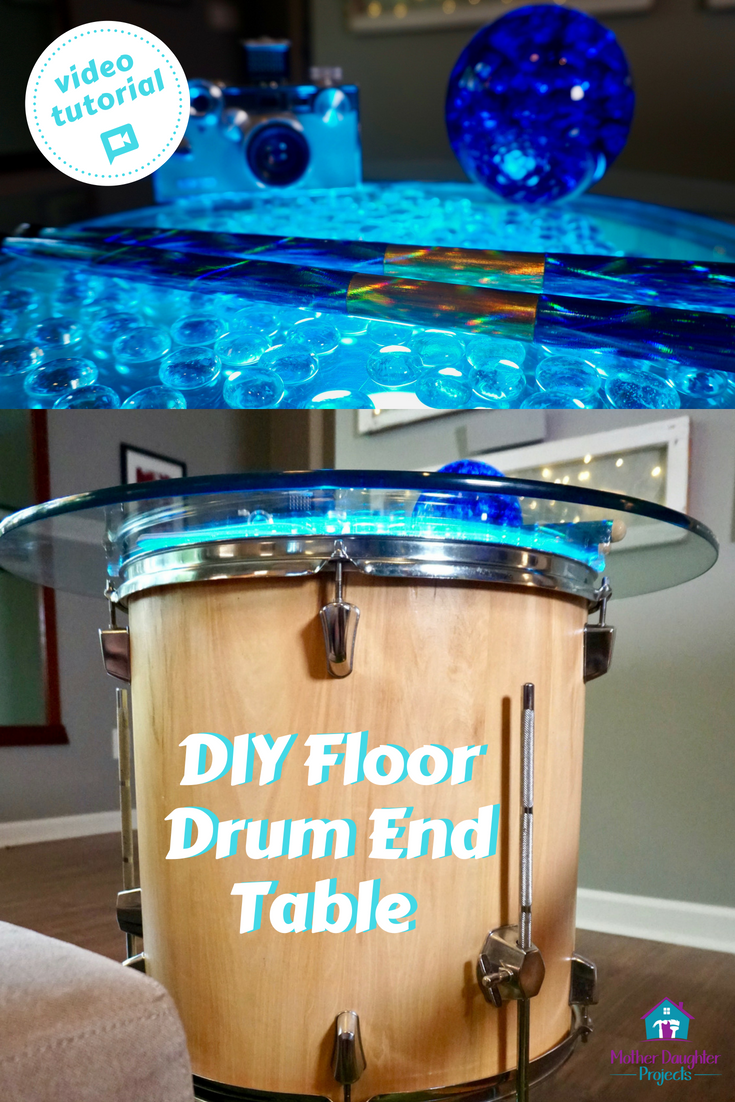
We topped the table with a 24" round of glass. Those are clear flat marbles sandwiched between the drum head and glass. They help to diffuse the light.
This floor "tom" has gone from literally sitting on the curb as garbage to a really unique end table! It has found its perfect "second time around" home at Steph's house. It's a fun addition to her living room. Bonus, with the glass removed, it can still be played as a drum!
We will be on the lookout for more drums to upcycle! How would you upcycle or repurpose an old drum? Would you leave the plastic coating or go with the natural wood? We acknowledge that The Home Depot is partnering with us to participate in the ProSpective 2018 Campaign. As a part of the Program, we are receiving compensation in the form of products and services, for the purpose of promoting The Home Depot. All expressed opinions and experiences are our own words. Our post complies with the Word Of Mouth Marketing Association (WOMMA) Ethics Code and applicable Federal Trade Commission guidelines. FYI: We are not professionals, and we don’t claim to be. This is what we found worked for our project. Yours may need a little different approach. Safety first! FYI: Affiliate links are being used on this page. Purchasing via these links help support MDP! Related Projects
5 Comments
7/28/2018 03:05:36 pm
That does look fantastic. Coming from the Decor Art Facebook page.
Steph
4/5/2019 08:01:45 am
Thanks Carol!
Robert H
8/11/2020 06:10:24 pm
Hello.
Steph
8/12/2020 08:28:34 am
Hi Robert- We put little clear rubber discs on the bottom of the glass, where it sits on the top of the drum. It is not permanently attached in anyway, as we found these discs keep it pretty secure. This has been in my living room since we made it, and have had no issues. But if you have kids or rough pets, you might want to attach it differently. Hope that helps! This is close to the discs we used: https://amzn.to/2Fl56W9 Leave a Reply. |

Mother Daughter Projects
|