Mother Daughter Projects

  • Blog
  • About
    • Contact
    • Privacy Policy
  • Tools
    • Tool Tuesday
  • Maintenance
  • Improvement
  • Decor
  • Tech
  • Blog
  • About
    • Contact
    • Privacy Policy
  • Tools
    • Tool Tuesday
  • Maintenance
  • Improvement
  • Decor
  • Tech

DIY for Homeowners

DIY Real Wood Drum End Table with Smart Light

7/23/2018

2 Comments

 
text by Vicki     Sign up to get Mother Daughter Projects updates in your email!

This post is sponsored by The Home Depot.
We have had a small drum in Steph's garage for quite some time. We bought it at a thrift store a while back for $5. It never made it to the top of the to-do list for use in a project until now! 

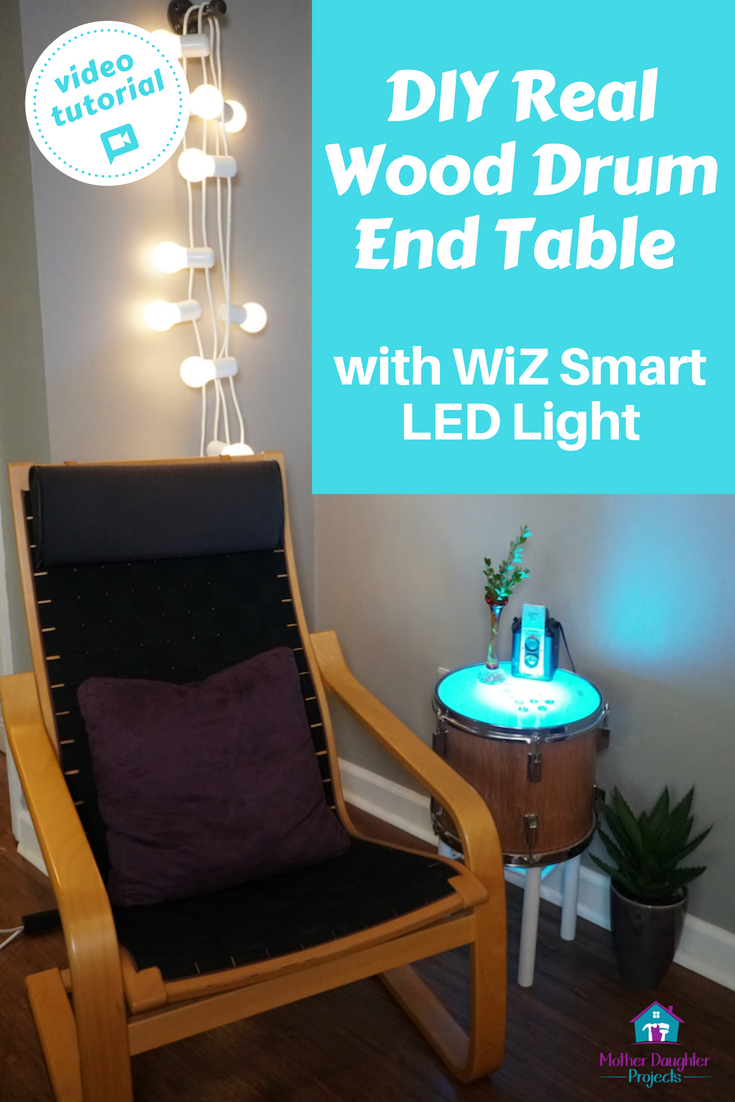
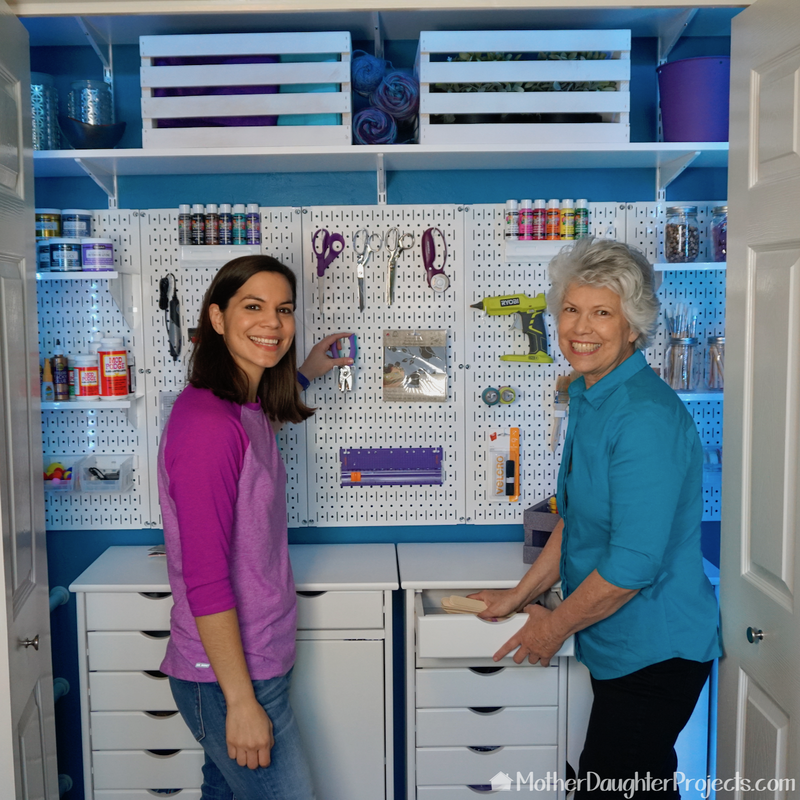
As part of the #smarthome campaign with The Home Depot, we received two types of WiZ smart light bulbs to review. We didn't just want to review them for you, but wanted to use them in a project. What better use than to put them into some kind of lighting fixture!

That's where the drum comes in. We decided to make a little lamp/end table with one of the new bulbs. We have been using the lighted log end table for some time and love the way light is incorporated into that table, and wanted to do the same with our little drum.
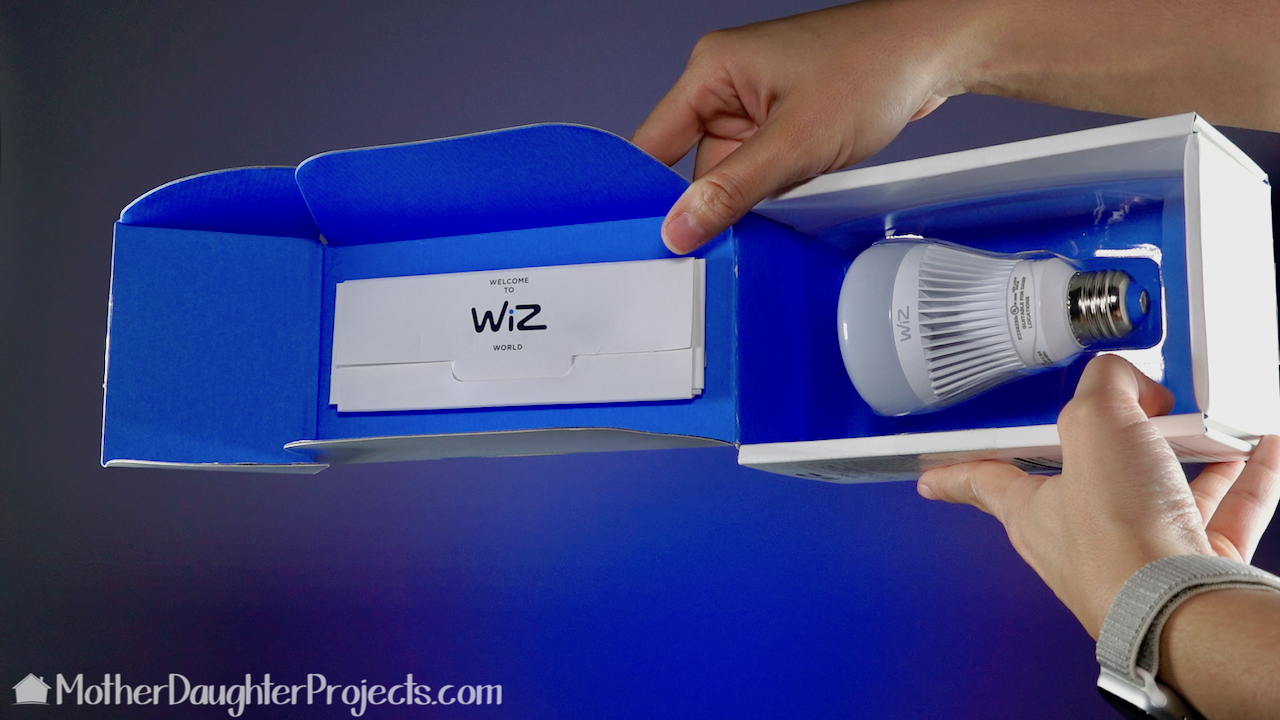
The WiZ 60W Equivalent A19 Colors and Tunable White Wi-Fi Connected Smart LED Light Bulb ready to install in our new drum table.

Materials:


  • ​Drum (from thrift store)

  • WiZ 60W Equivalent A19 Colors and Tunable White Wi-Fi Connected Smart LED Light Bulb (Home Depot)

  • Varathane 1 qt. Matte Soft Touch Polyurethane (Home Depot)

  • 1-1/8” Dowel (Home Depot)

  • 1/2” Dowel (Home Depot)

  • Cord Set (Online)

  • 12” Glass Round 3/8” Tempered (Online)

The WiZ 60W Equivalent A19 Colors and Tunable White Wi-Fi Connected Smart LED Light Bulb is controlled via an app.
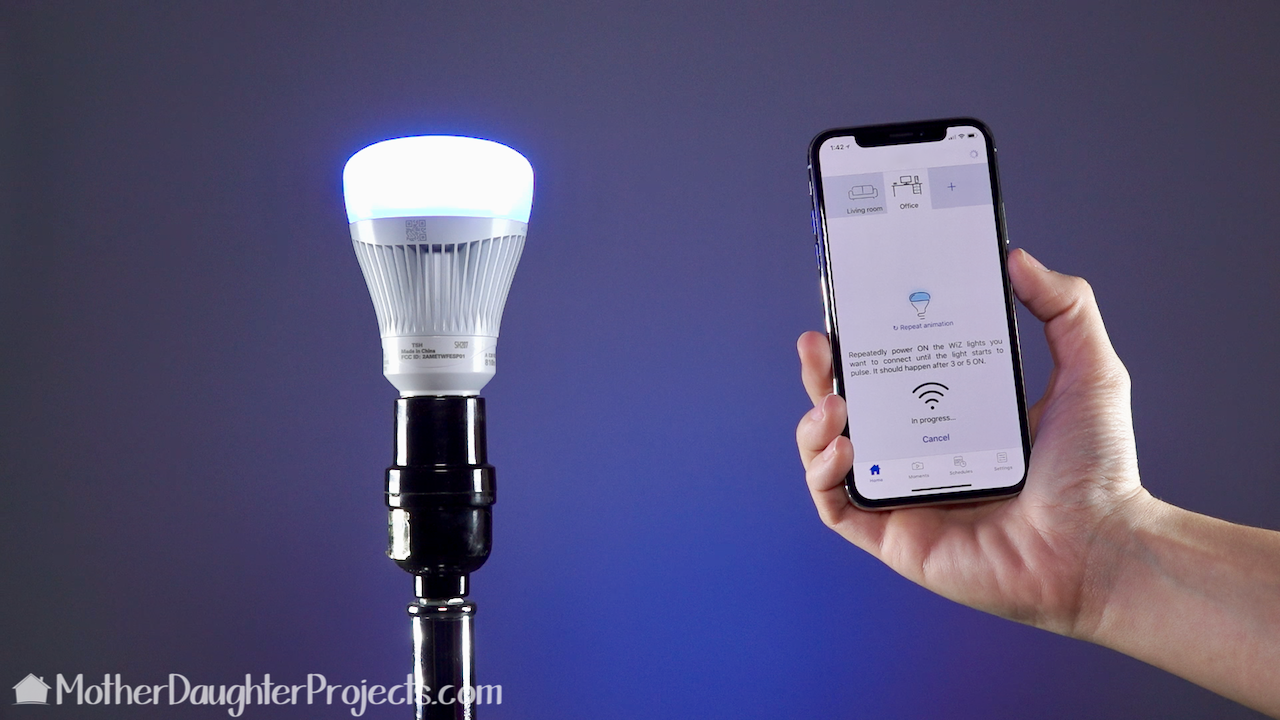
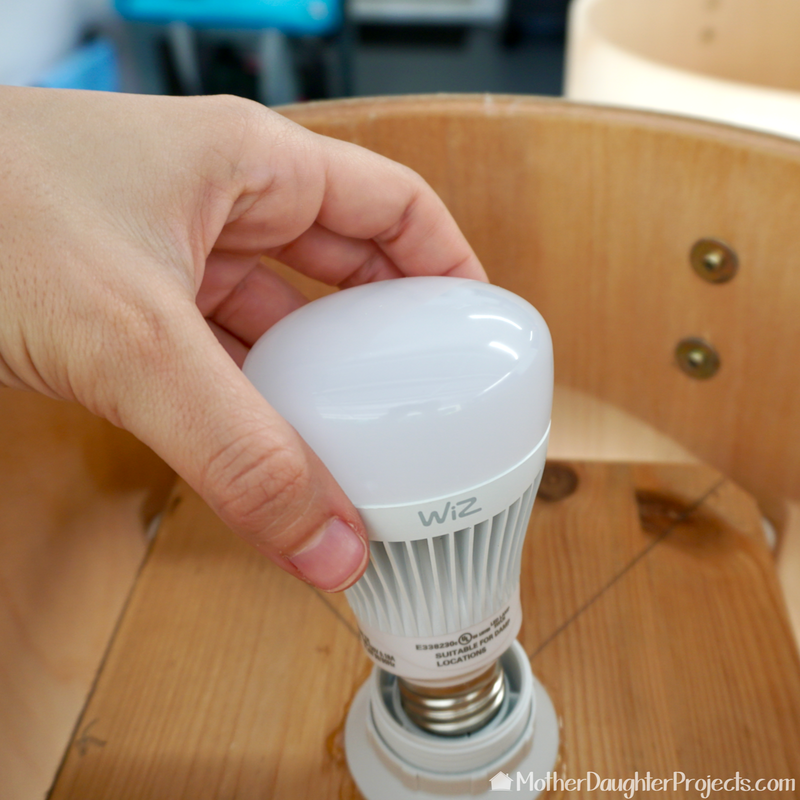
After unboxing, we downloaded the WiZ app and then set up the bulb. One of the really nice features of this bulb is it stands alone. That means it doesn't need a hub or other hardware for full functionality. Just set it up in your phone and it works via WIFI.
We started our lamp/table build by removing everything from the drum.
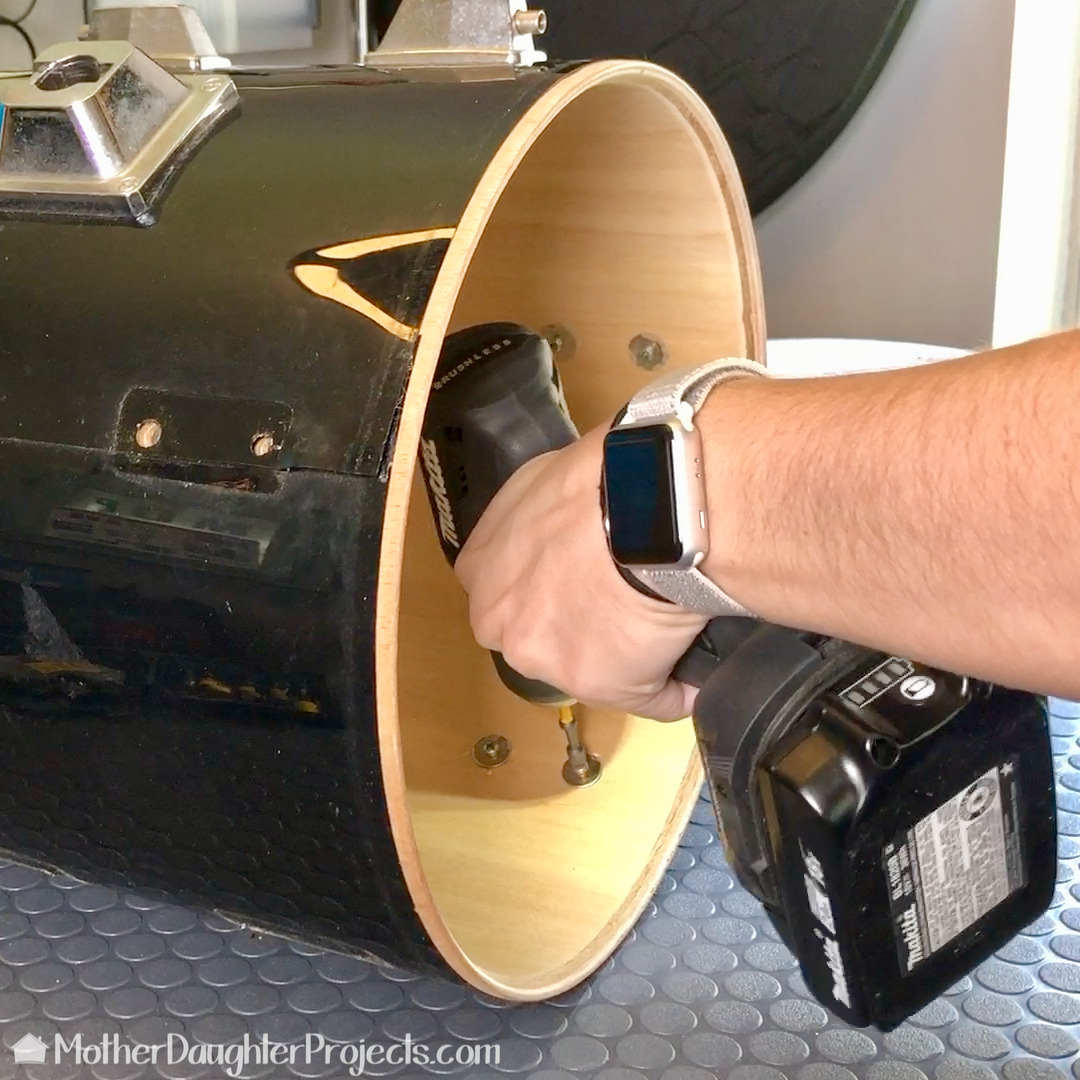
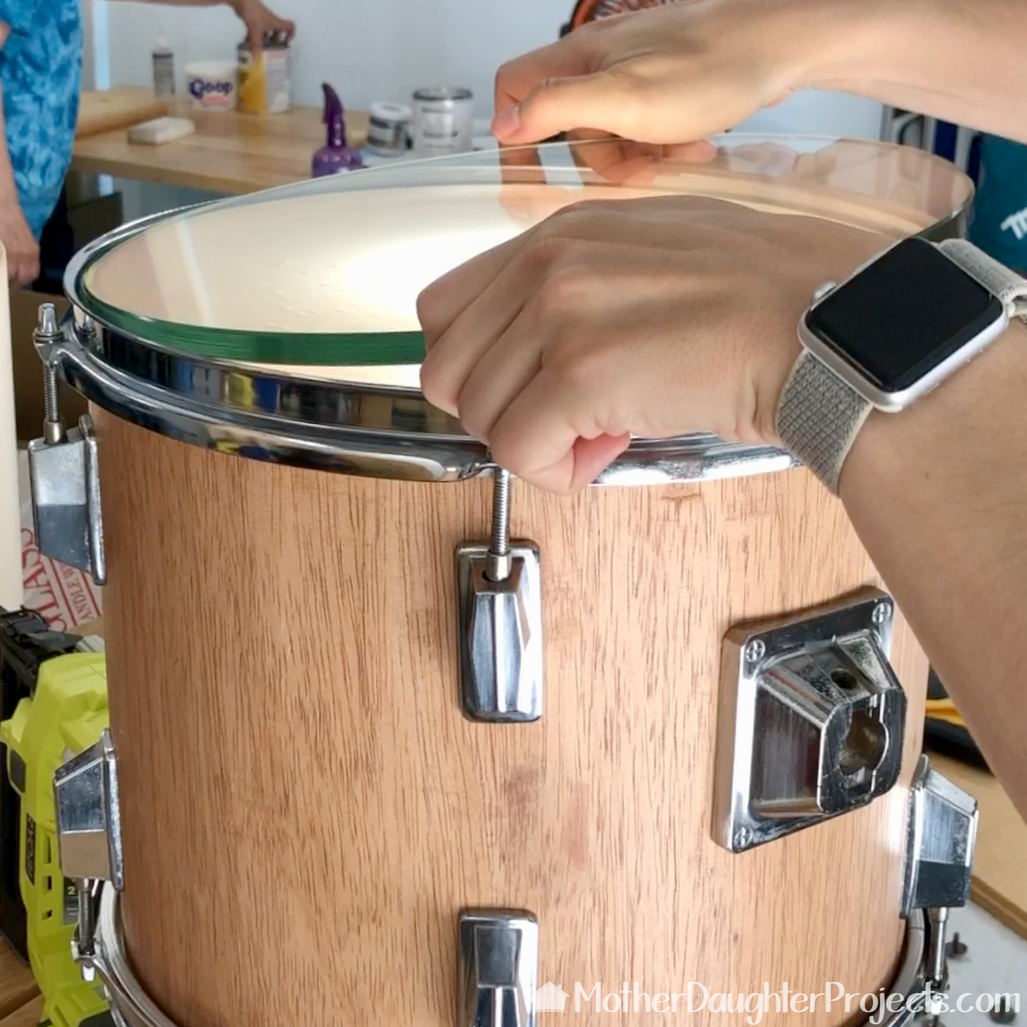
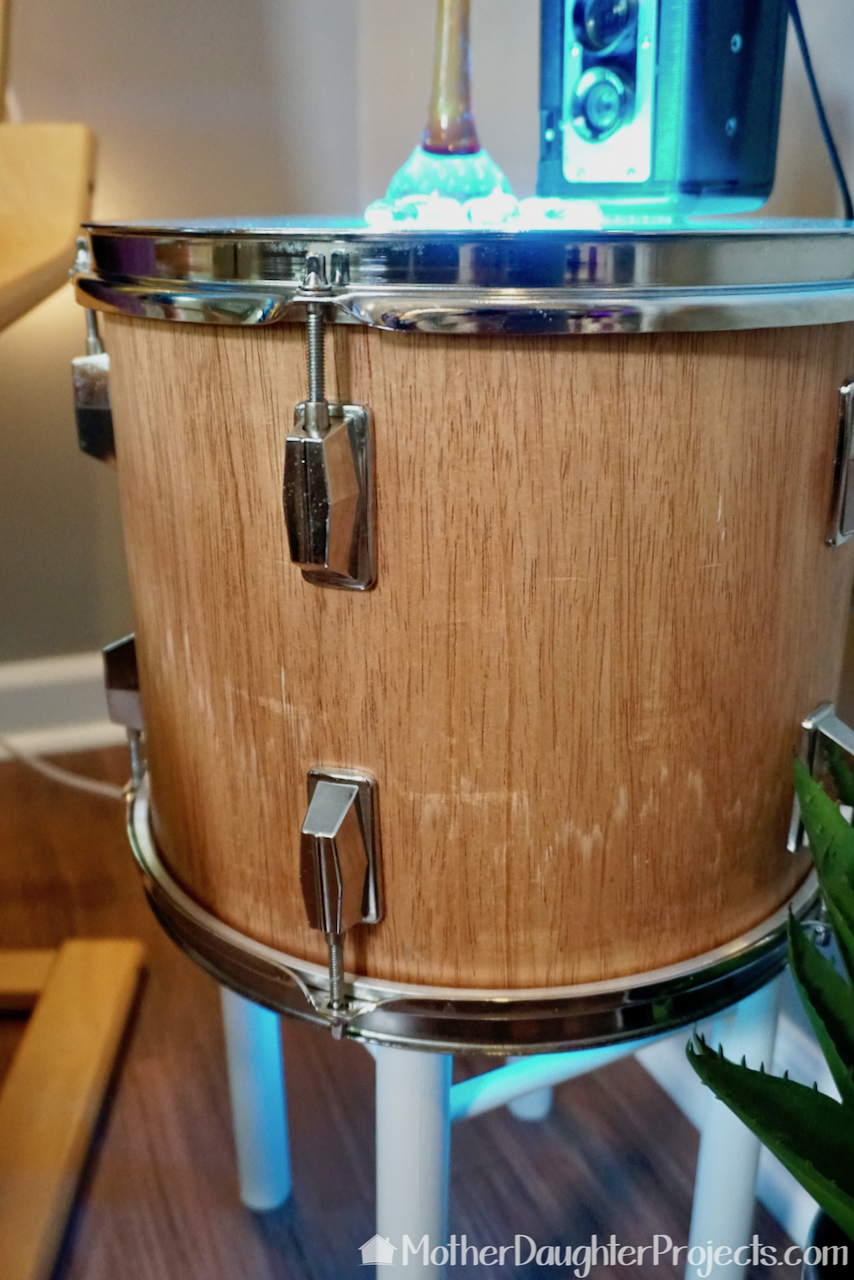
Here is the original drum, alongside the 12" glass round we bought online to go on top of the finished drum. We started our lamp/table build by removing everything from the drum.
A drum key is a must for removing the hardware from the drum.
Steph has a drummer friend so we were able to borrow a drum key from her.
Removing the hardware with a drum key.
This hardware was super easy to remove with the key.
Removing the screws from inside the drum.
Once the heads and rims were removed, we used a drill to remove all the phillips head screws holding the external drum hardware.
The drum is wood inside and out.
After removing the plastic we were left with a really nice cylinder of wood which made the finishing choice easy!
Removing the plastic covering from the outside of the drum.
As we were pondering what to do with the outside of the drum, we realized the plastic covering could easily be removed!
We did a little high grit sanding on the outside of the drum.
We prepped the drum for the finish by sanding off the sticky part and using a high grit sandpaper on the rest of it.
Wood dowels were used as legs and supports for the table.
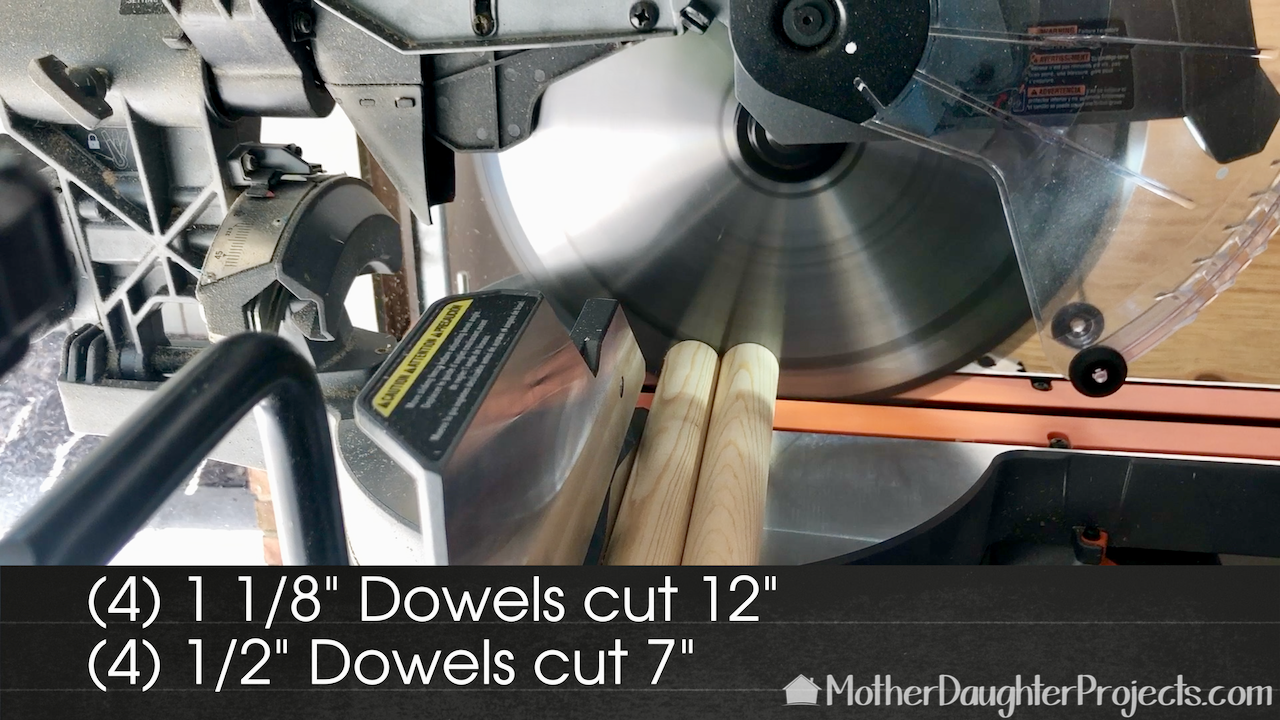
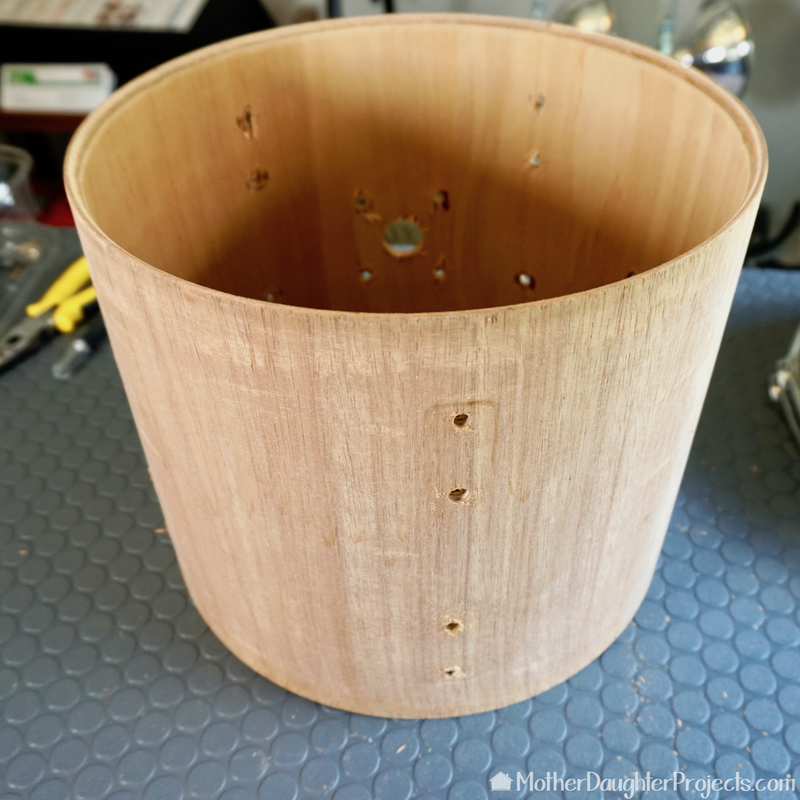
After applying a poly finish to the outside of the drum, we move on to cutting the materials for the stand. We used dowels for the legs and supports.
Assembling the base which was glued and clamped into place.
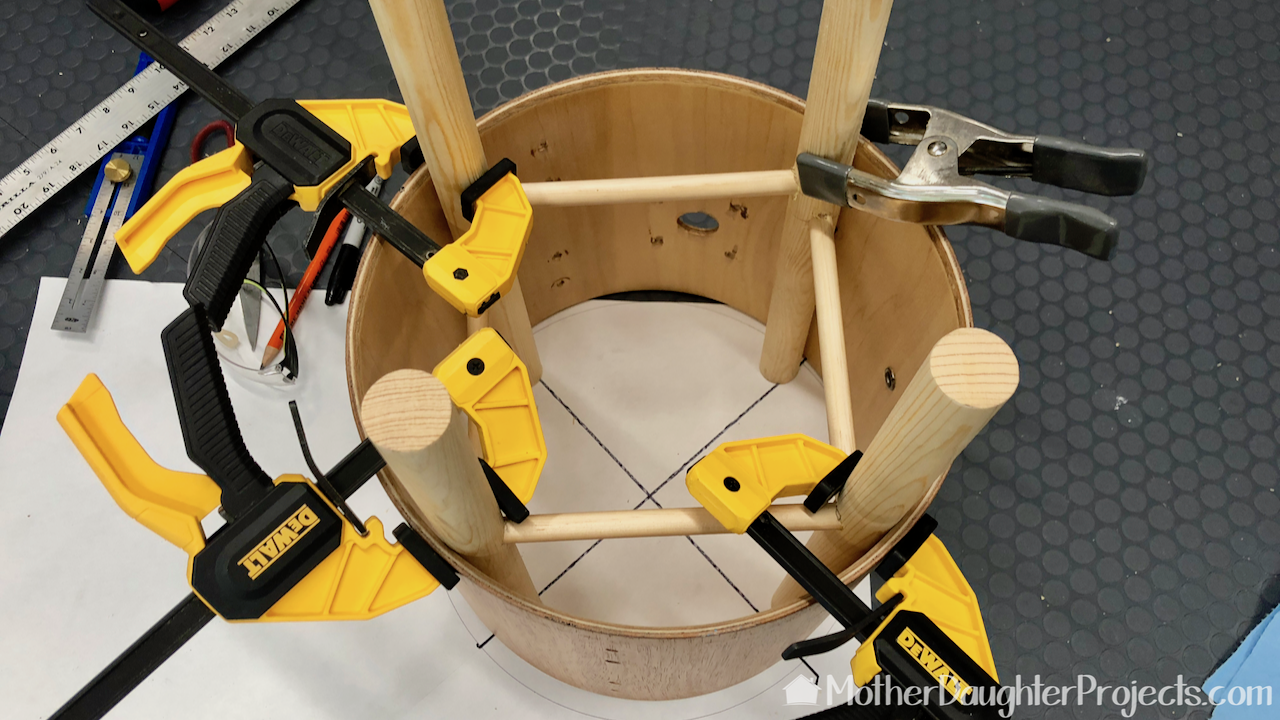
Holes were drilled into the legs and those were fitted with the smaller support pieces. We glued everything, clamped it in place and let it dry. After it was dried we painted with it with white chalk paint.
A support board with a hole in the center was nailed into the top of the stand for the light socket.
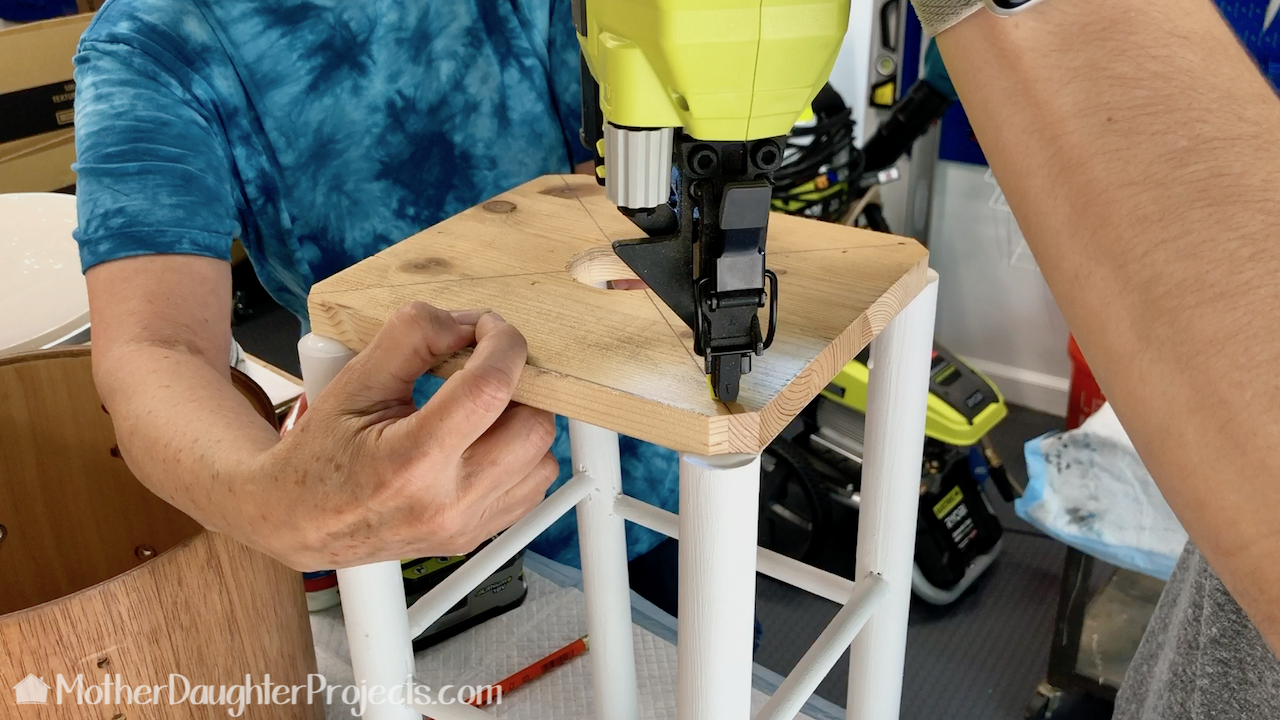
We cut a piece of scrap wood to fit inside the drum. We cut a circle in the middle for the socket hardware. The piece was glued and brad nailed onto the top of the stand.
Cleaning the chrome with wadded up aluminum foil and WD-40.
All the chrome hardware was cleaned with wadded up aluminum foil and WD-40. The top is the BEFORE, the bottom is the AFTER.
Add the top back into place.
Time to reassemble the parts starting with the better looking of the two heads.
The Wiz light is put in to place.
We put the light socket set into place and added our WiZ light bulb. This is an LED bulb so it was safe to use in this project.
A round of glass is added to the top for support.
We added a 12" piece of glass to the top for more support since it will be used as a table.
Smart Home compatibility chart for the WiZ LED light bulb.
Set anything color you want.
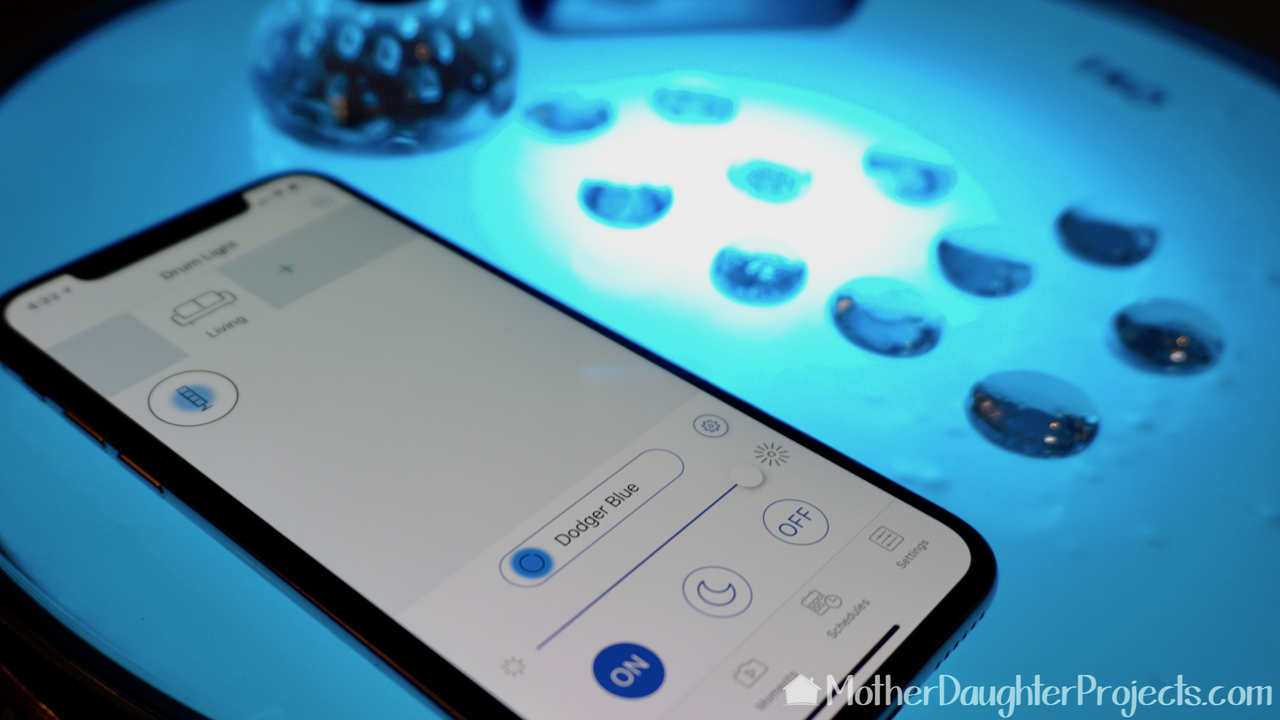
With the Wiz app, we can make the light any color or have it fade through pre-set color pallets.
Full view of the finished table.
The blue looks like water with bubble free floating.
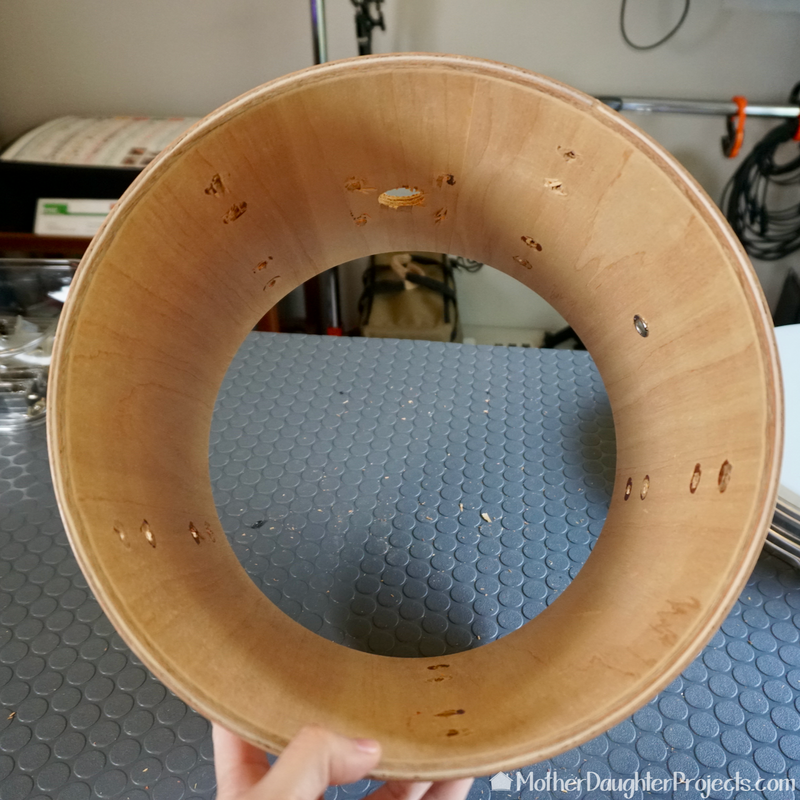
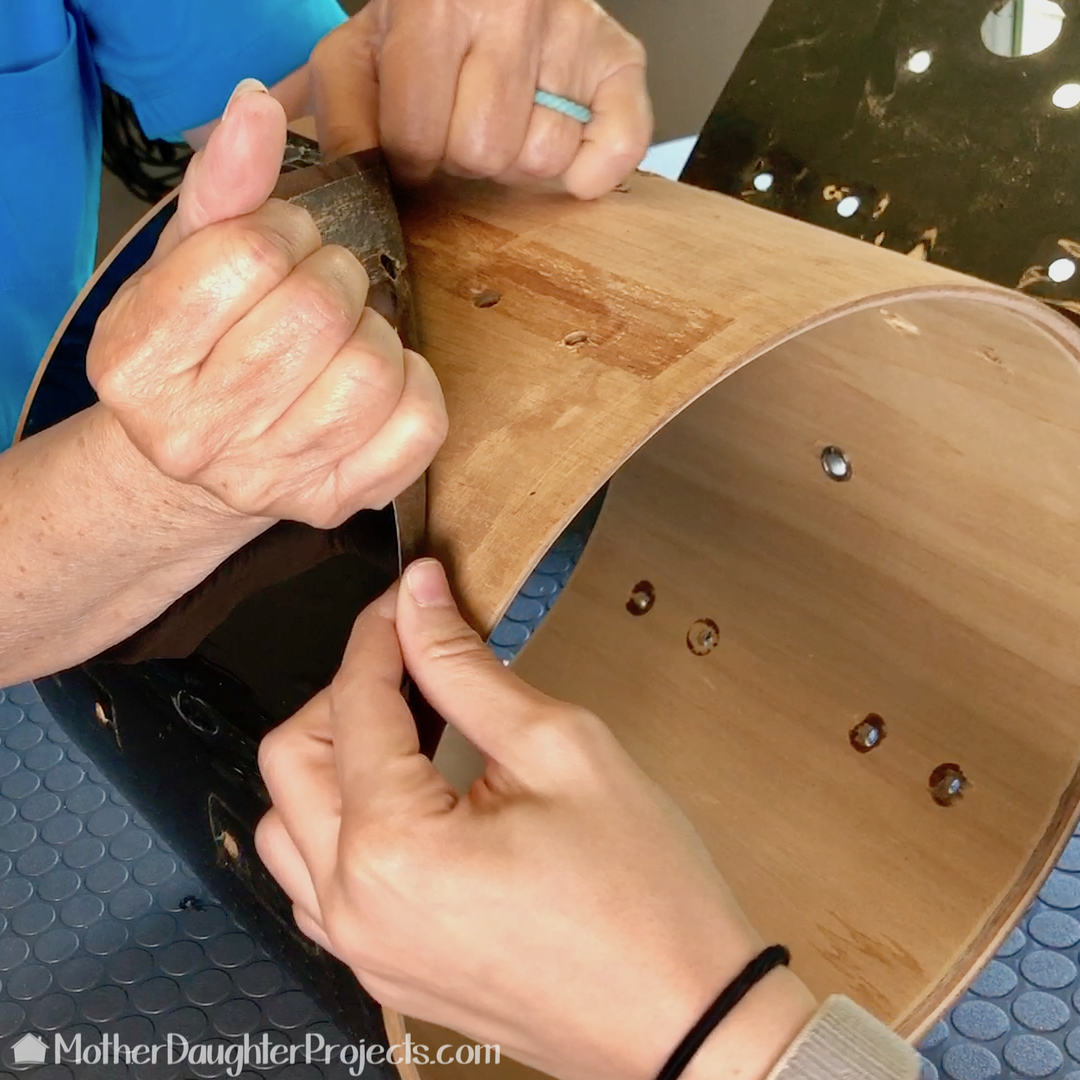
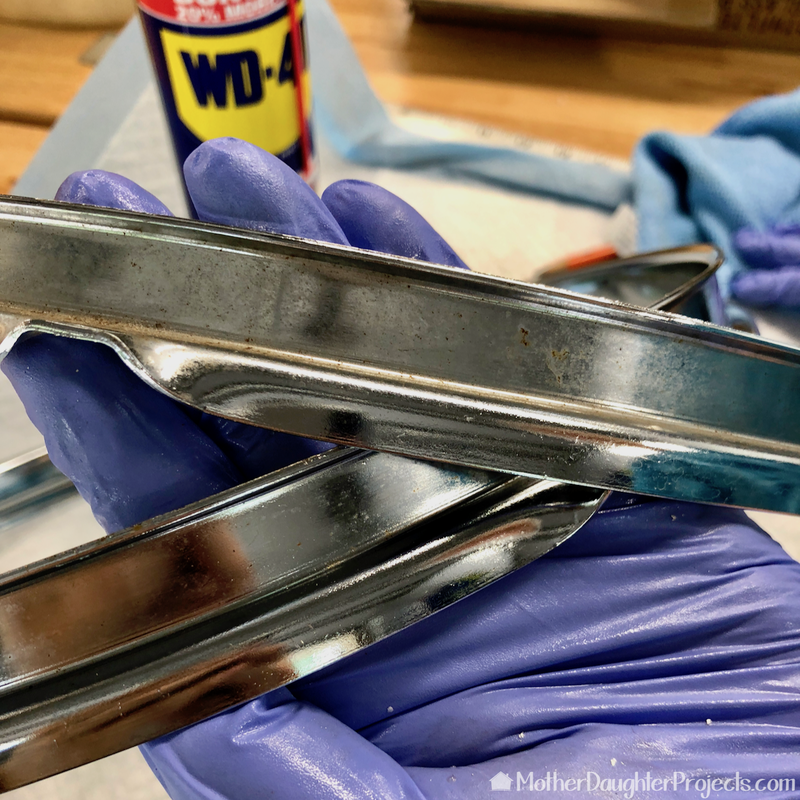
I guess all the years I marched in the percussion section in high school as a bell player, I never saw the inside of a drum. I had no idea they were made of wood so imagine our surprise when we took the head off to see it was wood! That got us to thinking about the outside. Could the plastic be easily removed to expose the wood on the outside? Yes! Once we exposed the wood, we knew that we were going to leave it natural in color and not try to improve upon the look of the wood grain. 

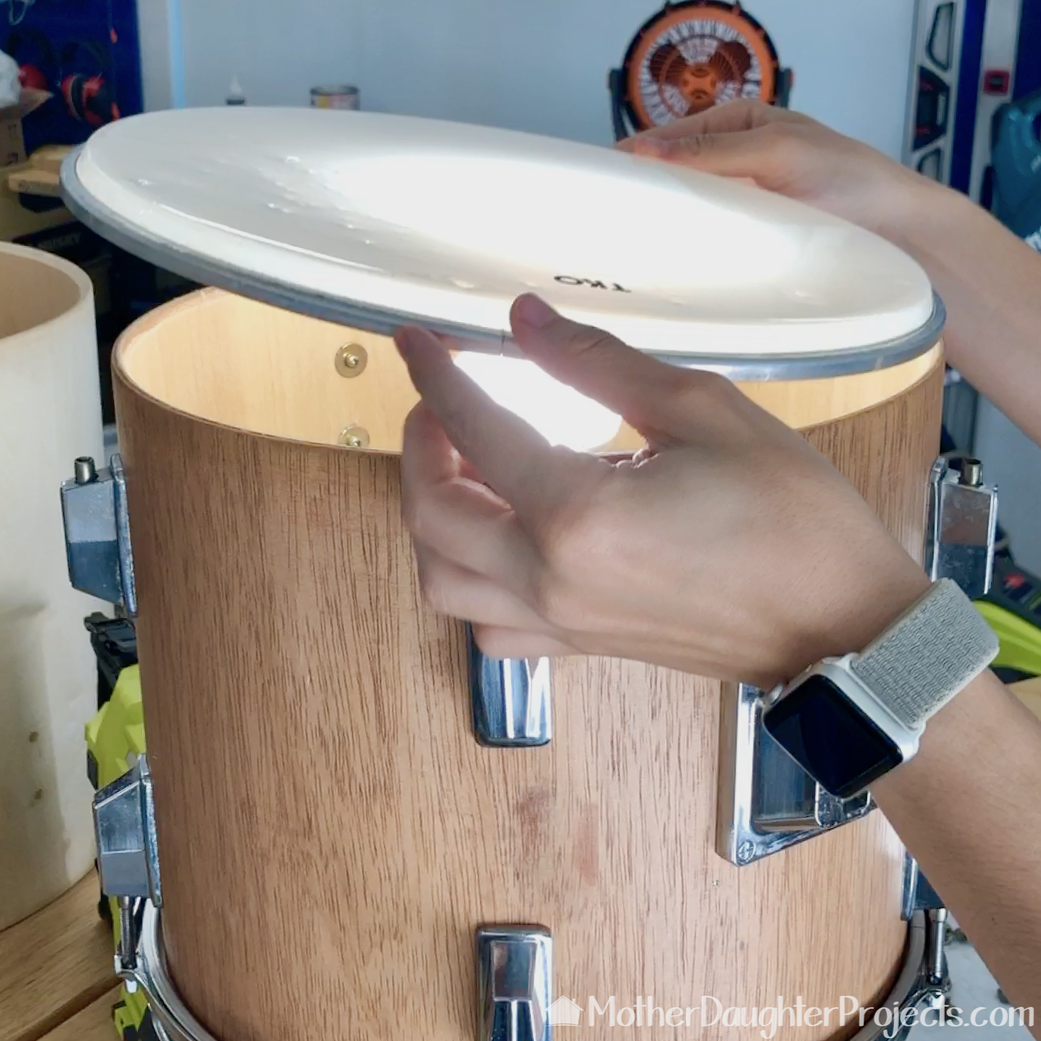
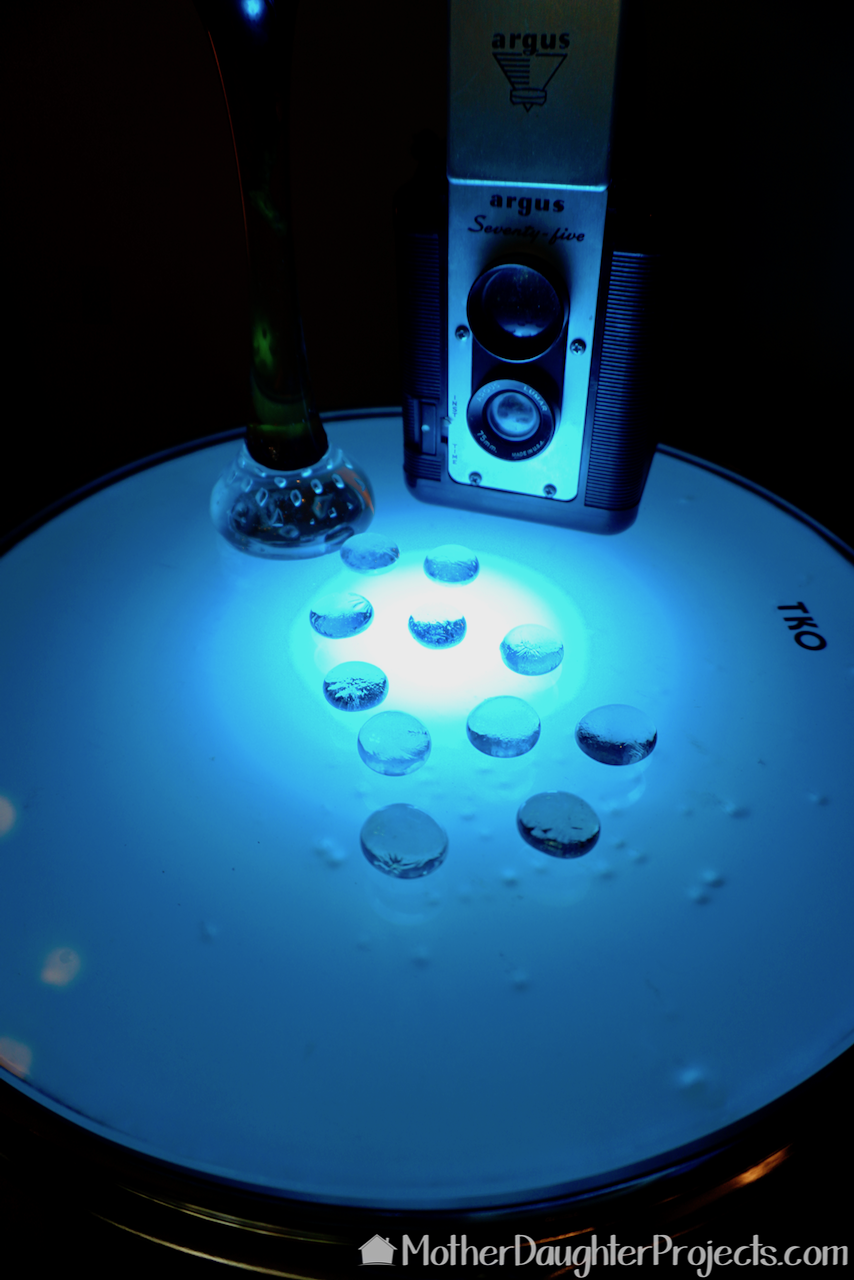
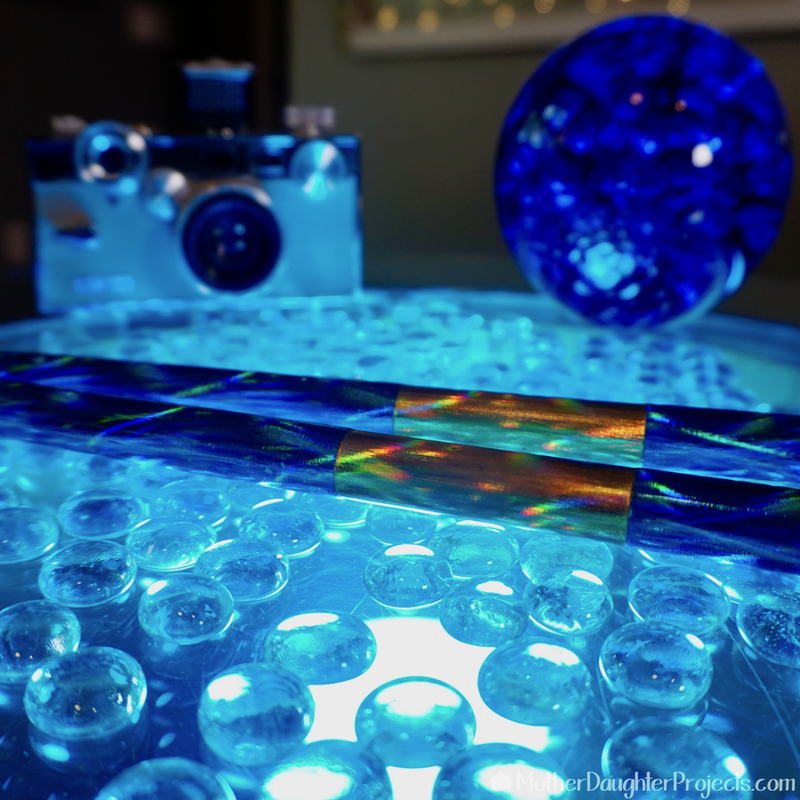
Another surprise was the drum head itself. Both heads were well worn with lots of little dents. We chose the less worn one as the top. But, it turned out all those little dents ended up looking like tiny floating bubbles when lit from underneath with the bulb. We kind of wished we had used the well worn one now for even more "bubbles!"

This was such a fun build. We will be on the lookout for additional drums to transform! 
Video tutorial! Learn how to take an old drum (tom) from a thrift store and turn it into a smart lamp end table! #smarthome #diy #drum #upcycle
Picture
We acknowledge that The Home Depot is partnering with us to participate in the ProSpective 2018 Campaign. As a part of the Program, we are receiving compensation in the form of products and services, for the purpose of promoting The Home Depot. All expressed opinions and experiences are our own words. Our post complies with the Word Of Mouth Marketing Association (WOMMA) Ethics Code and applicable Federal Trade Commission guidelines.

FYI: We are not professionals, and we don’t claim to be. This is what we found worked for our project. Yours may need a little different approach. Safety first!

FYI: Affiliate links are being used on this page. Purchasing via these links help support MDP!

Related Projects

Picture
Floor Tom Side Table
Picture
Craft Closet Makeover
Picture
LED Log Lamp
2 Comments
Daniela link
8/25/2020 04:00:04 pm

Could you please specify if the drum you bought was 13"? Or was it 12"? ... I'm intending to do one, my drum is 13", and I'm not sure if I need to get a glass 13" or 12"

Reply
Steph
8/25/2020 06:52:36 pm

Our drum is 12" and fits a 12" piece of glass.

Reply


Leave a Reply.

    MotherDaughterProjects.com

    Mother Daughter Projects
    ​
    Steph & Vicki

    We're homeowners sharing our DIY adventures as we learn to maintain, improve, decorate, and ​use tech in our homes.
    Share your projects with us here:  
    ​#trylearnshare
    MotherDaughterProjects.com
Mother Daughter Projects, LLC ∙ est. 2015 ∙ Tallahassee, FL by Vicki & Steph ∙ Privacy Policy