|
text by Vicki Sign up here to join our weekly email newsletter!
Using picture frame ledges is an easy way to arrange and display artwork in your home or office. You can rearrange anytime and never have to put another hole in your wall!
These are easy to build requiring few tools and with no waste. Skip the Gallery Wall and make these instead! Materials/Tools:
Before we headed to the store to purchase our ledge lumber, we decided to paint the wall where the ledges are to be installed. I've been wanting to paint this wall for a while and this was the perfect opportunity to do so.
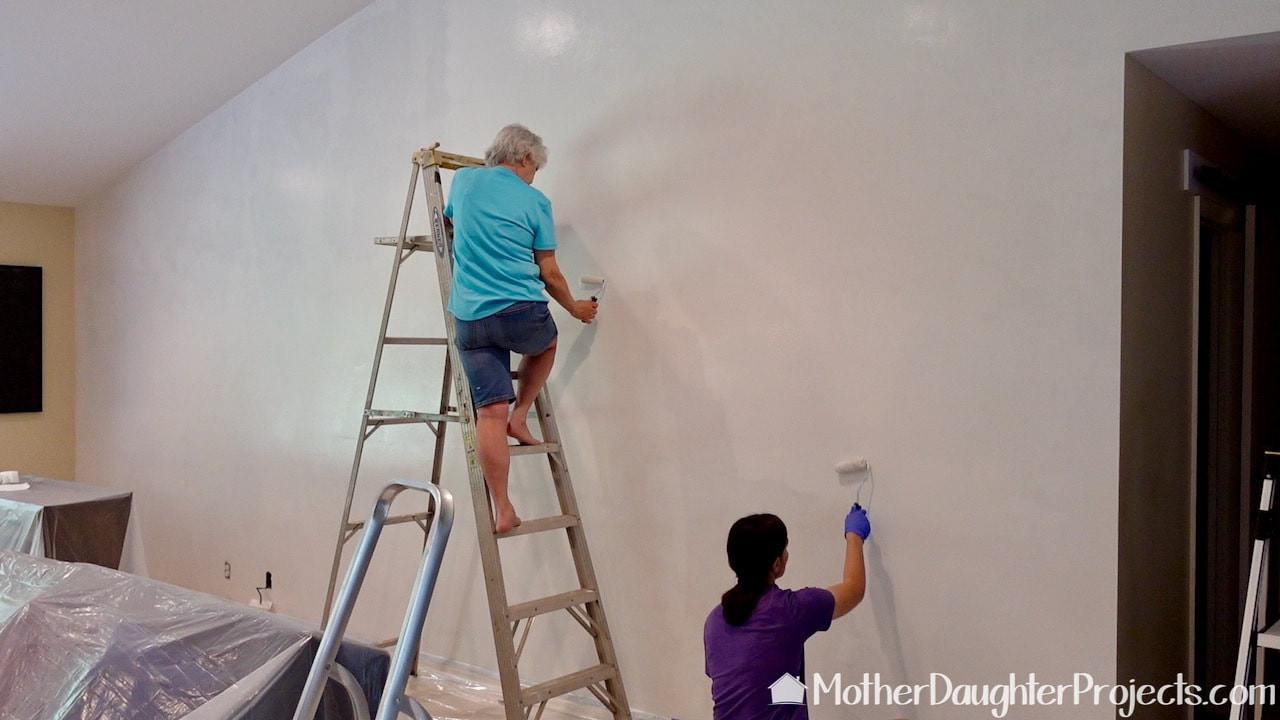
We were not so sure about this white as the lighting in this room made it look all kinds of shades of grey. Once dry and the ledges in place, I liked it. The white certainly lightens the space.
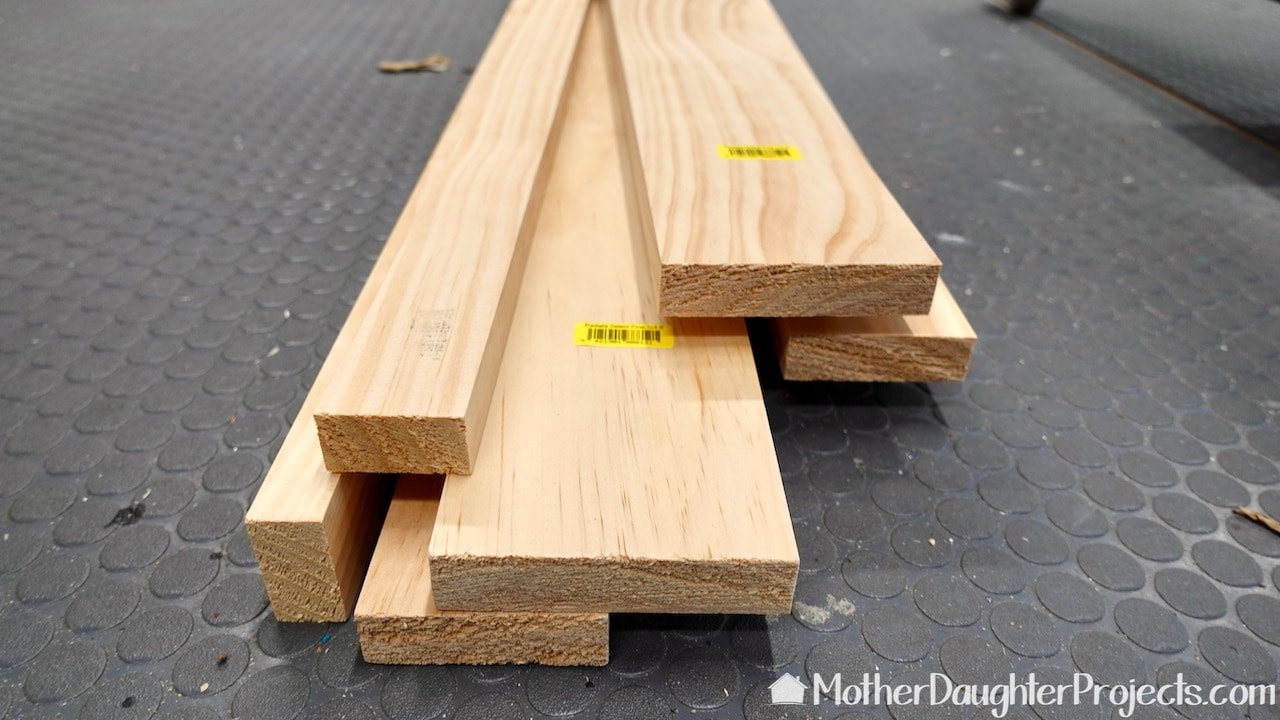
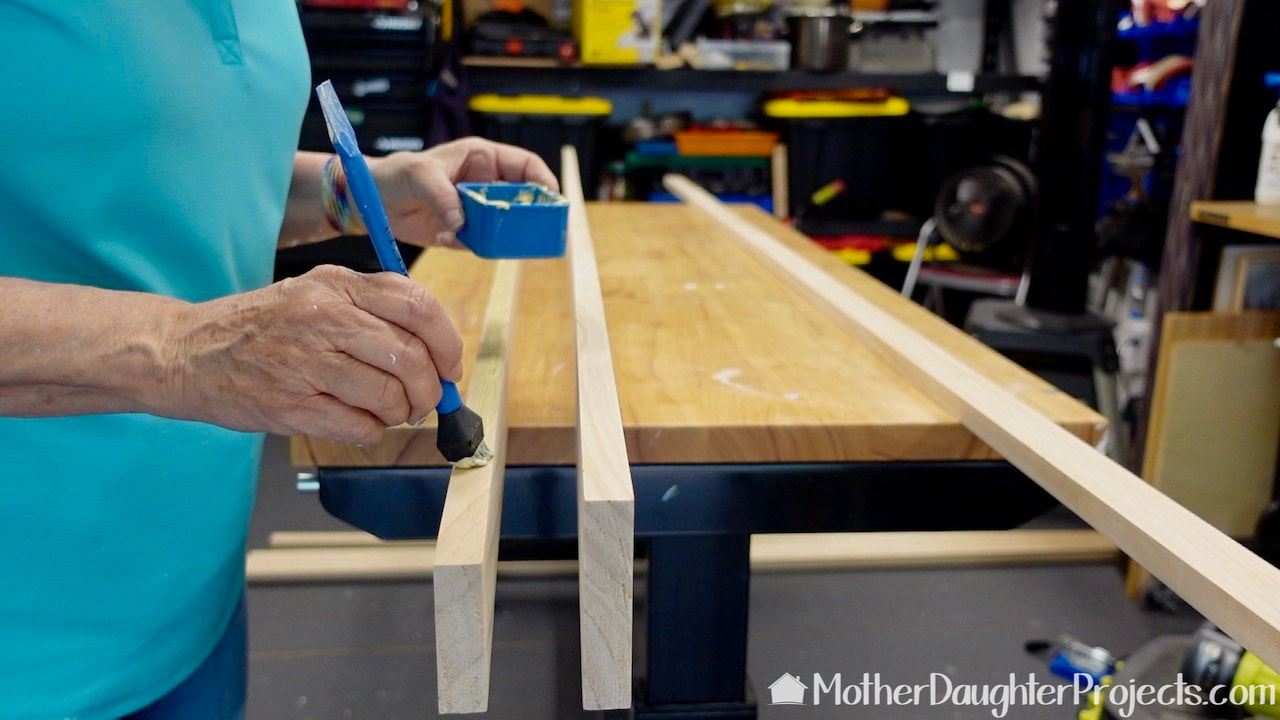
When buying lumber, look for the straightest boards you can find.
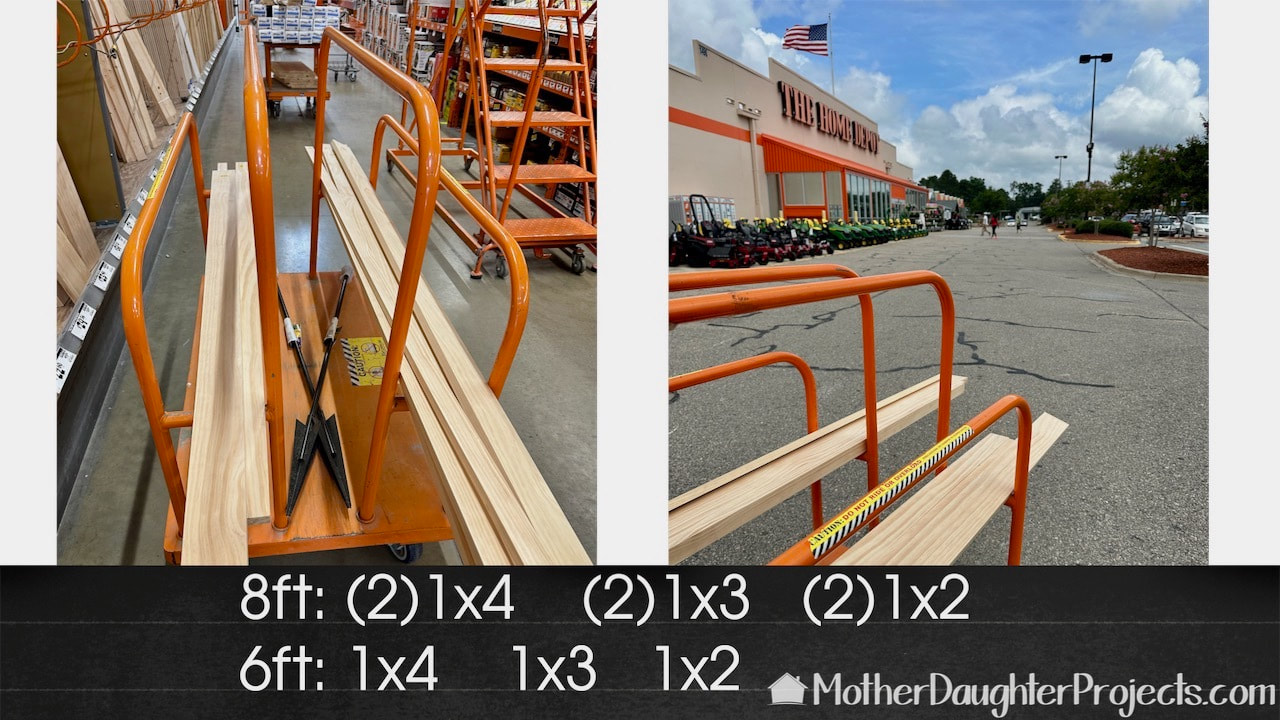
We picked up the select pine boards at The Home Depot. We are making three ledges, two that are eight-feet long and one six-feet.
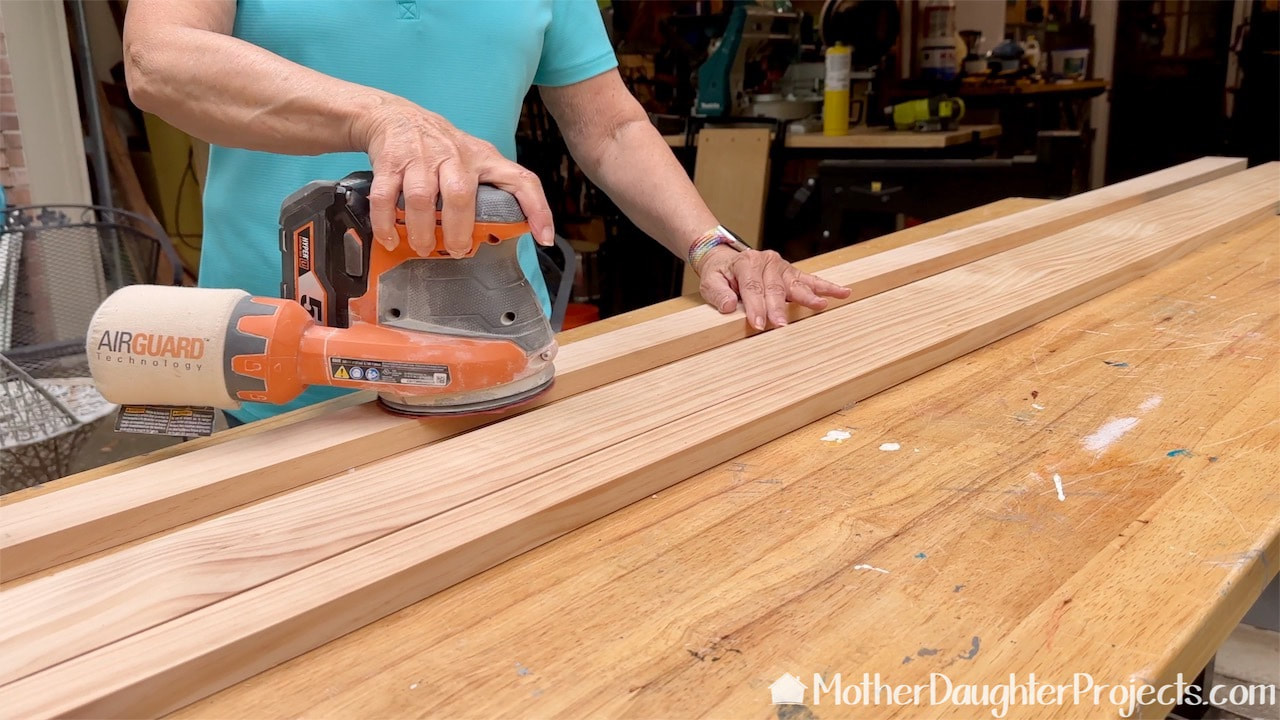
Select pine is more expensive that other boards, but it requires way less prep. The boards only needed a bit of sanding with a 220-grit disk. The extra expense was worth it not to have to heavily sand!
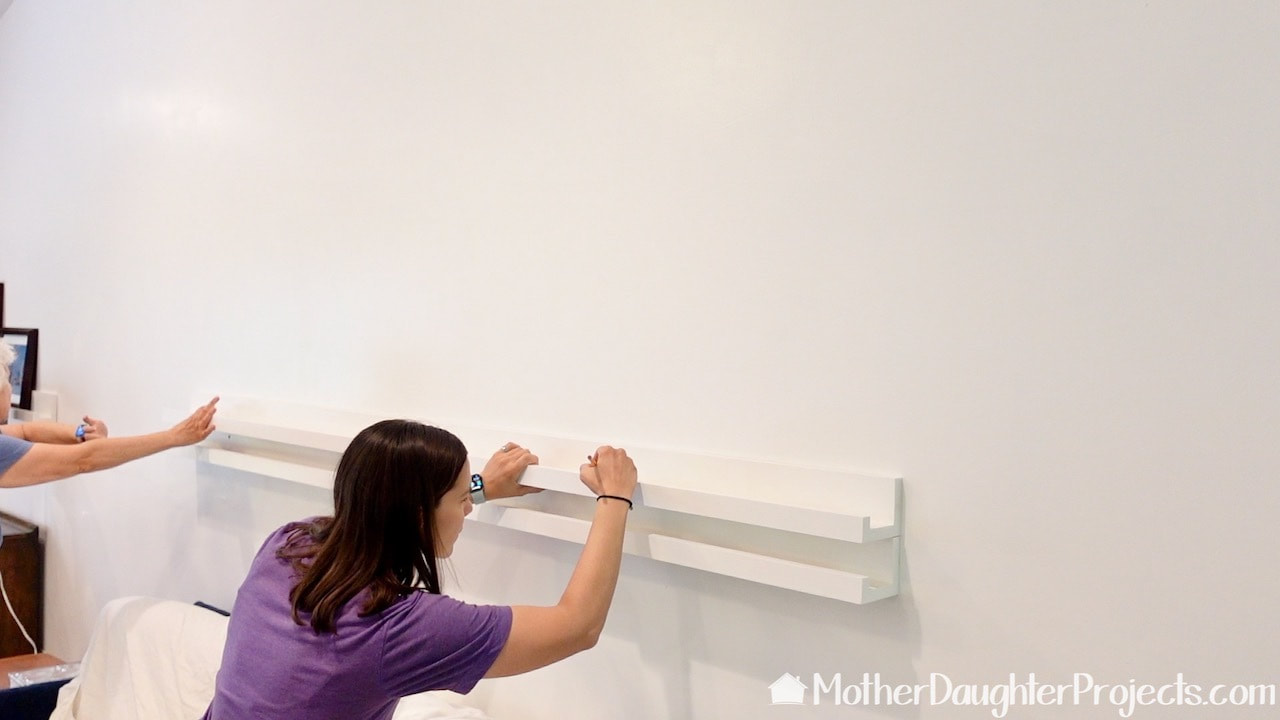
Construction of the ledges could not be easier with wood glue, brad nails, and clamps. These can be made without the addition of brad nails as well.
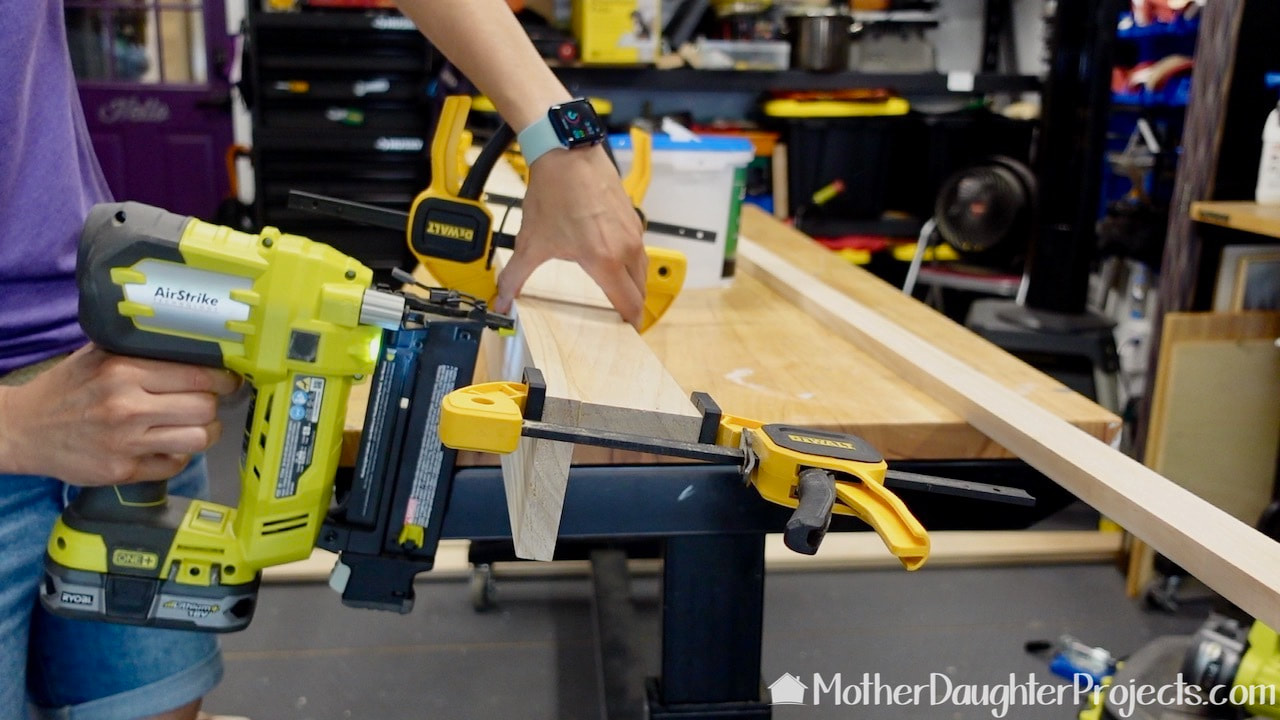
We added some brad nails just to hold the pieces together while everything dried.
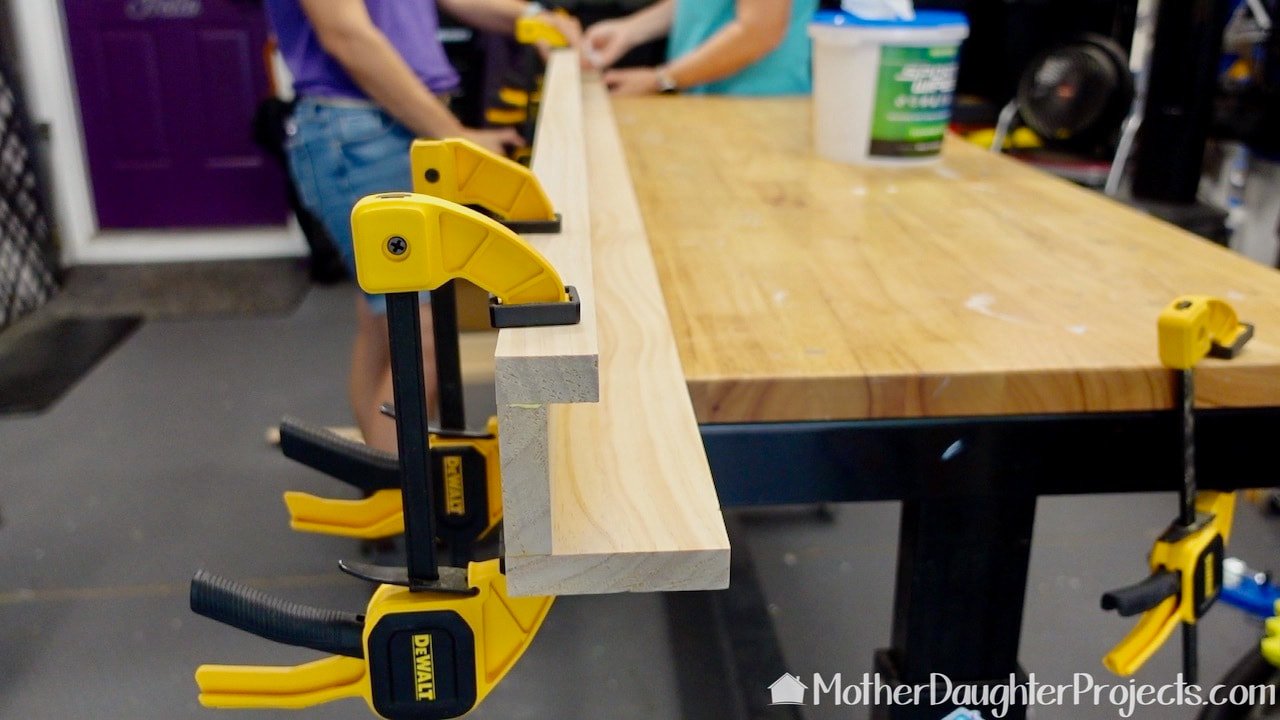
The front piece was glued and clamped without the addition of brad nails.
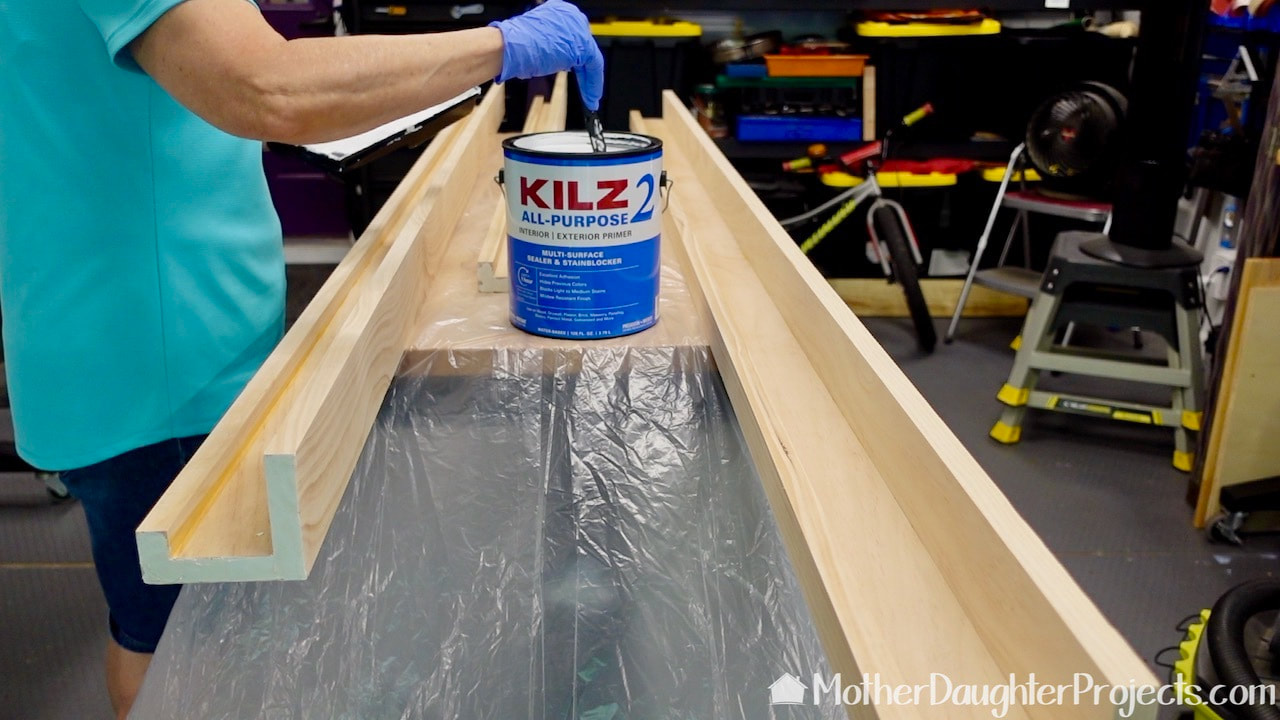
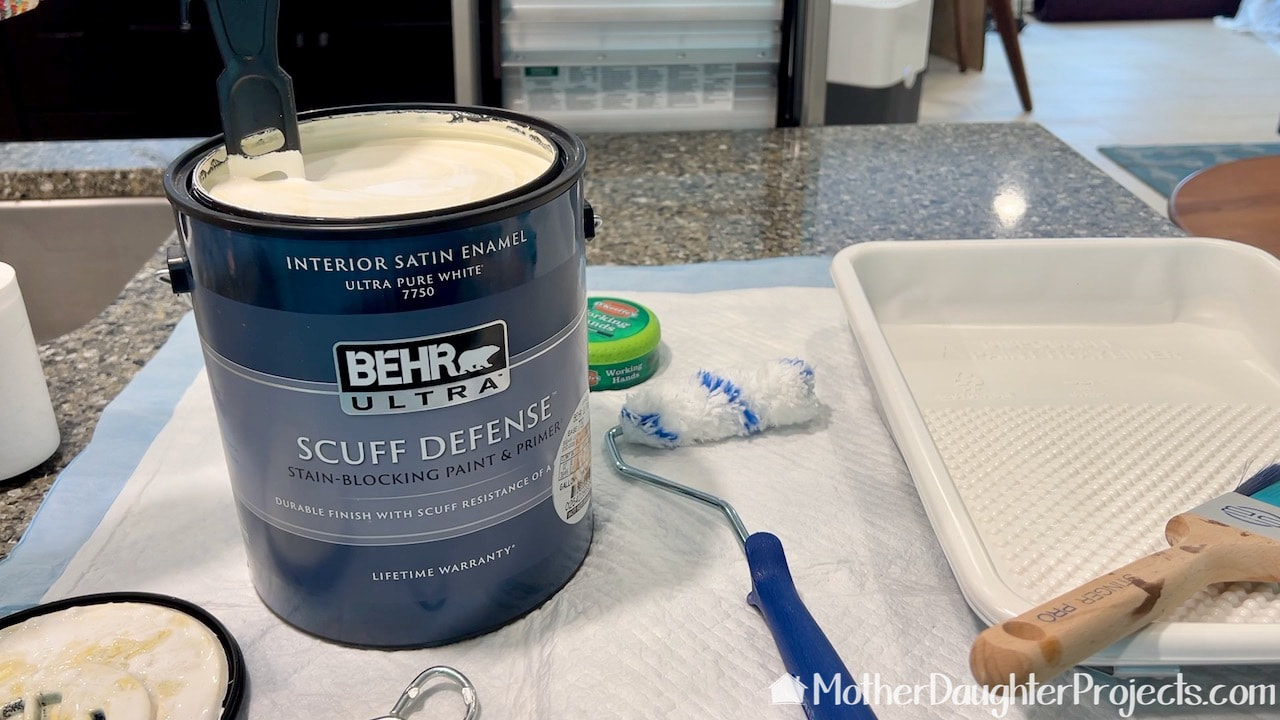
To finish, the ledges were given a coat of Kilz and then a couple of coats of the white wall paint.
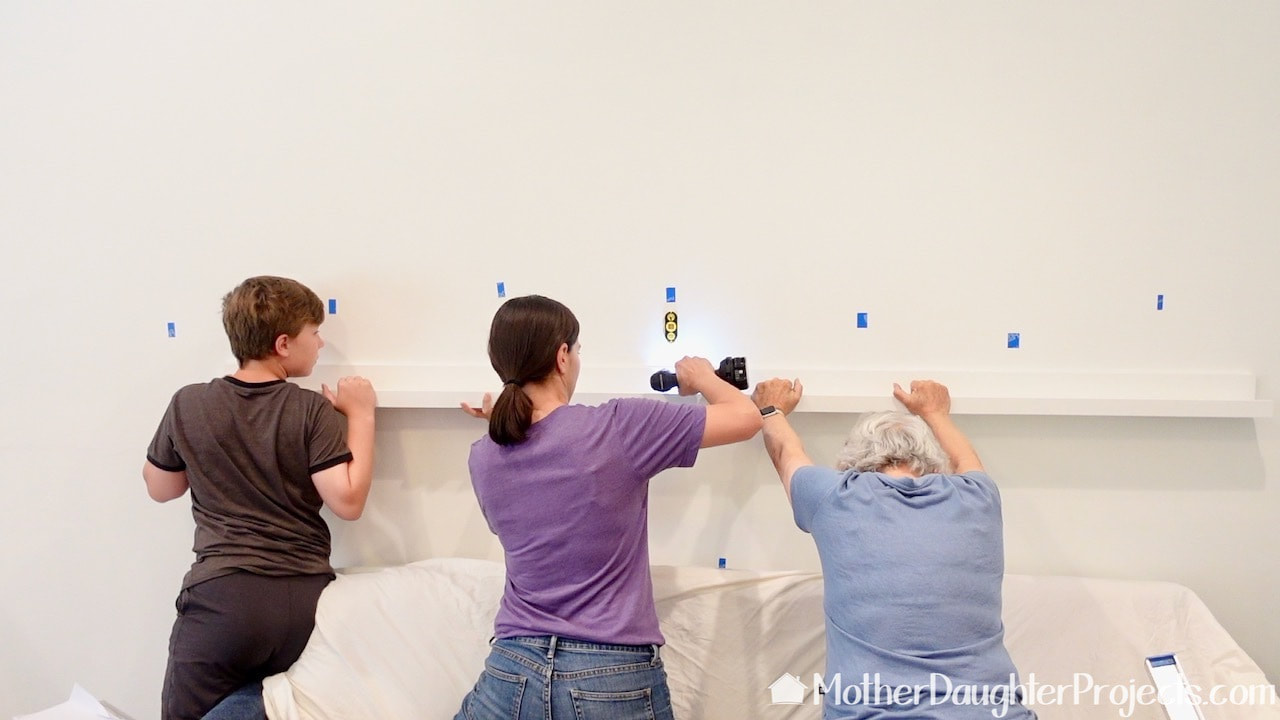
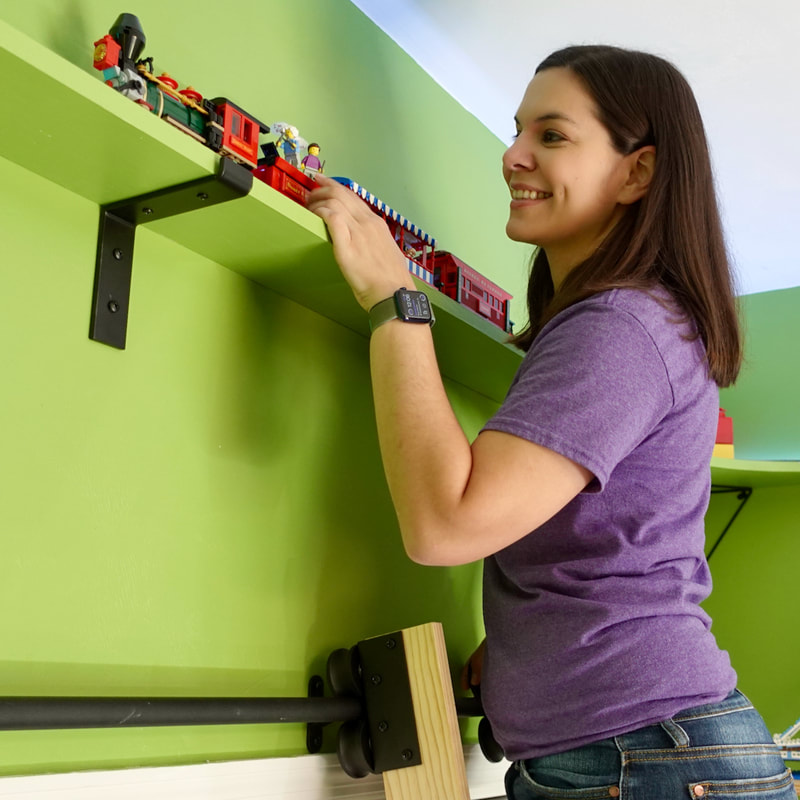
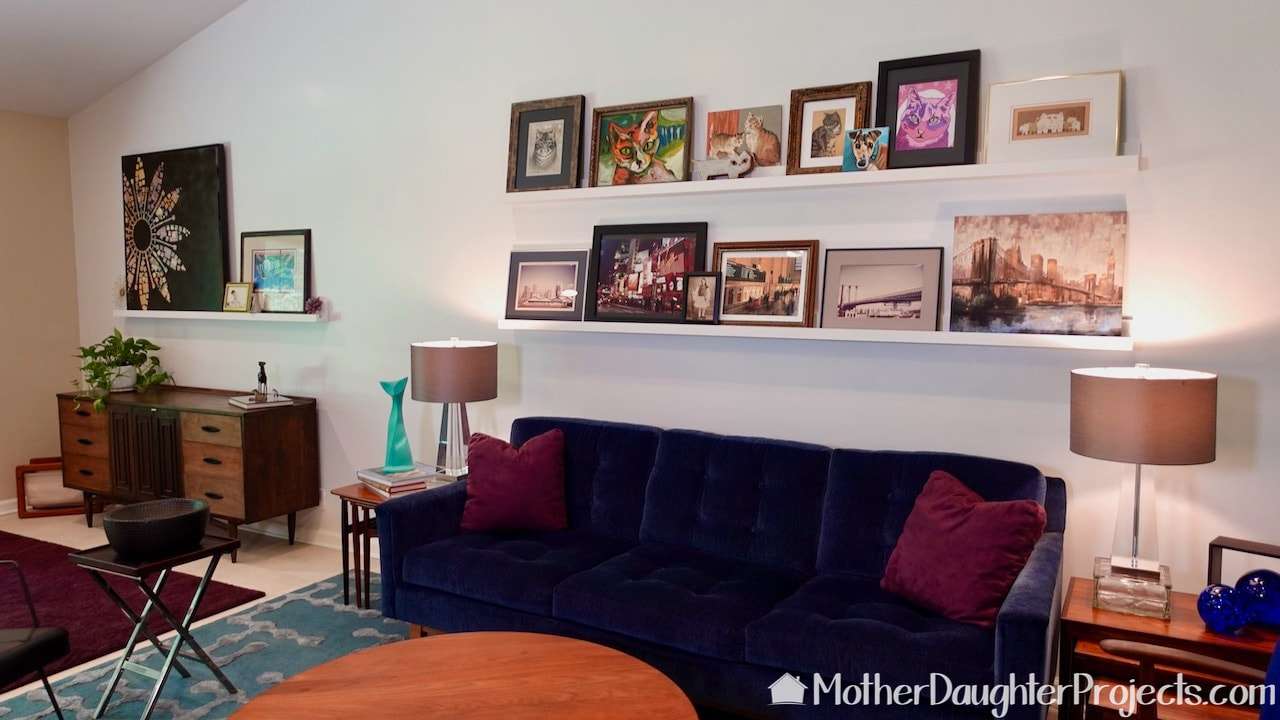
My grandchildren were here for the install and helped! The blue tape is marking all the wall studs. We secured the ledge into three of the studs. The bottom of the ledge is 47 1/4 inches from the floor.
For the upper ledge, we first lined it up with the bottom one and marked where the screws should go.
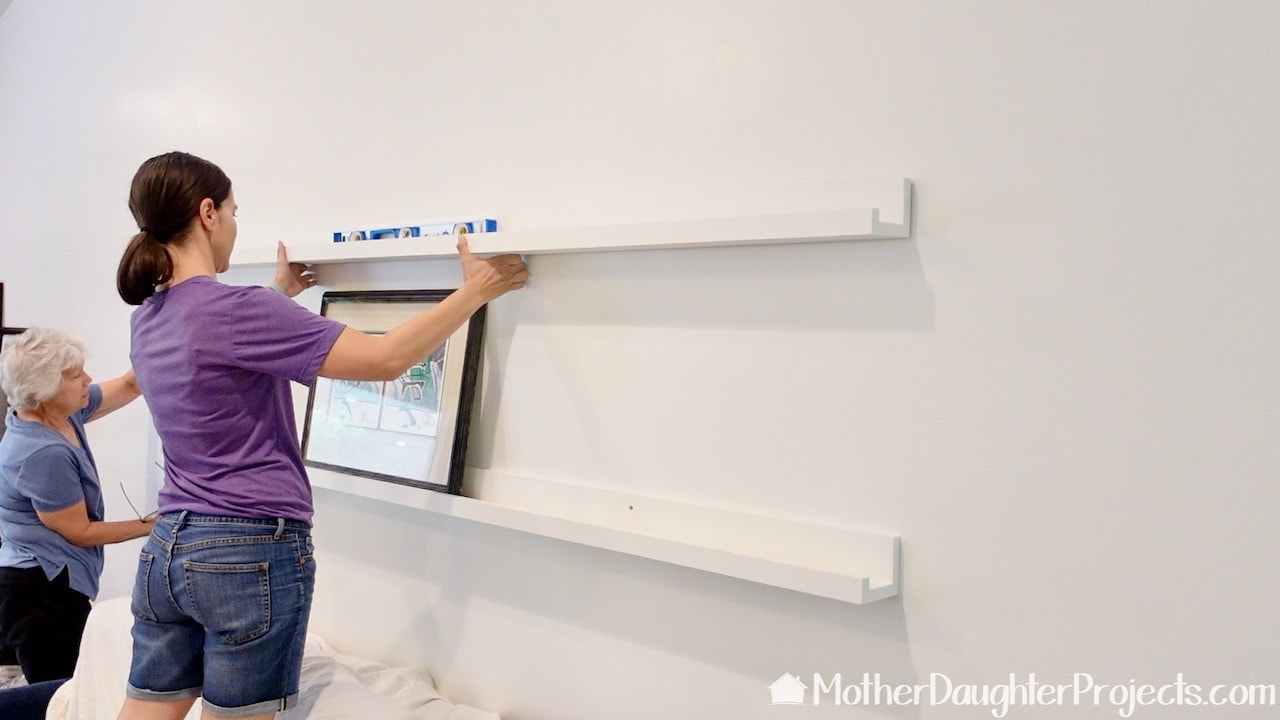
We placed a picture on the bottom ledge to get an idea of how far apart the we wanted the ledges to be. The ledges are about 21 1/2 inches apart.
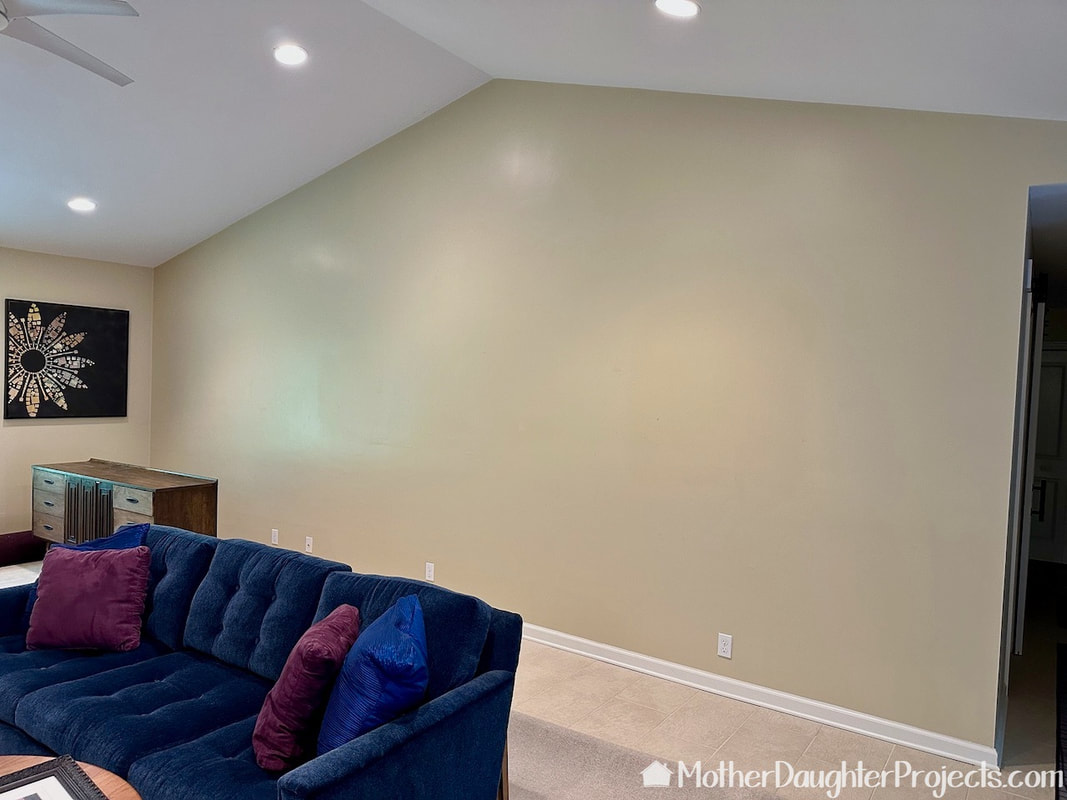
Before
After
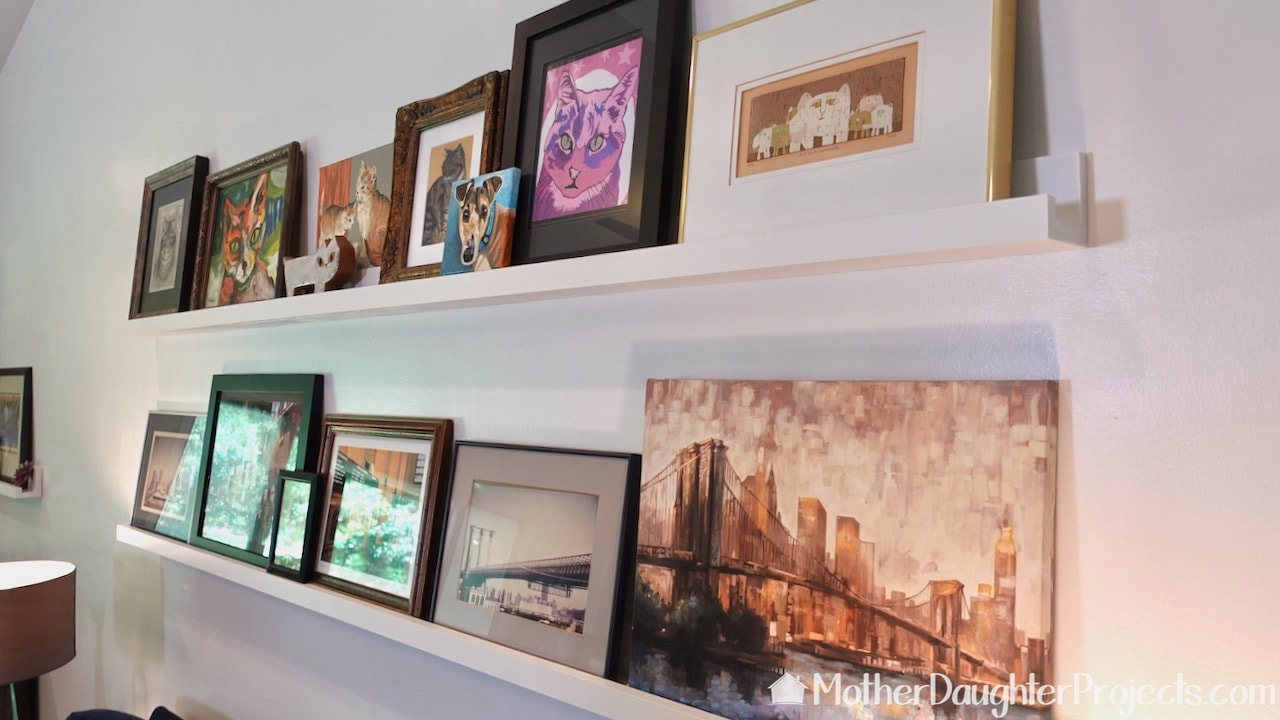
These ledges are so much easier than putting up a gallery wall! There is plenty of room for my cat art collection as well as showcasing my fondest for New York City! I can easily change out art or rearrange any time!
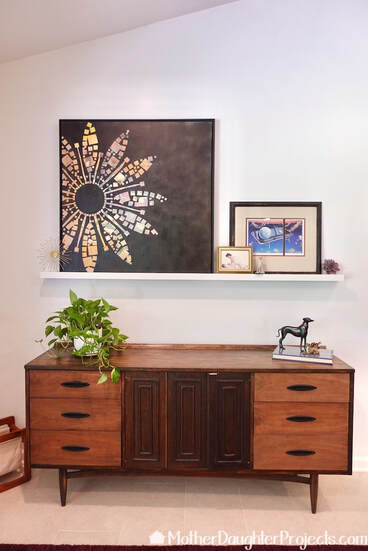
The six-foot ledge is a perfect fit over this mid-century Broyhill Sculptra dresser.
These picture ledges are modeled after the Ikea ones that I already have in my house. The advantage of making them yourself is you get the length and color you want as well as having the flexibility to determine where the screw holes go.
On the Ikea ones, you're limited to the predrilled holes which don't always line up to where you want the ledges to be installed. I'm very happy that with my new picture wall. Hummm, I wonder where else I can hang some more ledges! Please note: This is not a sponsored post. FYI: We are not professionals, and we don't claim to be. This is what we found worked for our project. Yours may need a little different approach. Safety first! FYI: Affiliate links are being used on this page. Purchasing via these links help support MDP Related Projects
0 Comments
Leave a Reply. |

Mother Daughter Projects
|