|
text by Vicki Sign up here to join our weekly email newsletter!
An old board that had been outside for a long time became the inspiration for this project. The knot hole in it was epic and we thought it would made an interesting feature in a table, if only the board was live edge.
Well, no worries! We just faked our way to a live edge using a couple of simple tools and a little time. Plus, along the way we discovered it was also fun to do! Materials/Tools:

Since we often forget what tools we use in a project, we took the time to stage them all in one area to reference them later. You're welcome. That jig saw and angle grinder are the stars of this show.
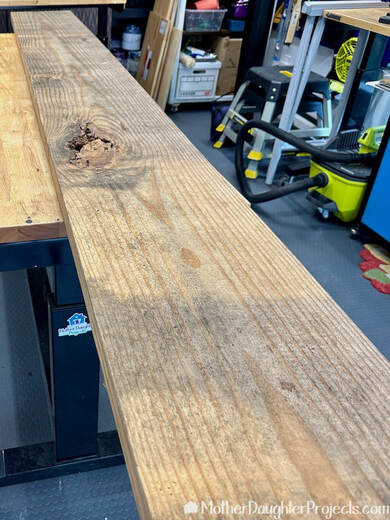
I don't know why we purchased this board in the first place, but we still had it and decided we needed to do something with it. The actual width is 11.5 inches by 1.5 inches thick. Perfect for a small entry way table.
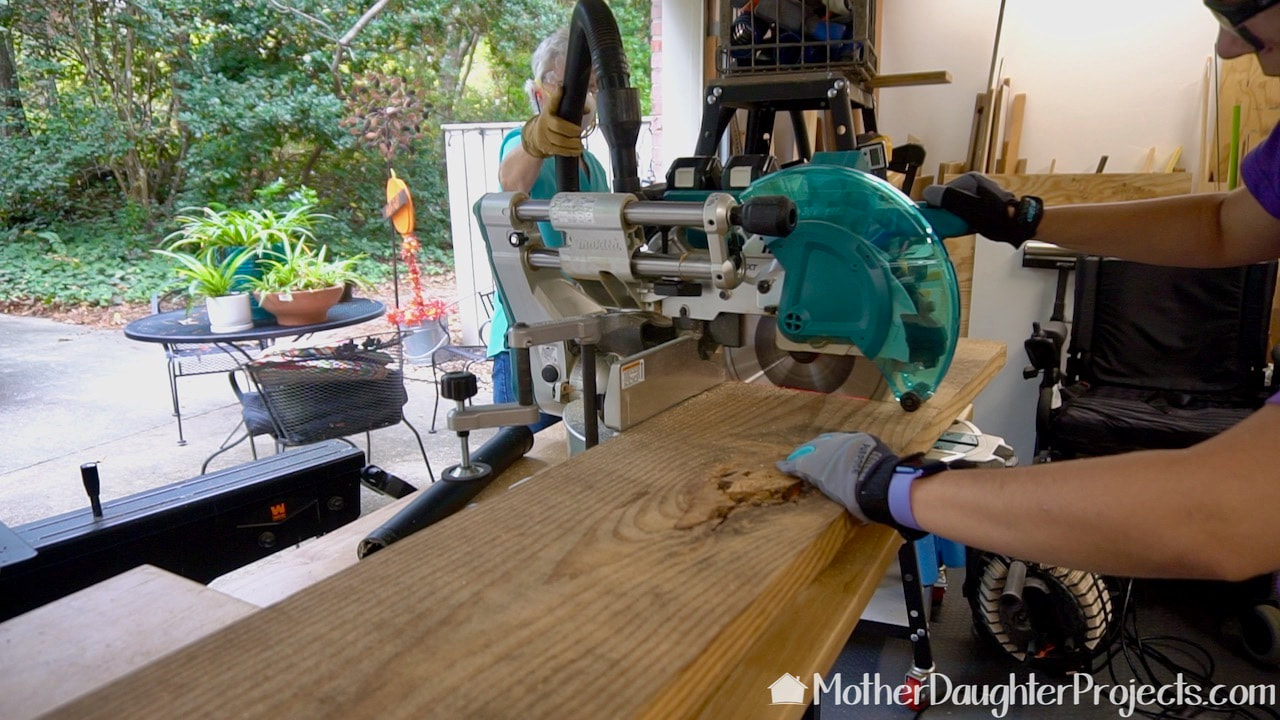
We decided the finished table would be four feet long. We determined where we wanted the knot hole to be and cut the board to size on our Makita sliding miter saw.
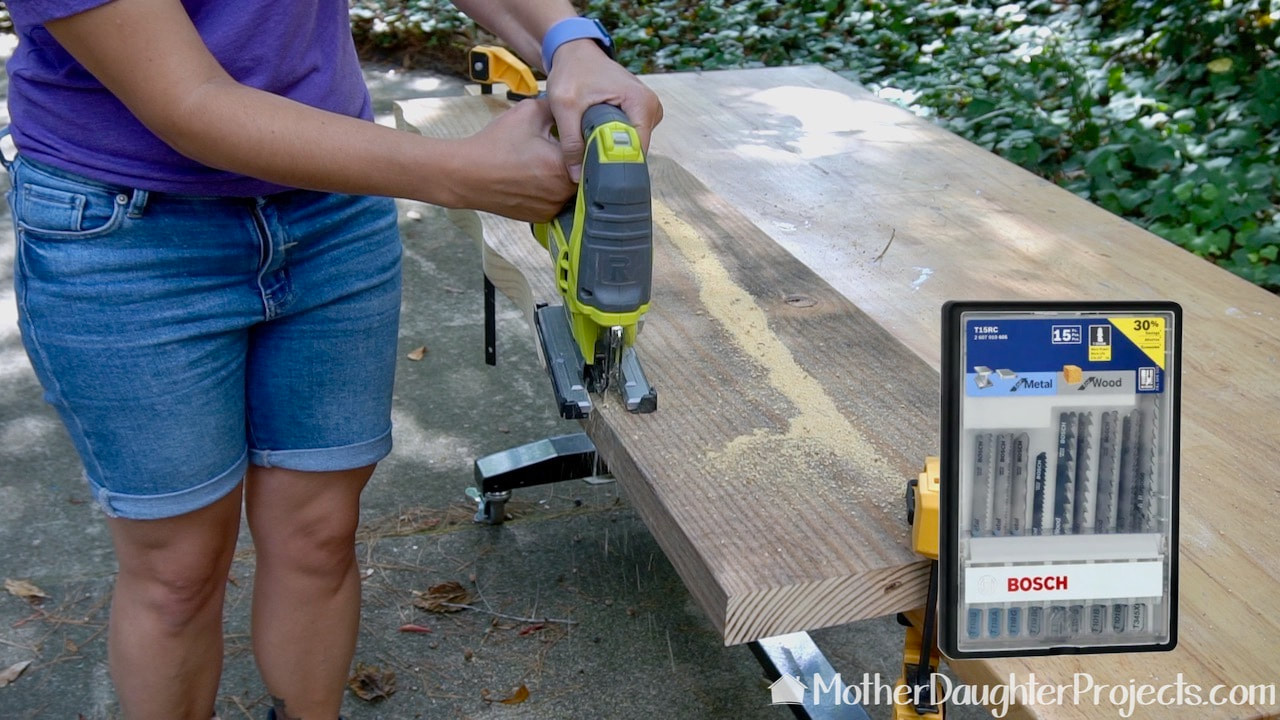
Using a fresh Bosch blade, we used our Ryobi jig saw to cut a "live edge."
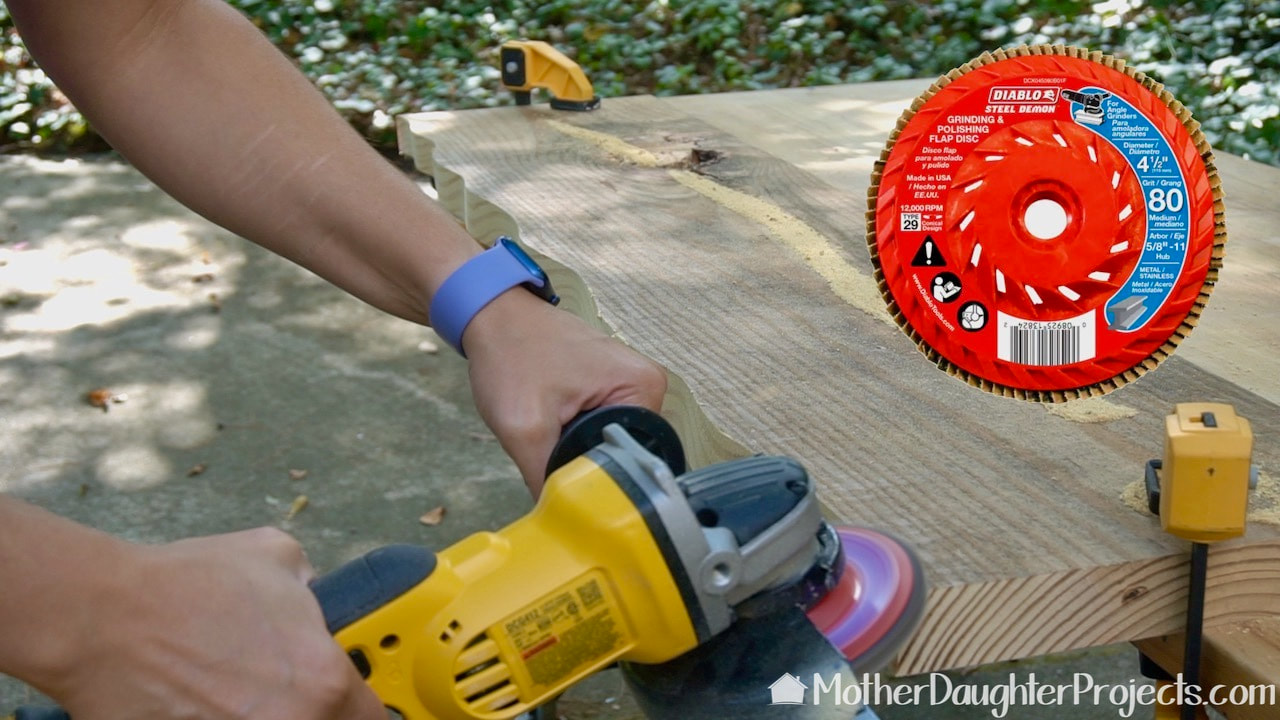
We finessed the edge with a DeWalt angle grinder fitted with a Diablo 80 grit flap disk. This was the fun part. And, yes, Steph, did let me have a turn!
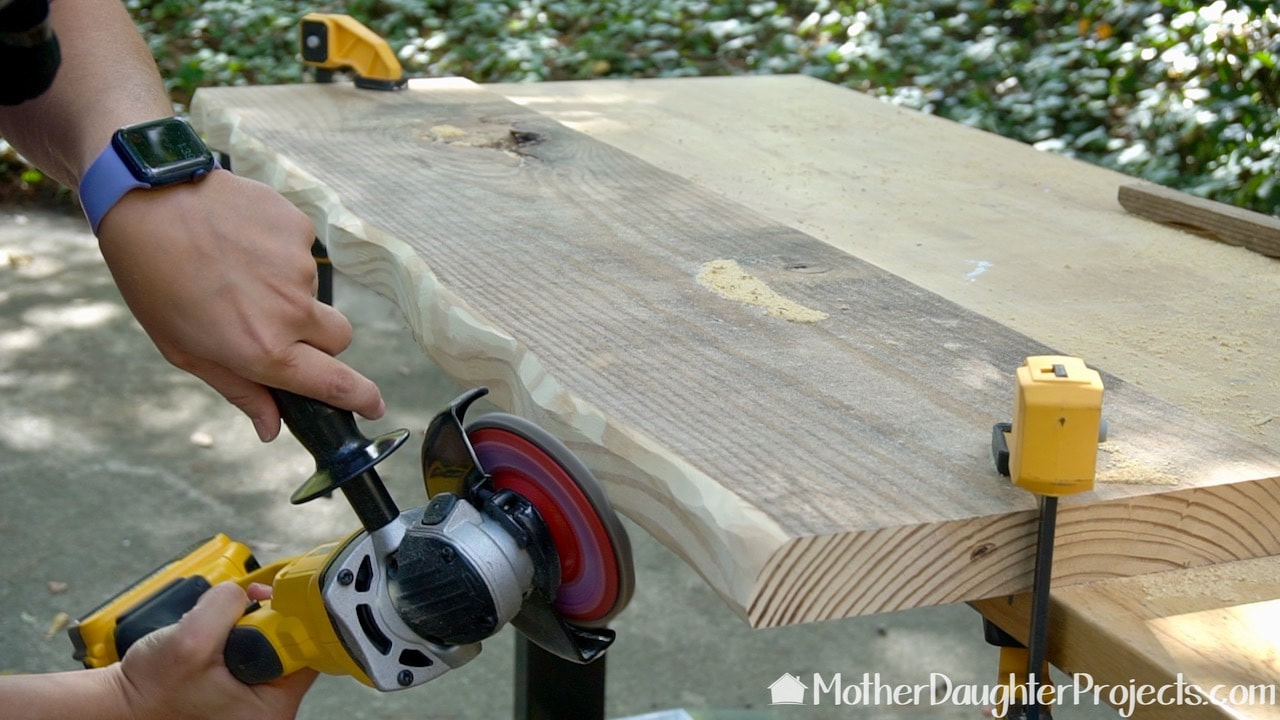
We just sanded away until we achieved the look we wanted.
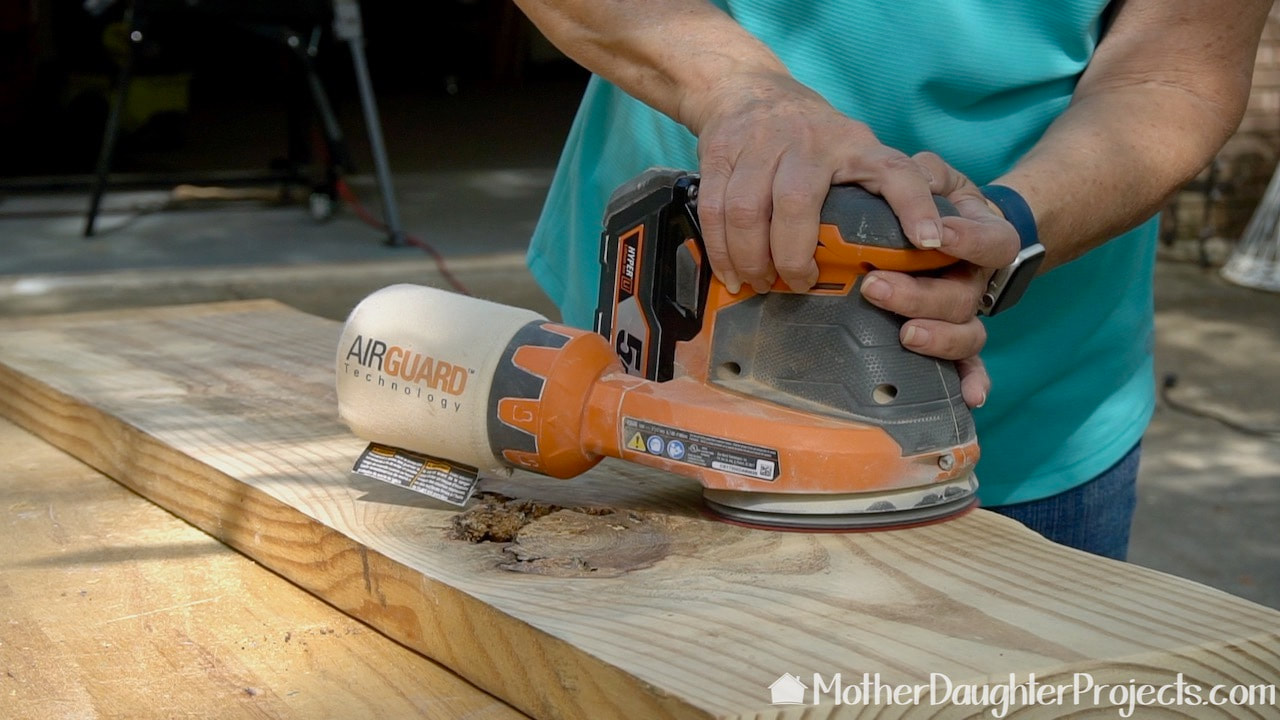
Because the board was in such poor condition, it required lots of sanding. This Ridgid cordless sander is our go-to tool of choice.
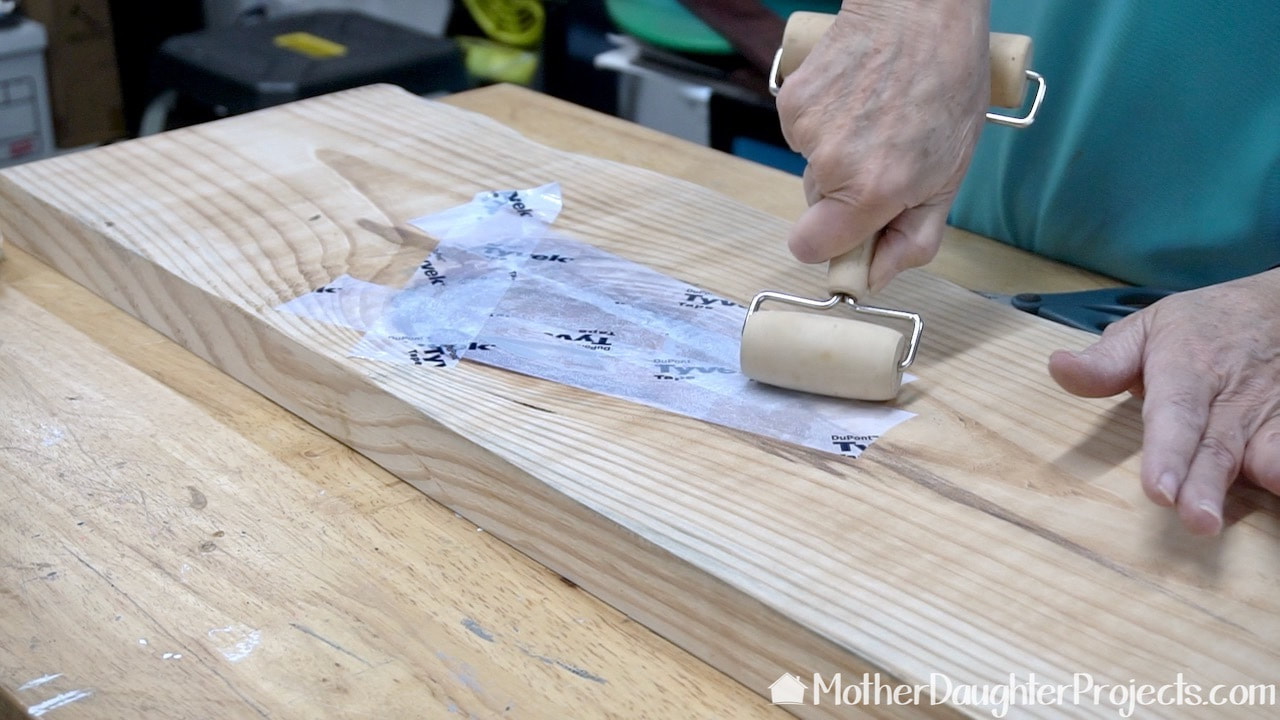
Sanding is finished so now it's time to turn our attention to the epoxy part of the project. We started by laying down some Tyvek tape on the backside of the table top to prevent the epoxy from seeping through. This brayer insures good adhesion between the wood and tape.
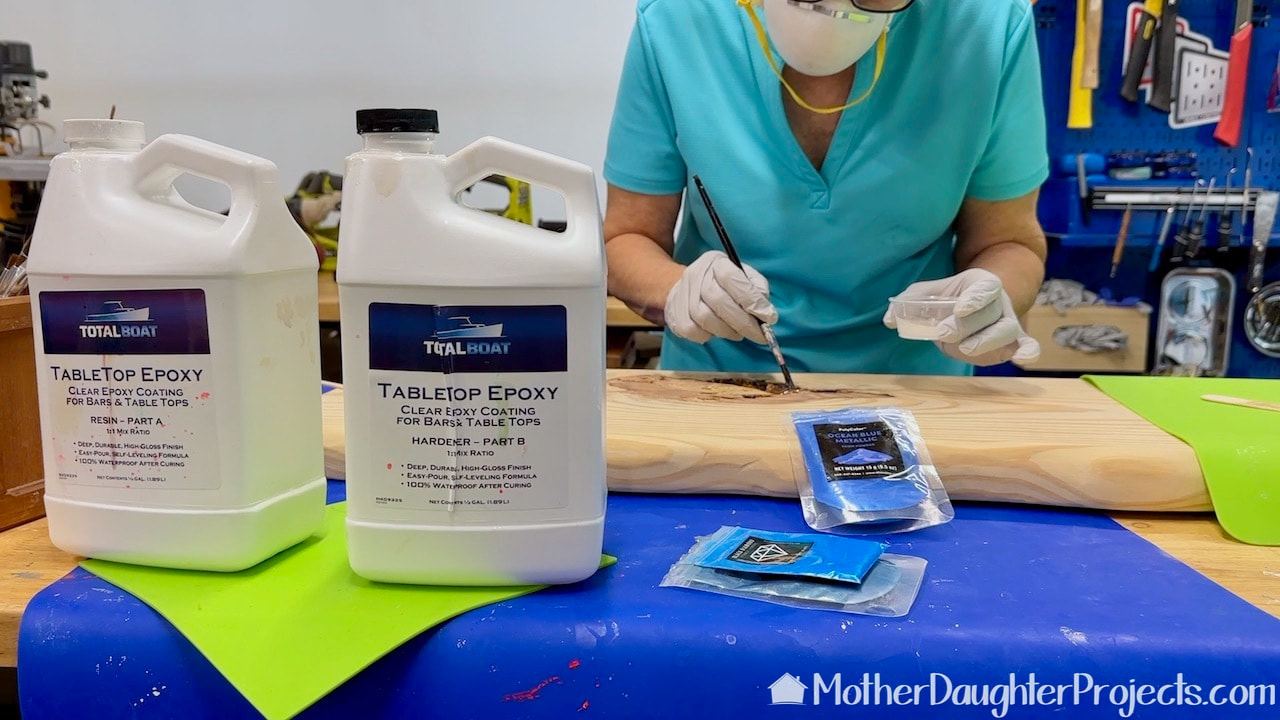
I mixed up a bit of TotalBoat table top epoxy and painted this on to seal the edges of the knot holes.

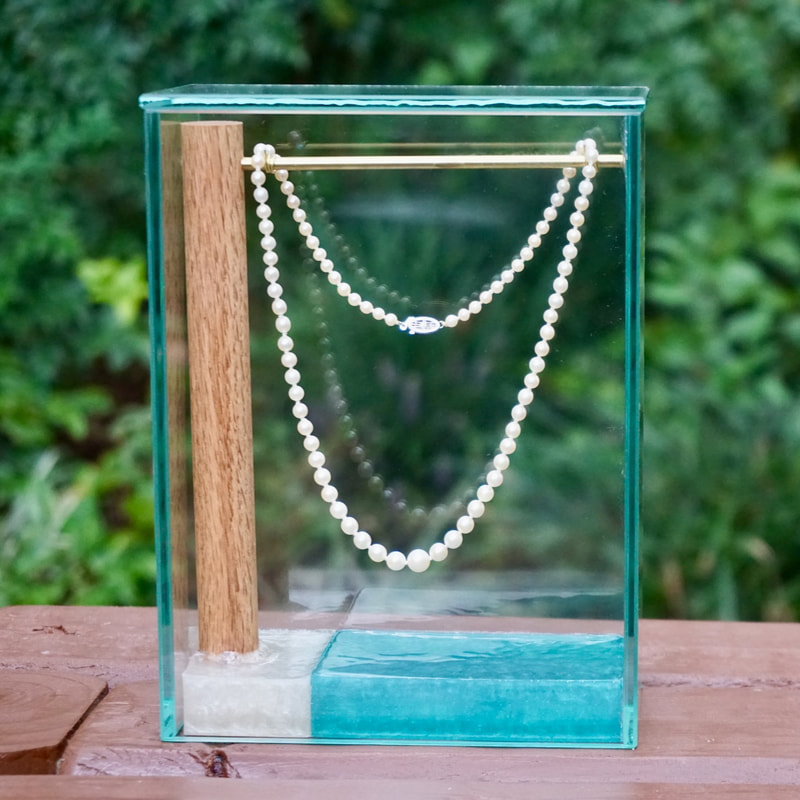
I wanted the knot holes to look like tiny lakes so I mixed in a pretty blue pigment powered and poured this into the knot holes.
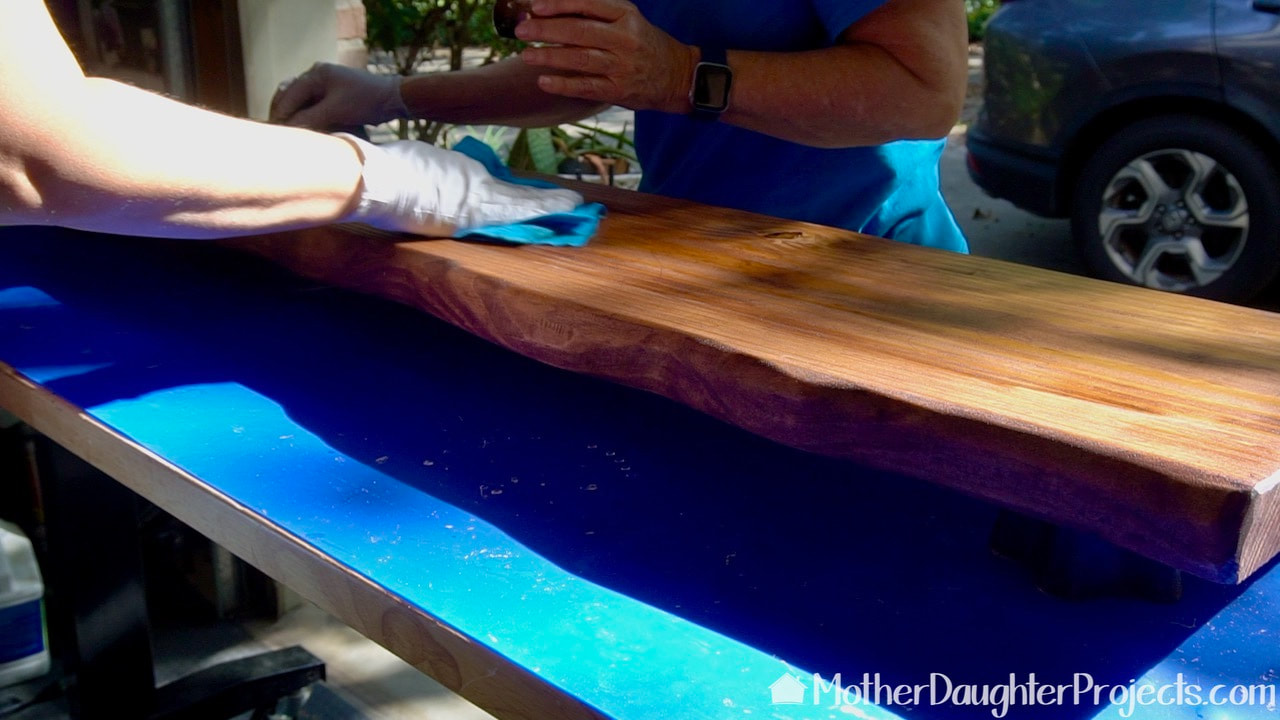
After finishing the epoxy pours, I sanded again before adding the finish. I used Behr pre-stain conditioner before applying the Minwax stain.
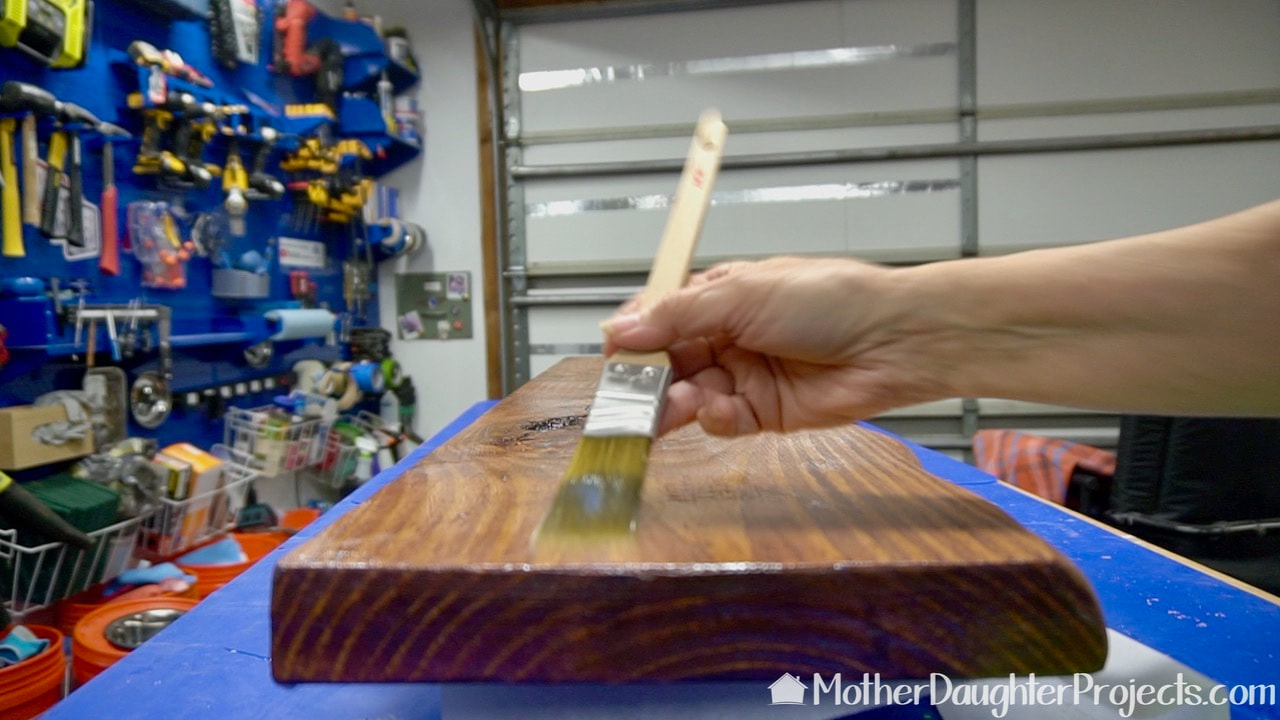
I added a couple of coats of Minwax water based polycyclic in clear satin to finish.
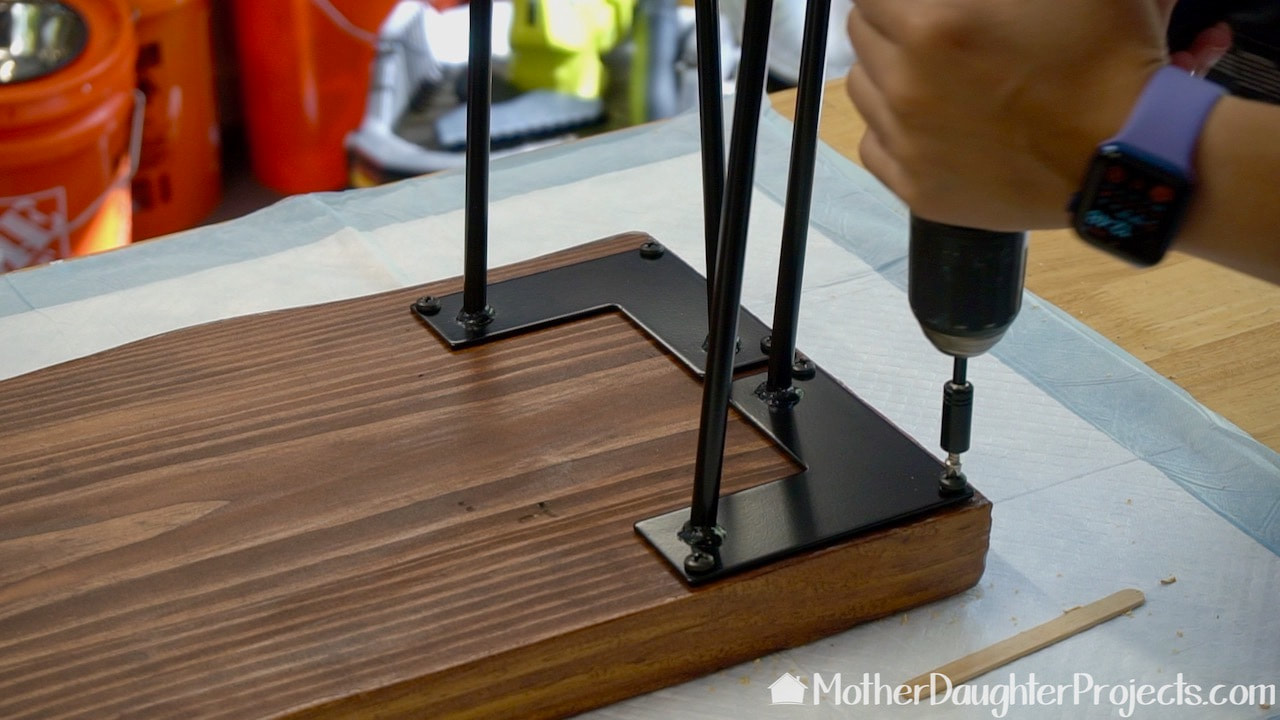
We attached the hairpin legs and called this project done!
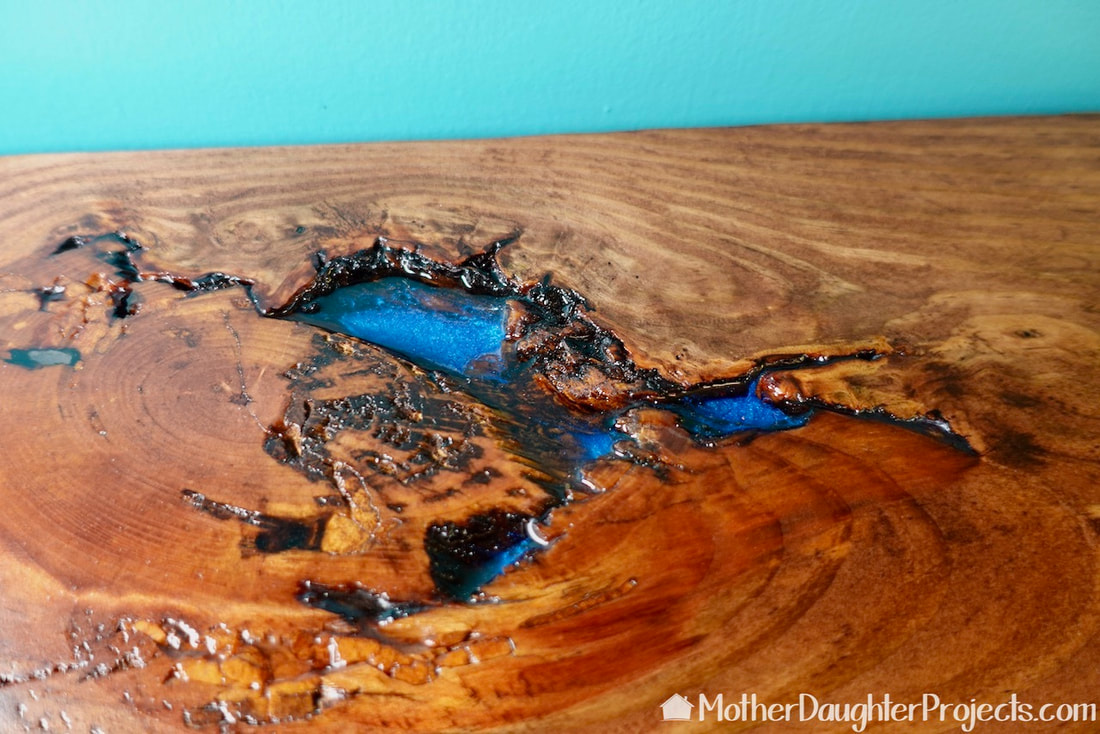
Tiny lakes!
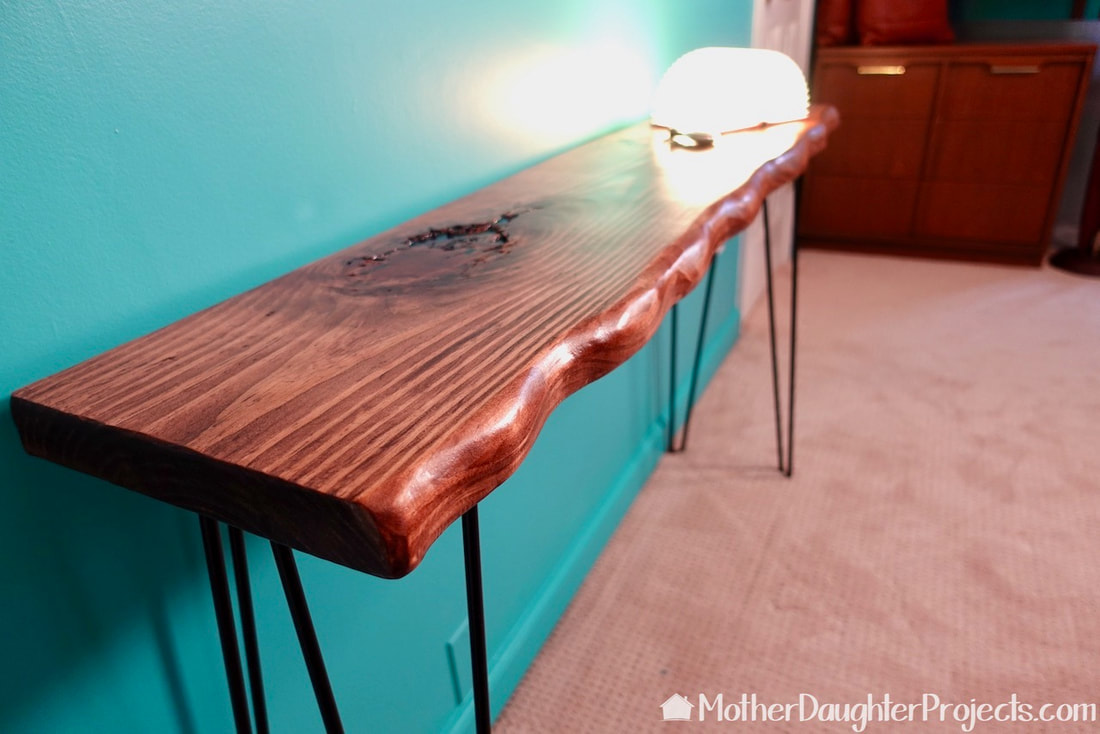
We're not sure where this table is going to live, but it was certainly a fun, easy project to do. I'm ready to fake all the live edges now!
Please note: This is not a sponsored post. Total Boat did provide the epoxy for free. FYI: We are not professionals, and we don't claim to be. This is what we found worked for our project. Yours may need a little different approach. Safety first! FYI: Affiliate links are being used on this page. Purchasing via these links help support MDP Related Projects
0 Comments
Leave a Reply. |

Mother Daughter Projects
|