|
text by Vicki Sign up here to join our weekly email newsletter!
I was late to the whole coffee drinking scene, but now that I do, I embrace the entire experience.
My first thought in the morning, "I can have coffee!" Can anyone else relate? Anyway, the coffee pot and accessories are about the only things I keep on the kitchen counter. The things are pushed to the back of the counter and in the morning I bring them forward to brew. I've been using an old corning ware tray, but now I wanted something with a little more personality which I knew I could achieve through epoxy. Materials:
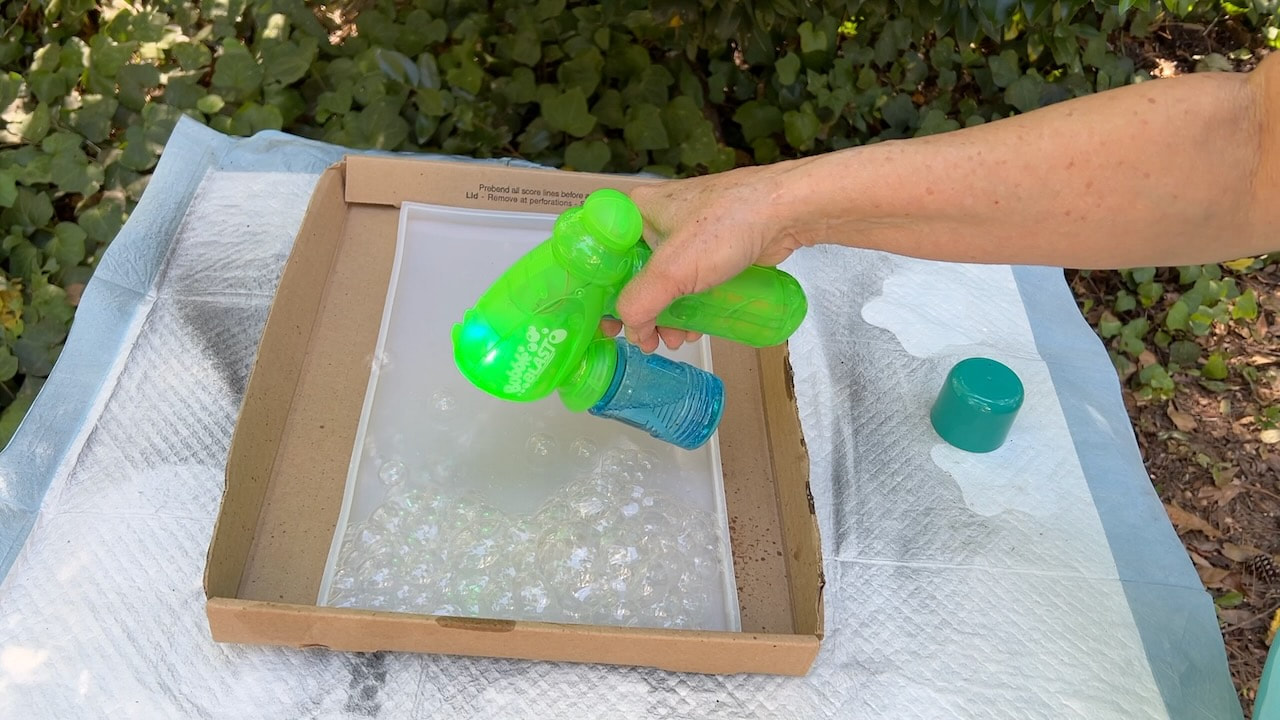
I'm using a silicone mold I got at Joann Fabric and Crafts. Of this writing, it doesn't look like these are in stock, but there are lots of options on Amazon. I'm using a toy bubble blower to create a new painting technique. I first cover the mold with mounds of bubbles and then working quickly, before the bubbles burst, I spray paint over the top of the bubbles.
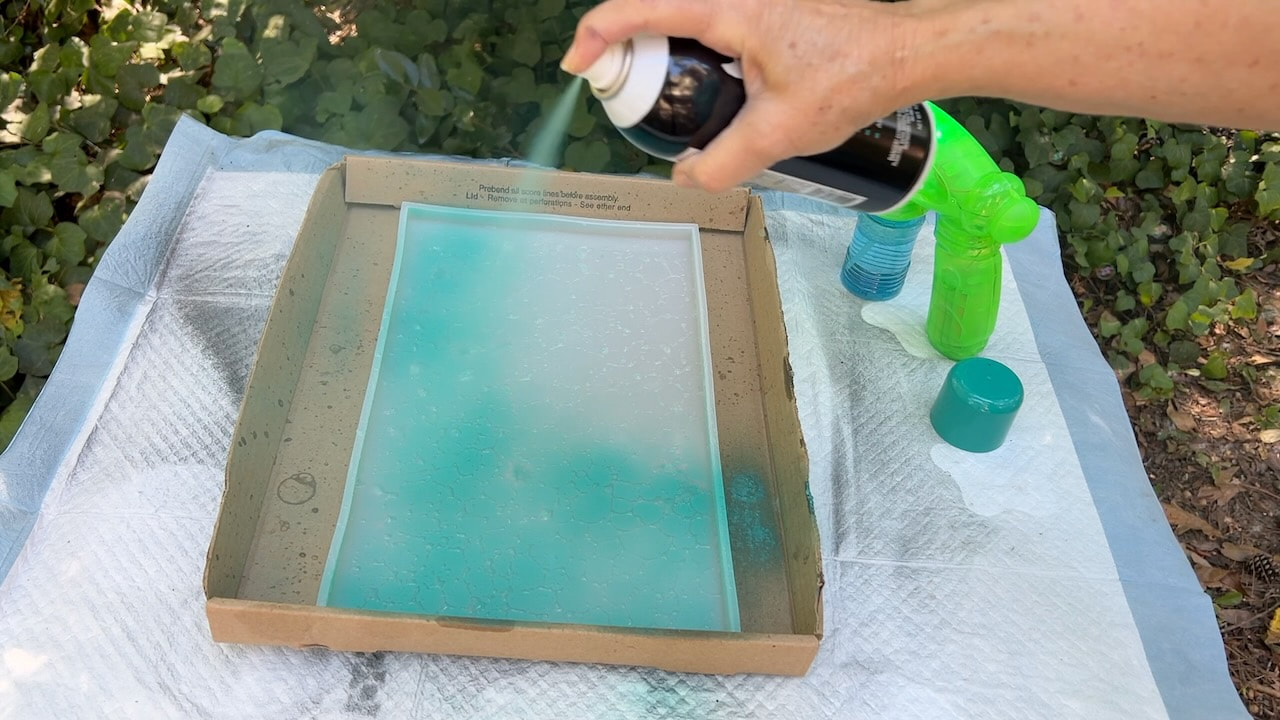
The bubbles do burst fairly quickly, but you can get a good coat of spray paint on before they do. I'm using Behr spray pain in the color Tropics. The finish is gloss.
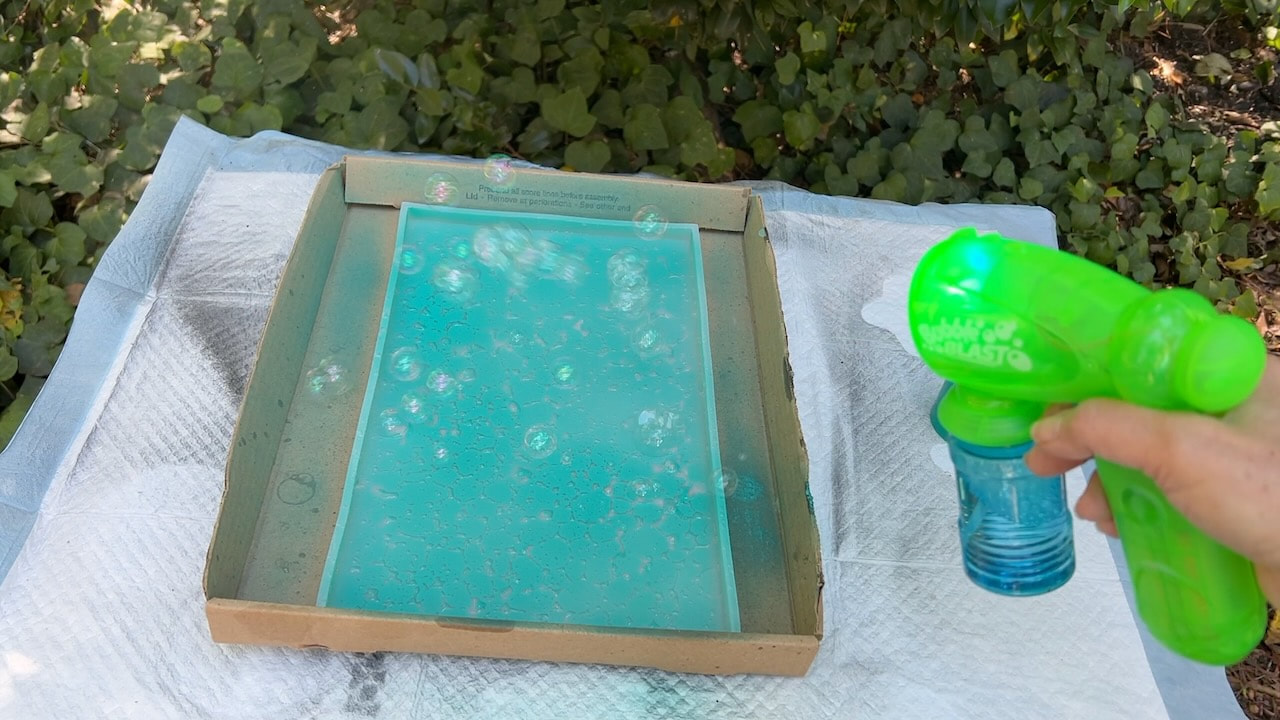
I added a few more bubbles on top of the spray paint for good measure. I let this dry for about 20 minutes and then took it to the sink to wash off the soapy bubbles. You can either let it air dry or very gently pat dry. You can easily pull up the paint if you pat to hard.
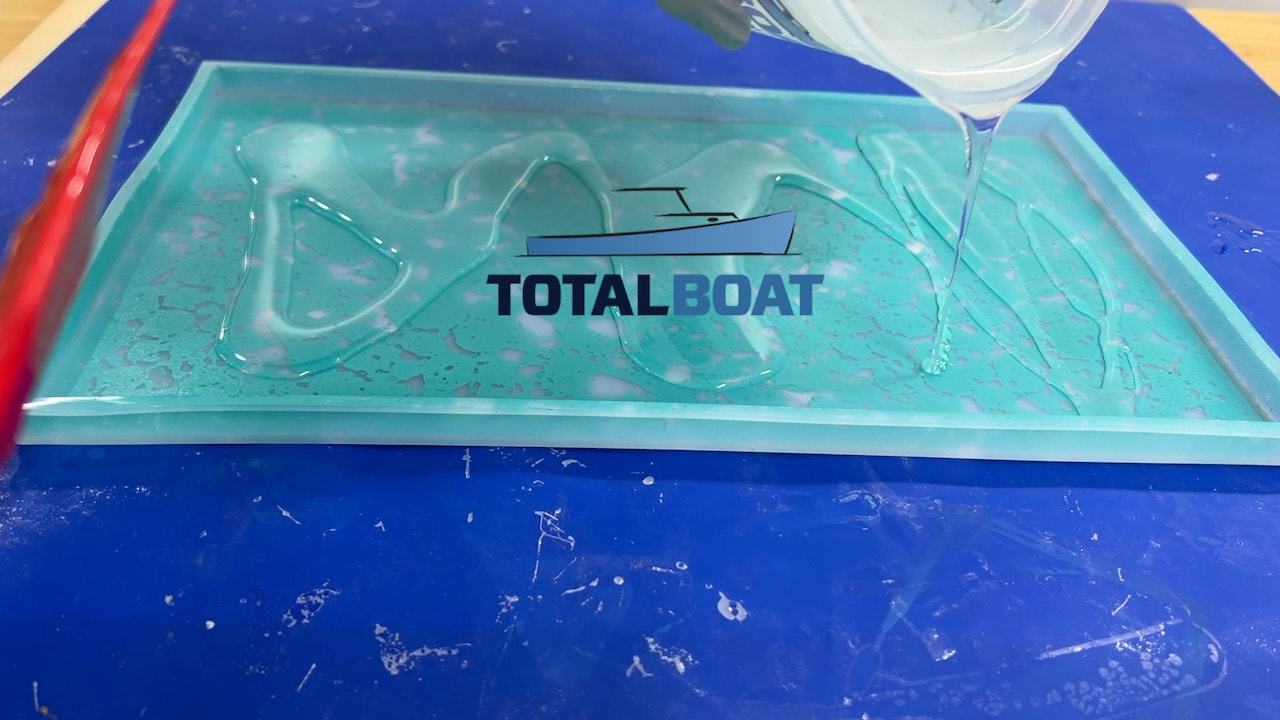
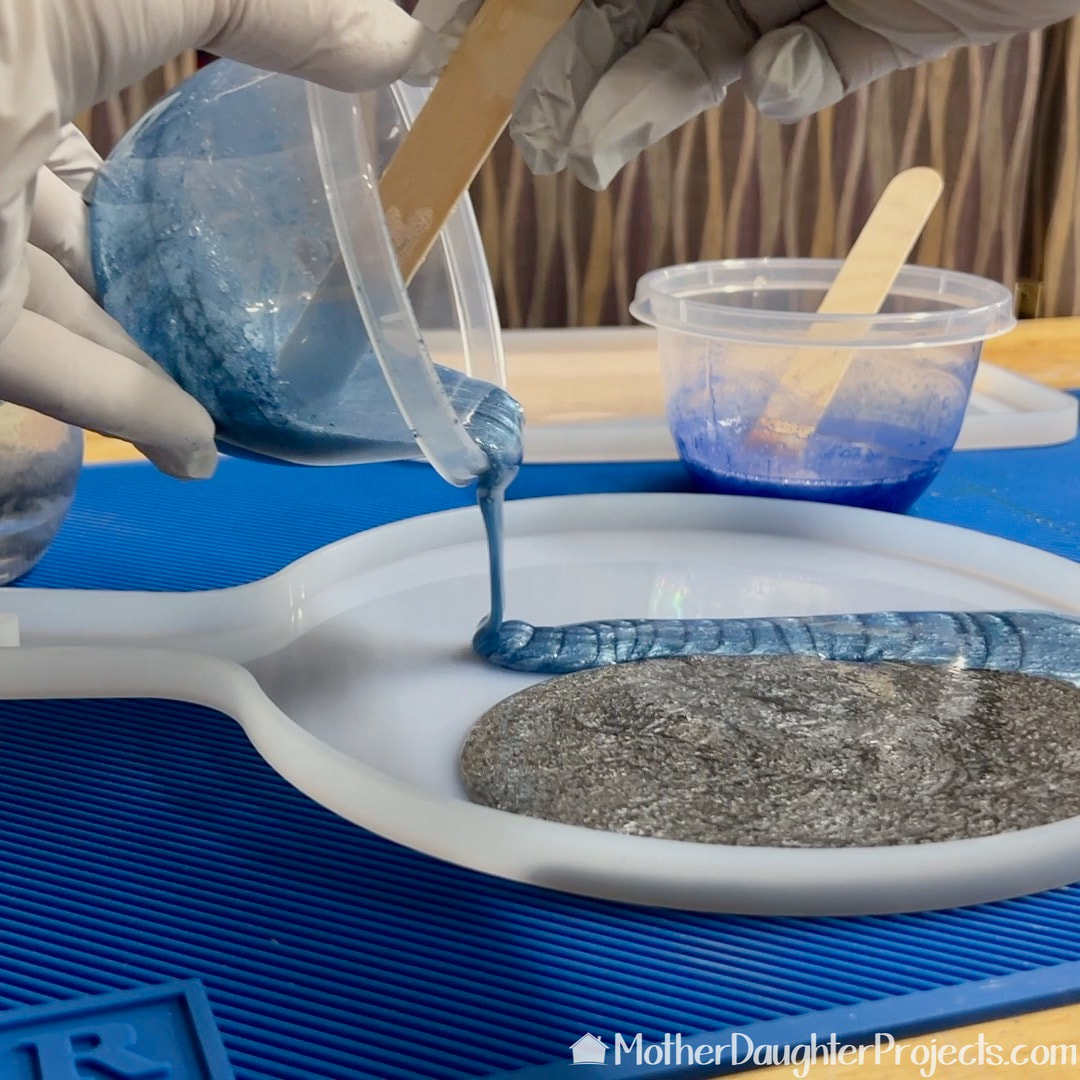
Time to pour layer one. I'm using TotalBoat table top epoxy. I've used it a lot and always have had good results. I mixed this up according to the package directions being careful to use all the appropriate PPE. I added chunky holographic glitter in blue to the first layer for a little sparkle and shine.
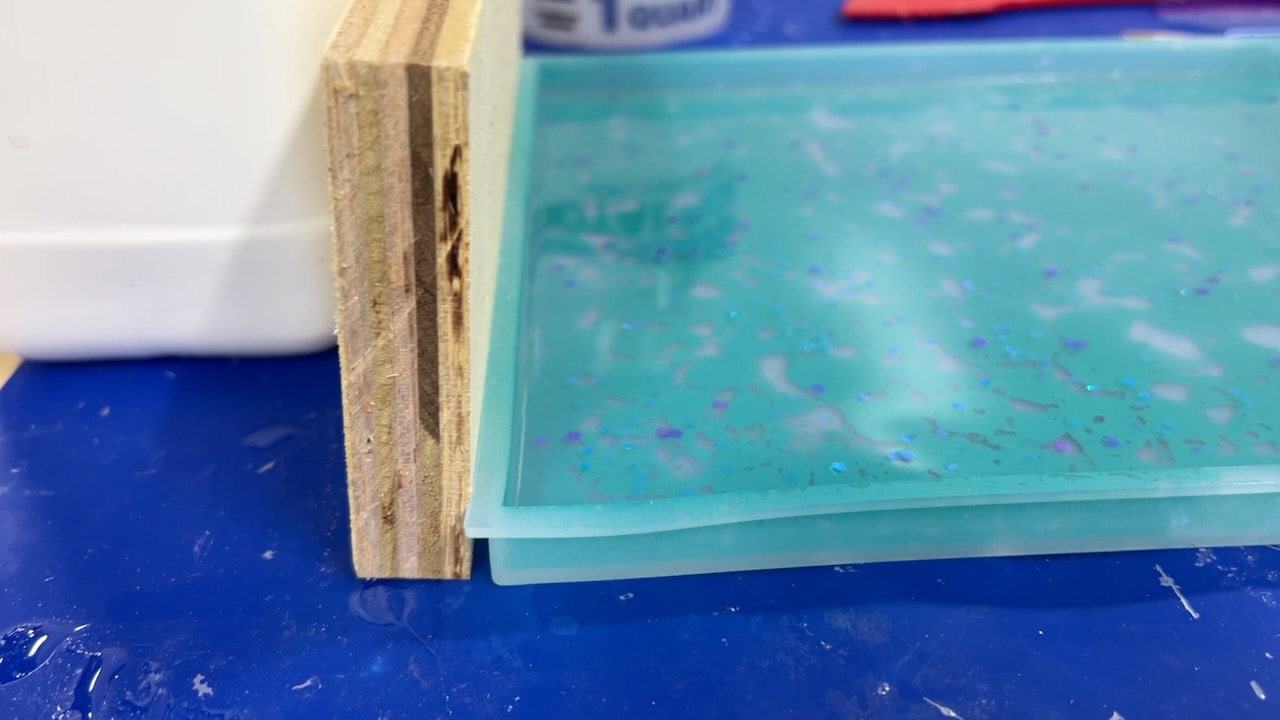
This ParkLane epoxy mold is really flimsy so I tried to straighten up the short ends with wood. That helped, but you can see how wonky the front edge is. In the end, it didn't affect the look of the tray.
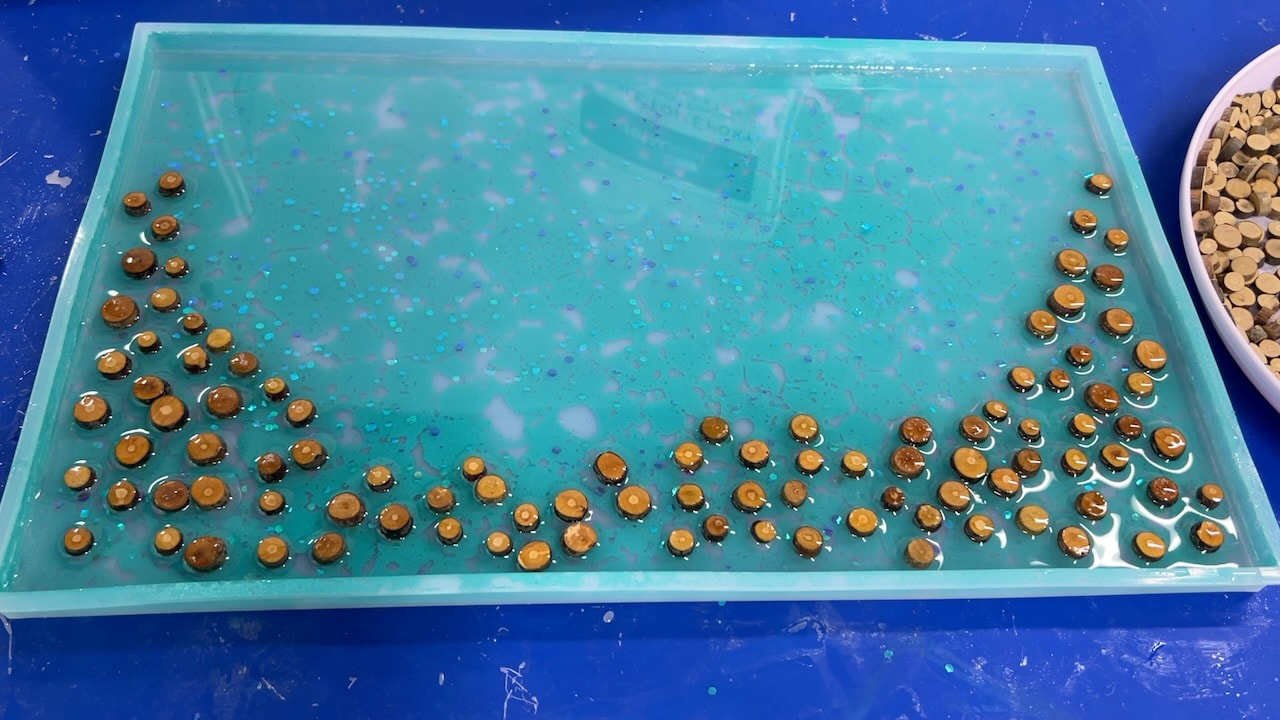
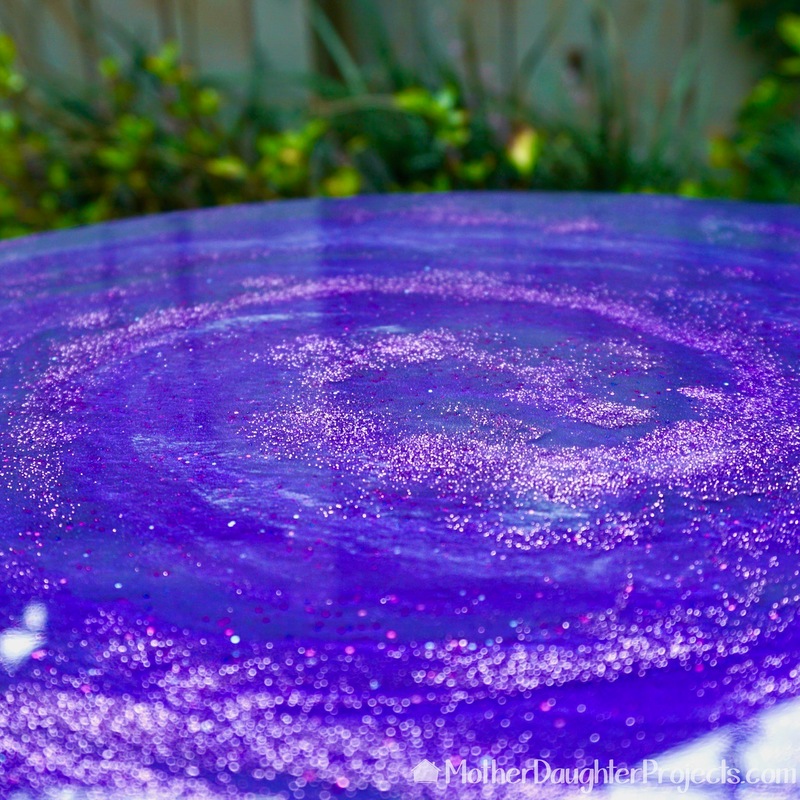
The second layer is the addition of a natural element through the use of these tiny wood slices. I poured another layer of epoxy and then added the wood pieces. Watch the video to see how I cleaned them first. This layer also got a bit more of the chunky holographic glitter. Can you ever have too much glitter?
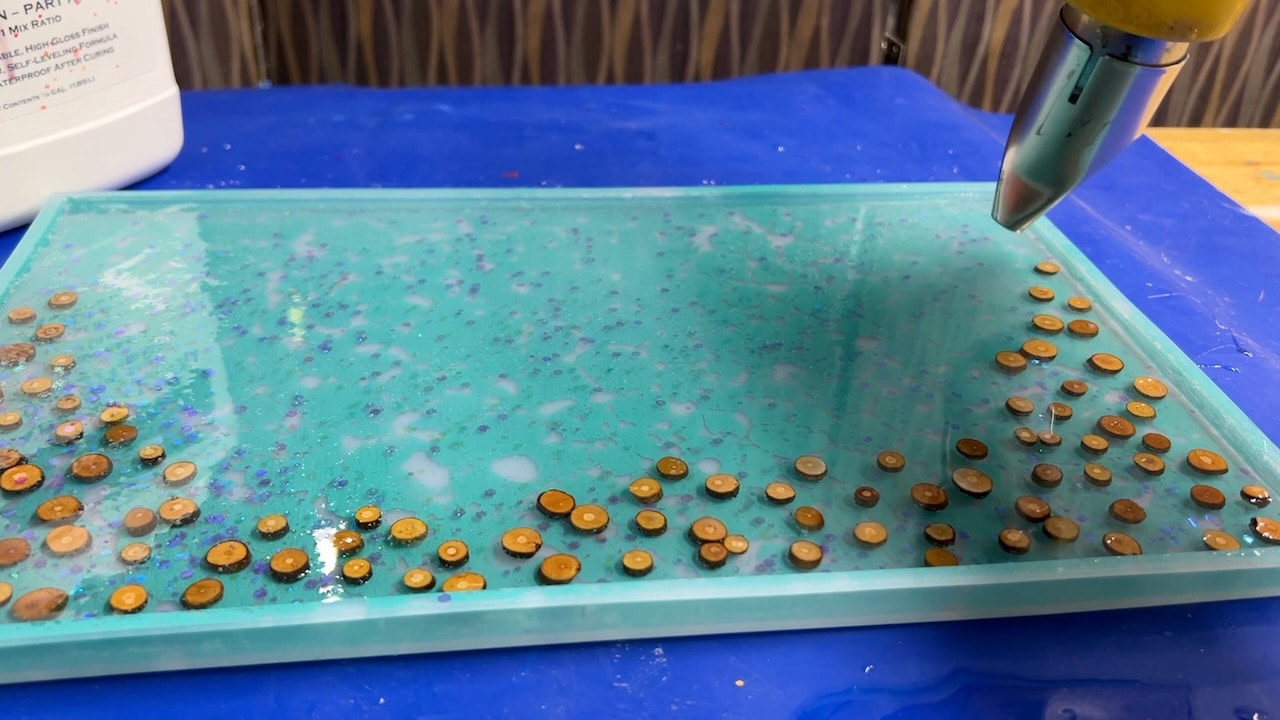
In the last layer, I poured enough epoxy to cover all the wood pieces. Here I'm using a heat gun to remove the air bubbles .
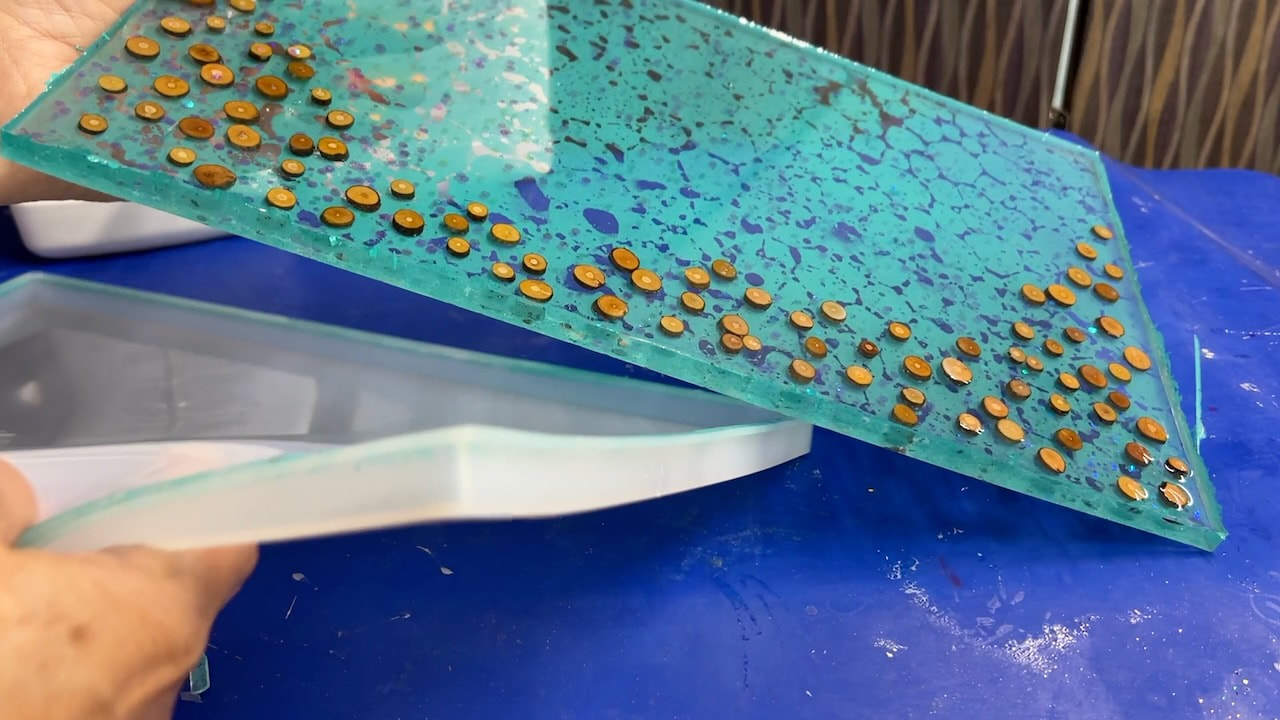
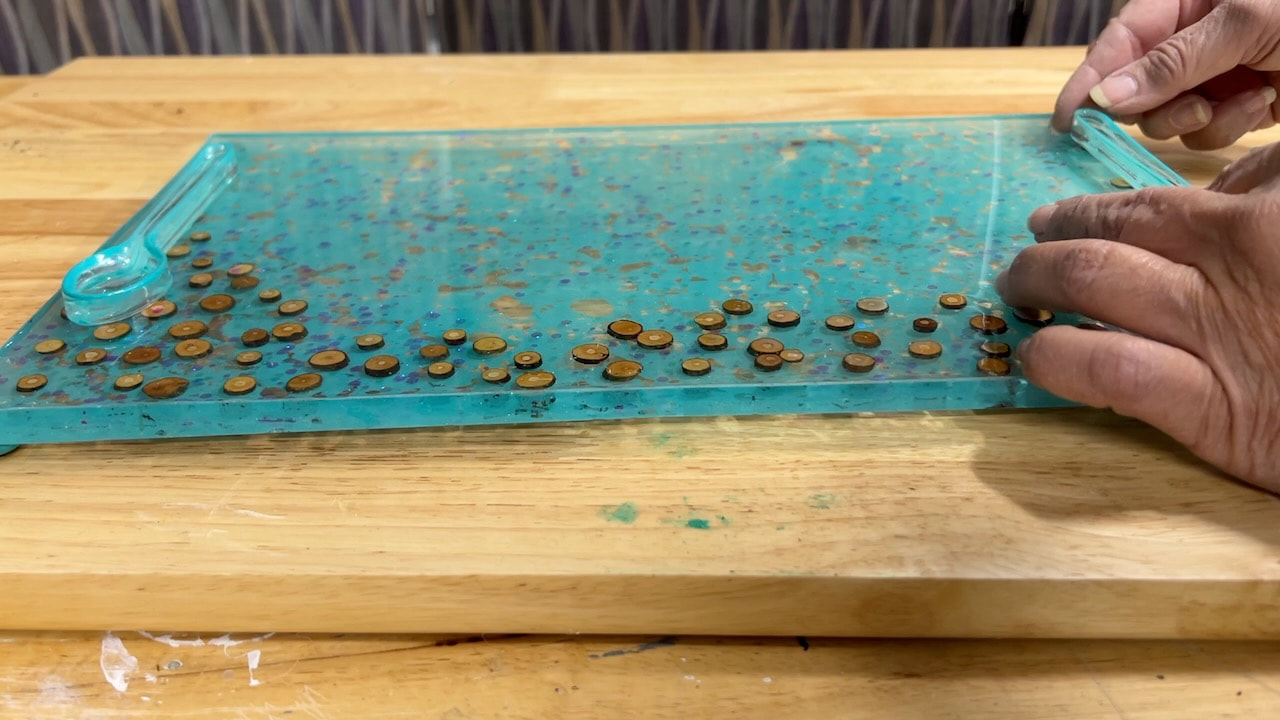
Once everything was cured I removed it from the mold. Notice the mold is clean with only a little bit of spray paint on the mold edges. The first layer of epoxy fuses with the paint and it totally lifts out clean from the mold. It's pretty neat trick! Any remaining paint on the mold can be removed with rubbing alcohol.
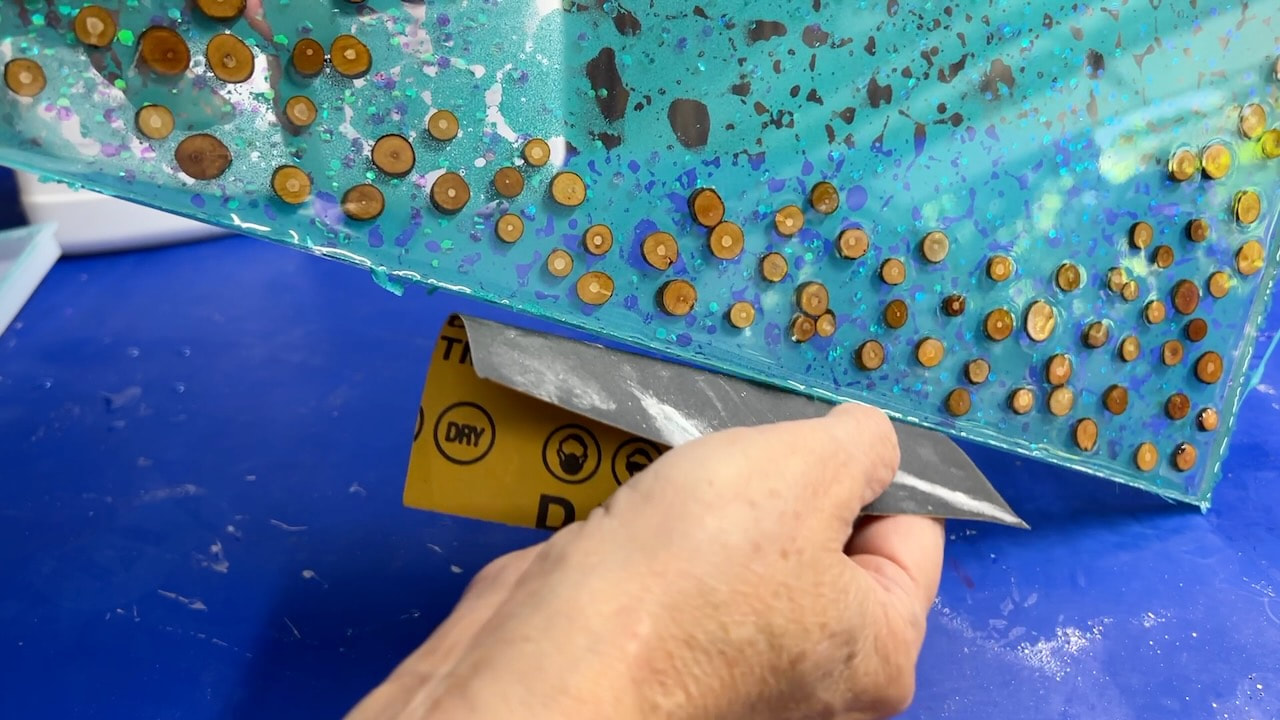
I used a bit of fine sand paper to get rid of the ragged edges of the tray.
I added some epoxy spoons which I colored with the same Behr paint. There's footage in the video of this step. The handles are for decoration rather than for lifting.
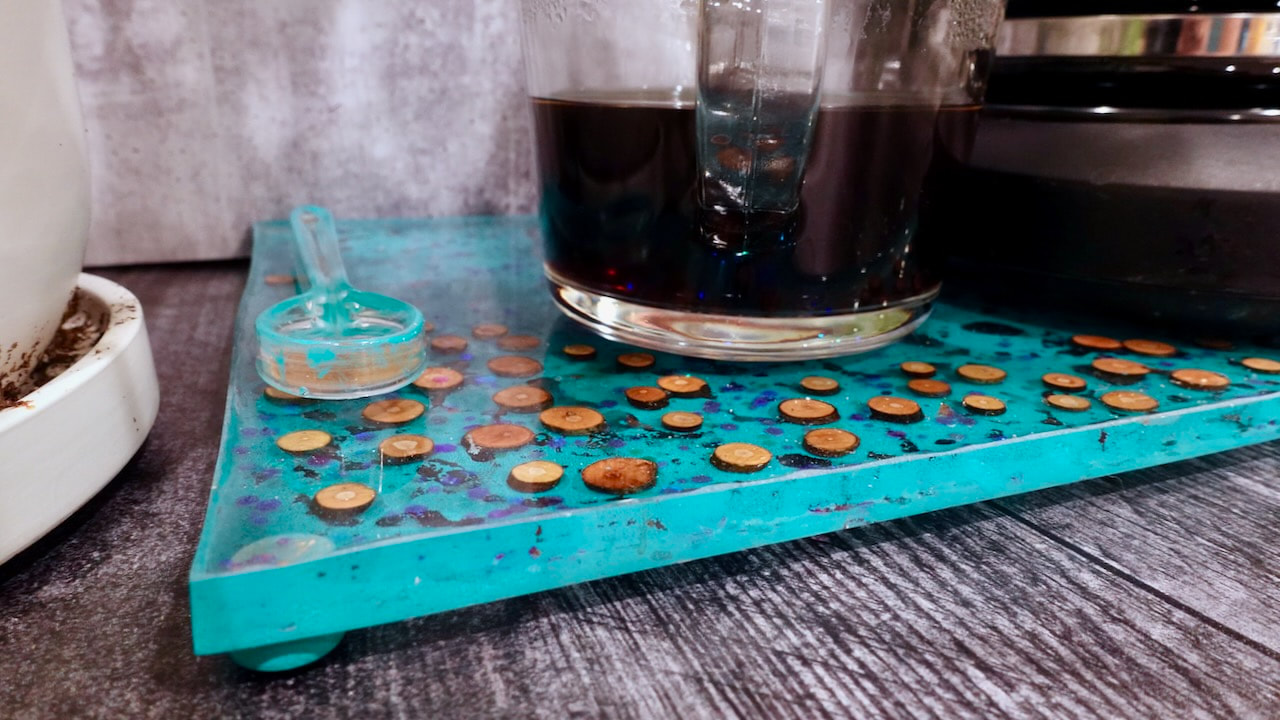
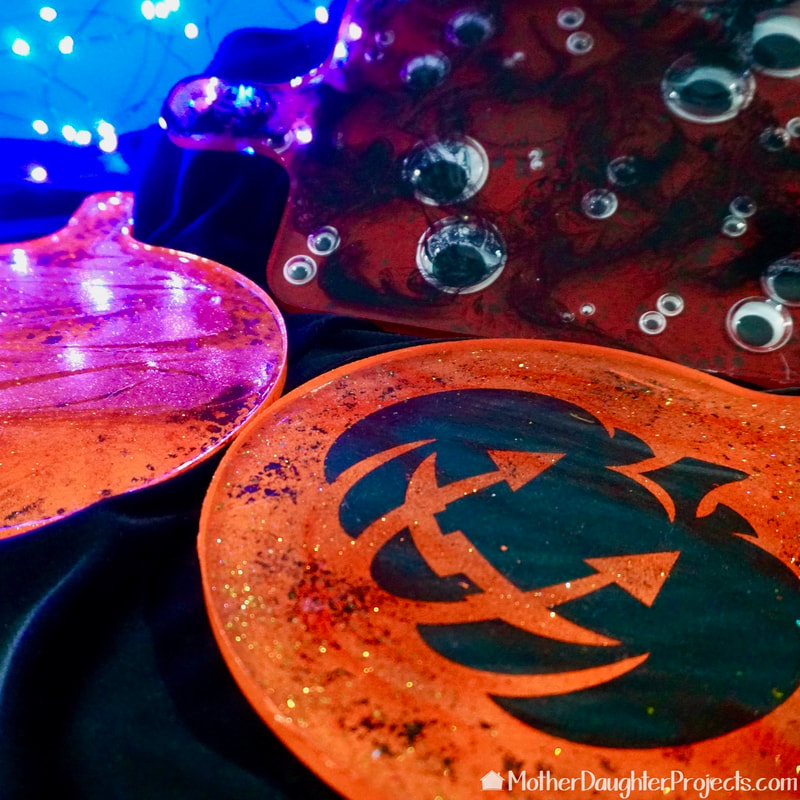
All finished!

I love the natural and glittery elements. It makes me smile first thing in the morning!
I love when epoxy can be pretty and functional. This is now a great place to set my coffee fixings. It's out of the way under the cabinets, but easy to pull forward to brew my morning cup (or two!)
Please note: This is not a sponsored post. Total Boat did provide the epoxy for free. FYI: We are not professionals, and we don't claim to be. This is what we found worked for our project. Yours may need a little different approach. Safety first! FYI: Affiliate links are being used on this page. Purchasing via these links help support MDP Related Projects
0 Comments
Leave a Reply. |

Mother Daughter Projects
|