|
text by Vicki Sign up to get Mother Daughter Projects updates in your email!
We have been using the recipe service, Hello Fresh (#notsponsored), for about 8 months now. Since we work from home, the service gives us the option to have a fresh, healthy lunch in around 30 minutes rather than having to go out or to rely on sandwiches or reheated leftovers. We’ve worked it out that one of us takes a break to cook while the other continues to work. Since I don’t like to clean up the kitchen, I usually opt to do the cooking!
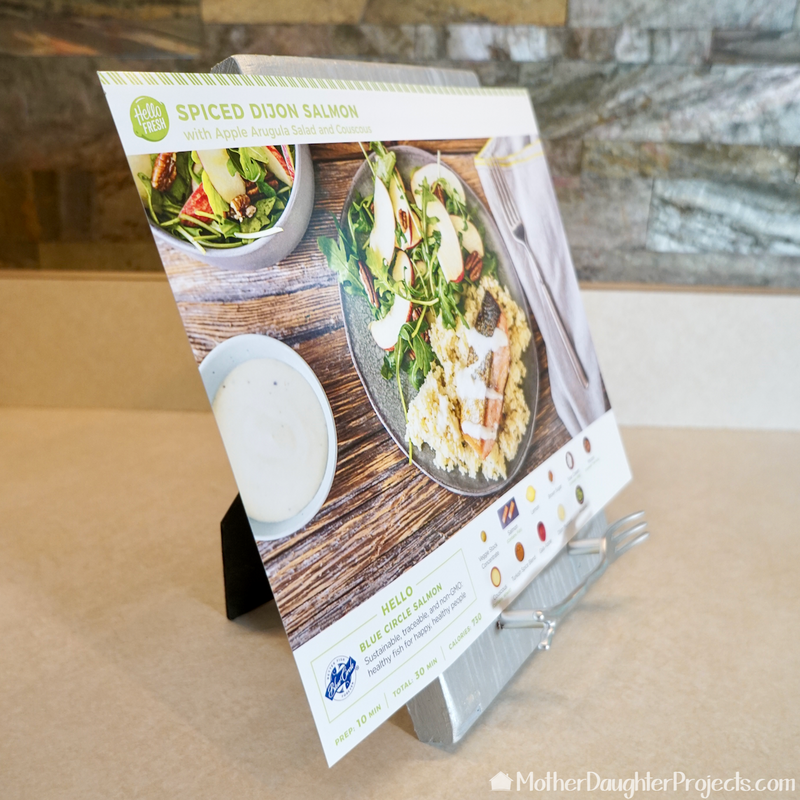
Hello Fresh comes with most everything you need to cook a meal including very well thought out and organized step-by-step instructions. A full color picture of the dish is on the front and the steps, complete with pictures, are on the other side. The size of the instruction card is a little on the large side. We’ve dealt with this minor inconvenience by propping it up where we cook, but really were looking for a more elegant solution. I follow the blog, My Repurposed Life, and when I found this post it became the inspiration for this project! 
The meals come boxed with plenty of ice packs and insulation to keep everything cold and fresh during shipping. Steph is holding this week's recipe cards, which are conveniently placed at the top of the box. We get three, 2-serving meals a week. Meals are chosen from the availability menu the week before.

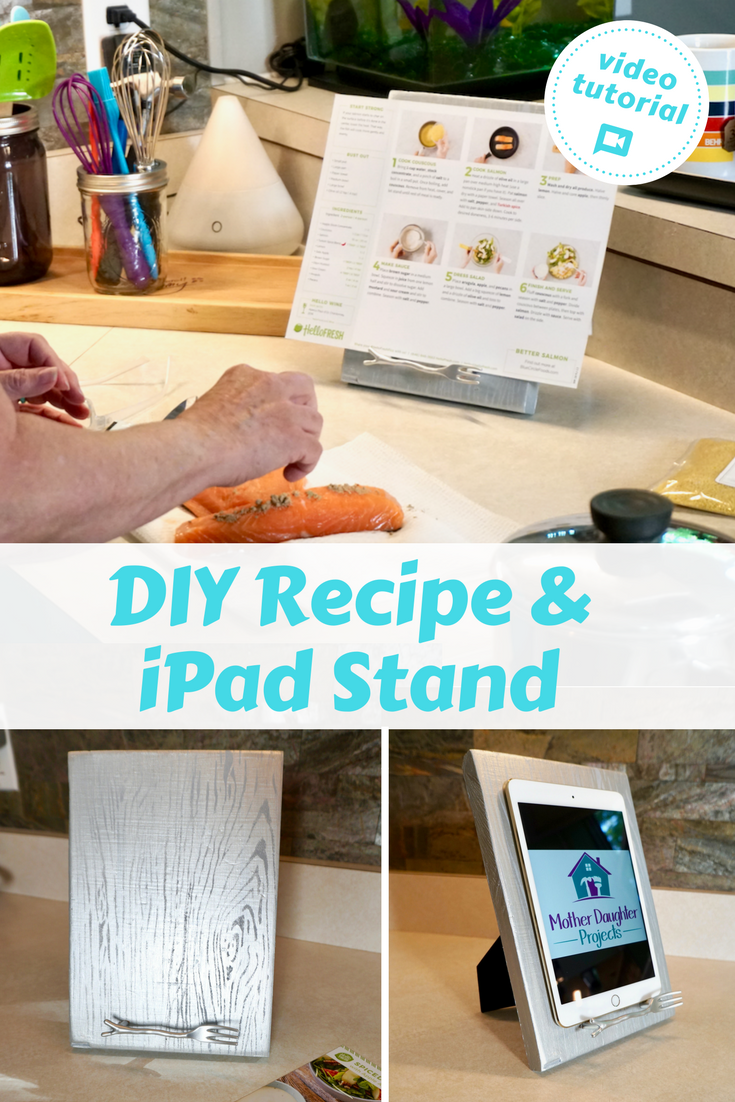
Tools needed are a glue gun, Kreg hardware jig, drill, driver and drill bits.
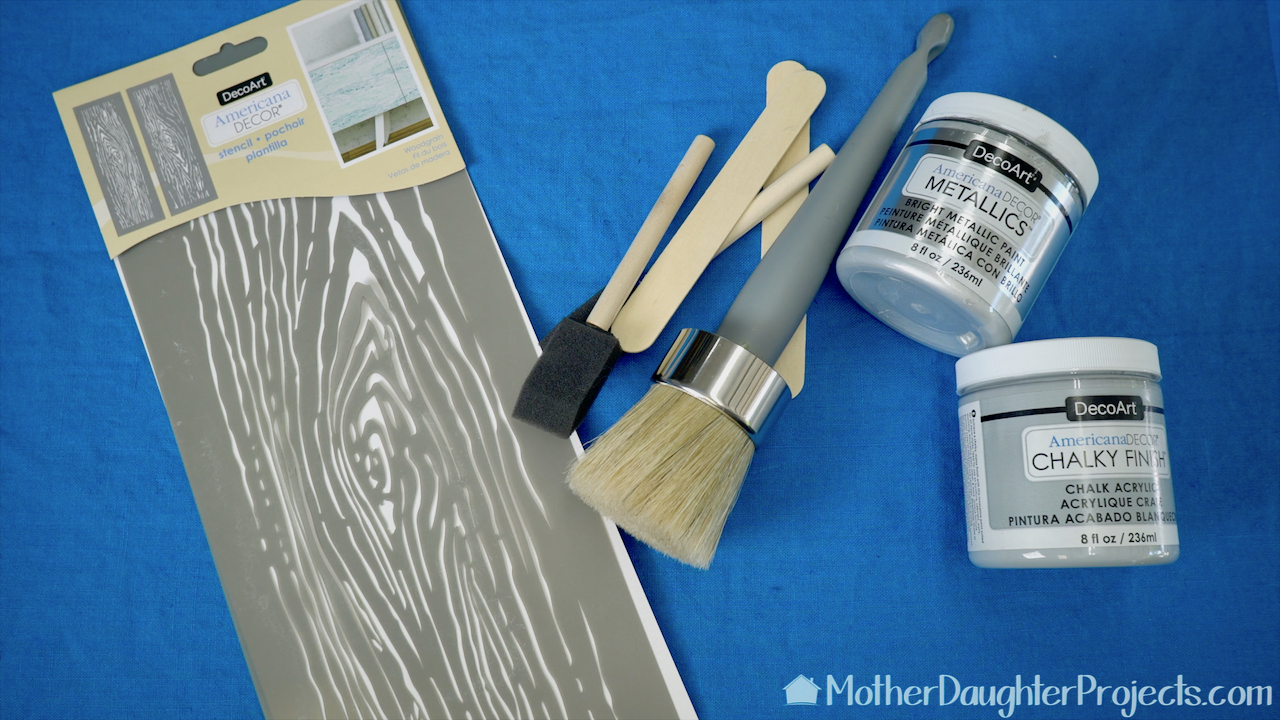
We used products made by DecoArt including a wood grain look stencil, stencil brush, and two kinds of paint. You'll also need brushes and stirring sticks.
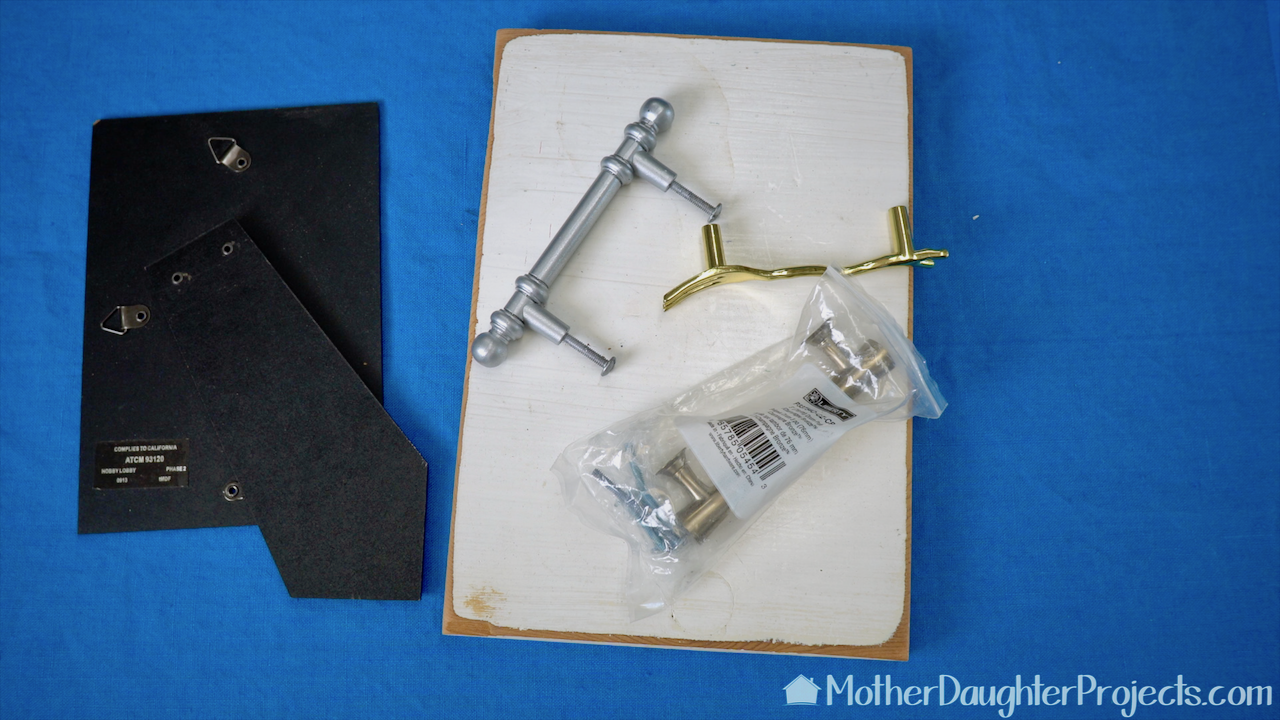
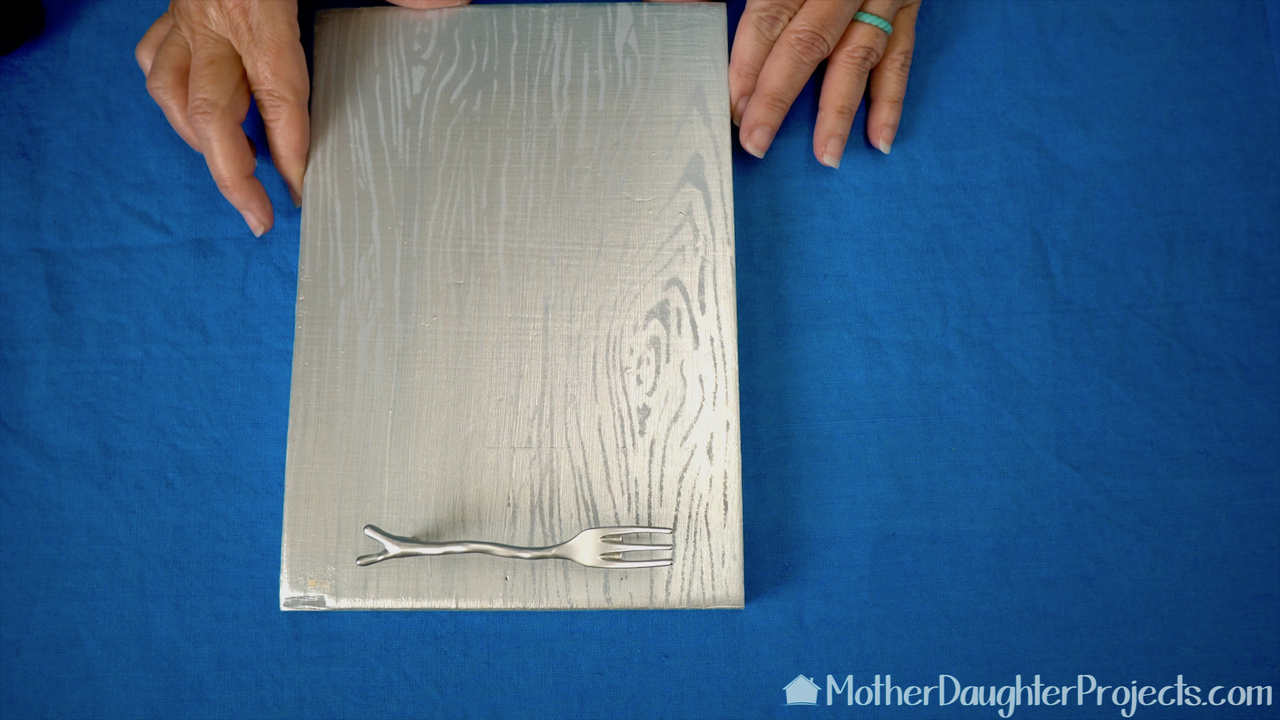
The raw materials include the easel back from a frame, a new or thrifted cabinet handle and a piece of wood. Ours was recycled from a previous project.
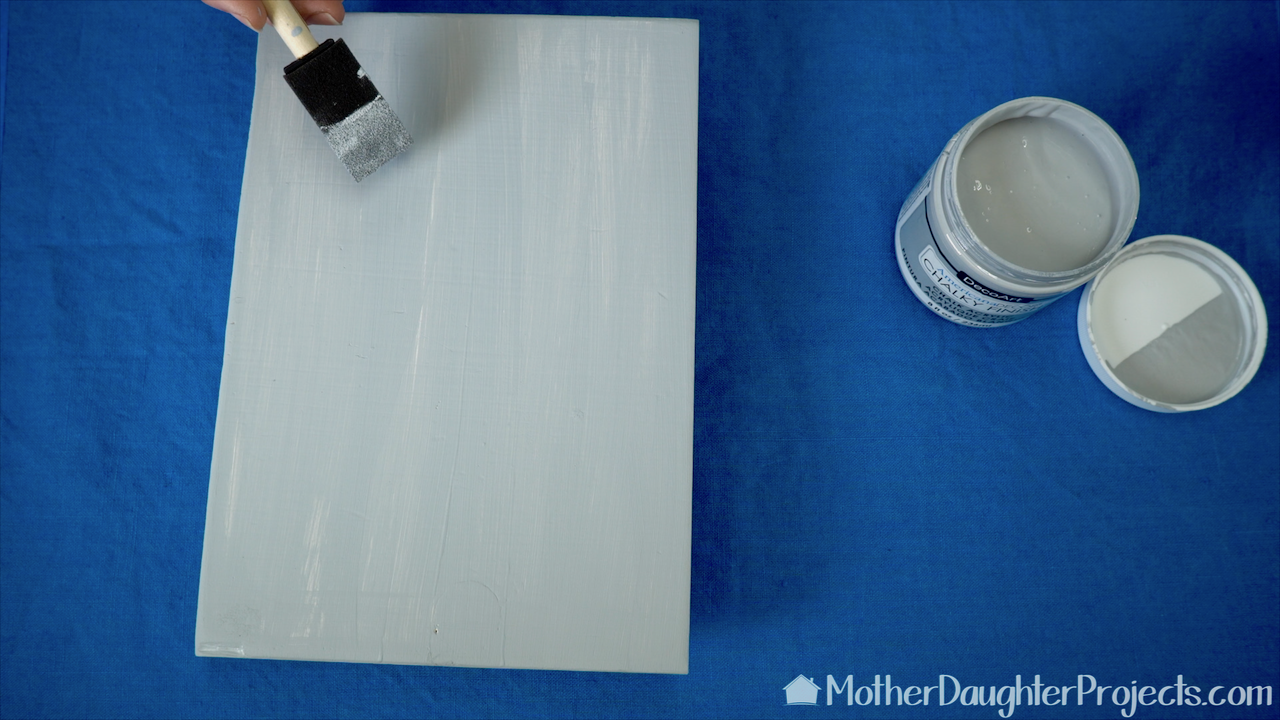
DecoArt Chalky Finish paint is used to base coat the wood piece. We used two coats. This paint covers well and dries quickly. Paint was applied to both front and back as well as the sides.
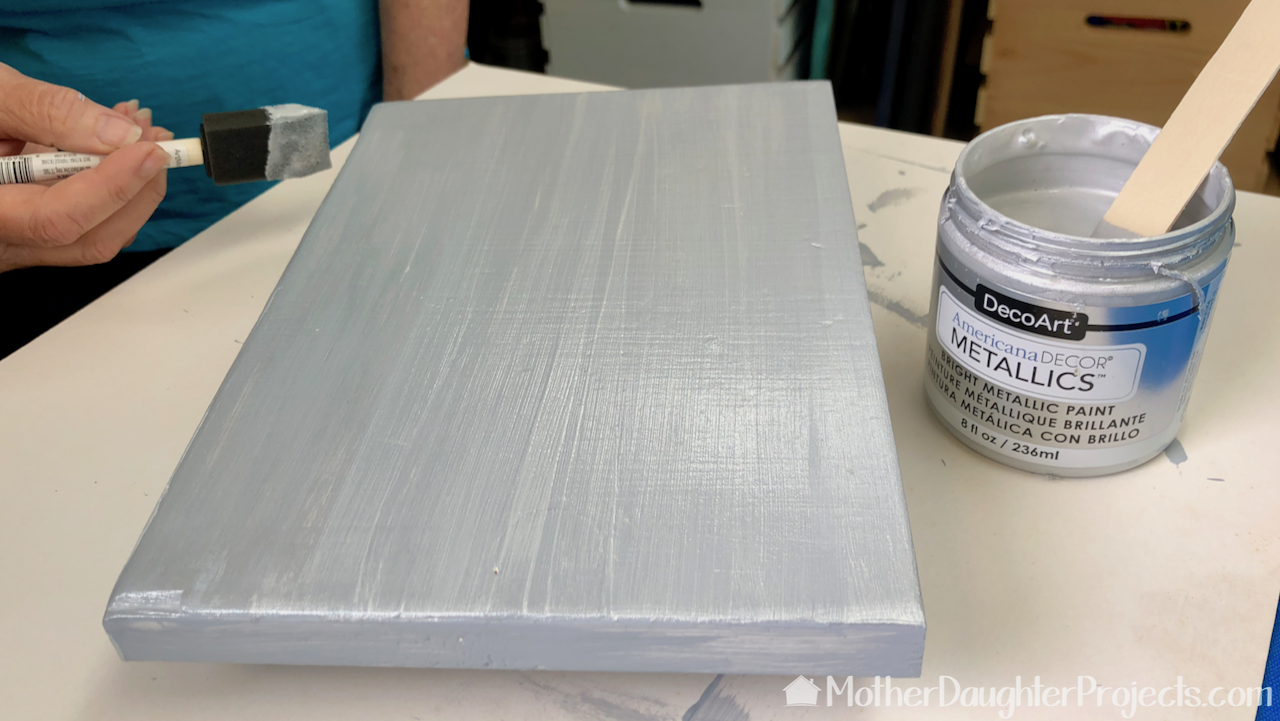
Two coats of the metallic paint were used. This was painted on the front and sides only. Be sure to stir the paint prior to use and dry between coats. A hair dryer on low can help speed up the drying process.
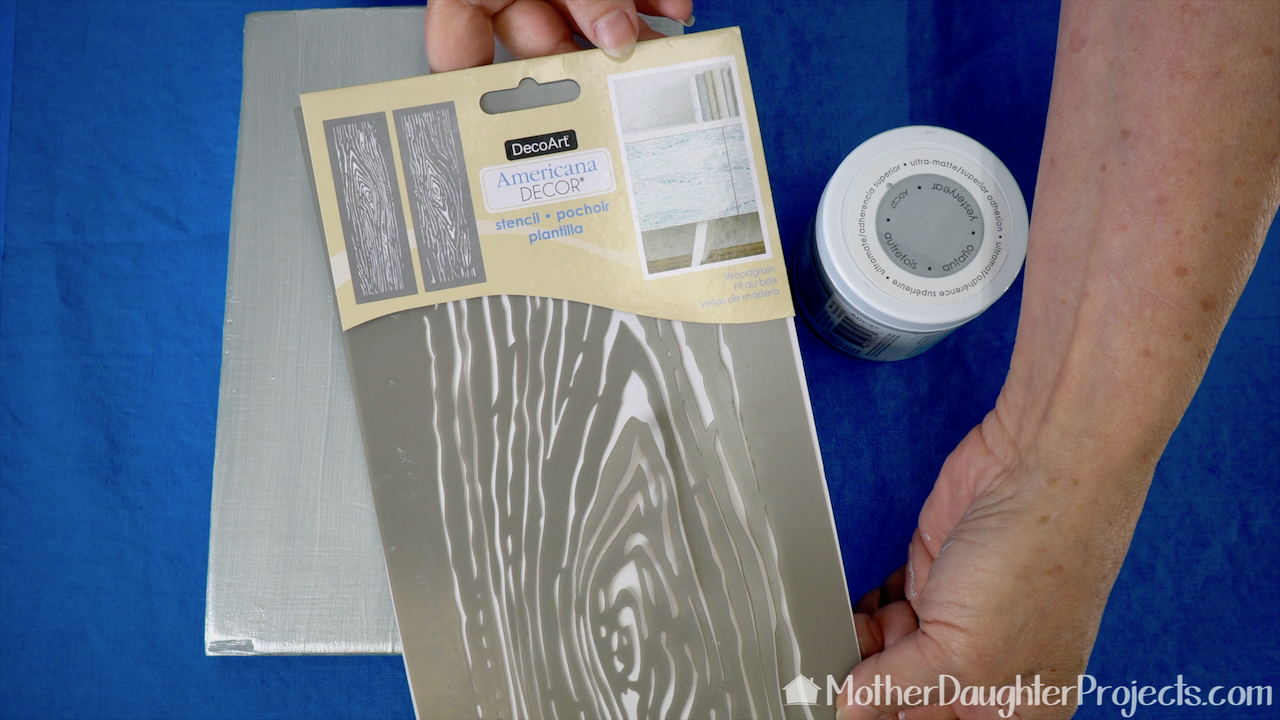
A wood grain look stencil was used to give the front a very subtle look of wood with the chalky finish paint.
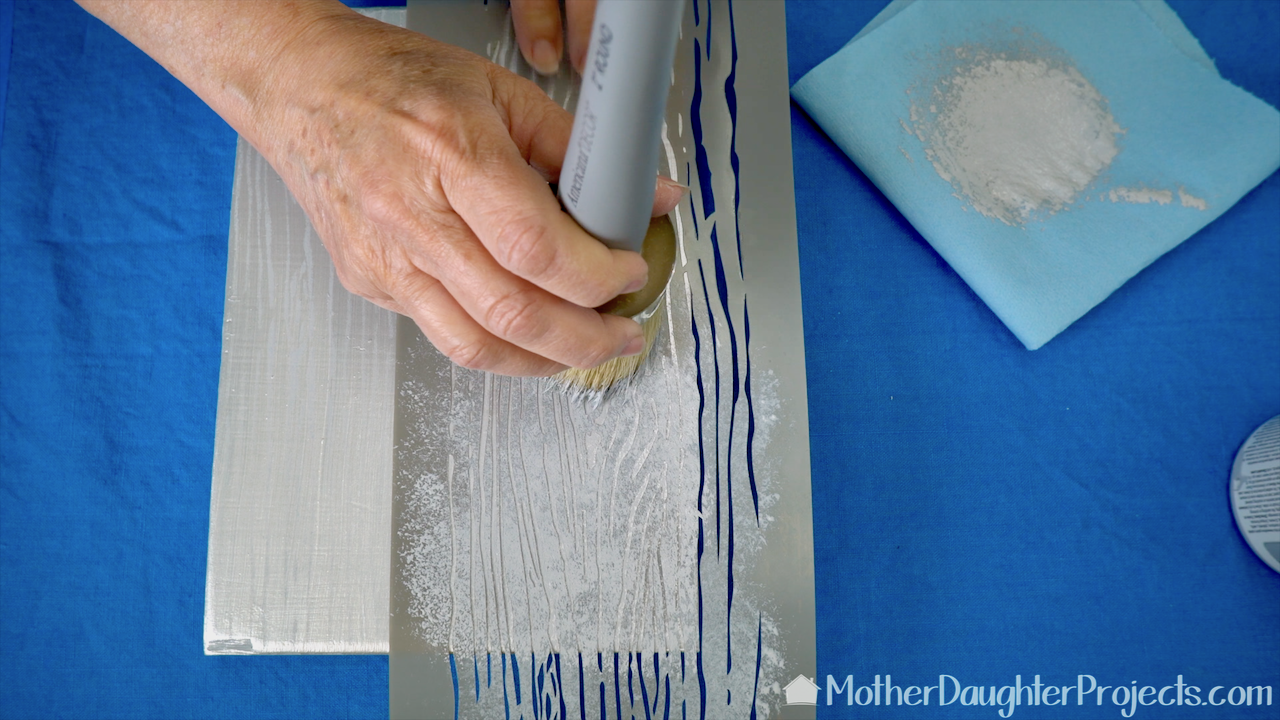
To stencil, apply a small amount of paint to the brush and tap it well onto a paper towel. Use an up and down motion to apply the paint to the stencil. Hold the stencil in place to keep it from moving. Let dry. Once dry, reposition the stencil and finish the front.
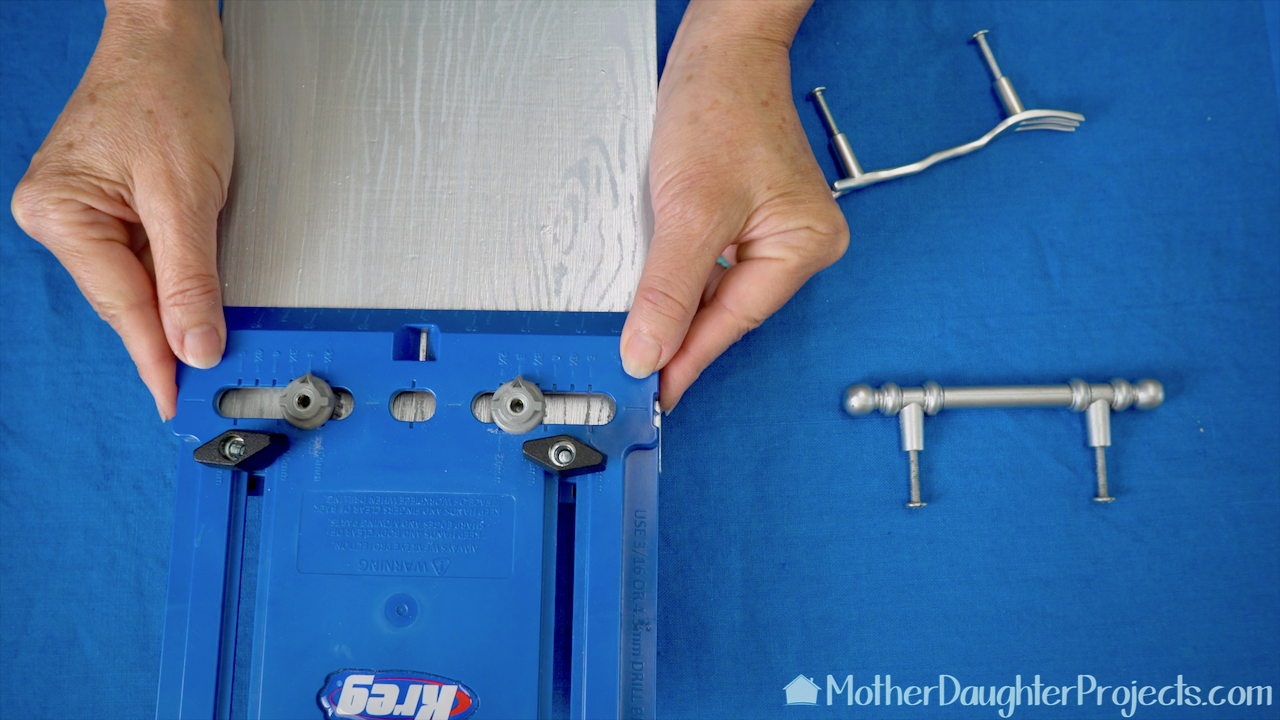
Adjust the Kreg Hardware jig to the width of your chosen handle. Those round circle things should line up with the holes on your handle. Put the jig in place and drill the holes with a 3/16" drill bit. The jig helps to create perfectly placed holes for the handle.
Screw the handle into place with the screws that came with your handle.
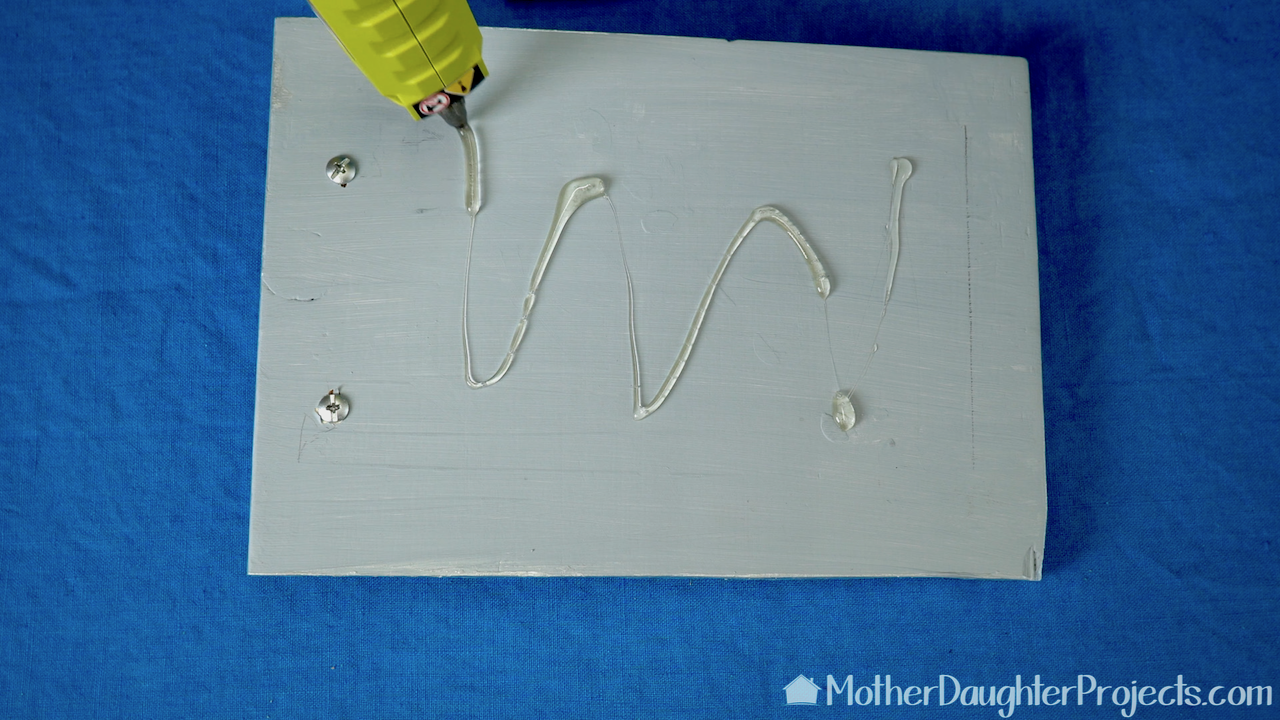
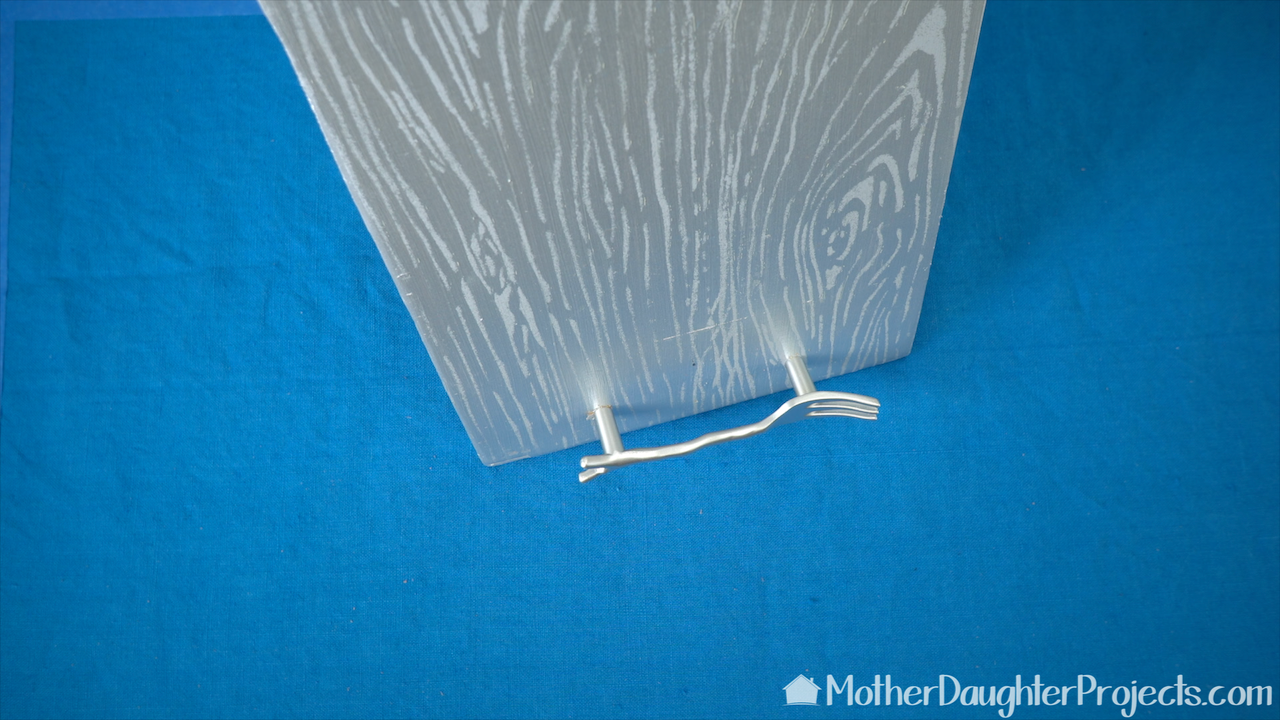
Find the best position of the easel on the back (make sure the easel is placed in a way to allow the board to lean slightly backwards), mark the placement and glue onto the back with hot glue.
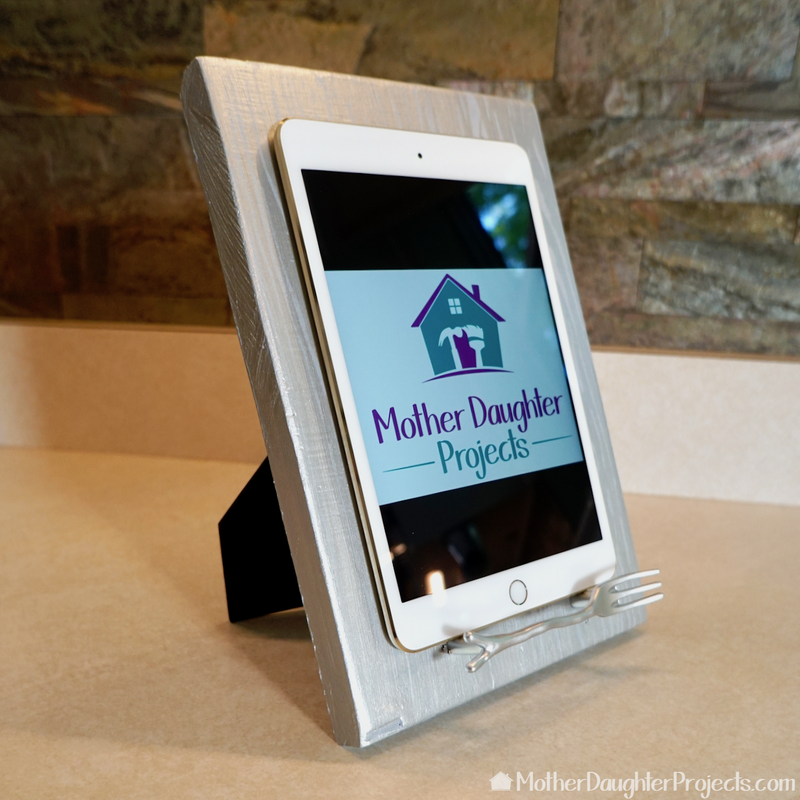
All finished! The recipe/iPad holder is now ready for a place in your kitchen!

The silver metallic paint was a perfect choice for Steph's kitchen!
This little simple stand is the perfect addition to Steph's kitchen. The stand keeps our Hello Fresh recipes at the proper angle and height for easy use!
Have you used a meal delivery service? How do you stand up your recipes and keep them organized? Let us know in the comments below! Please note: We are not sponsored by any of the companies/products that we used. These products were picked and bought by us. FYI: We are not professionals, and we don’t claim to be. This is what we found worked for our project. Yours may need a little different approach. Safety first! FYI: Affiliate links are being used on this page. Purchasing via these links help support MDP! Related Projects
2 Comments
Beth Demme
5/3/2018 11:06:23 am
I really like that this can hold something as thin as a recipe card or as thick as an iPad. What a great solution (as always)!
Vicki
5/5/2018 09:28:04 pm
Thanks Beth. This was one of the projects we made at the recent women's retreat. I was tasked with coming up with a trash to treasure project for one of the breakout sessions. ~Vicki Leave a Reply. |

Mother Daughter Projects
|