|
text by Vicki Sign up to get Mother Daughter Projects updates in your email!
This post is sponsored by Surebonder.
When Surebonder asked us if we would like to participate in challenge as a way of promoting their new cord-free detail hot glue gun, we couldn't say yes fast enough! We've worked with Surebonder on a number of occasions and use their products in a lot of our projects, so we knew this would be a good fit!
For the challenge, they sent us a curated box of "stuff" which we had to use at least seven of the items in some creative way. Below is the assortment of "stuff" we received! We decided to make the pallet wood the star of the show and developed an idea from that. 
Here's what was in our challenge box: 1. frame 2. wood puzzle toy 3. pallet wood 4. metal hinges 5. metal latches 6. upholstery tacks 7. live edge wood round 8. dinosaur drawer knob 9. cactus drawer pull 10. rope 11. cardboard stars 12. battery powered candles 13. Christmas ornament (in our colors!) 14. sunburst object as well as the new mini detail hot blue gun, and an assortment of glue sticks to fit.
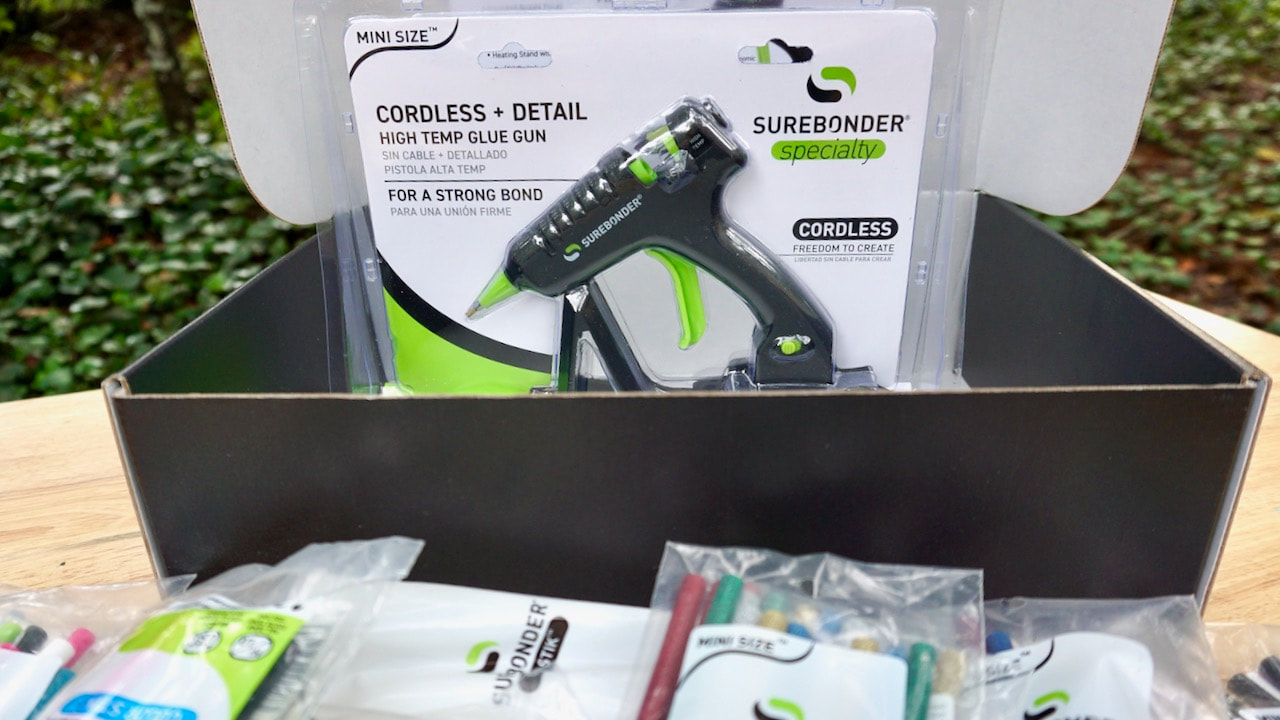
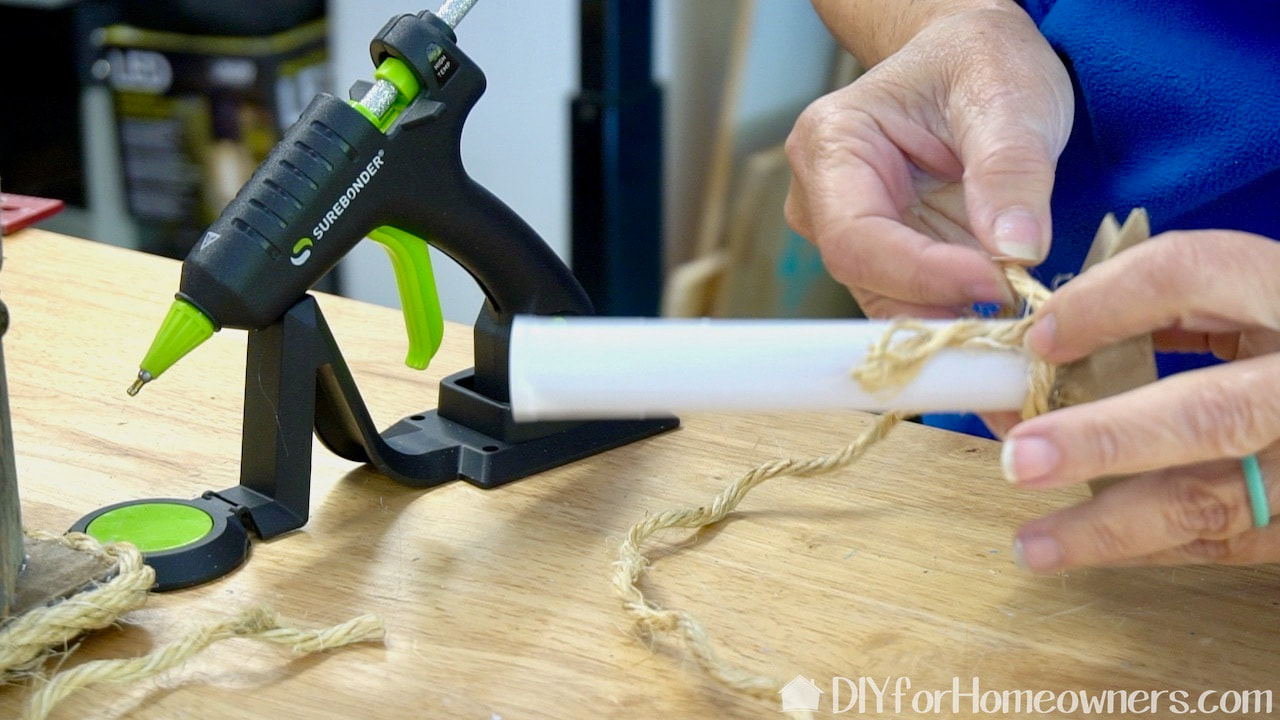
The new glue gun is powered via the charging base. It will run for about two minutes out of the charging base, but if you need more run time, the cord can be plugged into the base of the gun! It has a built in silicone pad for drips which then can easily be removed.
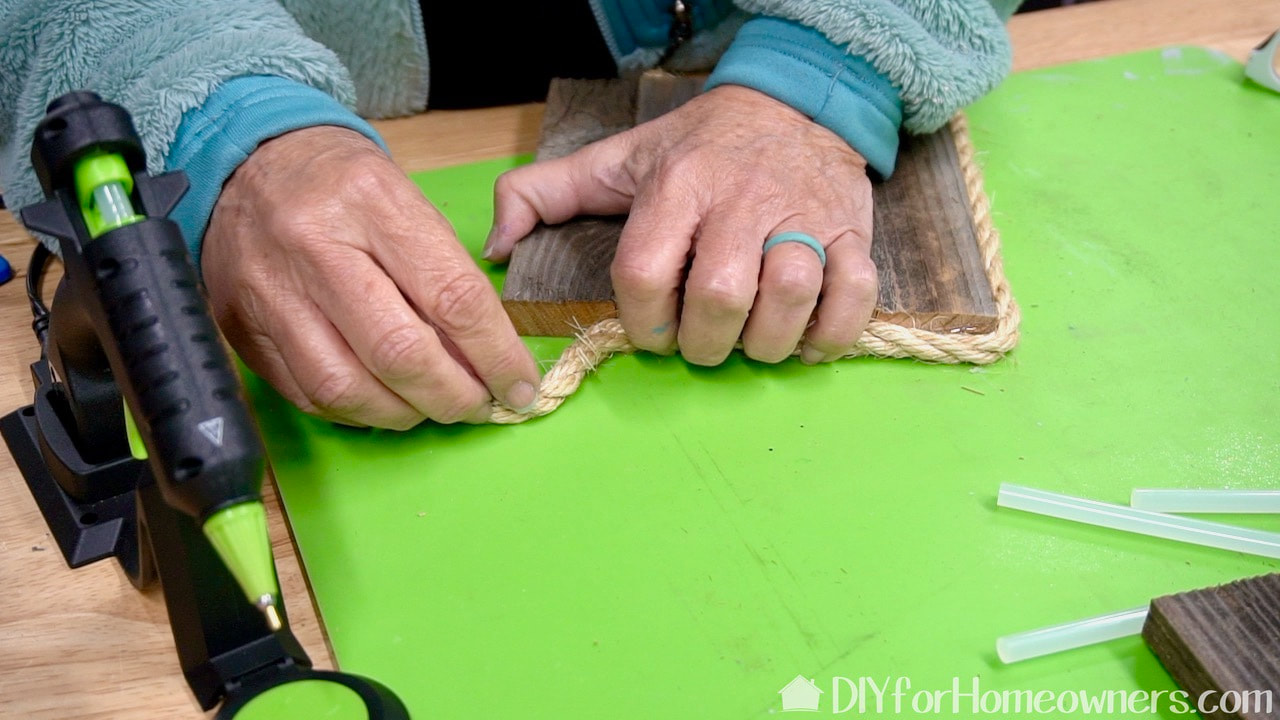
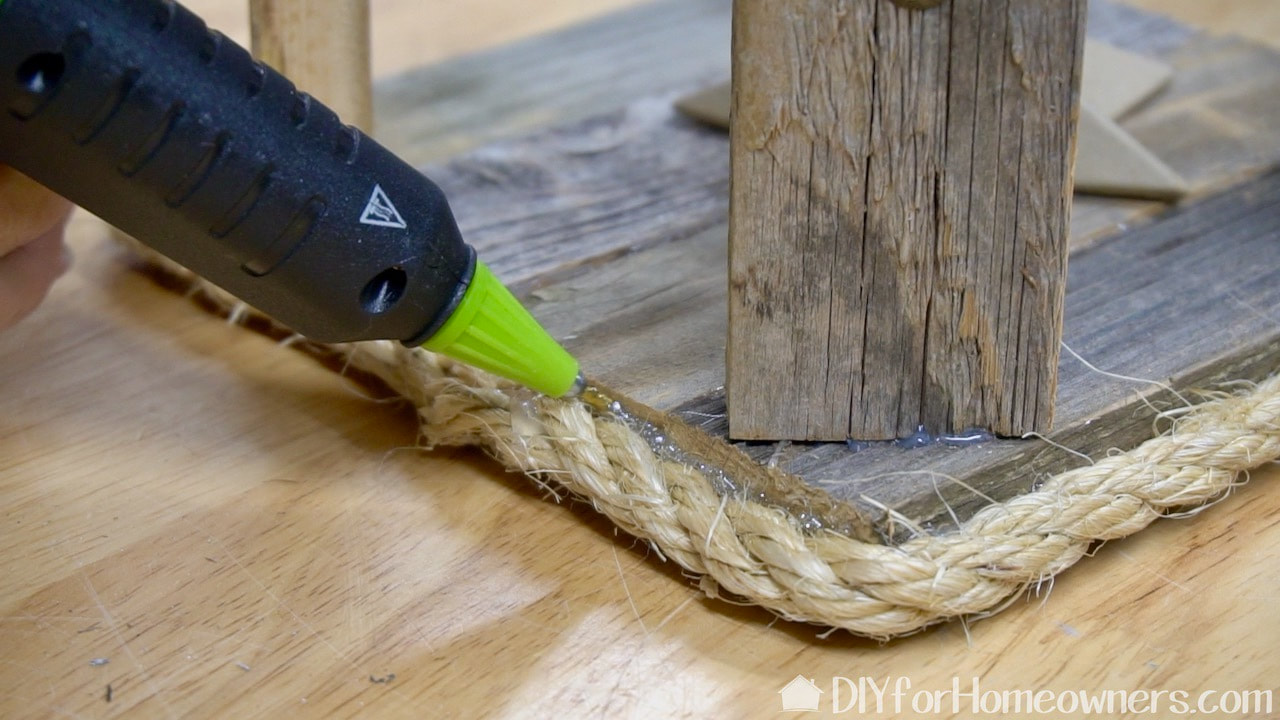
With the candle and pallet wood as inspiration, we decided to make a rustic lantern! If you want to see it come together in detail, please take the time to watch the video. Here I've hot glued four pieces of pallet wood and now I'm adding a little rope trim to the top and bottom of the lantern pieces.
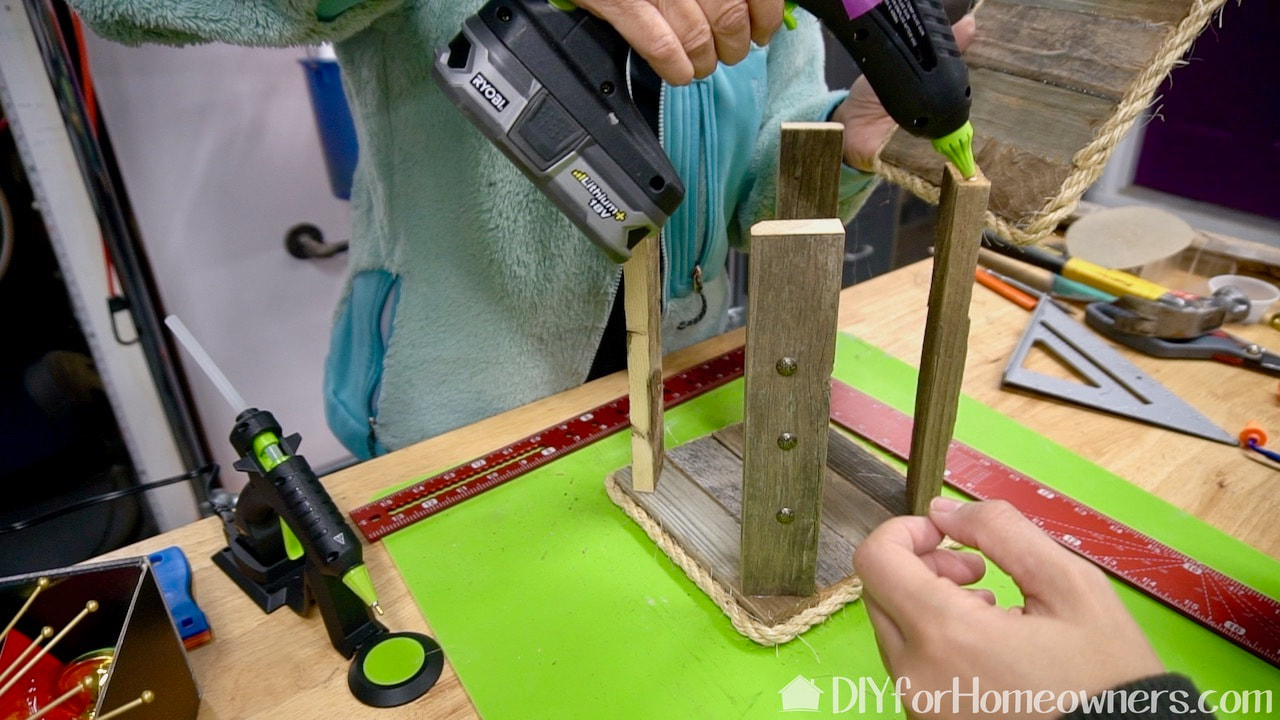
The lantern is taking shape. We are adding the corner support pieces. This time we are using the full size battery powered hot glue gun that is fitted with construction hot glue. We've previously used this speciality glue with great results and knew this would be perfect for finishing the construction on our lantern. Are you keeping count? So far we've used three challenge box items!
We have to have a little bling on our rustic lantern. This glitter glue is perfect and the detail tip insures it goes where we want it to go.
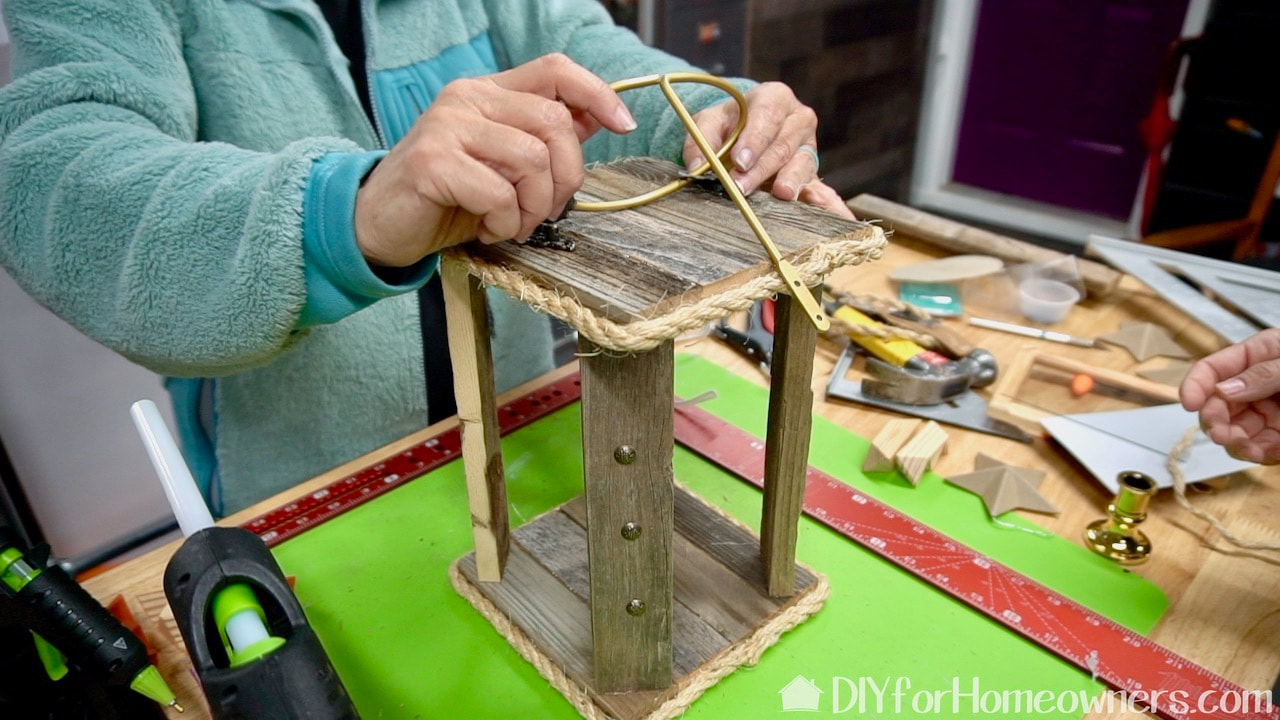
Now, we couldn't use the starburst, but we decided the base would work as a handle (Steph's idea!) and part of the latches would be perfect to hold it in place. (That's two more!)
We removed the gold base from the candle and made a new base from one of the cardboard stars. We unwound the rope and wrapped one strand around the base for a little decoration. (That's two more--the candle and cardboard star.)
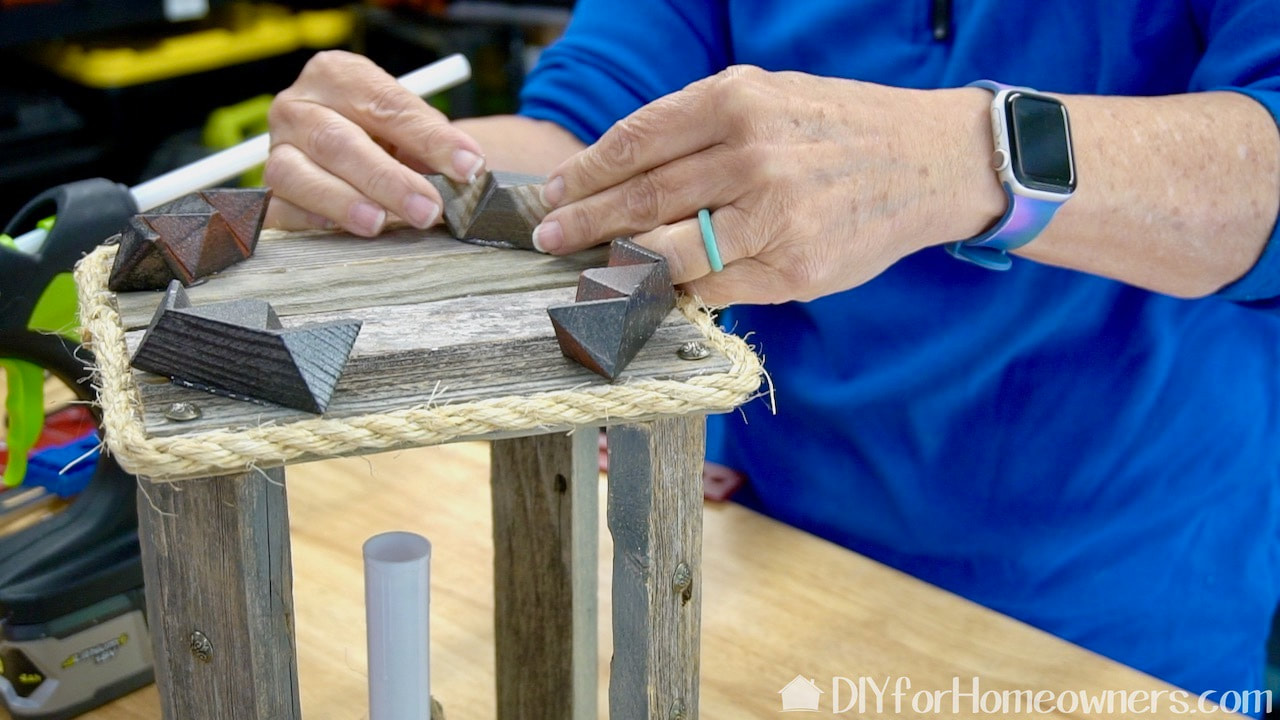
We needed feet for the base and it was Steph's idea to take apart the puzzle, spray paint them and use them as feet. Smart! (That's one more)
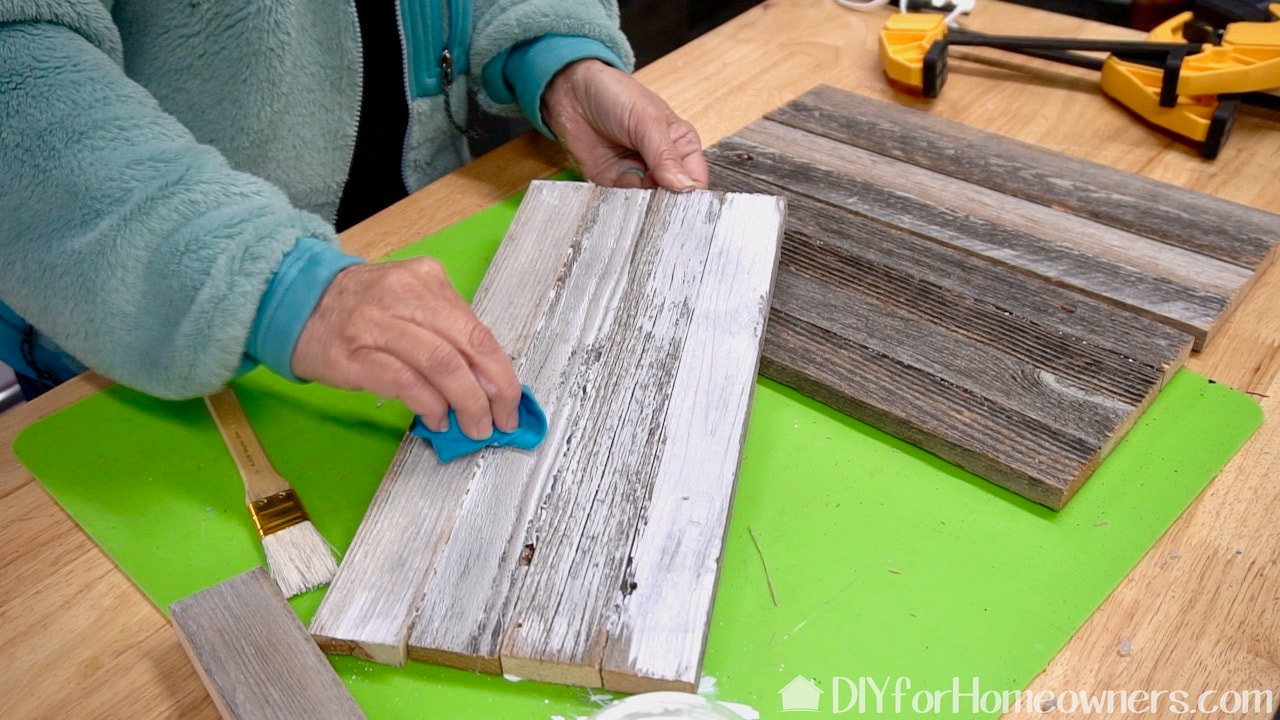
We decided to make a folding screen to use with our lantern. We hot glued three sets of four pieces of pallet wood, white washed them with DecoArt chalking finish paint in white.
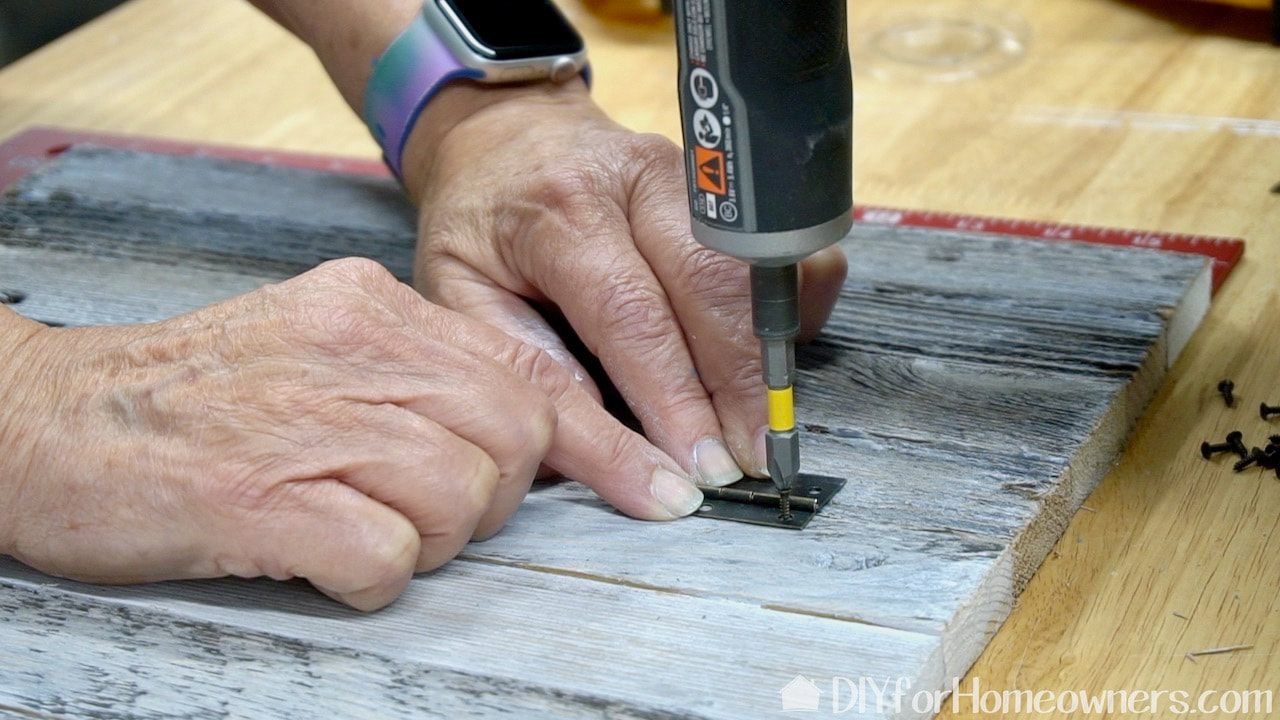
We used the challenge box hinges to connect the three panels. (That's one more challenge box item.) We'll put a link to that really handle Dremel power screwdriver. It charges via a USB and is perfect to keep in your kitchen junk drawer.
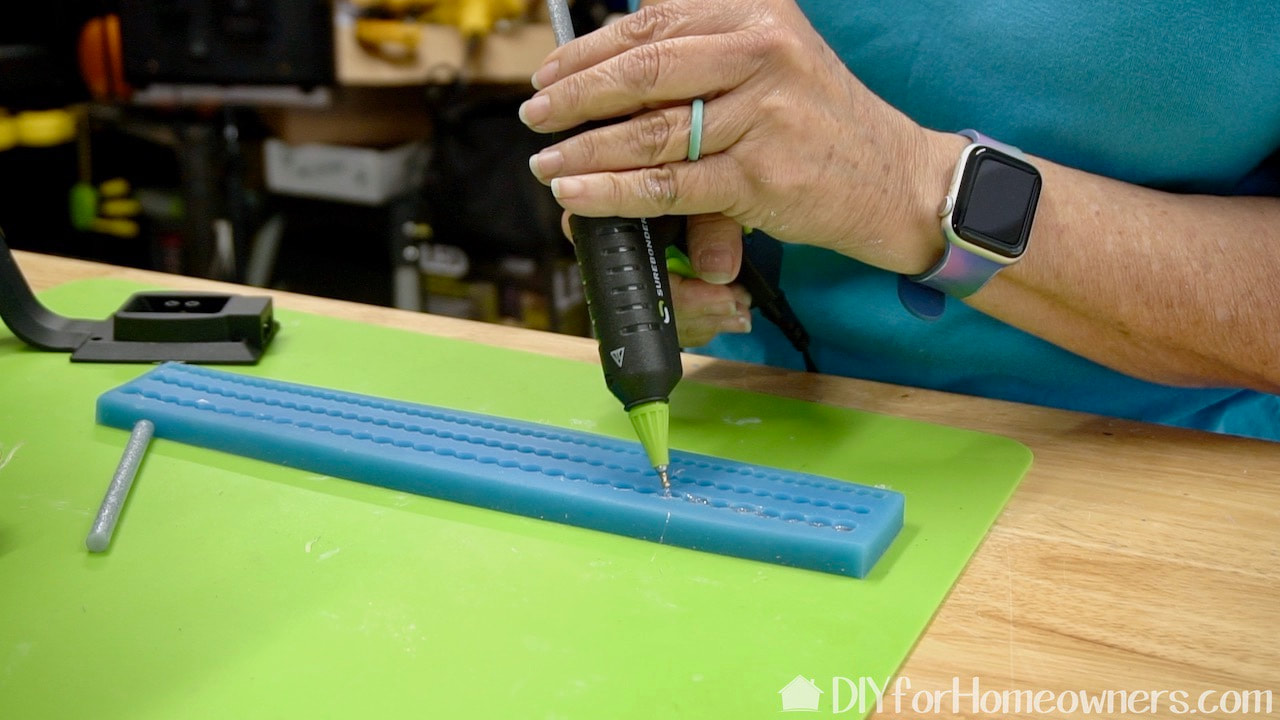
We needed just a bit more bling to the front of the lantern! I'm using a silicone mold (for cake decorating) which make a bead like trim. Simply added hot glue, let it cool, pop it out and it's ready to use!

We attached the hot glue glittery beading to the front of each side with a bit of hot glue. Prior to adding the trim, we painted out all of the raw edges of the pallet wood with DecoArt chalky finish paint in grey and white washed the entire lantern.
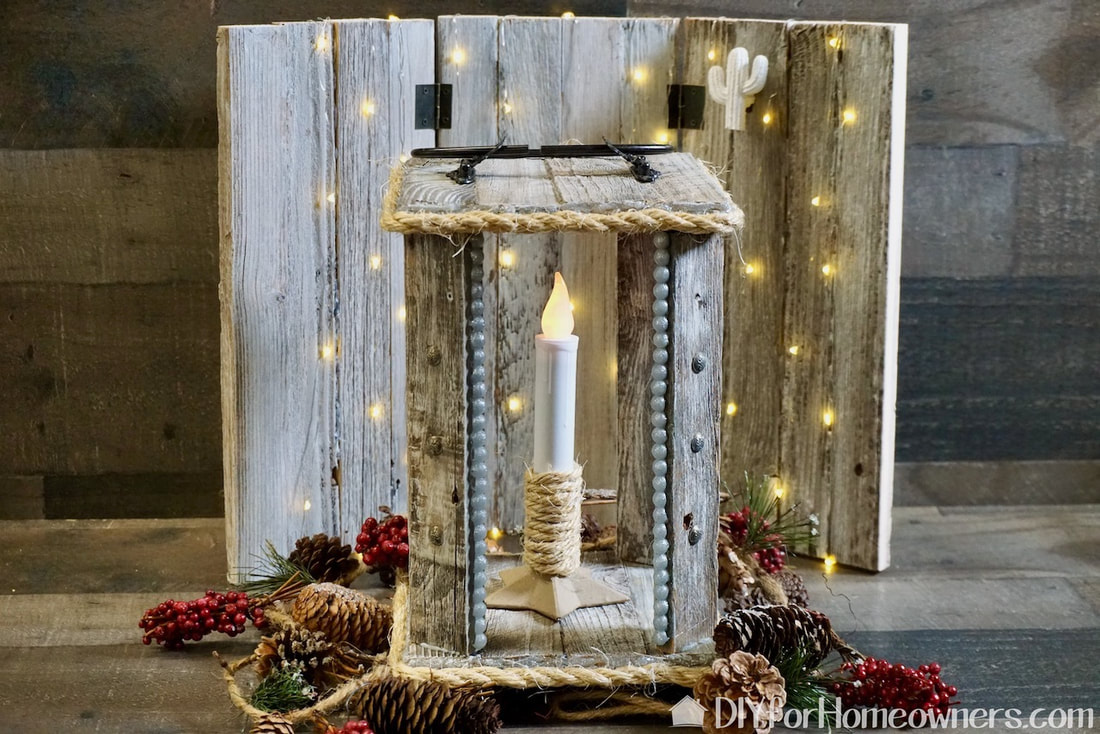
Just for fun, we added the cactus drawer knob into an existing nail hole. We did have to drill into it to make it bigger. So, the final count of challenge box items used is--10!
In the video, you can see one more project we made with our challenge box materials. It is really just for fun. I even made a little Santa hat for the dinosaur!
This was super fun for me and a great way for Surebonder to promote their newest hot glue offering. If you do a lot of detail work and want the flexibility of a cordless hot glue gun, this is for you! Head to their website to see all the tools and accessories they offer. Bonus for us: they are family owned and operated! We love that. Please note: This post is sponsored by Surebonder. We received product and compensation for this project. All thoughts and opinions are our own. FYI: We are not professionals, and we don’t claim to be. This is what we found worked for our project. Yours may need a little different approach. Safety first! FYI: Affiliate links are being used on this page. Purchasing via these links help support MDP! Related Projects
2 Comments
vicki
11/13/2019 02:23:49 pm
Thanks! It is pretty amazing. The green on the tip also helps to protect the user from burns. Pretty cool tool. ~Vicki Leave a Reply. |

Mother Daughter Projects
|