|
text by Vicki Sign up here to join our weekly email newsletter!
Steph is an original Harry Potter fan. We have fun memories of staying up till midnight to purchase the original books. Good times!
With her love of all things Harry Potter, she wanted to share that with her niblings once each turned 10. This past December was Andrew's turn when he turned 10. To celebrate and to introduce him to the Harry Potter series, Steph purchased the entire book collection for him for his birthday. To make the gift even more special, she designed a book crate especially for him to store his books. Materials/Tools:
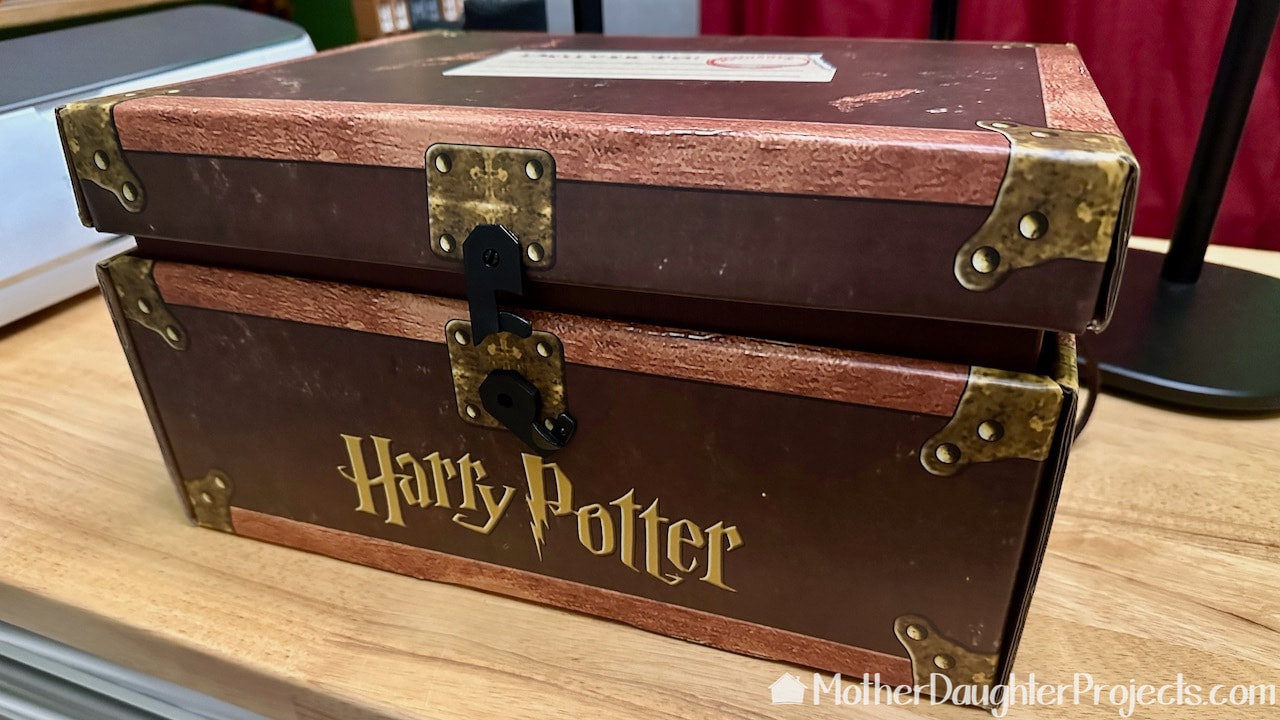
The series came in this cute, but not very durable box. We can do better!
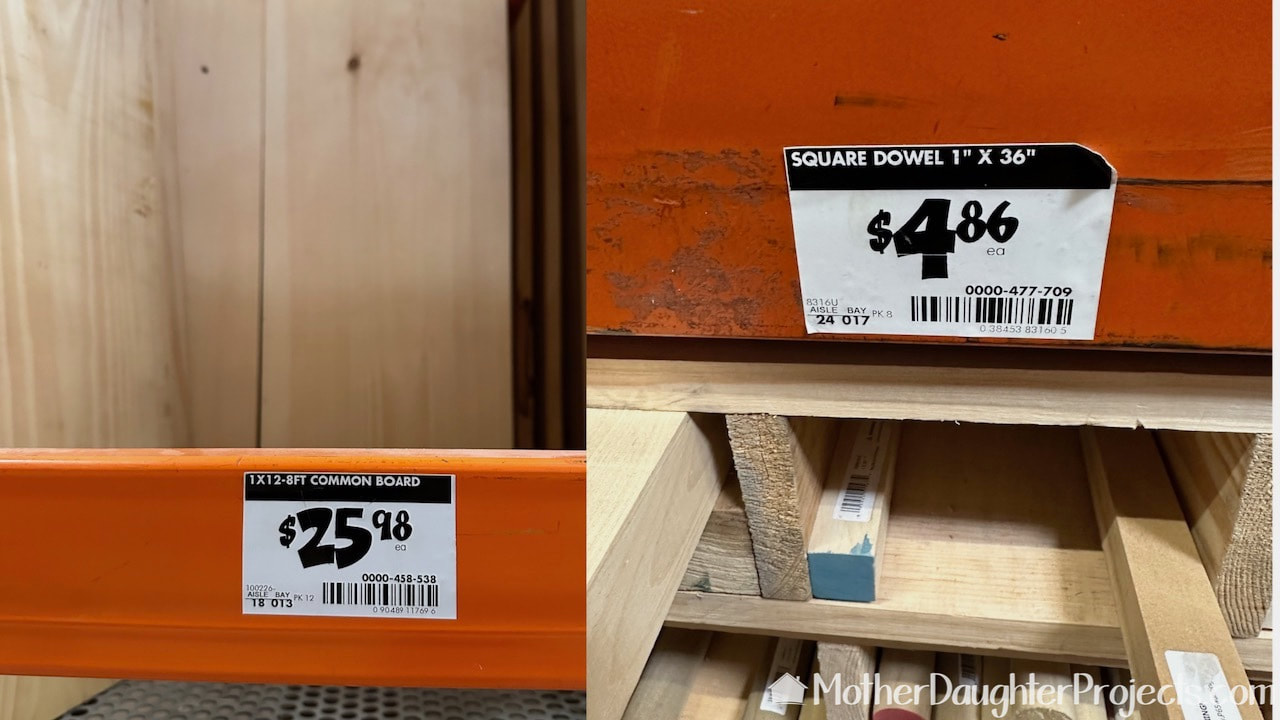
First step was to purchase lumber from the Home Depot. All the measurements of the trunk are based on the measurements of the books.
Cut List
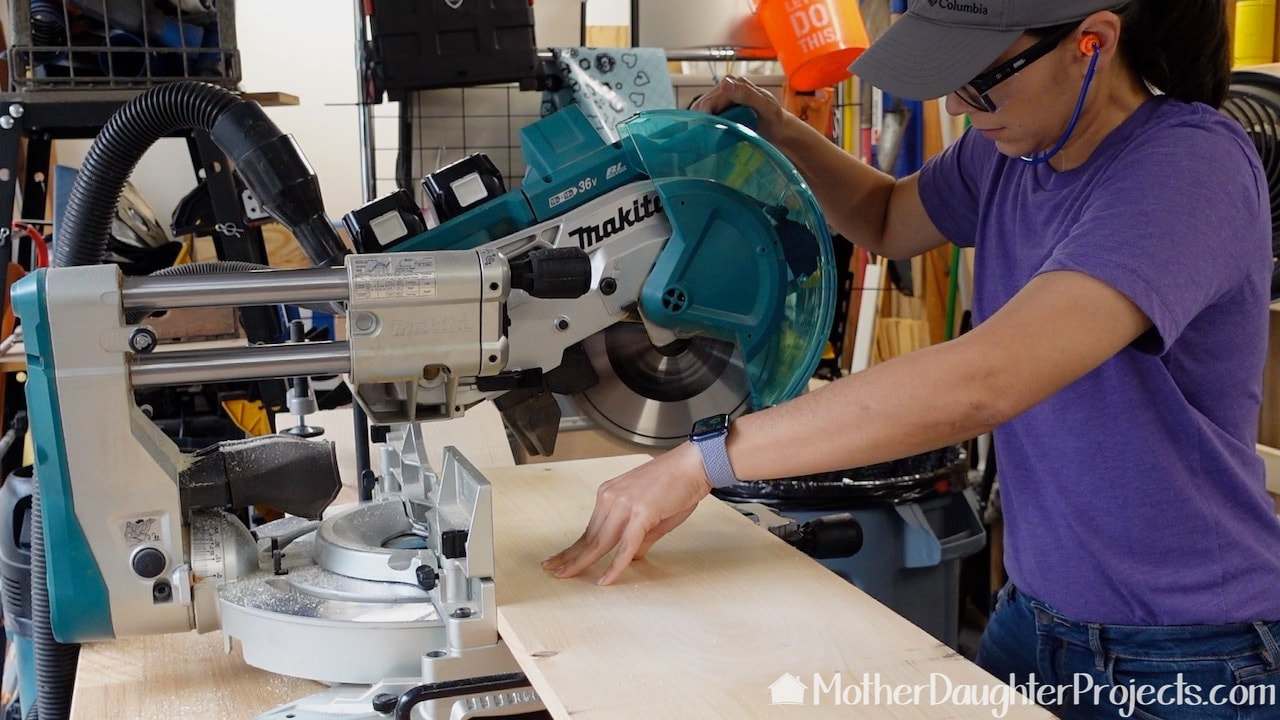
We made the cuts on our Makita sliding miter saw.
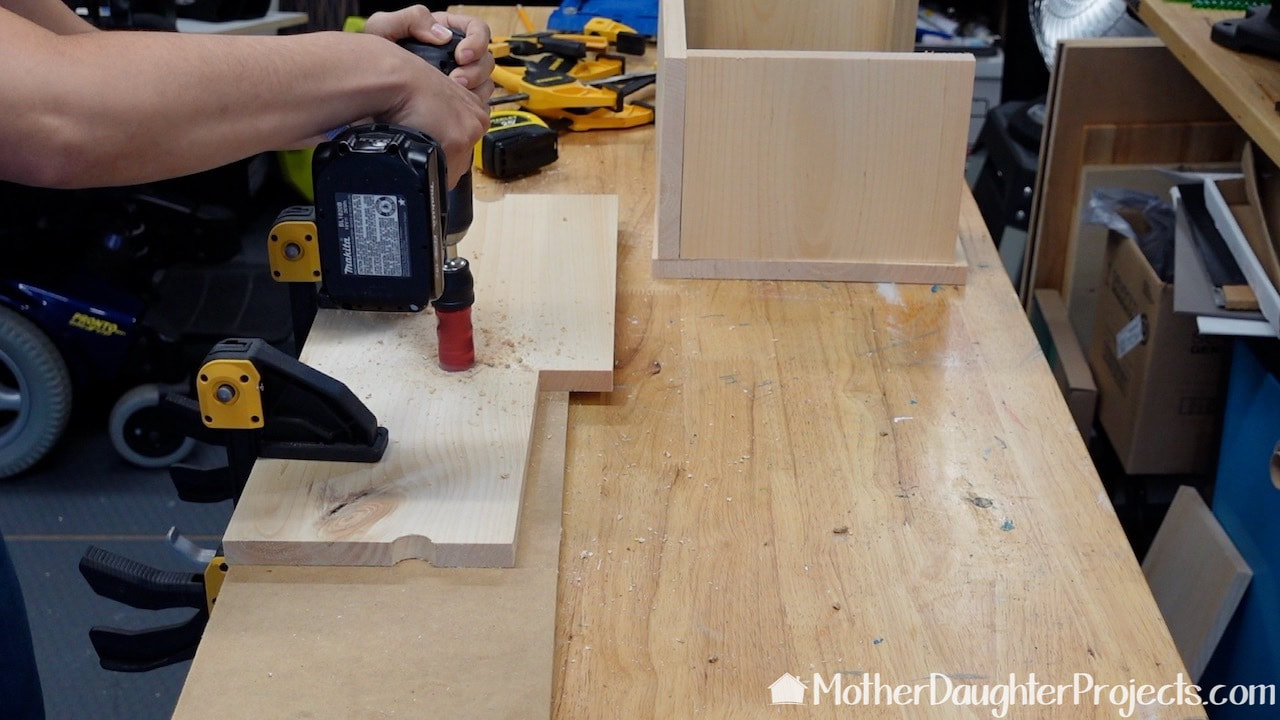
The lid of the box will sit on top of the square dowels. We created finger holes on each side for easy removal. Check out the video to see how we did this.
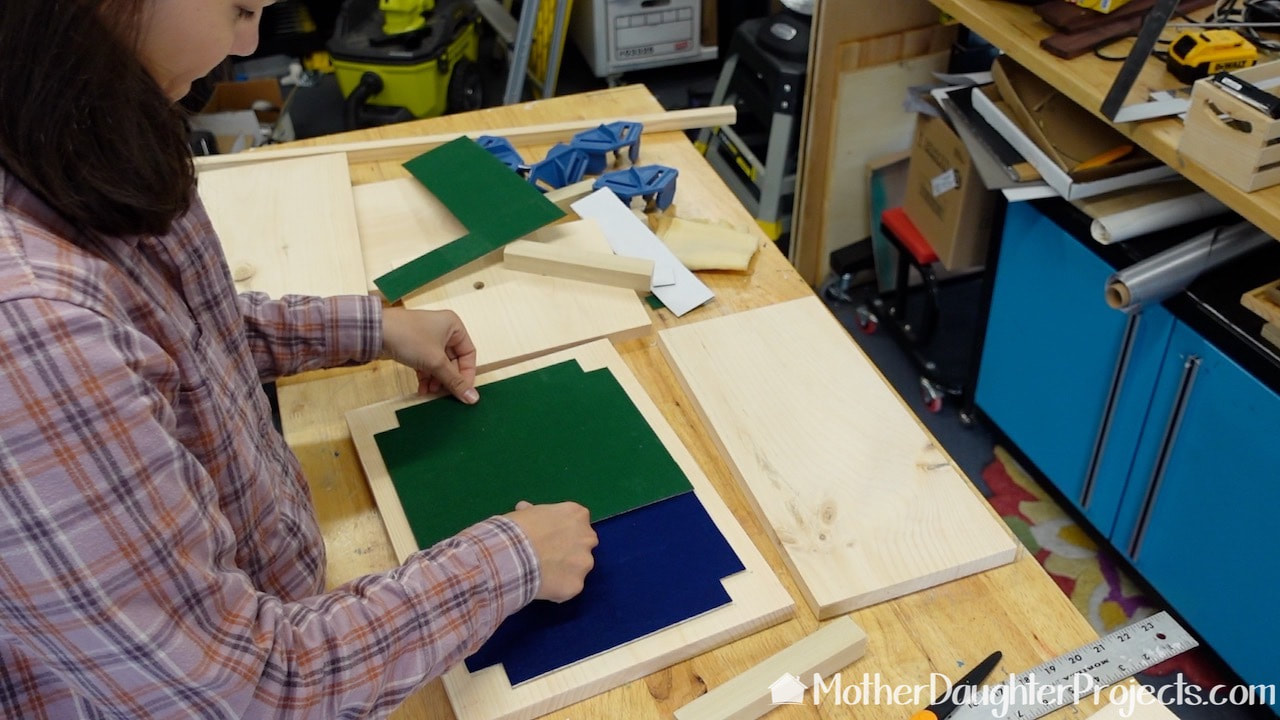
A little felt, in the colors of Steph and Andrew's Hogwarts houses, cover the bottom of the box to protect the books.
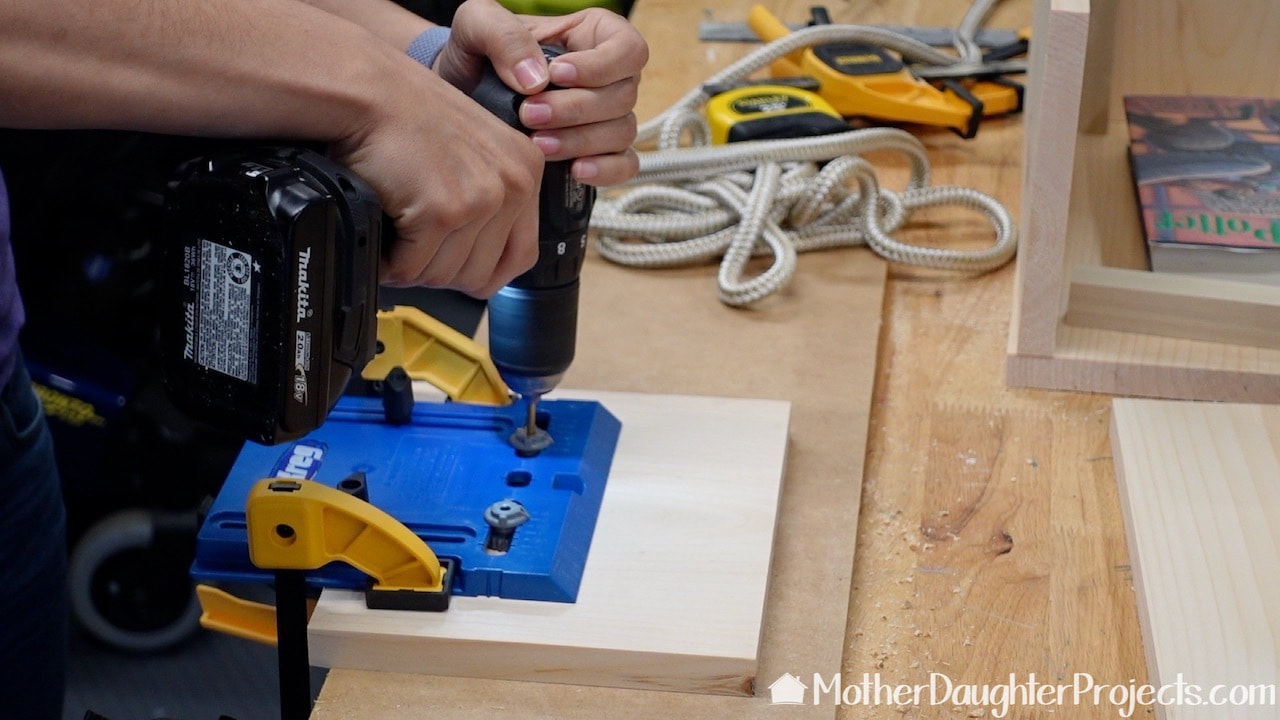
This Kreg cabinet hardware jig makes it easy to effortlessly mark the holes for the rope handles.
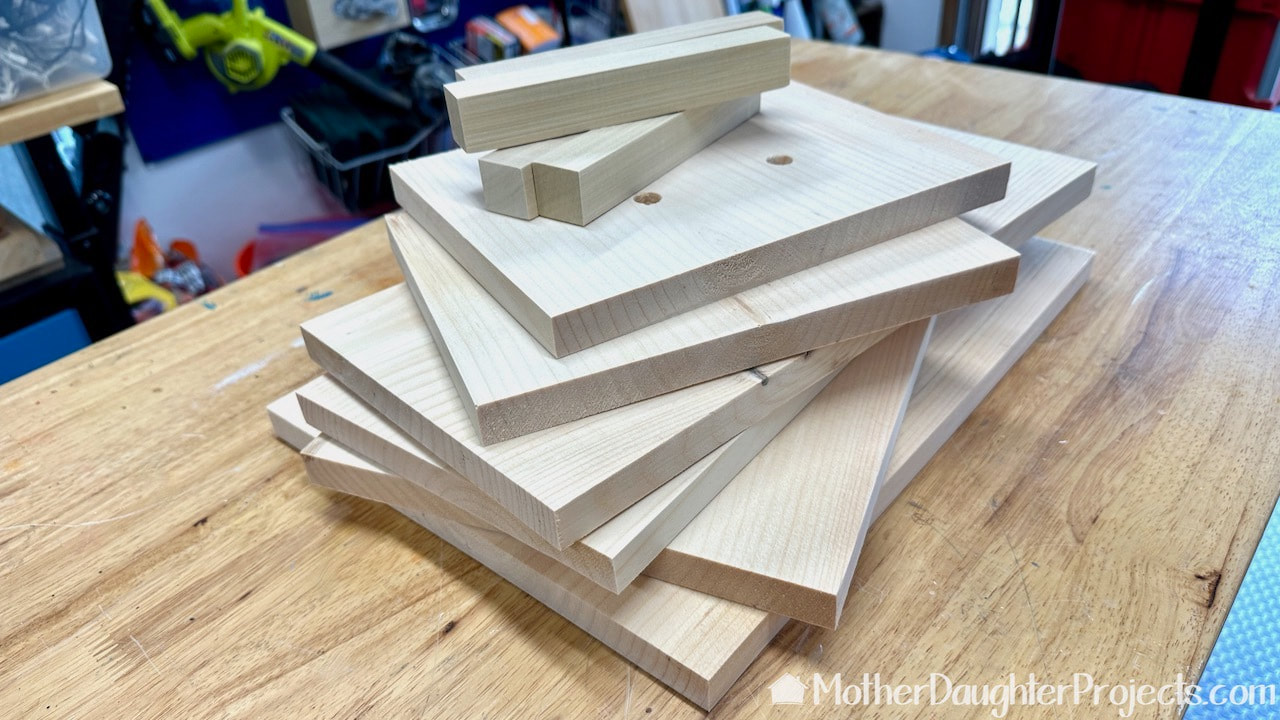
Everything is cut and sanded--let's get to assembling!
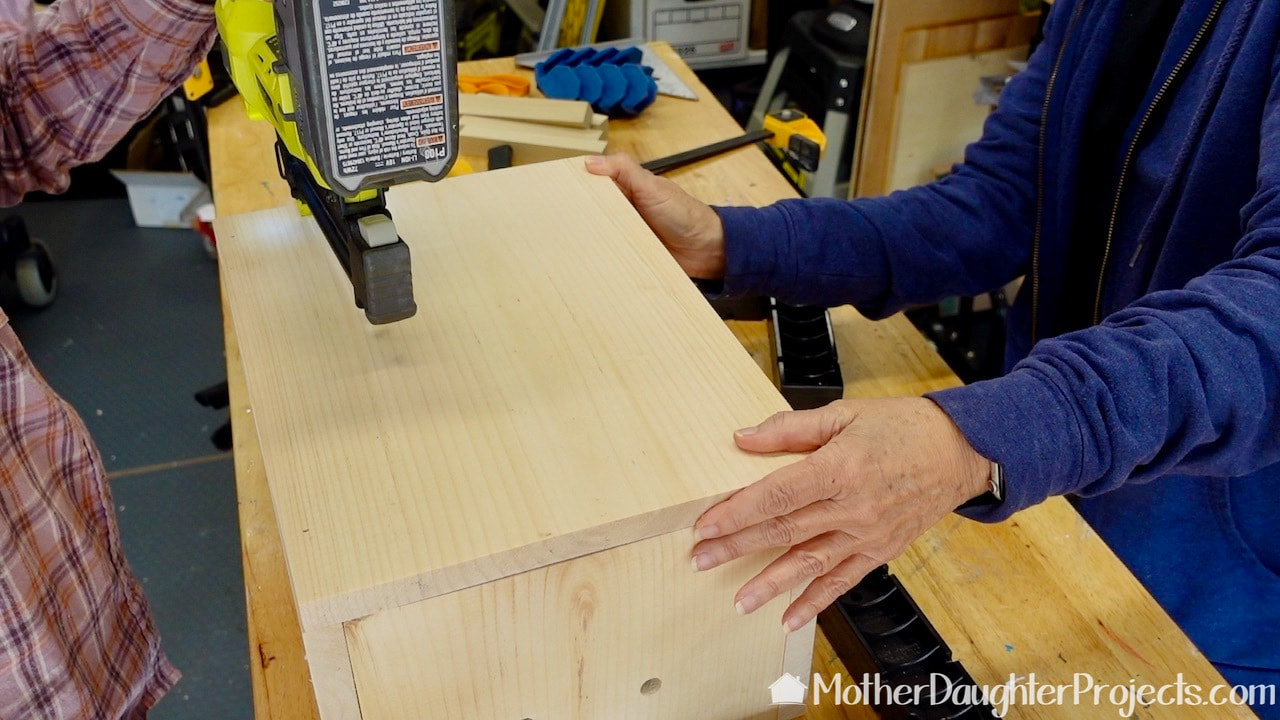
Brad nails and wood glue holds it all together.

Before staining, we are using a natural wood conditioner we made from steeped black tea. The tea conditions the wood and also reacts with the steel wool stain to produce a darker stain. Store the tea conditioner in the fridge as it will mold if stored in a hot garage. Throw it out if it molds.
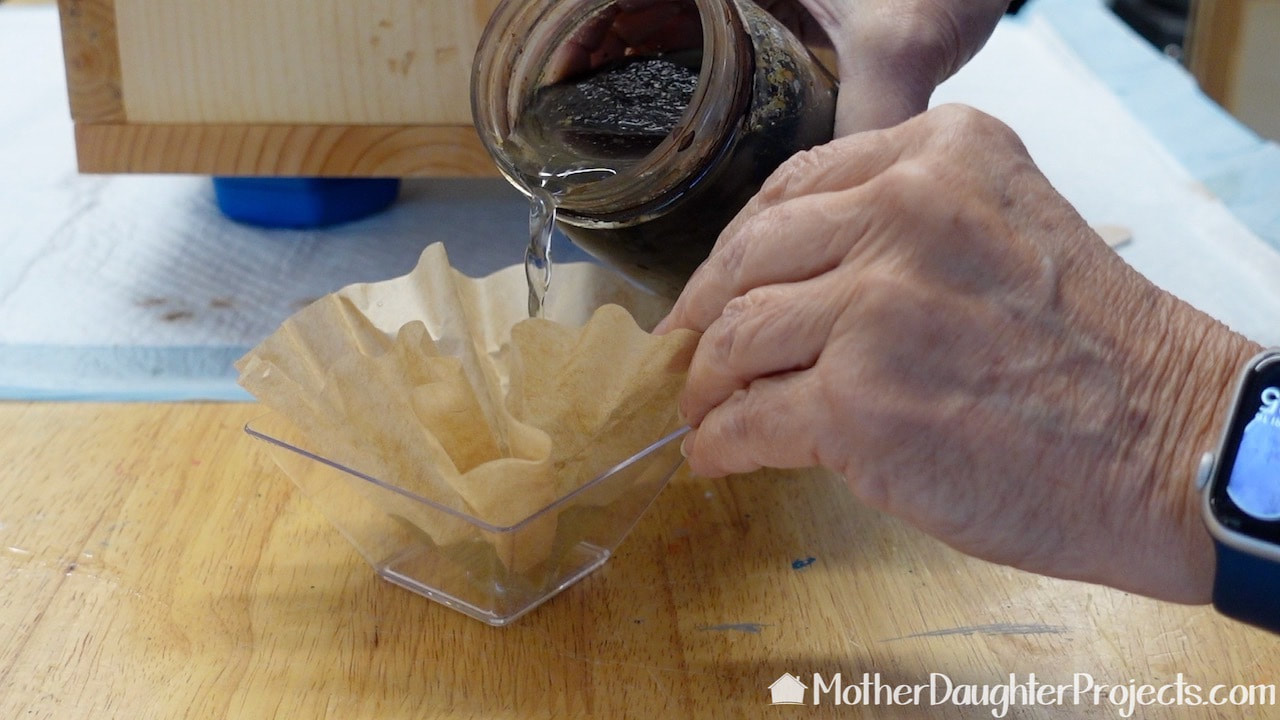
The stain is made by steeping steel wool in vinegar for a few days. Here I'm straining it through a coffee filter to catch any debris I don't want to transfer to the wood box.
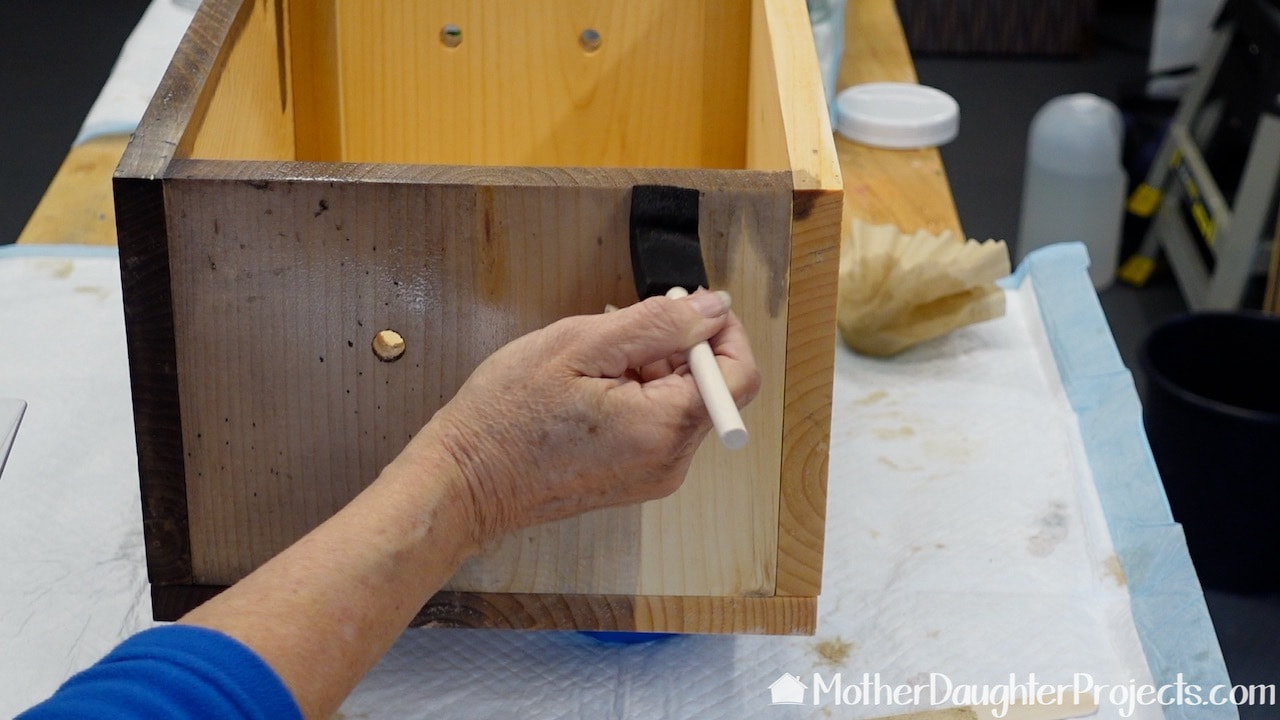
I brushed the vinegar/steel wool stain on with a foam brush. The results can be unpredictable!
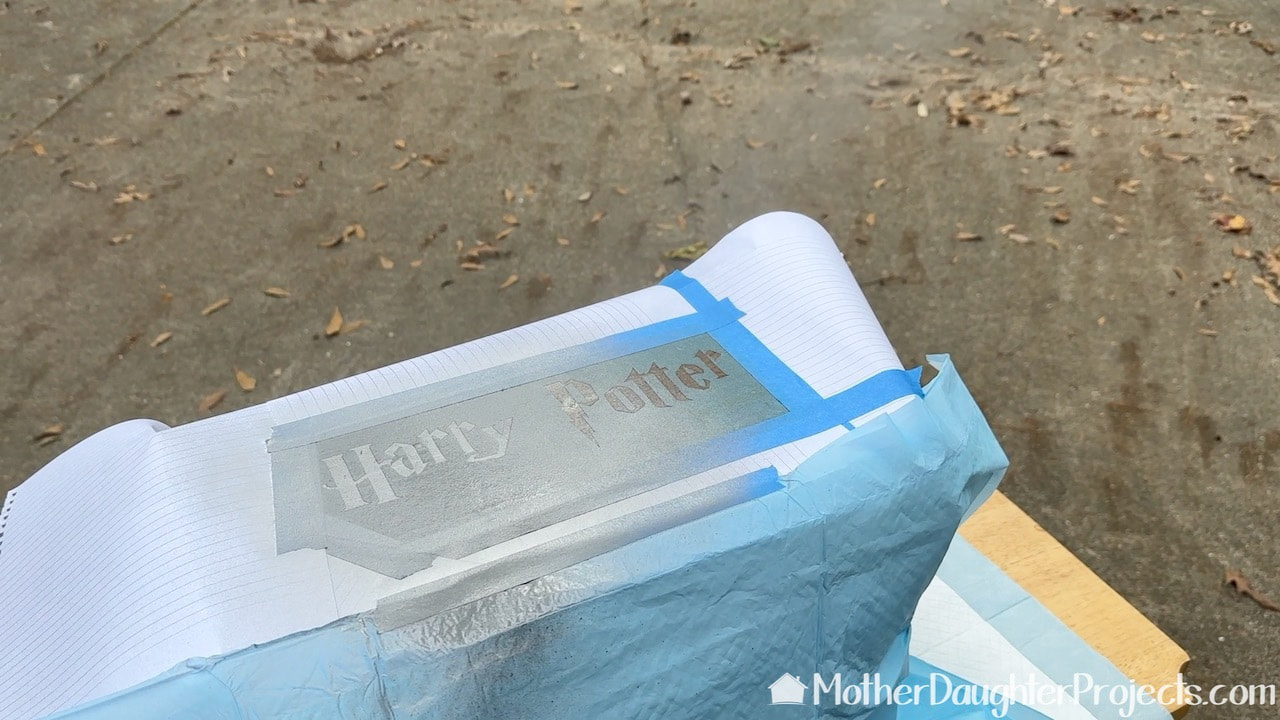
Lastly, Steph created some stencils on her Cricut Maker which we then attached to the box and spray painted in a silver paint.
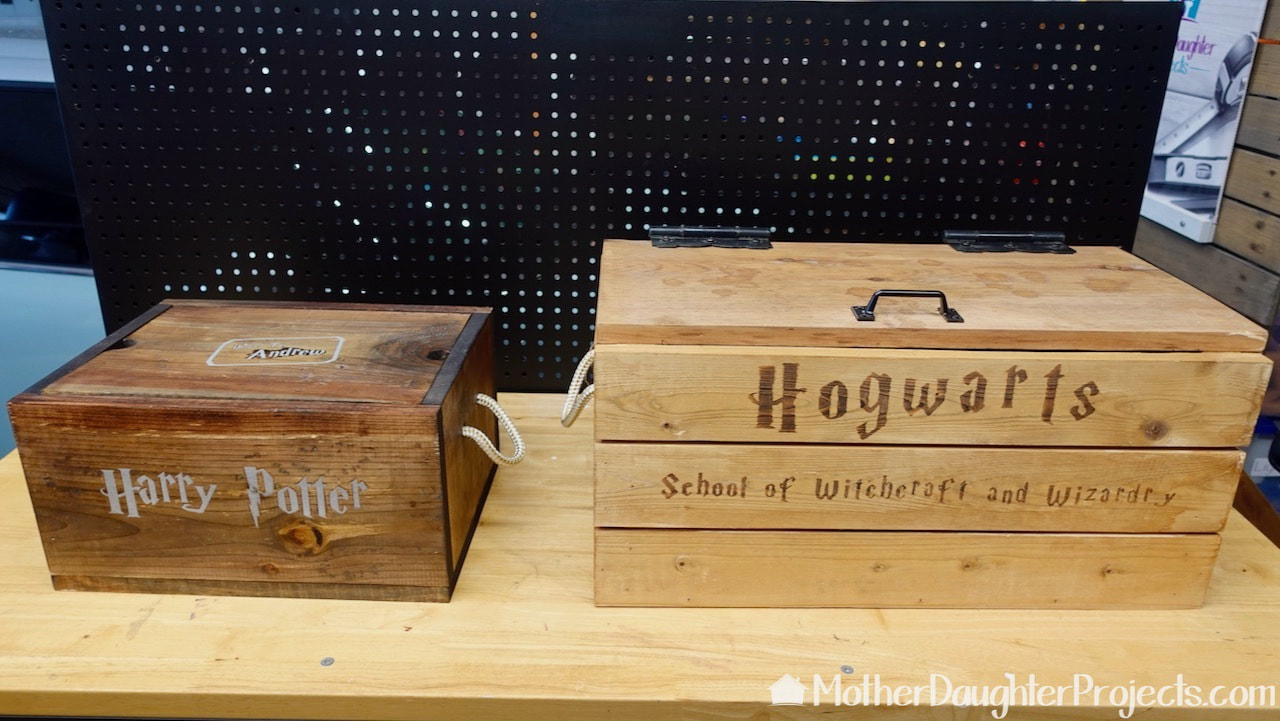
Andrew's box is on the left. We created the one the right for her first nephew.

The lid lifts off easily with the finger holes. When Andrew gets his wand for his next birthday, he can store it in one of the finger holes.
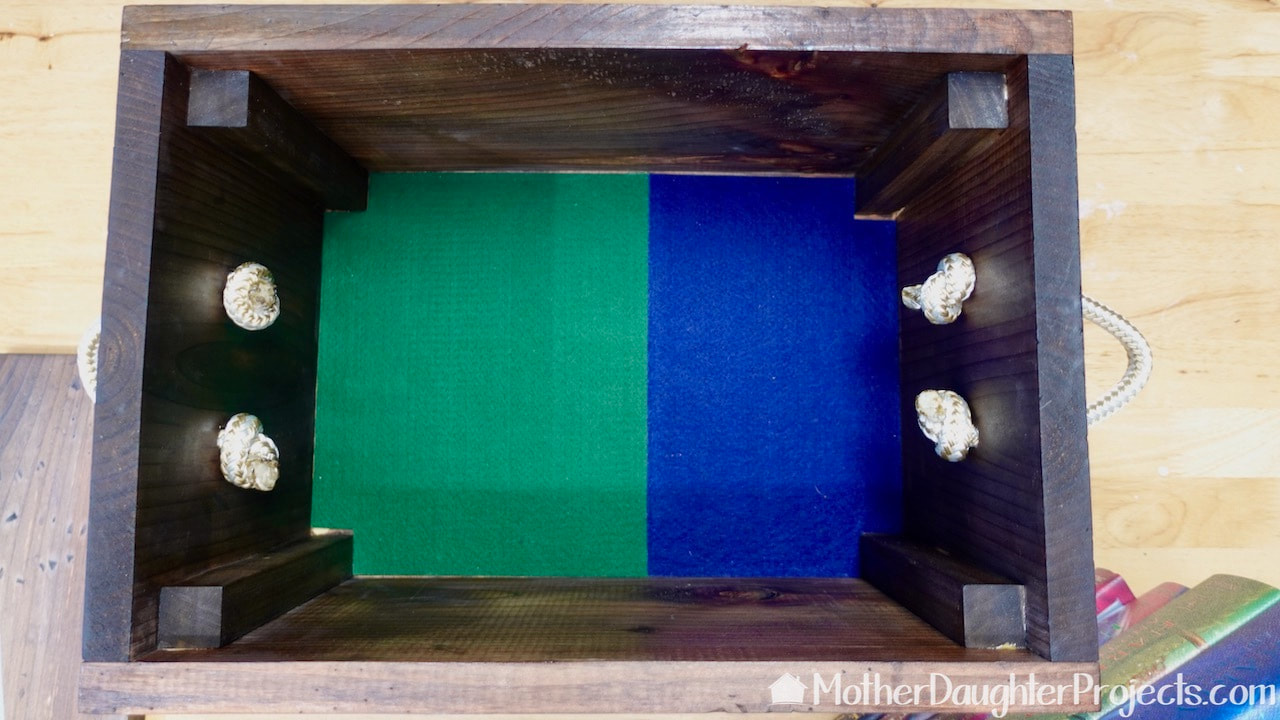
A look at the inside. The lid is held in place on those four wood dowels.
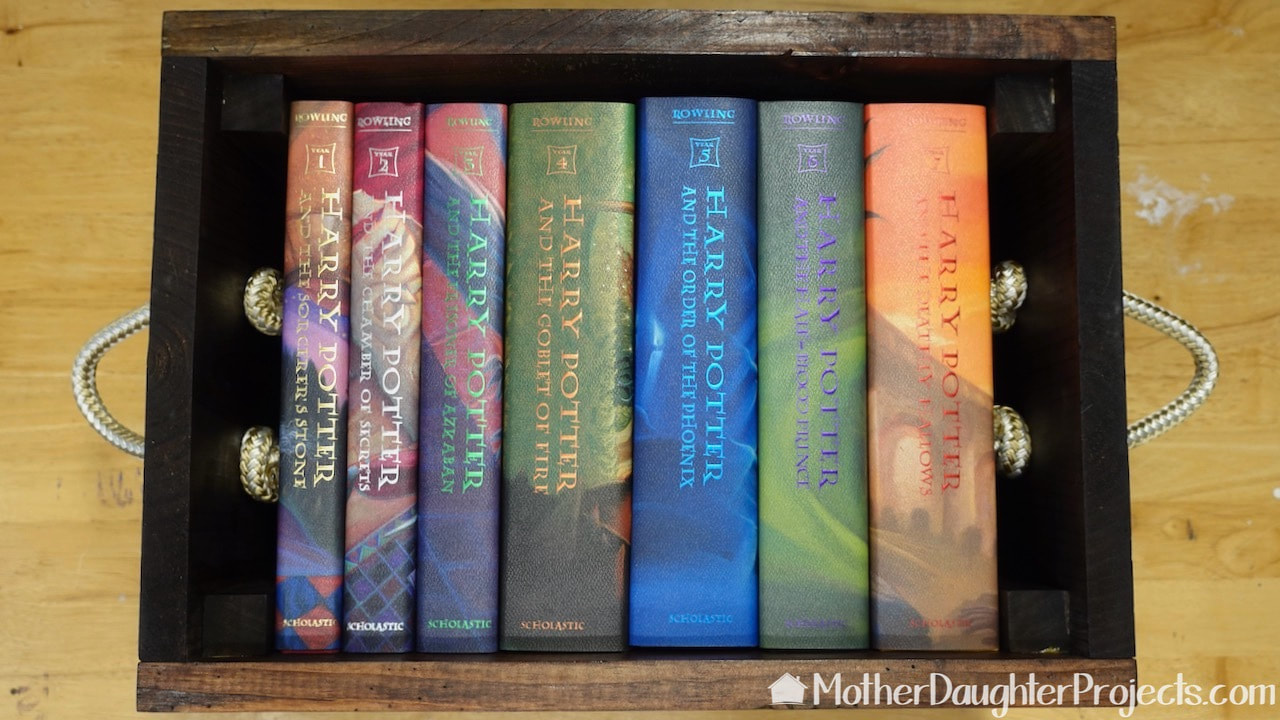
And here is the inside with the books! Just a note. Andrew got the books in December 2022. It is now late February, 2023 and he has started book six!
Andrew was surprised and delighted by his new collection of Harry Potter books. By the way, we bought the books at our local Books-a-Million.
Please note: This is not a sponsored post. FYI: We are not professionals, and we don't claim to be. This is what we found worked for our project. Yours may need a little different approach. Safety first! FYI: Affiliate links are being used on this page. Purchasing via these links help support MDP Related Projects
0 Comments
Leave a Reply. |

Mother Daughter Projects
|