|
text by Vicki Sign up here to join our weekly email newsletter!
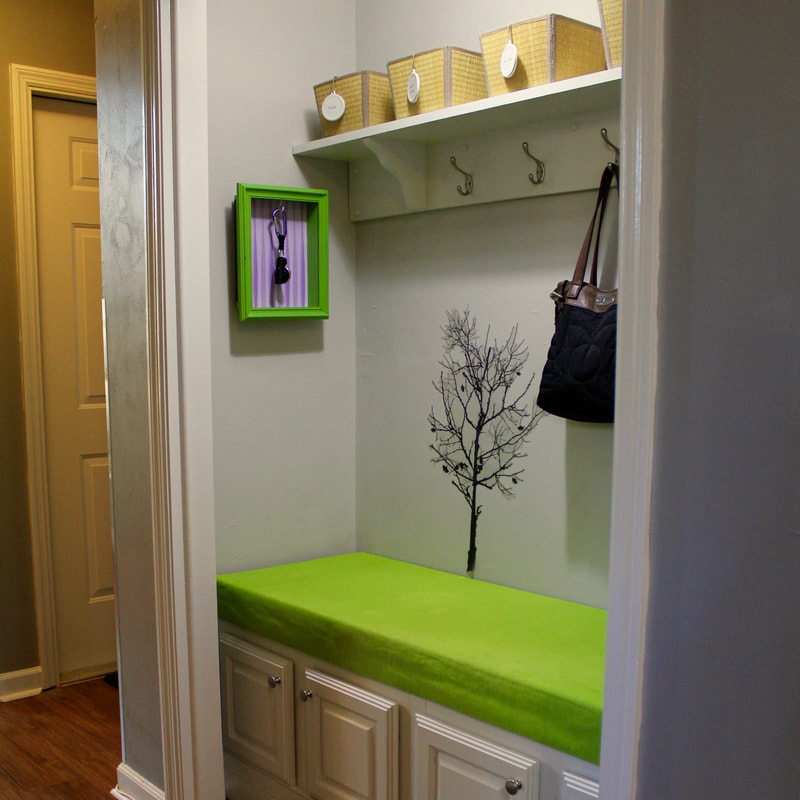
My daughter-in-law needed a place for all the things the grandkids bring into the house after school. She needed some kind of landing zone for backpacks, shoes, school supplies and more!
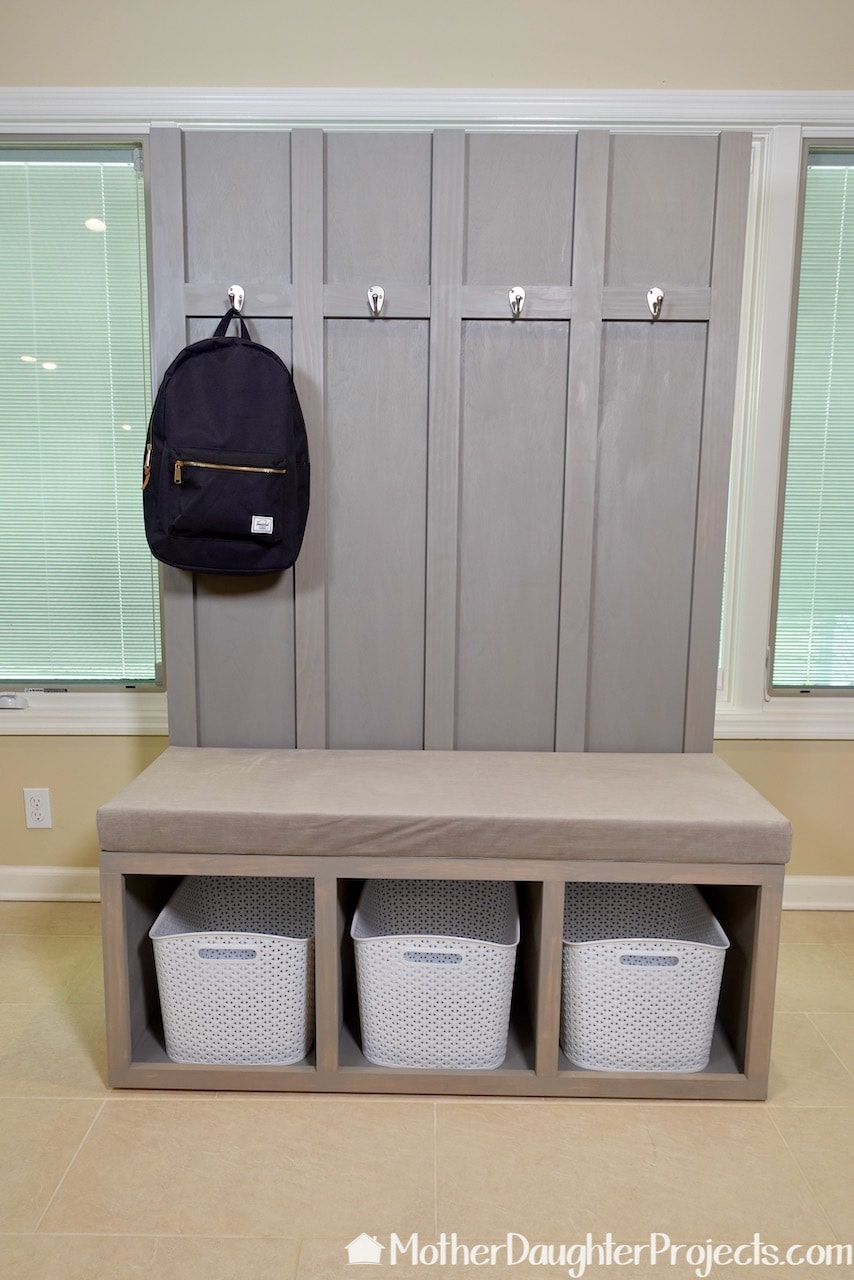
This is what we came up with. Since she is in an apartment and plans to move in the future, we built it with that in mind. It can easily be taken apart and moved to a new location. Materials/Tools:
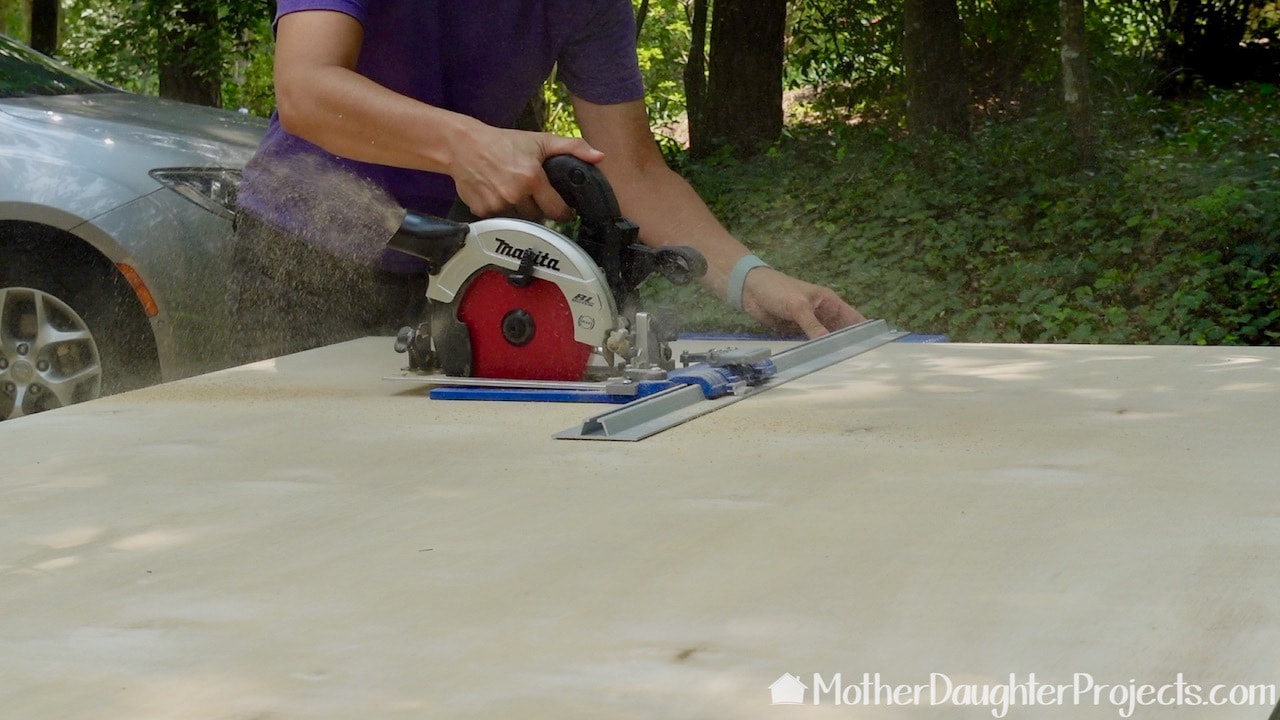
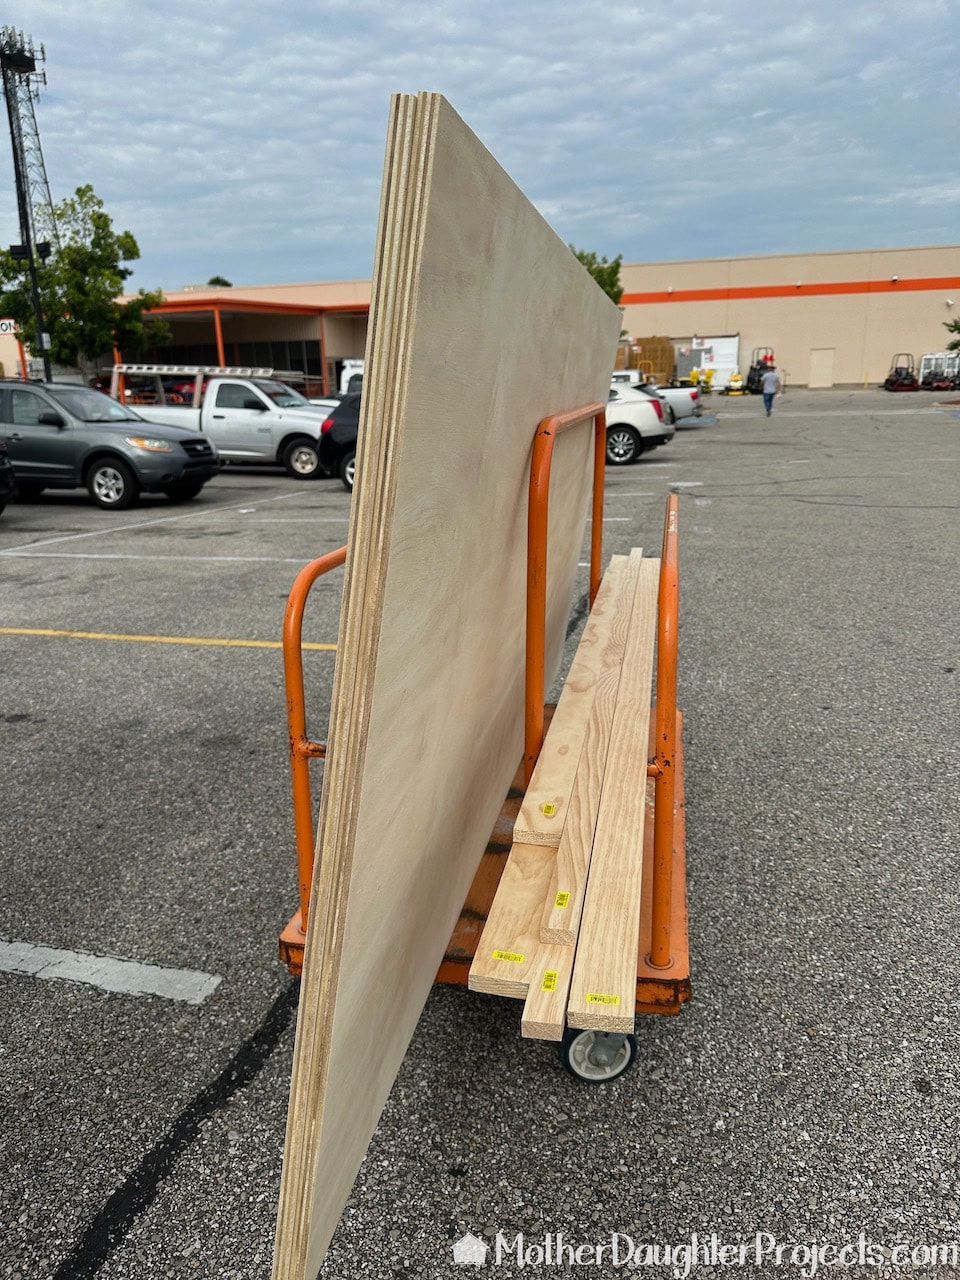
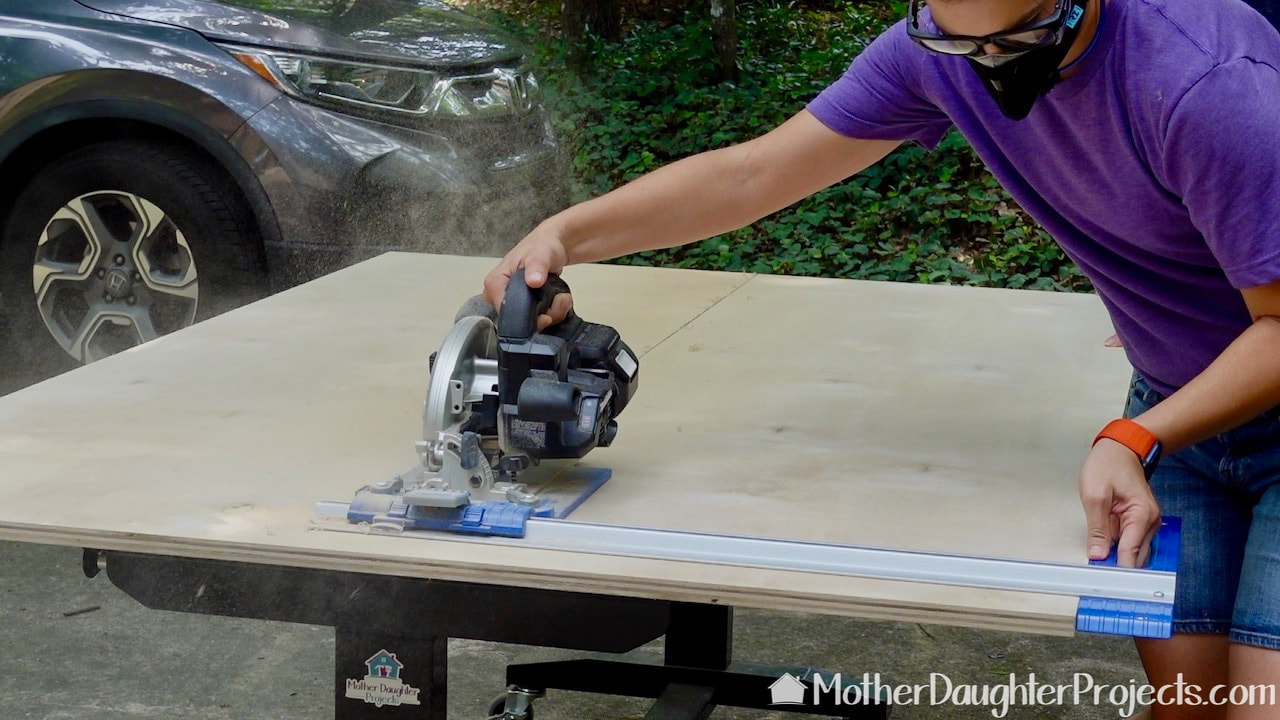
We are using the Kreg 24 in. Rip-Cut Aluminum Circular Saw Guide with our Makita circular saw to cut down the plywood for the bench pieces.
Download Cut List PDF HERE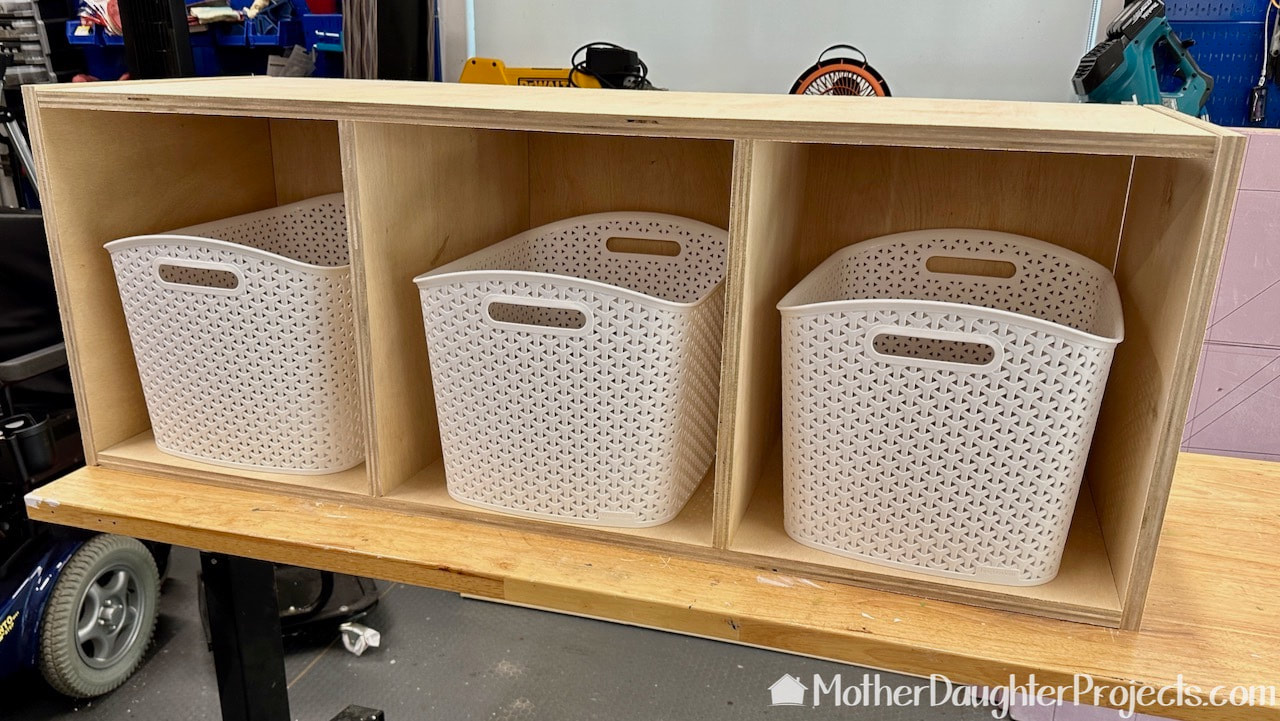
Once everything was cut we dry fit all the pieces. It all looked good so we moved onto assembly.
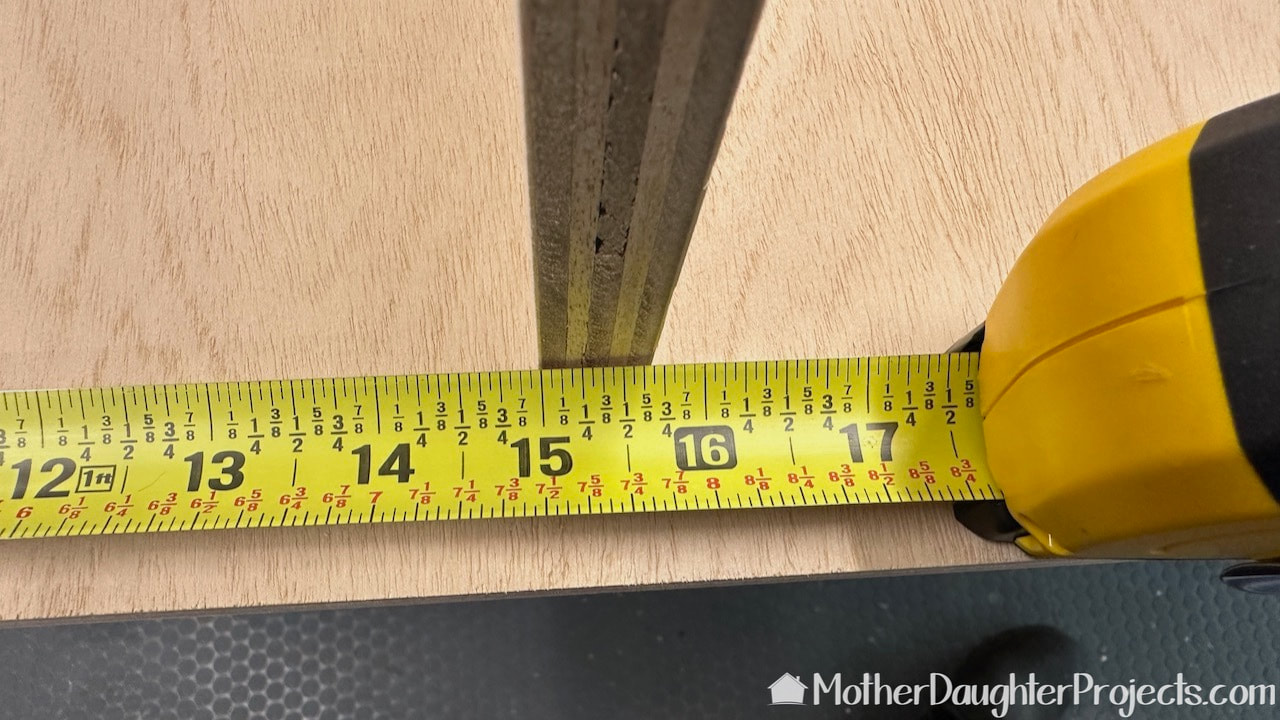
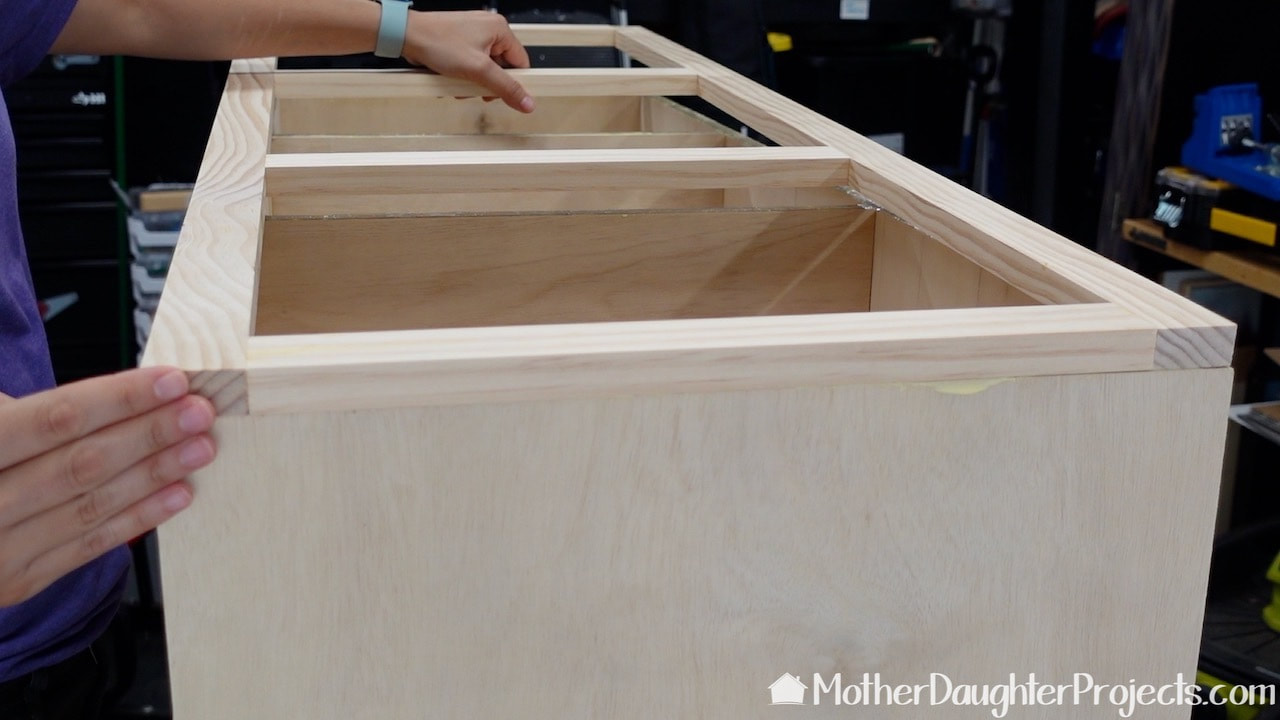
We placed those center supports 15 inches apart (watch the video for more detail).
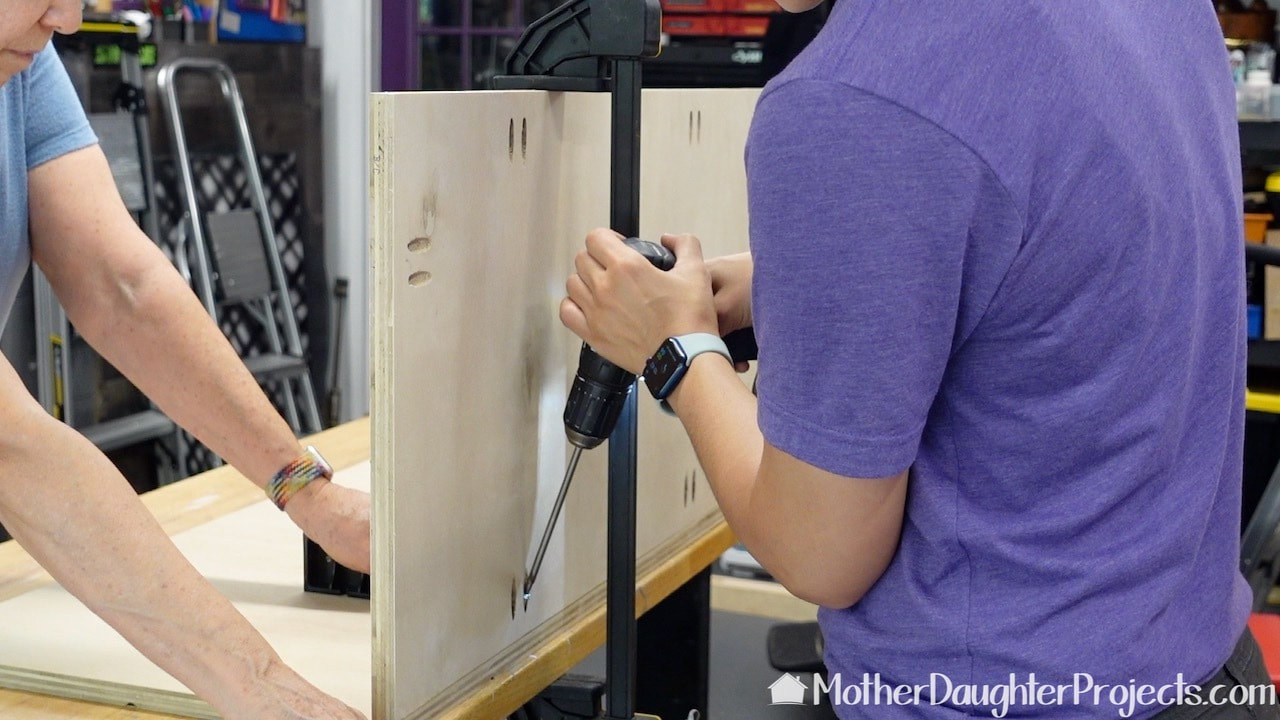
We are using pocket hole joinery. Most of the pocket holes were on the back or bottom so that they would be hidden.
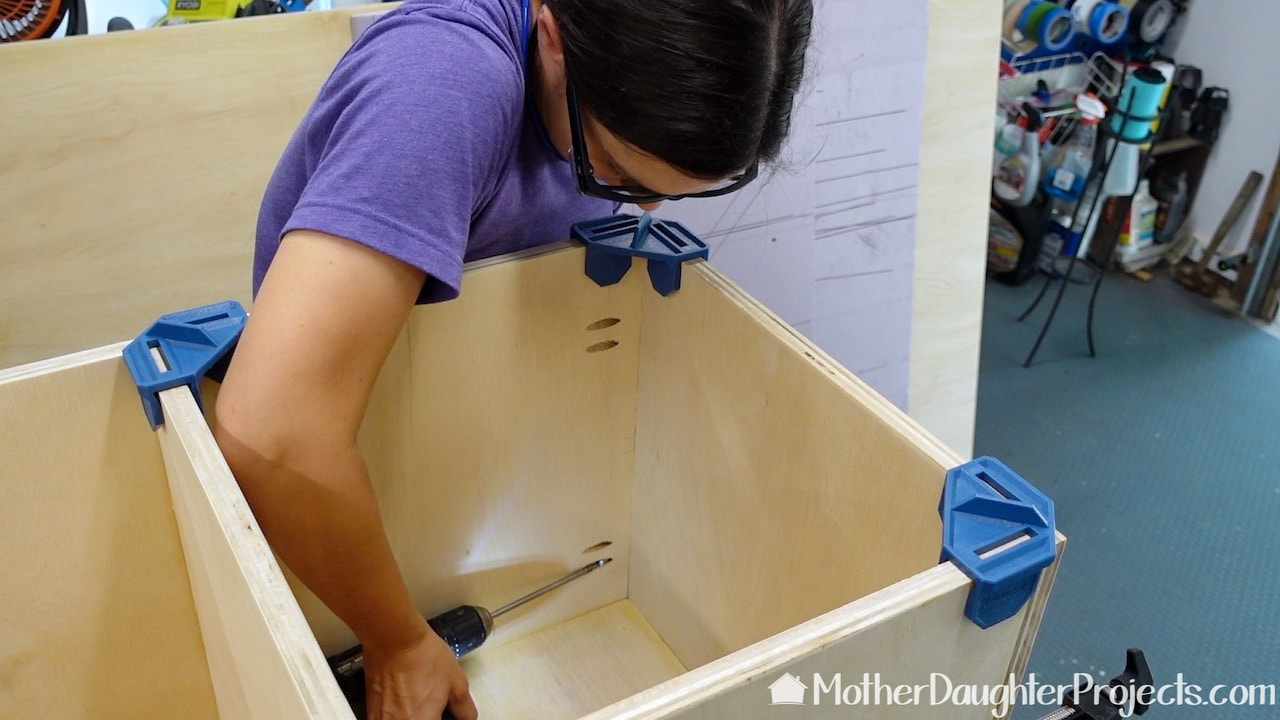
These pocket holes are in the ceiling of the bench. They will be filled with wood fill and should not be noticeable in the finished bench. Those corner clamps are from Rockler and help to hold the box square while assembling.
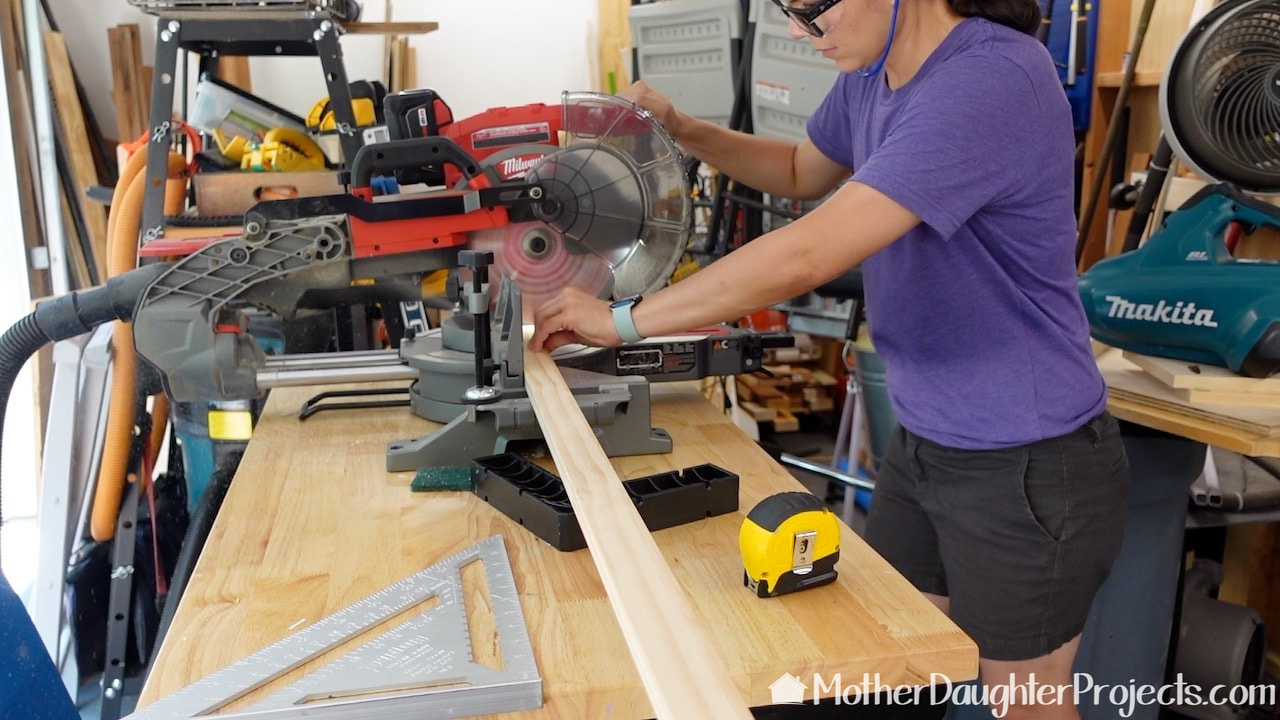
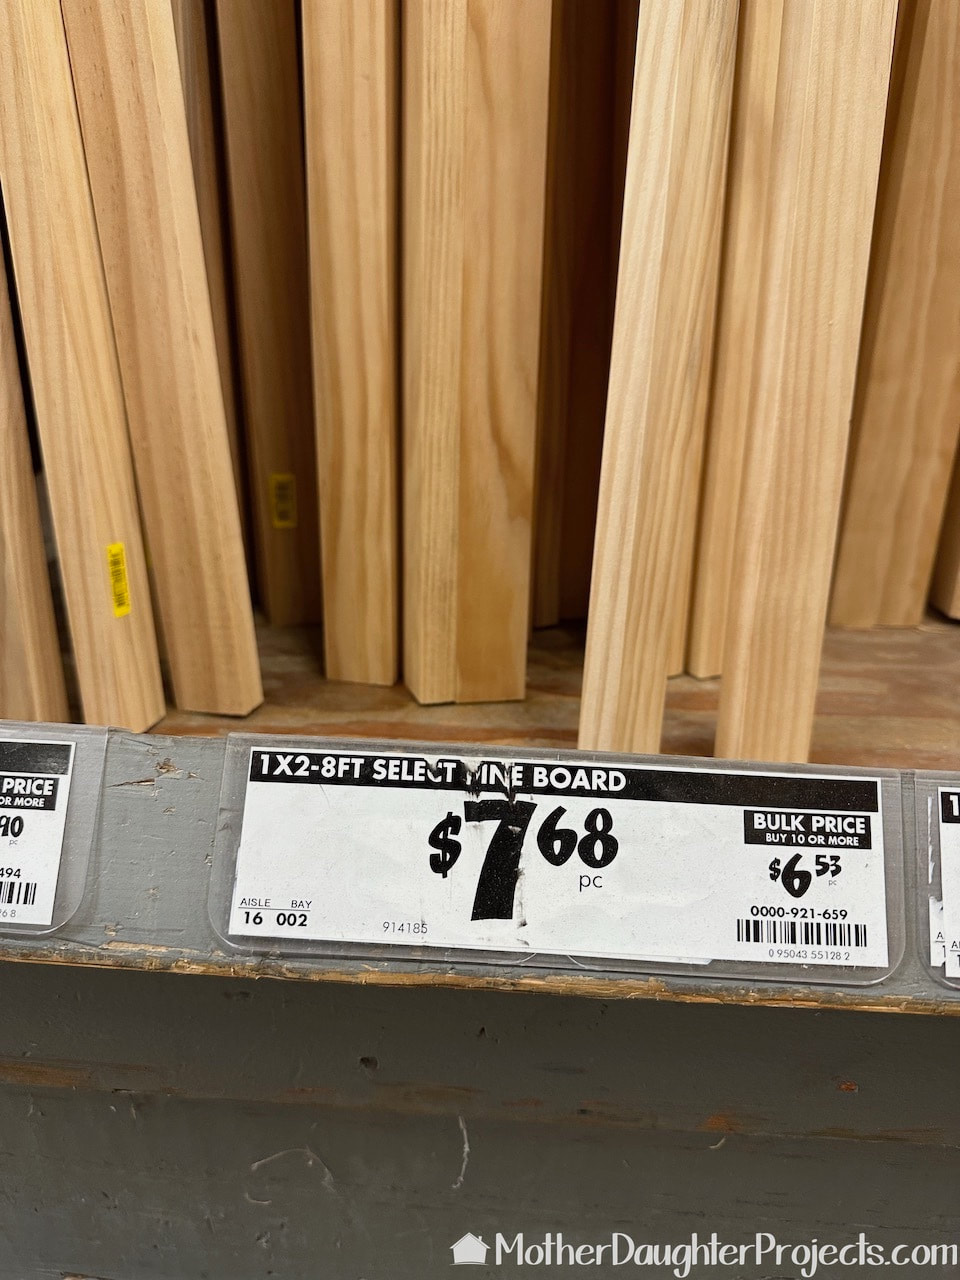
On to cutting the smaller boards for the face frame which we cut on a Milwaukee battery powered miter saw.
Download Cut List PDF HERE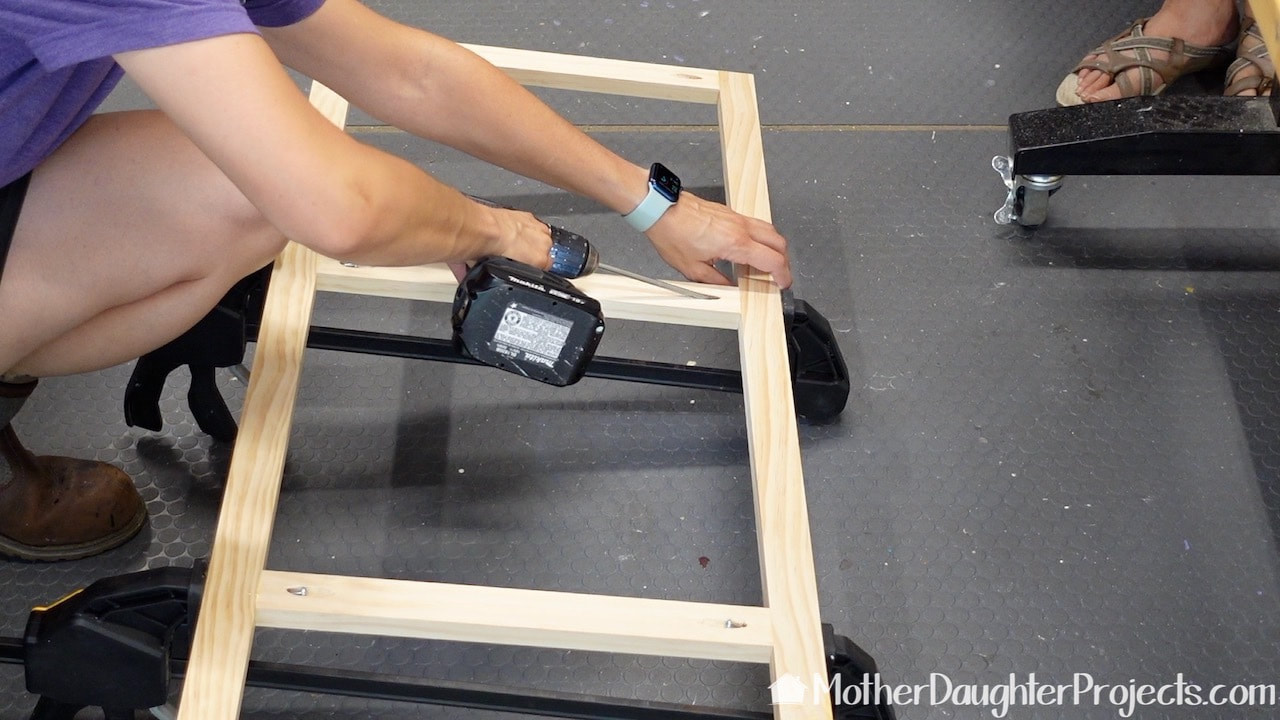
The face frame for the bench front is assembled with pocket hole screws.
The face frame was glued and brad nailed into place.
We cut the back to the length we wanted and then cut the plywood exactly in the center vertically.
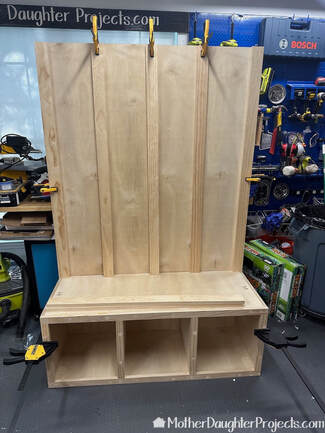
Before moving on to the assembly of the back, we dry fit it together with clamps to check the placement of everything.
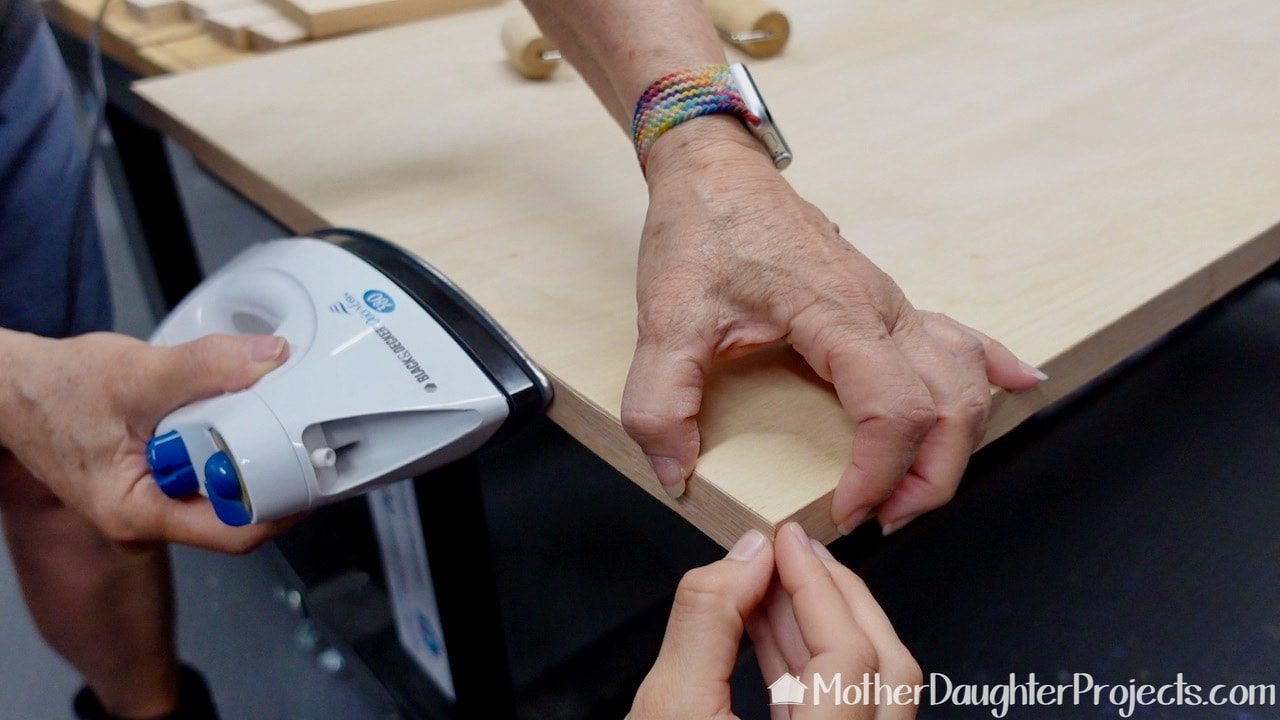
The top edge and sides of the plywood will show in the finished build so we iron-on some edge banding to finish the edges.
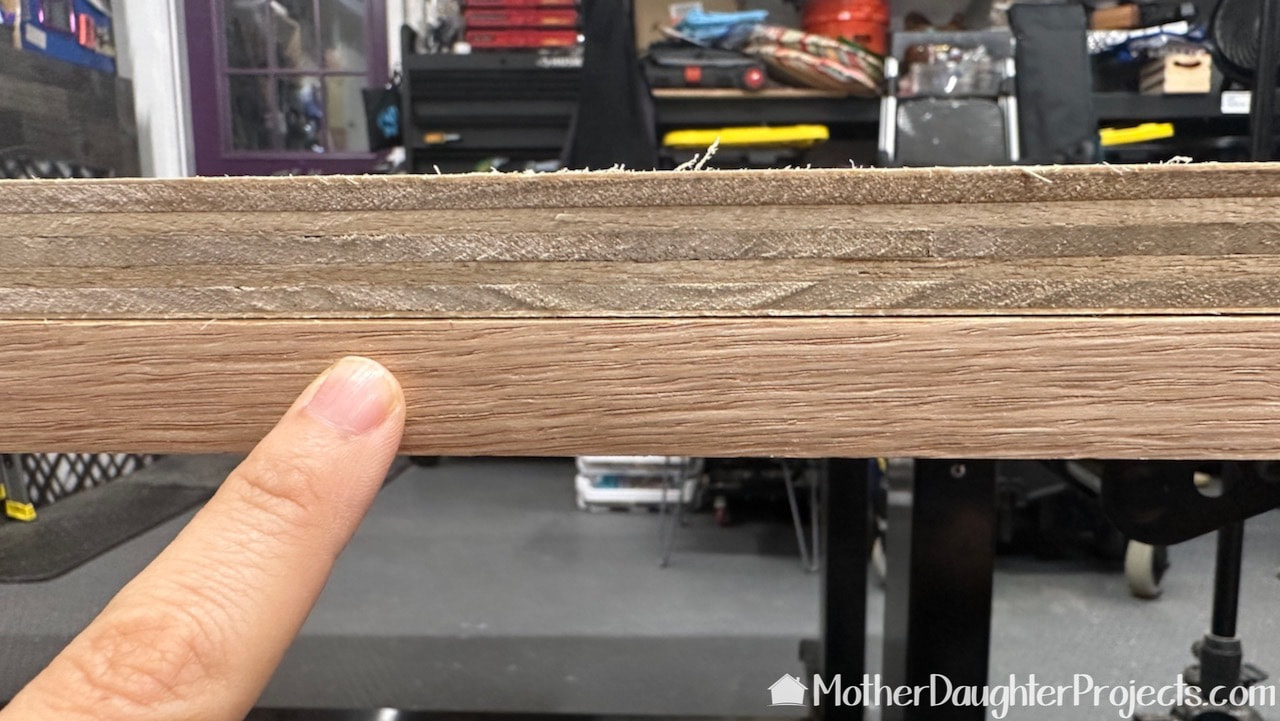
The edge banding, as seen in the bottom of this picture, gives a nice finish to the edge.

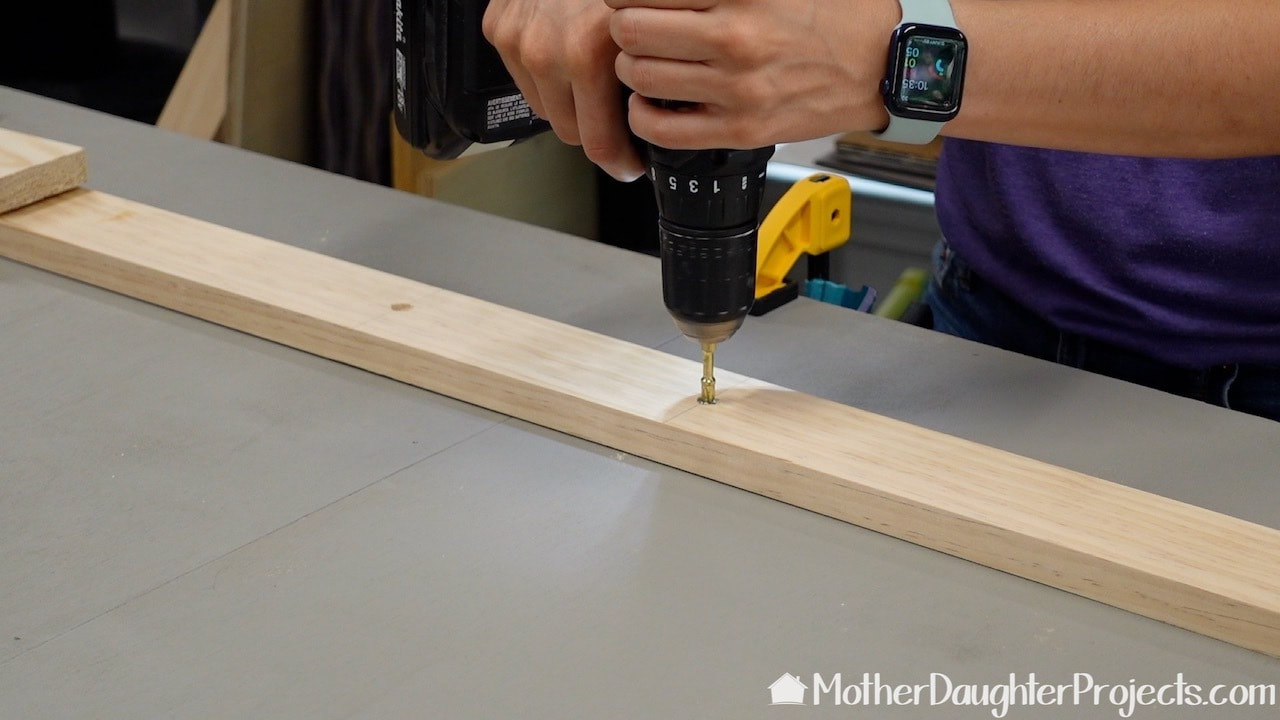
The vertical boards on the back of the hall tree are a design element, but the center one also functions to hide the seam between the two halves of the back. In this image, you can see we are only gluing and brad nailing half of the board to the edge. When put together, the other board will slip behind this one so the seam is hidden.
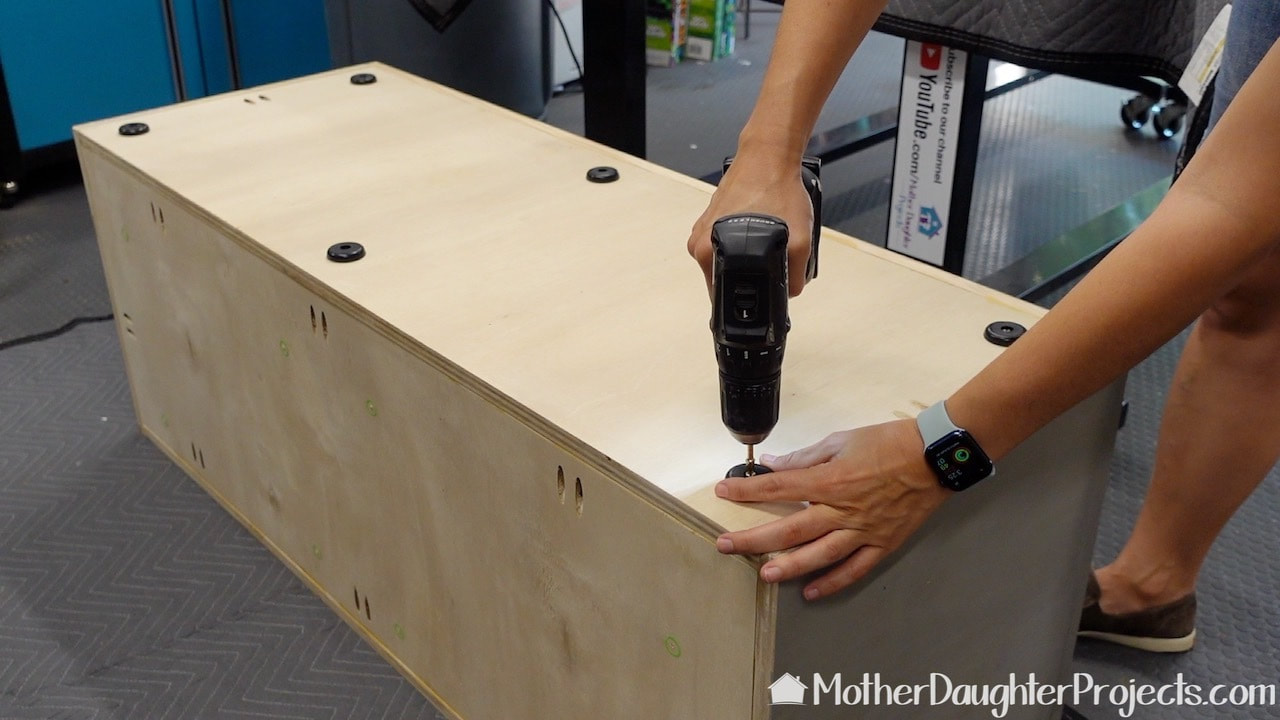
When the hall tree is assembled, two horizontal boards will keep the two halves in place. We countersunk the screws so that the screw heads would not scratch the wall.
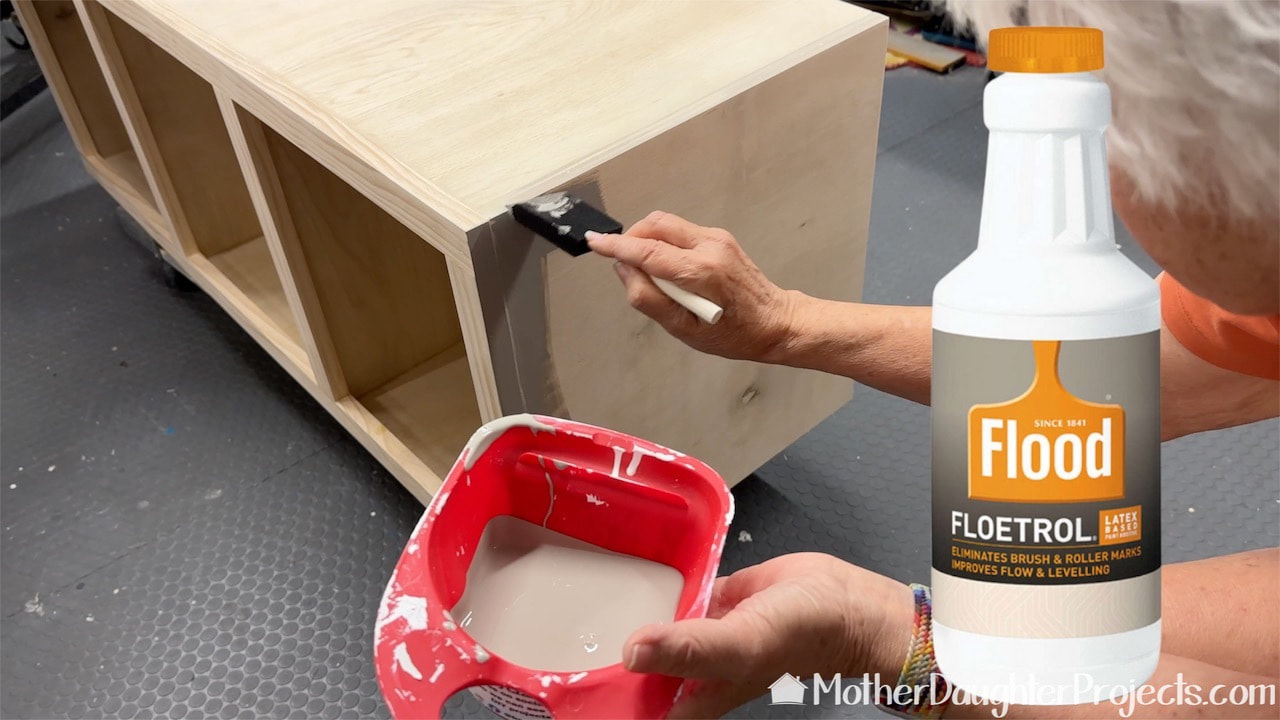
The latex paint we used was thinned with Floetrol so that it would go on thinly. We wanted the grain of the wood to show through.
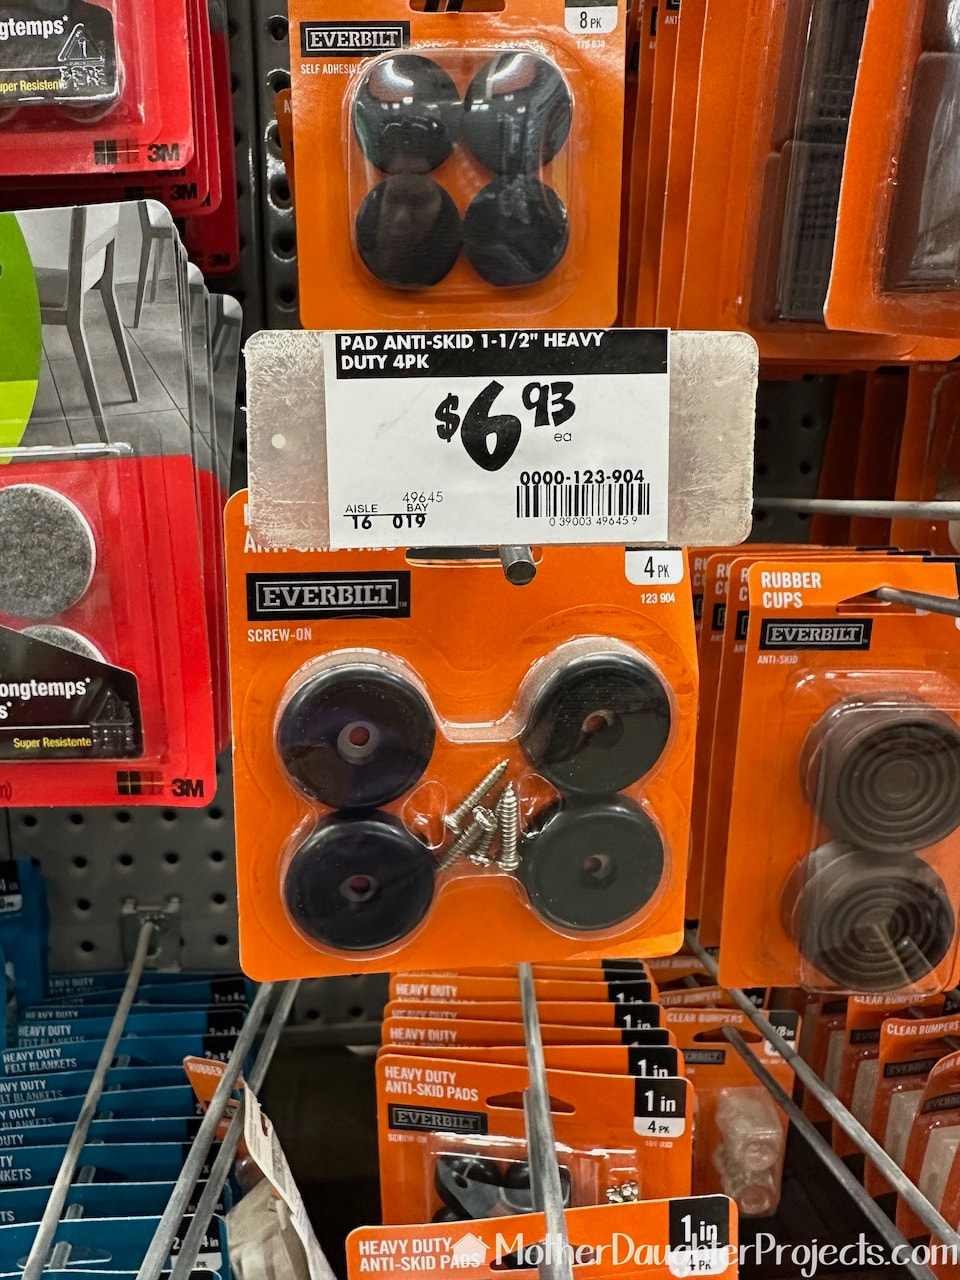
We added these 'feet' to keep the base from sliding and marking the floor.
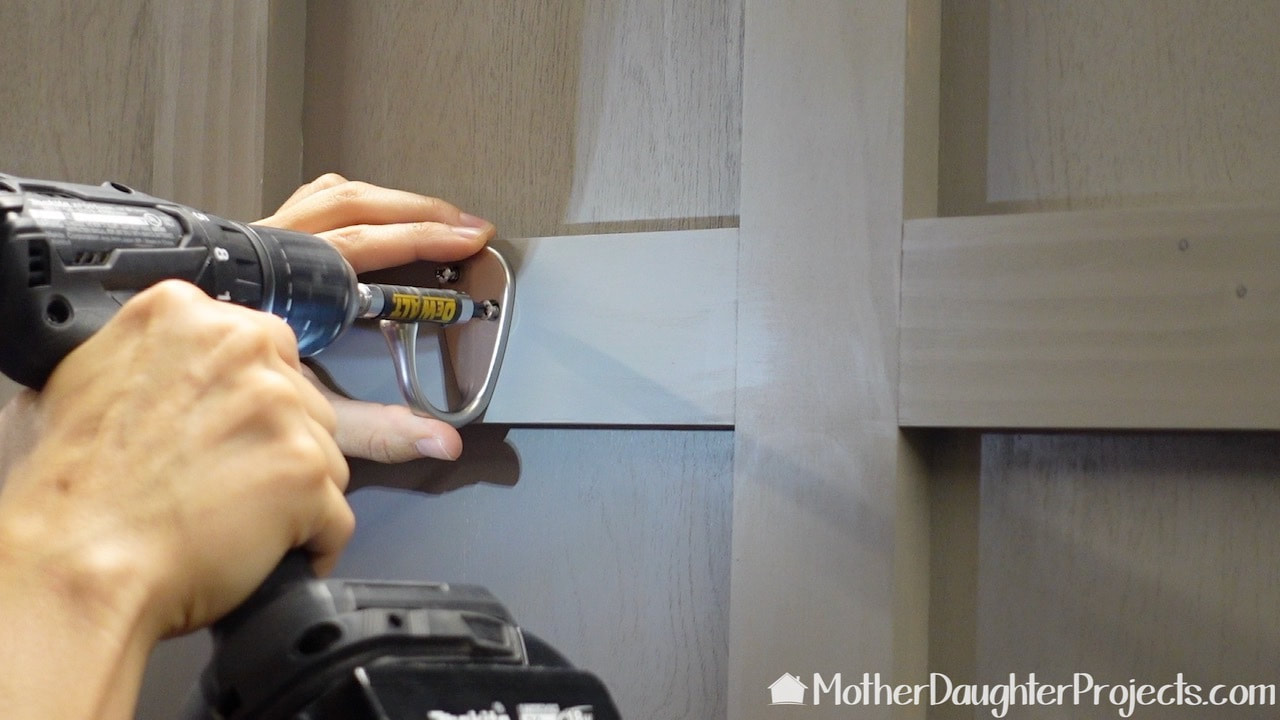
We added these simple hooks in the middle of each of the decorative crossbars.
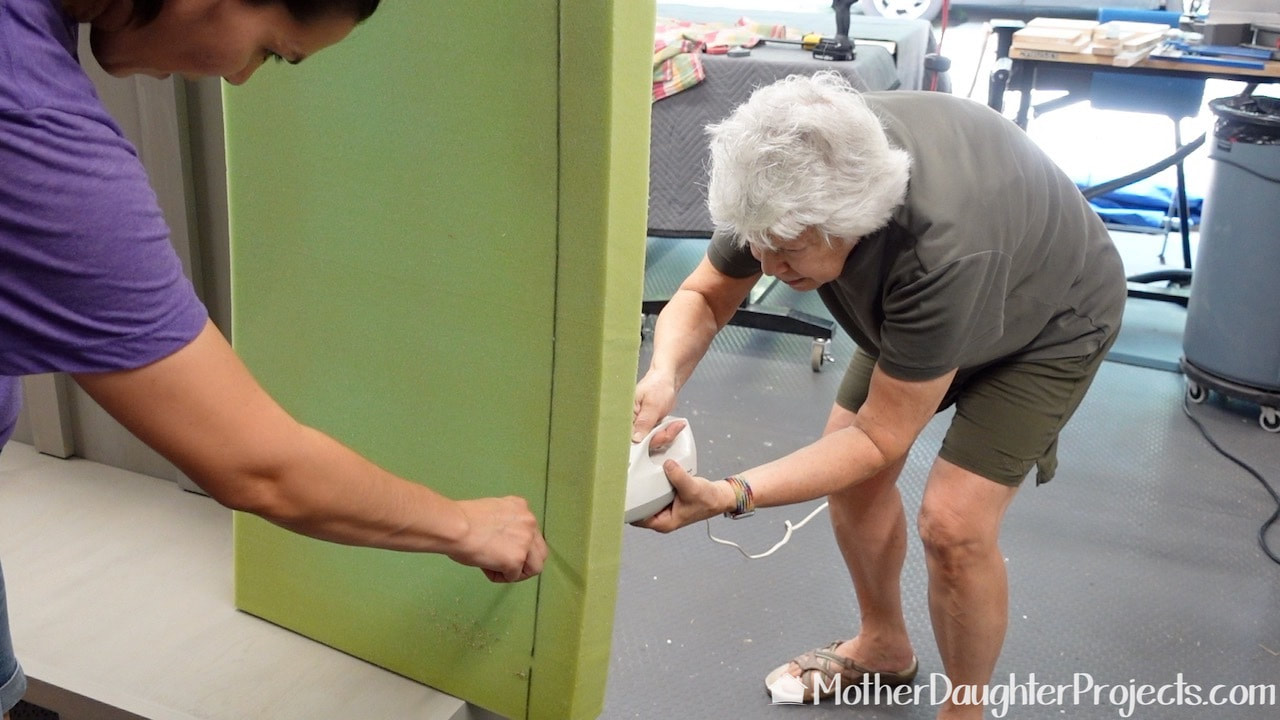
As a final touch, we decided to make an upholstered cushion for the top. This is a piece of foam that we are reusing and cutting to size. I'm using an electric carving knife while Steph is directing the tip from the front. This is a very quick and efficient way to cut foam.
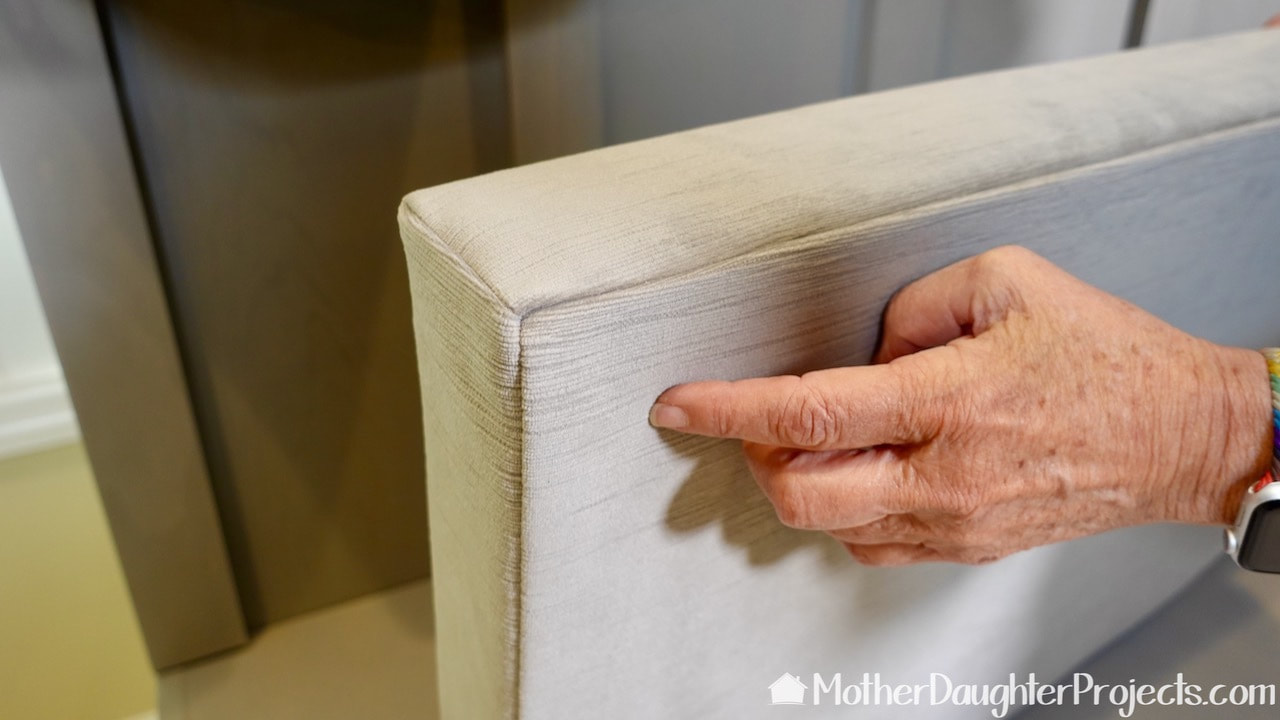
Off-camera, I sewed the cover for the cushion. I'm pointing to the corner as I'm pretty proud of how well they came out! Fitting a 90 degree angled piece of fabric into a corner is not an easy thing to do. The fabric is left over from when I upholstered by mid-century modern dining room chairs.
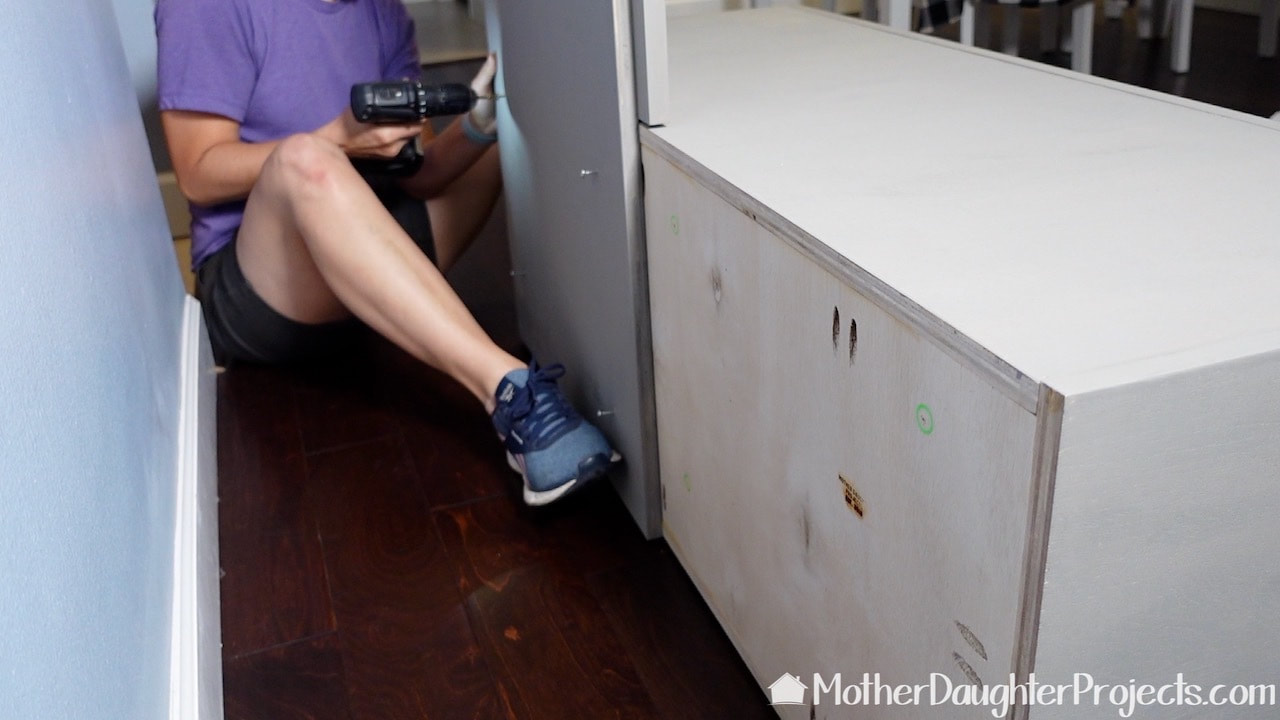
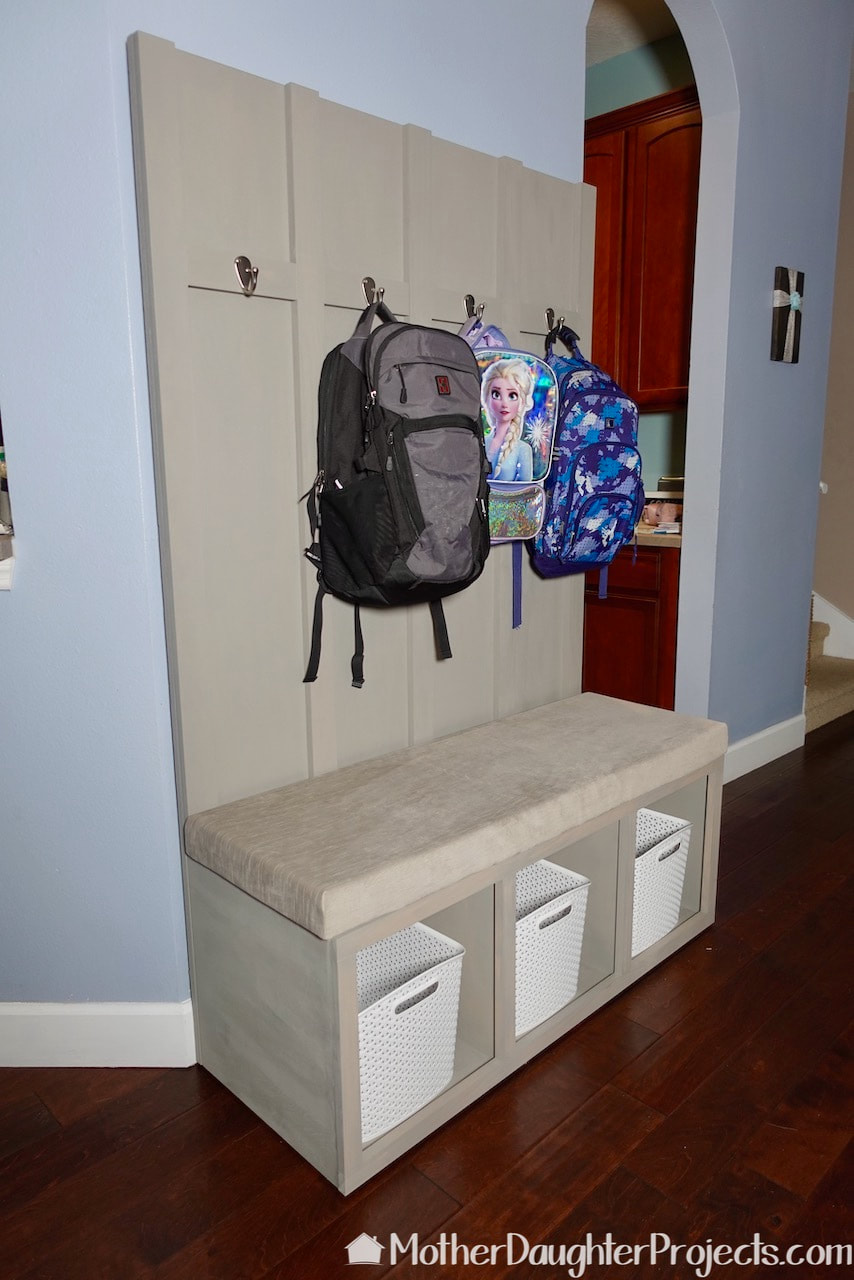
Here Steph is installing the hall tree in its new home. It traveled well and went together as planned.

With the backs in place, the support bar is screwed into place securing the two halves.
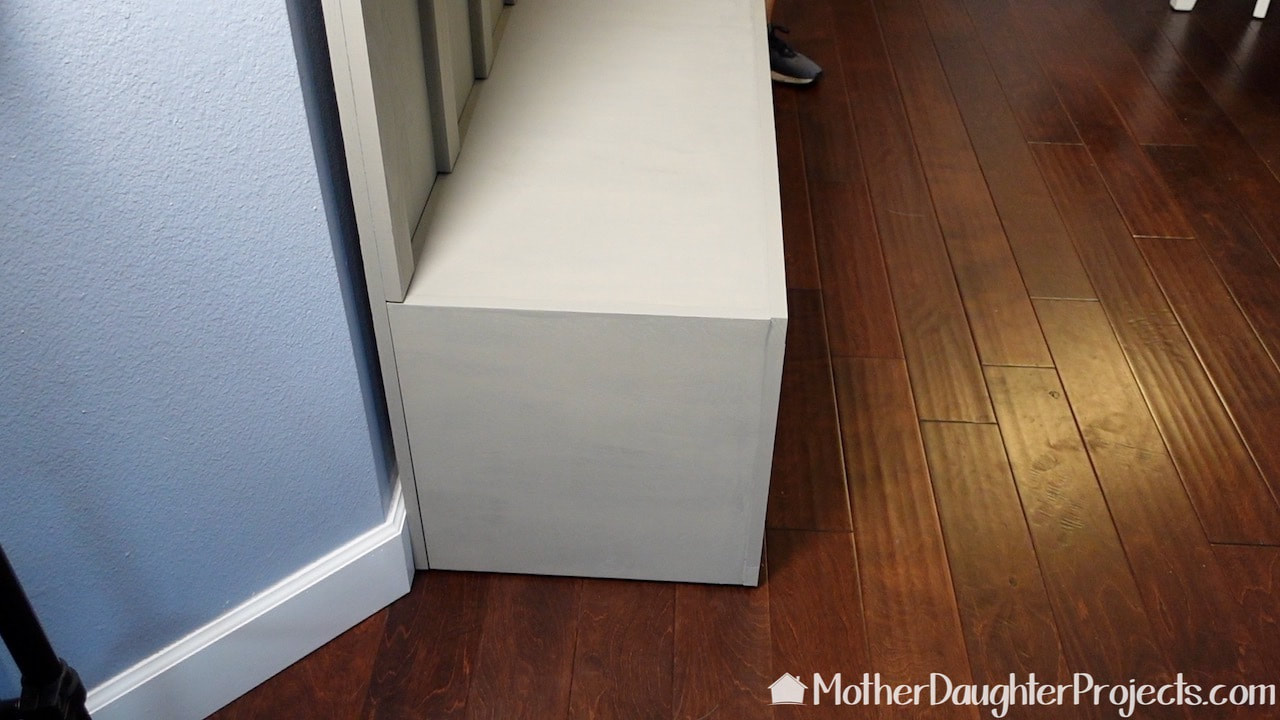
If we had built this where it was going to 'live' we would have noticed we needed to bring the back up past the baseboard. It still works though.
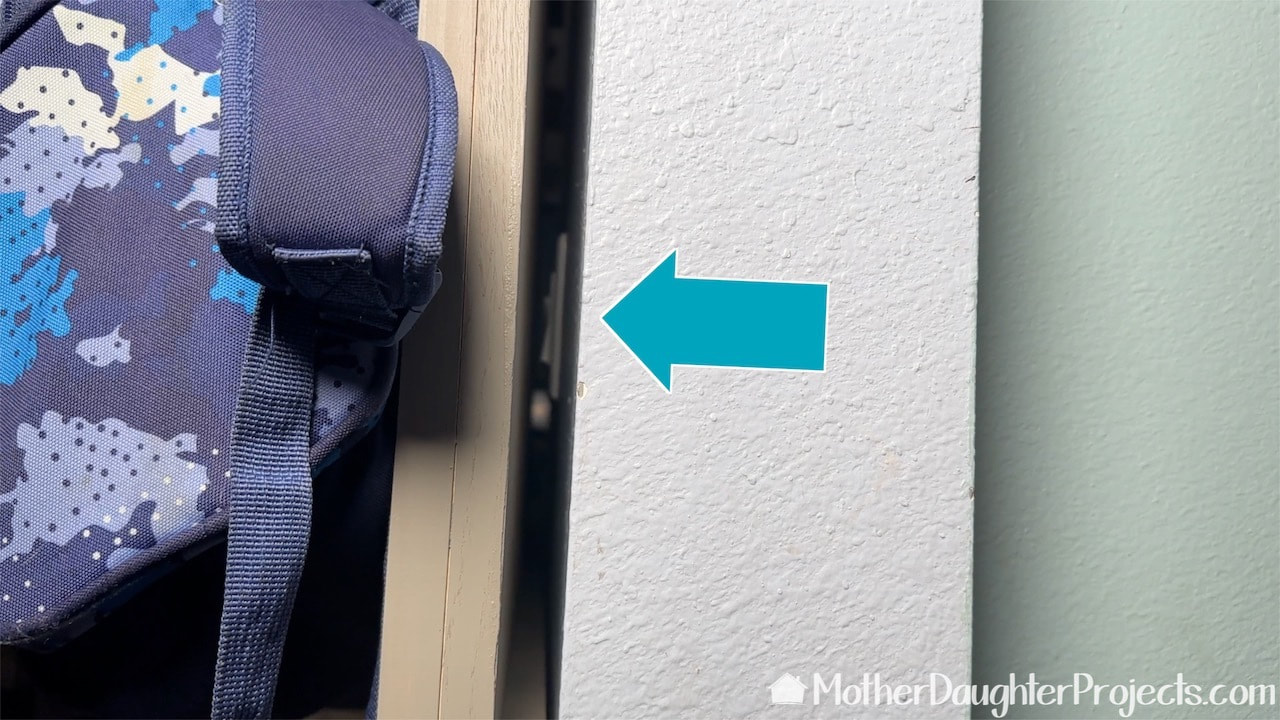
One of the things we had to take into consideration in this build was this light switch. It is not regularly used, but it still needed to be assessable.
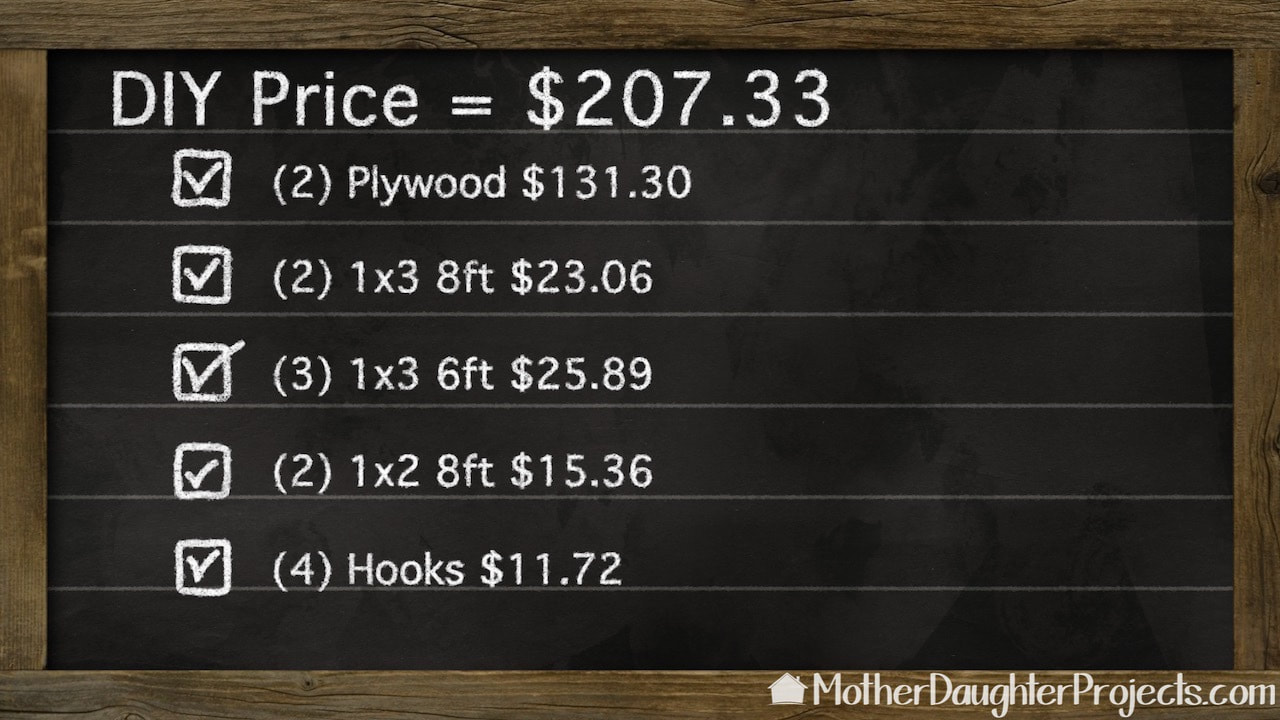
This is the breakdown of the cost when it was build in July, 2023 (this does not include the cost of the cushion and baskets).
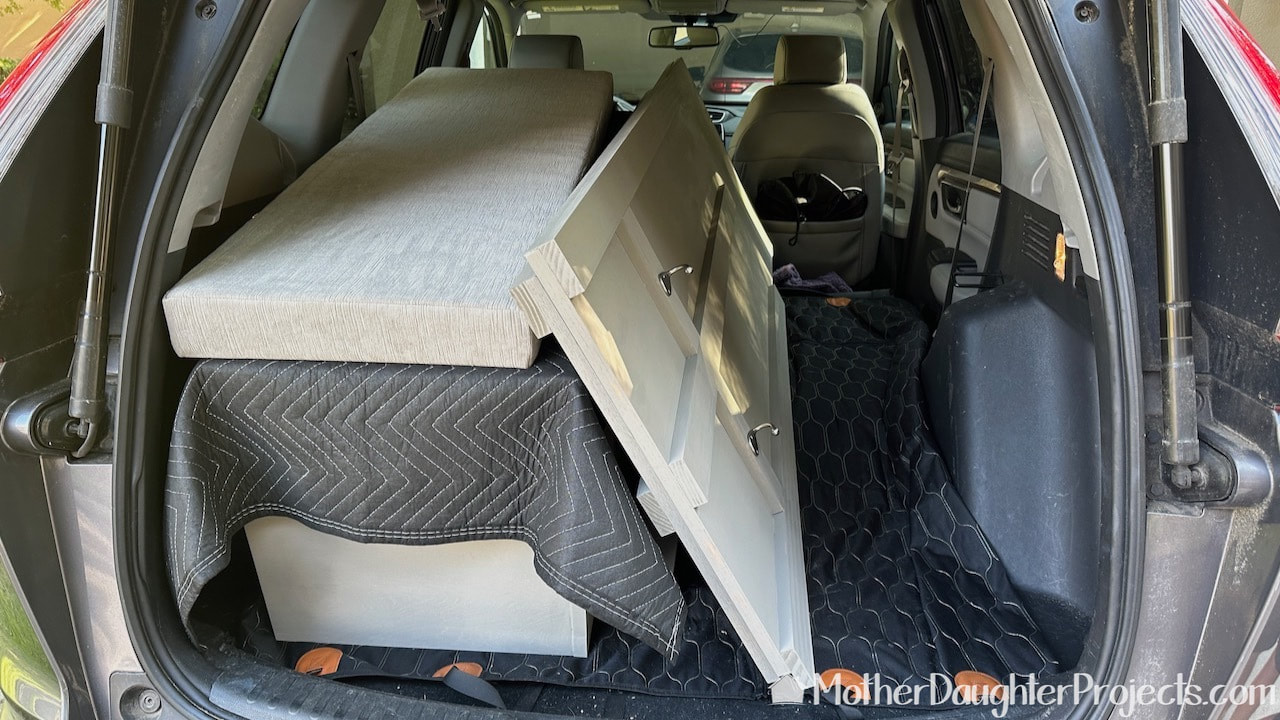
The hall tree fits easily in a Honda CRV with the back seats down.
My daughter-in-law and grandchildren are VERY happy with their new hall tree. It will help them to corral all the stuff they bring in from the car as it will hold all their backpacks, shoes, and more!
Please note: This is not a sponsored post. We are not professionals, and we don't claim to be. This is what we found worked for our project. Yours may need a little different approach. Safety first! Affiliate links are being used on this page. Purchasing via these links help support MDP. Related Projects
0 Comments
Leave a Reply. |

Mother Daughter Projects
|