|
text by Vicki Sign up here to join our weekly email newsletter!
Steph built a trailer!
When I bought a new car three years ago, we had a hitch installed with the idea that at some point we'd buy a utility trailer to tow. That way, we could easily bring home sheets of plywood and lumber. Steph happened to see a folding utility trailer in her friend's garage and was instantly interested. A folding trailer would solve the storage problem associated with trailers. She did the research and off to Harbor Freight we went to buy the trailer and accessories. I would suggest watching the video of the build as this tutorial will only touch on the highlights. Materials/Tools:
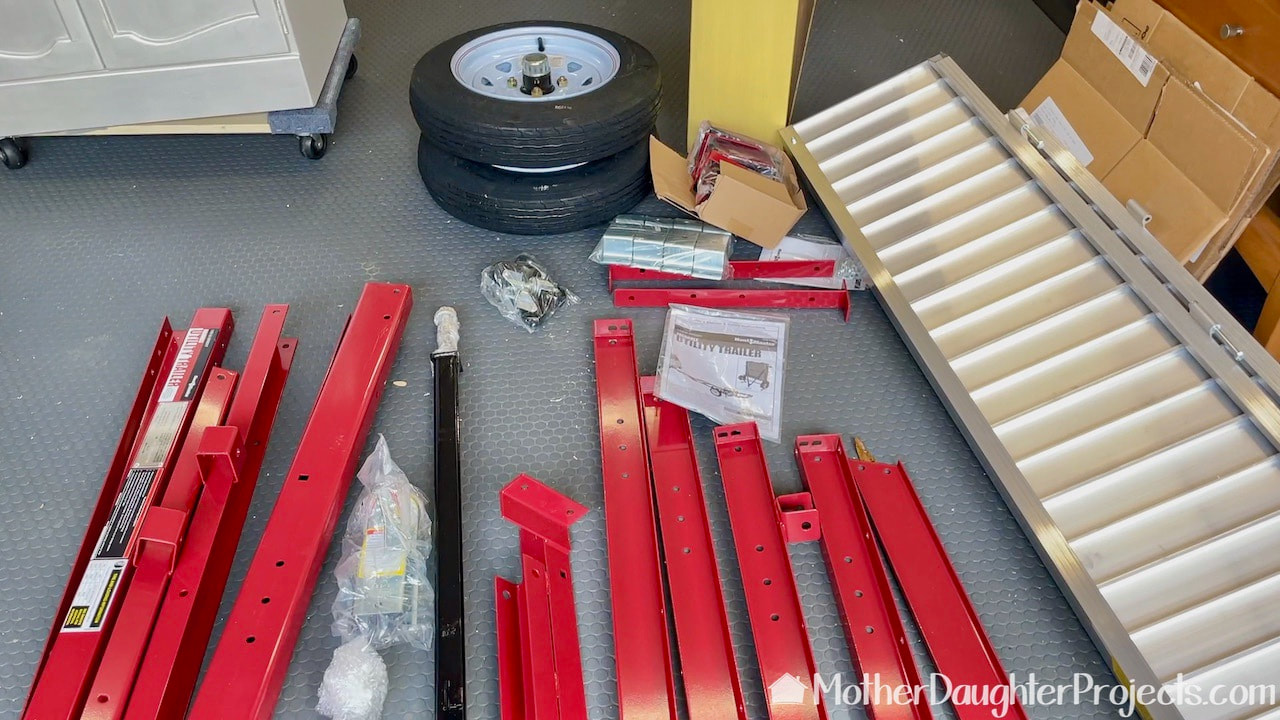
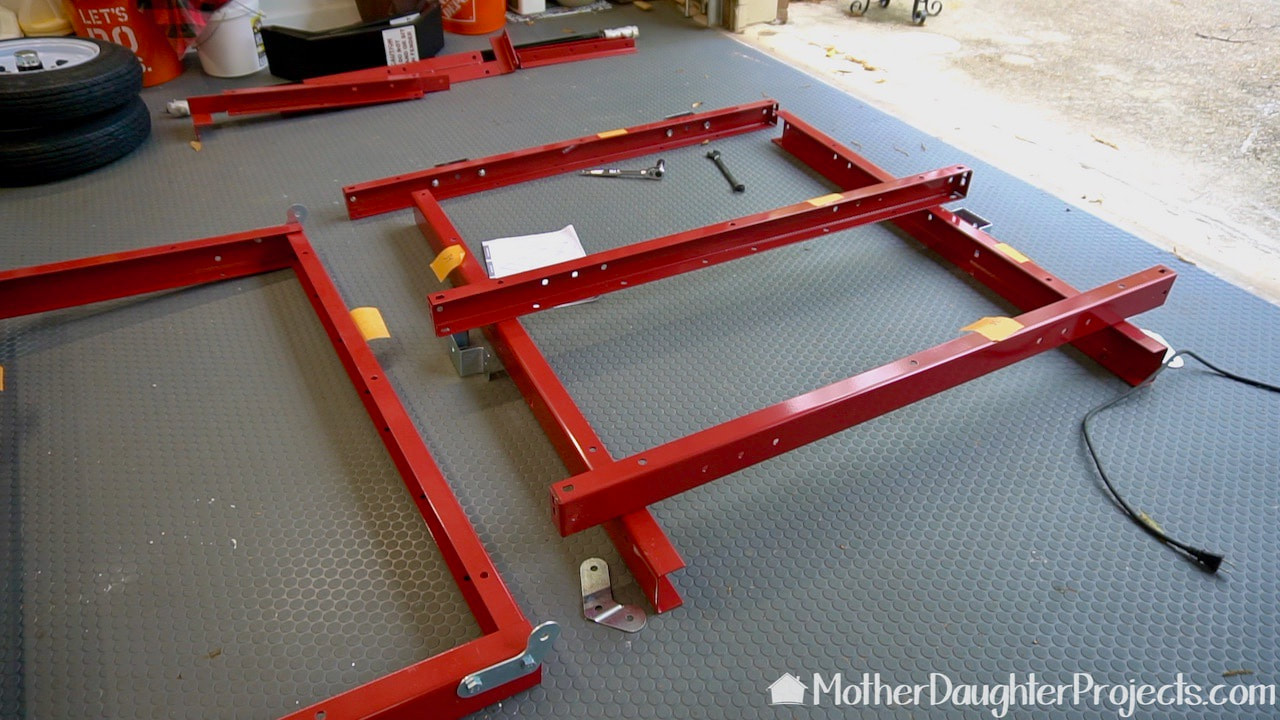
So. Many. Pieces! That's a trailer ramp on the far right that we also purchased to help move things on and off the trailer.
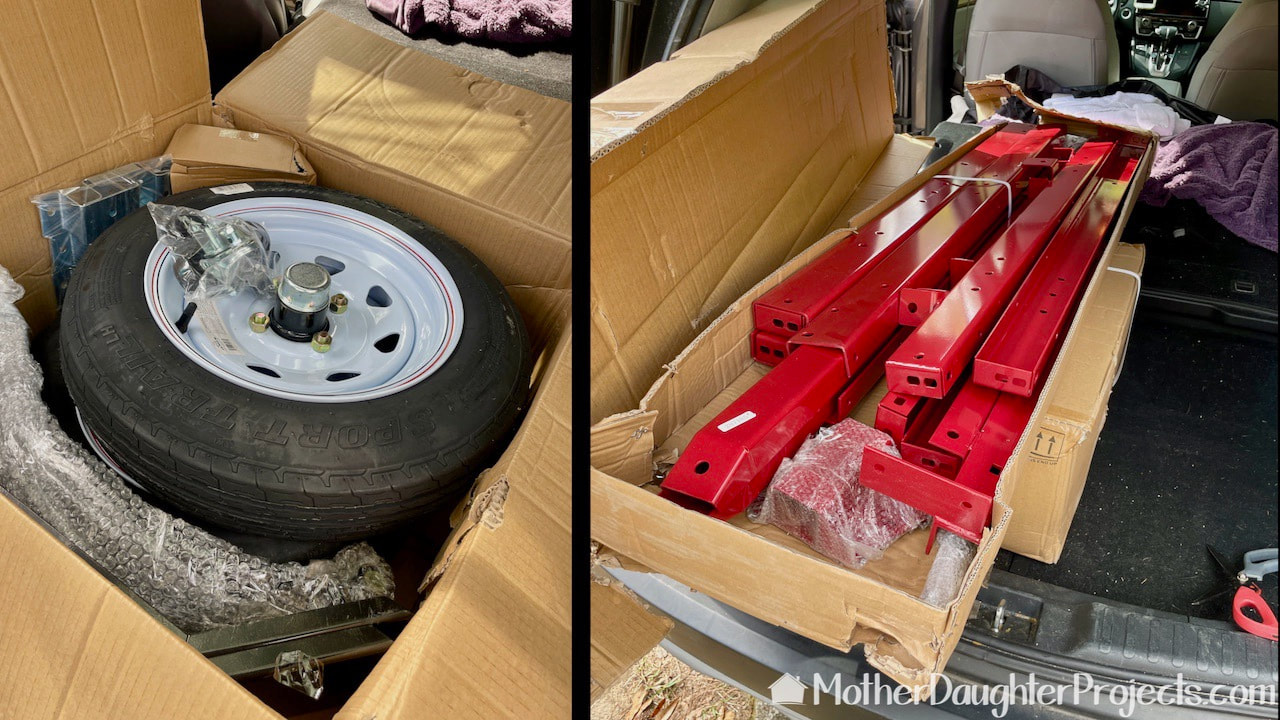
The trailer comes in two boxes, which fit easily in our Honda CRV.
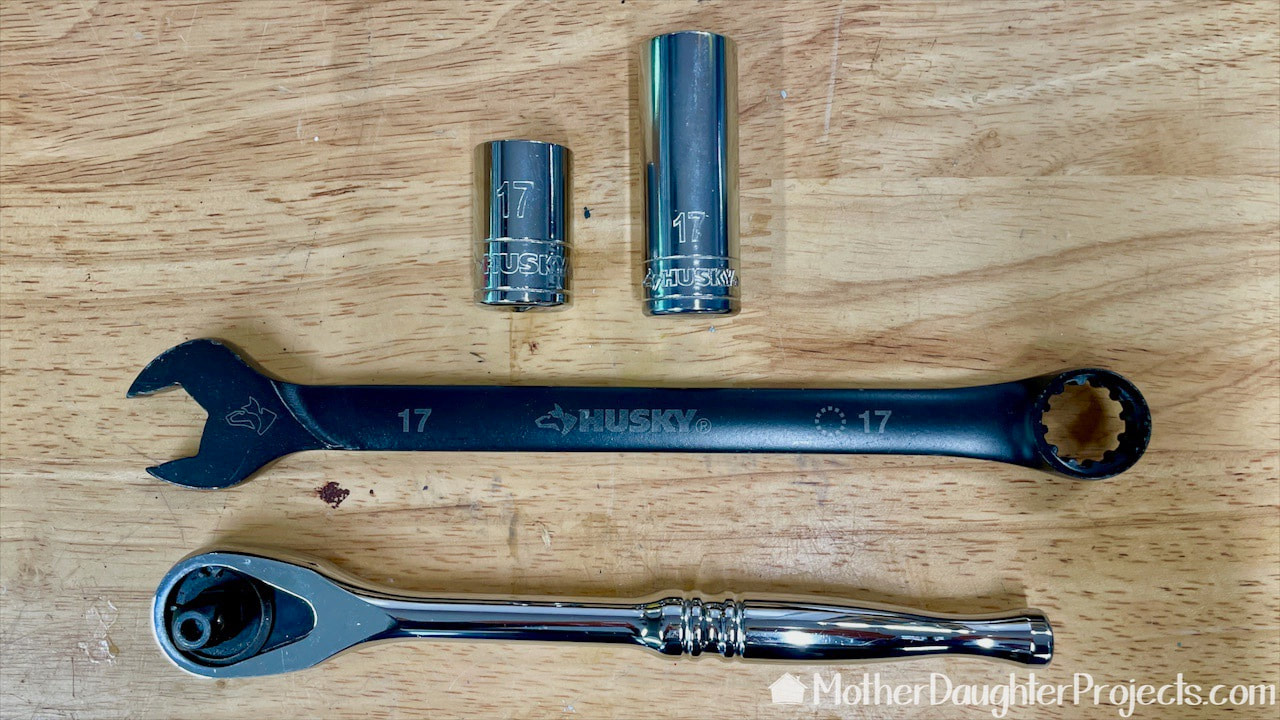
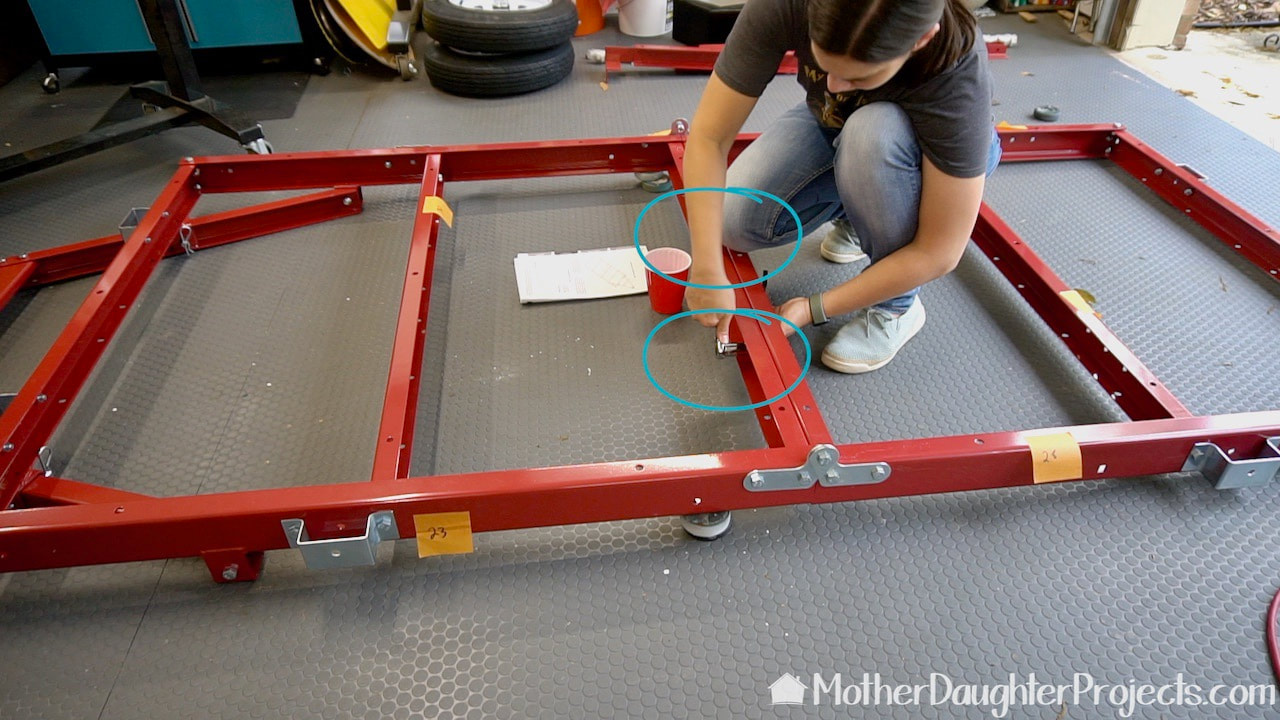
Most of the bolts were 17mm. Steph used a 17mm ratcheting socket wrench and wrench to assemble.
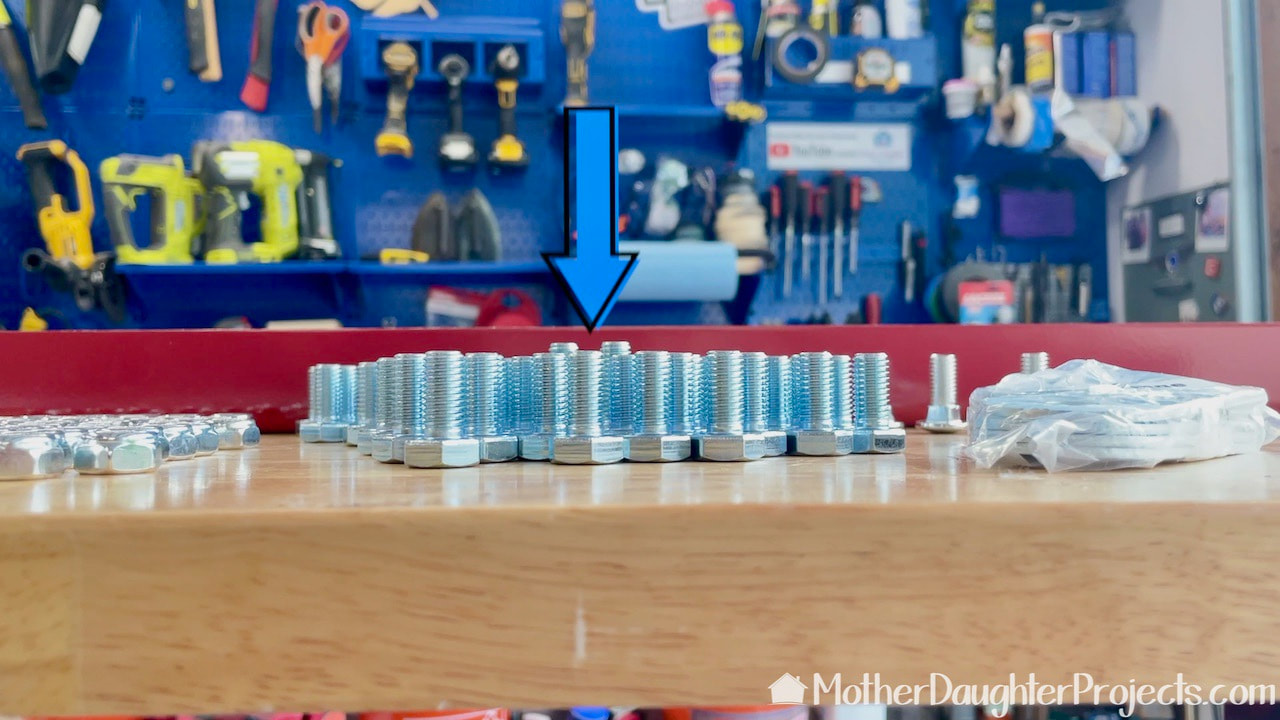
With so many parts, it is important to get organized. Steph sorted all the parts and was mindful to put these taller bolts into their own pile.
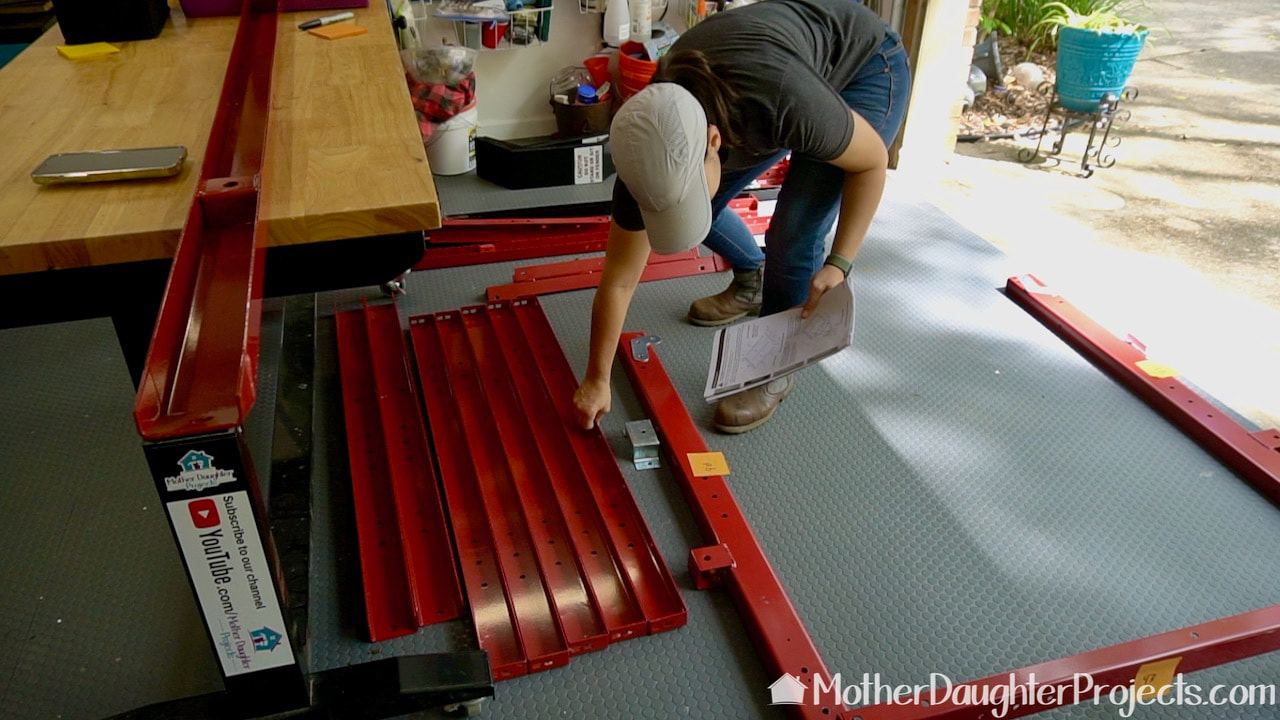
Another tip to keeping organized is to label all the parts. The parts are labeled in the manual so she put those same numbers on the corresponding pieces. .
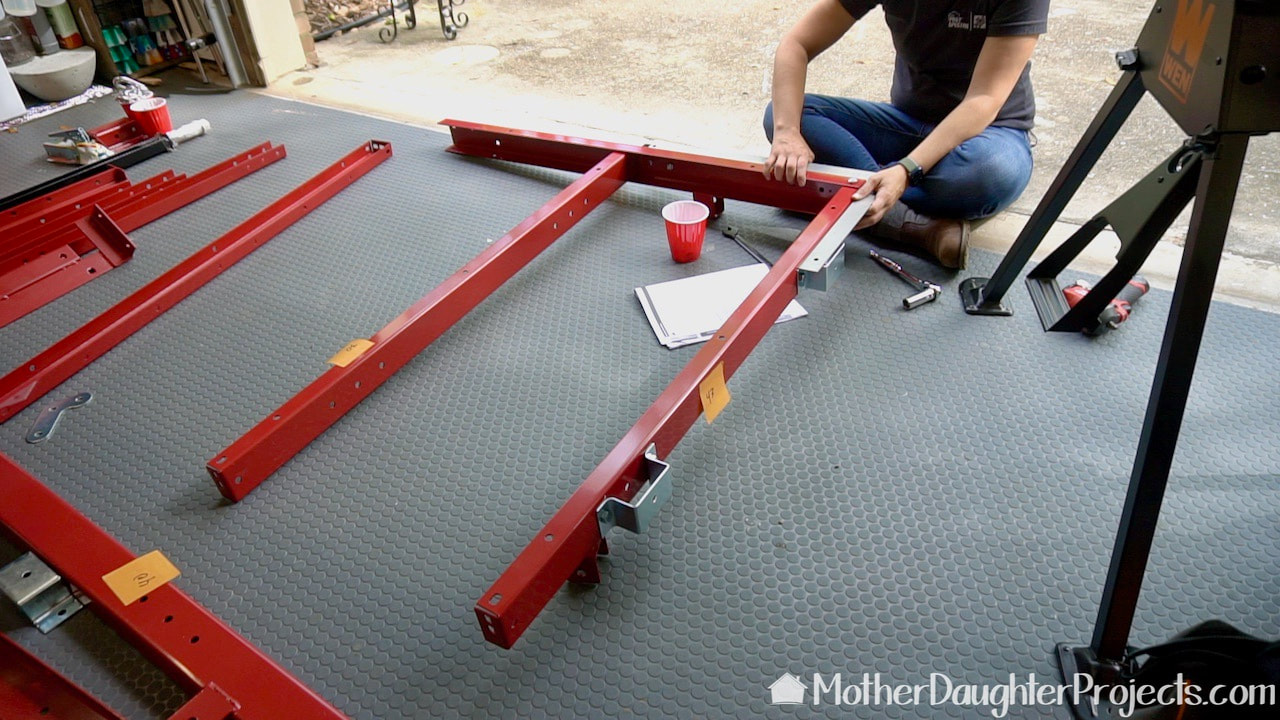
Make sure you have a framing square and check that everything is staying square as the frame is assembled.
When adding the tongue assembly, be sure the writing on this label is up. That way, you know you've assembled it correctly.
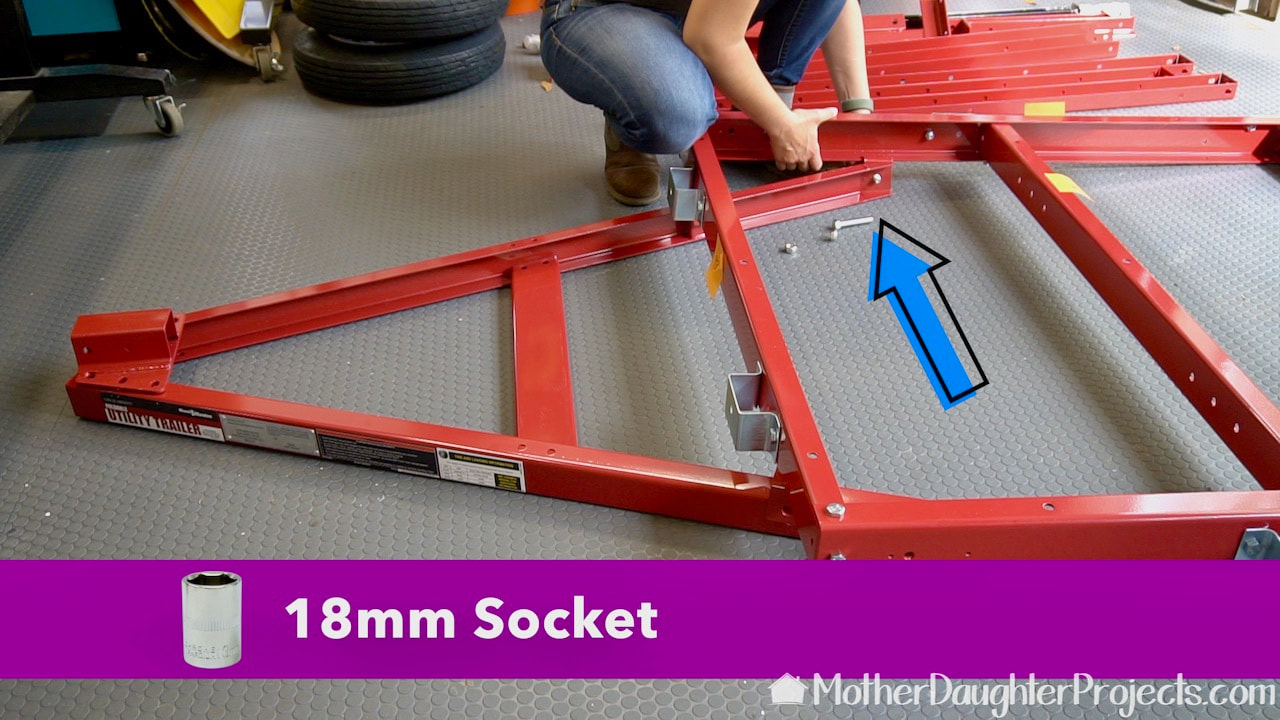
You'll need to switch out to an 18mm socket to attach these bolts here.
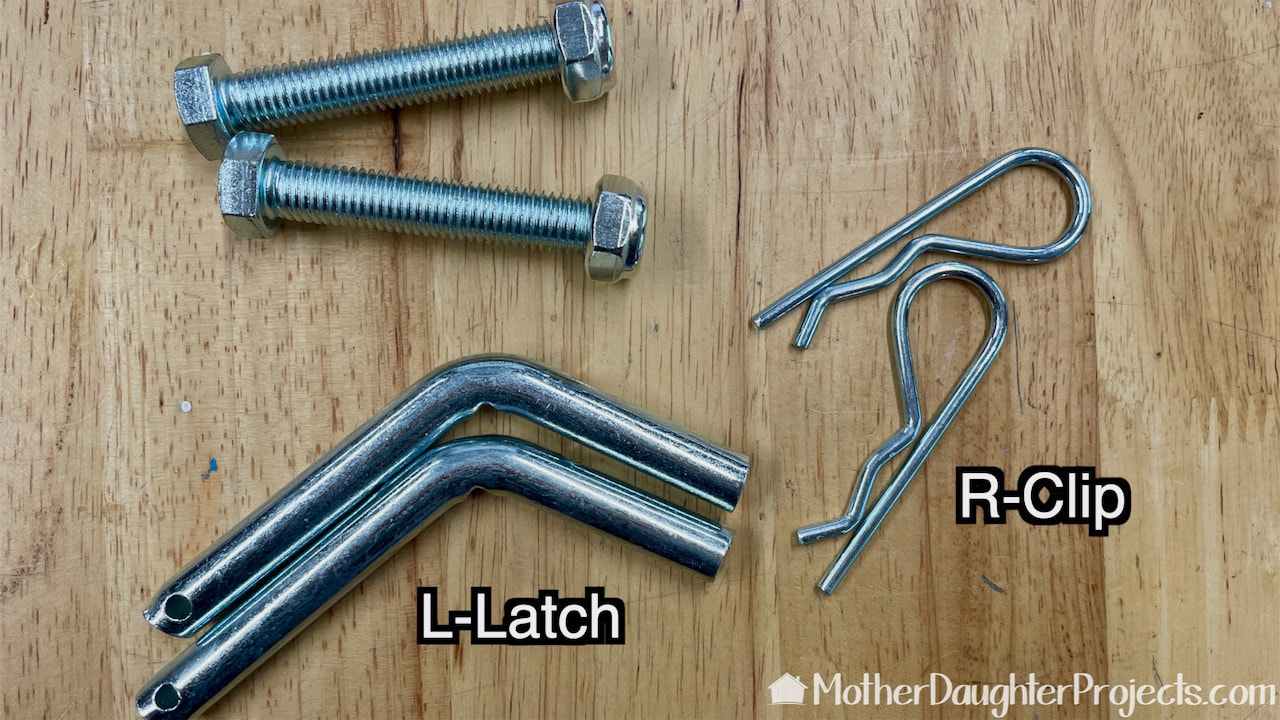
This is the hardware that is used to attach the tongue assembly to the front of the frame. Those L-Latches will be removed every time the trailer is folded.
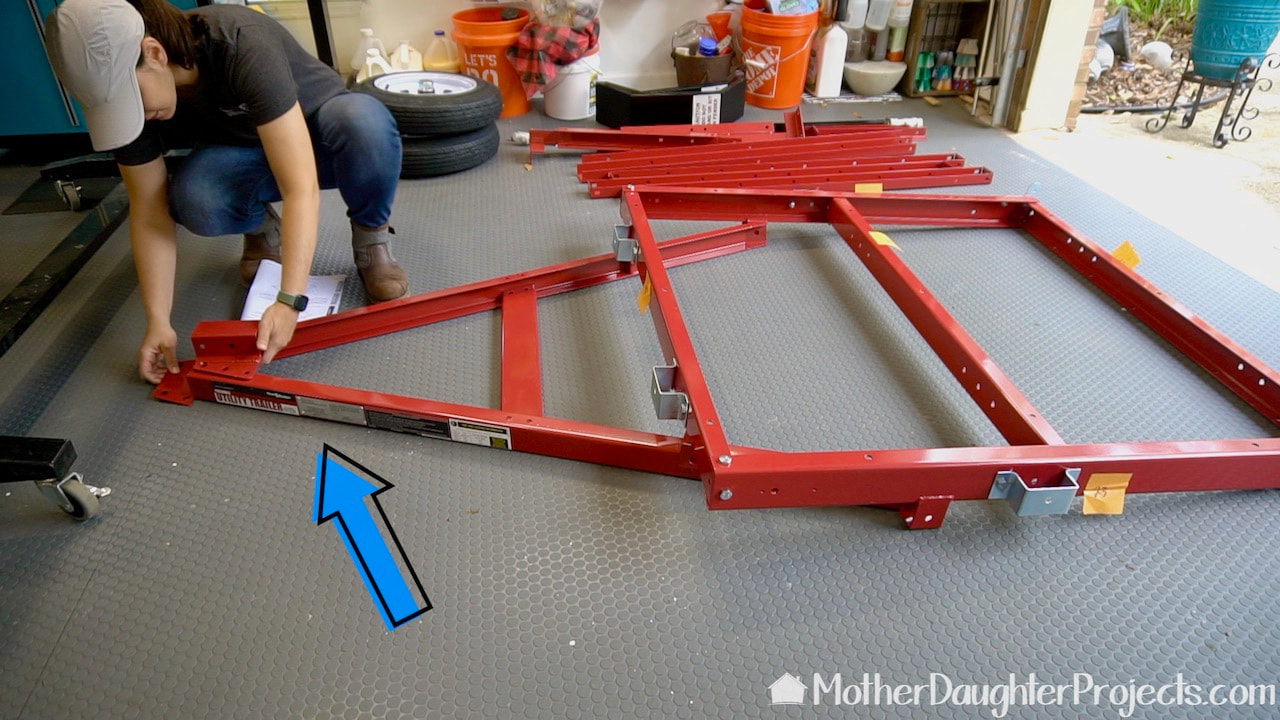
Once the front bed rail was finished it was time to lay out the parts to assemble the rear bed rail of the Harbor Freight trailer.
These two bolts holding the bed frames together will need to be removed each time the trailer is folded for storage.
Time to flip the trailer over and start working on the wheels. The hub assembly is removed. Steph didn't have the proper mm sockets but was able to get a 13/16 socket to work.
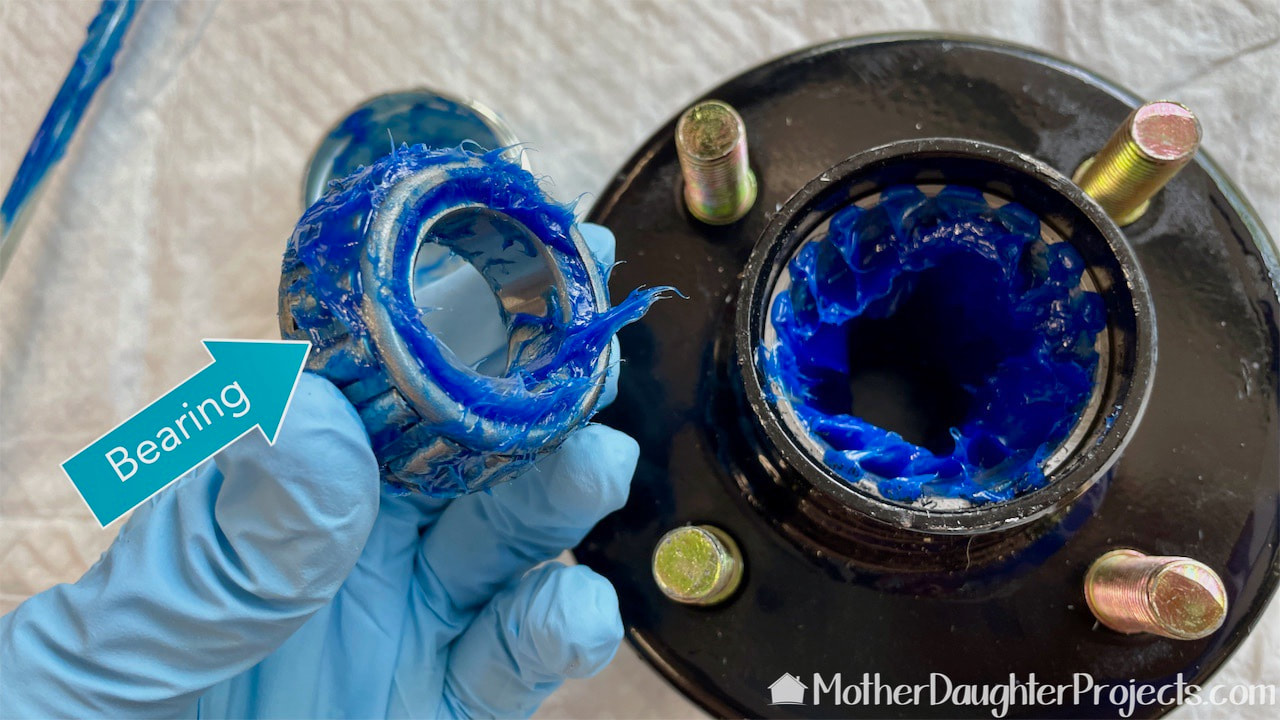
The bearings already are greased so no additional grease is needed.
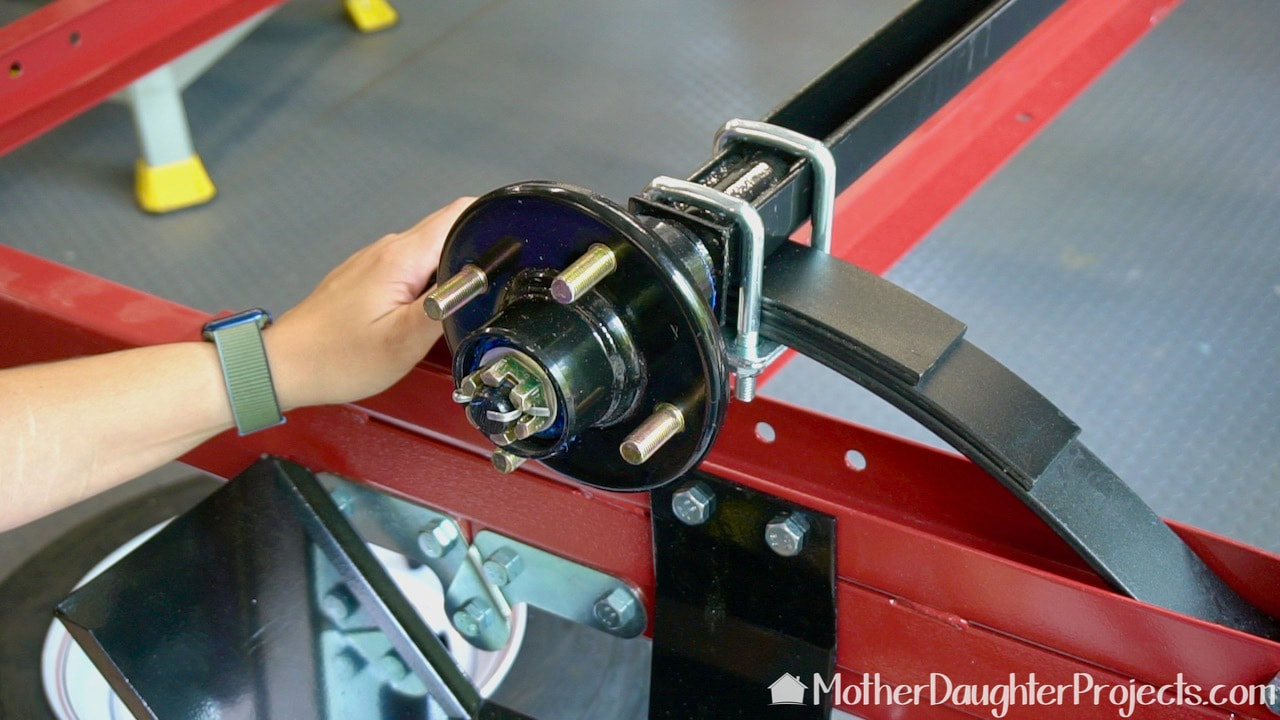
Putting the wheel hub on the axle and securing it with a castle nut and cotter pin.
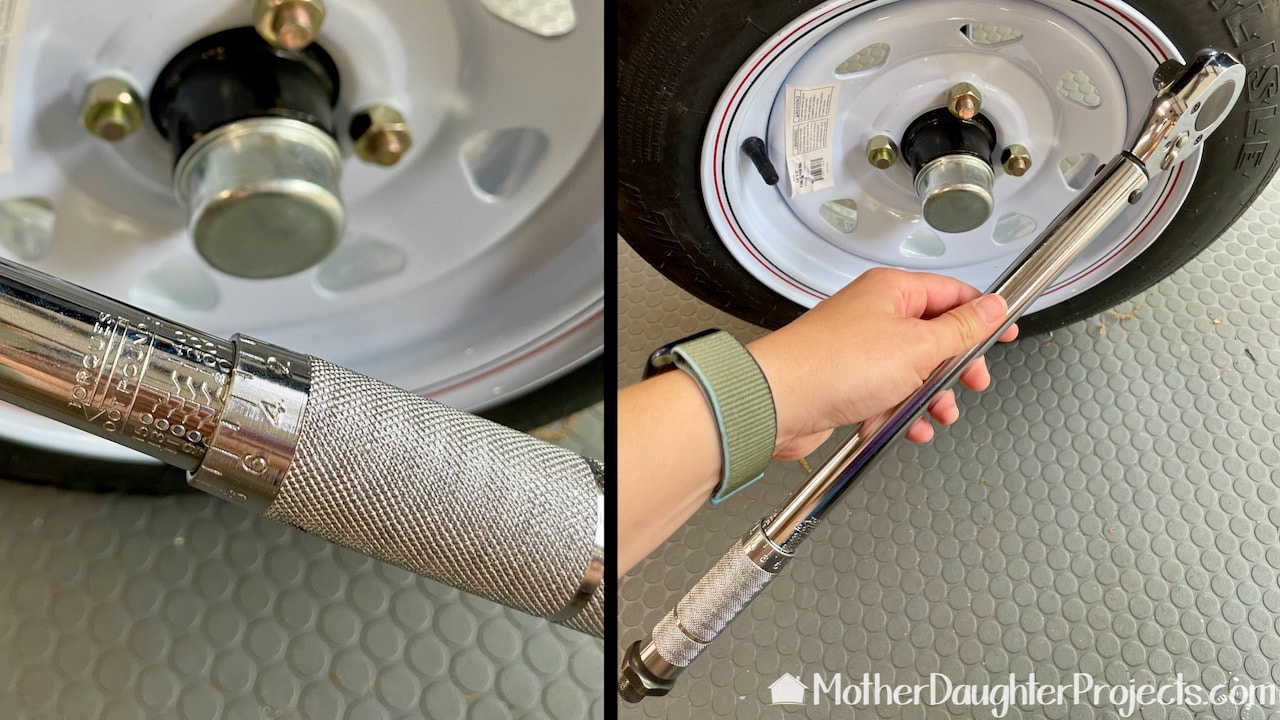
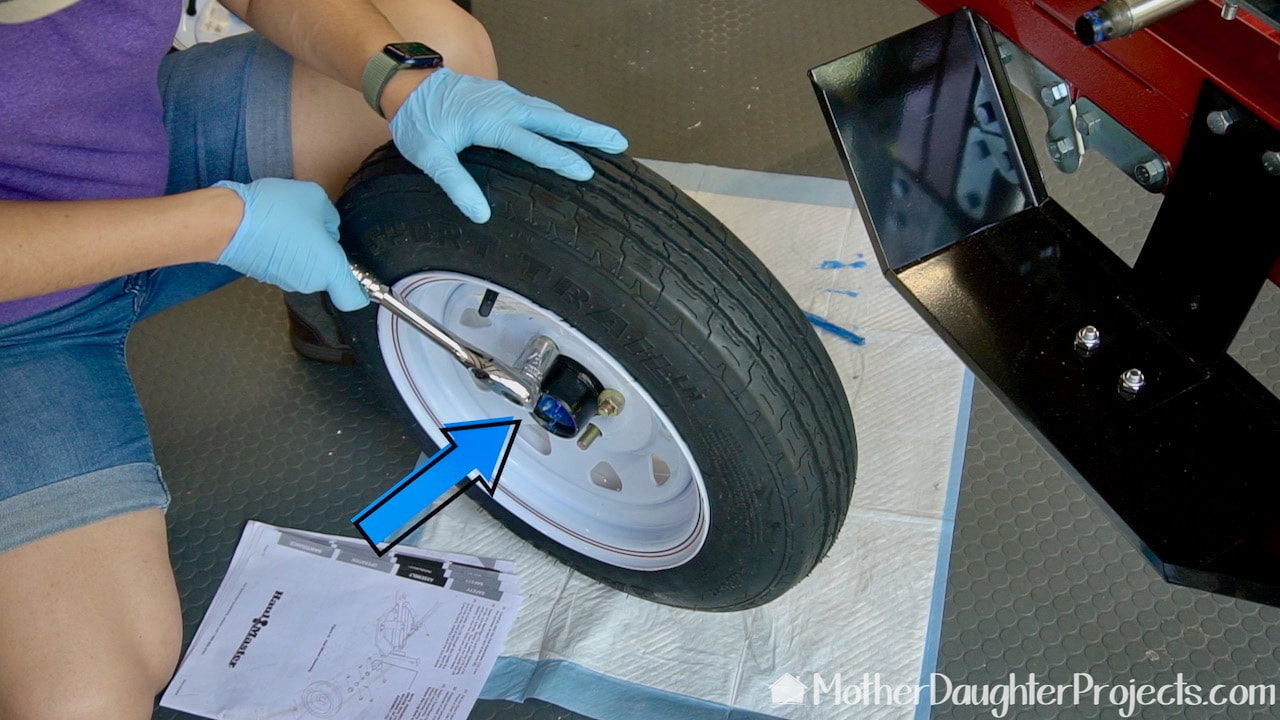
So, once the lug nuts are in place, they have to be torqued to 85 to 90 feet pounds. What? Steph sought the advice of her friend who explained what needed to be done and even let her borrow the tool she needed!
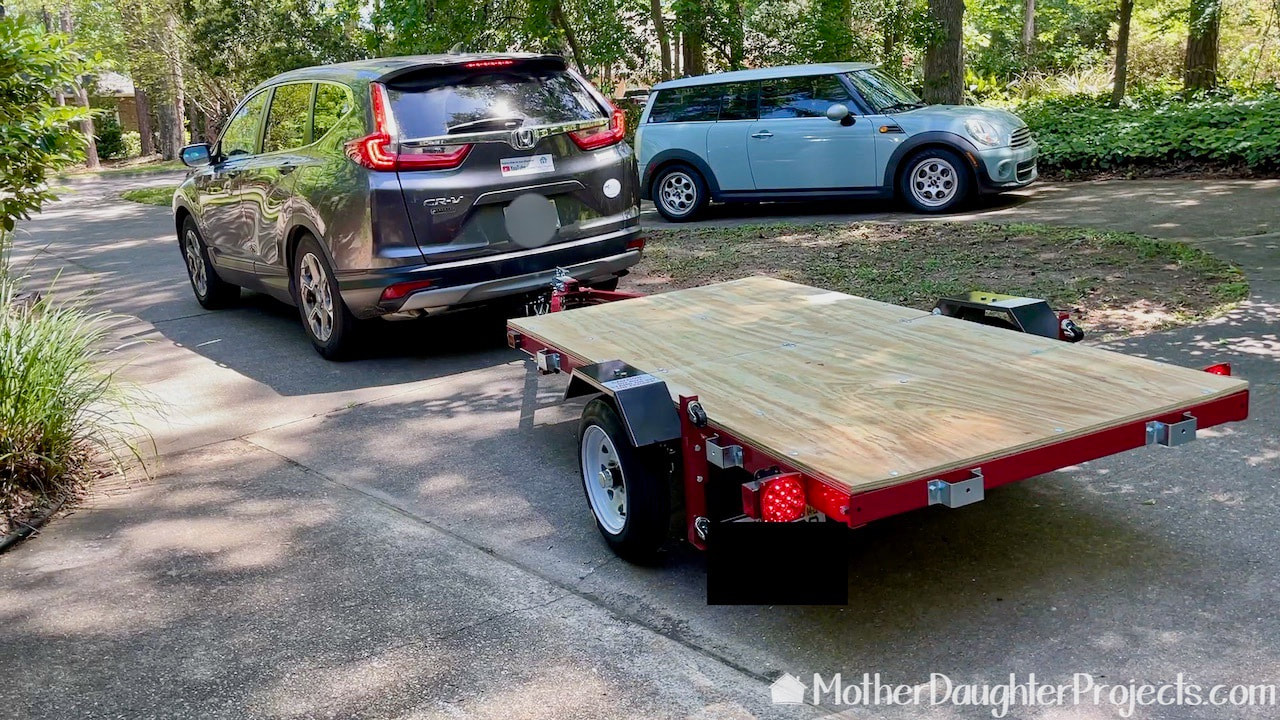
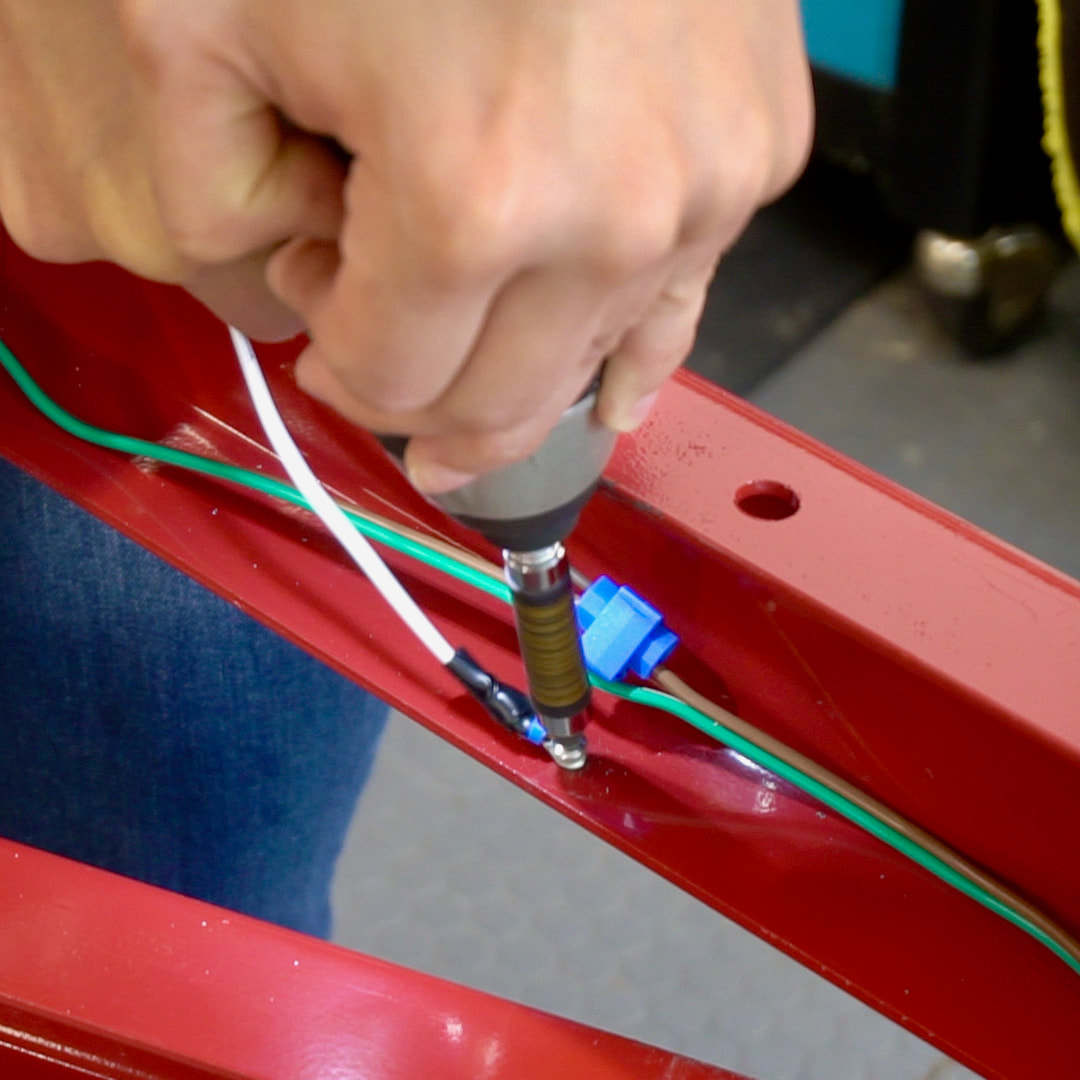
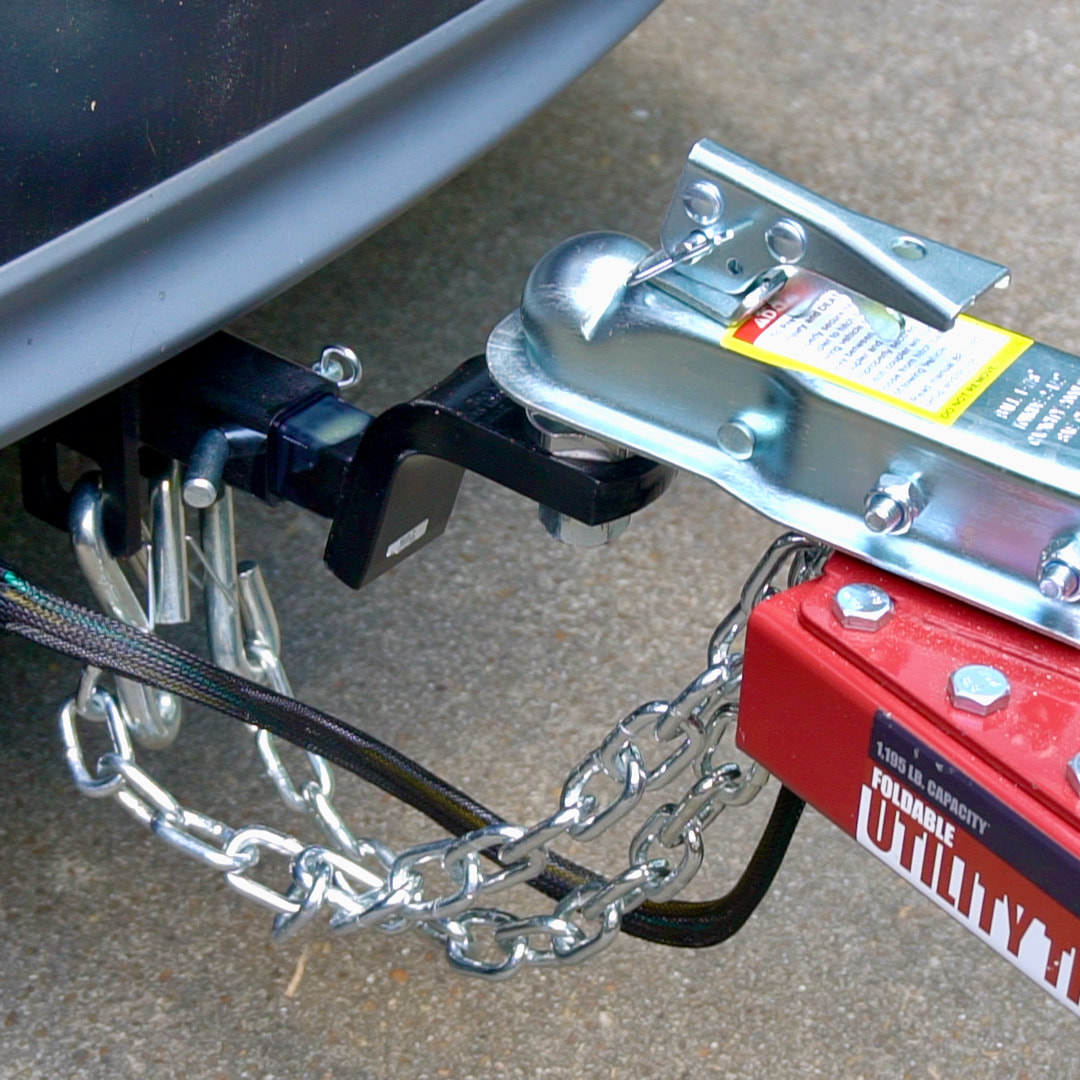
Steph will go over adding the plywood and wiring as well as how to go about getting a tag in additional videos in this series. But, in the meantime, enjoy this view of the trailer all hitched up and ready to roll!
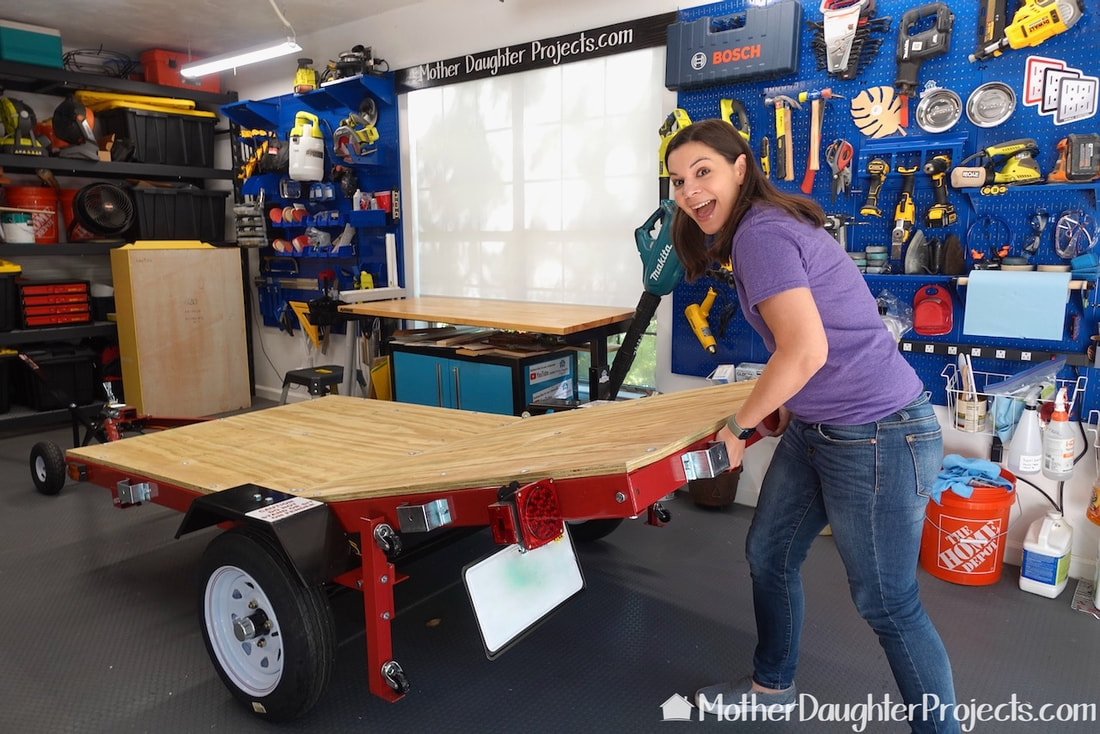
There will also be a video showing how this folds for storage.
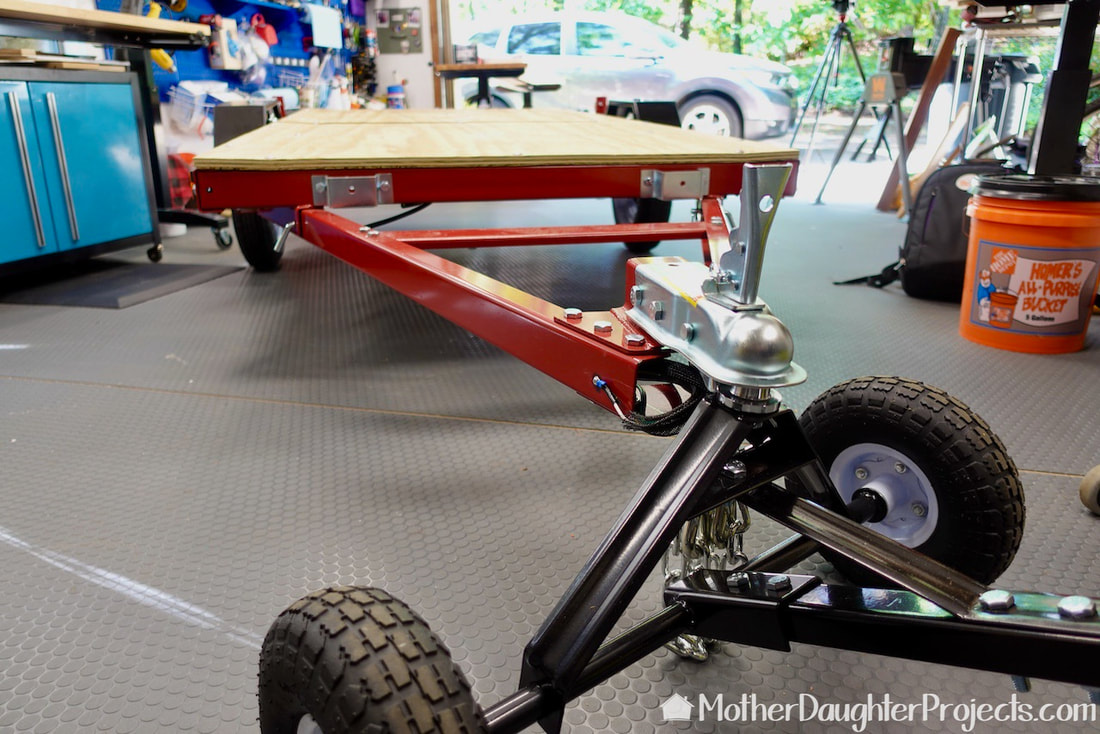
After the trailer was finished, we went back to Harbor Freight and picked up this Haul-Master Trailer Dolly. It makes moving the trailer much easier.
After Steph finished the trailer, we took a practice run to Home Depot to test it out and to figure out how and where to park once we arrived.
Our test run was successful (with the exception of getting stuck behind a stalled truck at a light! Thankfully, the driver got it moving before we were forced to try to change lanes!) We took it out for real to pick up a stump grinder from the Tool Rental Department this week. The ramp made it super easy to load the tool and our Husky ratcheting tie downs kept it in place. Look for the related videos in this series covering wiring, folding, putting the plywood on the bed, and what your car needs before you can tow. Please note: This is not a sponsored post. FYI: We are not professionals, and we don't claim to be. This is what we found worked for our project. Yours may need a little different approach. Safety first! FYI: Affiliate links are being used on this page. Purchasing via these links help support MDP! Related Projects
12 Comments
Leslie
4/15/2021 10:39:02 am
Hi, 20+ years ago I bought a Harbor Freight trailer. I got the small one because at the time $ was an issue but I wanted some way to haul my camping gear and my son comfortably with my little Honda Civic Hatchback. I built the trailer and hauled it with no problems. I have had only one repair since and glad I bought it. I am wondering how come you didn't think to use the silver slots on the sides of the frame to insert lumber to fit.? You will find that making these frames will be helpful when hauling things that may slide on the wooden bed of the trailer. I would like to suggest that you treat the plywood deck and upright posts ( if you decide to use ) with a Thompsons type sealer to prevent wood rot if you decide to leave outside with a cover. I also have the same trailer dolly, Dontcha just love HF ? LOL On parking, If you are not used to parking a trailer especially a smaller one the best thing is to drive into a parking space and to use two spaces. A friend of mine used to haul house trailers and he told me that it is a lot easier to back one of the houses into a tight spot than a small trailer. I can testify that because we used to haul our race horses and the double wide trailer was so much easier to park than my tiny HF trailer. Good luck with your new toy. OH VERY IMPORTANT Have the wheel bearings grease checked and packed yearly. I learned the hard way. You can Google this but if you feel better having your mechanic check it out this is very important.
Steph
4/15/2021 07:44:44 pm
Hi Leslie- Thanks for all the tips! I do plan to make sides for the trailer, just have not decided on the design I want yet. We also have some outdoor deck paint we are going to use to protect the bed as soon as the pressure treated wood dries out. I've seen a few videos on repacking the wheel bearings, so I think we will do a follow up in a year and try to repack them.
Jim Porter
7/30/2021 08:06:44 pm
How many hours did it take you to assemble?
Steph
7/31/2021 04:36:50 pm
To assemble probably two days 8/22/2021 04:18:30 pm
Lovely work on the trailer project and God bless the mother and daughter priceless quality time together. I have been building these Harbor Freight trailers for 10 years (50+ trailers). I am very impressed with your build, when I started my first trailer was a nightmare. Good luck, have fun together and keep smiling. ;-)
Roberto
3/2/2022 11:58:34 am
Hi ladies. Congrats on your Mother and daughter trailer build. Sounds like you had fun building the trailer. I have been thinking about the same trailer for some time, and may purchase the same one and build it with my granddaughter who's going to be going off to college in the fall. Good luck in the finishing touches to your build. Quality time is most important as we get older. Safe travels
Steph
3/2/2022 07:08:30 pm
Thanks Roberto!
Bill
11/6/2022 12:54:52 am
Hi Steph, loved your videos learned a lot I have the 1700 pound trailer through Harbor freight wondering what size plywood you used either 5/8 or three-quarter inch please let me know and would you use the same as I had watched a video about the 3/4 inch did not fold well with the trailer. Thank you!
Logan Fairfield
3/29/2022 11:57:00 pm
Hi, I know it varies state to state, but how was the process of registering/titling/getting plates?
Esmail Ali
3/30/2022 12:30:50 am
Copy the Harbor Freight receipt (this is your bill of sale) and the title certificate (the cashier should fill it with your name and address) and send/e-mail it to your insurance. They will send you the registration application, take it with the receipt and title to the RMV to get your registration and plates.
Dave Shearer
6/20/2022 06:46:12 pm
Steph,
Tony
3/26/2024 06:51:57 am
just bought my second Haul Master. Looking forward to building it. the first one, still in use, is 11 years old. Leave a Reply. |

Mother Daughter Projects
|