text by Vicki Sign up here to join our weekly email newsletter!
This is part five of the six part series on building and using the Harbor Freight Utility Trailer. You can see the entire playlist on YouTube.
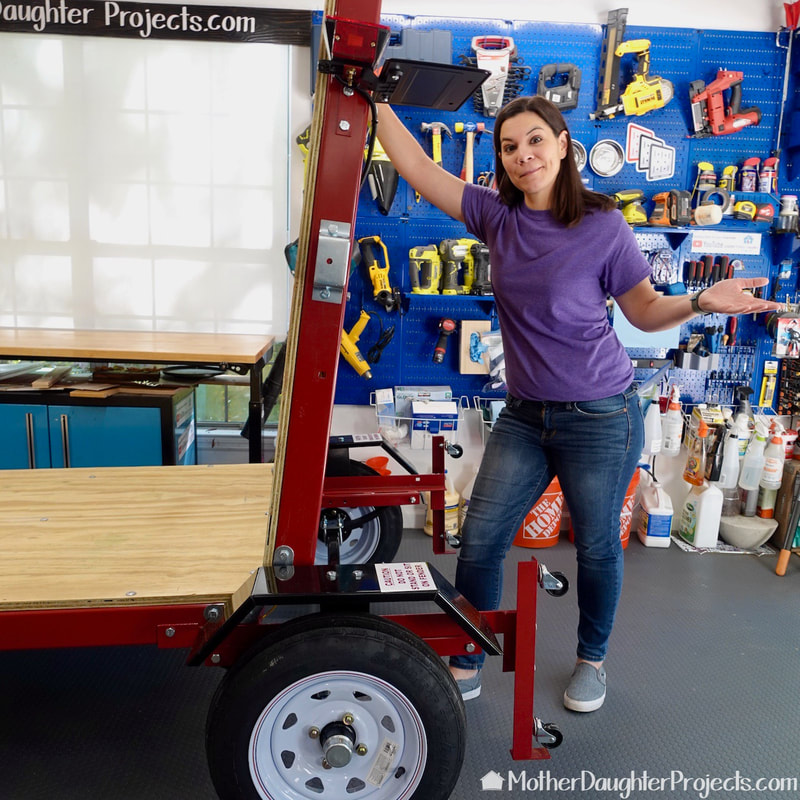
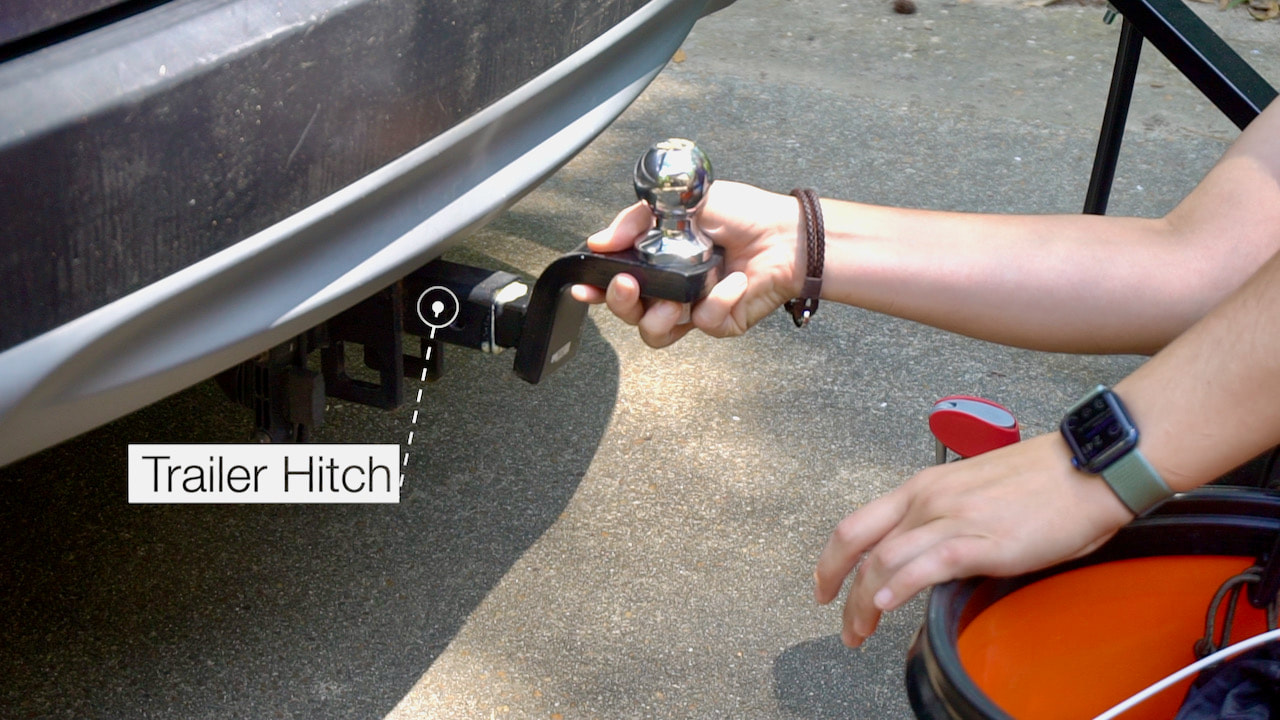
In this video, Steph takes you step by step through the trailer "before you use" safety checklist as well as how to hitch up the trailer to the tow vehicle. Trailer Essentials:
Here Steph is using the Harbor freight 600lb trailer dolly to easily move the trailer out of the garage to behind the car to hitch it up. This dolly makes it very easy to move the trailer with little effort.
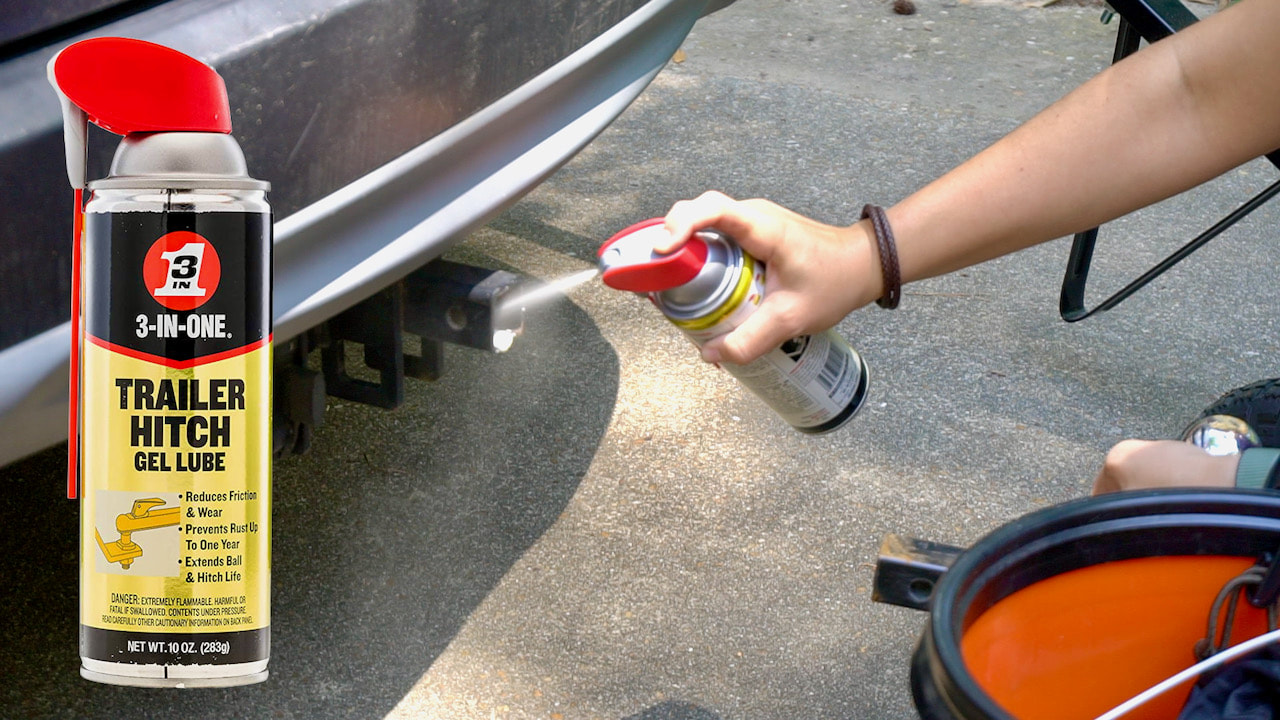
This trailer hitch gel lube is made by 3-in-one and will provide long-lasting lubrication and rust prevention. Using a hitch lubricant reduces friction and wear between the ball and coupler as well as the hitch receiver.
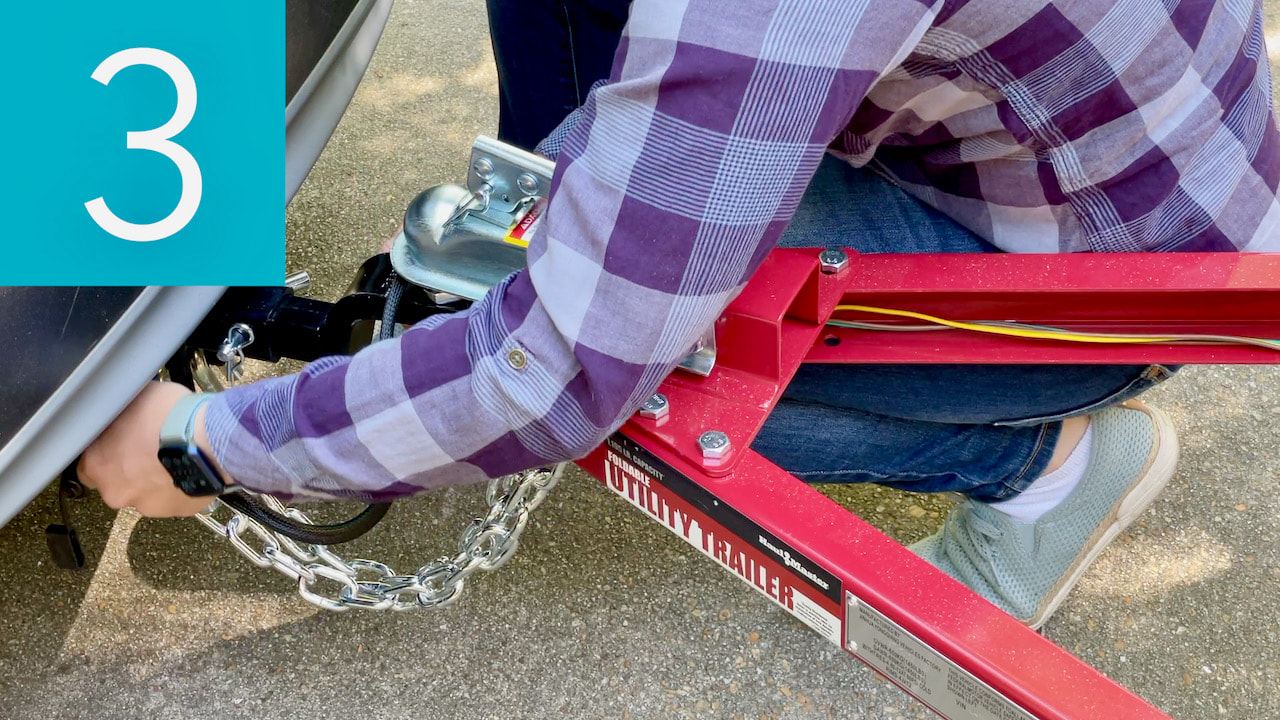
Use the trailer hitch gel lube here, as well as...
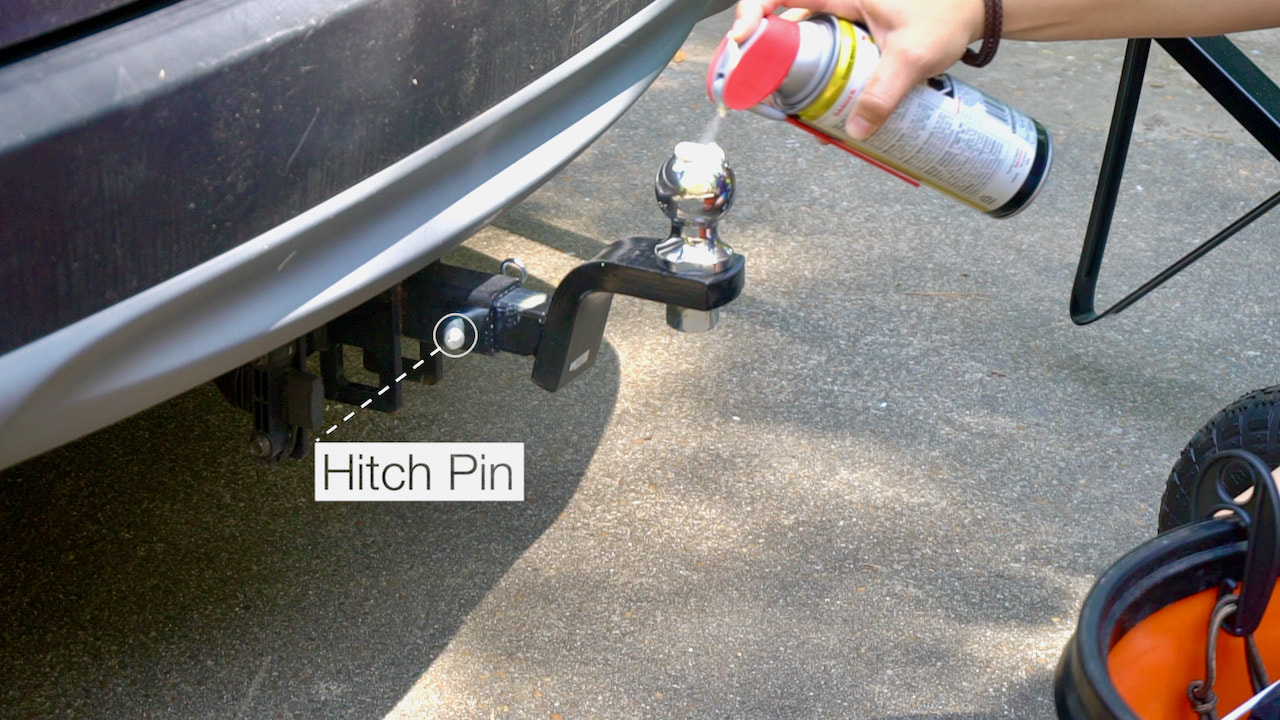
...as well as the top of the trailer ball before adding the trailer coupler.
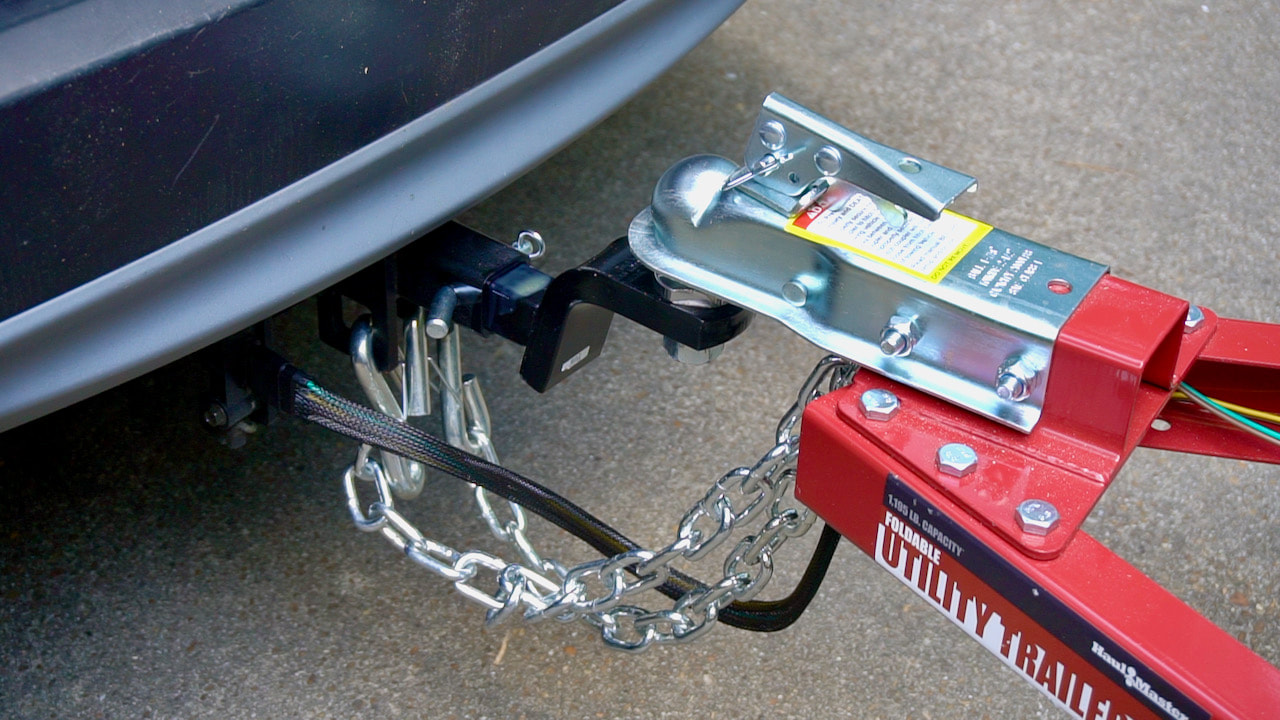
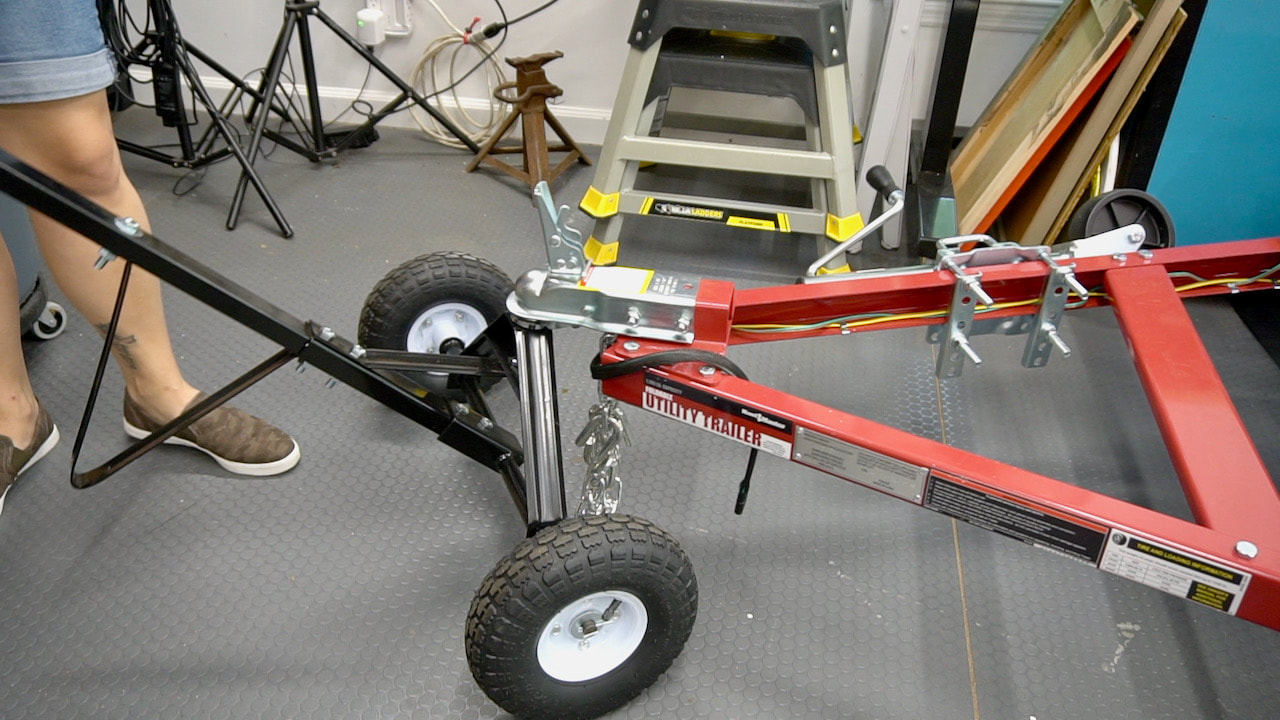
Push down on the handle until the trigger locks in the slot. Pull up and down to make sure the hitch ball is fitting snugly in the coupler. Place the locking pin and r-clip to secure.
Before Each Use 12 Steps*Download the free PDF checklist here*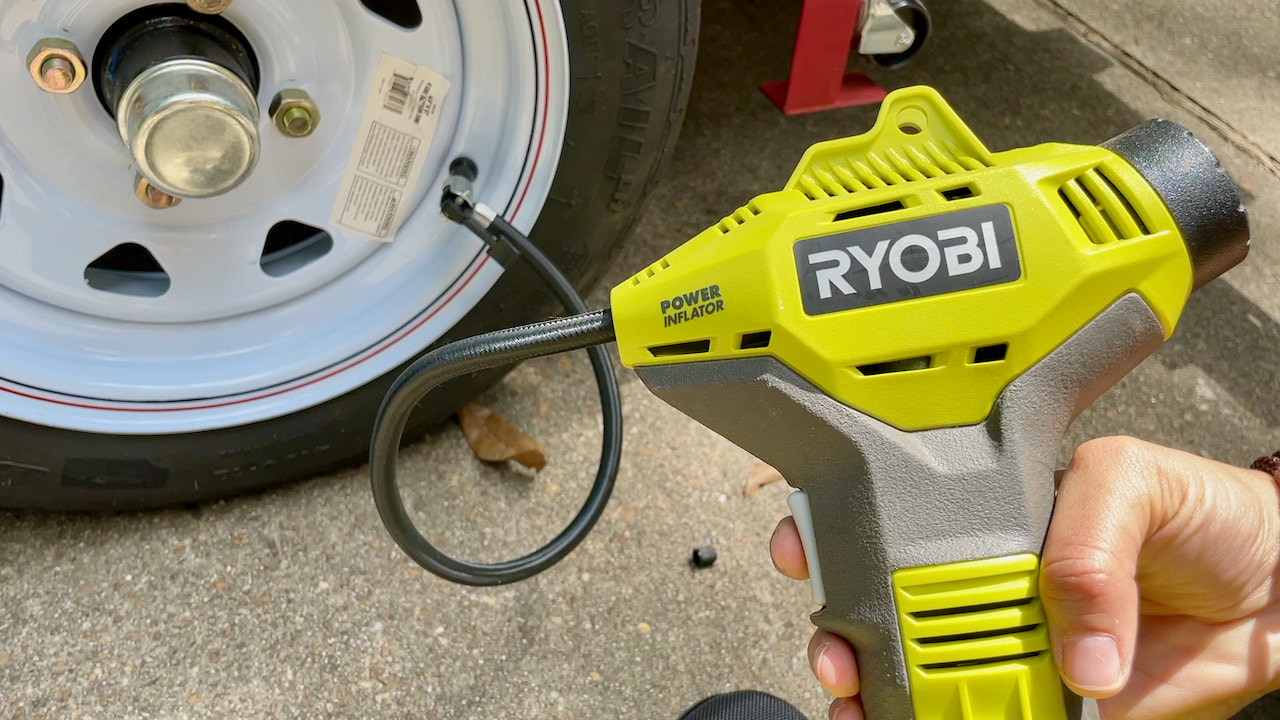
1. Check the tire condition and add air if needed. This Ryobi power inflator is convenient to use.
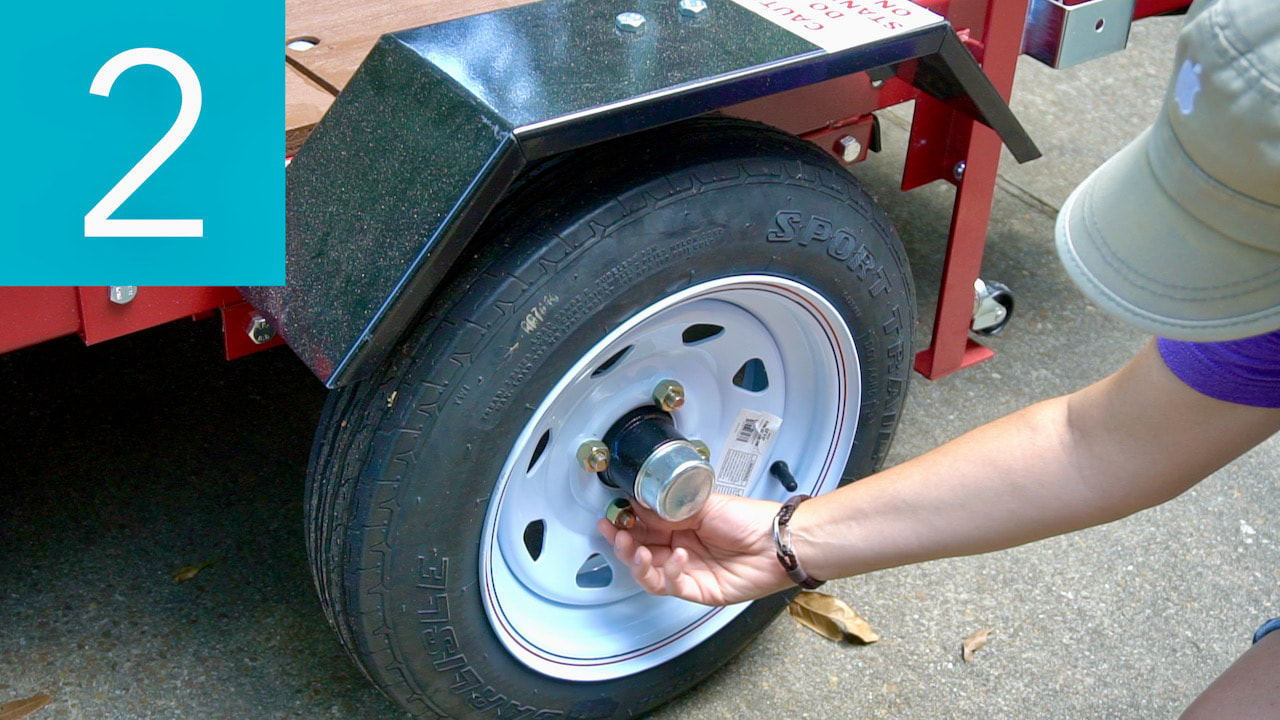
Check wheel lug nuts/bolts
Is everything that attaches to the tow vehicle nice and secure?
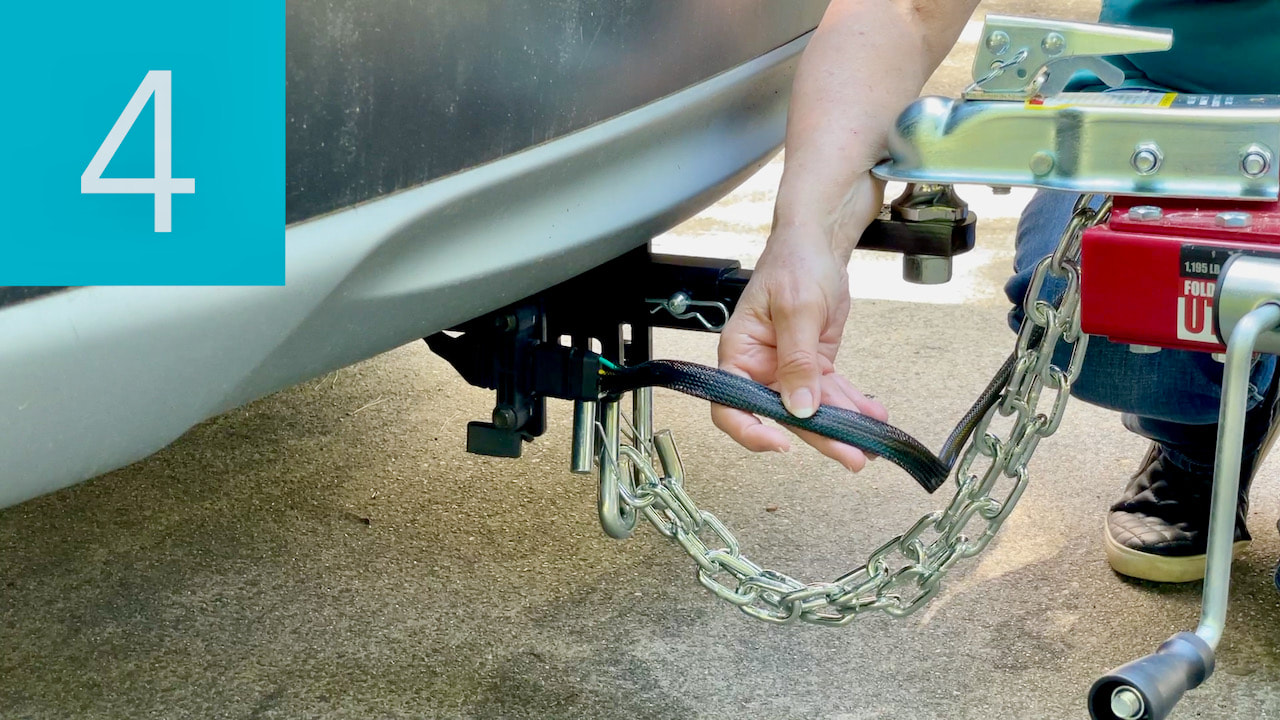
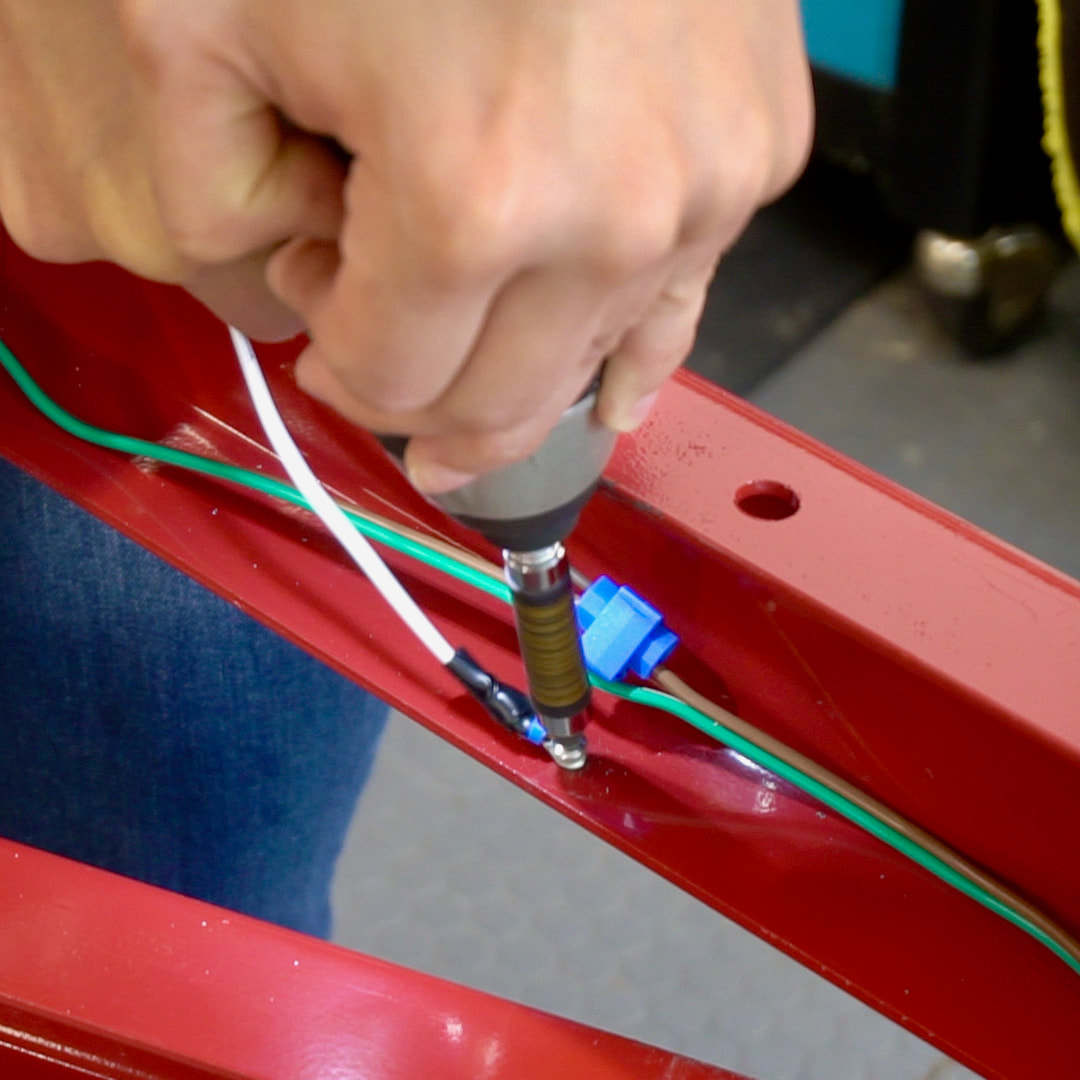
All the wire need to be properly connected. Be sure none of the wires are dragging on the ground. Connect the wiring securing to the tow vehicle.
Light check! Do all the lights come on and work properly?
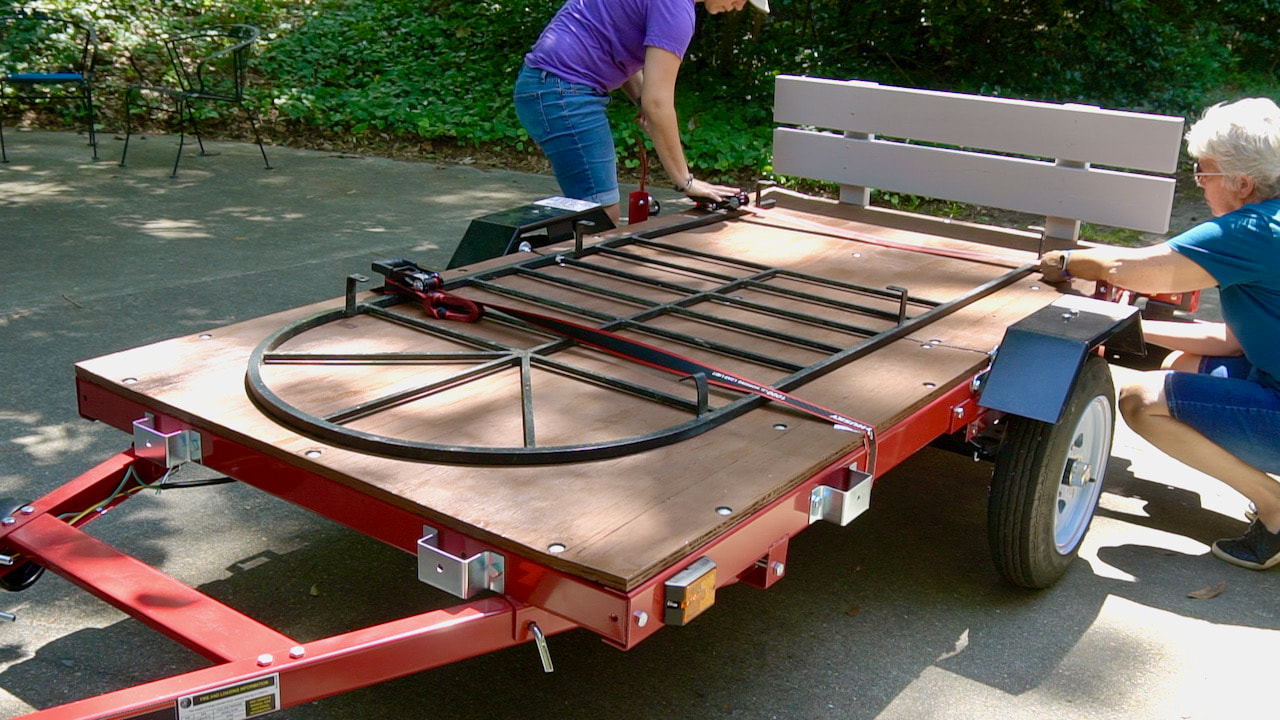
It's tempting not to take the time to secure the load, but don't skip this detail. We're using Husky ratching straps which makes this step super easy.
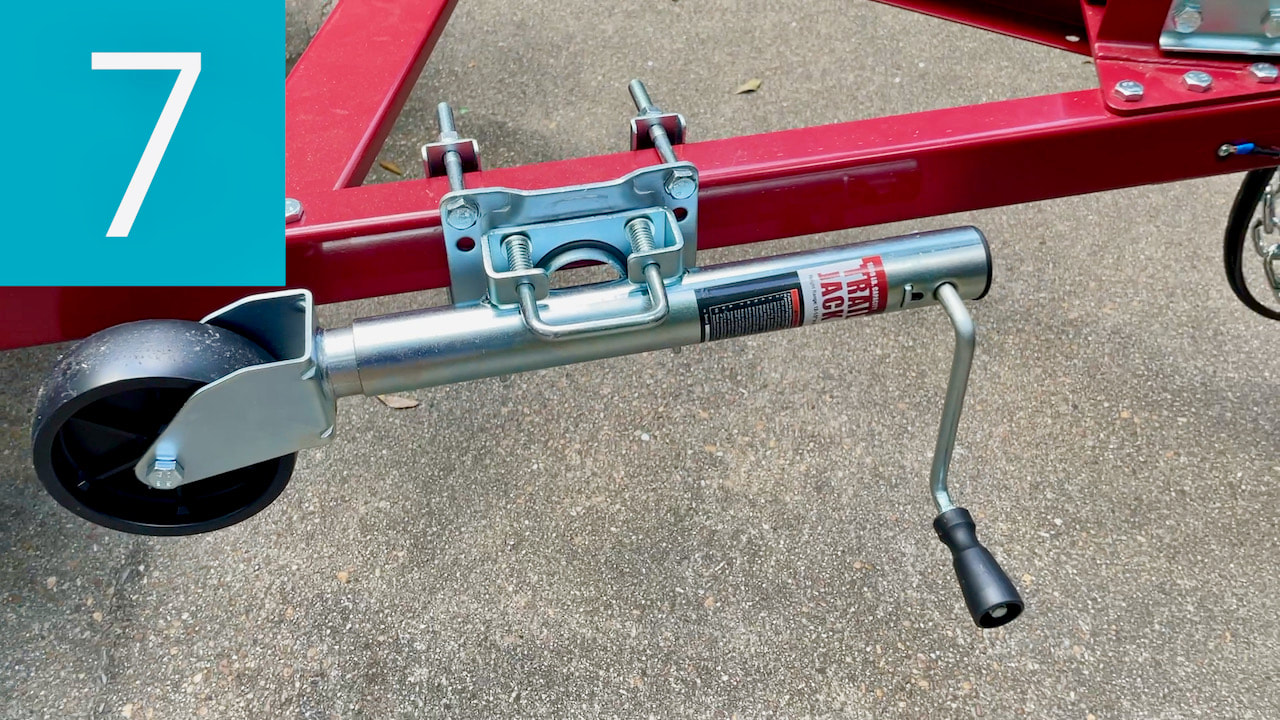
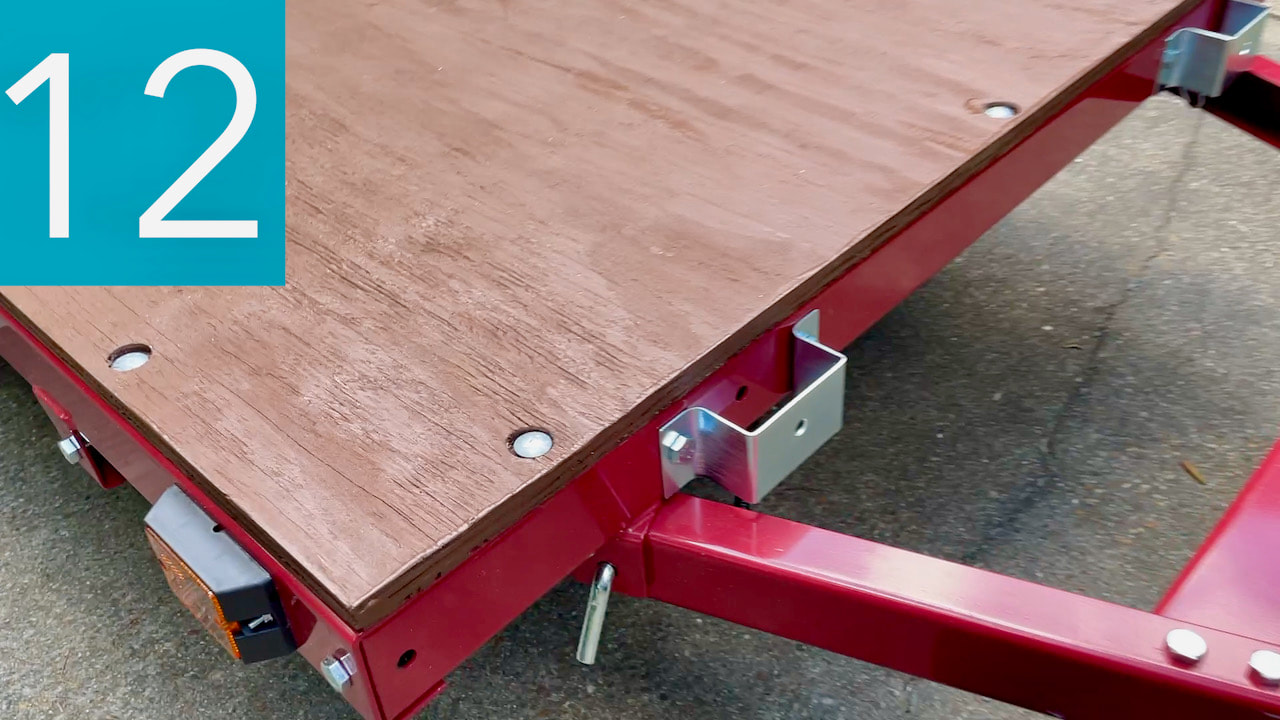
Be sure anything that is attached to the trailer frame is secure. This is a trailer jack stand that is permanently attached to our trailer frame.

8. It's important that the load is properly balanced with the load positioned more near the front of the trailer.
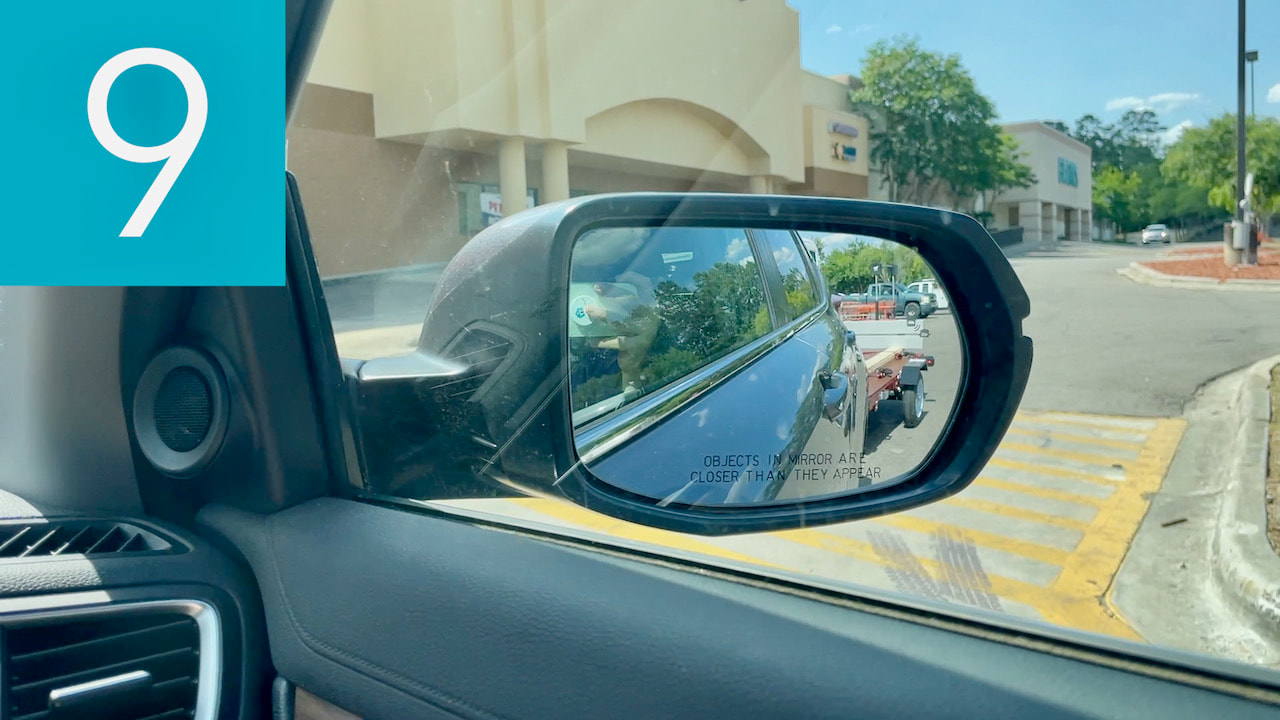
Adjust those mirrors so you can monitor things behind you. It's helpful if you have a passenger that can do the monitoring.
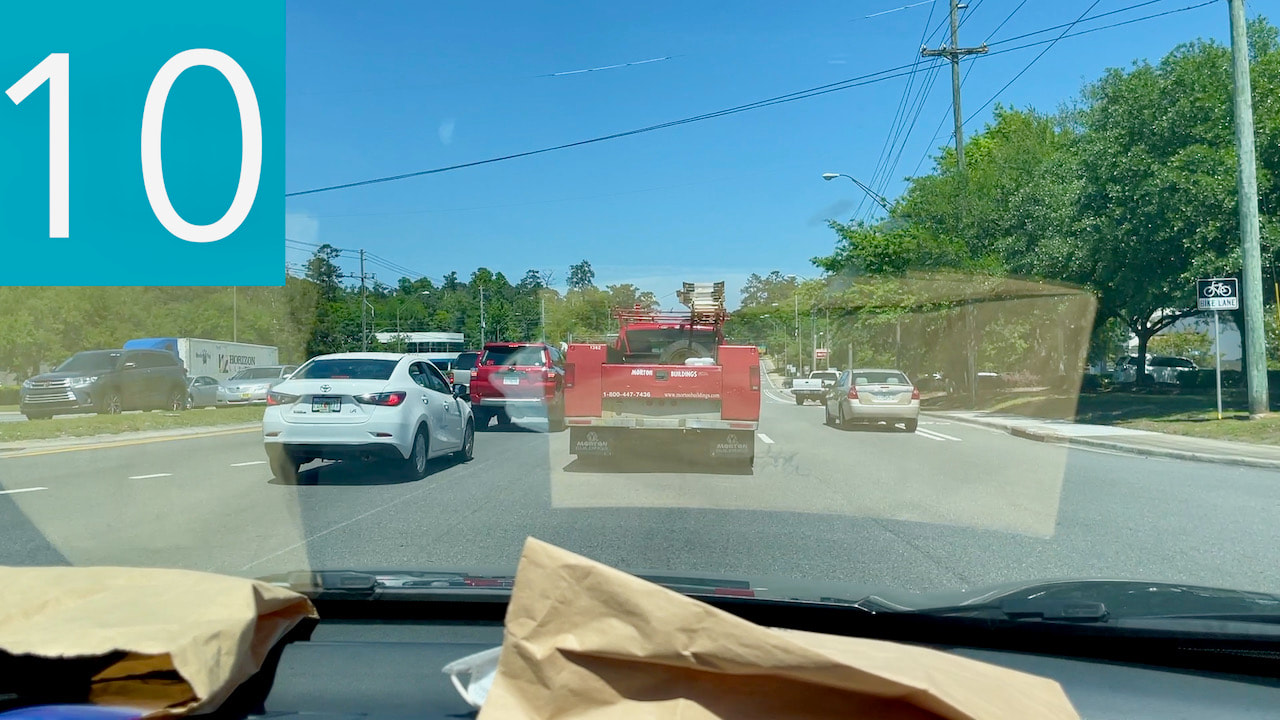
Check your route. Since towing can be challenging, we've found it beneficial to map out a more direct route and choose a time to tow when traffic is not as heavy.
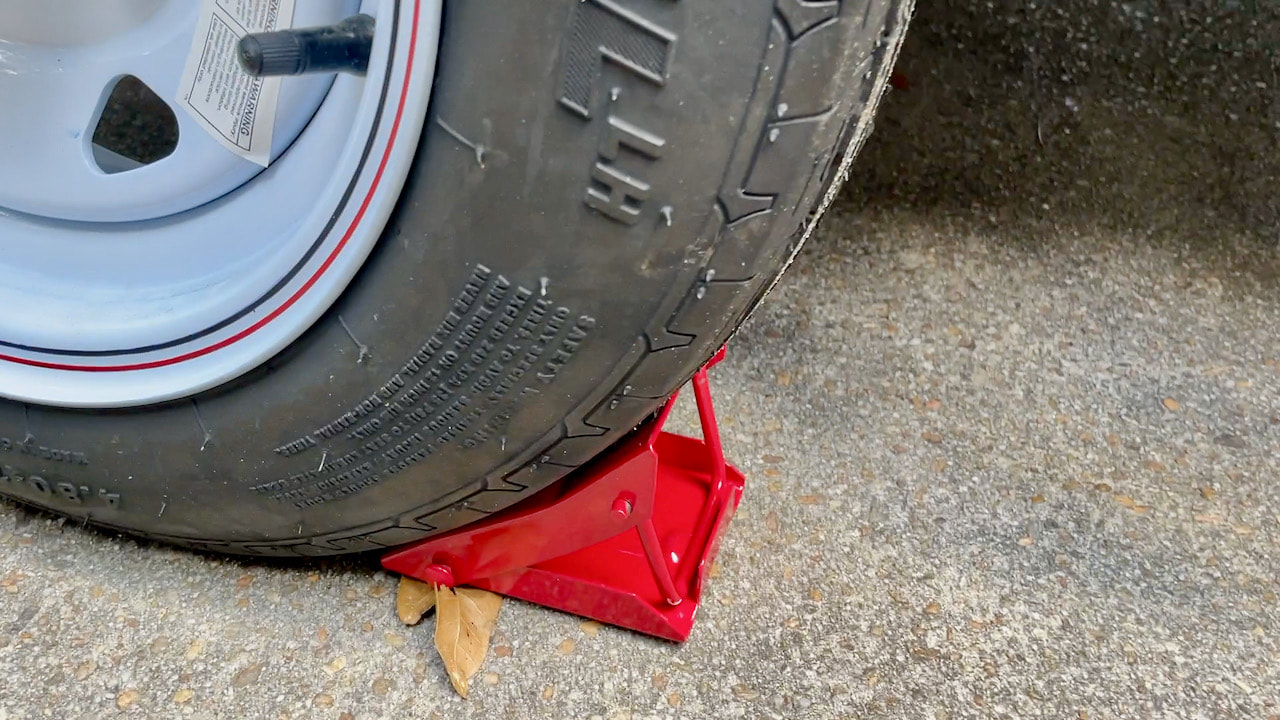
11. Don't forget wheel chocks and a jack stand. You may need those at your destination.
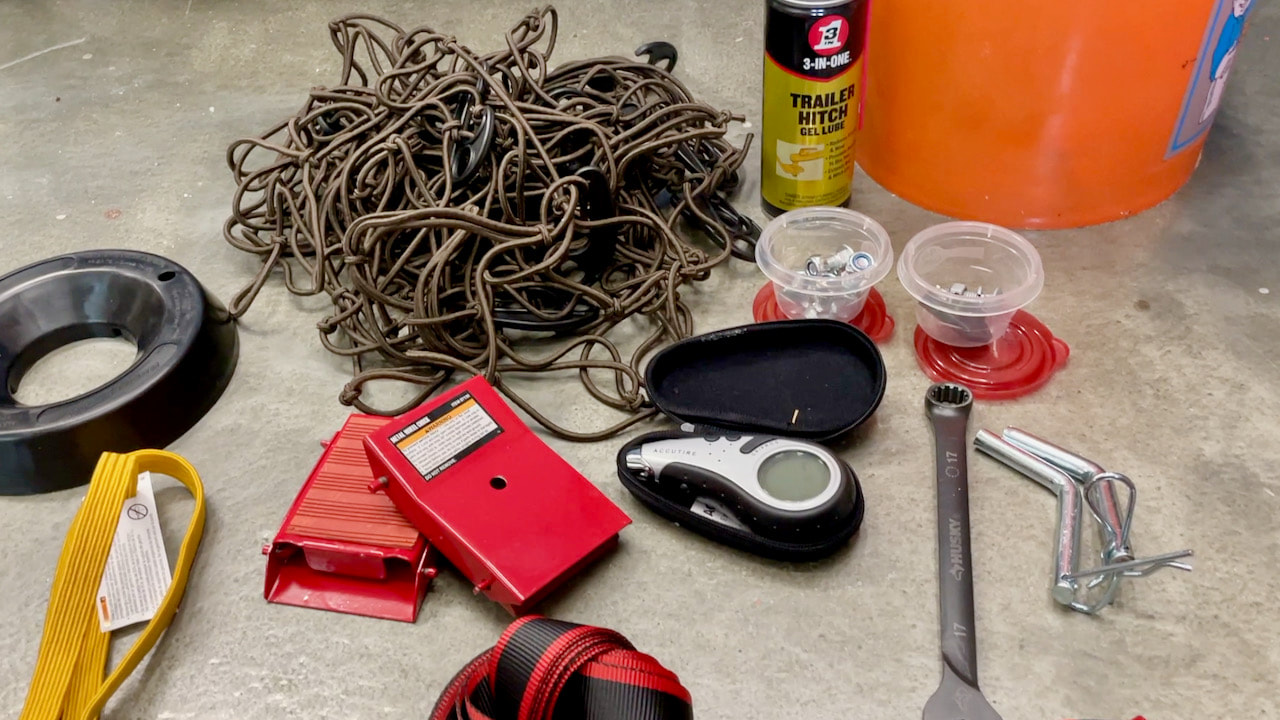
Steph keeps all the trailer supplies in a covered Home Depot bucket. It's easy to bring along and that way we know we have everything we could possibly need.
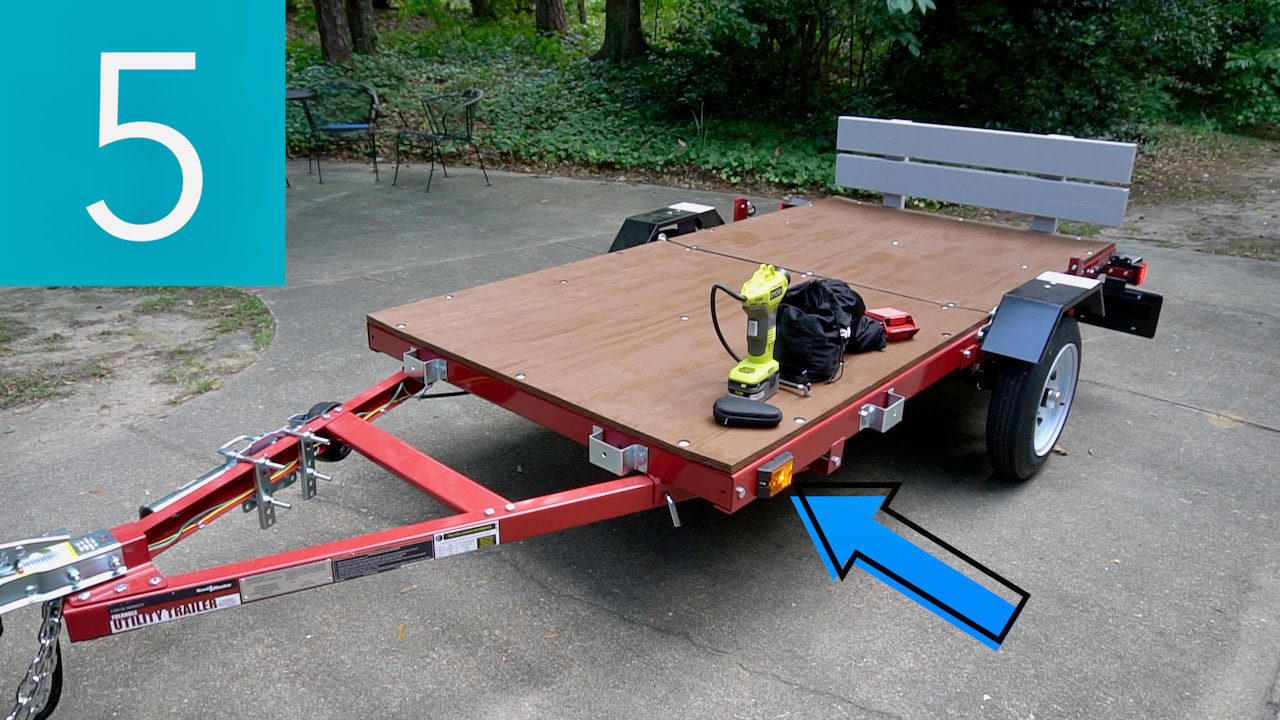
Lastly, take a walk around the trailer to visually inspect the frame and deck for damage.
The 12 steps seems like a lot, but over time it will become second nature and I'm sure the checklist will be fairly quick to accomplish.
Coming up last will be folding and storing the trailer. After all, the folding feature is why we purchased the kit! Please note: This is not a sponsored post. FYI: We are not professionals, and we don't claim to be. This is what we found worked for our project. Yours may need a little different approach. Safety first! FYI: Affiliate links are being used on this page. Purchasing via these links help support MDP! Related Projects
2 Comments
Gary G Lee
12/17/2022 10:46:05 pm
Very nice and informative page!
Steph
12/18/2022 09:23:17 am
Thanks! Leave a Reply. |

Mother Daughter Projects
|