|
text by Vicki Sign up here to join our weekly email newsletter!
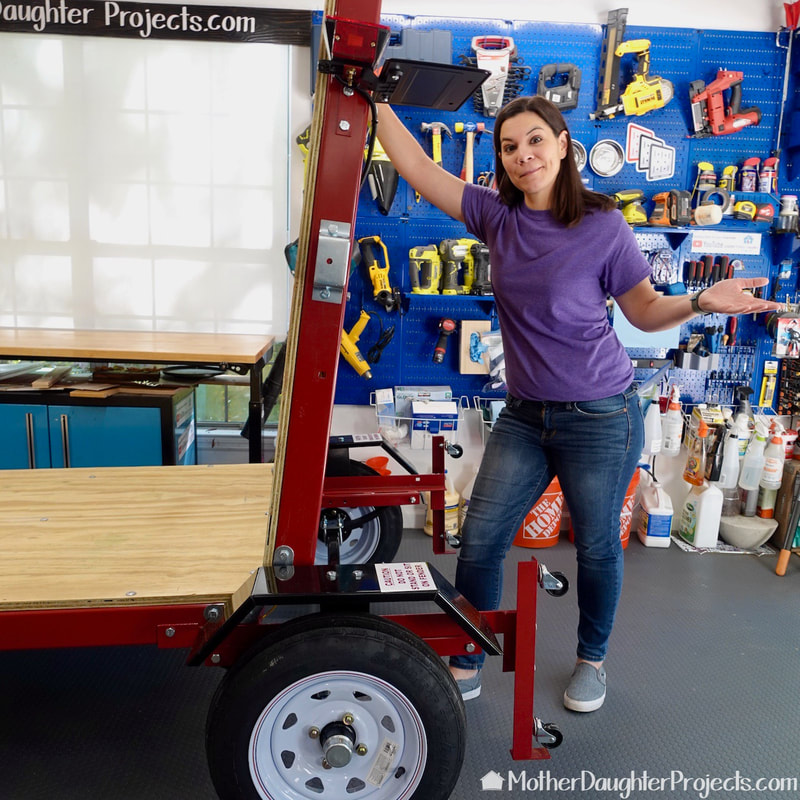
When Steph was assembling the Harbor Freight Haul-Master utility trailer she was doing great UNTIL, the lighting would not work! Even with all the troubleshooting she tried, still, NOTHING.
She almost called it quits, but decided to confer with her friend, Stephen, who has the same trailer, to see if he could offer some advice. Well....you'll see what happens. Take a look at how Steph wired this trailer. She's never done anything like this before, but reading and watching YouTube videos on the process gave her the confidence to try. I must say, I was very IMPRESSED with all the tools, techniques, and supplies she used. Even if wiring a trailer is NOT in your future, these techniques and supplies can be used in other wiring projects. I would say, that you should just watch the video as my written "tutorial" is not going to be nearly as comprehensive and detailed as what Steph has put into the video. I'll try my best, though! Materials/Tools:
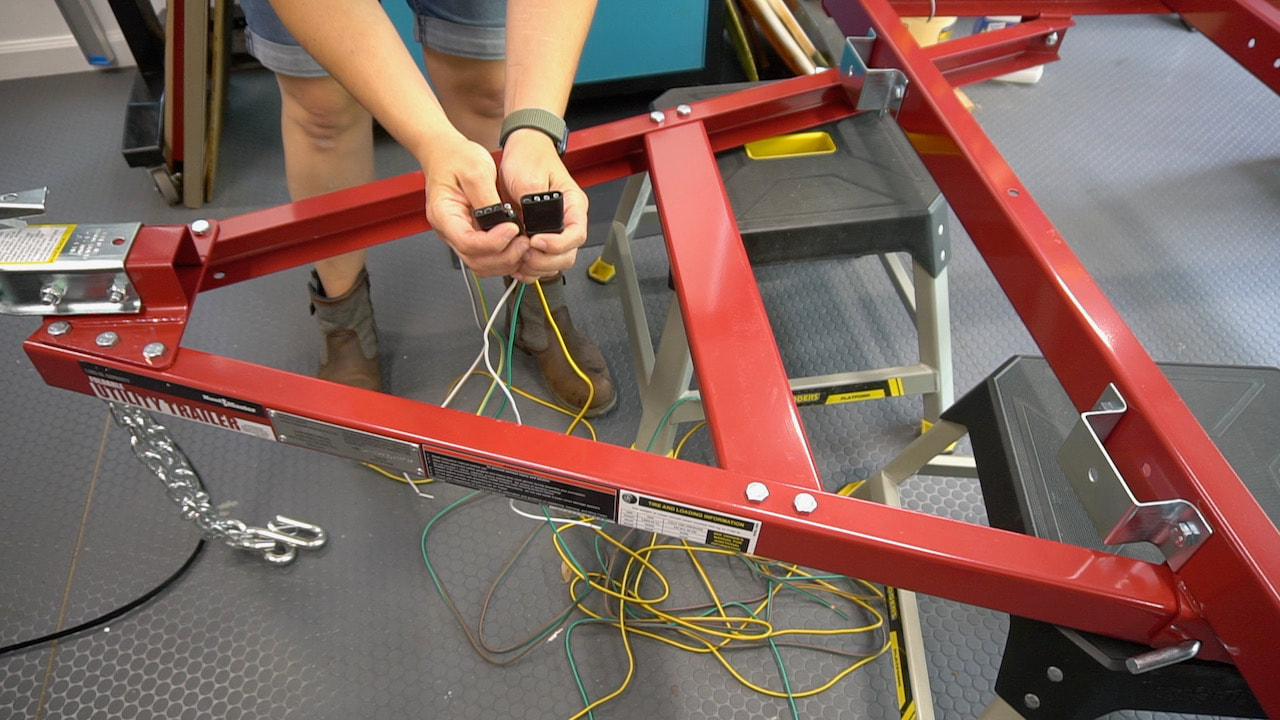
Trailer wiring 101: this is the part that attaches to the car electrical harness although the part of the left is not needed so Steph removed it.
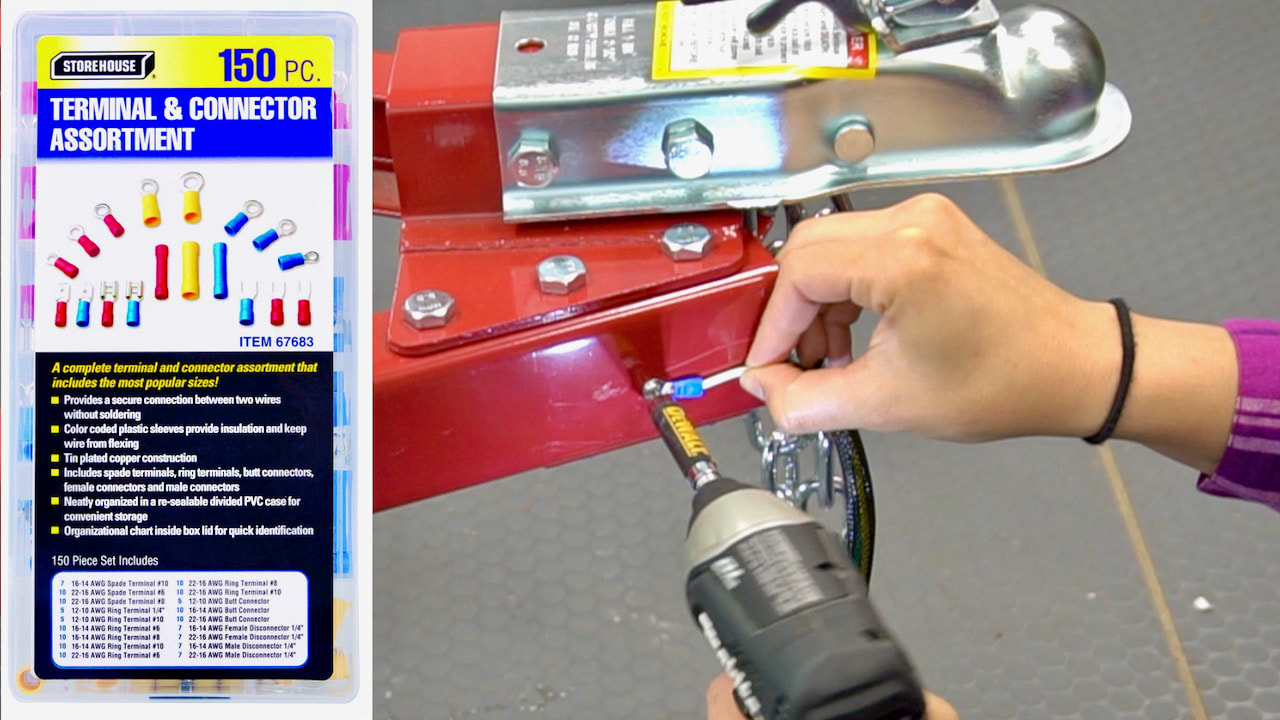
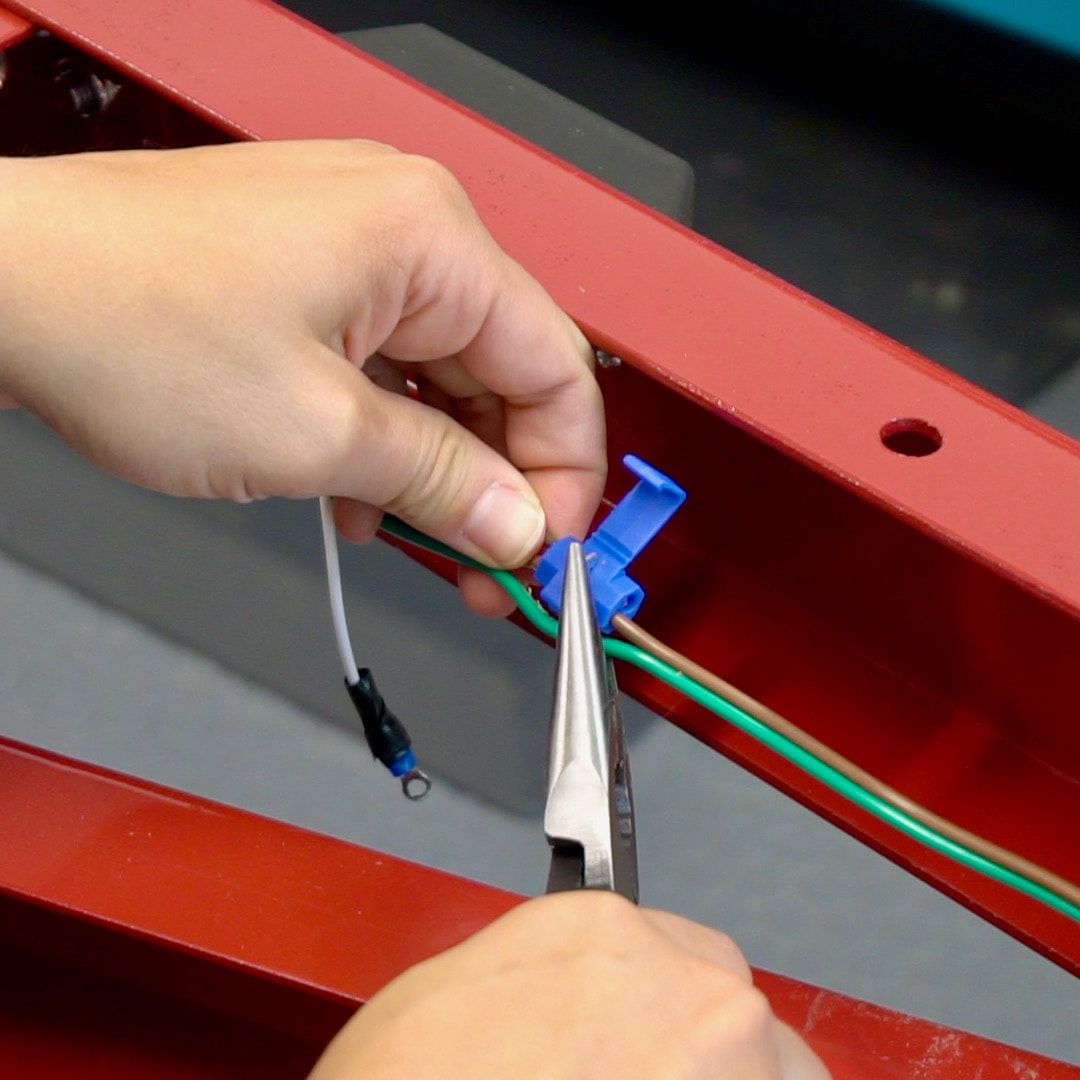
Get yourself a package of these Terminal and Connectors. Steph got hers at Harbor Freight. They made it easy to connect the wires to the frame for grounding.
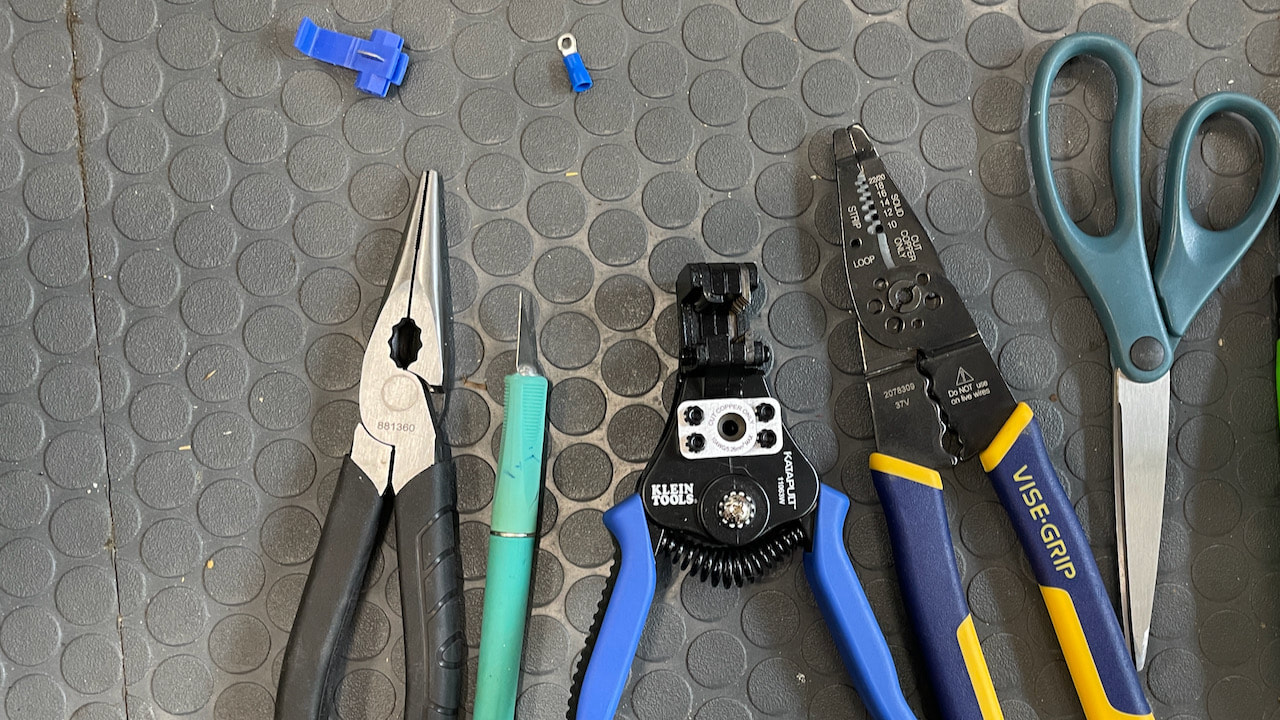
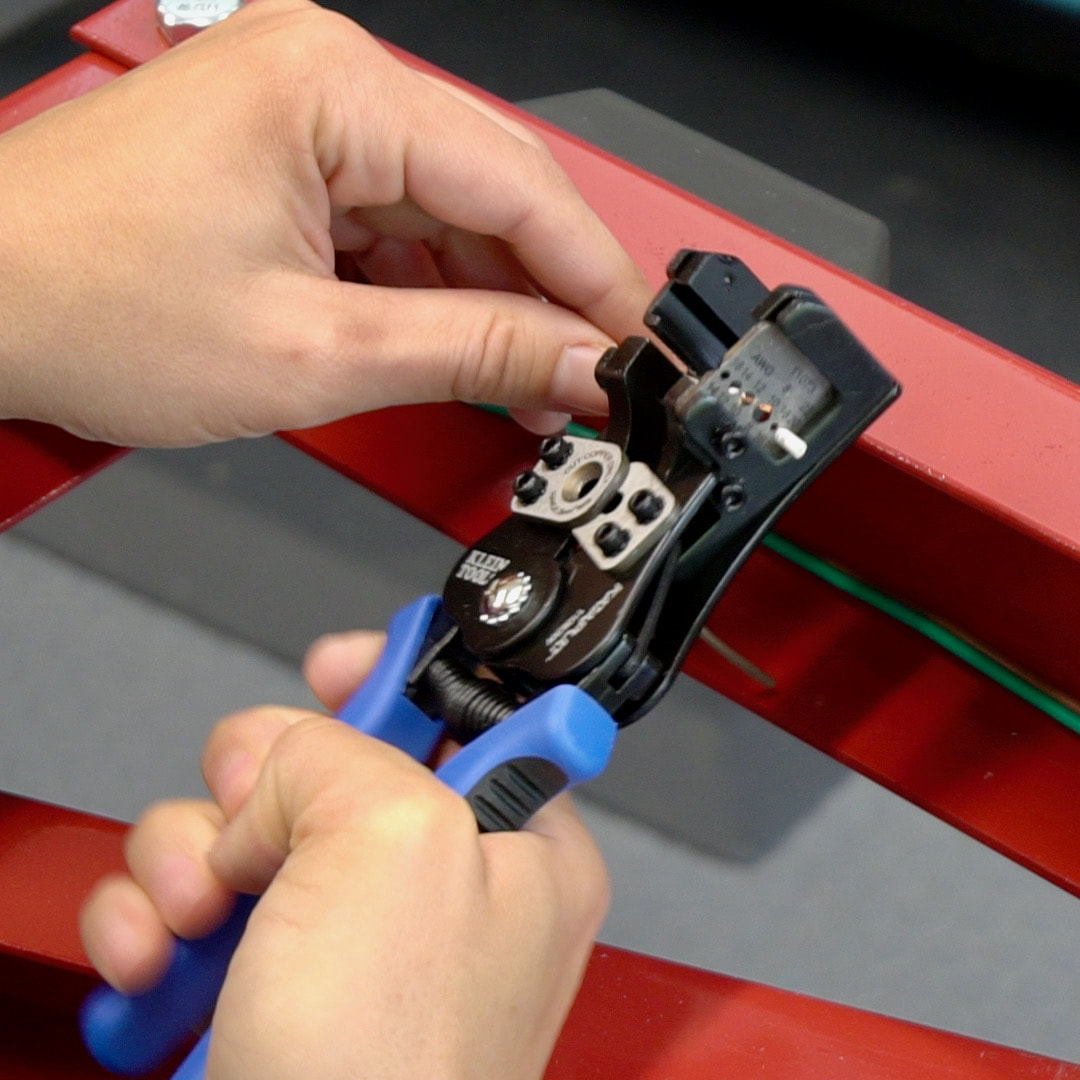
Some of the tools Steph used in the wiring process. Needle nose pliers, knife, automatic wire stripper, wire cutter, and scissors.
Testing the lights after consulting with Stephen. They work!
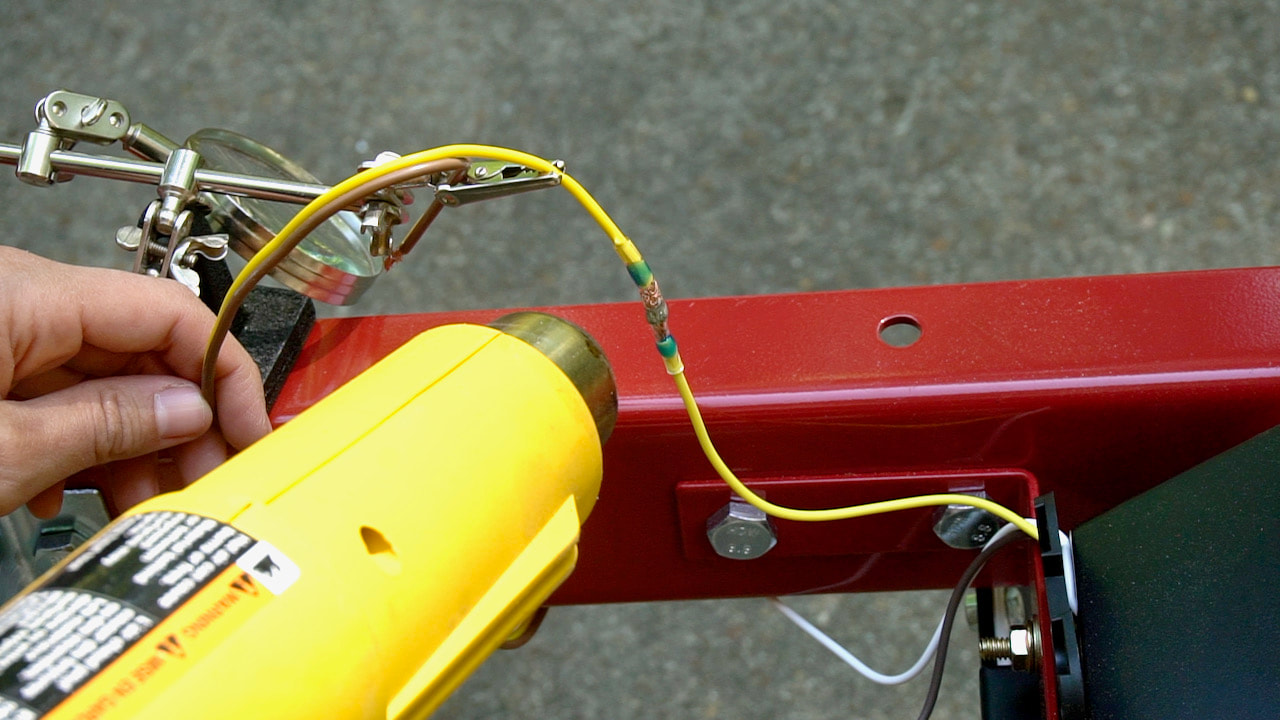
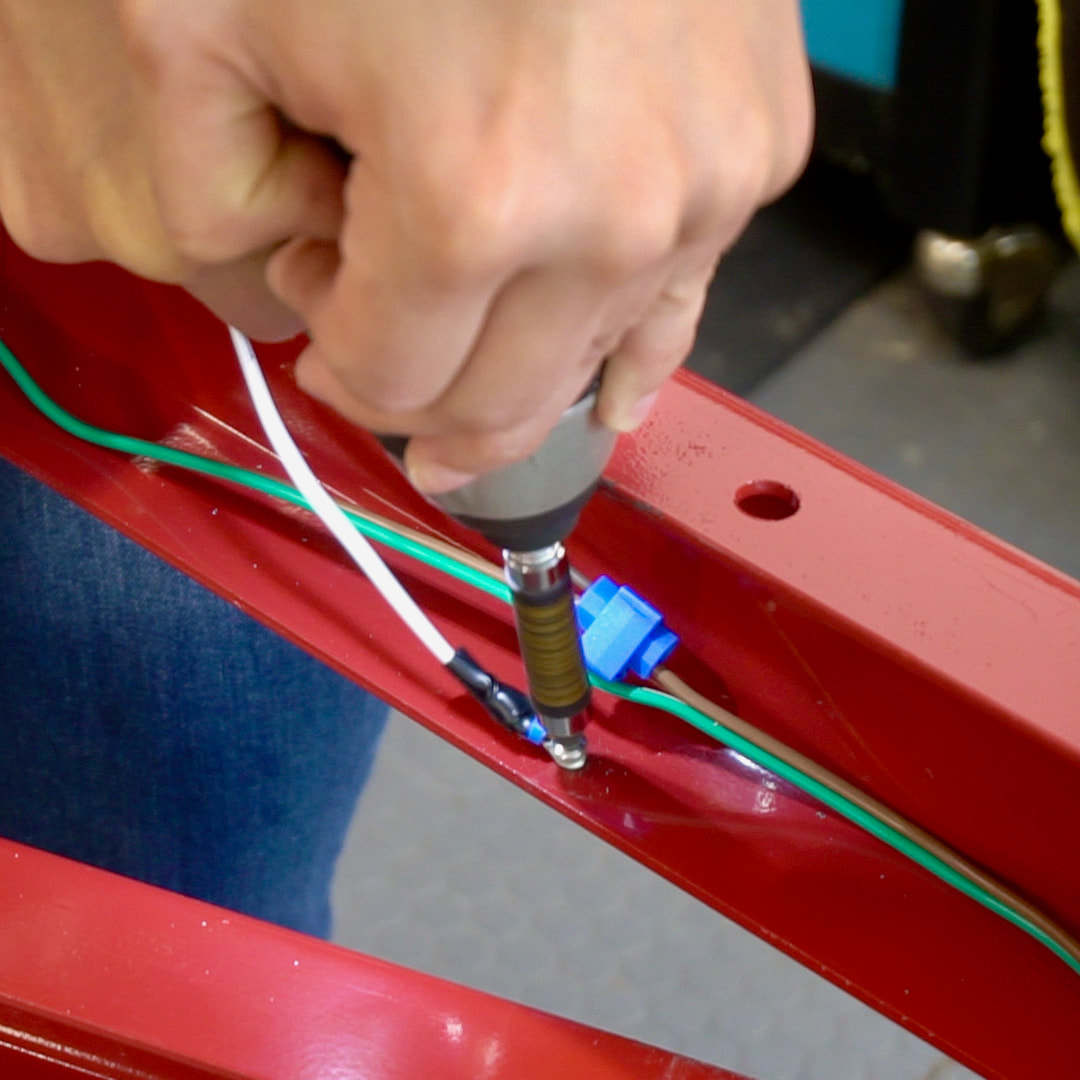
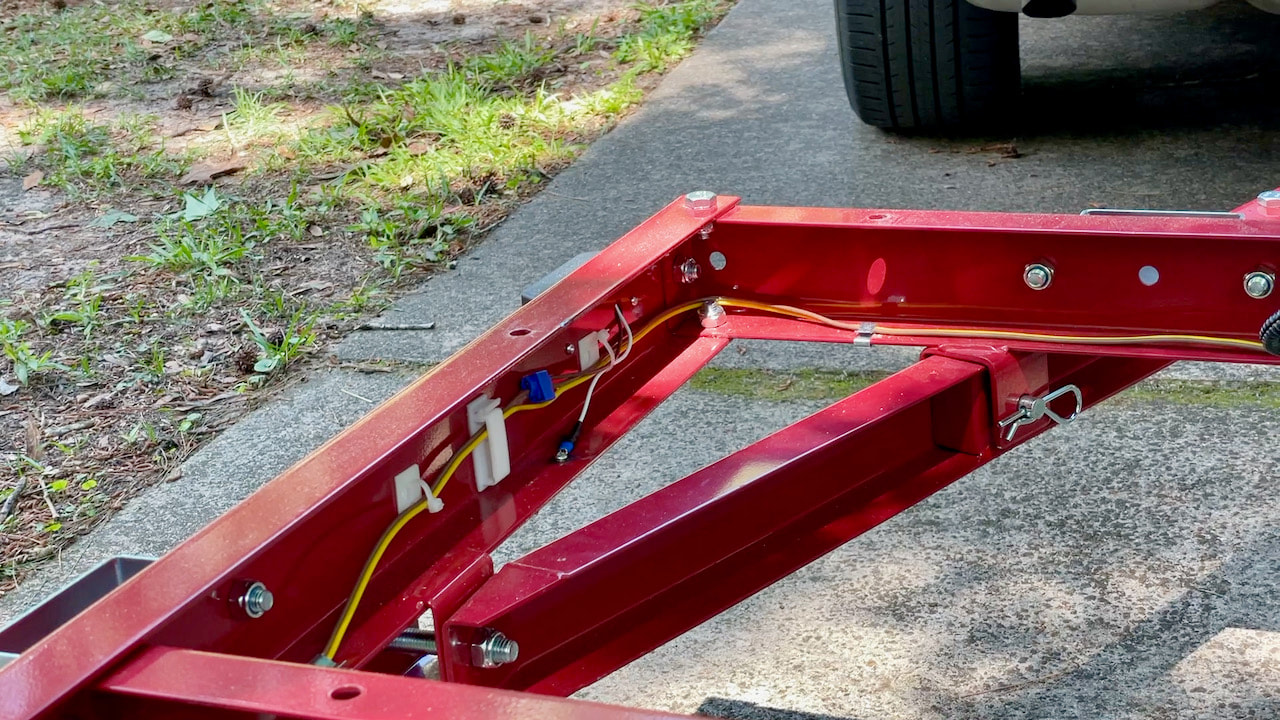
One of the specialty products Steph tried out were these solder free connectors. (Sopoby Solder Seal Heat) All you need is a heat gun to connect two wire. There's a link above if you want to read more about this product.
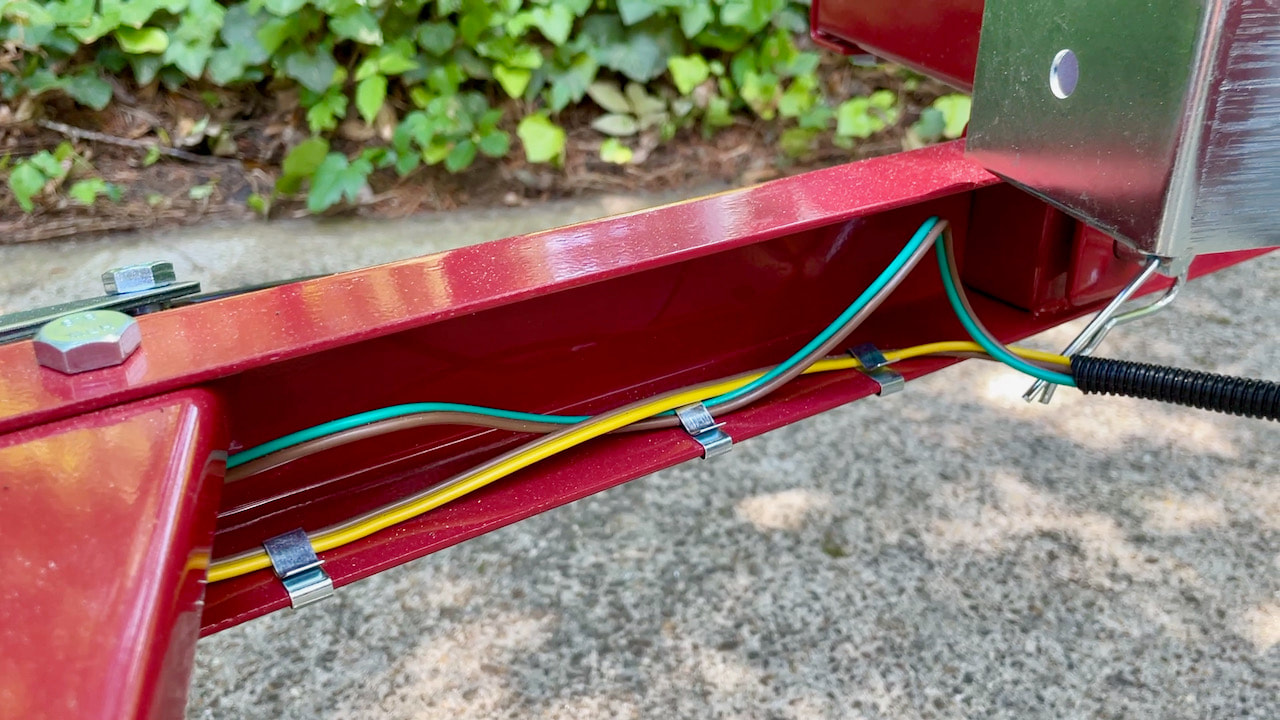
This protective wire wrap keeps the wires neat and contained. This product is available also at Harbor Freight.

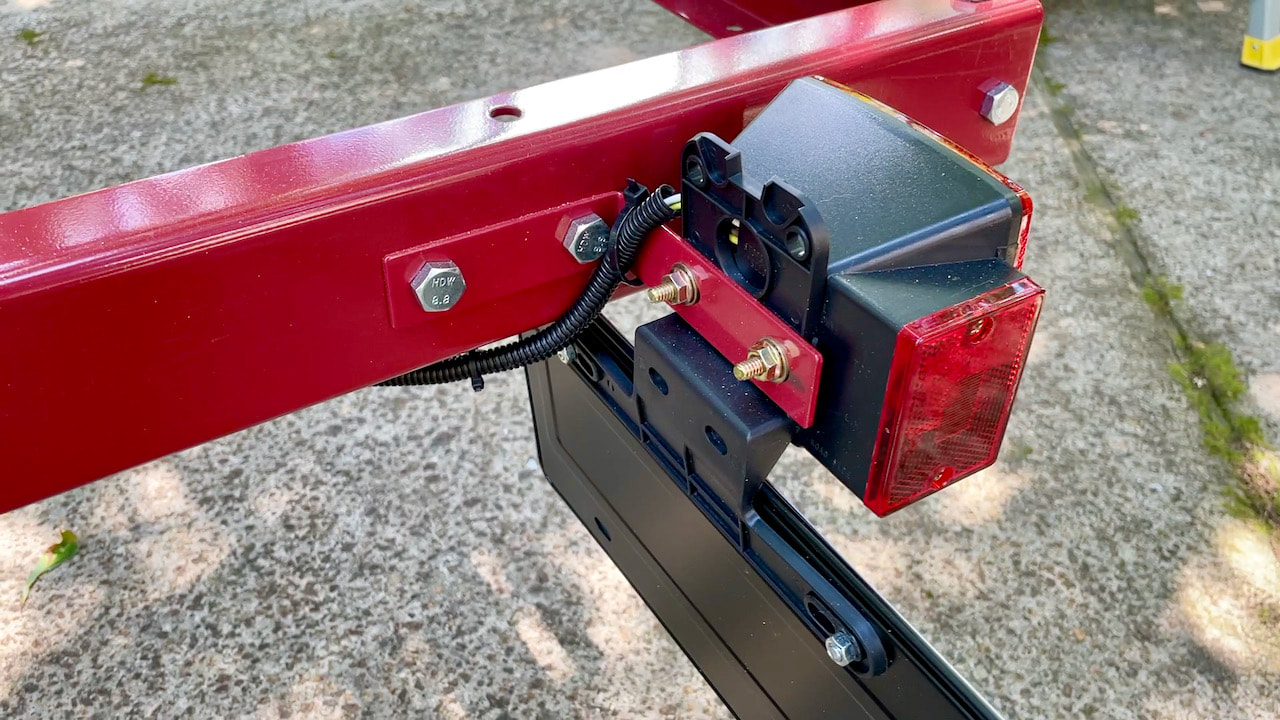
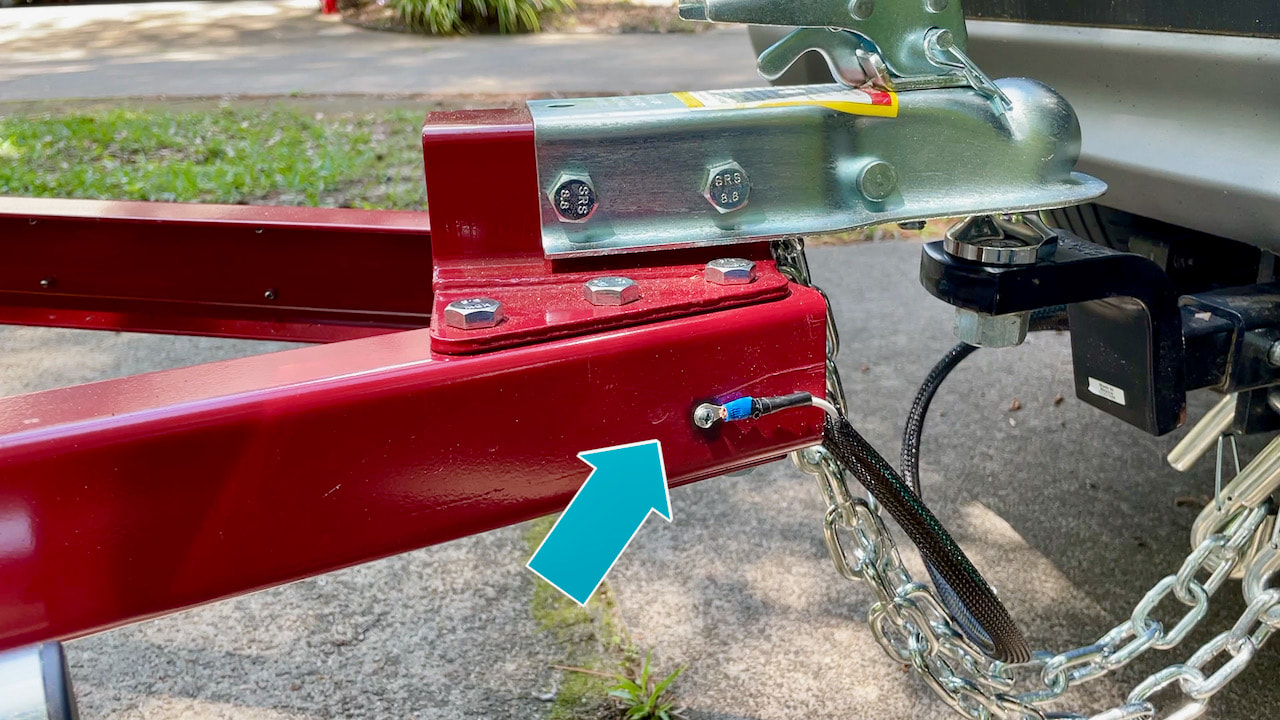
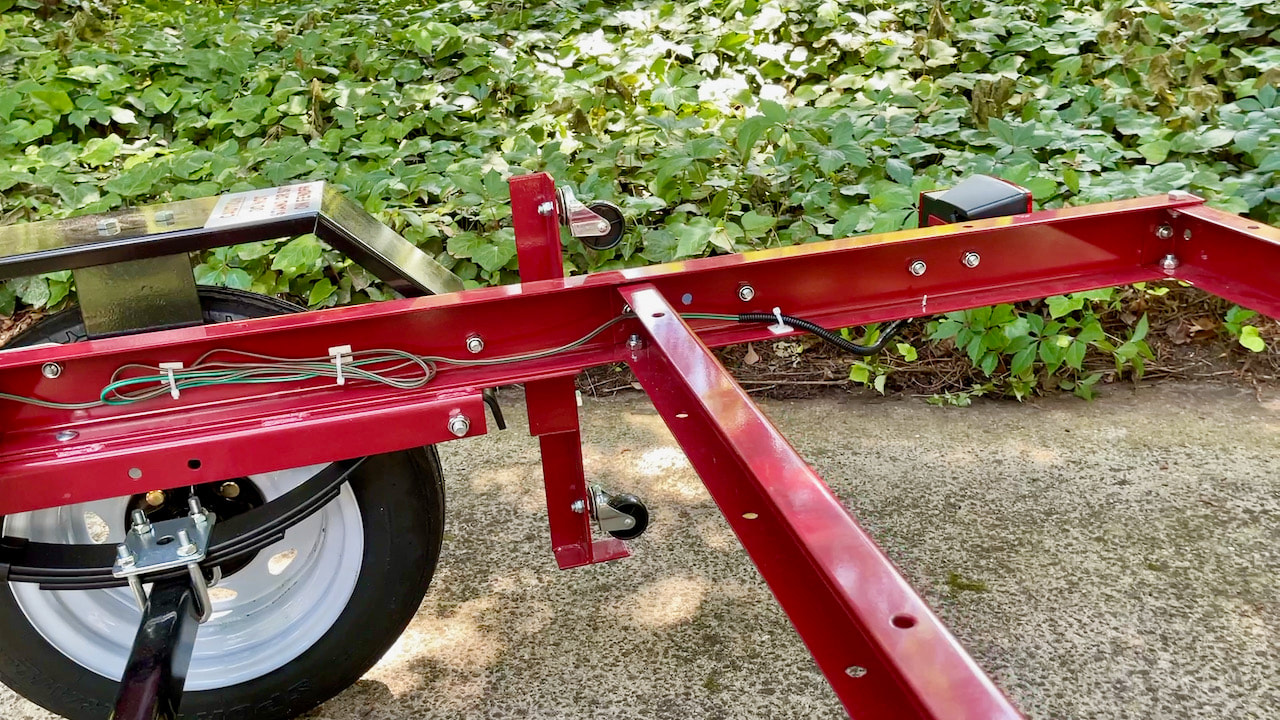
The grounding issue that caused the lights not to work initially had to do with the placement of this grounding wire. It was supposed to be on the back of the taillight bracket. It would not make a good connection in that position so the work-a-round was to drill a hole in the frame and attach the ground wire to it.
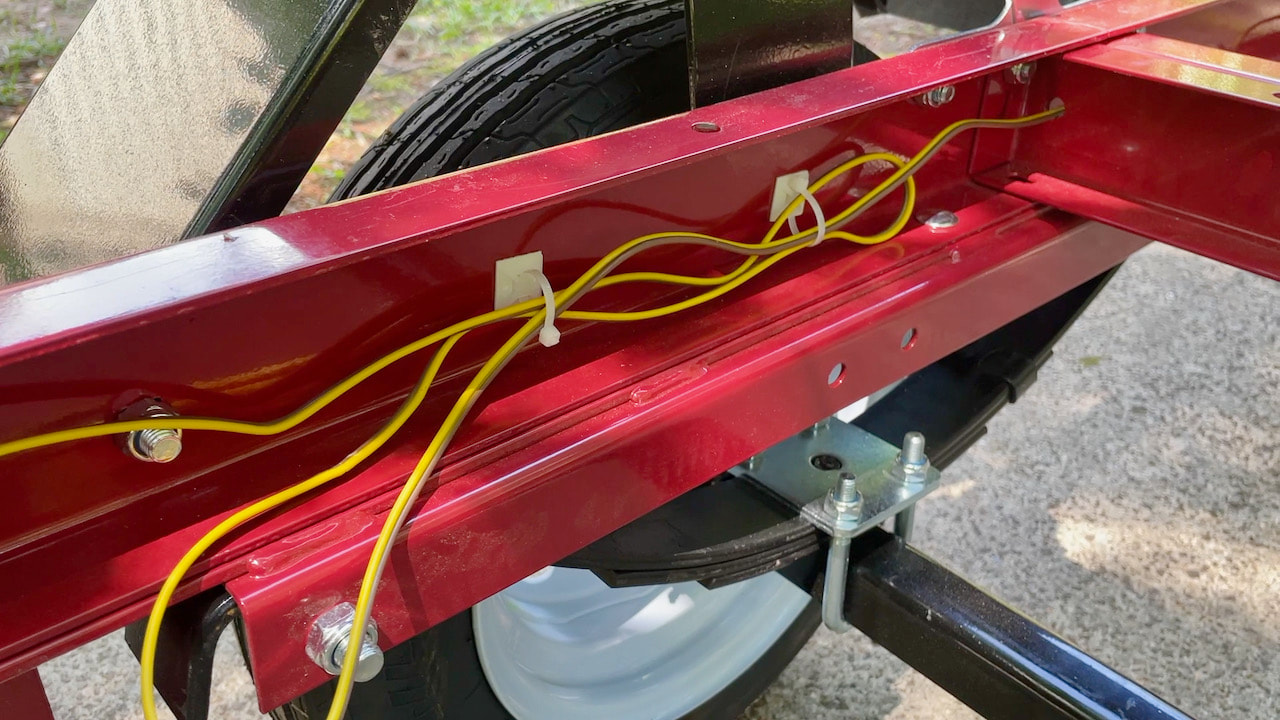
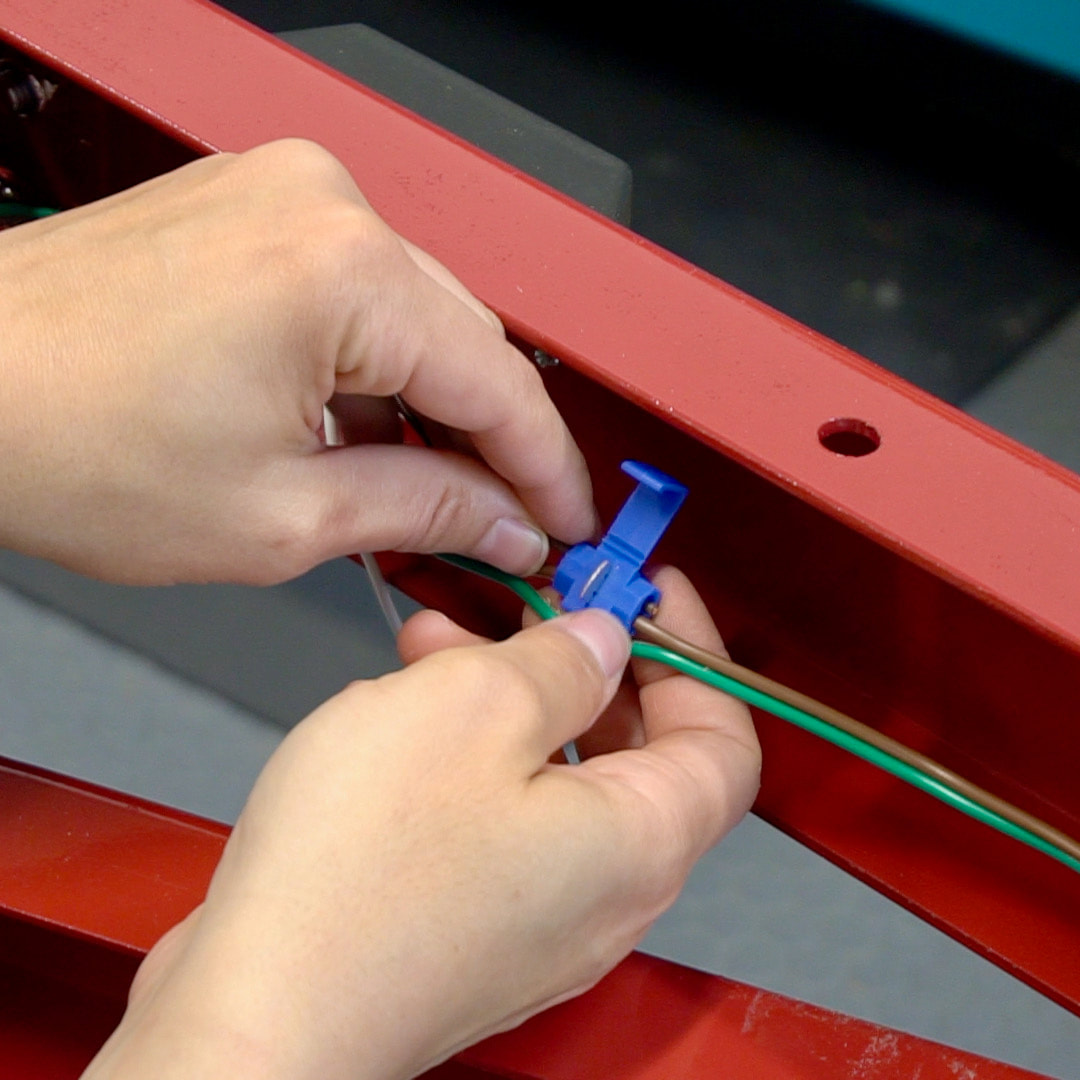
Steph also used these self-adhesive Zip Tie Mount With Cable Ties to manage all the wires.
More wire management.
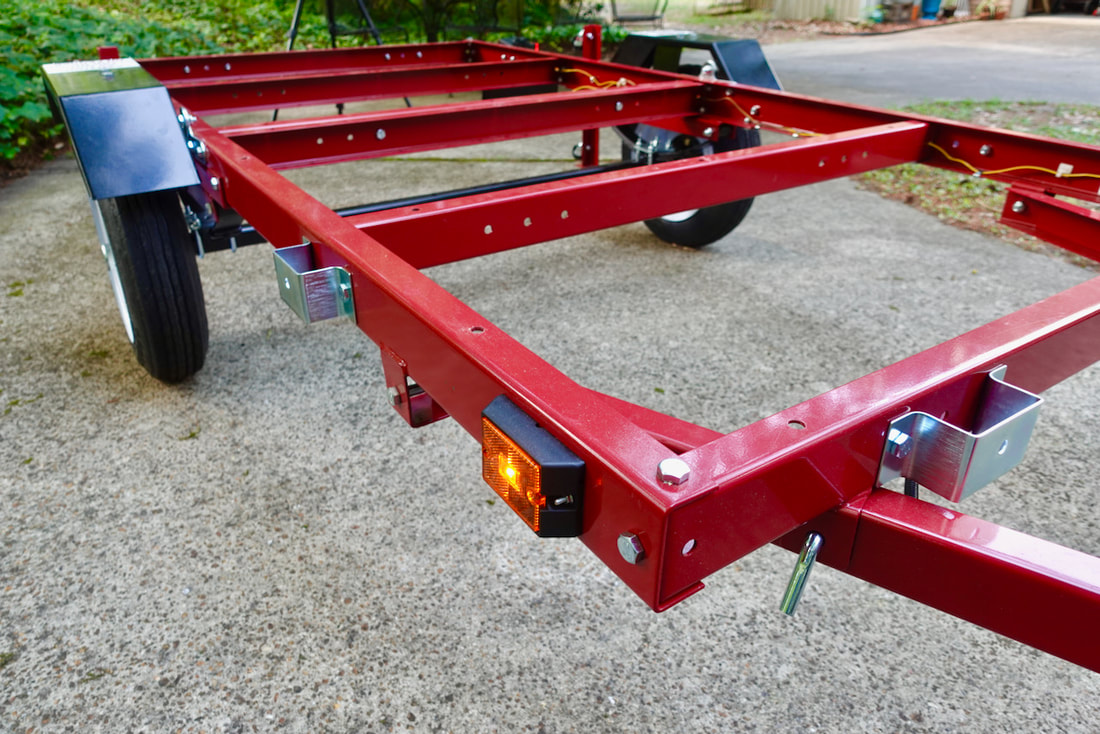
One of the grounding points on the trailer. All have to be placed right in order for the trailer wiring to work.
There are a few of these wire management clips included with all the trailer assembly hardware.
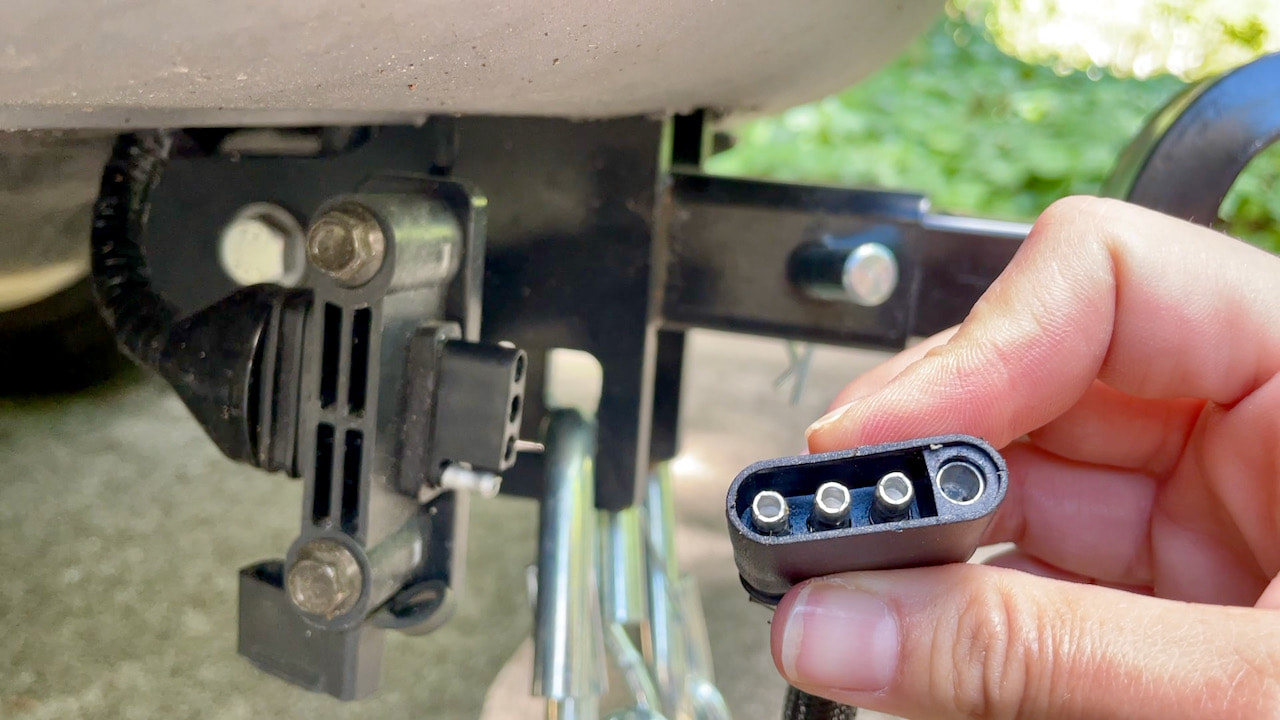
This is the part that plugs into the wiring harness on the car.
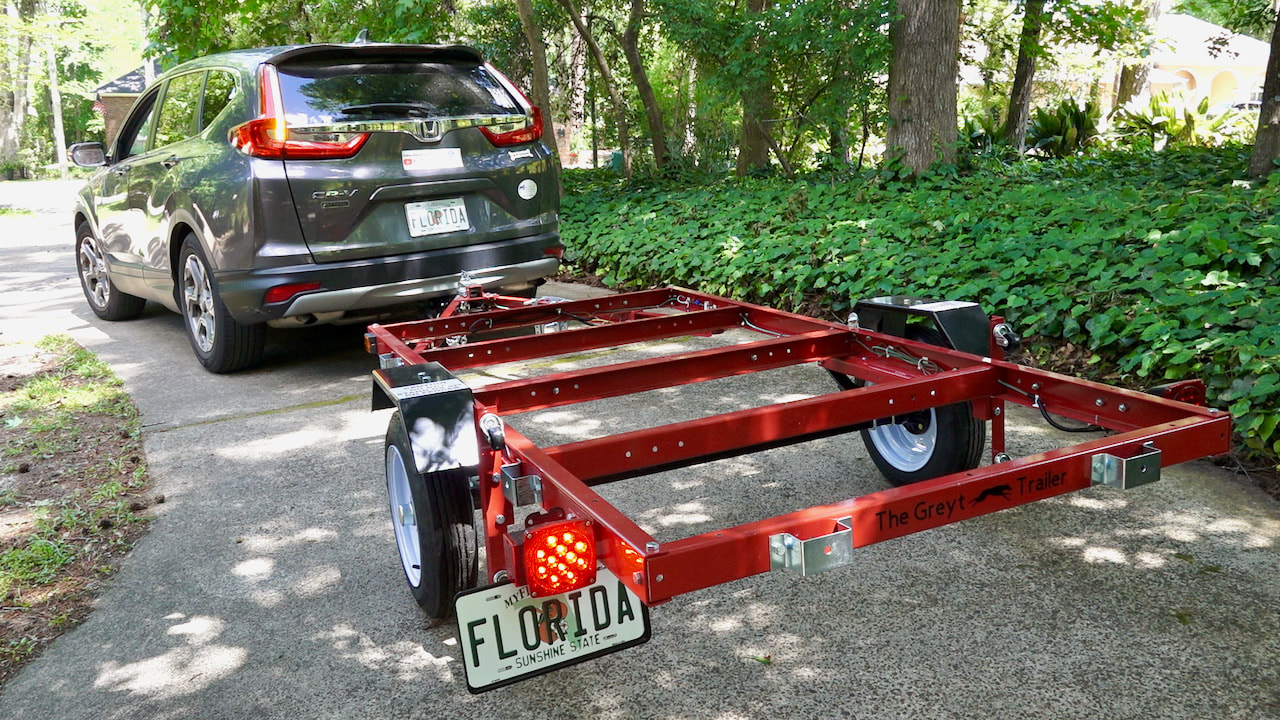
It was a great sight to see this all lit up after dealing with the grounding issue causing the lights NOT to work. Perseverance pays off (as does a little help from a friend!)
I will never be wiring up a trailer, but this was so interesting to watch. I especially liked seeing all the speciality connectors and the various means of cable (wire) management. Those things can certainly translate into other areas of DIY.
Good job Steph, your Pappou would have been so proud of you! Please note: This is not a sponsored post. FYI: We are not professionals, and we don't claim to be. This is what we found worked for our project. Yours may need a little different approach. Safety first! FYI: Affiliate links are being used on this page. Purchasing via these links help support MDP! Related Projects
8 Comments
Roger Connor
7/18/2021 04:26:27 pm
Thank you for bringing up the grounding issue. I picked up a HF trailer on Tuesday, and started wiring yesterday, only not to have it work. Installed a self tapping screw at each of the lights for the ground and everything now works!
Steph
7/18/2021 06:59:40 pm
Awesome! Glad you got it working!
Bali
7/9/2022 01:24:15 am
Can you please tell me what trailer wiring kit you used?
Steph
7/9/2022 08:12:25 pm
It came with the trailer kit.
Shirley Williams
11/23/2022 02:17:24 am
I bought a Harbor Freight trailer - the smaller size than yours. The wiring worked - at first. I had grounded everything by drilling into the frame for each of the lights as you recommended, and the ground wire to the wire harness into the tongue. My trailer only has a single straight bar for the hitch. The lights only worked intermittently, and was driving me crazy. I sanded the paint off of the ball of the hitch for better contact, and still no help. I took trailer attached to my car in for servicing to see if they could figure it out and they did. The connection of the single bar to the rest of the frame had too much paint, apparently, and would flicker the lights due to the grounding not being strong enough. He ran another bit of wire from the grounding wire on the tongue to the first ground wire of the circuit on the frame. Problem FINALLY solved. I knew the problem was the grounding, so I feel vindicated on that at least. Your video was the only one I could find that actually showed HOW to do the wiring, so thanks! Who knew the problem could be too much freaking paint!
Steph
11/23/2022 09:55:22 am
Wow! Glad you got it figured out. Thanks for sharing!
Bill S
3/20/2024 11:29:33 pm
What a well done and informative video! No fluff and very clear. thank you!!!
Steph
3/21/2024 08:01:00 am
Thanks Bill! Leave a Reply. |

Mother Daughter Projects
|