|
text by Vicki Sign up here to join our weekly email newsletter!
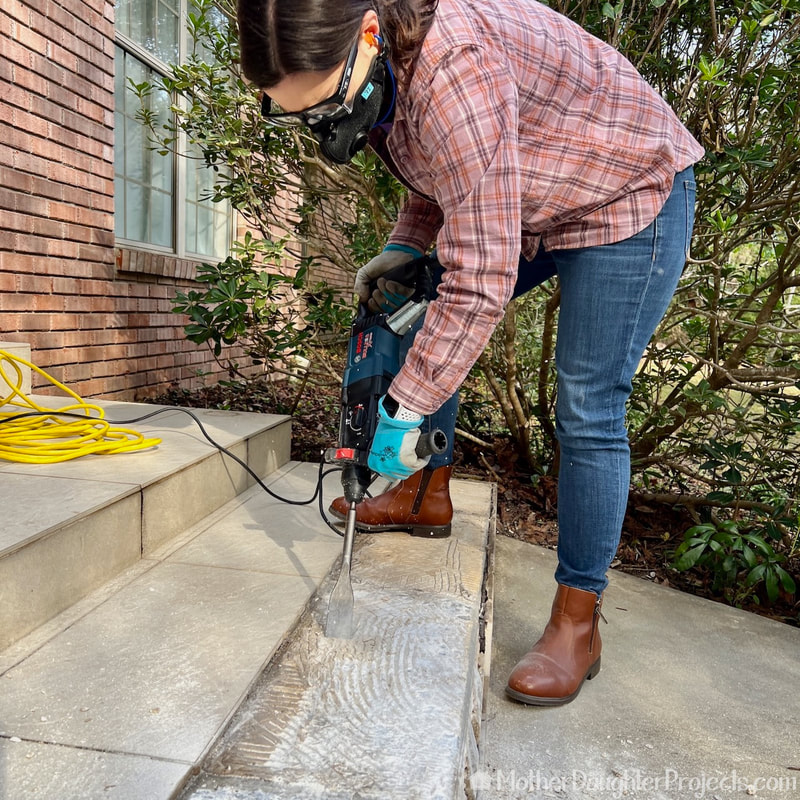
This is the last part of a four-part series on the retiling of the outdoor steps at Vicki's house. To recap, the steps are 12 years, but we discovered several tiles were loose which needed immediate attention for safety reasons. Ultimately, we found that all the tiles on the first step and most of the second were loose.
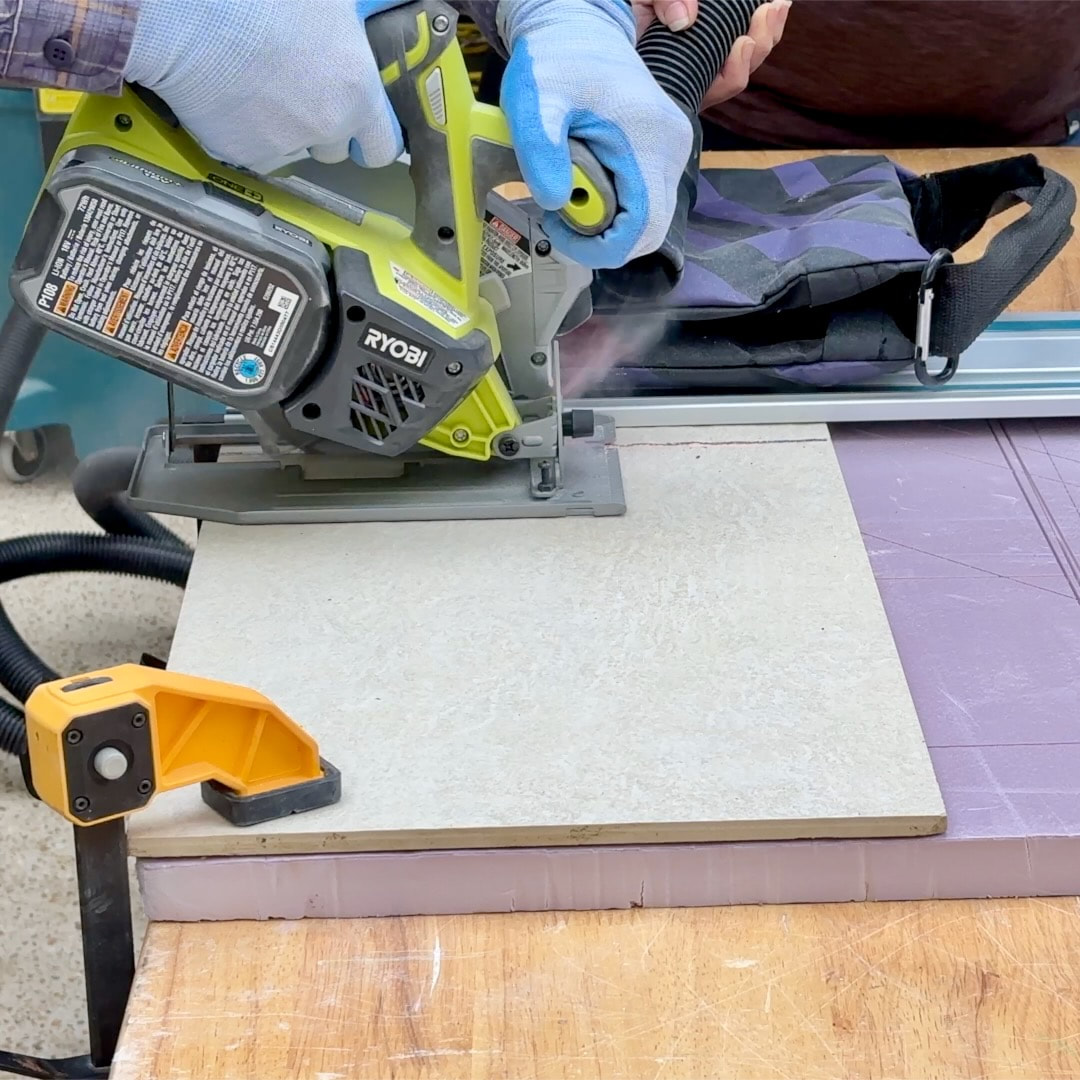
To fix them, we chiseled off the old mortar, cleaned the old tiles, cut new tiles, laid them on fresh mortar, and in this post, we do the final step: grout, sealing, and clean-up. Products:
Tools:
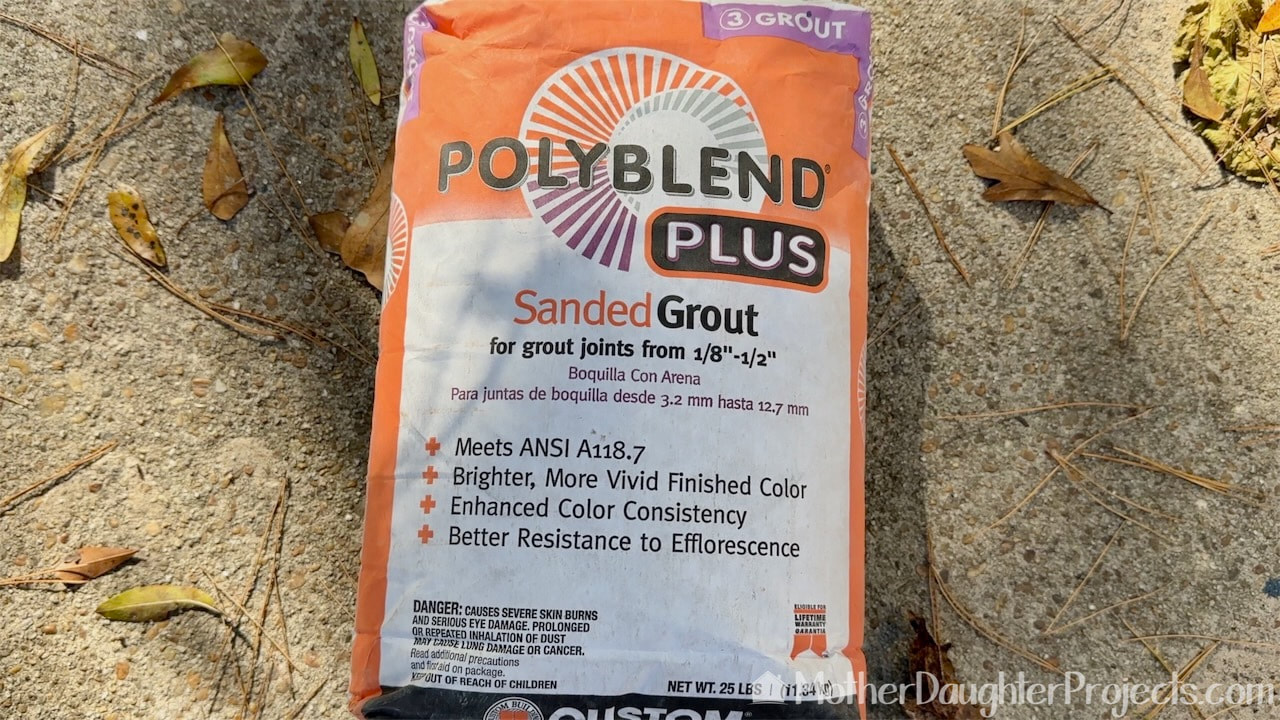
After consulting with an associate in the tile department at the Home Depot, this grout was recommended for the large porcelain tiles we are using.
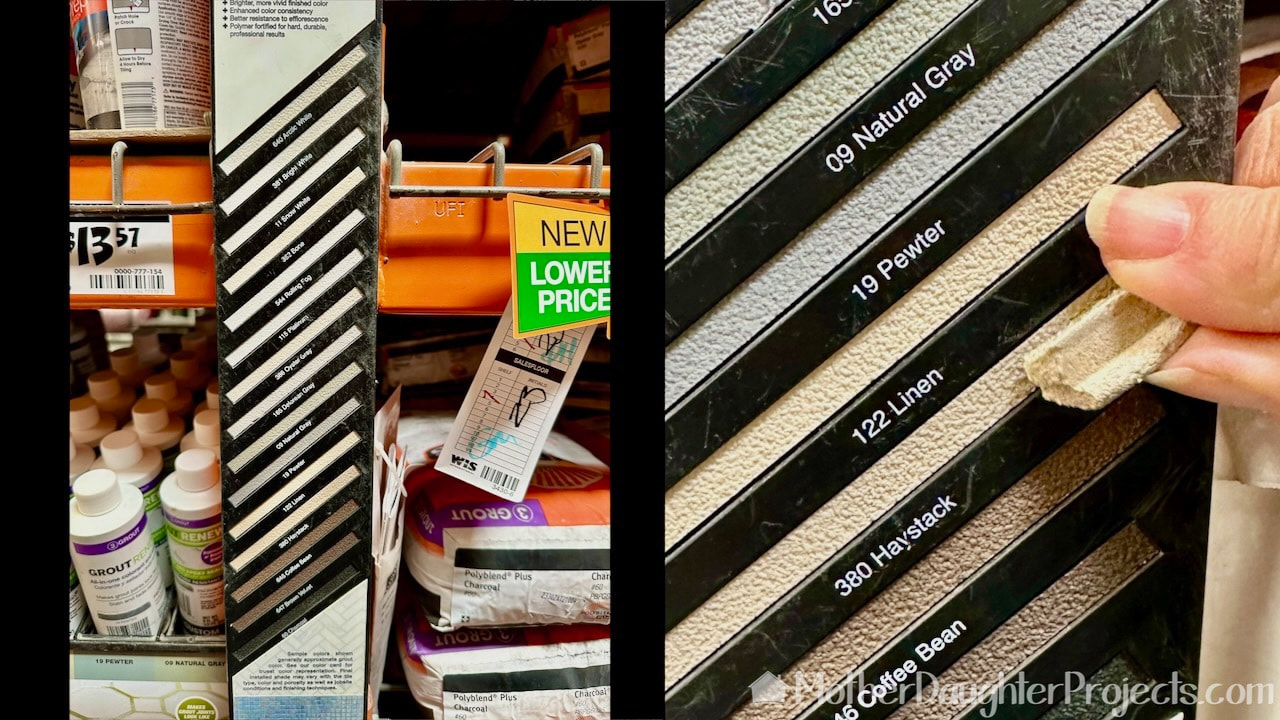
We took a piece of our old grout with us to match the color which was 122 Linen. It ended up being perfect.
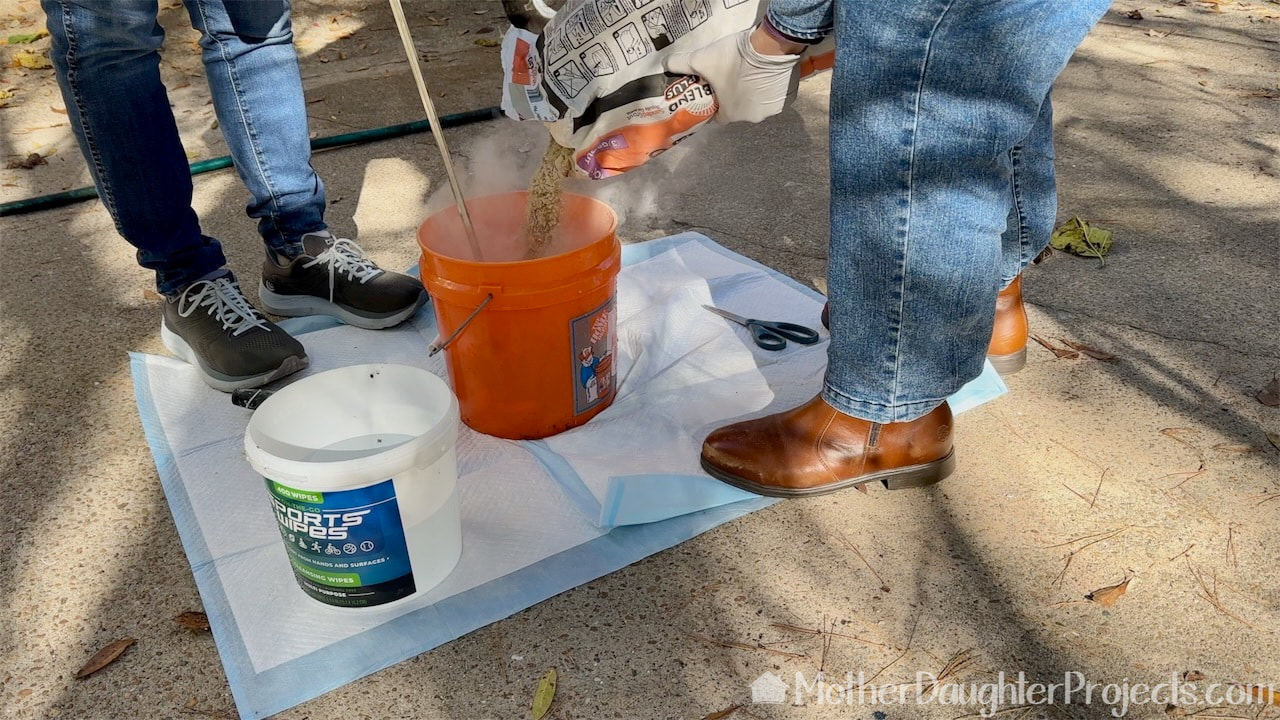
We mixed up the grout according to the instructions on the bag. Tip: take a picture the instructions to refer back to.
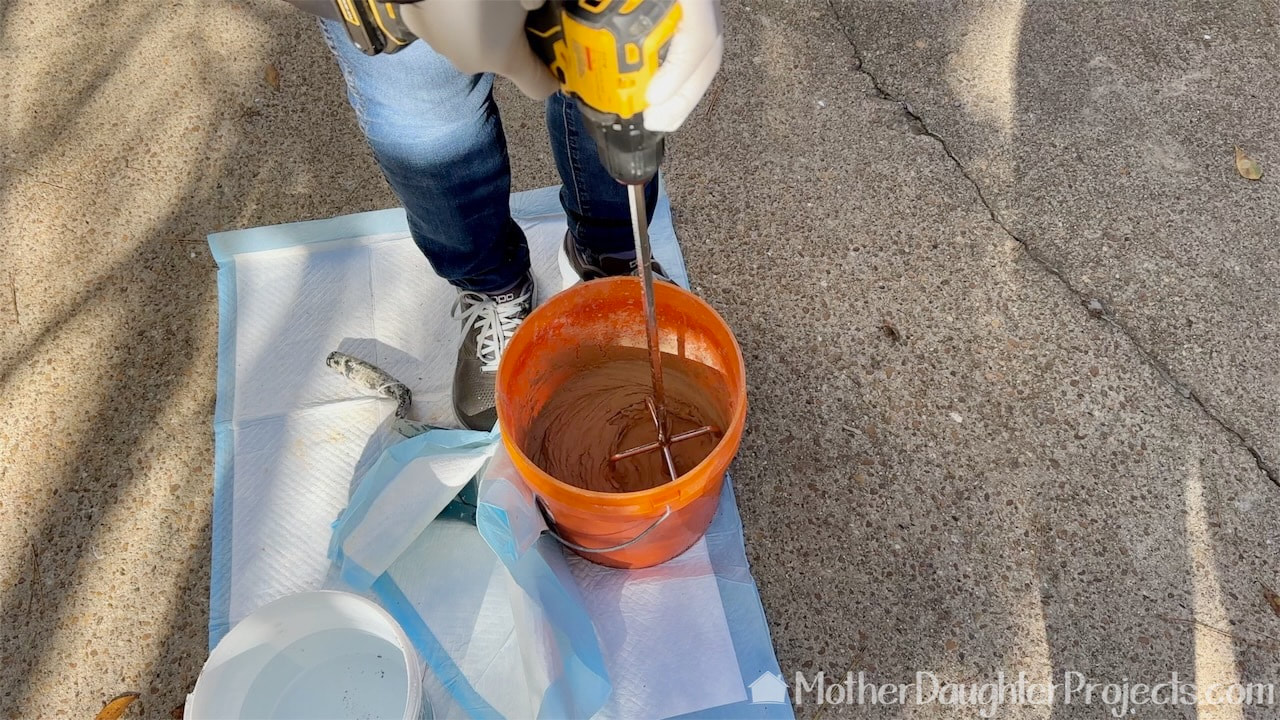
We attached a paddle mixer to our drill for easy mixing of the grout.

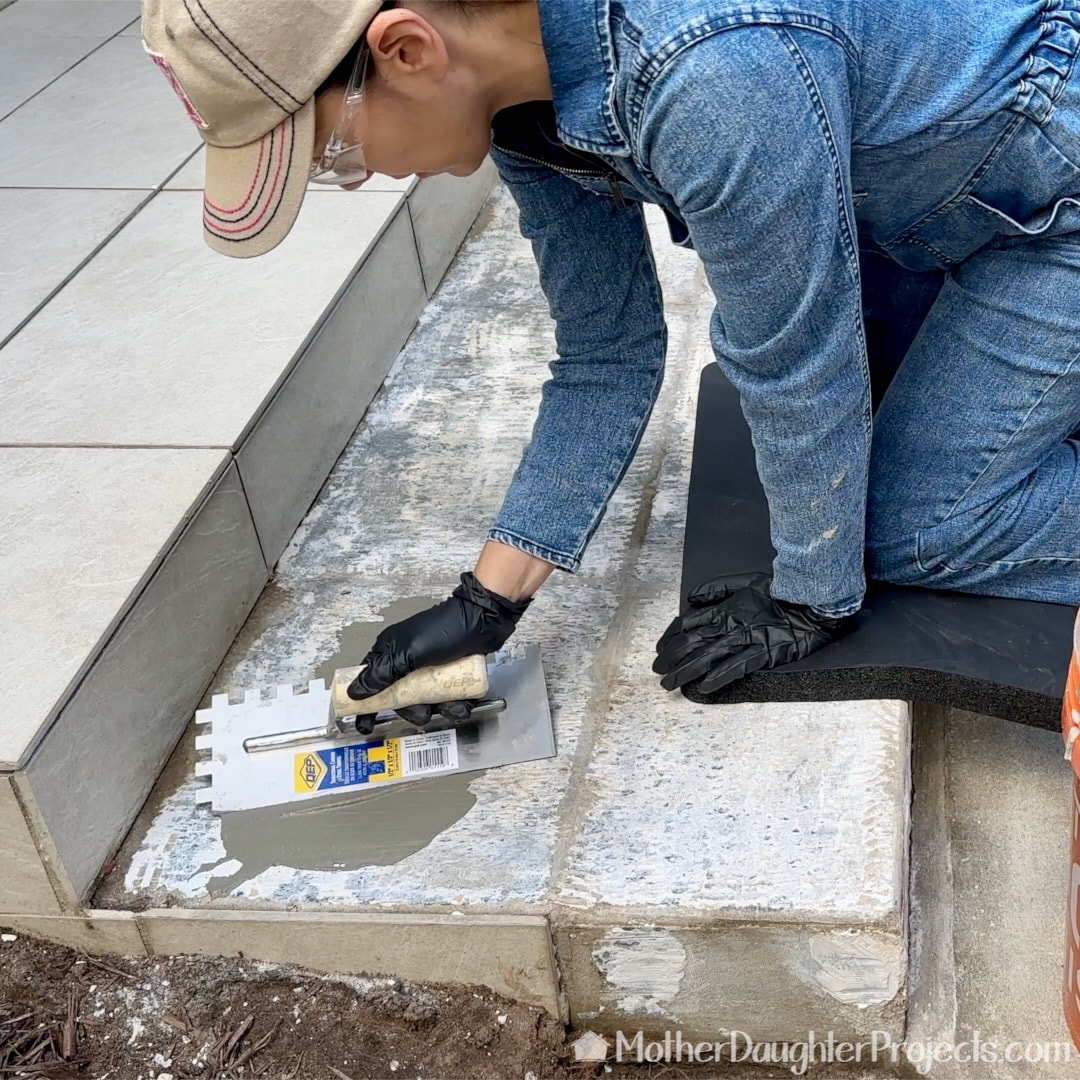
The prepared grout was spread with a rubber grout float. The grout is pushed into the grout lines at a 45 degree angle.
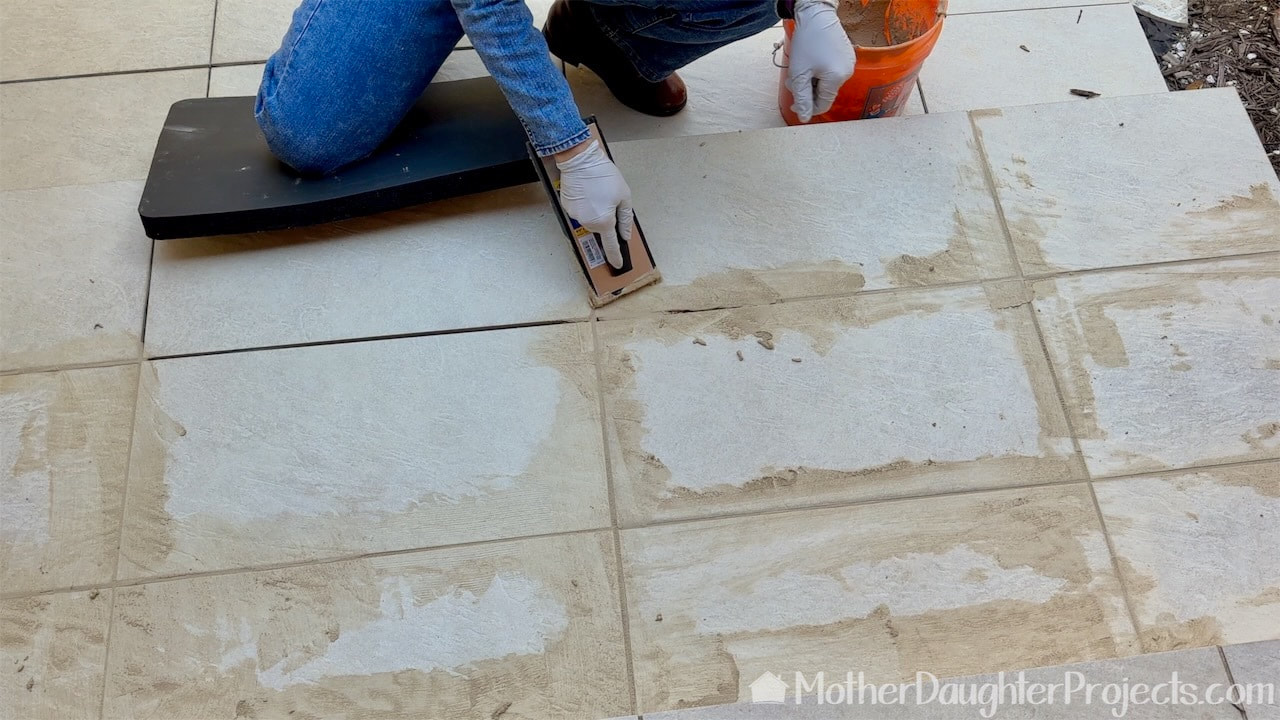
Steph continued adding grout while I started the cleanup using damp sponges and microfiber cloths.
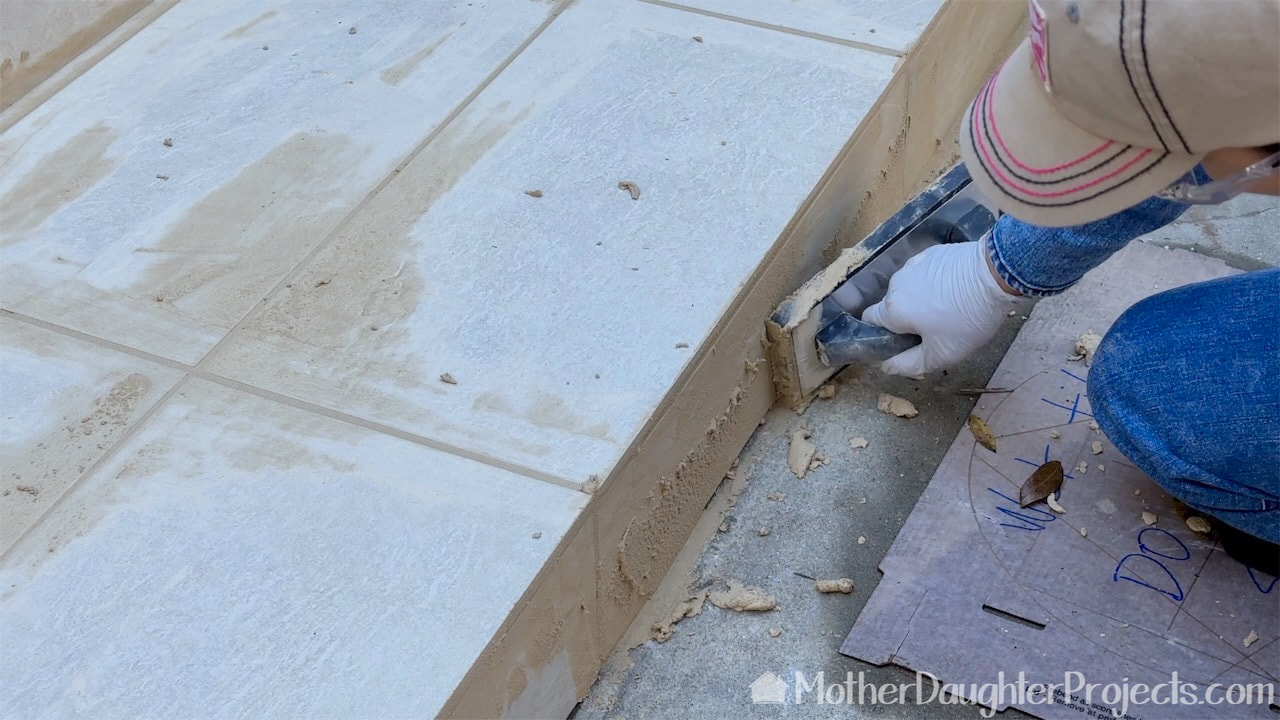
Adding the grout to the vertical tiles was difficult and messy. The use of a grout bag would have been helpful here.
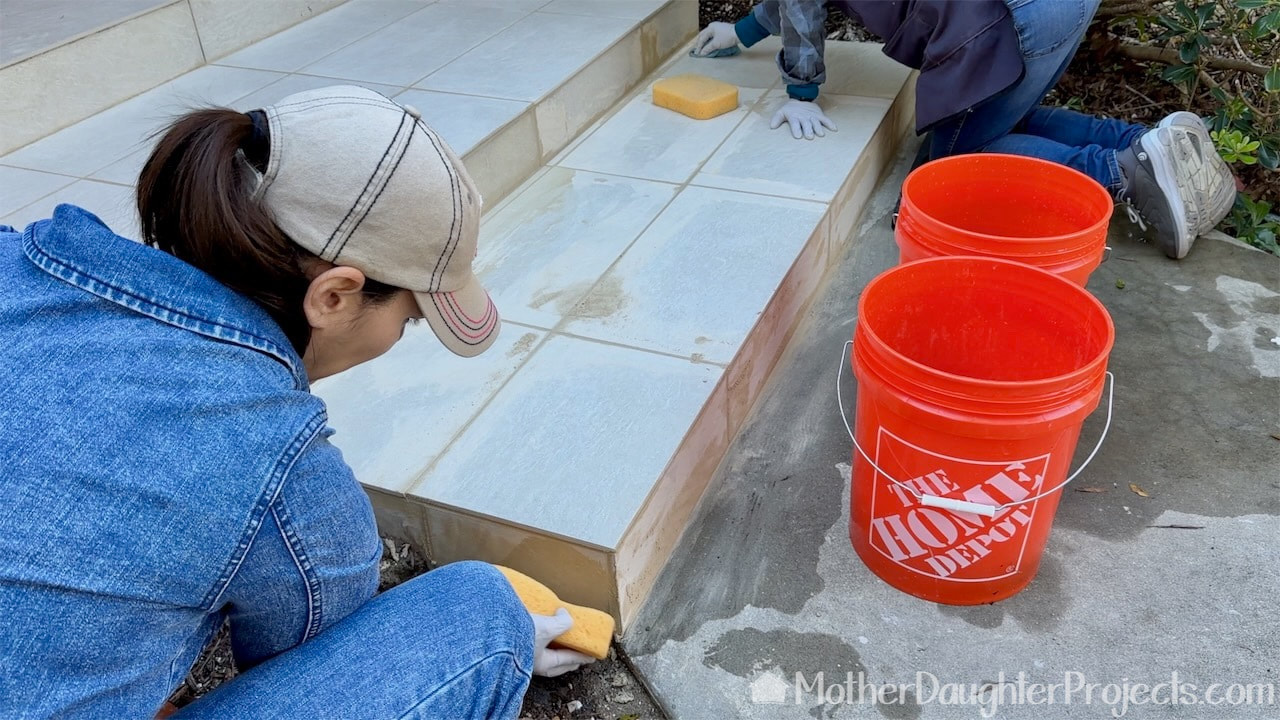
We had two buckets of water to help with the clean up. One was for rinsing the dirty sponges and microfiber cloths and the other was clean water to rewet the sponges and microfiber cloths.
We used microfiber cloths that were well used which had been washed and dried frequently as new ones can leave lint which you do not want in your fresh grout!
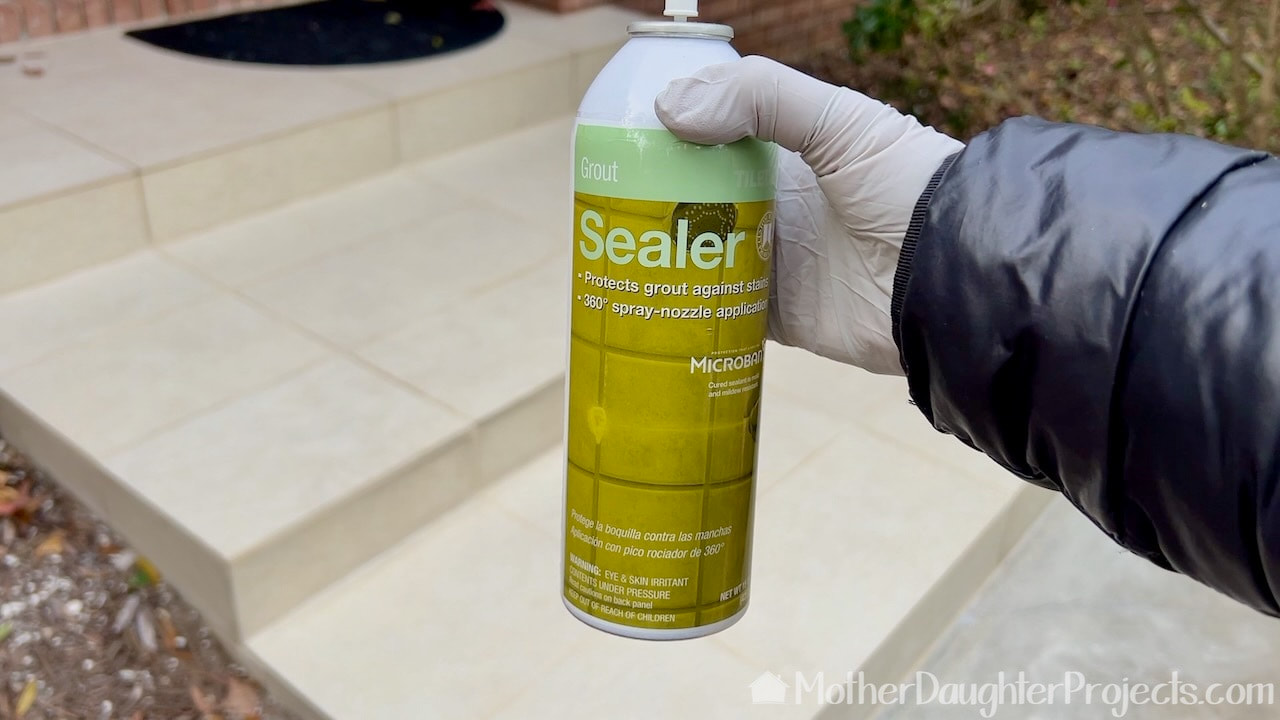
Lastly, I used a sealer as a little insurance against stains. At the time of this post, this brand of sealer is available at the Home Depot, but not in this type of can. That is too bad as this was really easy to use!
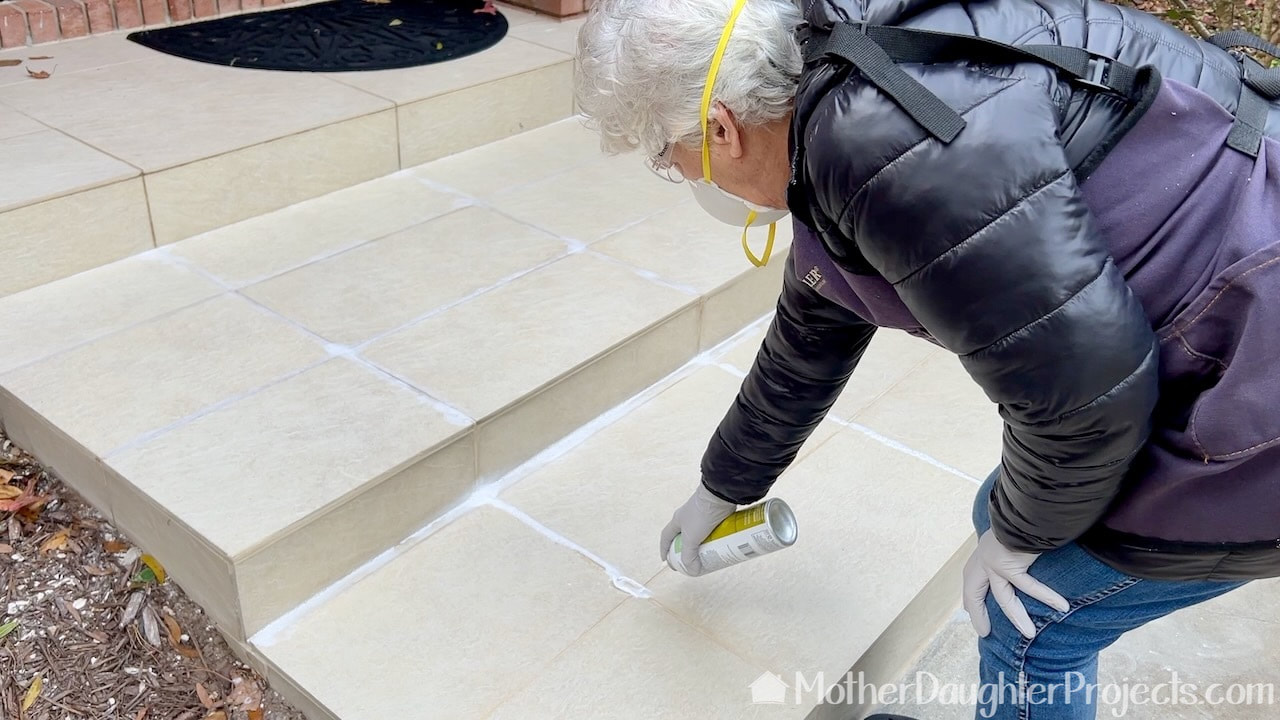
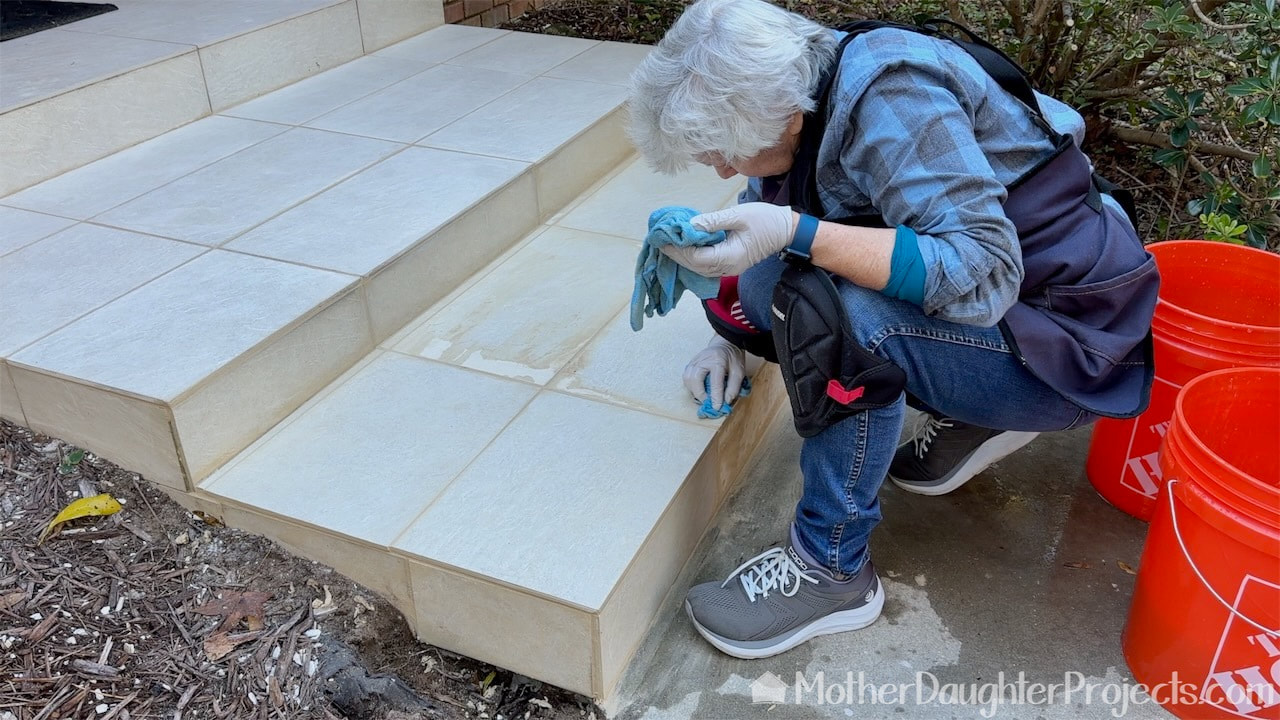
After applying the sealer, I wiped the excess off the tiles with a microfiber cloth. Note: anytime I use an aerosol product, I try to remember to use a mask.

All finished and looking like we didn't do anything!
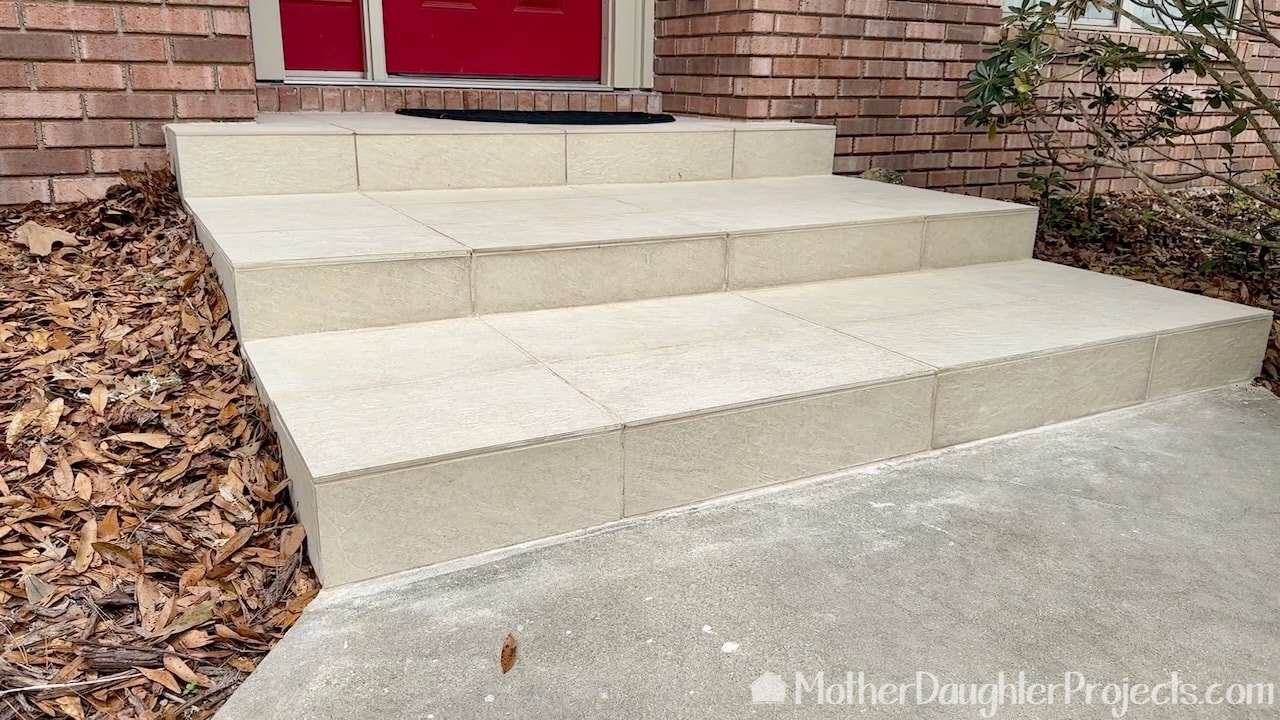
Did you notice the white line in front of the step on the concrete? You can see it gets wider from the far right to the left. On the left side it extends about a 1 1/4 inches from the new tile. This is how far the tile was placed from the front in the original install. We adjusted the vertical tiles on the front edge so that they are now flush against the concrete.
This repair to the outdoor front steps was a big undertaking. After discovering it was going to be a much bigger project that we first thought, we were unsure whether we should hire this out or do it ourselves.
We were fortunate to chat with a very knowledgeable associate in the tile department at the Home Depot who pointed us to the tools and products we needed and most of all provided encouragement. We had so many questions about these steps:
Please note: This is not a sponsored post. We are not professionals, and we don't claim to be. This is what we found worked for our project. Yours may need a little different approach. Safety first! Affiliate links are being used on this page. Purchasing via these links help support MDP. Related Projects
0 Comments
Leave a Reply. |

Mother Daughter Projects
|