|
text by Vicki Sign up here to join our weekly email newsletter!
Steph is becoming quite the expert when it comes to installing faucets! She says it's quite straight forward with the only real problem is trying to get comfortable in a very tight working space.
Come along as she shares how she installed a new faucet in the guest bath makeover at my house. Materials/Tools:
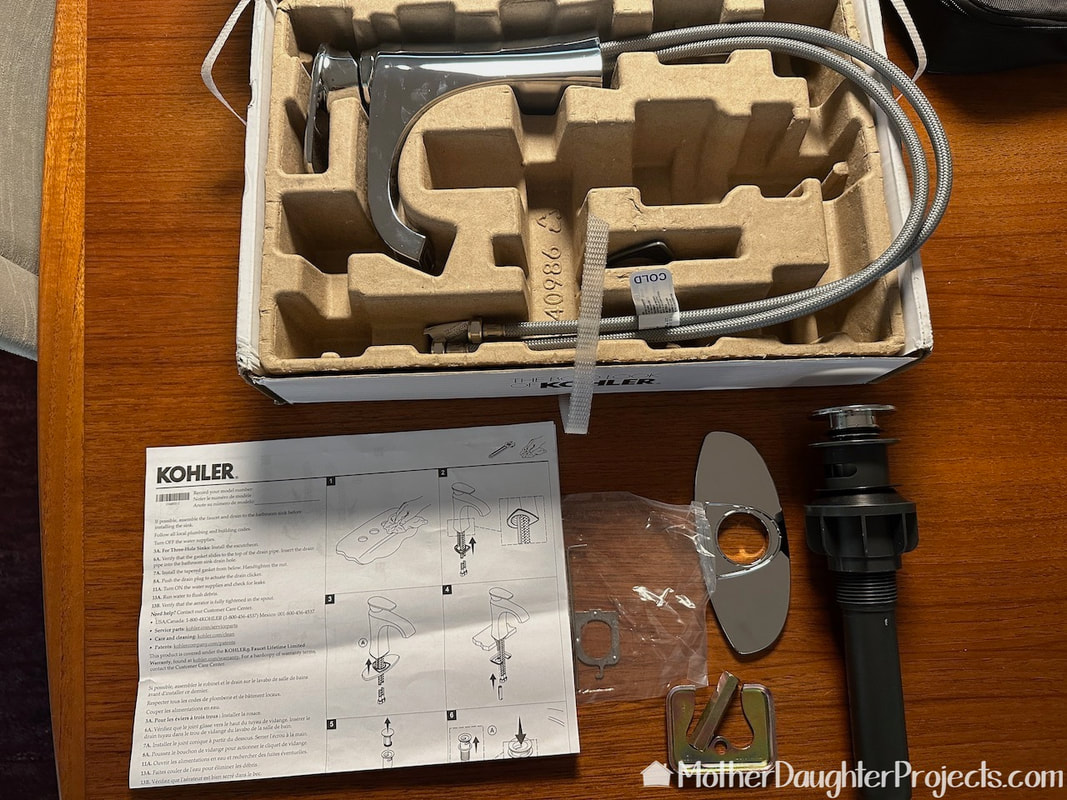
The Kohler faucet was ordered from Costco.com. It came well packaged and without damage. It was not packaged in another box but had those white straps to keep it well sealed.
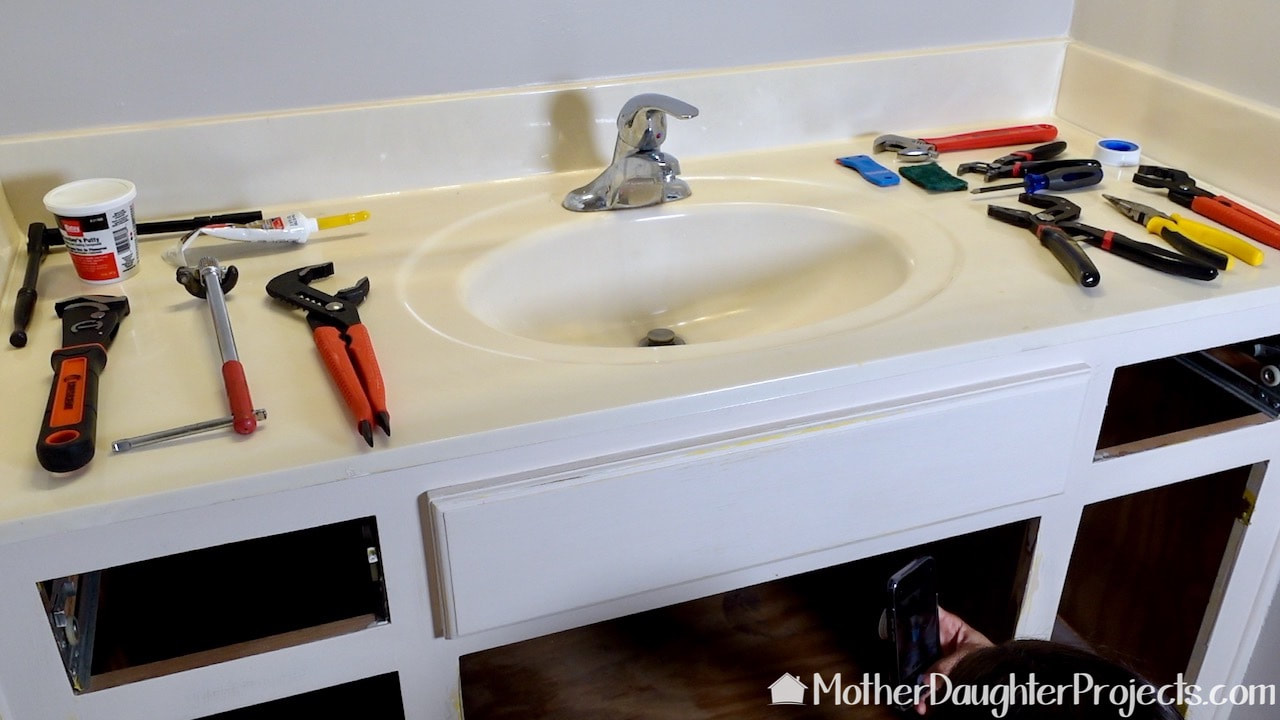
Steph gathered a variety of tools although she did not use all of these. You never know what you're going to encounter so it's good to have everything "just in case."
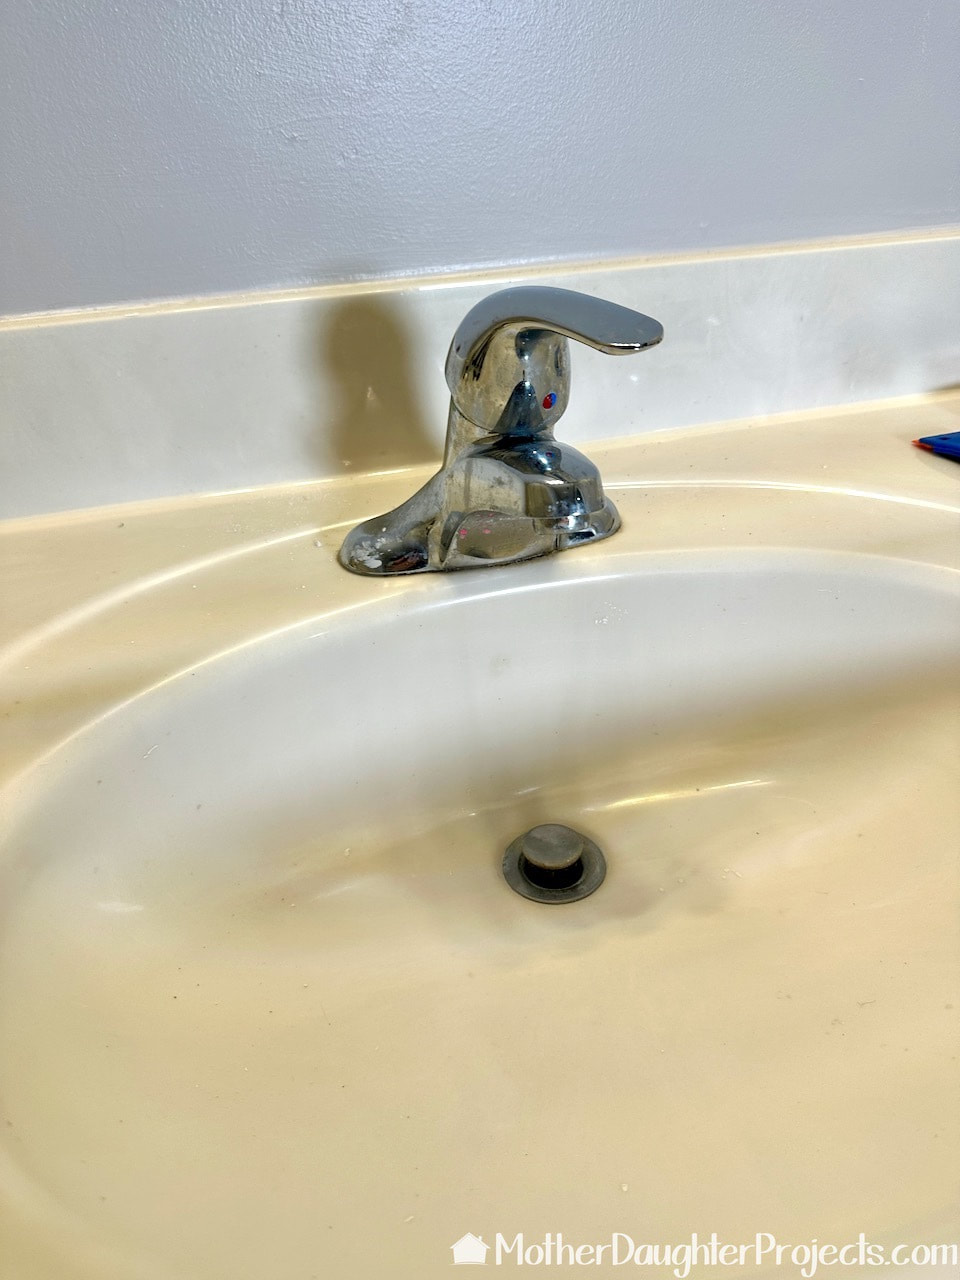
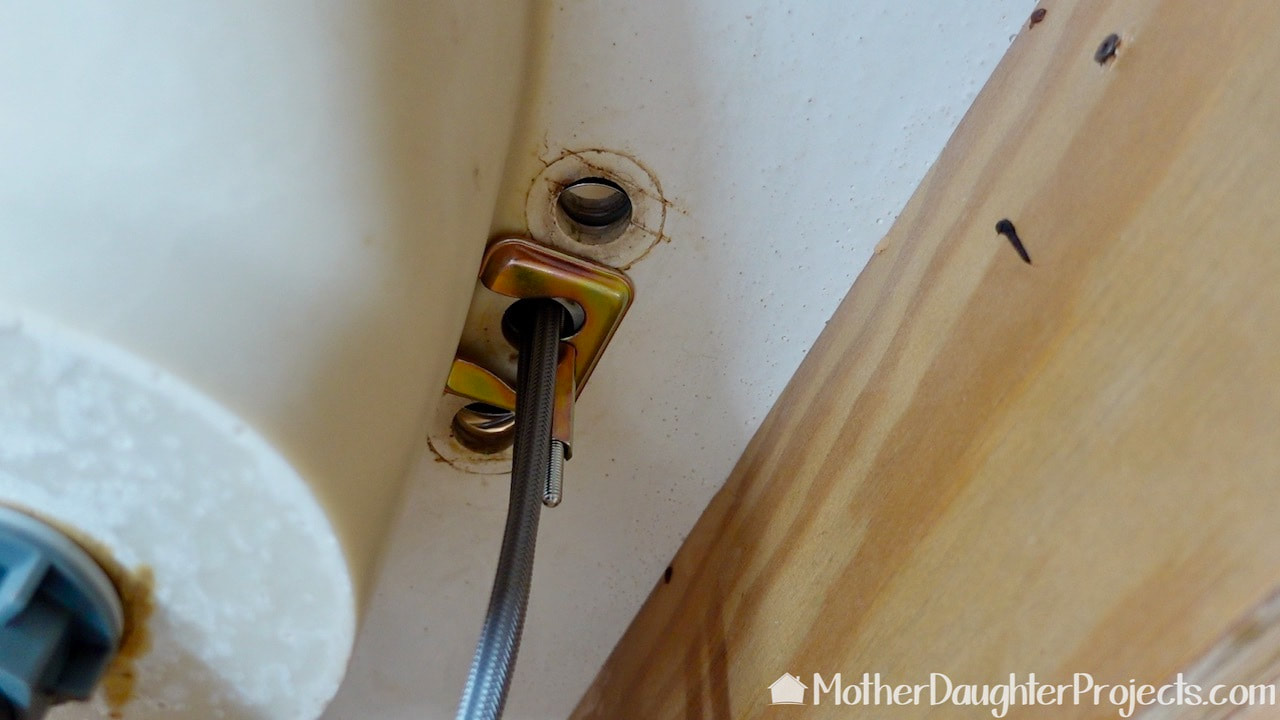
First step is to turn off the water and place a container under the drain to catch any drips. Once that is done, disconnect the hot and cold water supply lines.
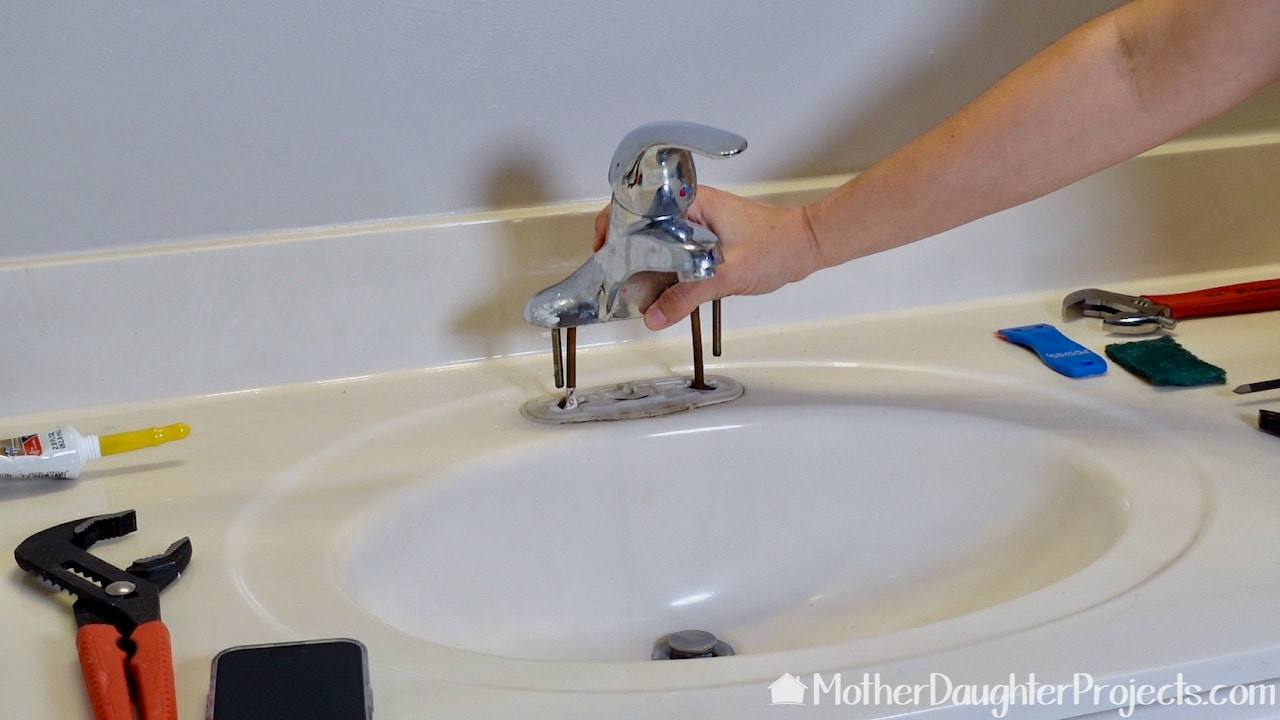
Once all the nuts holding the old faucet in place are removed then the old faucet can be lifted up.
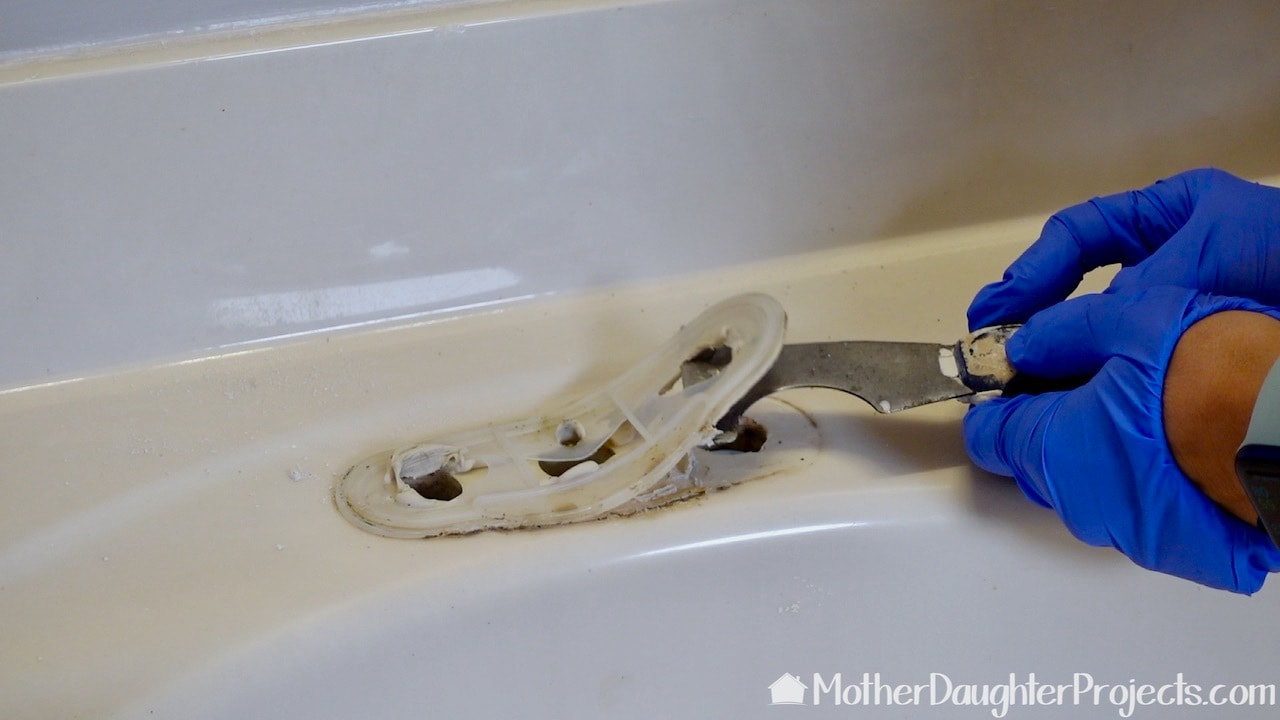
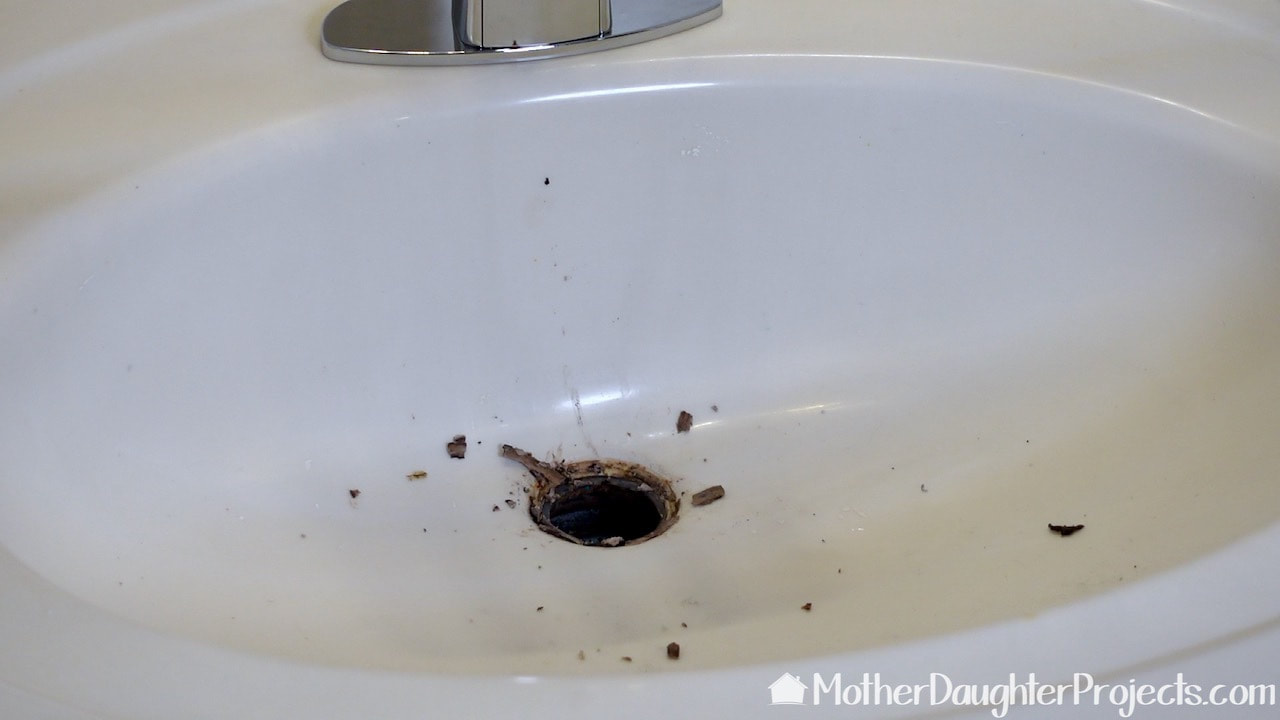
This is the residue of plumber's putty that was used in the original install. It is easy to scrap up.
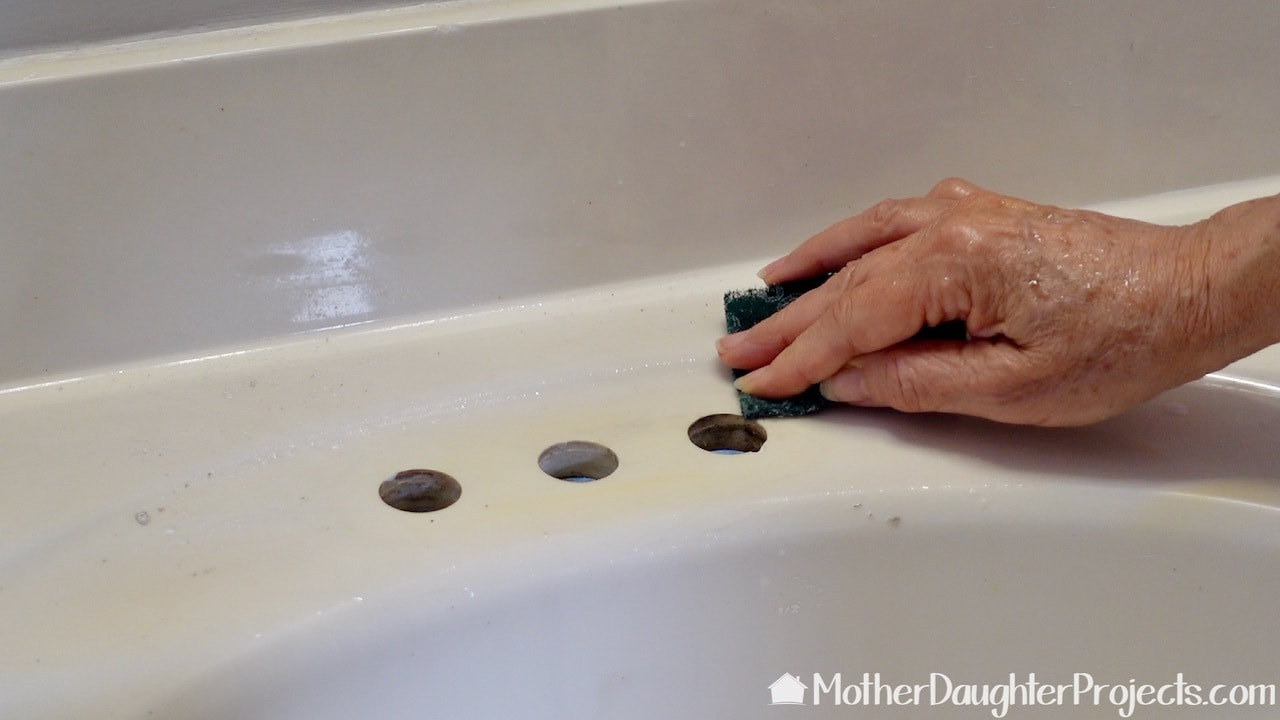
I used a Scotch Brite pad to clean up the remaining putty.
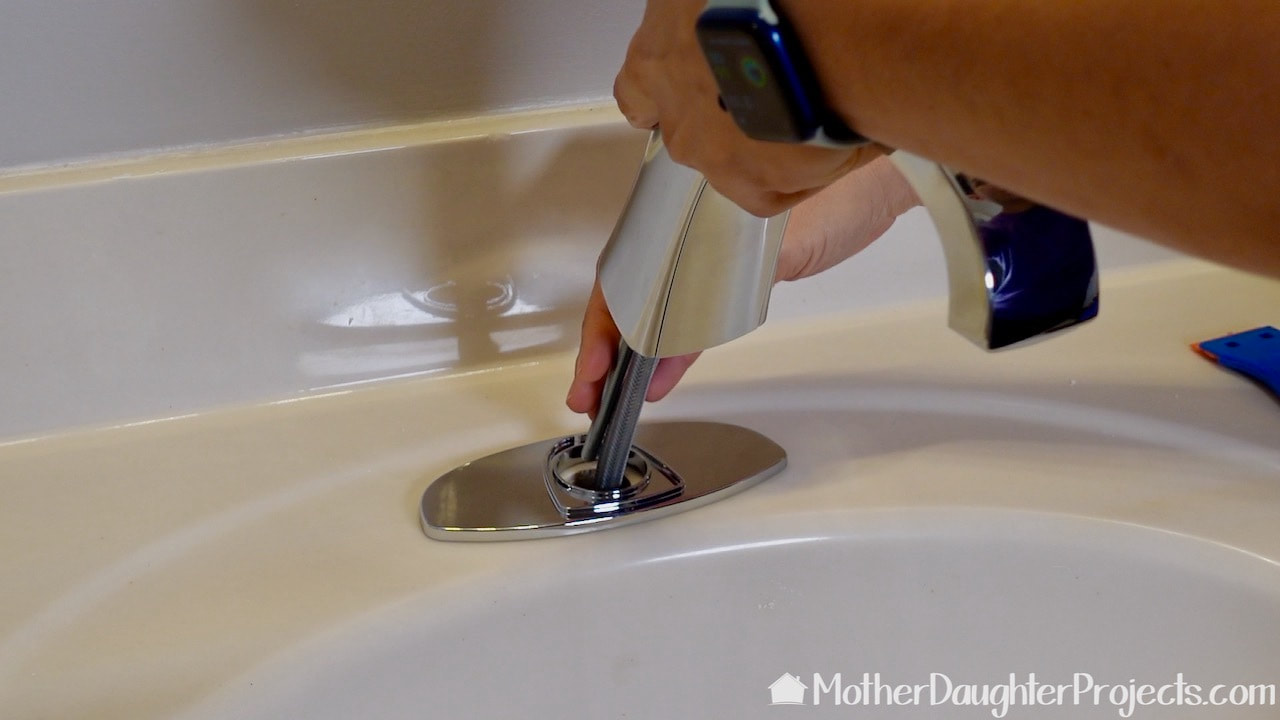
Time to add the new faucet. The plate covers up the extra holes. The only negative about this faucet is this plate is plastic. It will be a challenge to remember to use cleaning products that won't damage this part of the faucet.
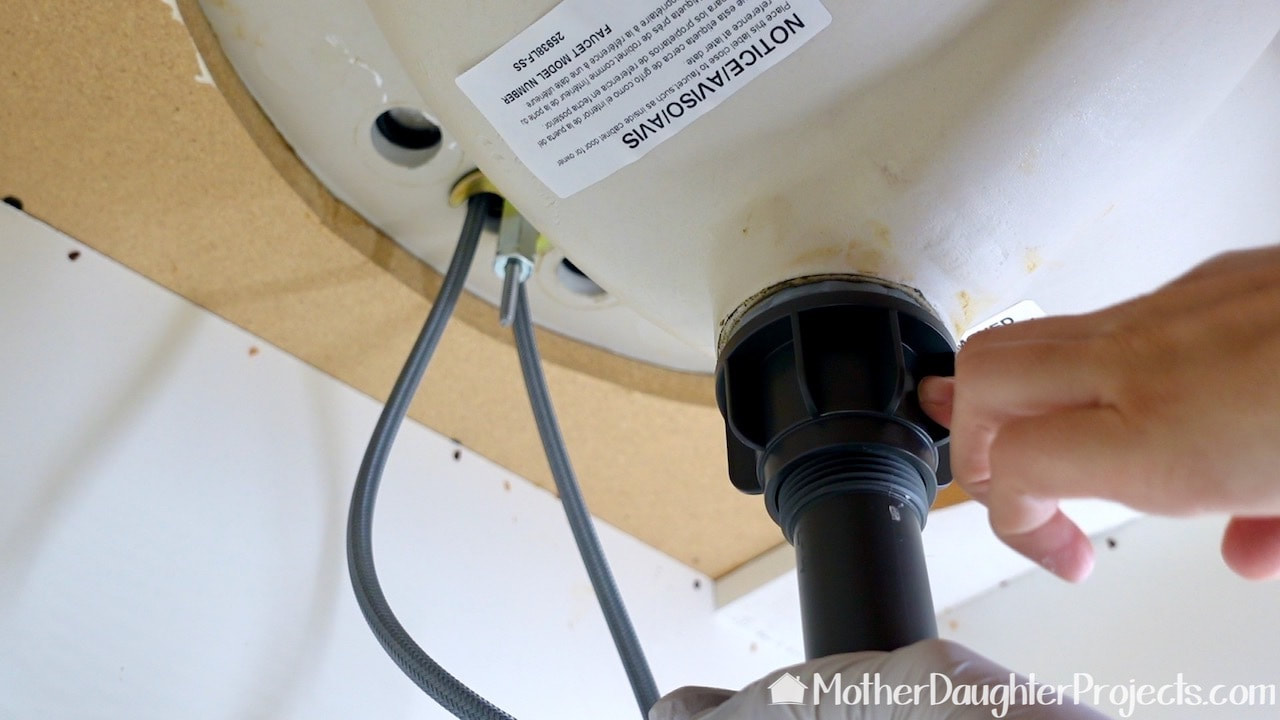
The part secures the faucet to the underside of the sink.
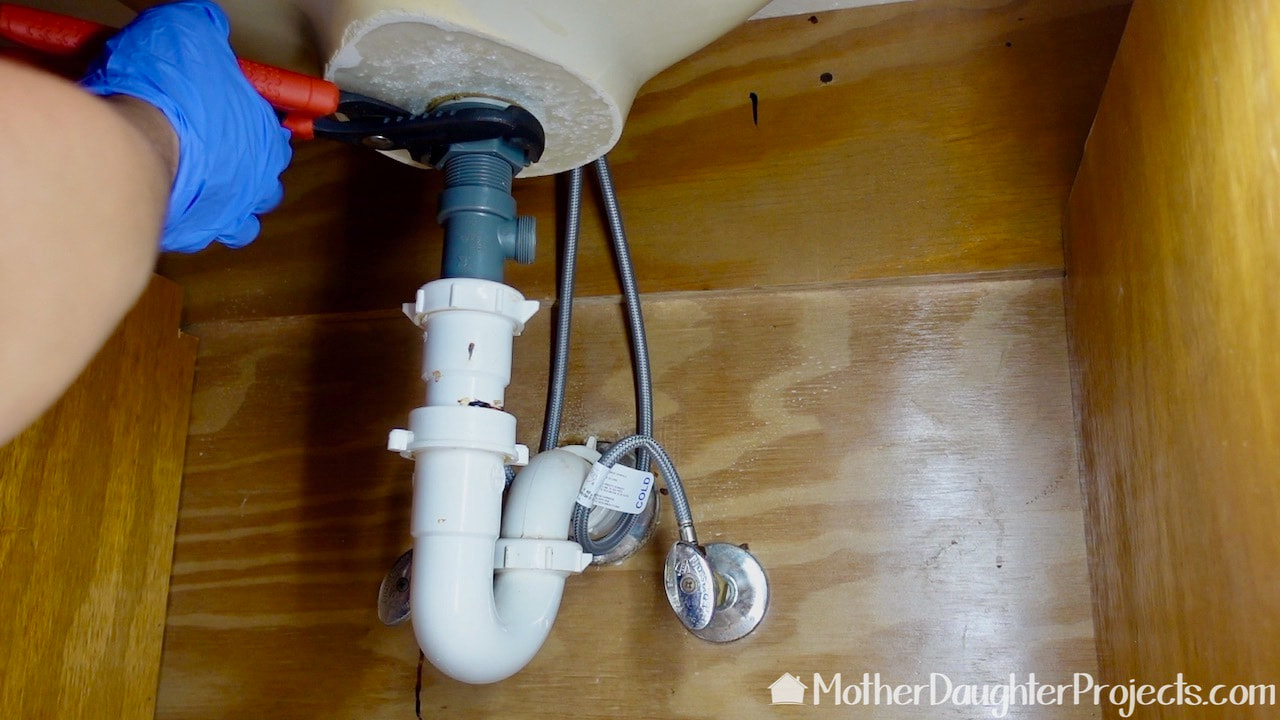
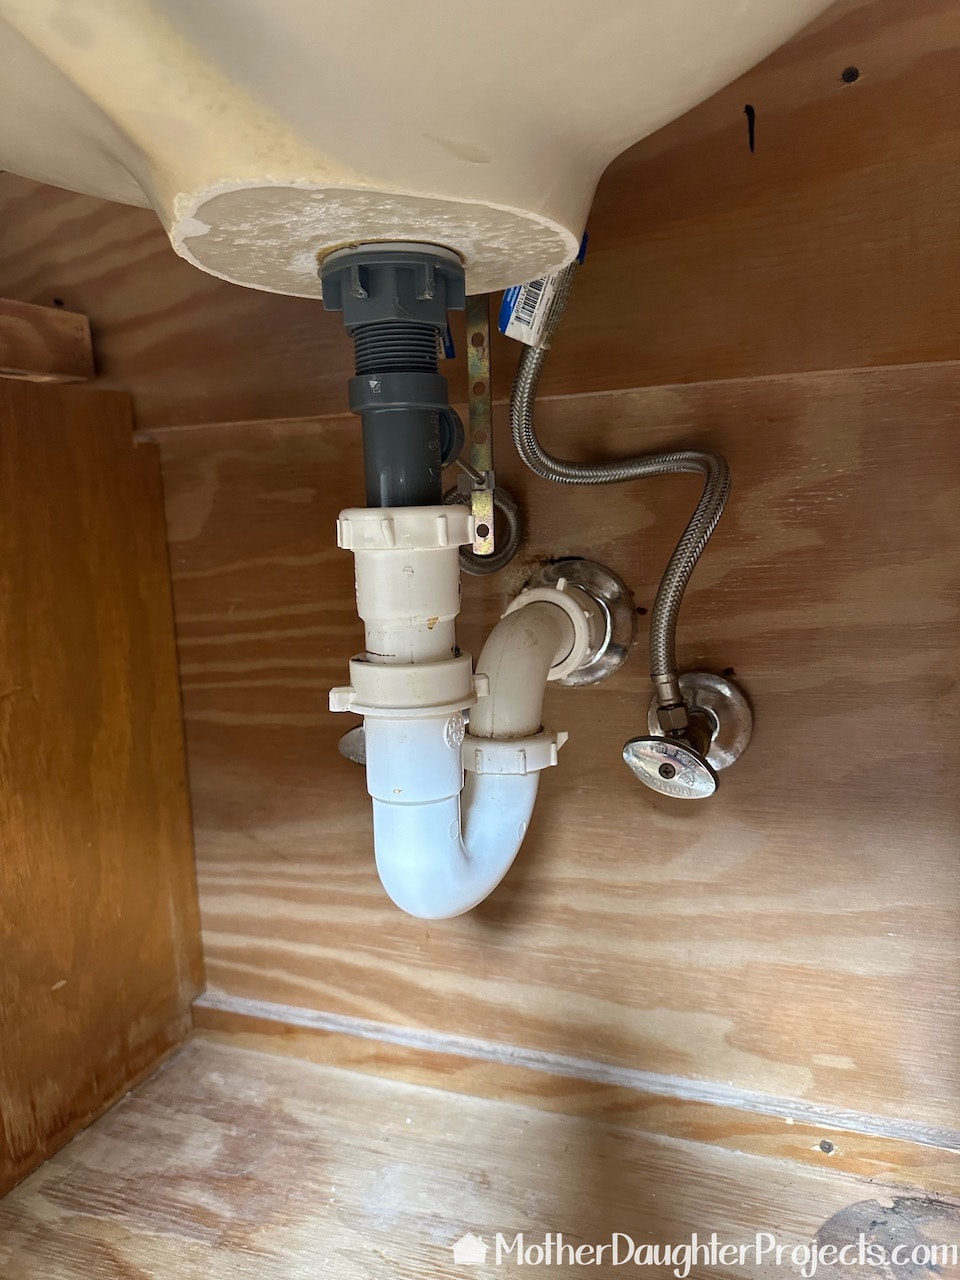
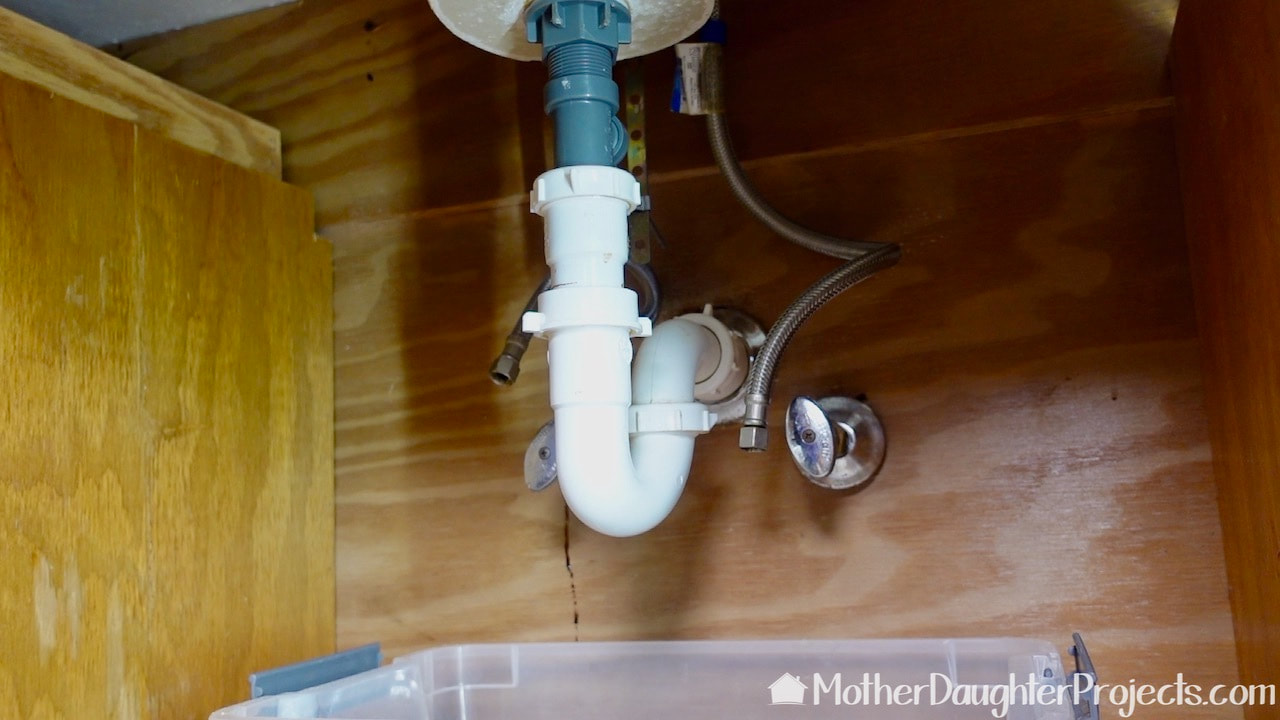
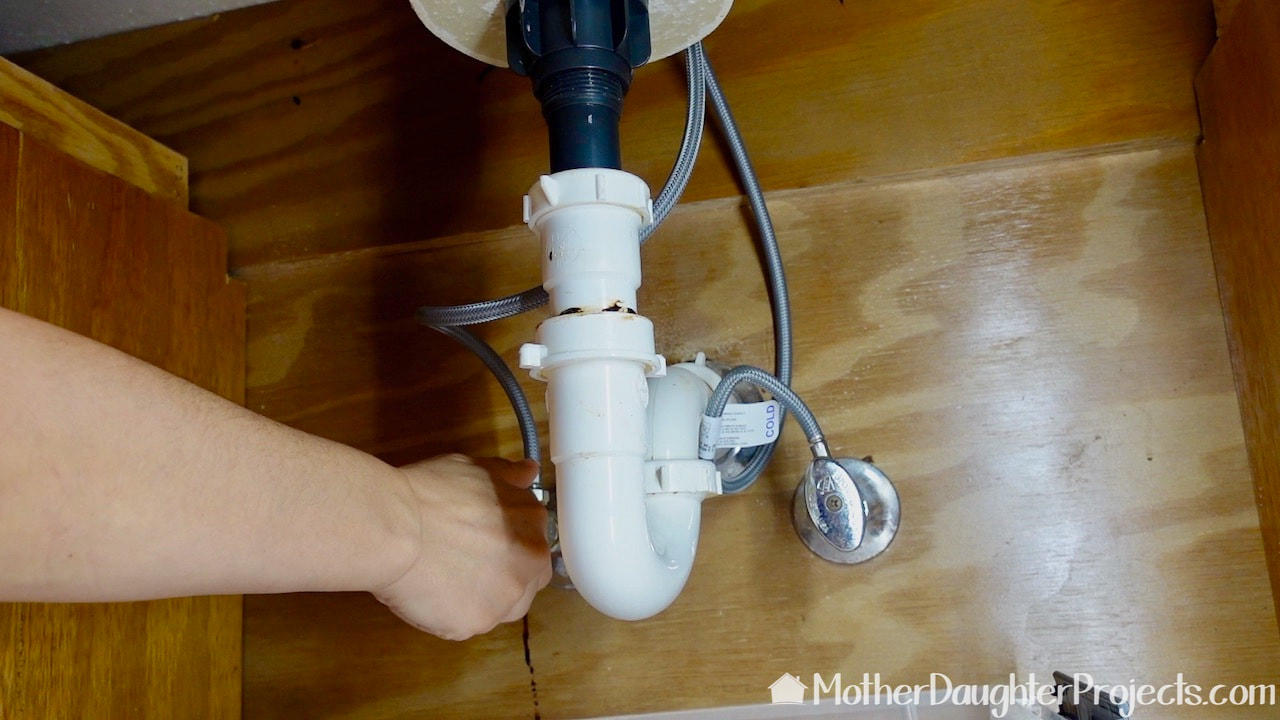
The water lines, which are conveniently labeled, are reconnected. In North America, cold goes on the right, hot on the left. Next, Steph loosened the nut holding the drain pipe and then removed it.
Keep that container under the drain to catch any excess water.

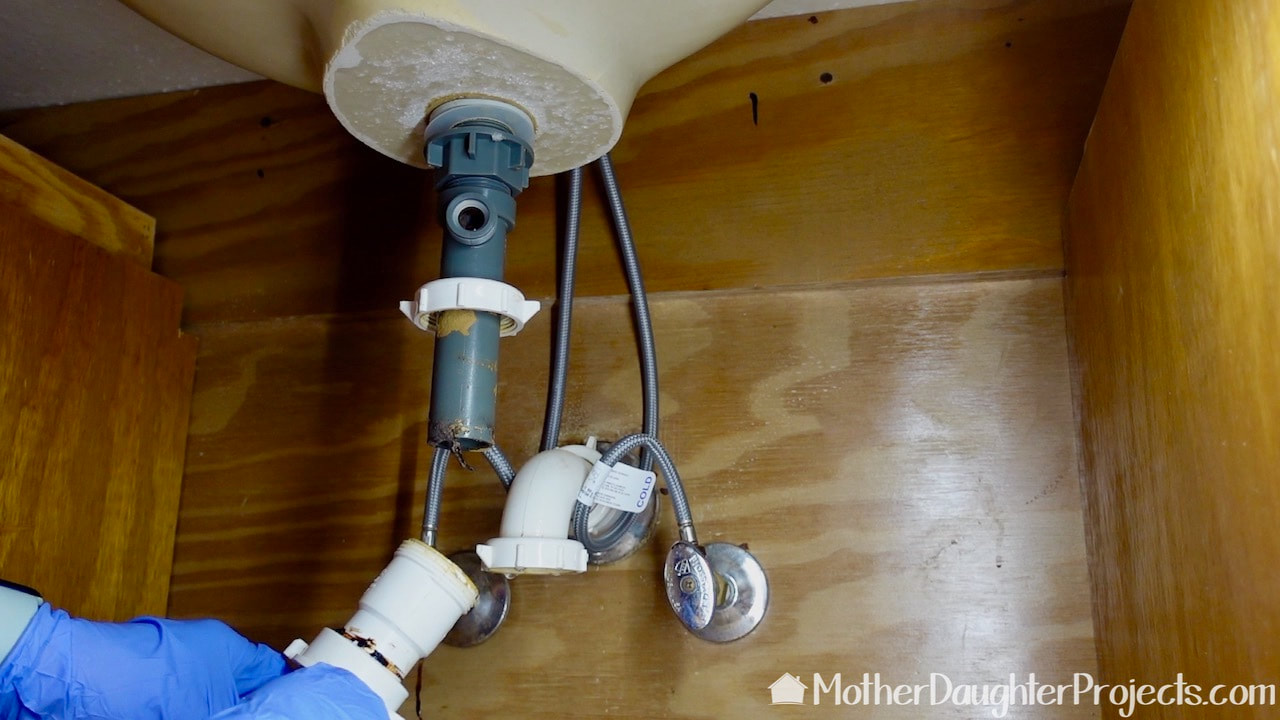
Remove both parts of the drain.
Once the drain pipe is removed, you need to clean up any plumber's putty and general grossness.
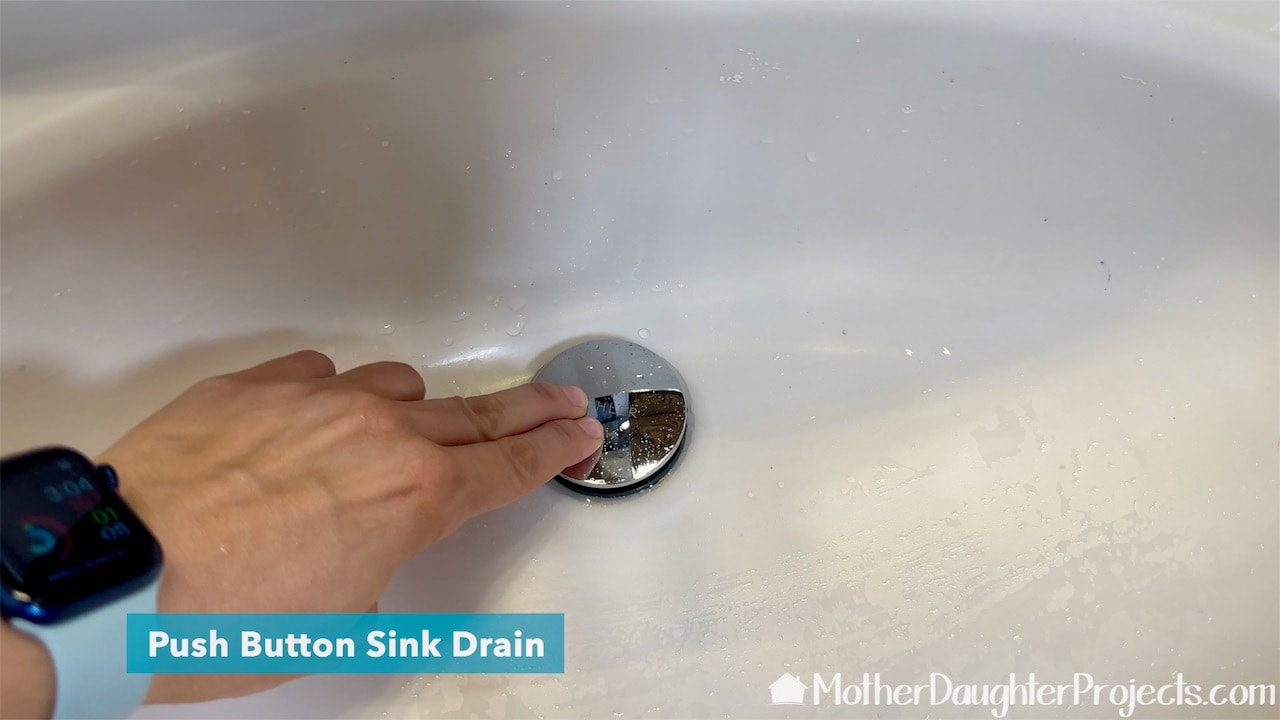
This faucet/drain combo features a pop-up sink stopper.
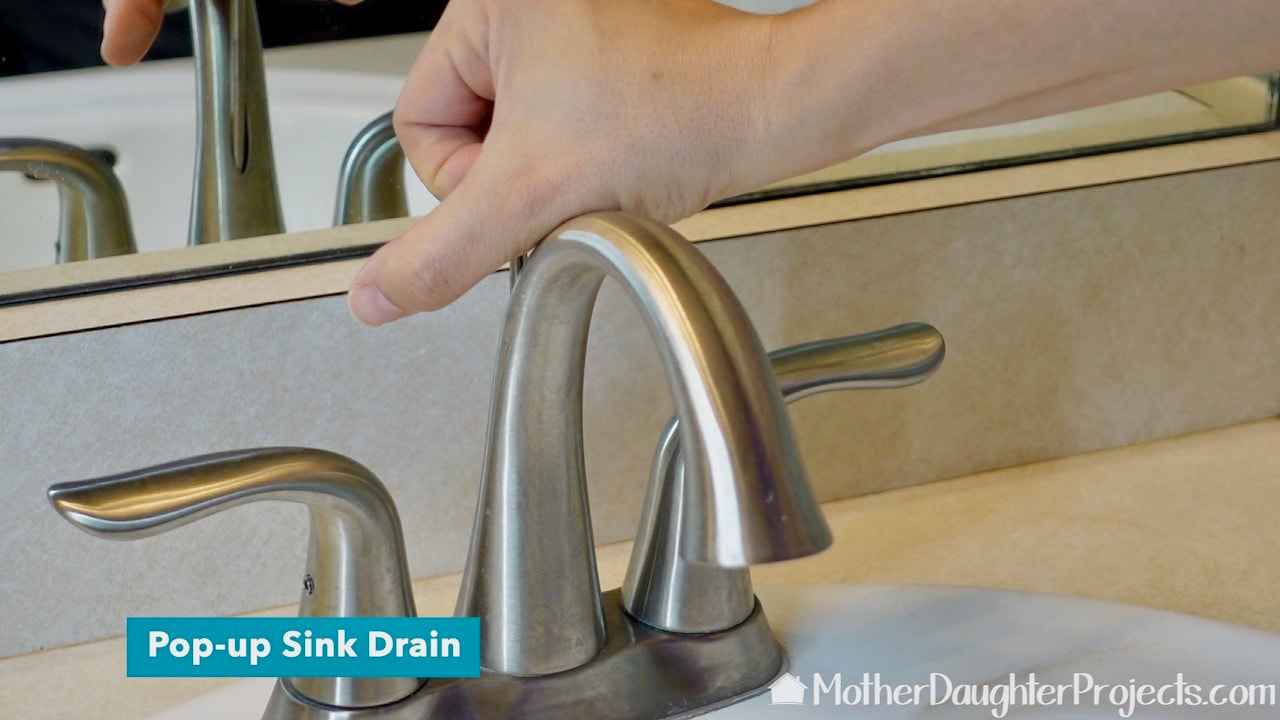
Older sinks have a lever at the back of the faucet to control the sink stopper. Time will tell if this pop-up stopper is an improvement over old faucet technology.
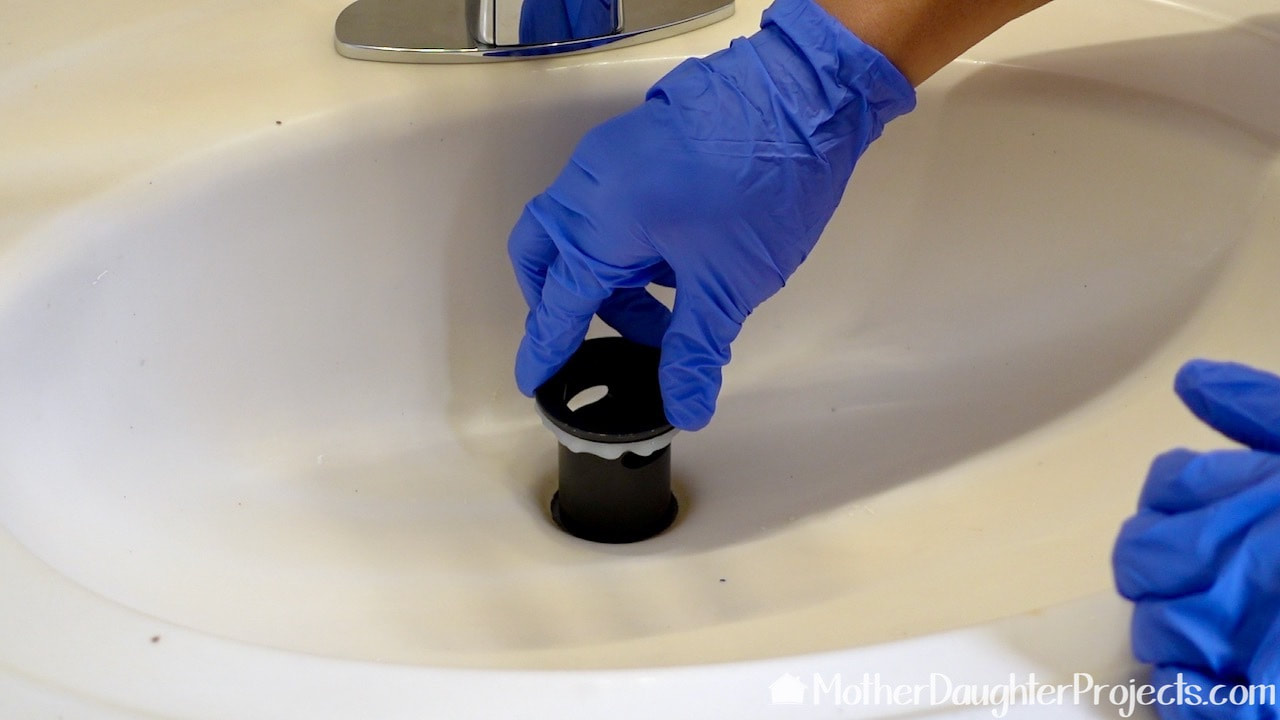
That white stuff under the sink stopper is silicone which is added to stop any leaks. Use silicone to seal if any of your sink parts are plastic.
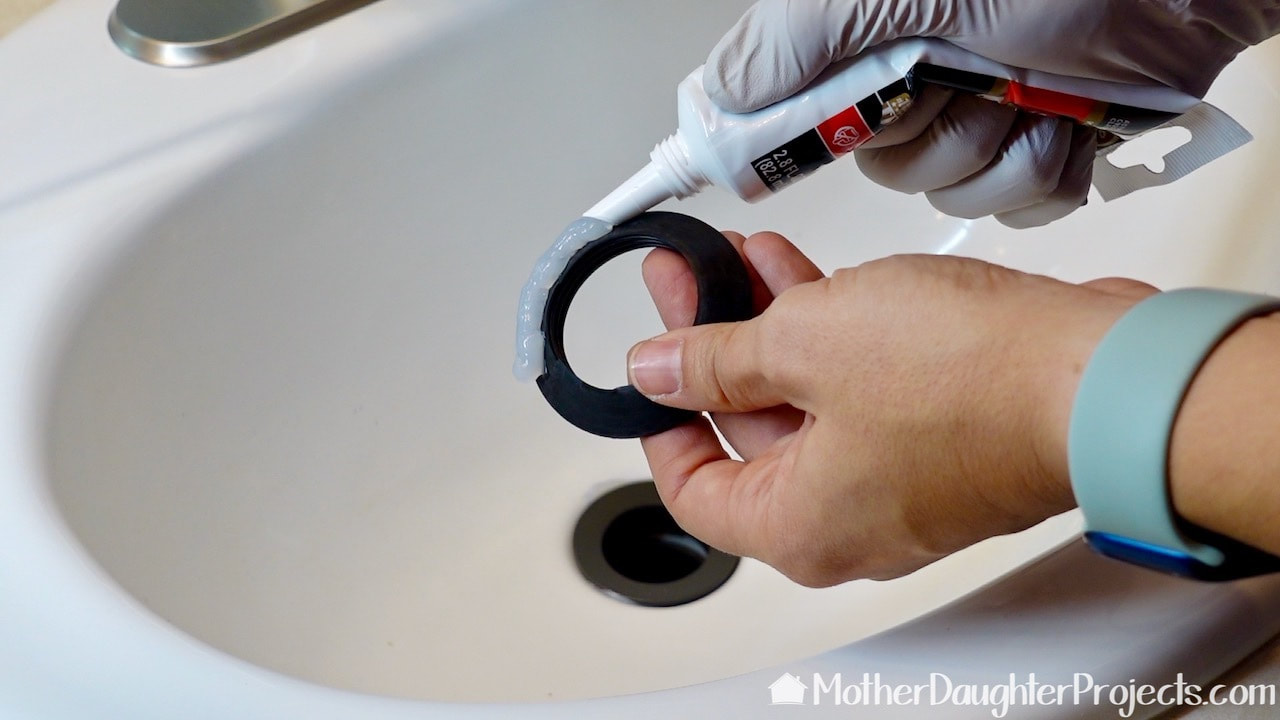
Silicone also goes on the gasket that fits under the sink on the drain.
Let the silicone dry throughly on both drain parts before testing with water.
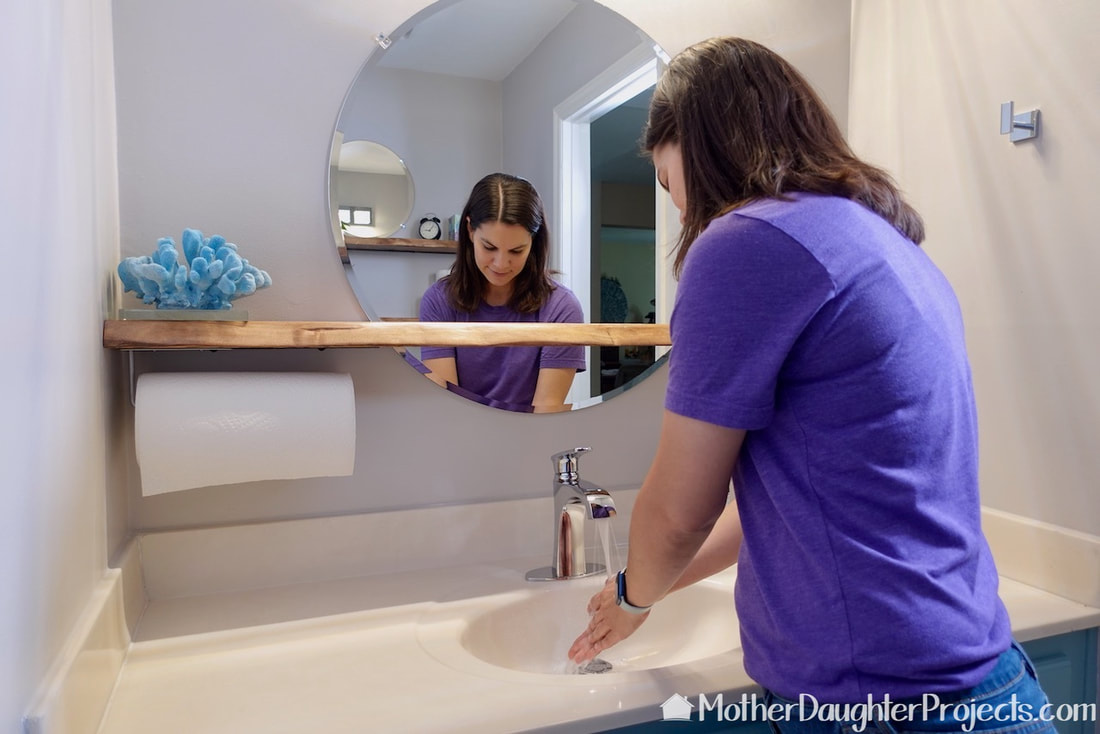
Turn on the water.
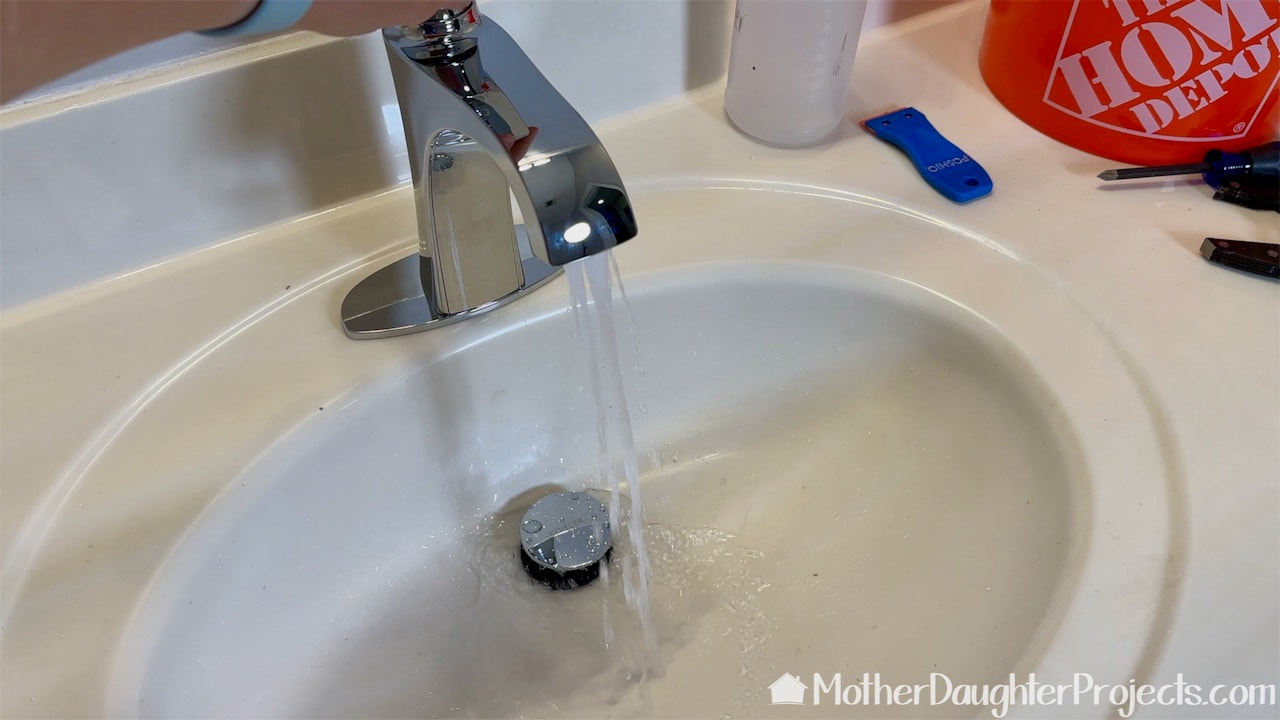
Give a little cheer! It works and there are no leaks!
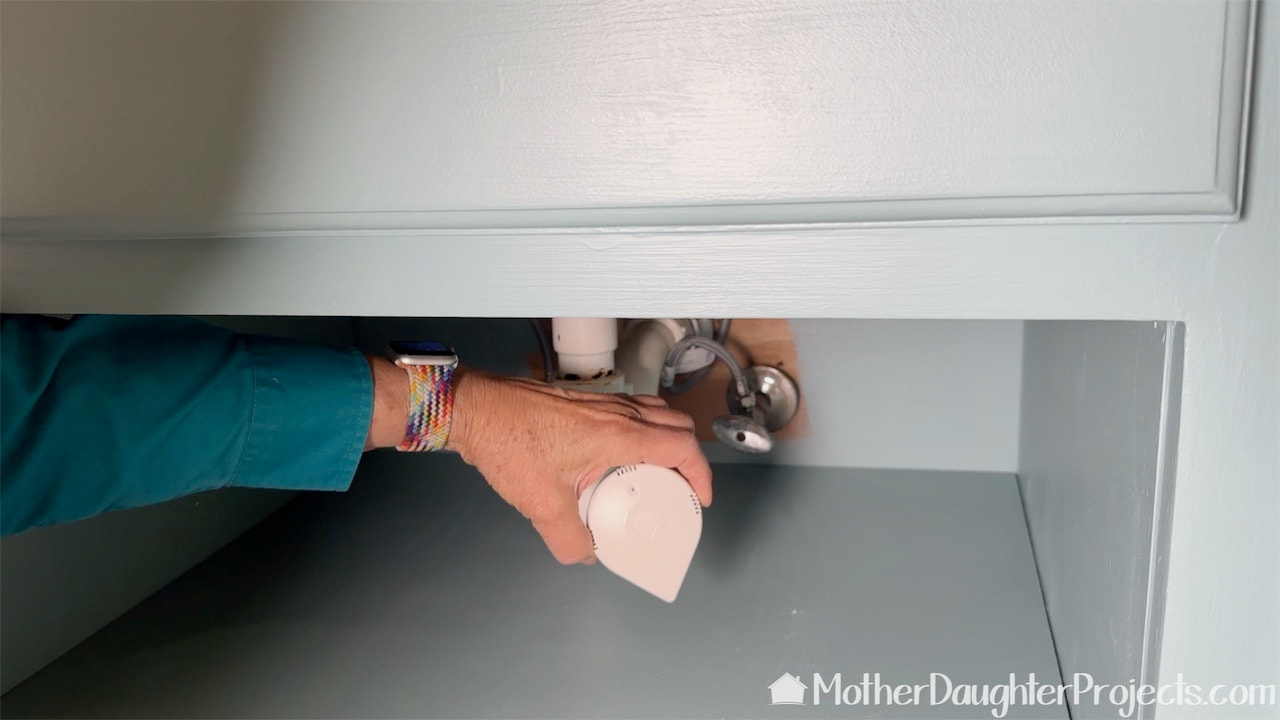
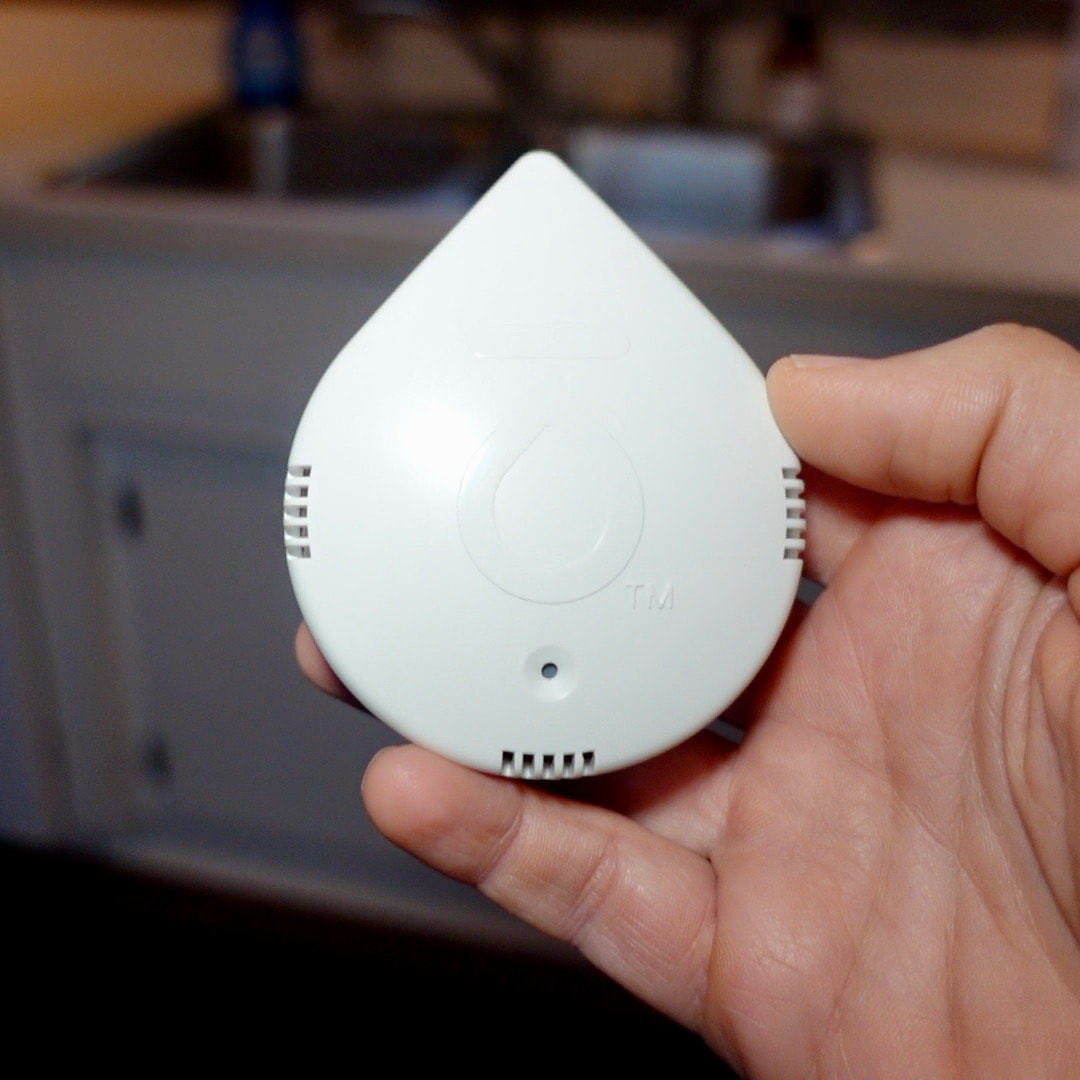
Finally, to detect any water leaks we added a Flo By Moen leak detector. If it detects a leak, the device will make an audible sound as well as sending an alert to your phone. How do we know these work? We heard it and got an alert immediately after it detected a leak under Steph guest bath sink! The leak was caught in time and there was no water damage.
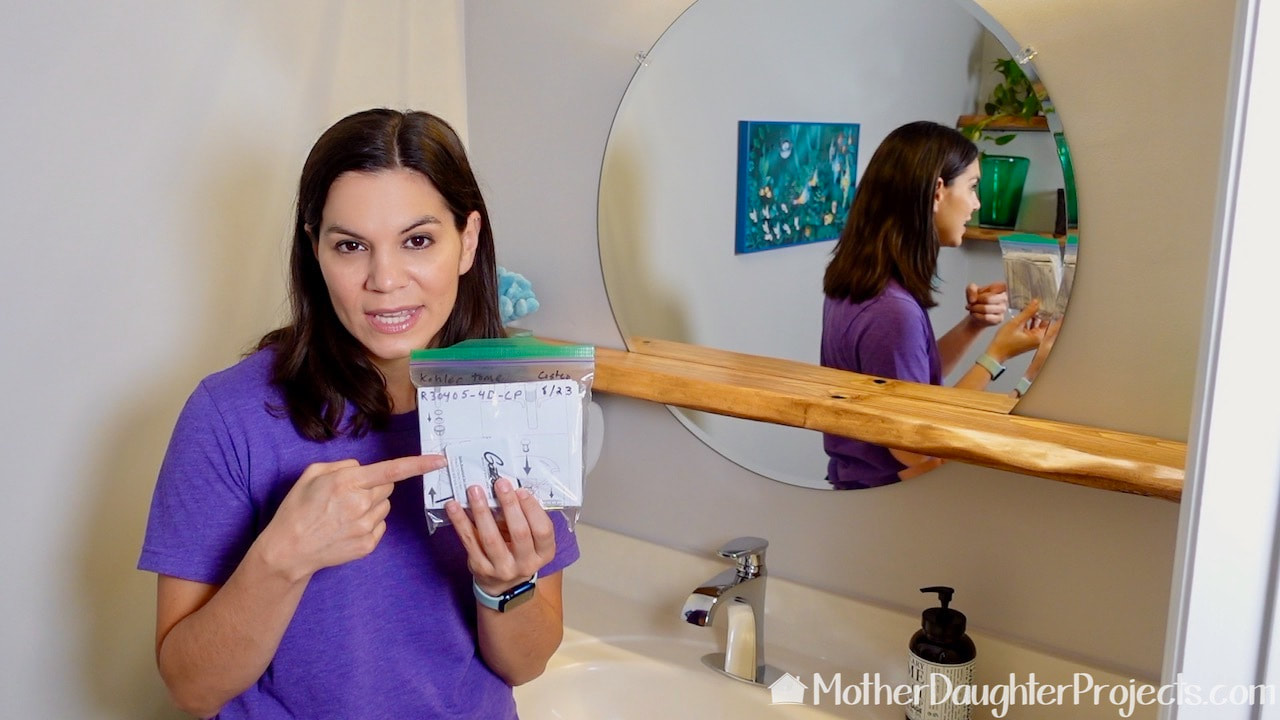
Put all the extra parts, instructions, and original receipt in a zip bag just in case you ever have a problem. Tuck the bag in the back of a cabinet.
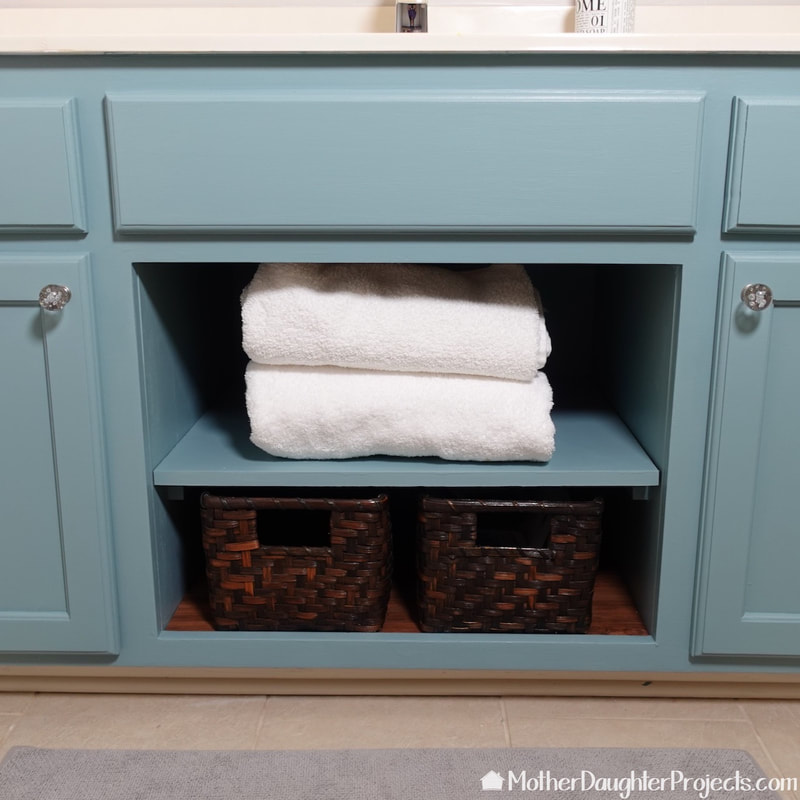
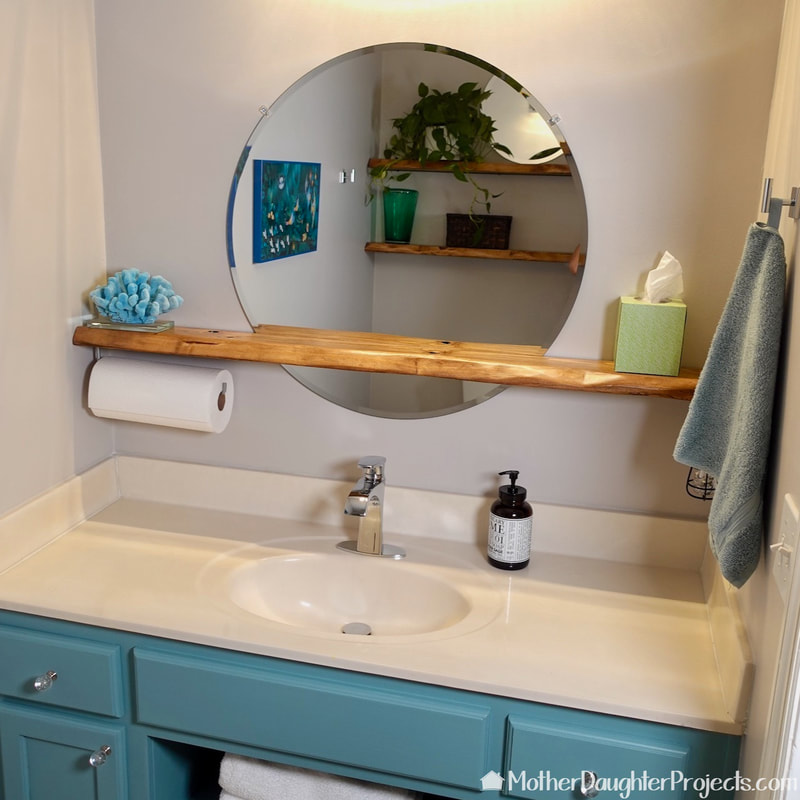
The new faucet in the shiny chrome finish is the perfect addition to this budget guest bath makeover.
A new faucet was just one aspect of this whole bath makeover. Check out our other videos and posts to see the full reveal and to see how we made the floating fake live edges shelves.
Please note: This is not a sponsored post. We are not professionals, and we don't claim to be. This is what we found worked for our project. Yours may need a little different approach. Safety first! Affiliate links are being used on this page. Purchasing via these links help support MDP. Related Projects
0 Comments
Leave a Reply. |

Mother Daughter Projects
|