|
text by Vicki Sign up here to join our weekly email newsletter!
As you can tell from the "before" picture, this little half bath was in need of a refresh!
Take a look at the budget makeover of this guest bath or maybe if you're fancy, you call it a powder room! Materials/Tools:
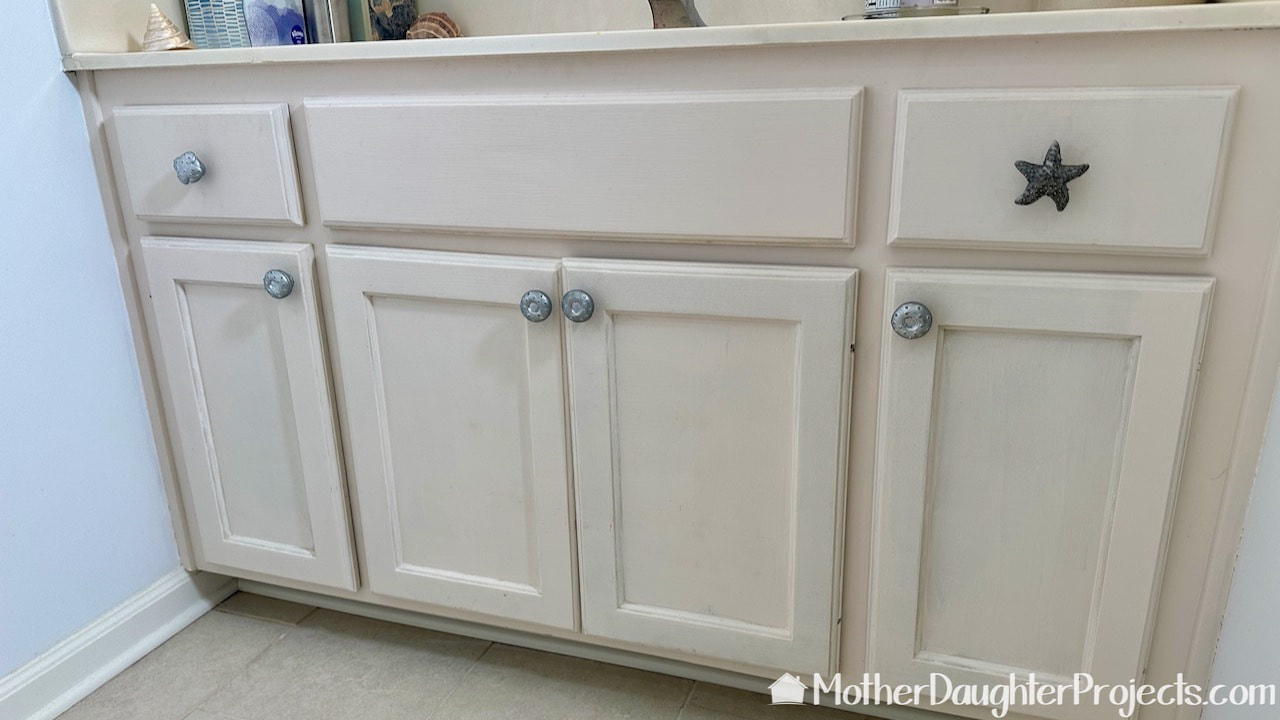
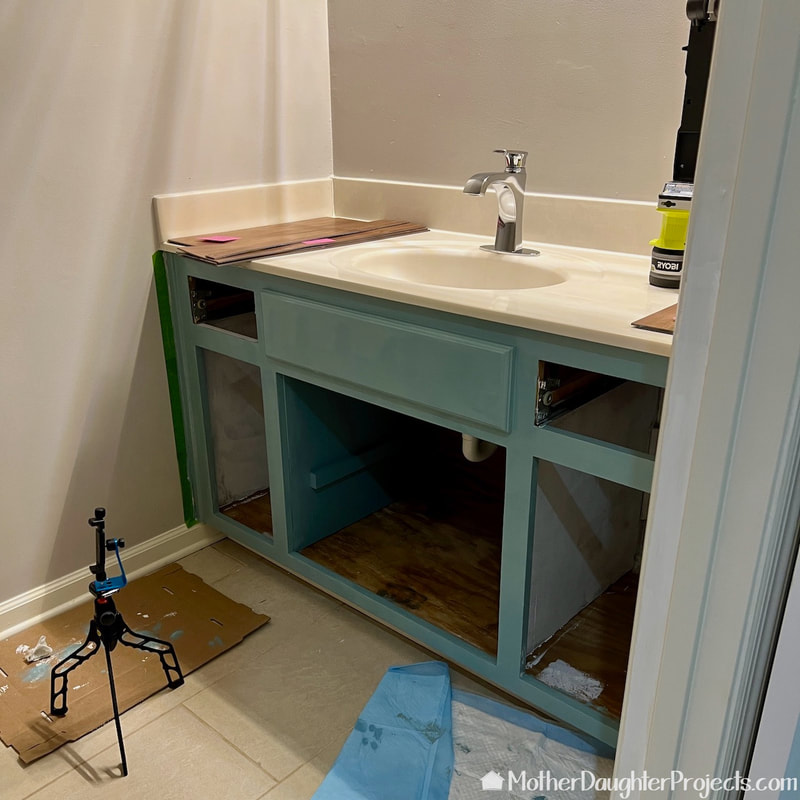
These cabinets were once natural wood and then for some unexplained reason, I thought yellow would be a good color, but then I later thought it wasn't a good color so this is what I did with them. The reason why there are different knobs is that I put the matching ones on but couldn't get the star fish off so I just left it. No one is going to notice, right?
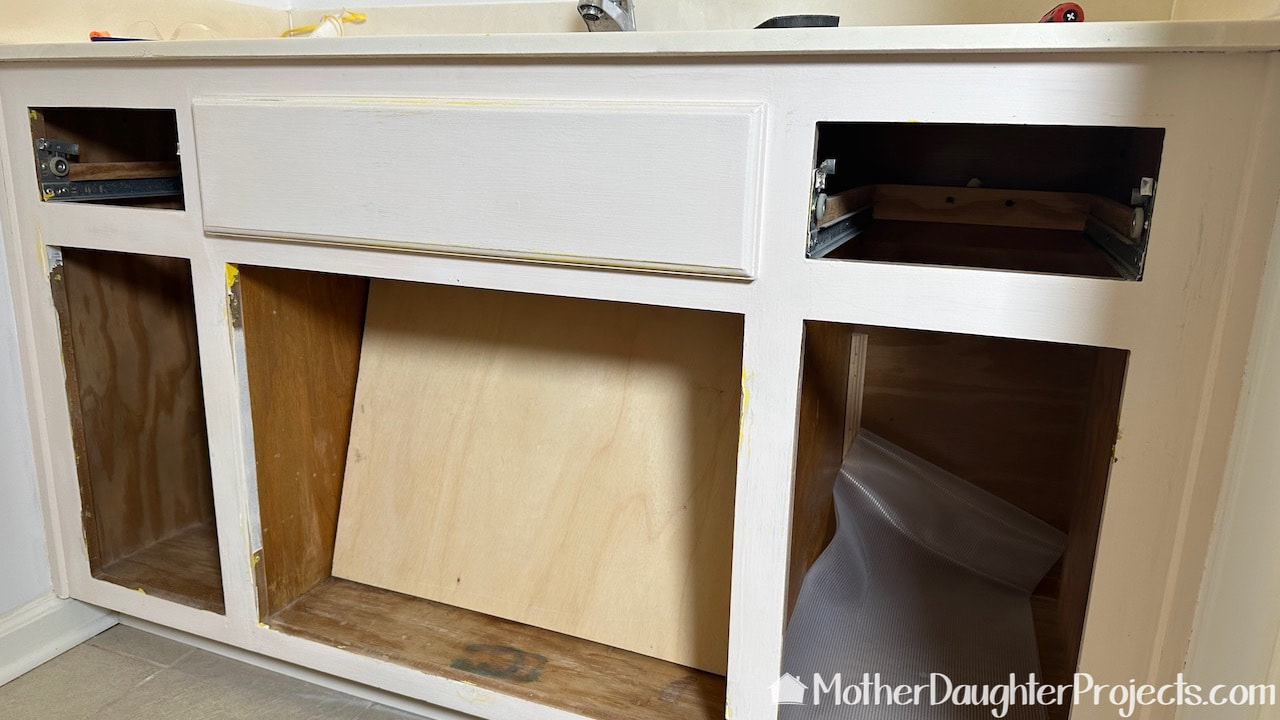
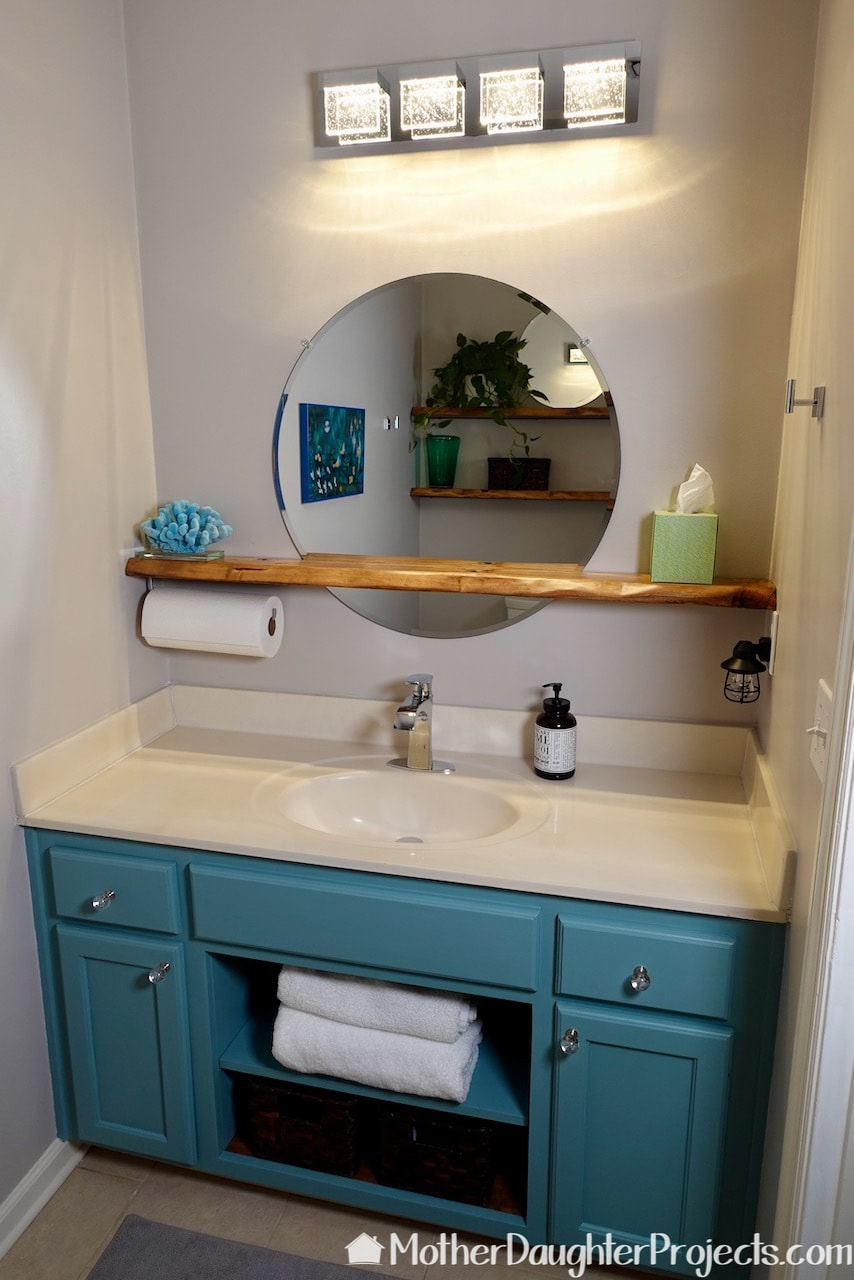
We are going to modernize this existing vanity by removing the two center doors and adding a shelf. See that yellow peeking out where the hinge was? Yeah, that was a good idea!
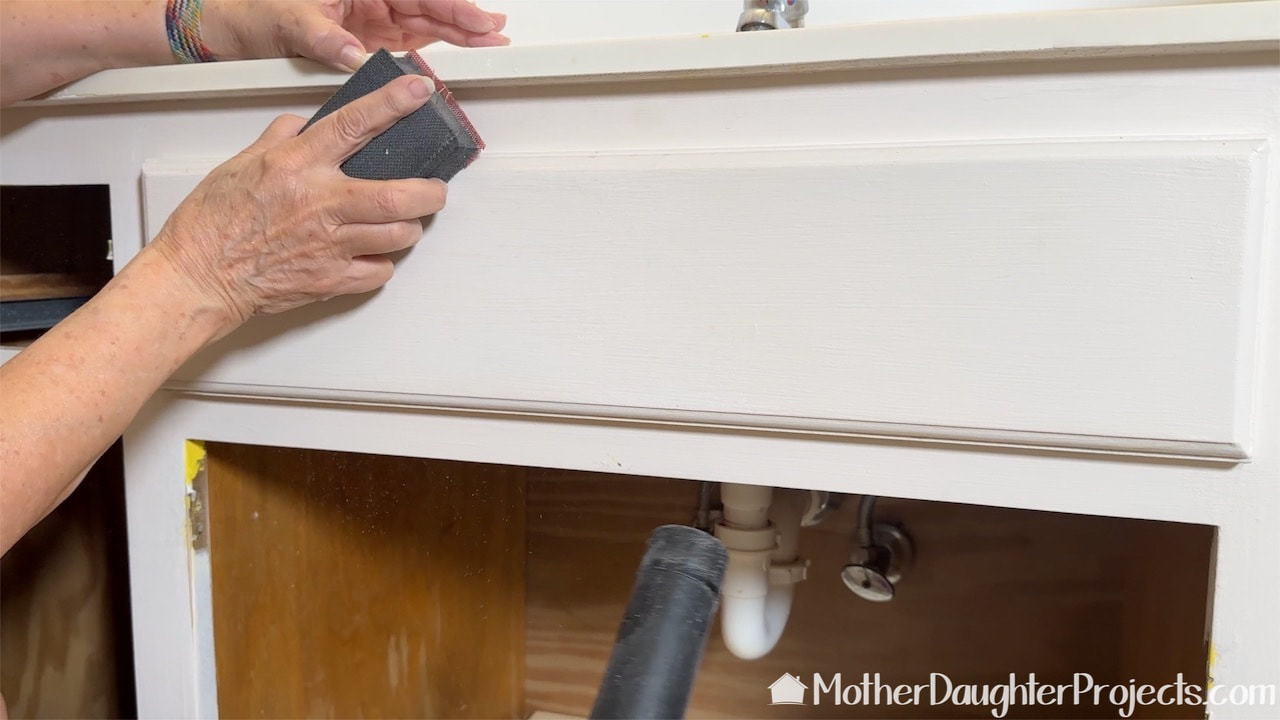
Sometimes you can remove these false drawer fronts, but I was unable to do so. I hand sanded the vanity front. What you don't see is Steph following along collecting sanding dust helping to keep everything a lot cleaner.
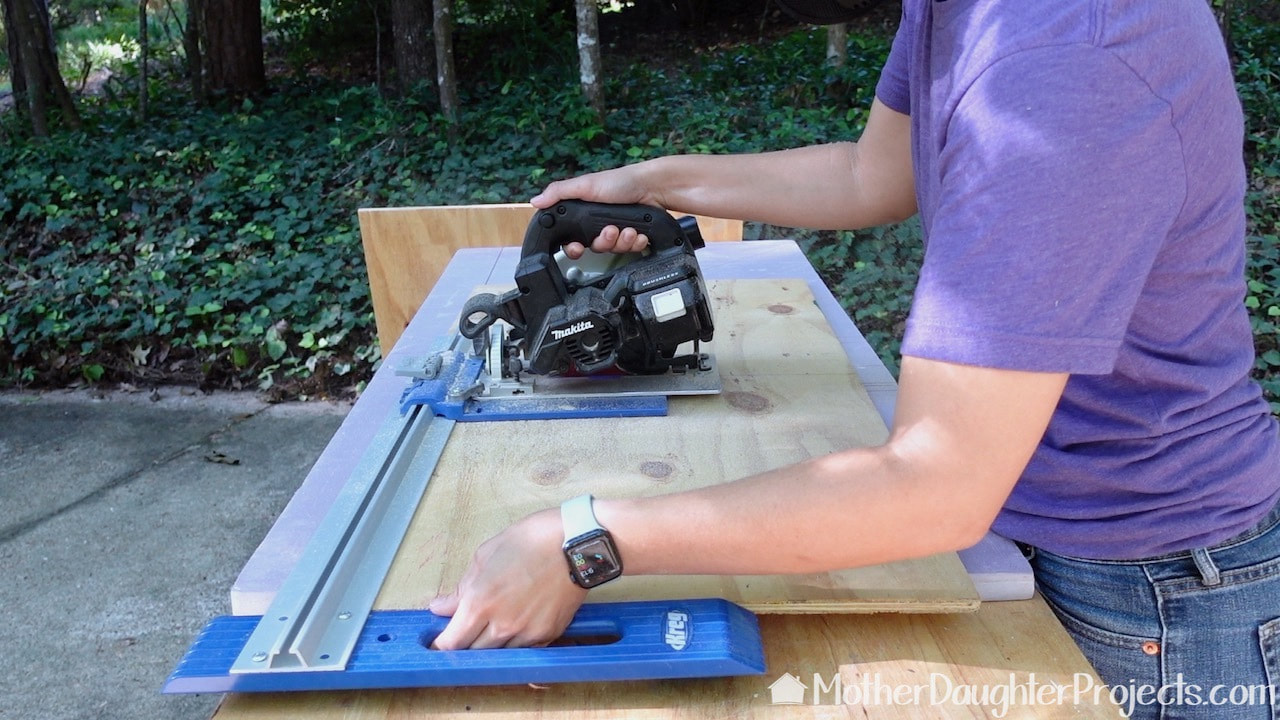
To give the new open cabinet a more finished look, we are lining the sides with new boards which will hold the new shelf in place.
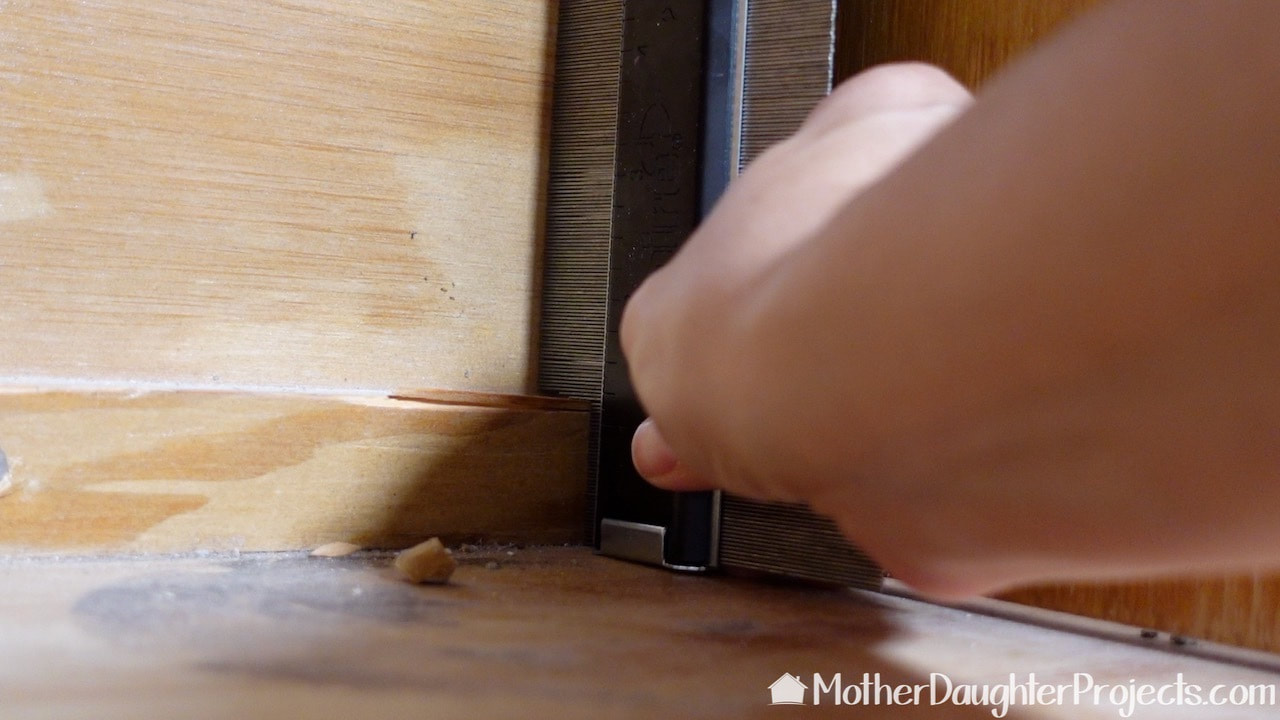
This handy tool made an exact copy of this little bump out that we needed to cut in our side wall boards.
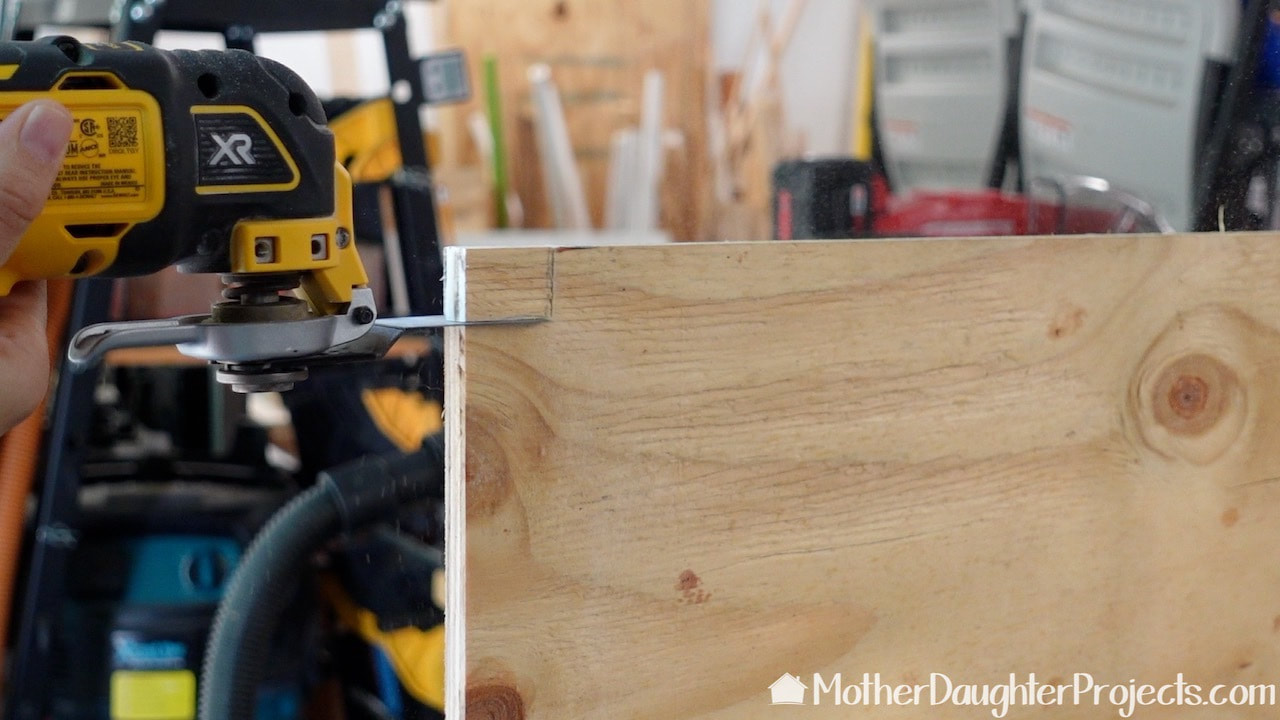
Using the contour gauge, we simple transferred the shape to the board and cut it out with a DeWalt multi-tool.
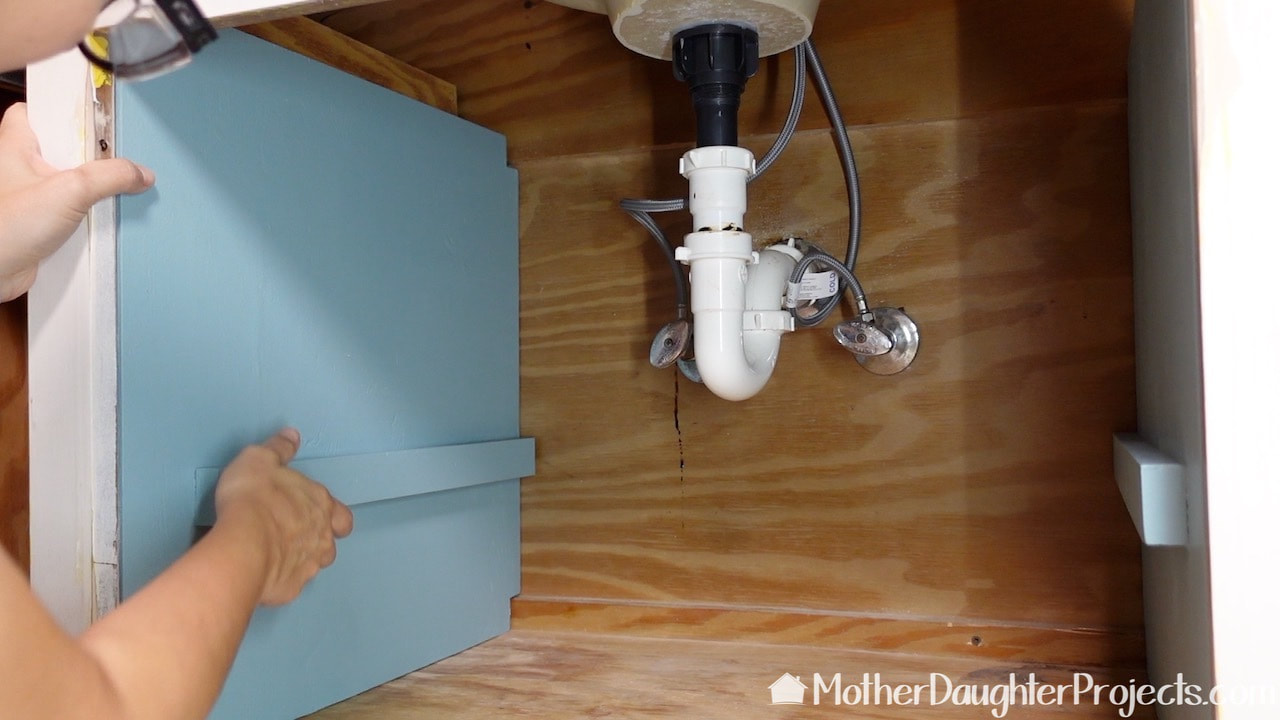
Since we eventually will need access to the plumbing, the shelf we are installing will not be permanently installed, but will sit on these rails. The new sides were brad nailed into place.
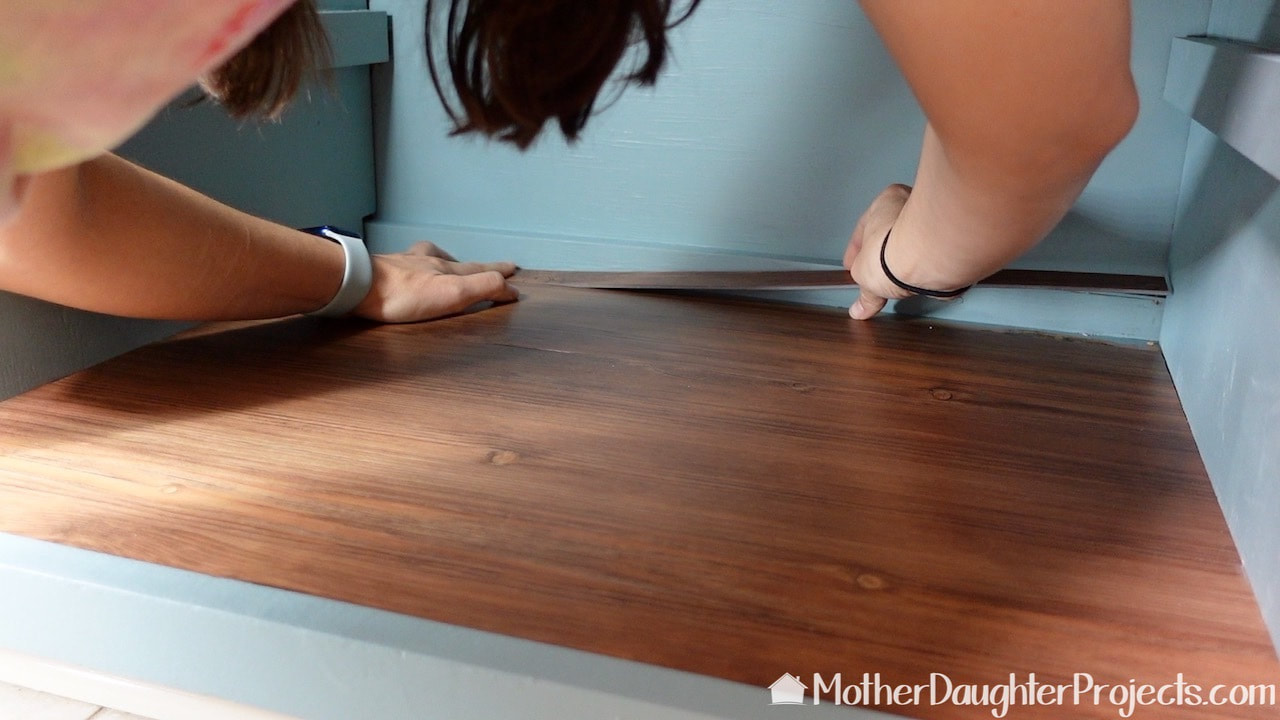
All of the cabinet walls were painted as the insides needed refreshing as well. To finish the cabinet floors, we installed left over vinyl flooring planking. It gives a nice clean look to the cabinets.

This fun wallpaper surprise was under the old light fixture! It was easy to clean up with a bit of water and a scraper.
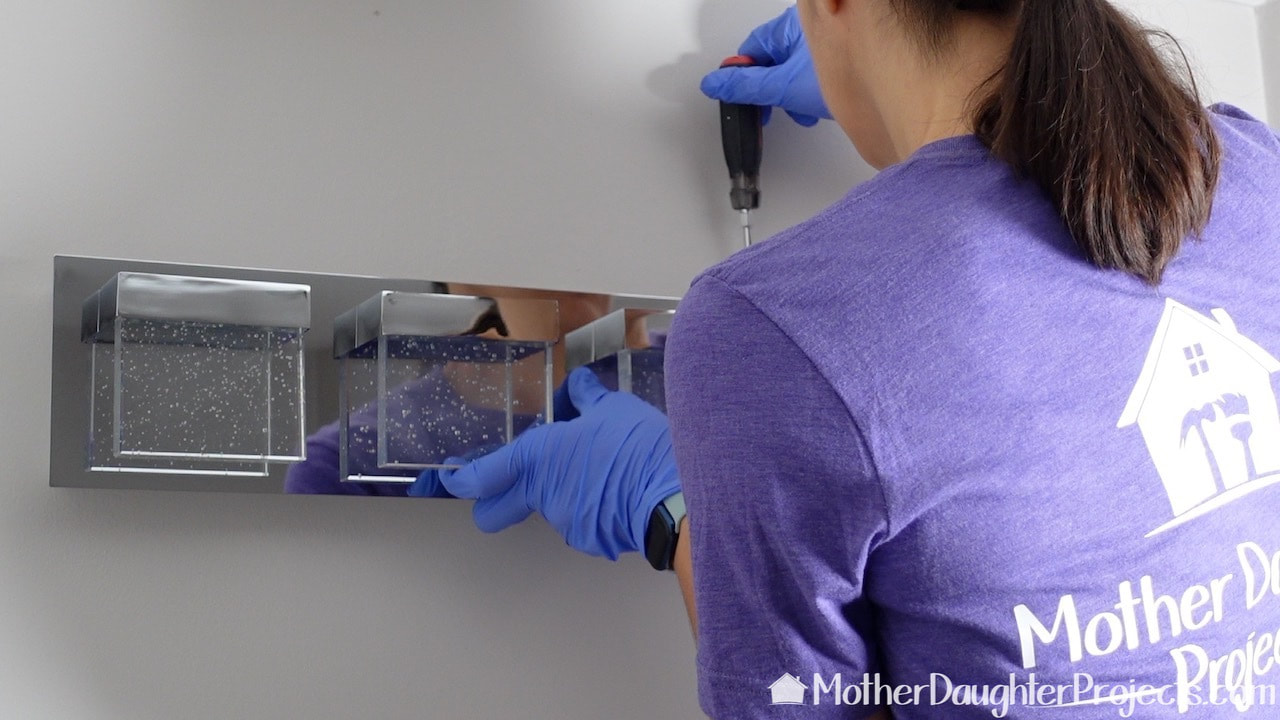
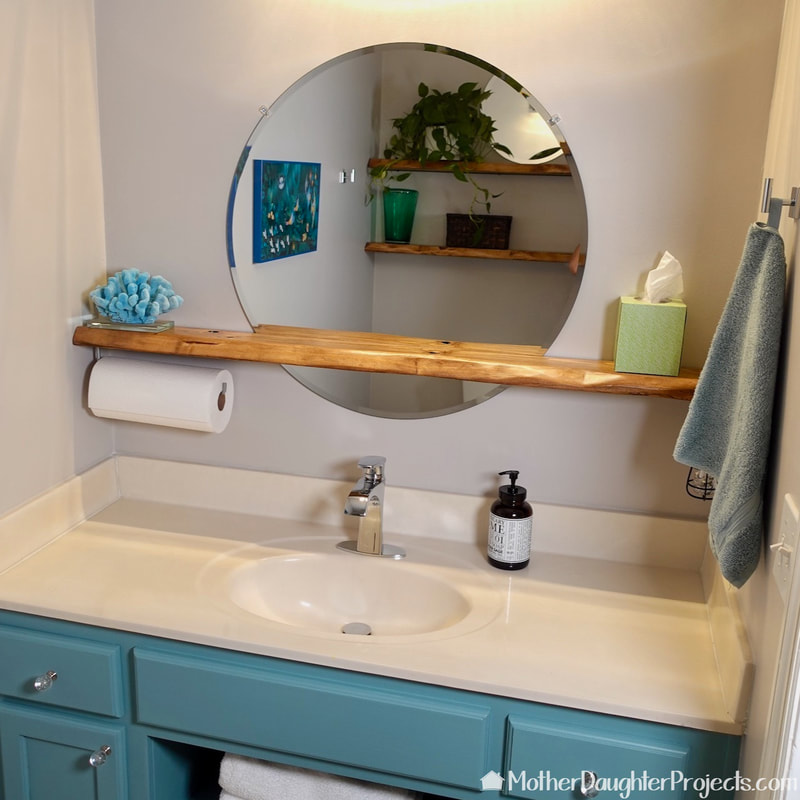
Love, this new Costco Artika brand light fixture! The bubble design goes with the bubbles in our inspiration art.
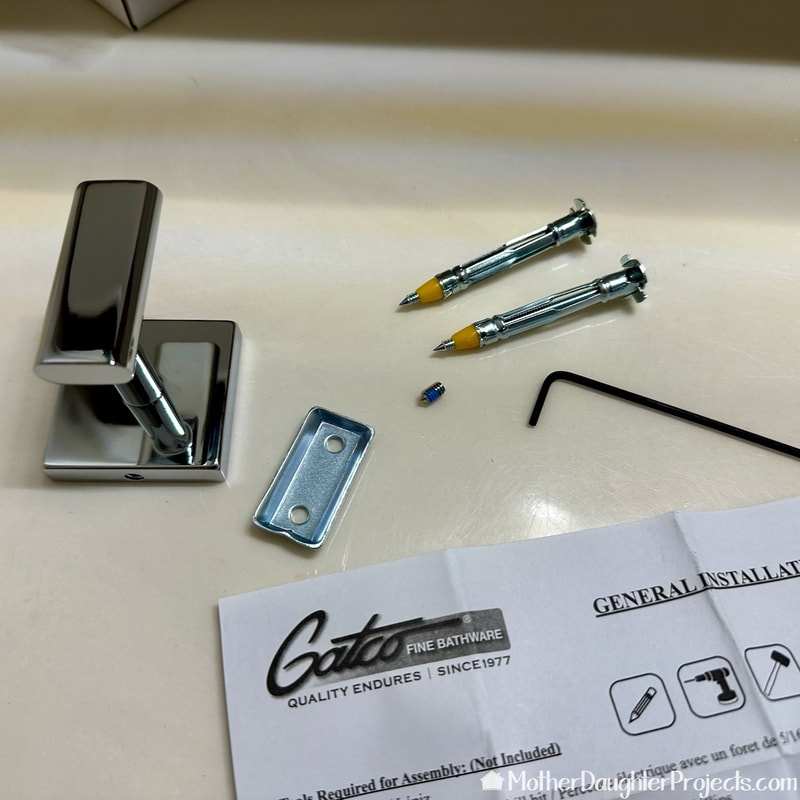
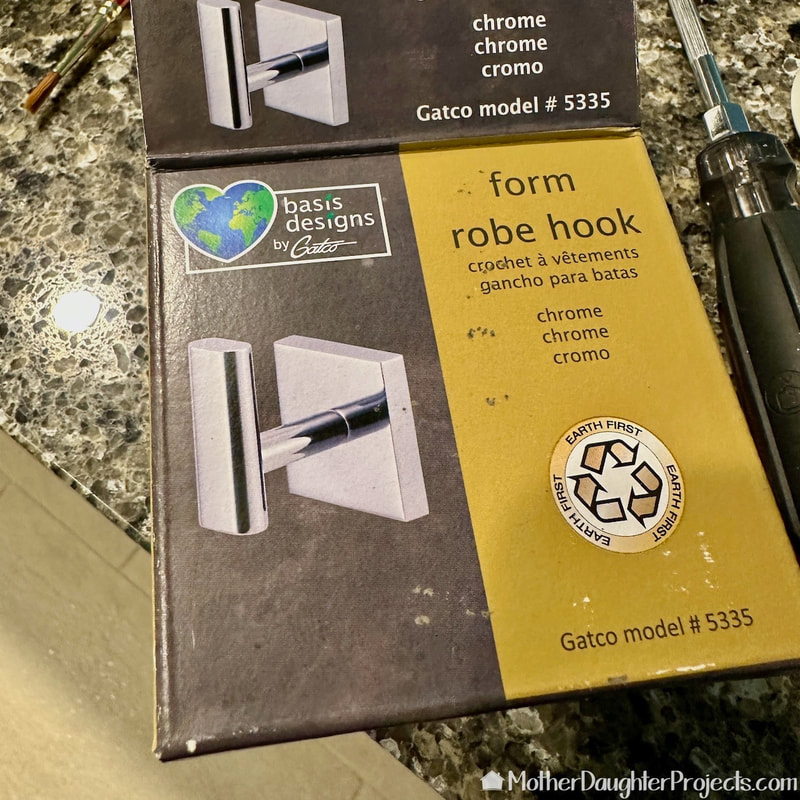
Installing the new hooks.
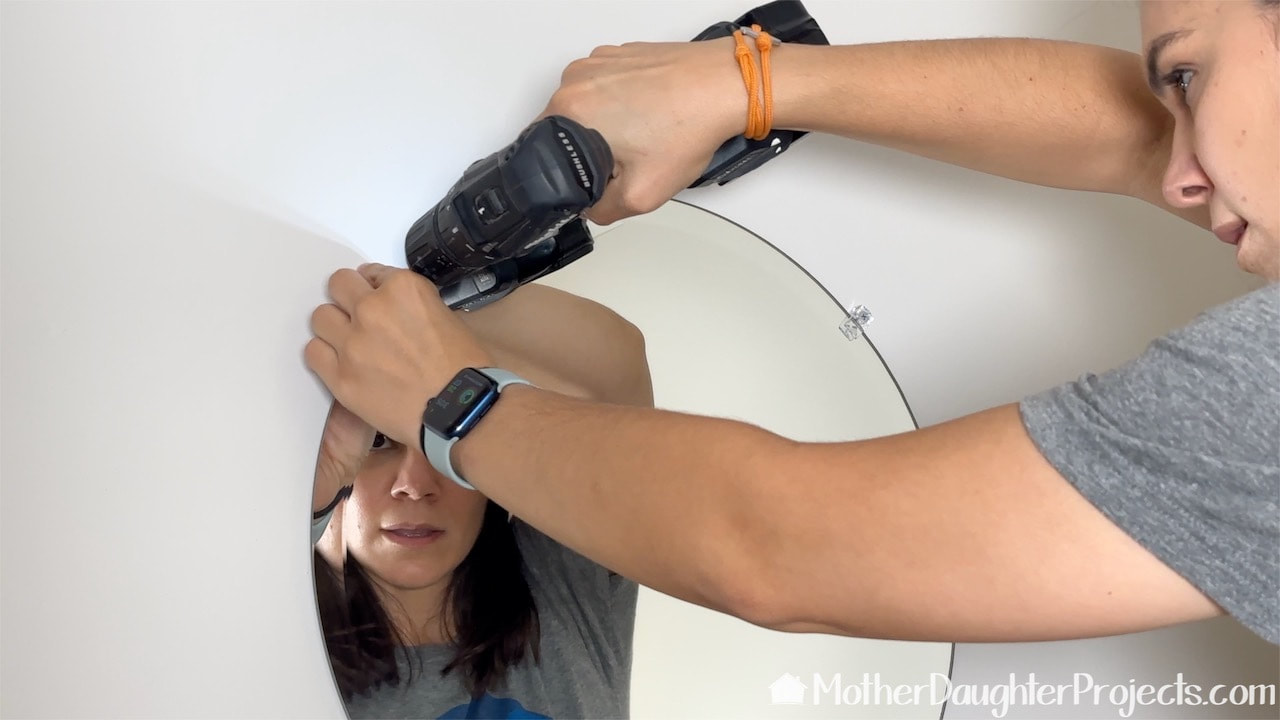
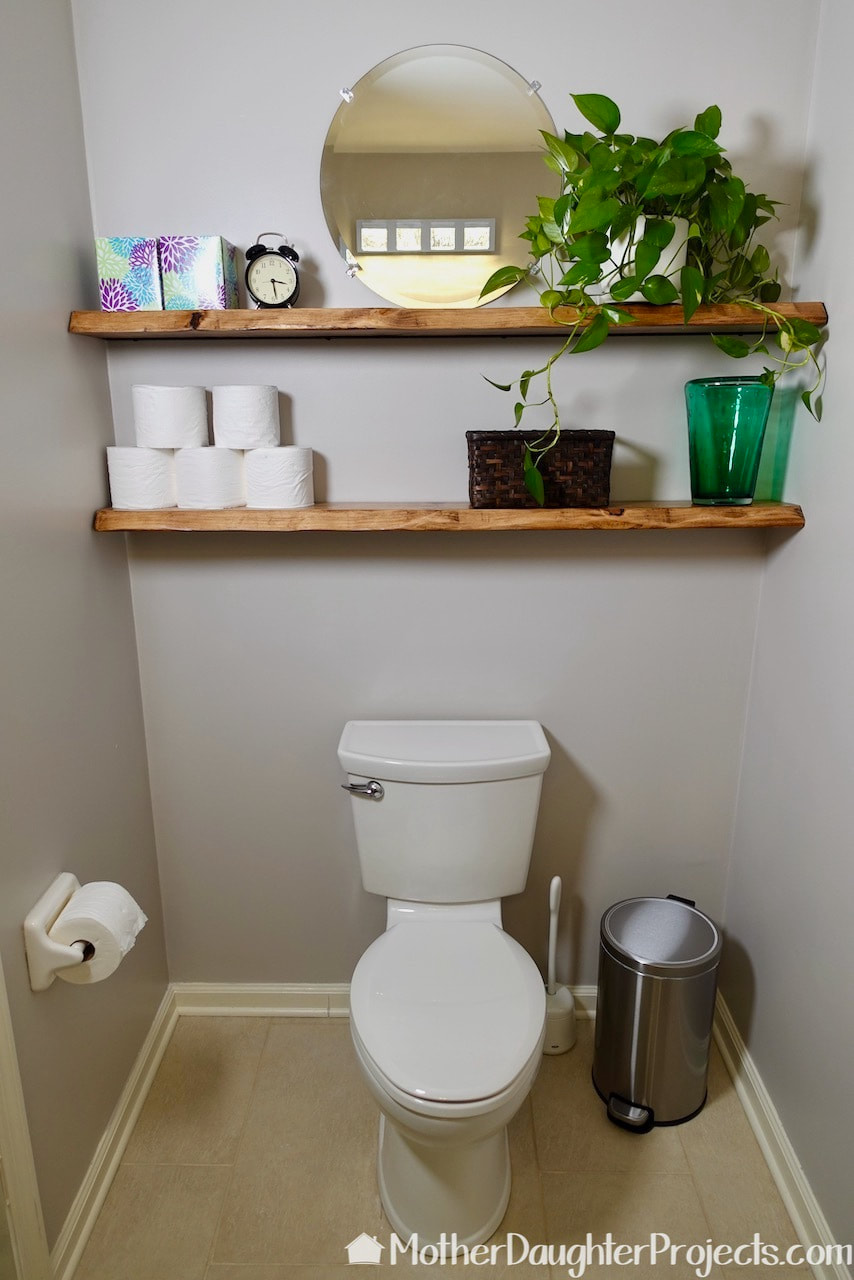
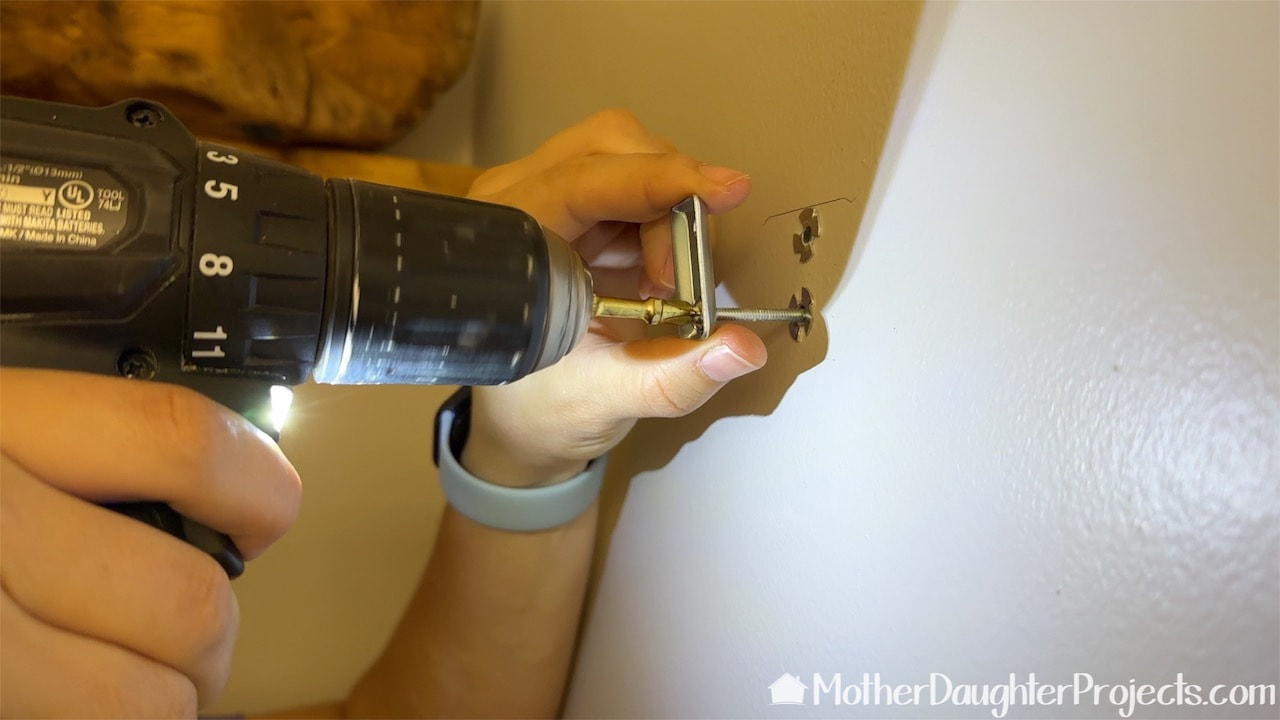
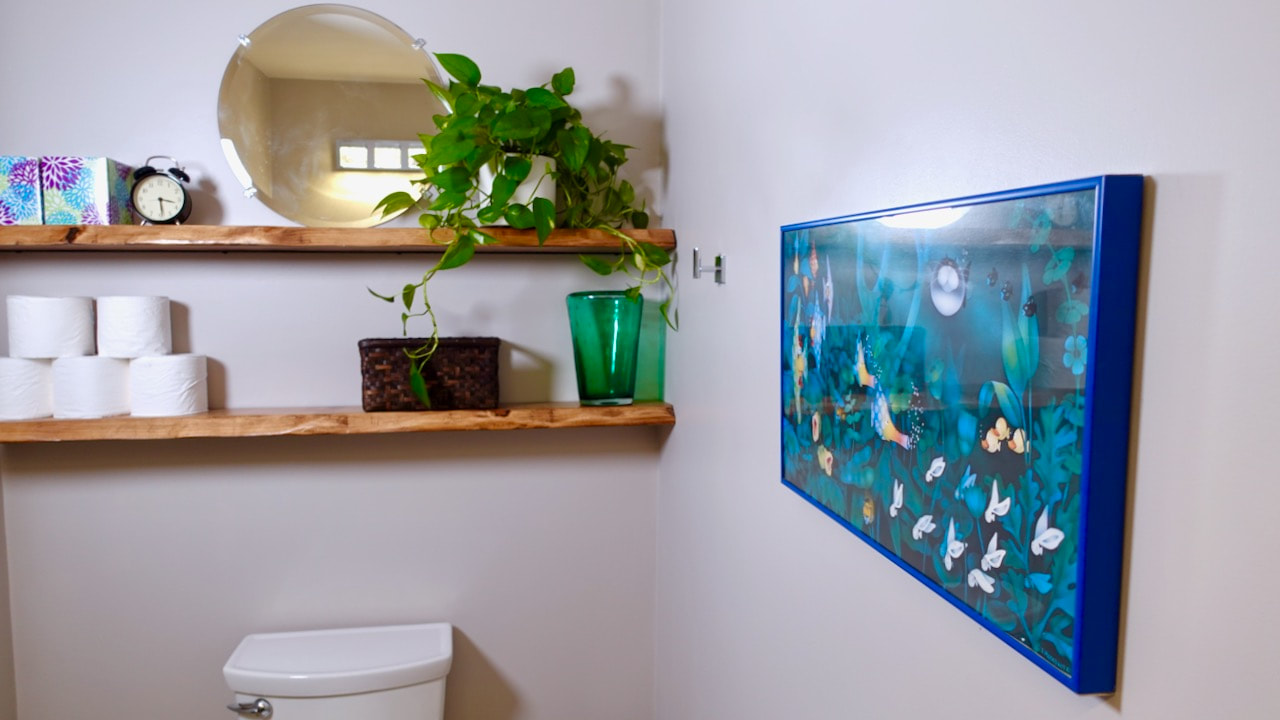
If you notice, this was in the before picture. We added it to the back wall to help reflect the light from the new light fixture. We used mirror clips to secure it into place.
Check out our full post and video on how we made the faux or fake live edge floating shelves.
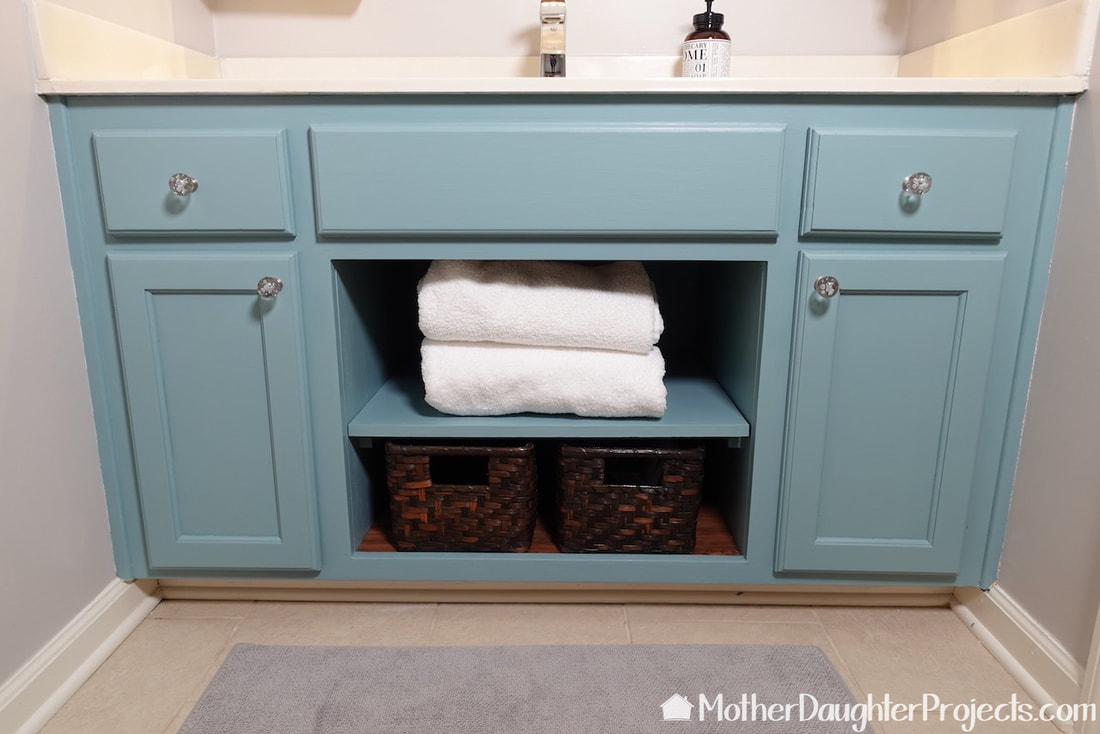
Here's the vanity all done with open shelving and new bubble themed knobs. The rug is from Target and perfectly matches the seven-year-old paint we used on the walls! I guess this color palette has come back around!
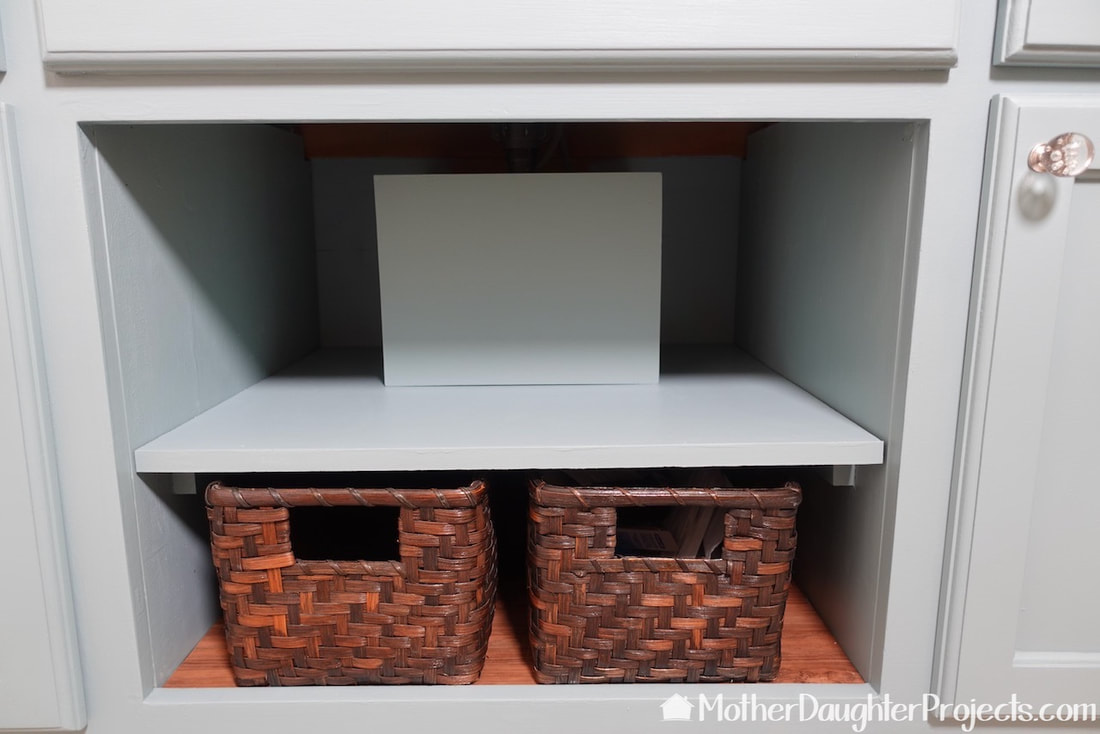
We made a simple cover to conceal the plumbing. This can be moved and the shelf removed to access the plumbing. We added a Flo by Moen leak detector for added securing.

We love the look of the new light fixture.
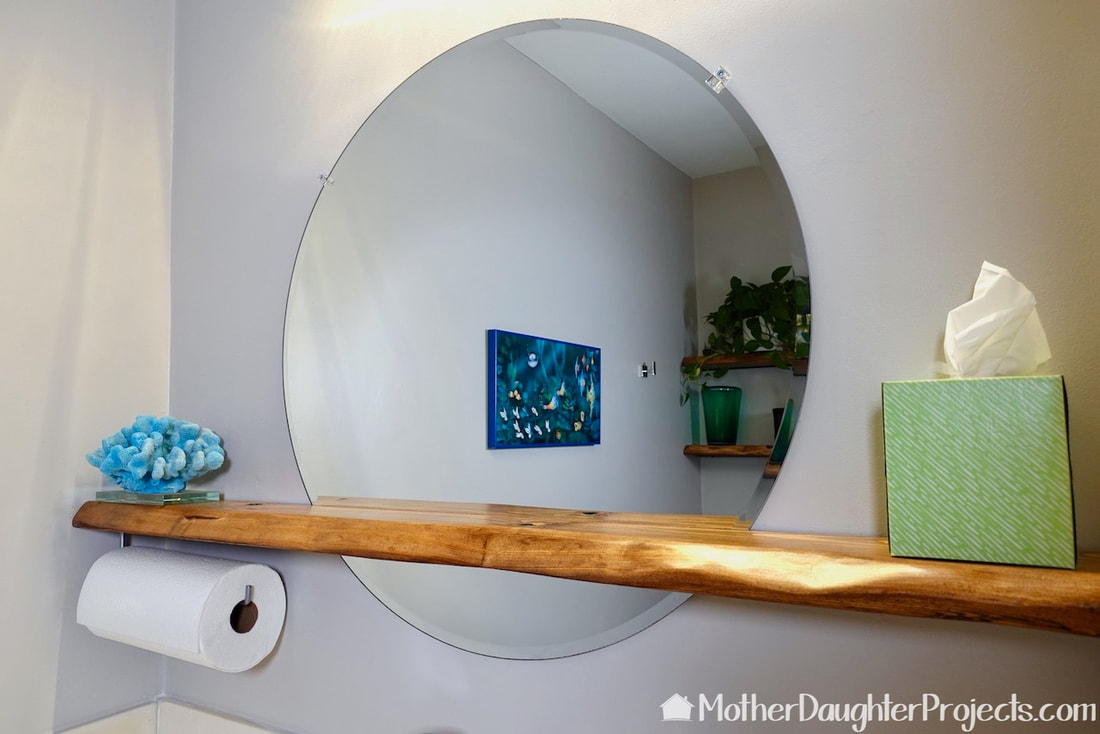
You can see how we made and installed this faux live edge shelf in a separate video. The mirror sits in a slit made in the shelf and is secured with mirror clips.
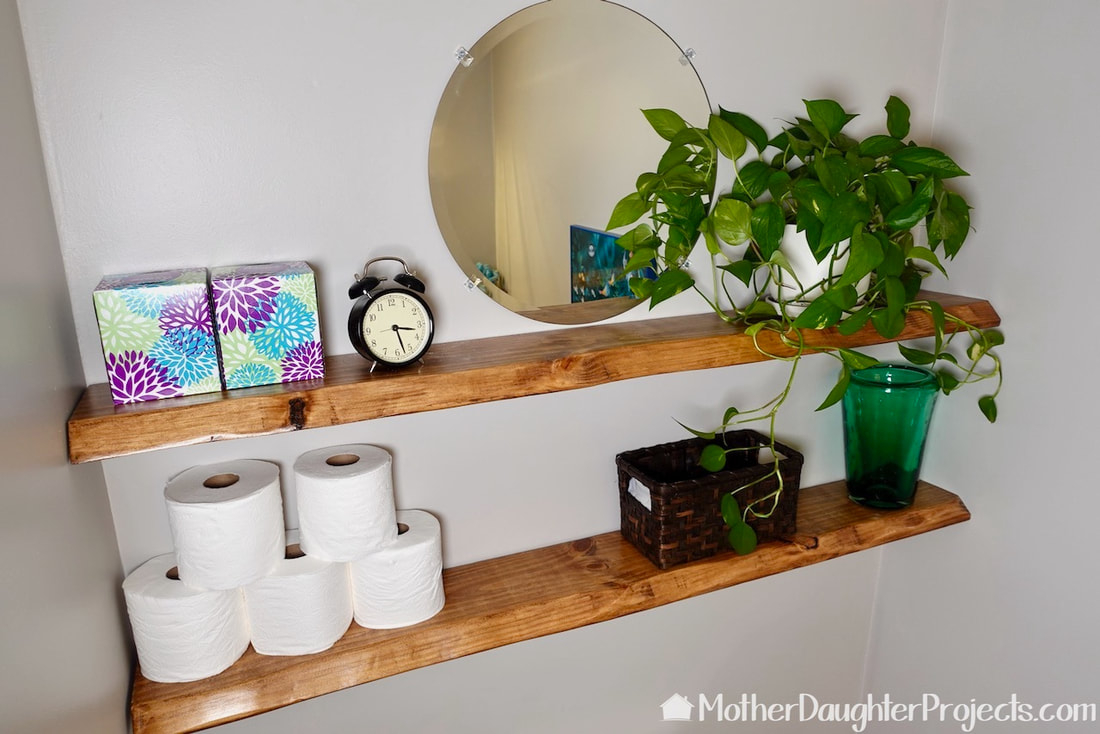
Everything is in plain sight so that my guests have access to whatever they might need and don't have to ask for it.
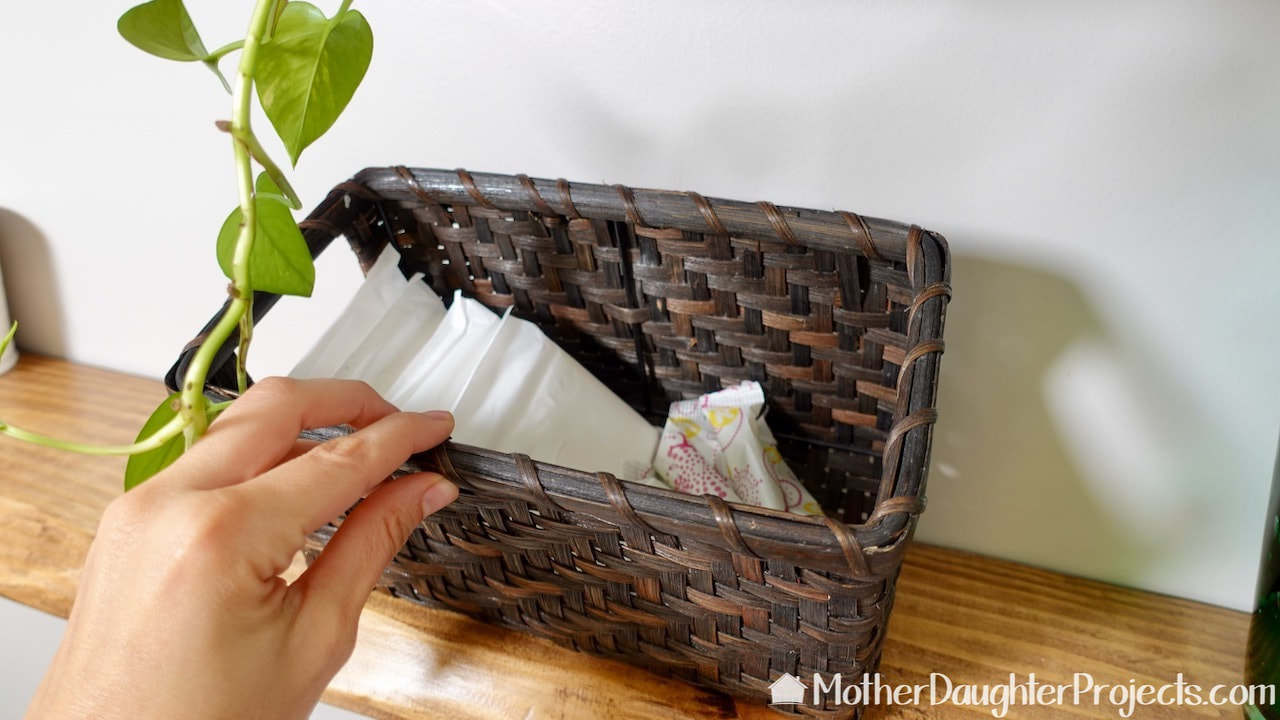
There are even feminine supplies should a guest needs them. No one wants to ask their hosts for these! What else would you put in a guest bath?
This was truly a budget makeover of this small bathroom. We reused the vanity, the paint for the walls and cabinet that we had on hand, we reused the small mirror and used the existing artwork as our inspiration. We already had the large mirror as we were going to use it in my closet. We purchased a new faucet, light, trash can, toilet brush, paper towel holder, hooks, nightlight, and rug as well as lumber for the new floating shelves.
We think opening up the cabinet was the biggest improvement to this bathroom makeover. What do you think? What would you keep from this makeover and change? Please note: This is not a sponsored post. We are not professionals, and we don't claim to be. This is what we found worked for our project. Yours may need a little different approach. Safety first! Affiliate links are being used on this page. Purchasing via these links help support MDP. Related Projects
0 Comments
Leave a Reply. |

Mother Daughter Projects
|